How to Shoot Clouds
Clouds are the only element of a landscape photograph over which you have absolutely no control, and this is simultaneously the most frustrating and the most liberating thing about shooting them. You cannot ask a cloud to move into a better position. You cannot return tomorrow and find the same cloud waiting patiently where you left it.
The shot you are looking at right now is the only moment that particular configuration of water vapour and light will ever exist — and then it is gone, absorbed into another formation, dissolved into clear air, or simply drifted out of frame whilst you were changing a lens cap. This impermanence is not a problem to be overcome. It is the whole point.
The liberating aspect of this takes a little while to appreciate, but once it does, something shifts in how you approach a location. When you cannot control the subject, you stop trying to. Your job becomes watching, reading, and responding rather than arranging.
Cloud photography teaches patience, attentiveness, and a certain philosophical acceptance that the British weather, in particular, tends to enforce. The British sky rarely offers the dramatic cloudscapes of the American Midwest, but it compensates with variety and a certain melancholy grandeur that is entirely its own — a quality that rewards the photographer who is willing to stand in a field long enough to witness it.
There is, of course, a corollary to all of this. The perfect cloud formation will arrive exactly as your battery hits fifteen percent, or in the thirty seconds between putting the camera bag down and opening it again, or three minutes after you have driven away because the light was failing. This is not bad luck. This is cloud photography. The only reliable countermeasure is to arrive early, stay late, and keep the camera in your hand rather than the bag.
Know Your Clouds
Understanding what kind of cloud you are looking at matters less for classification purposes than for what it tells you about the next twenty minutes — the direction the light is heading, how long the current conditions will last, and what, if anything, is worth positioning yourself for. What follows is a working photographer's guide to the main families, from the ground up.
Low-Level Clouds (below 2,000 metres)
Stratus is the flat, featureless grey layer that sits low over the landscape and produces drizzle and a certain kind of English despair. As a cloud photography subject, it is almost entirely without interest — the sky is simply a uniform grey ceiling with no texture, no depth, and no drama.
If you are shooting clouds, stratus is your enemy. If you are shooting almost anything else, however, a thin stratus layer is free softbox lighting: the entire sky becomes a diffuse, even, shadowless source that eliminates harsh contrast and renders skin tones, flowers, and textured surfaces with extraordinary delicacy. This is worth remembering on the days when the sky disappoints — it is very possibly the best portrait or macro light you will encounter all week.
Stratocumulus is the most common cloud type in the world, and arguably the most rewarding to photograph at the right moment. These are the rounded, grey-and-white masses that cover much of the British sky on a typical overcast-but-not-uniformly-grey day — heavier than puffy fair-weather cumulus but with real three-dimensional structure, a mix of lighter tops and darker bases.
At low sun angles, particularly in the hour before sunset or after sunrise, the light catches the ridges and valleys of the formation from the side, creating shadows within the cloud mass itself. The result is a sky with genuine texture and depth. Stratocumulus photographed in flat midday light is ordinary; the same formation lit obliquely at golden hour is something else entirely.
Nimbostratus is the thick, rain-producing grey sheet that sits between roughly 2,000 and 6,000 metres and blocks out the sun completely. In itself, it offers no visual interest — the sky is simply dark and featureless. Its photographic value lies in what happens before it arrives and immediately after it passes.
The approach of a nimbostratus front changes the light quality dramatically: the sky ahead of the system takes on a particular greenish-yellow cast in summer, or a bruised purple-grey quality in winter, and the contrast between the advancing dark mass and the still-lit foreground beneath it can be remarkable. The fifteen or twenty minutes before the rain starts, and again in the clearing period after it ends, are worth more than the hours in between.
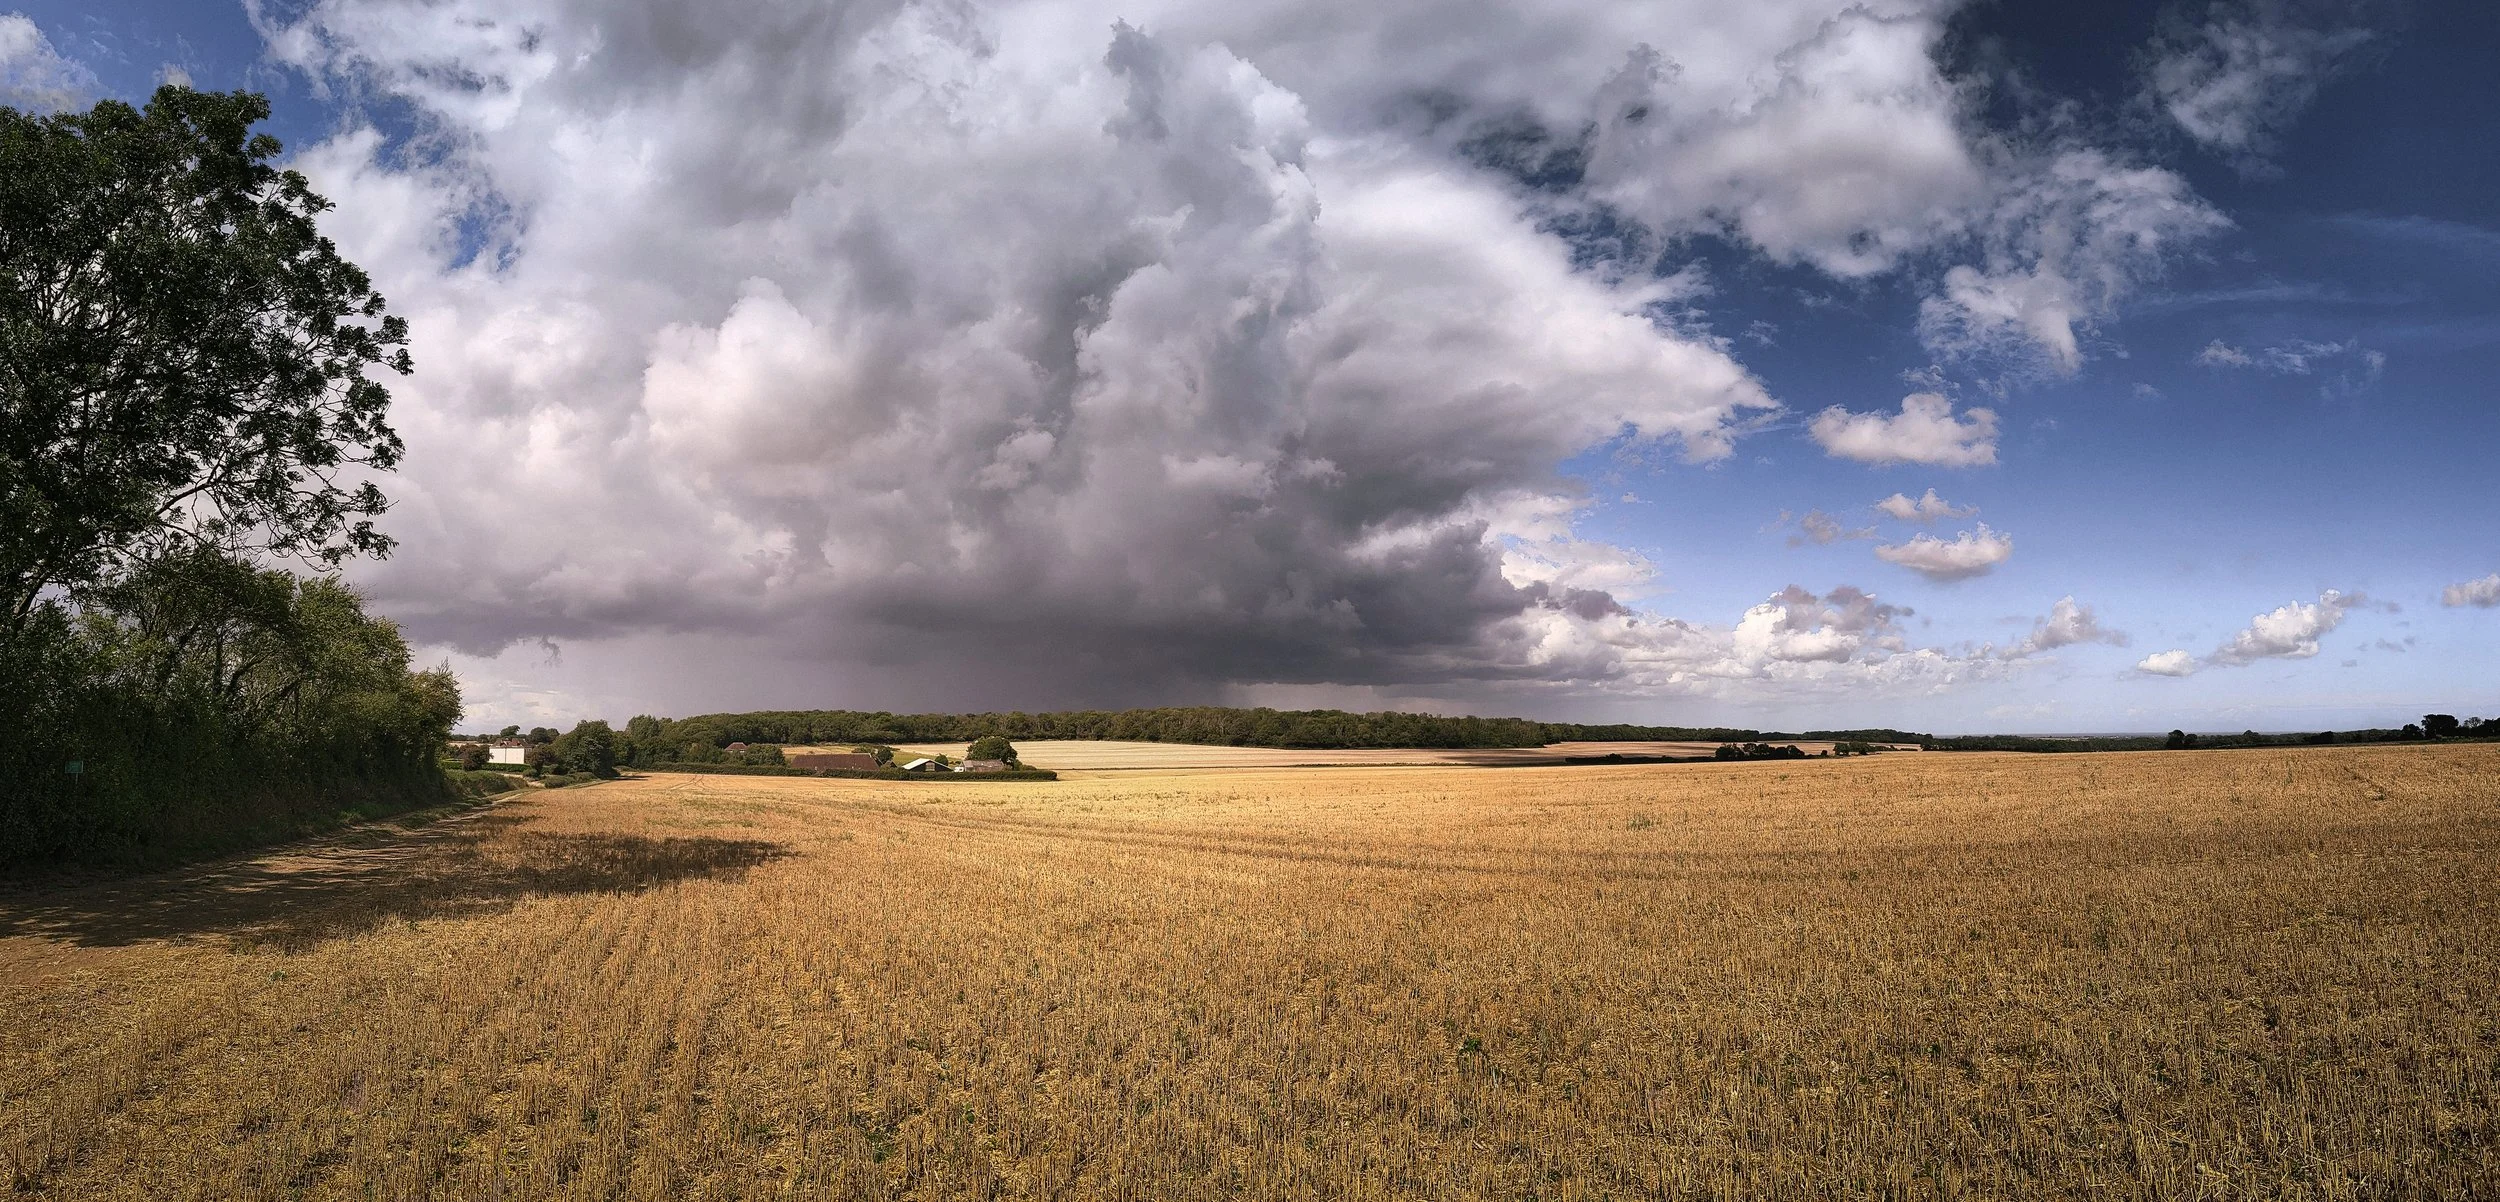
Cumulonimbus is the thunderstorm cloud — the most dramatic and the most dangerous subject in cloud photography. It extends from near ground level to 15,000 metres or more, and its profile is immediately recognisable: the dark, flat base from which showers and heavy rain descend, the towering vertical development of the main column, and at the top, if the storm has fully developed, the distinctive anvil shape where the rising air hits the tropopause and spreads horizontally.
The cumulonimbus is the most architecturally striking of all cloud forms, with the visual power of something that is simultaneously beautiful and genuinely dangerous. Safety is non-negotiable: an active cumulonimbus is an electrical hazard. Photograph it from a safe distance, with a clear path to shelter, and if you see lightning, the storm is close enough that you should not be standing in an open field. A long telephoto focal length and a car or building between you and the storm are sensible precautions.
Mid-Level Clouds (2,000–6,000 metres)
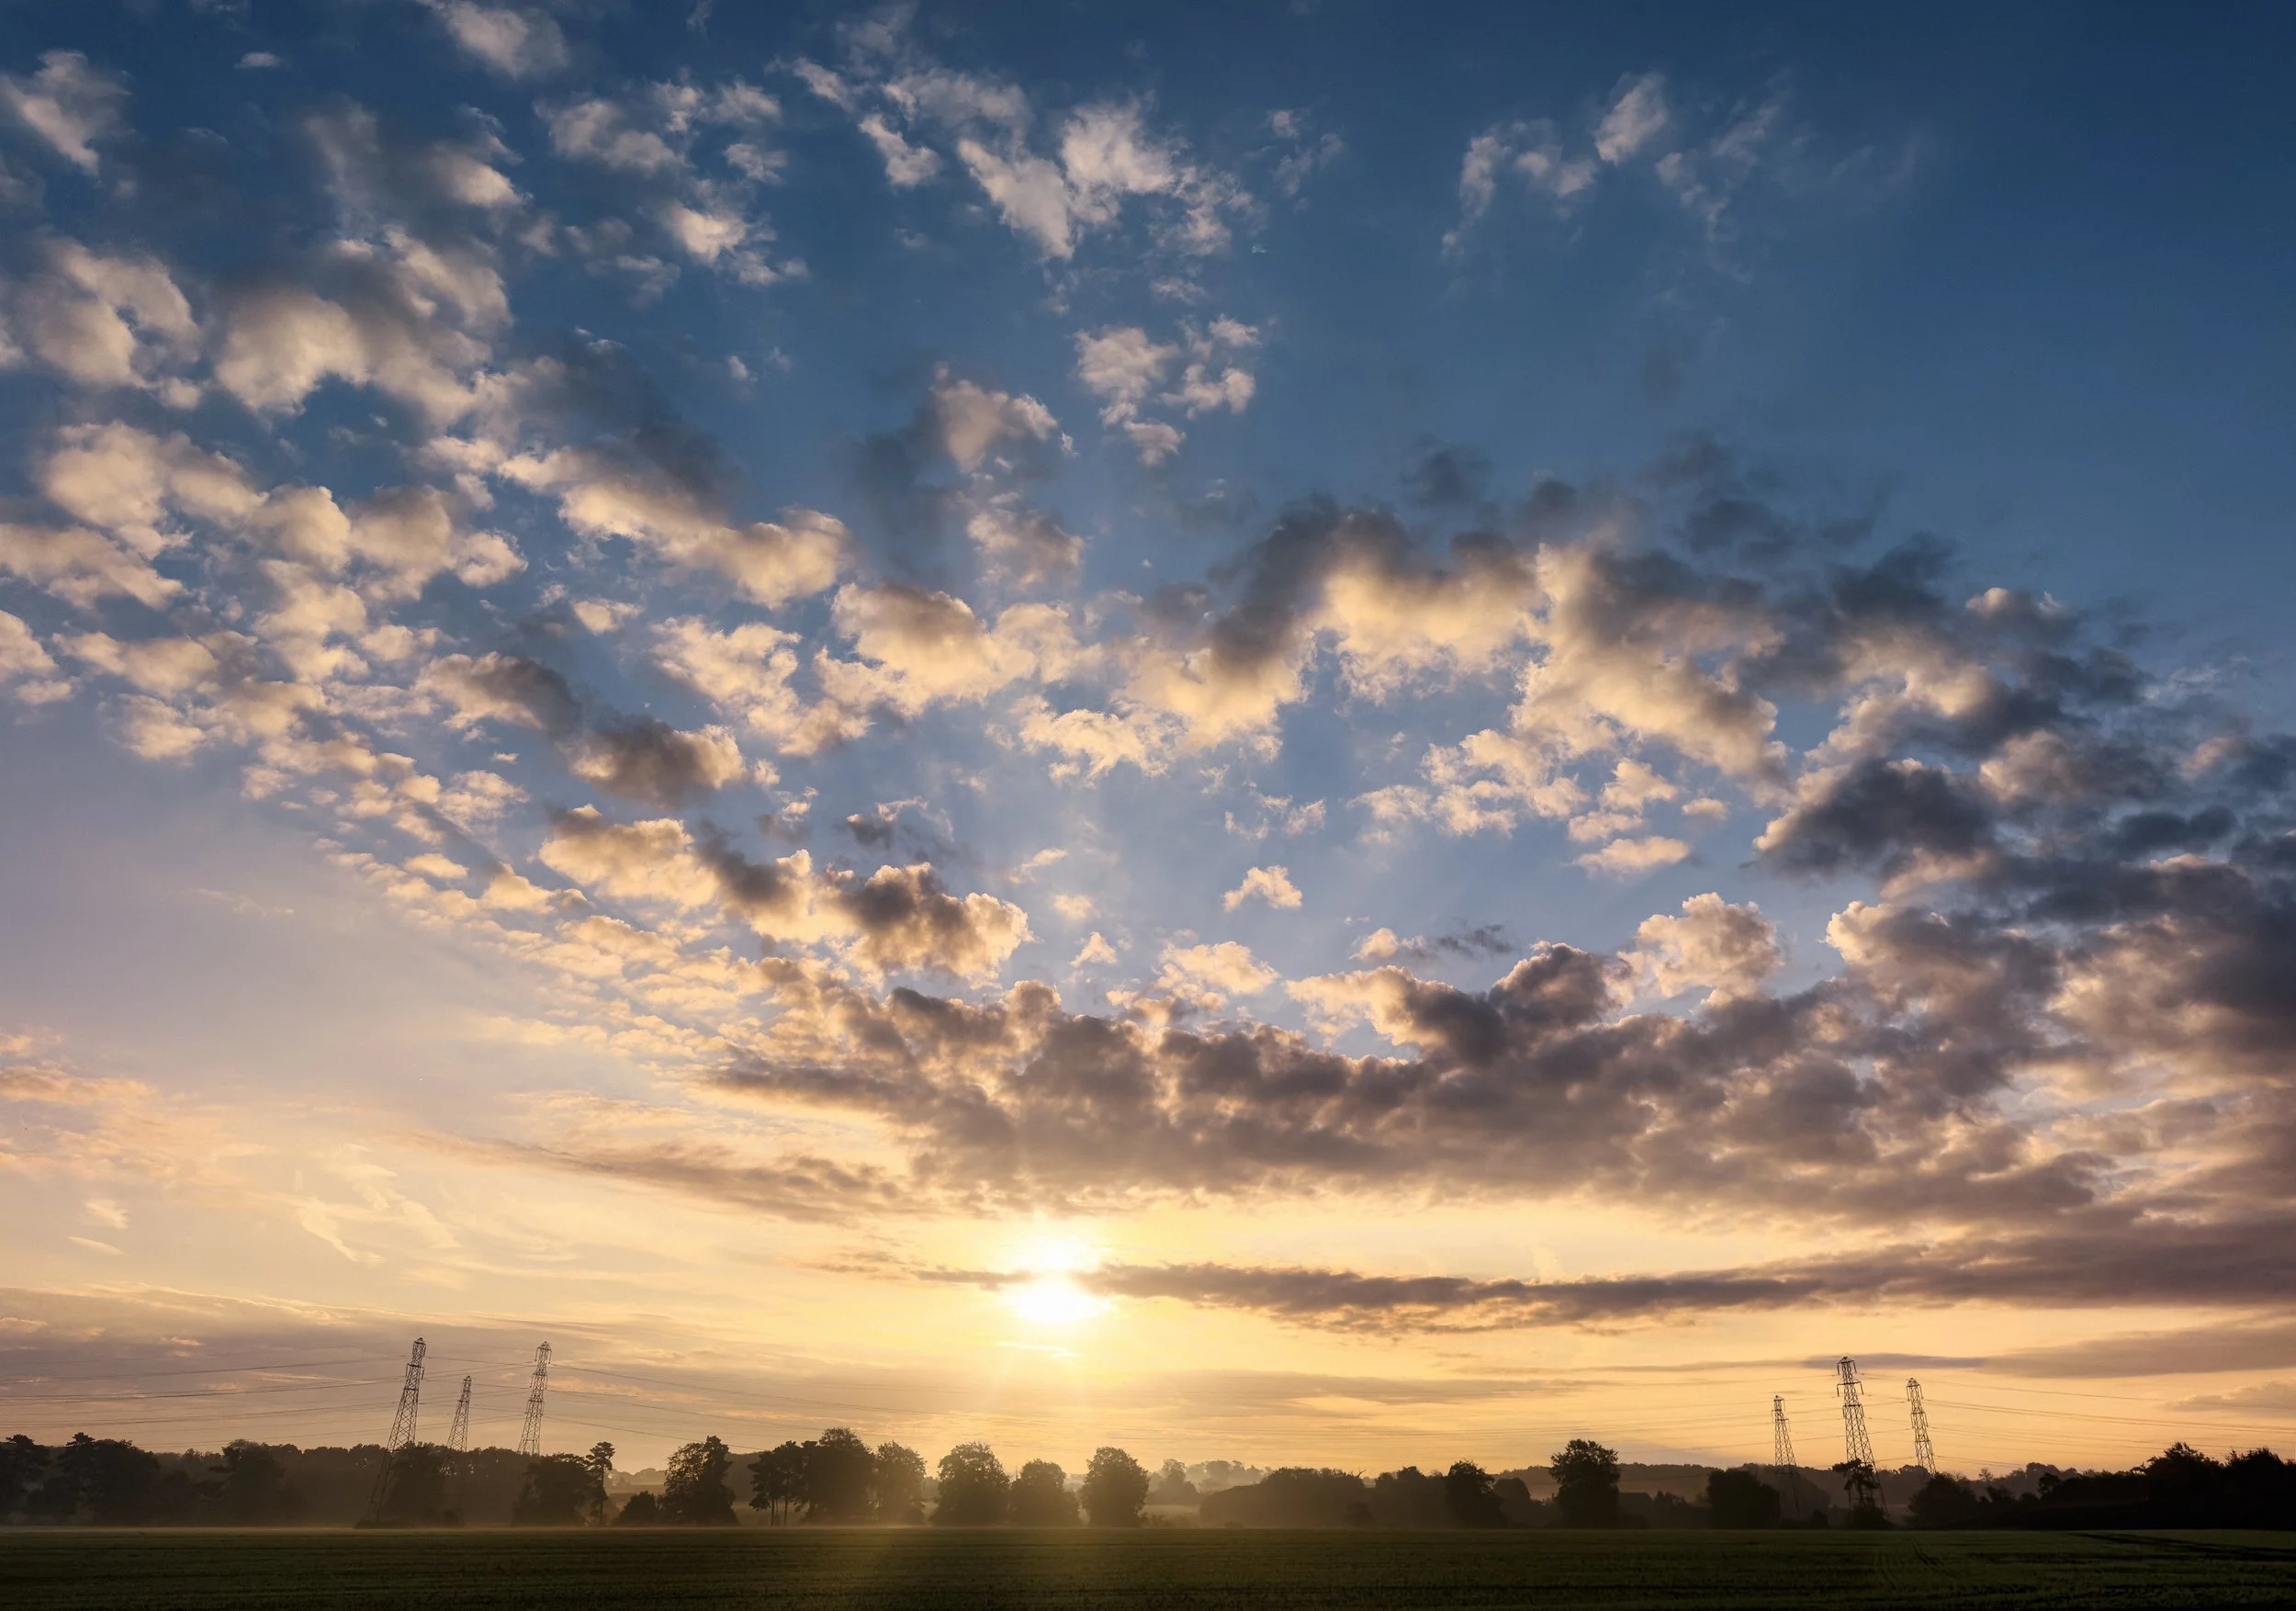
Altocumulus forms grey or white patches at mid altitude, often arranged in regularly-spaced rows or rippling waves — the classic mackerel sky. This is one of the most compositionally rewarding cloud formations in photography, because the pattern extends across the entire sky in a way that suits wide-angle lenses and panoramic compositions. At sunrise or sunset, when the patches catch warm light against a still-cool sky, the effect can be extraordinary.
The repeating geometry of altocumulus also means that a photograph taken at the right moment can feel almost abstract — pattern and light rather than any specific landscape. It arrives and clears relatively quickly, so when you see it forming, treat it as a time-limited opportunity.
Altostratus is the grey or blue-grey sheet through which the sun appears as a vague, bright disc — the technical description is that it is visible "as if through frosted glass." In itself, it is flat and often uninteresting, lacking the texture of stratocumulus or the drama of nimbostratus.
What it offers instead is a particular quality of light: even, cool, diffuse, and directionless. Shadows disappear; colour saturation is reduced. This is actually useful for certain subjects — portraits, architecture with complex detail, woodland and forest work — but it tends to flatten landscape photography in a way that only post-processing can partially correct.
High-Level Clouds (above 6,000 metres)
Cirrus are the thin, wispy, hair-like high ice clouds that appear alone in an otherwise clear sky, or in advance of a weather front. Composed entirely of ice crystals, they form at altitudes between 6,000 and 12,000 metres, where their very height makes them appear to move extraordinarily slowly.
Among the most elegant cloud forms, cirrus is particularly beautiful at sunrise and sunset, when it catches the warm light long before (or after) the lower sky does — the high cloud may be glowing orange or gold whilst the landscape below is still in the cool half-light before dawn. Long exposures of cirrus — 30 seconds or more — can reveal a gentle drift that is entirely invisible to the eye, turning the fine filaments into delicate streaks that give the sky a sense of directed movement.
Cirrostratus is the thin ice-crystal sheet that covers the sky at high altitude and produces halos around the sun and moon. The halo is the giveaway — a 22-degree ring of light around the sun, sometimes accompanied by a more diffuse outer arc, caused by the refraction of light through hexagonal ice crystals.
The clouds themselves are barely visible; the sky looks pale and washed-out. Rarely dramatic in the conventional sense, cirrostratus is worth photographing specifically for the optical effects it produces — the halo photograph is unusual and beautiful, and requires nothing more than pointing a camera at the sun from a safe angle with the exposure biased towards the sky.
Cirrocumulus forms at the same high altitude as cirrus and cirrostratus but in small, distinct white puffs arranged in rows or ripples — the true mackerel sky, distinct from the lower altocumulus version. It is significantly rarer than its lower counterpart, and the formations are smaller and more delicate. Worth photographing when it appears, particularly if the conditions also include a good foreground: the fine-grained texture of cirrocumulus against blue sky on a clear day has a quality that is entirely different from any other cloud formation.
Special Cloud Phenomena
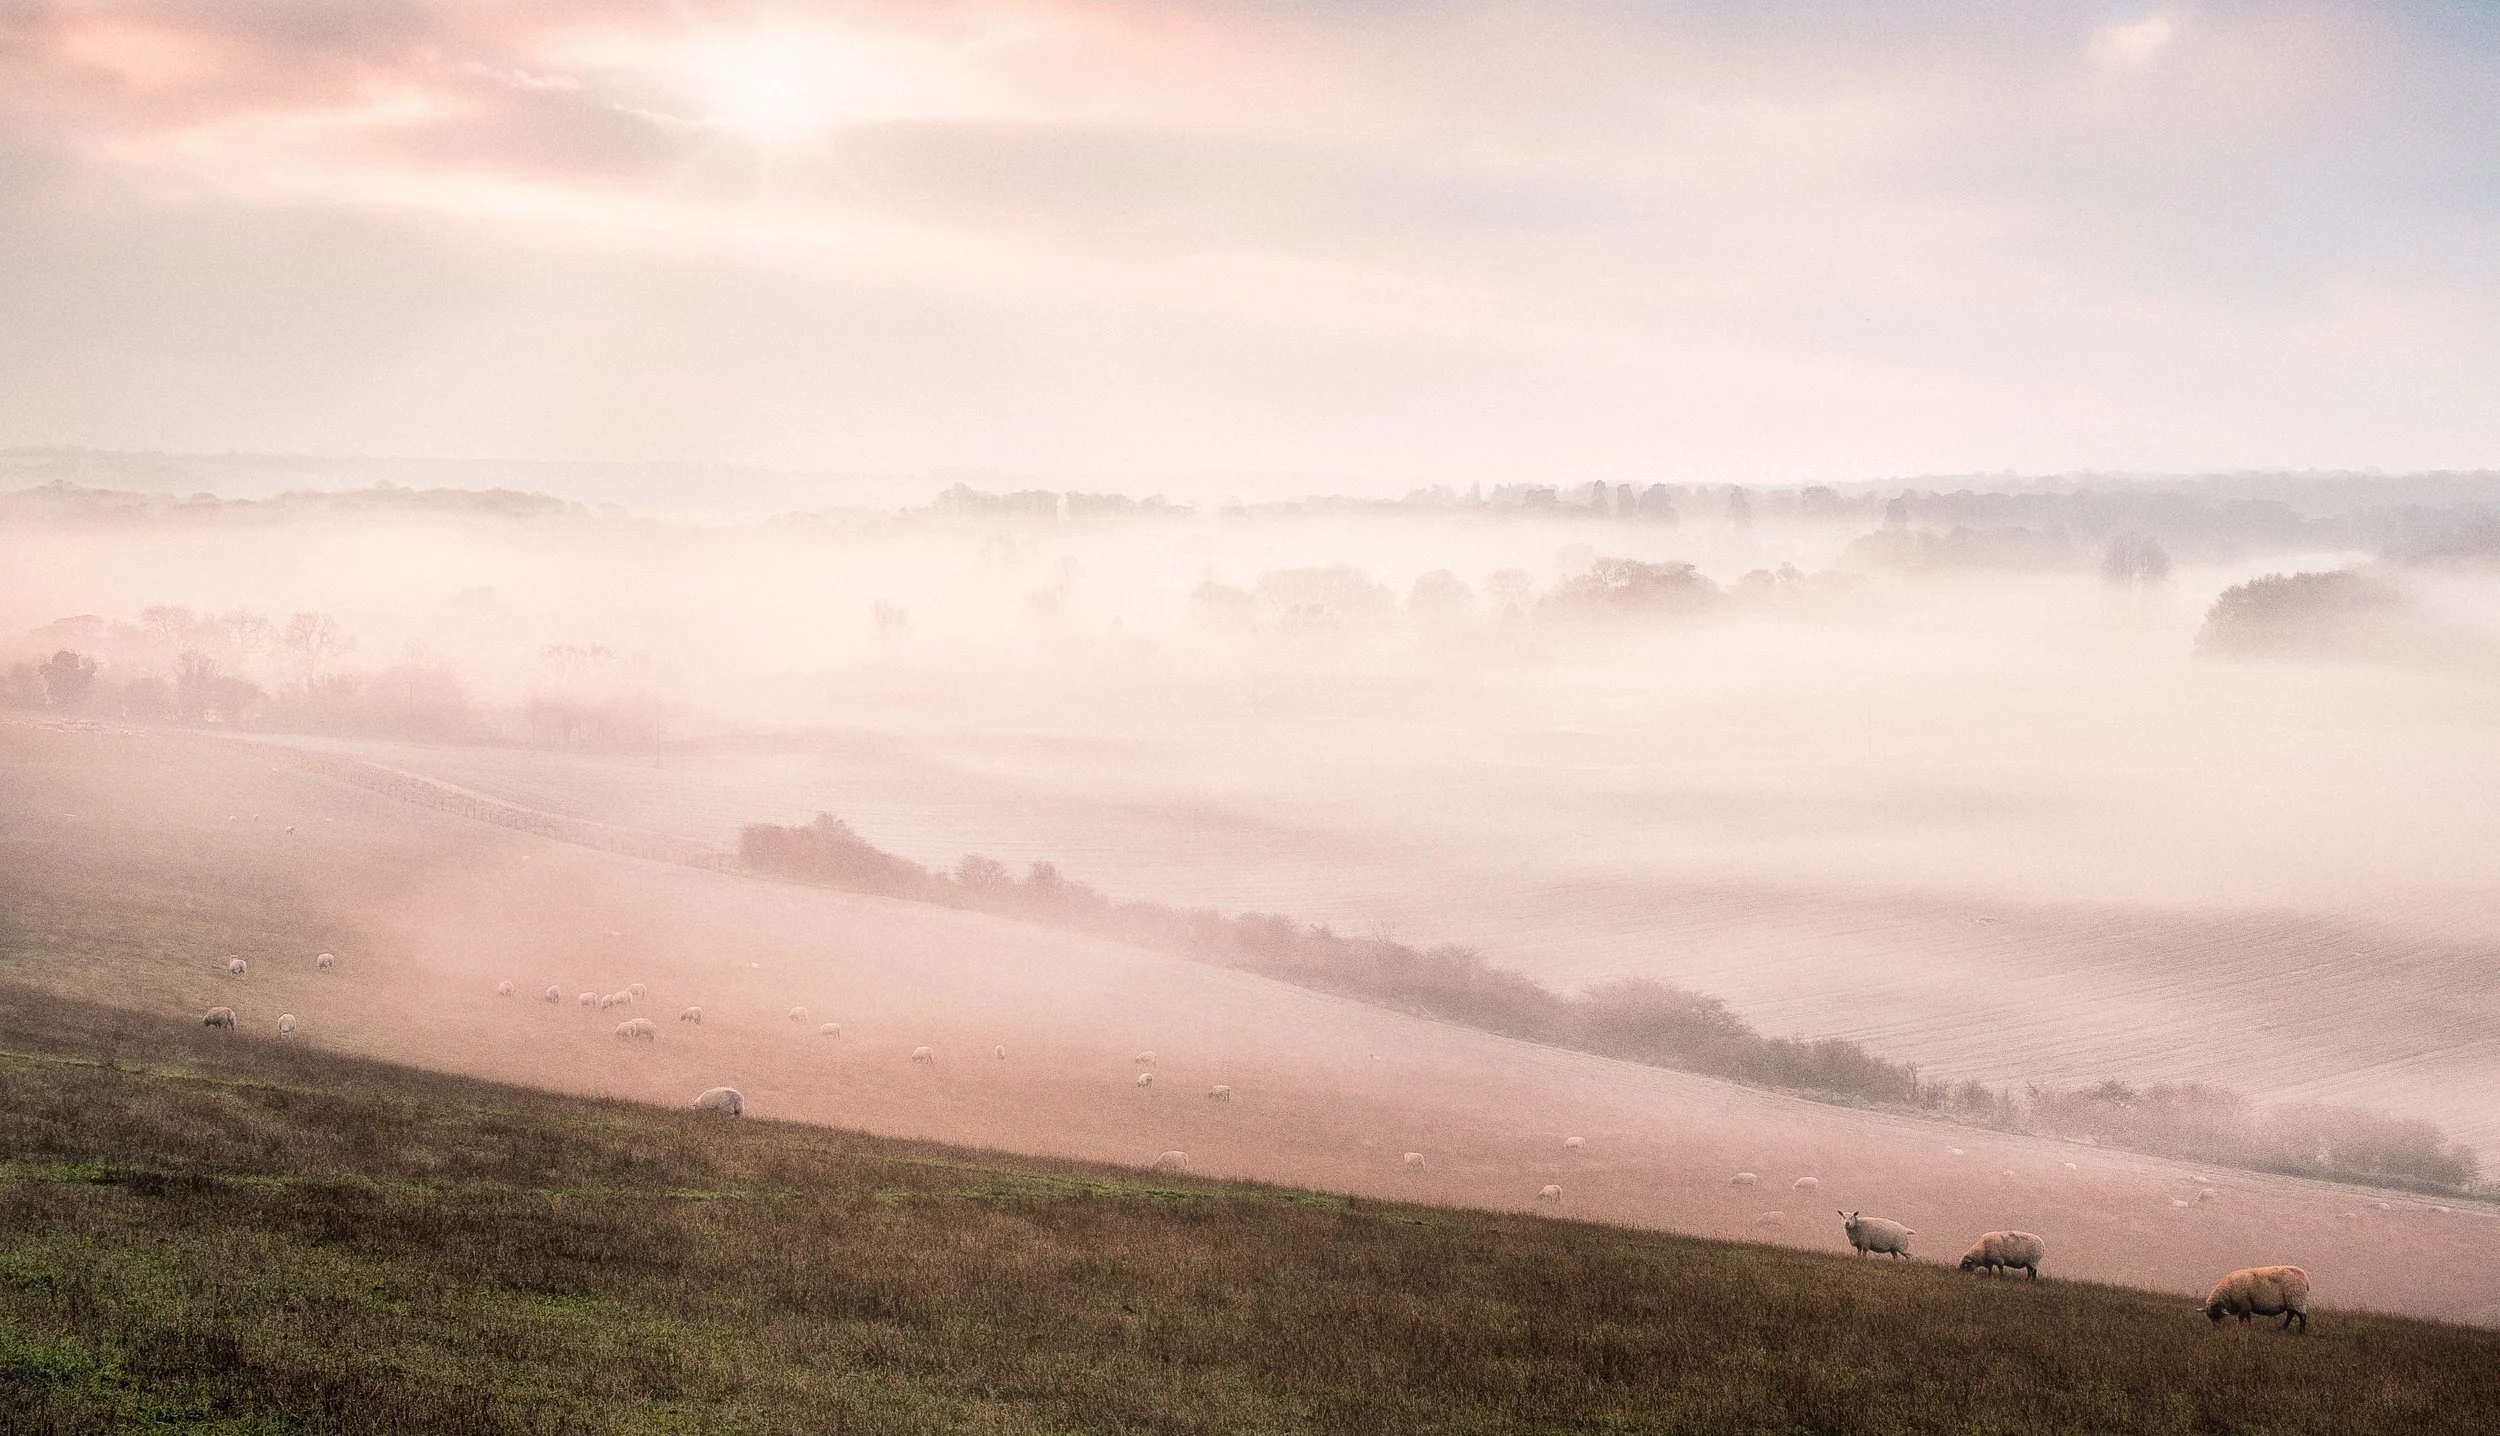
Cloud inversions are among the most spectacular weather phenomena in British and European mountain landscapes, and they reward planning and early rising in equal measure. They occur when a layer of warmer air sits above cooler air that has pooled in a valley overnight — conditions that cause cloud and mist to form in the valley whilst the peaks and ridges above remain clear.
The result, viewed from high ground, is an apparent sea of cloud filling the valleys, with the higher ground emerging above it like islands. The visual quality is otherworldly, and photographs made in these conditions have a distinctive grandeur that is rarely achievable in any other way.
The logistics of photographing inversions require some preparation. They form overnight and are typically at their best in the hour around dawn — by mid-morning, the rising sun warms the valley air and the inversion dissolves, often remarkably quickly. This means arriving at high ground before first light, in the dark, and waiting.
Check the forecast the evening before: inversions are most likely after clear, still nights with high pressure, particularly in autumn, when the temperature differential between the valley floor and the hillside is most pronounced. In the UK, the Brecon Beacons, the Peak District, Snowdonia, and the Scottish Highlands all offer productive inversion locations; a modest altitude of 300–400 metres is often sufficient, as the inversions rarely fill beyond the valley floor.
Noctilucent clouds are not clouds in any ordinary sense — they exist at 76–85 km altitude in the mesosphere, far above the weather systems that produce conventional clouds. Visible only in deep twilight at latitudes above approximately 50°N (which includes the whole of the UK), and only in the six weeks or so around the summer solstice, they appear after sunset as electric blue or silver-white structures in the darkening sky: the tendrils and waves of the formation are illuminated by sunlight that is already 6–16 degrees below the horizon from the observer's perspective.
The geometry of this is precise and the viewing window is narrow — they are visible only when the sky is dark enough that the formation is apparent against it, but the sun is still close enough below the horizon to illuminate the mesosphere. In practice, this means the hour or two after civil twilight in June and early July.
They are genuinely worth the effort of going outside for. The colour — that particular electric blue that is unlike anything else in the sky — cannot be reproduced in post-processing. A tripod is essential; exposure times of 2–8 seconds are typical. Apps such as Spaceweather and the NLC-dedicated monitoring sites will alert you when conditions are forecast. Check the northern horizon.
Lenticular clouds form when stable, moist air is forced over a mountain or ridge and oscillates in a wave pattern on the downwind side. Where the wave crests and the air cools, a cloud forms; where it descends and warms again, the cloud evaporates. The result is a stationary, lens-shaped formation that appears motionless even in high winds — you can watch it for minutes and see no movement, because the cloud is continuously forming on the windward side and dissolving on the leeward.
A lenticular over a mountain peak is one of the most architectural of all cloud forms: smooth, layered, sometimes stacked in multiple tiers (the altocumulus lenticularis stacks that form over the Alps and Rockies are spectacular examples), with a quality that seems more designed than natural.
In the UK, look for them over the Scottish Highlands, Snowdonia, and the Lake District in settled, windy conditions following the passage of a front. They are not particularly rare — once you know what you are looking for, you will start noticing them regularly. What makes them productive photographically is their stillness: unlike most clouds, you can compose with a lenticular as if it were a fixed element. Position a peak with the lens-cloud above it, and you have one of the more satisfying architectural photographs the British landscape can provide.
Considering Sky-to-Land Ratio
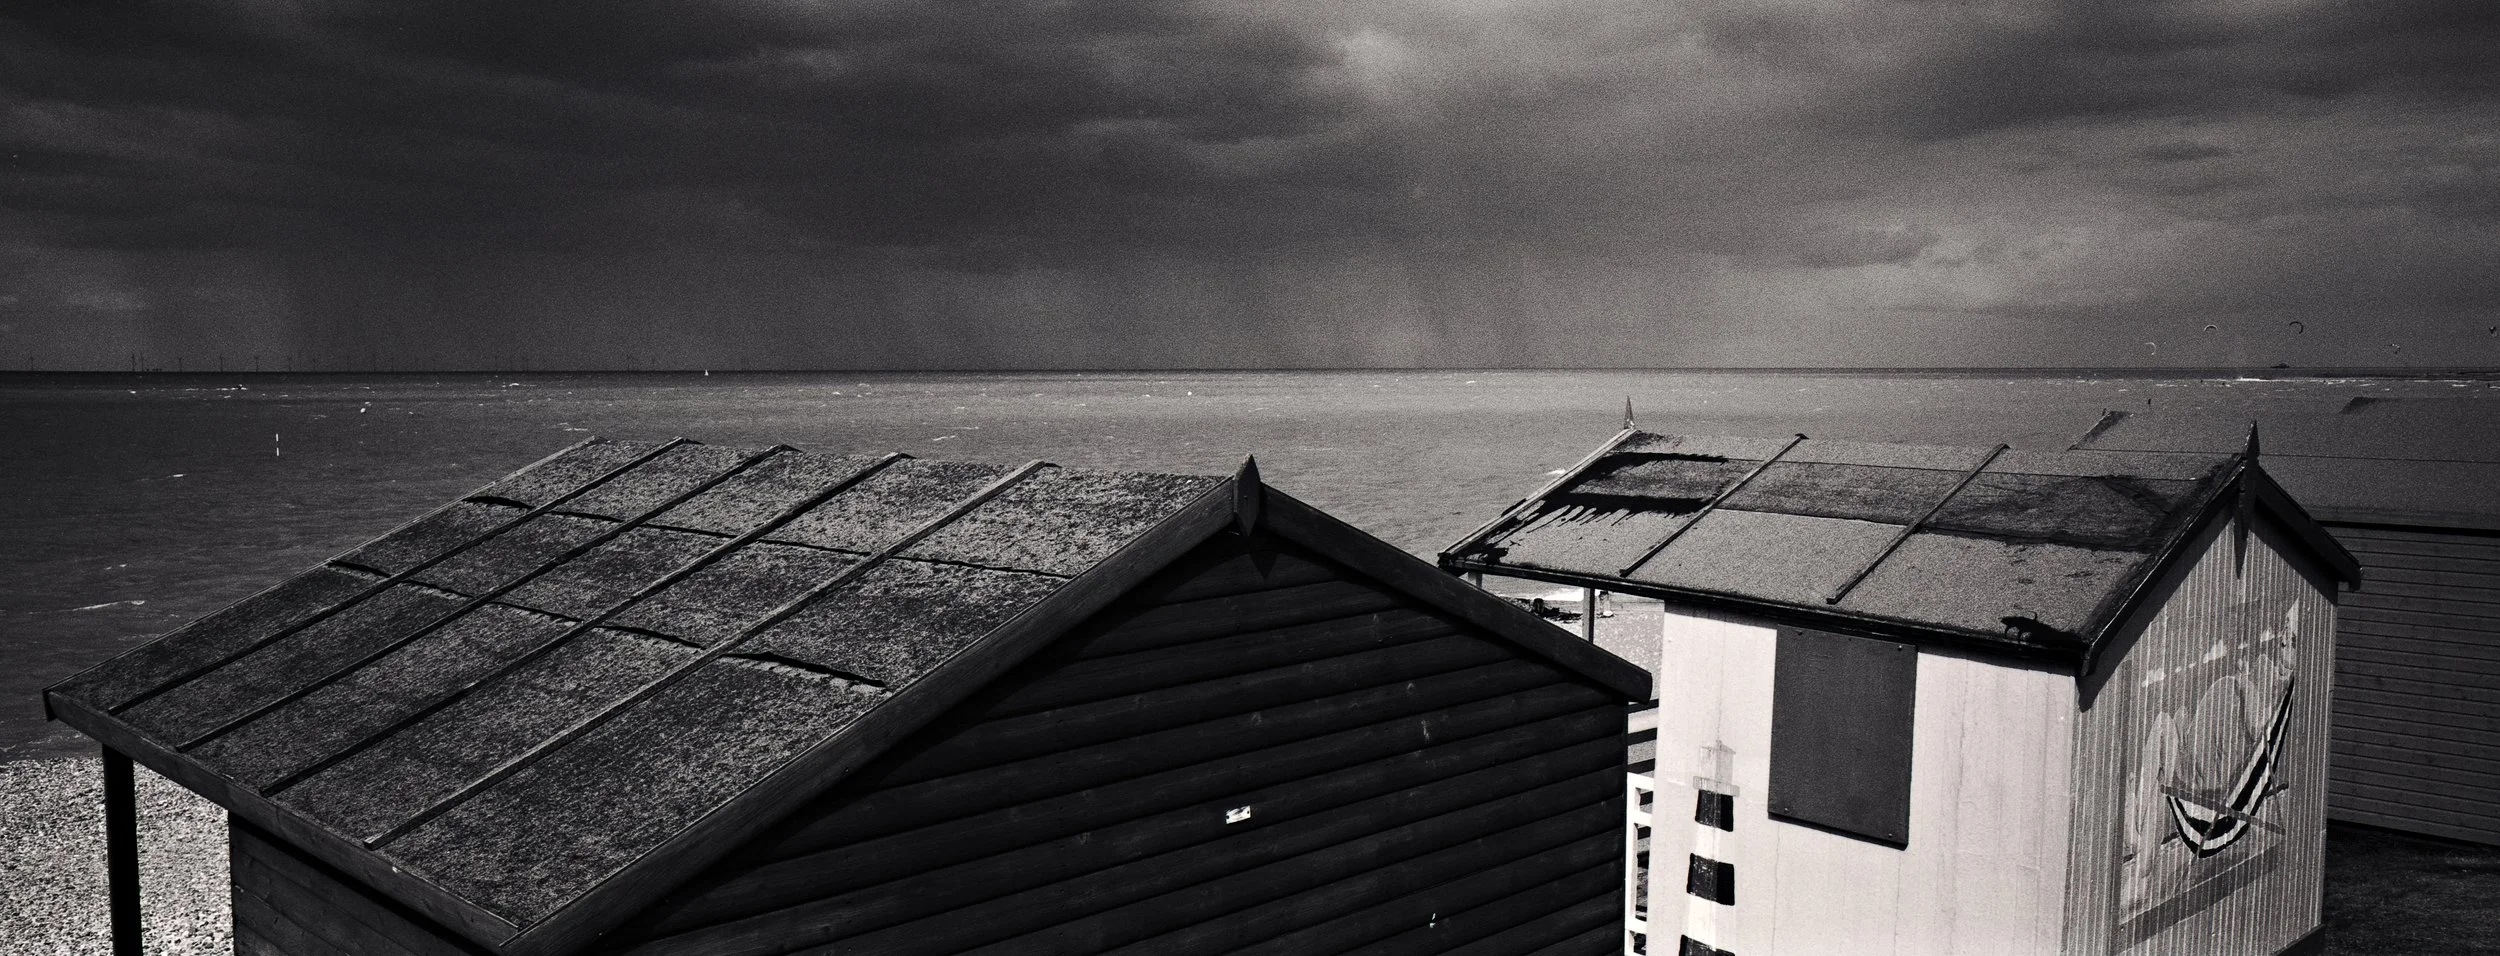
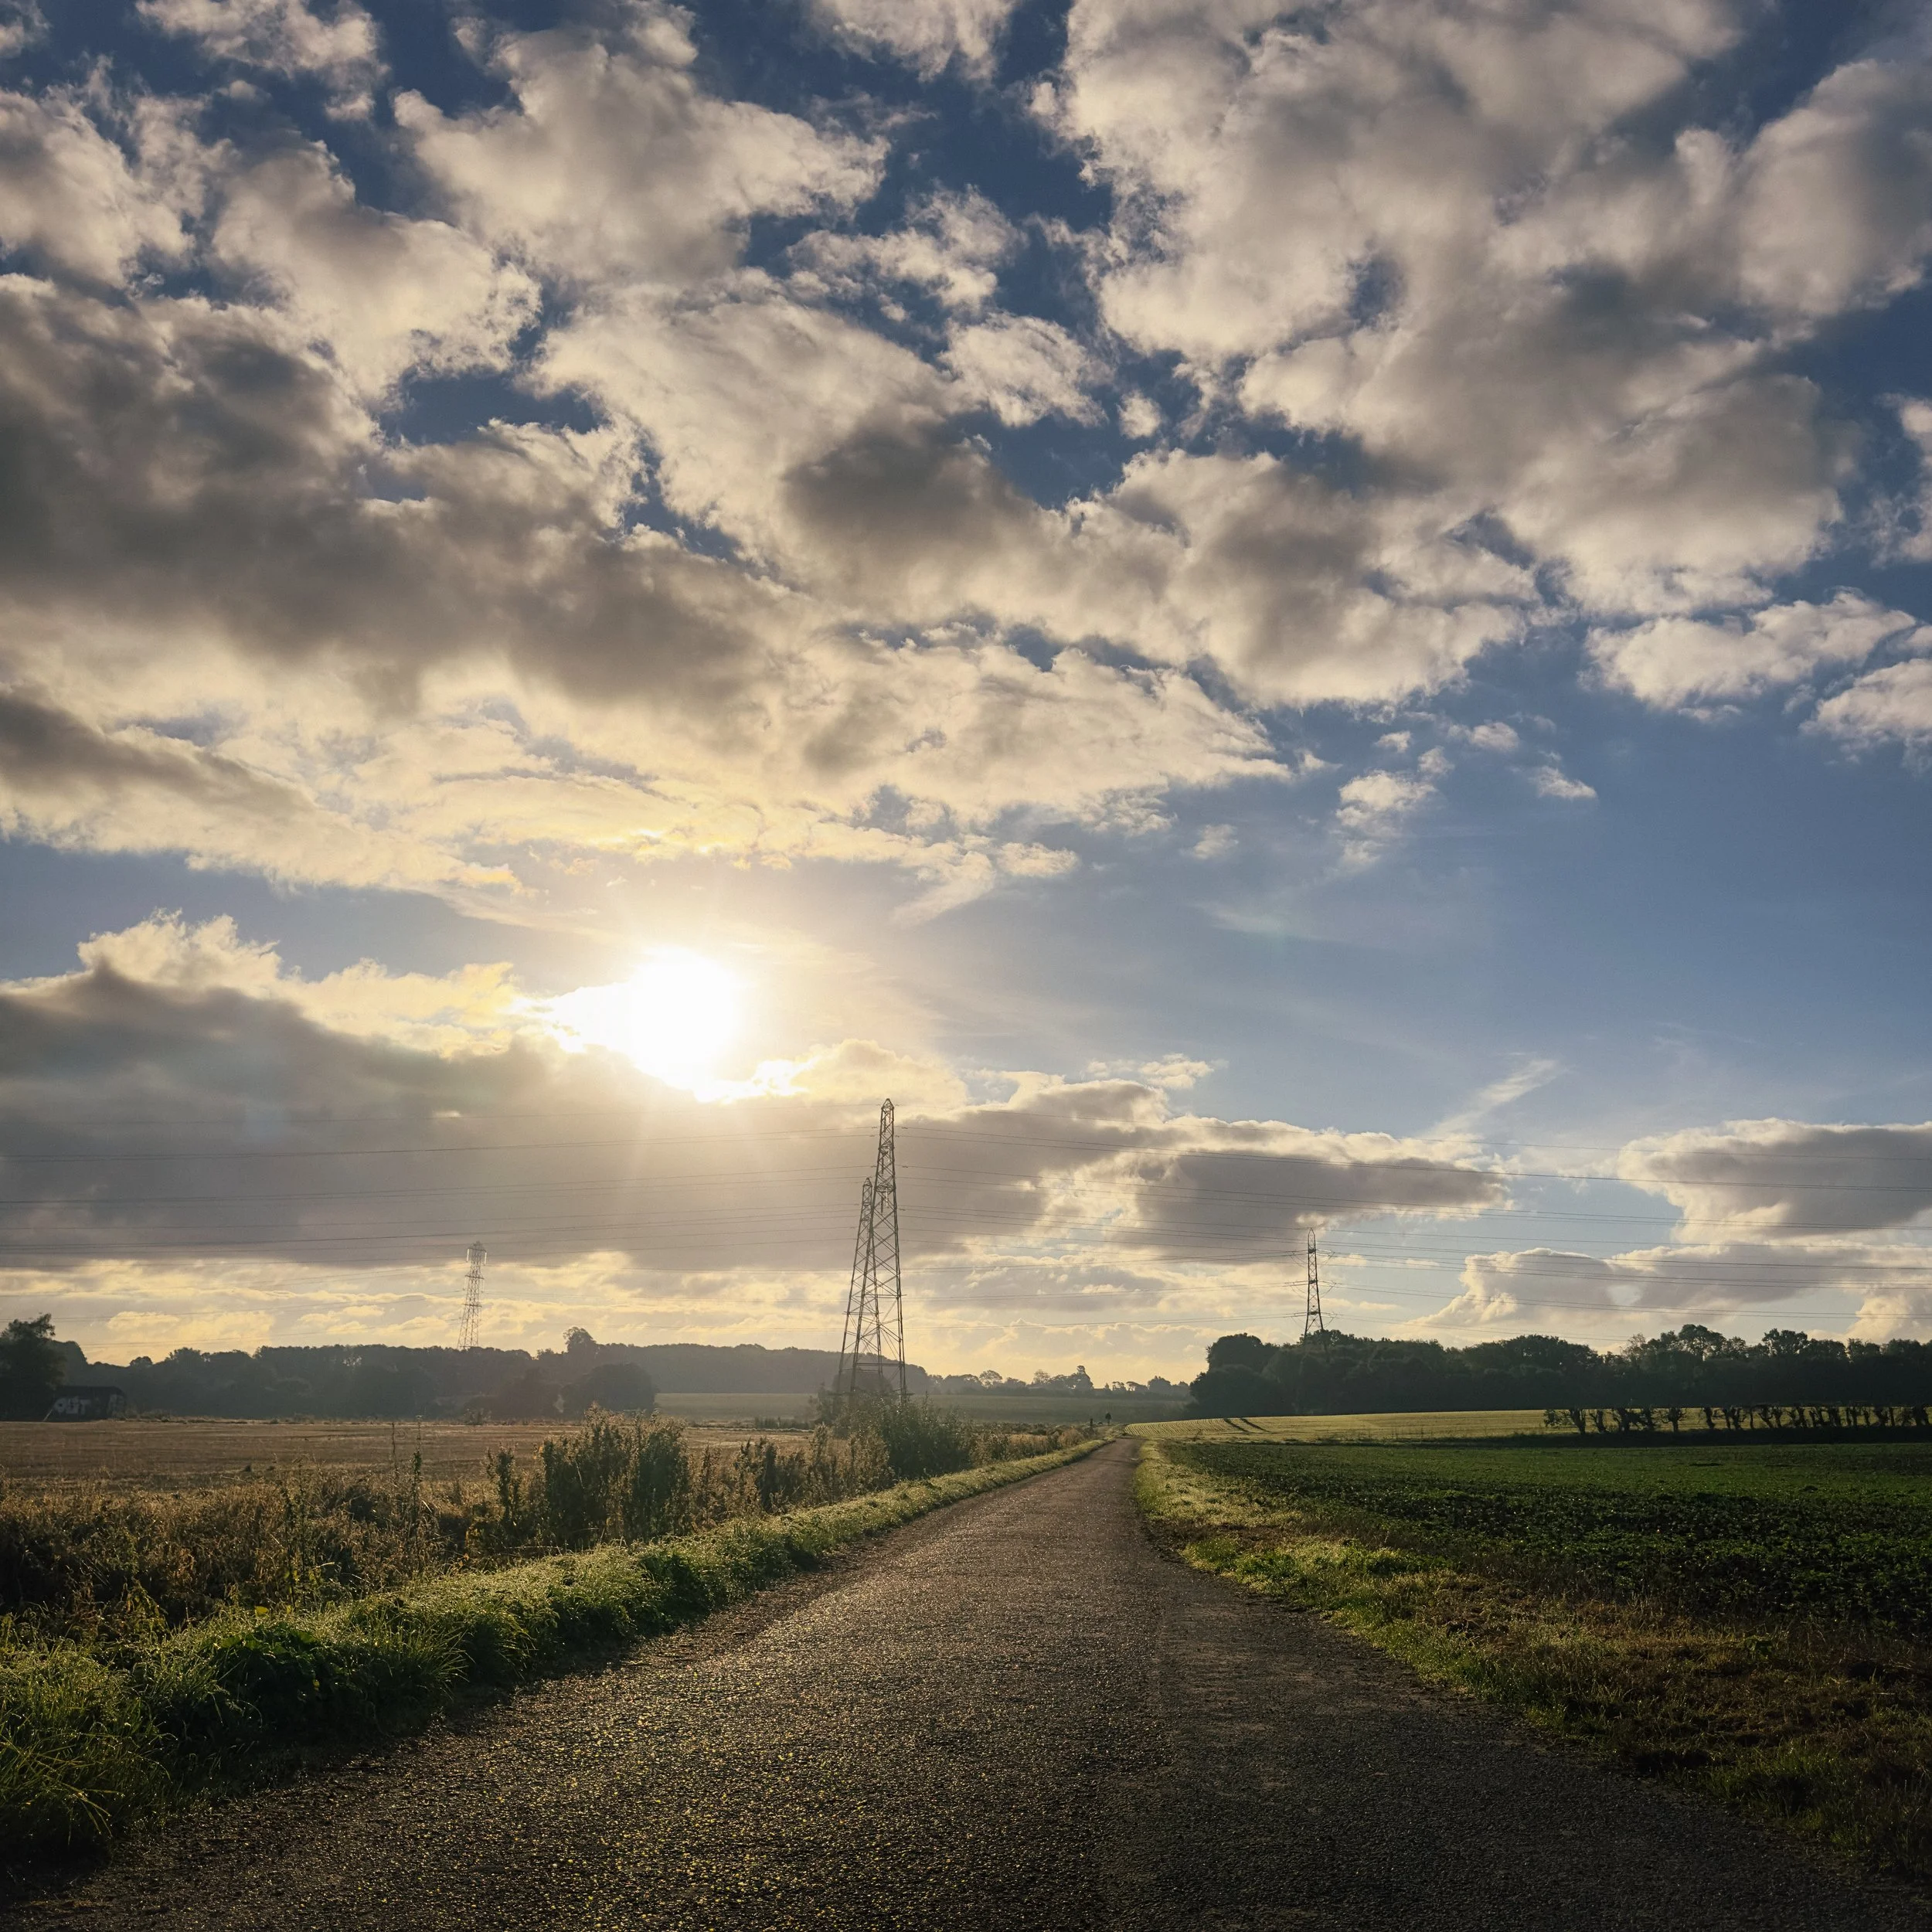
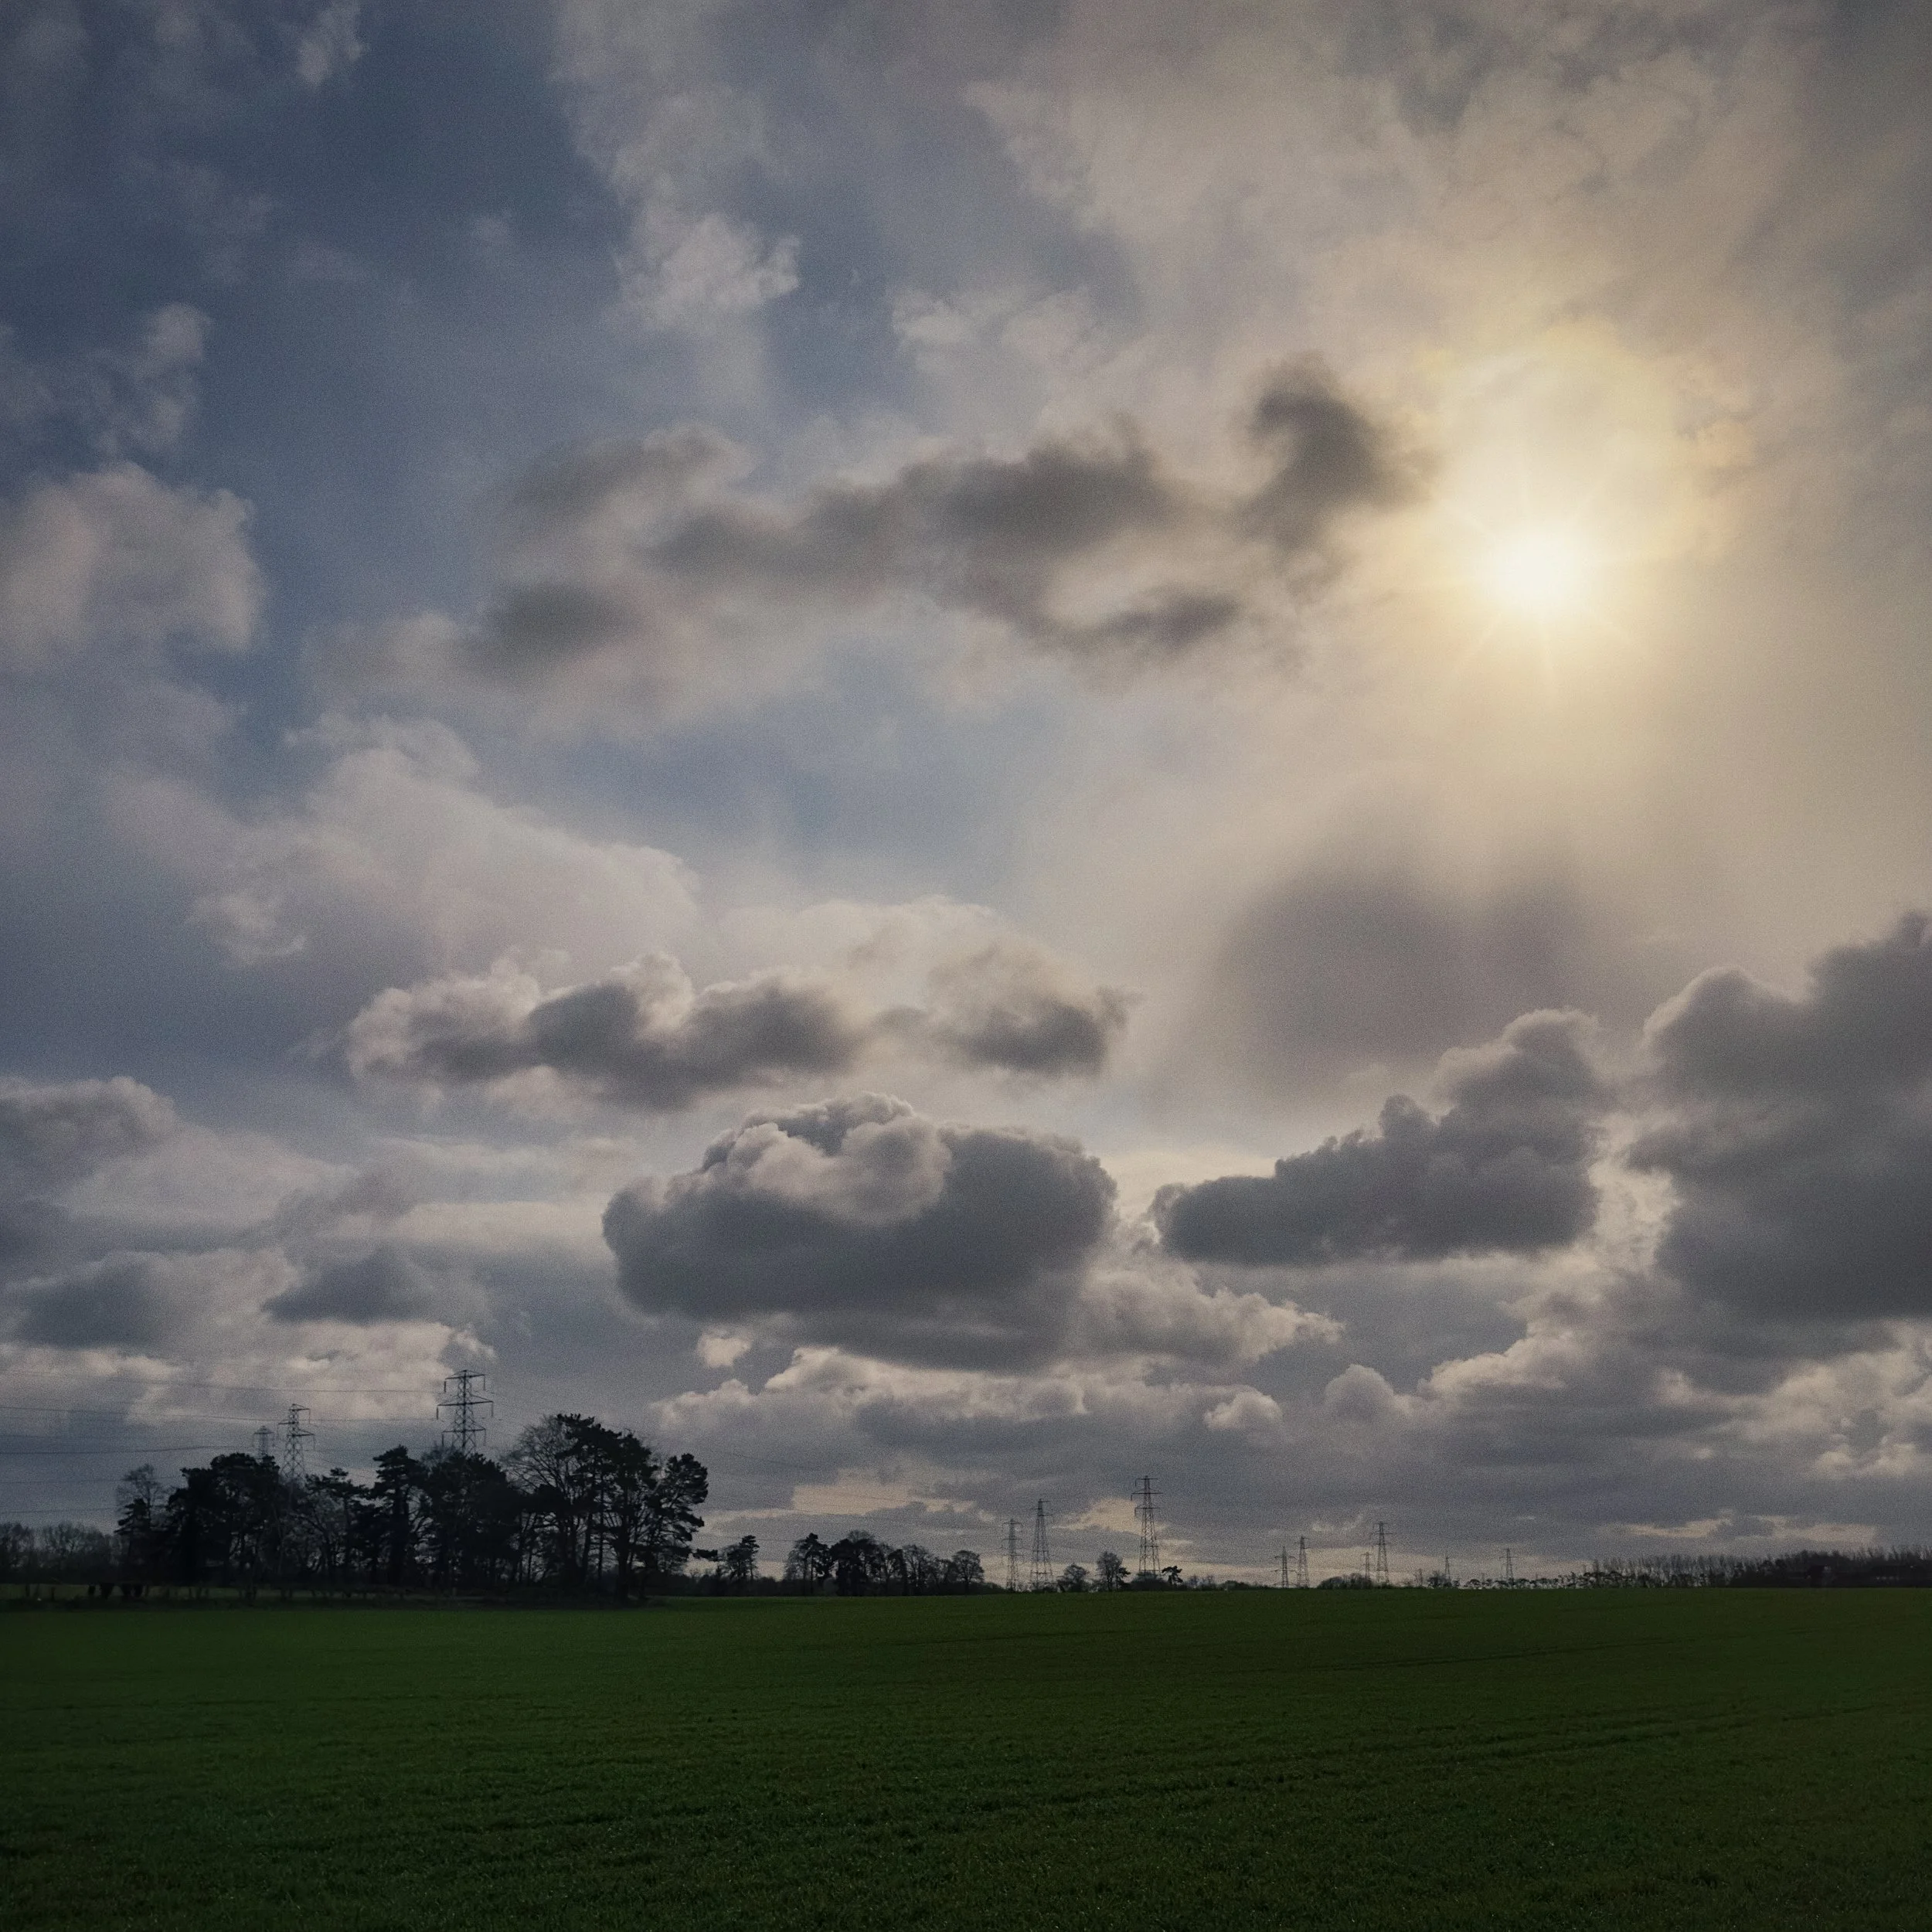
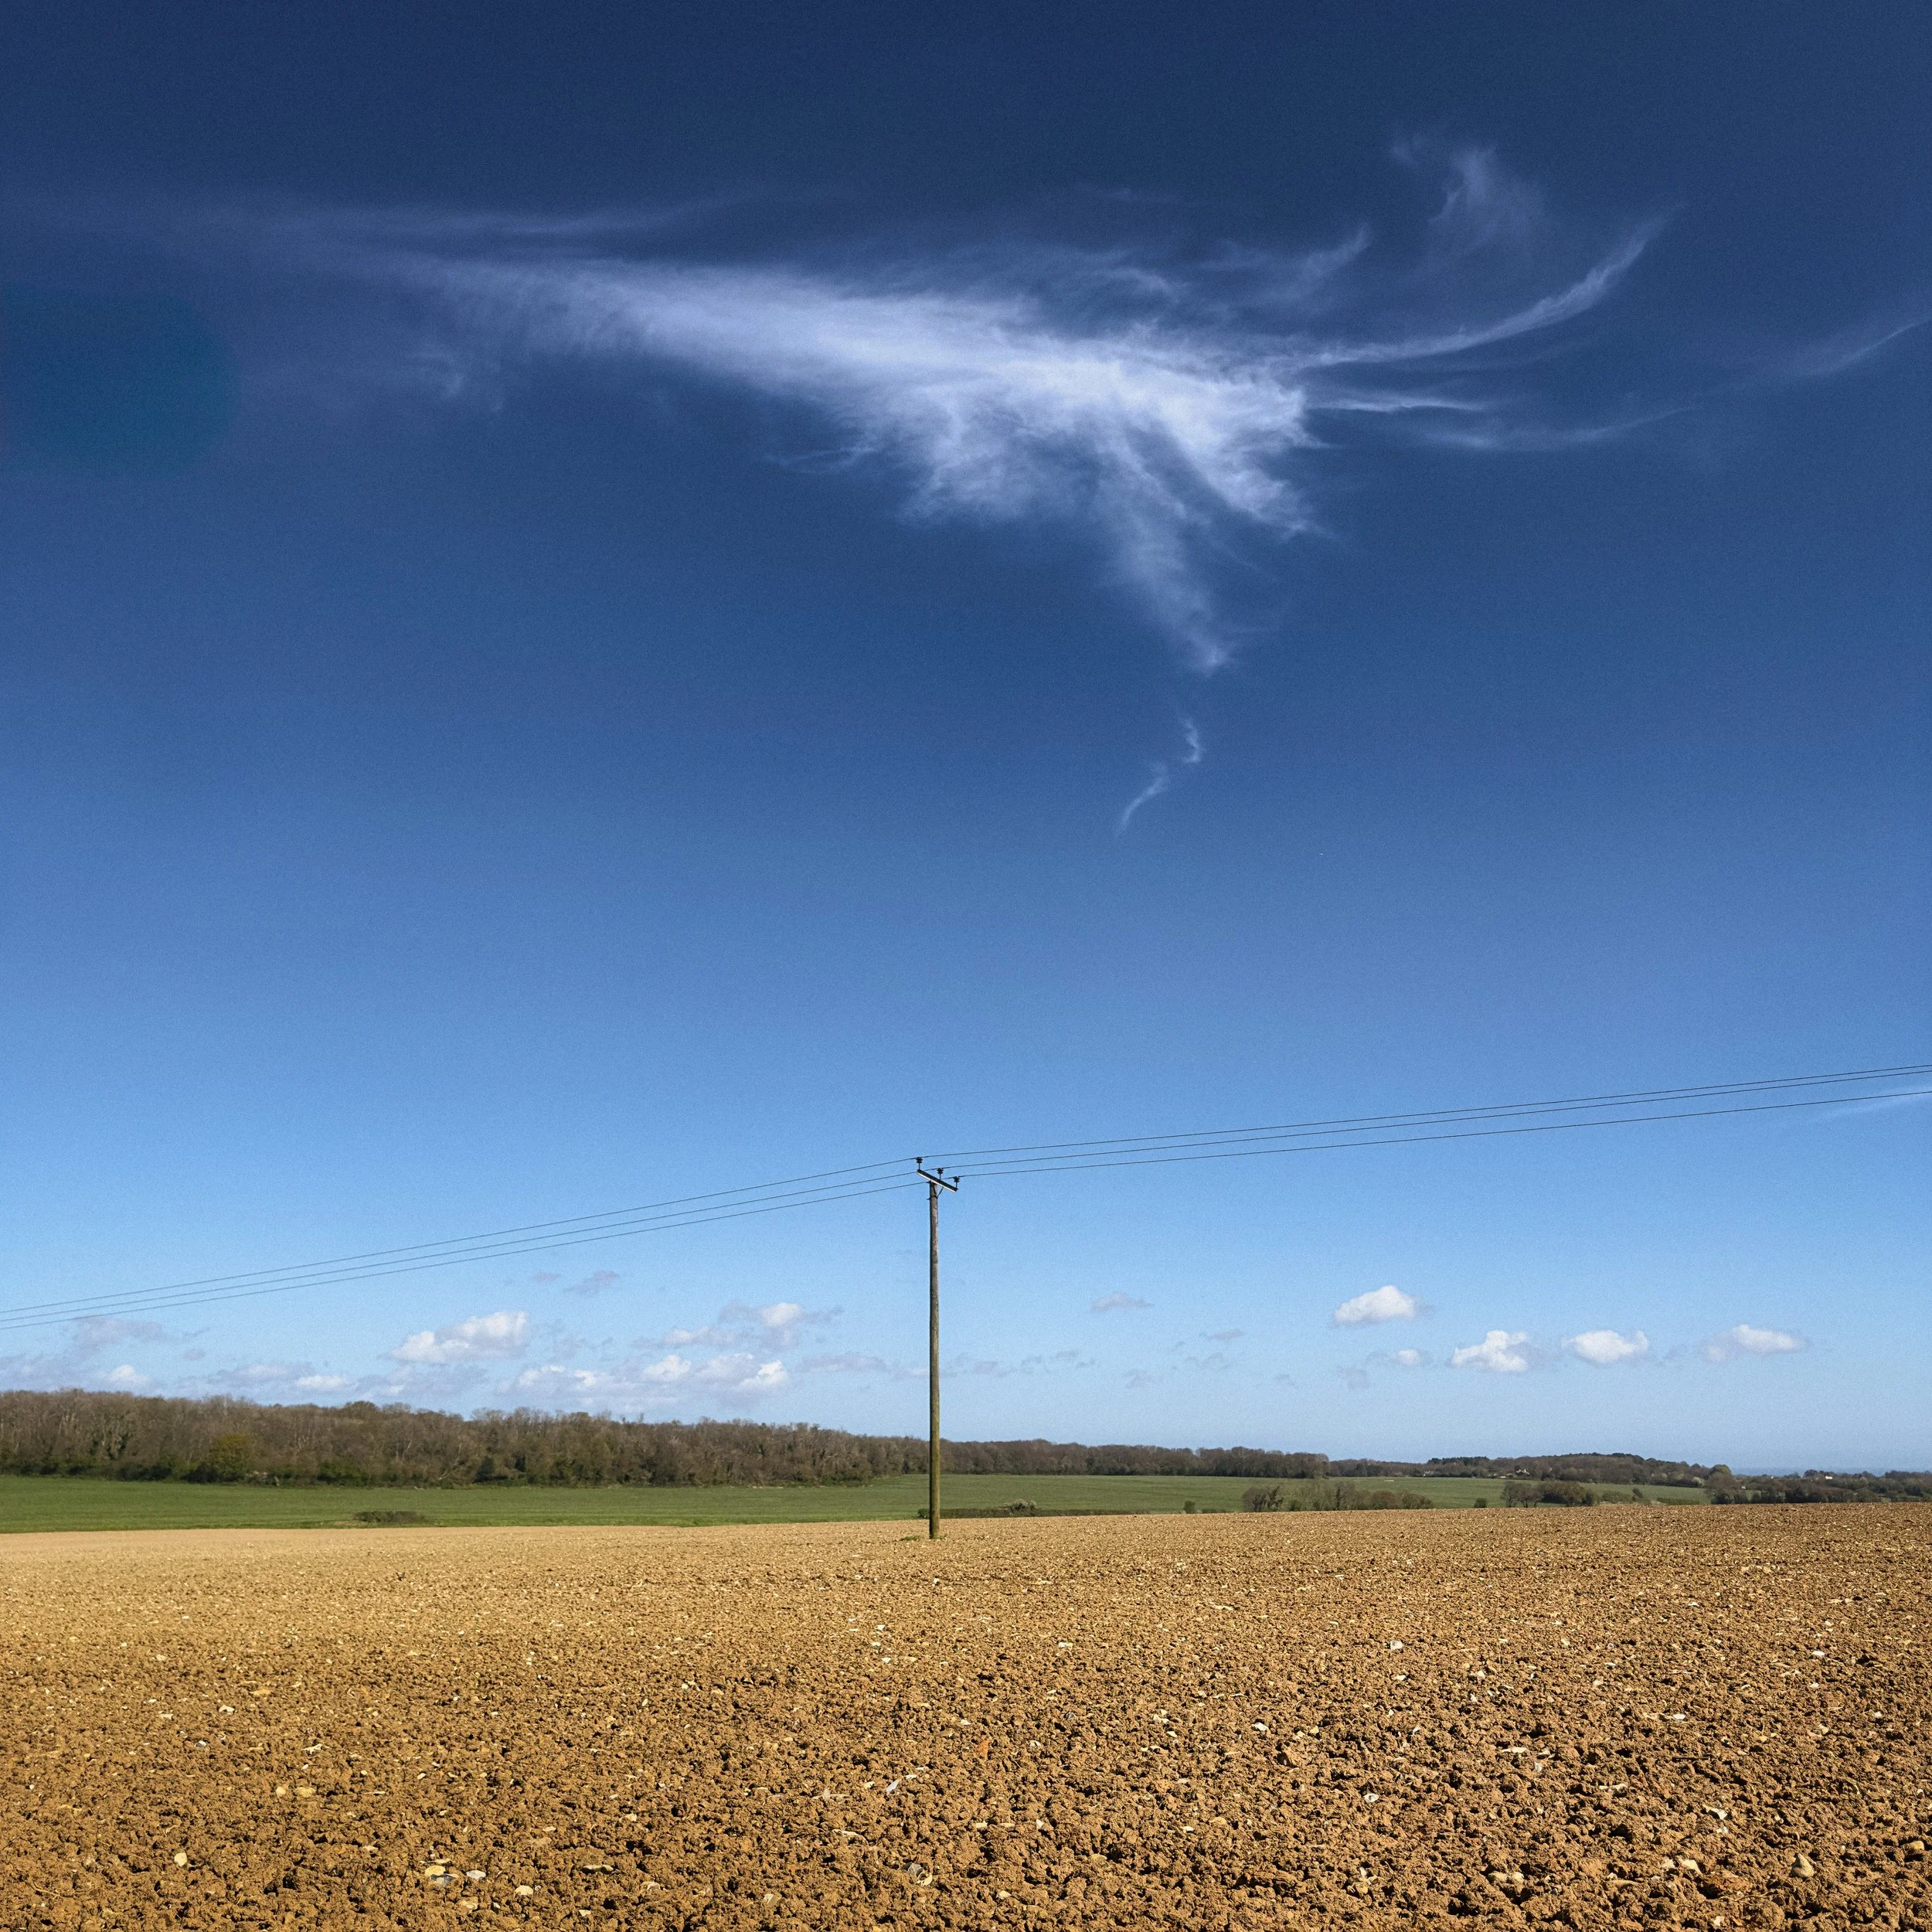
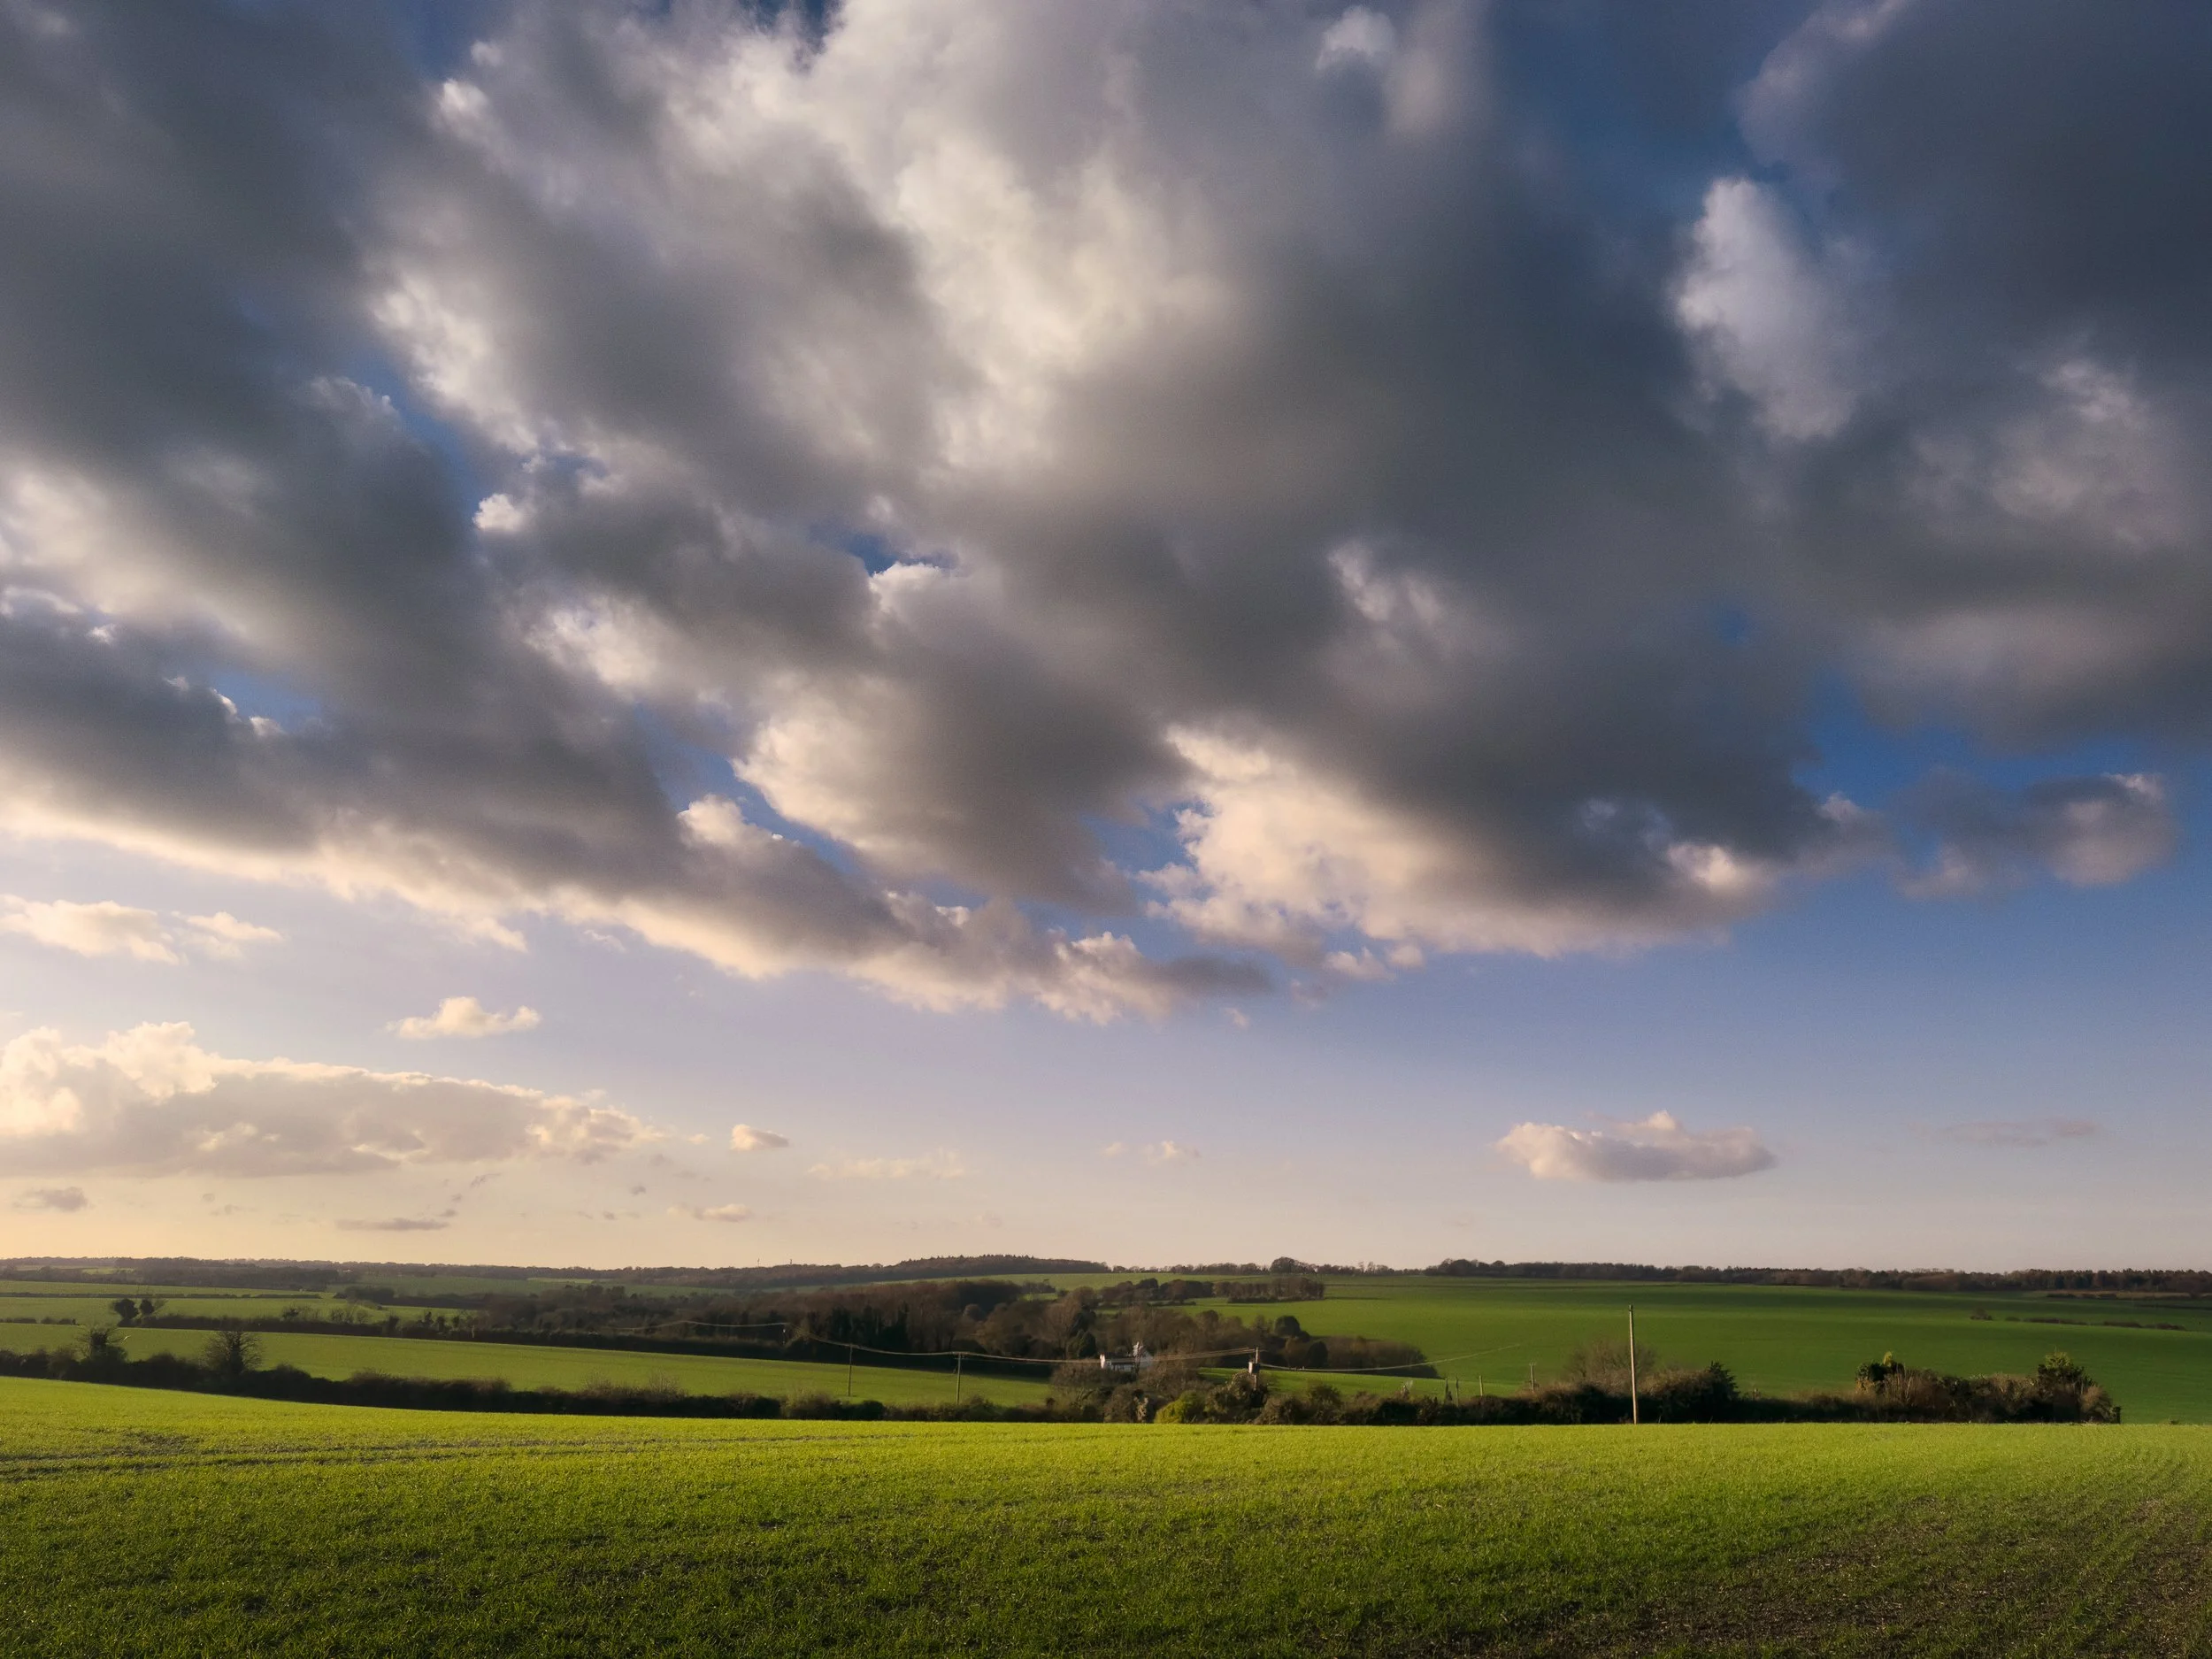
Before you consider focal length, exposure, or any other variable, there is one decision that shapes everything else in a landscape photograph with a significant sky: how much of the frame the sky occupies. This is not a minor detail. It determines what the photograph is about.
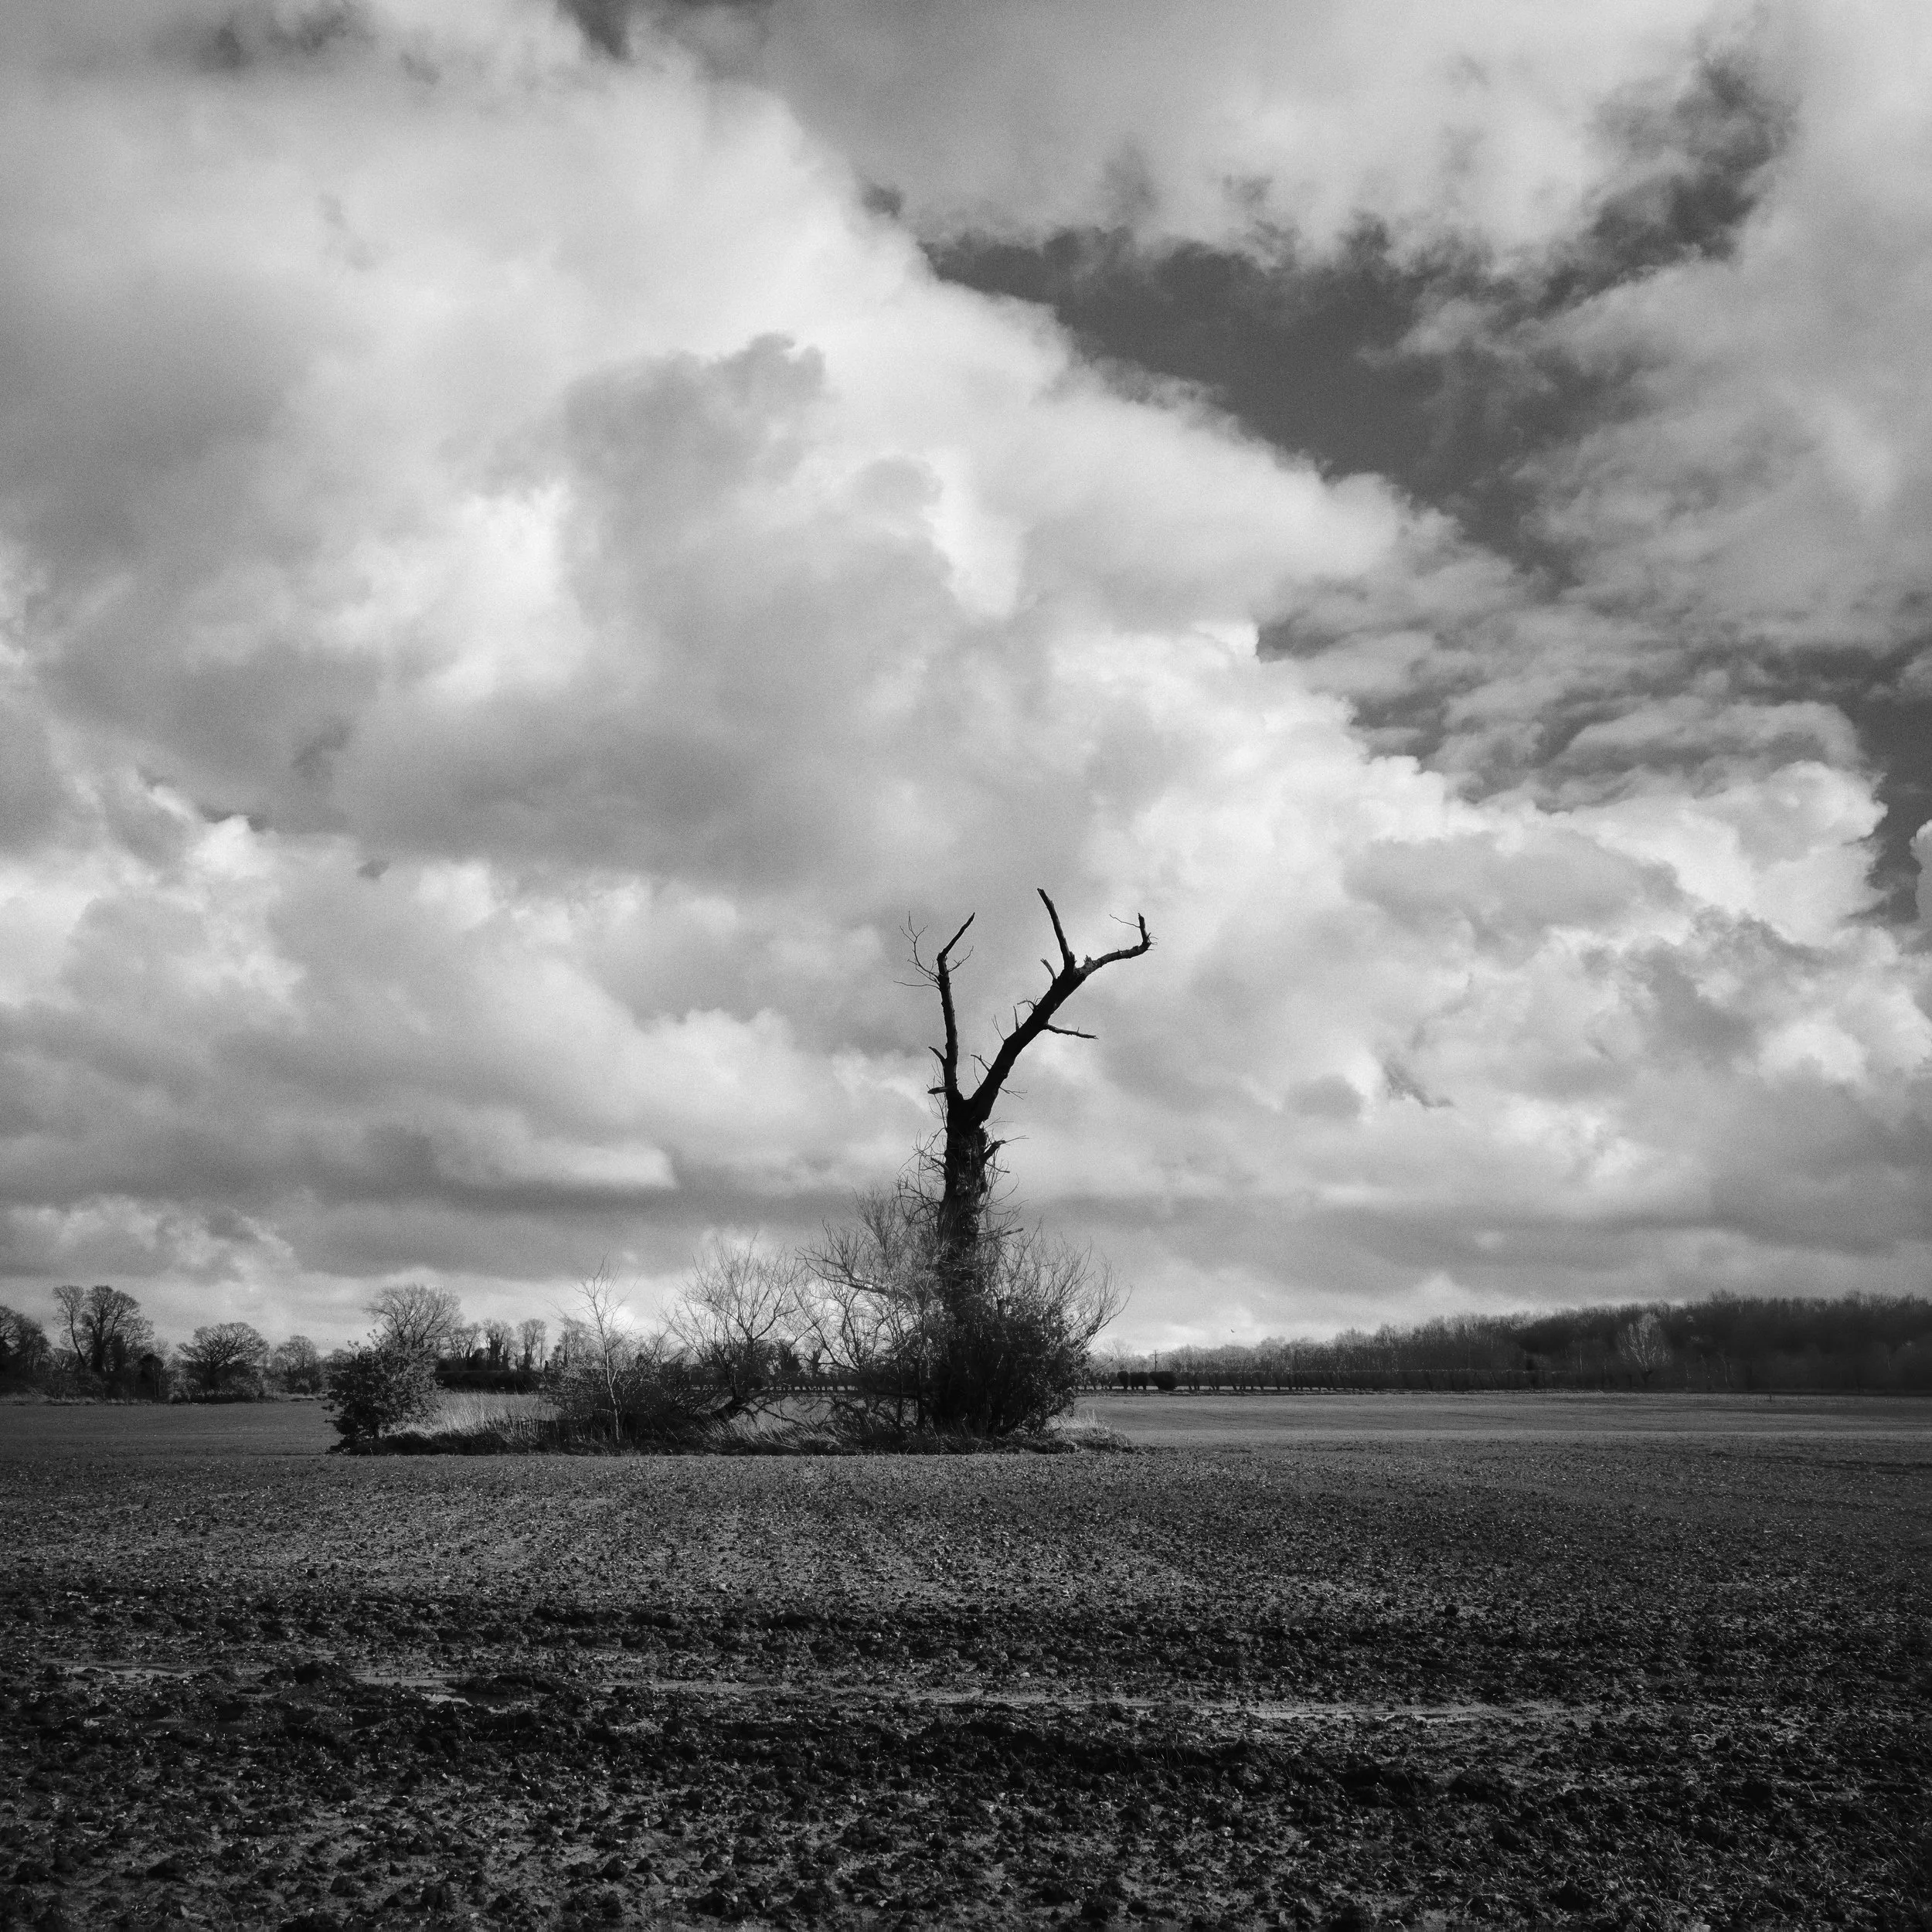
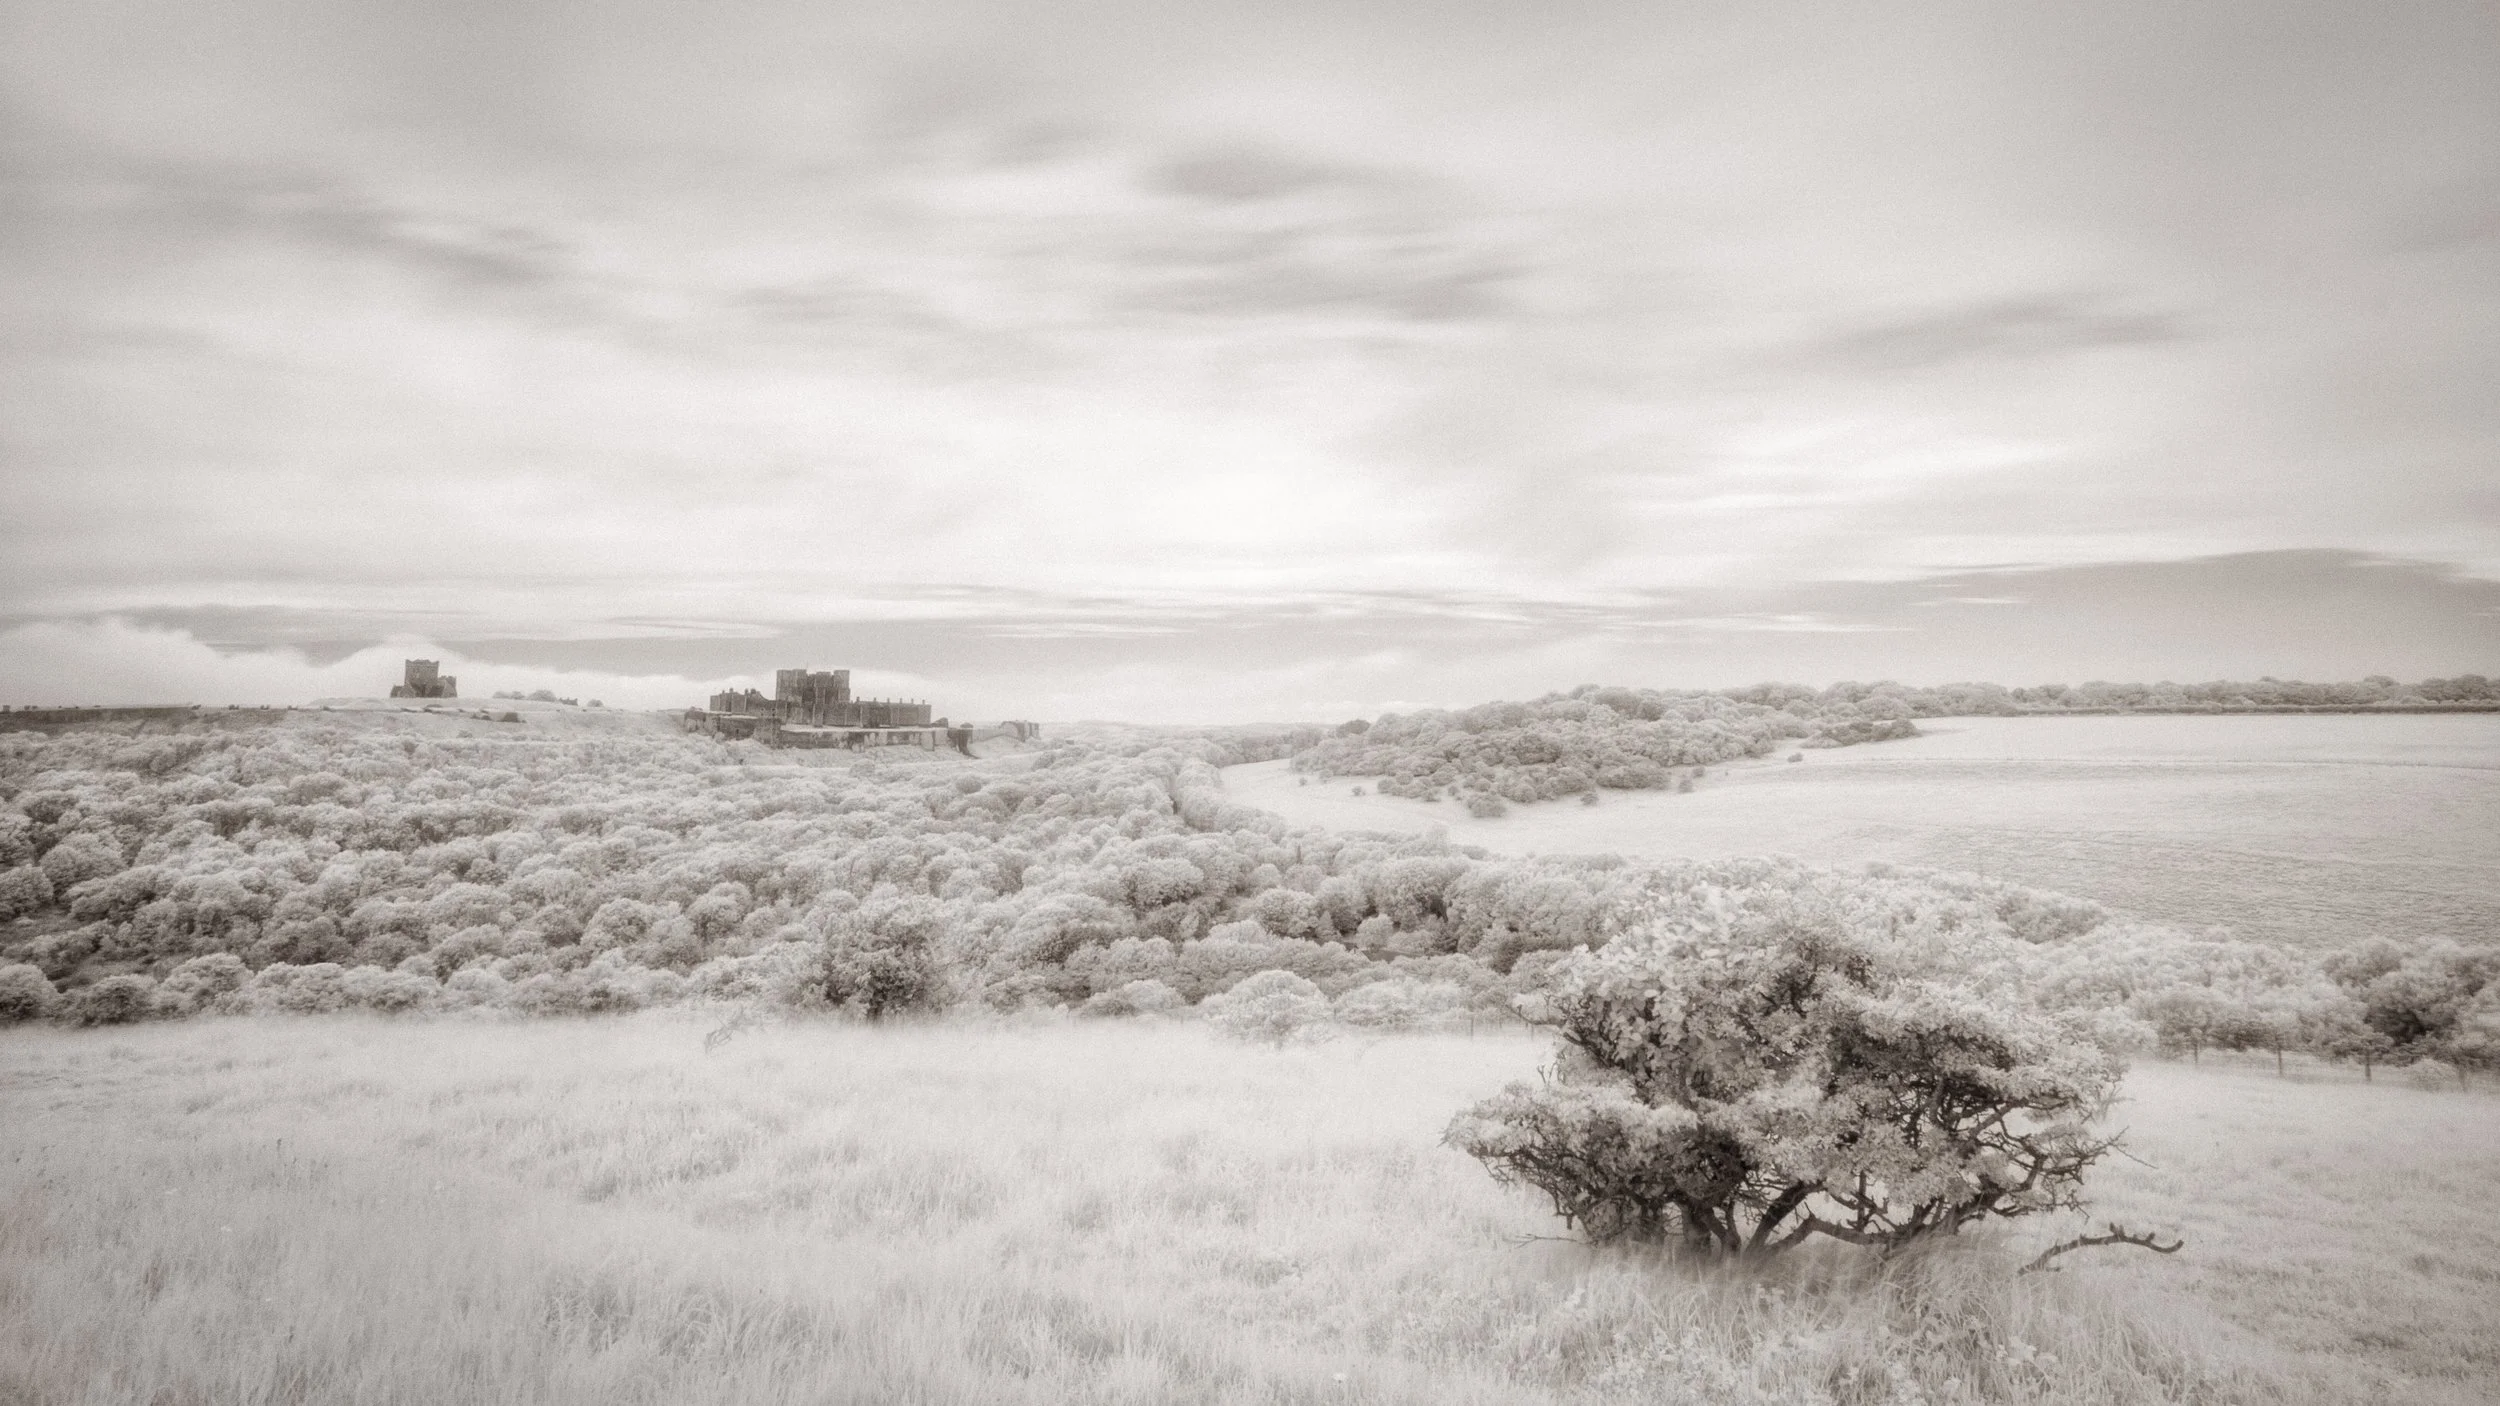
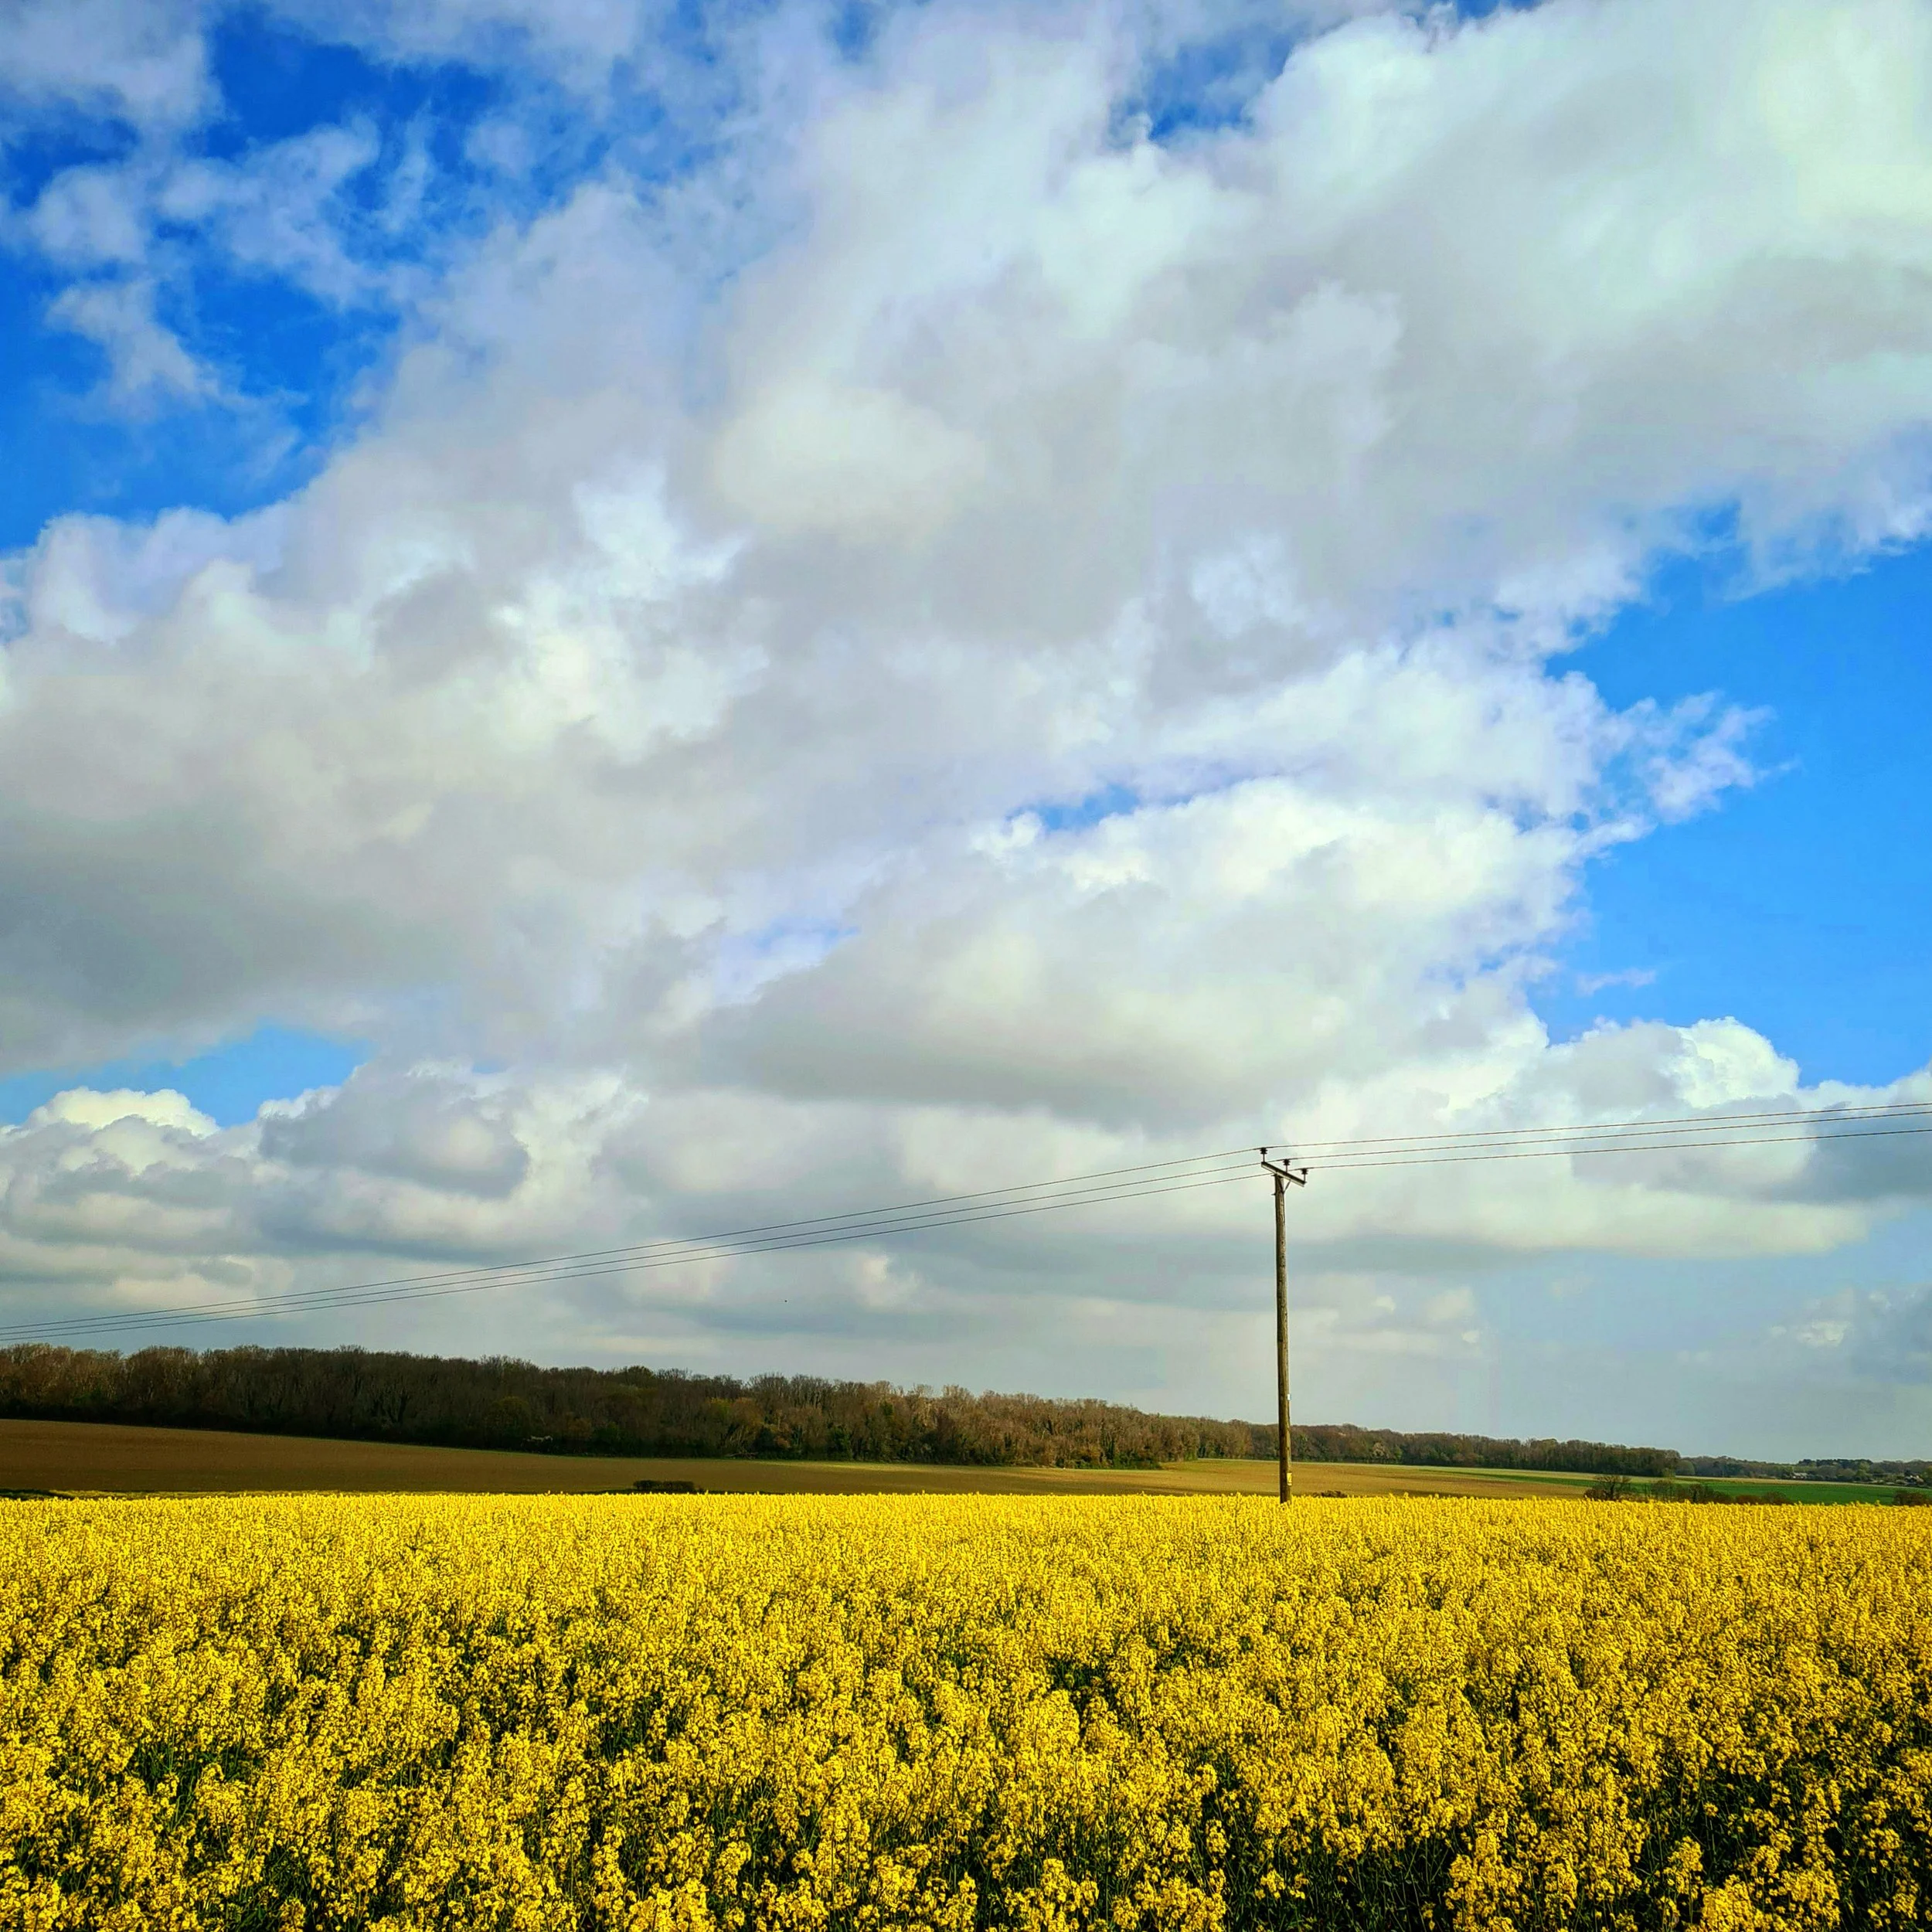
A low sky — with the horizon placed in the upper third or higher, leaving most of the frame as land — says that the photograph is about the ground: the foreground detail, the texture of a field, the play of light on a path or a river, the human presence or absence below. The sky provides context, supplies the light, and sets the mood, but it is not the subject. This approach works well when the foreground has strong compositional interest and relatively poorly when it does not — an empty field in flat light with a low sky allocation looks exactly like what it is.
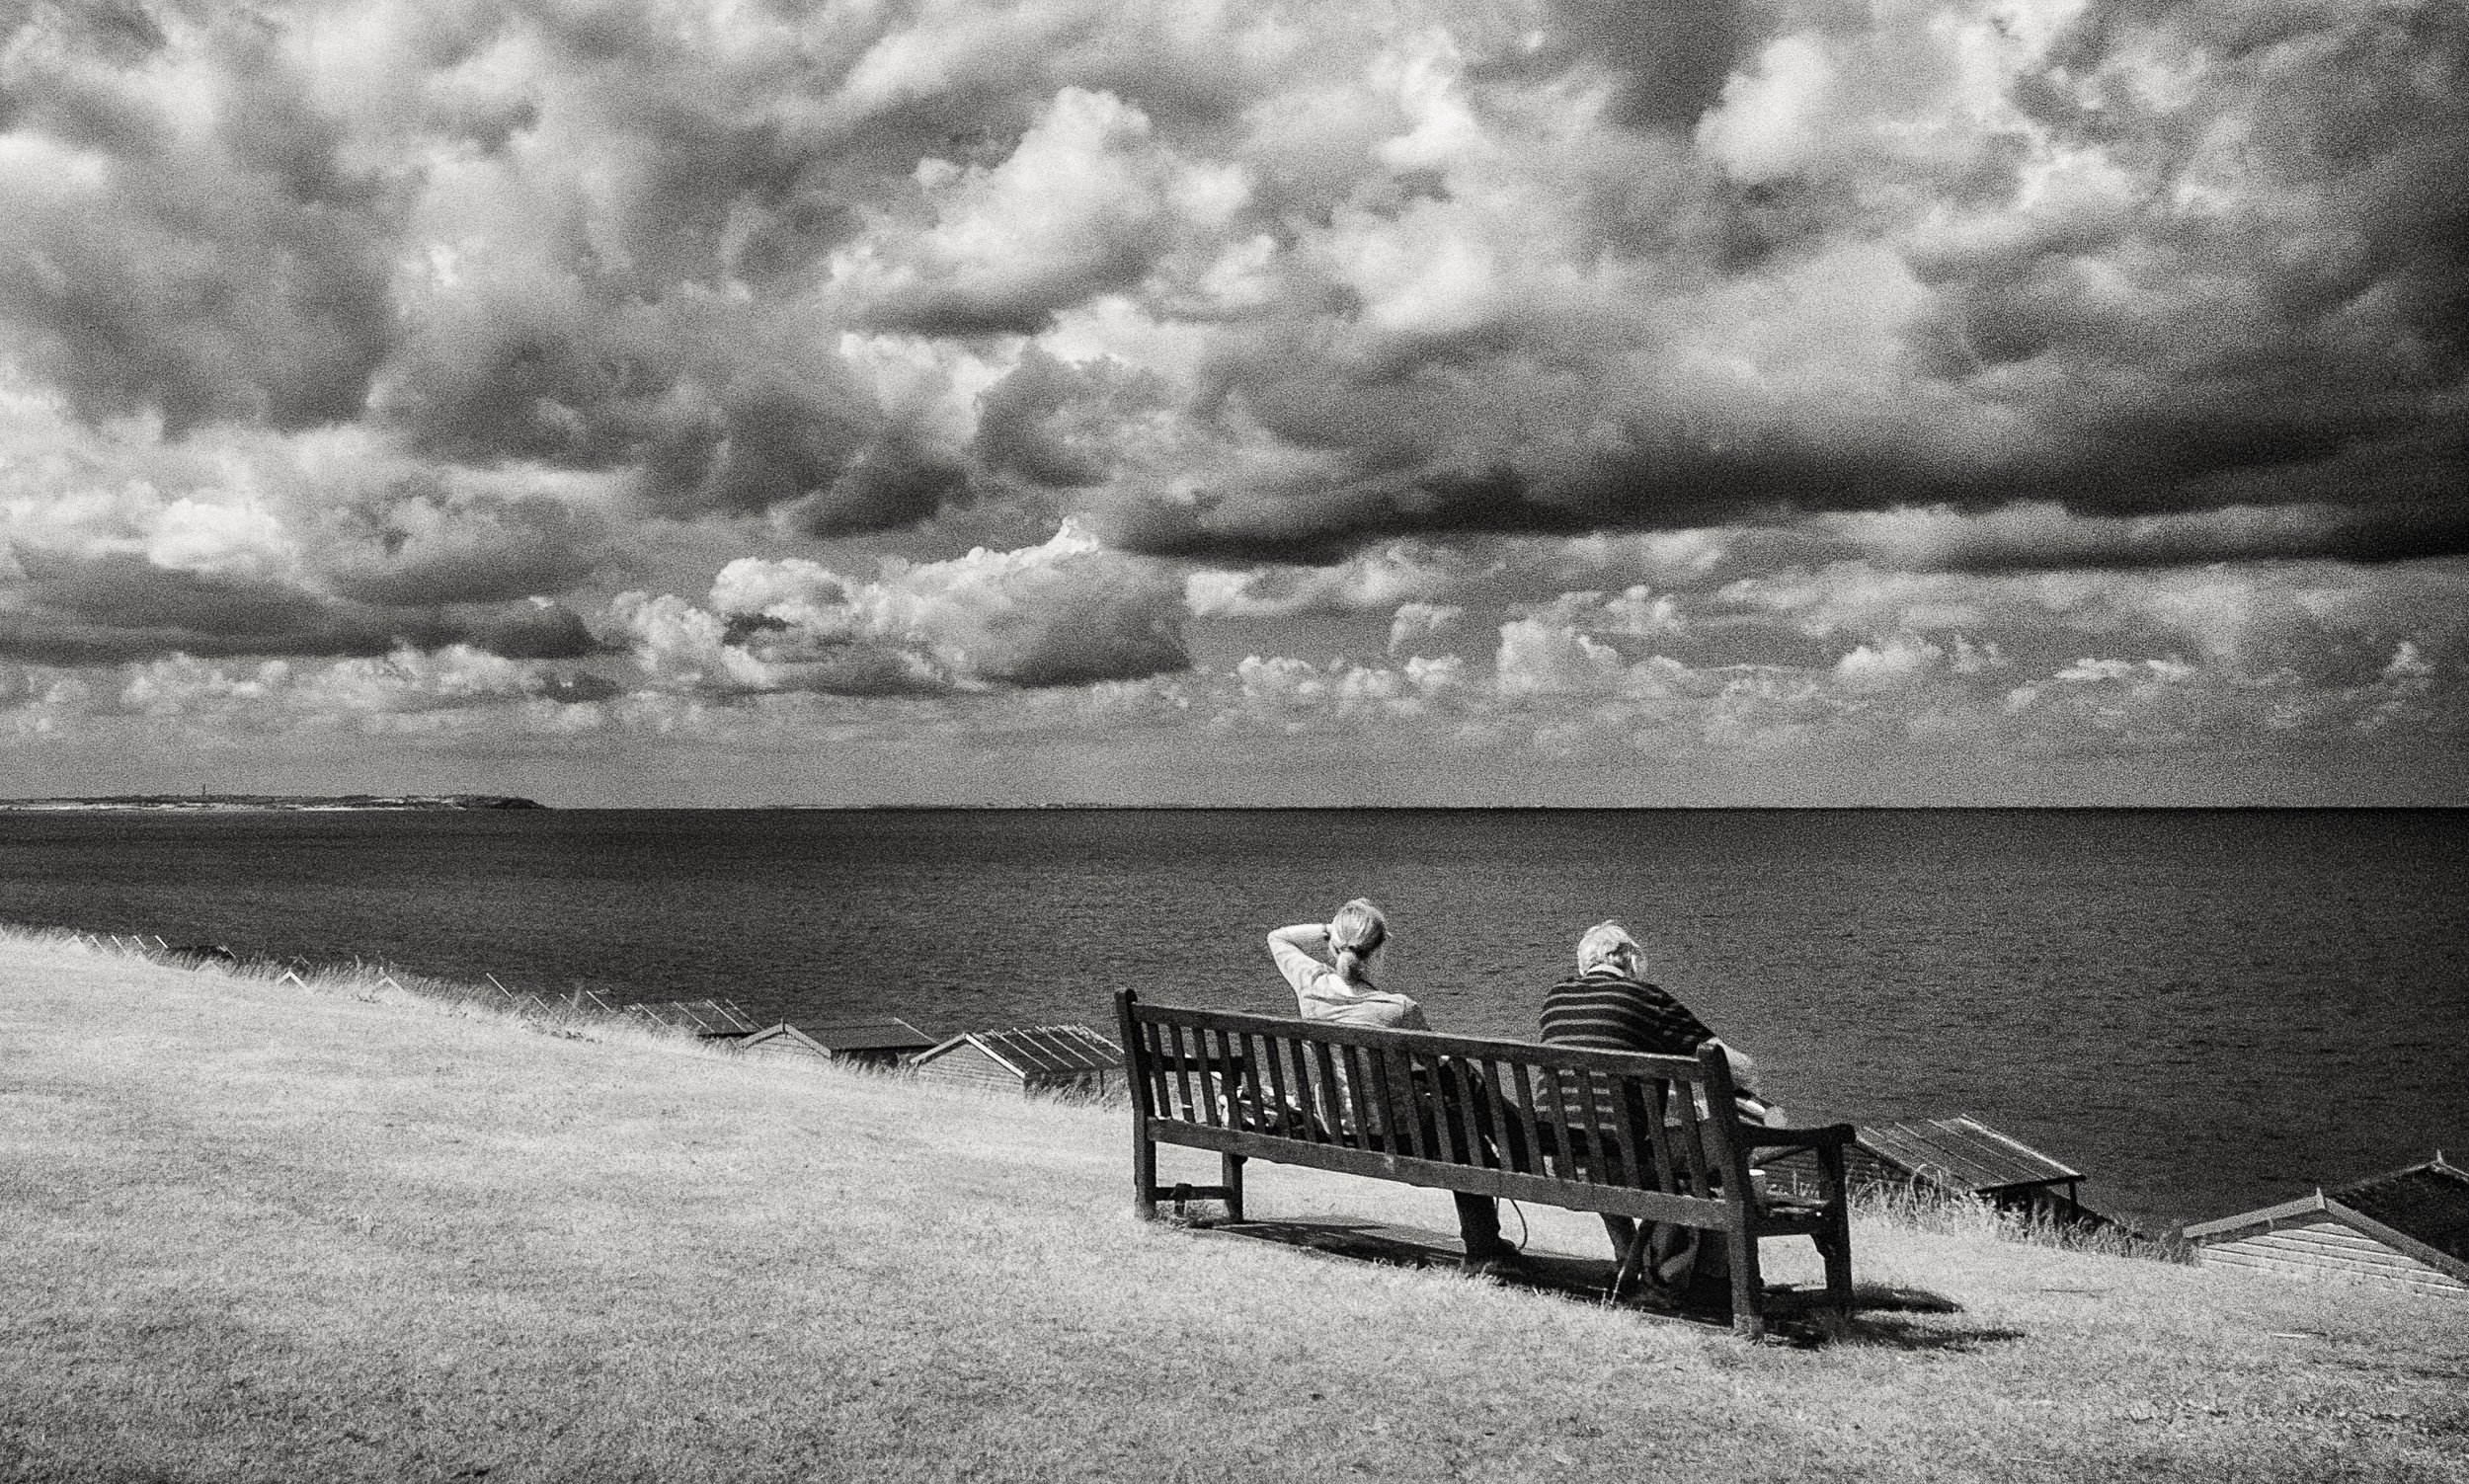
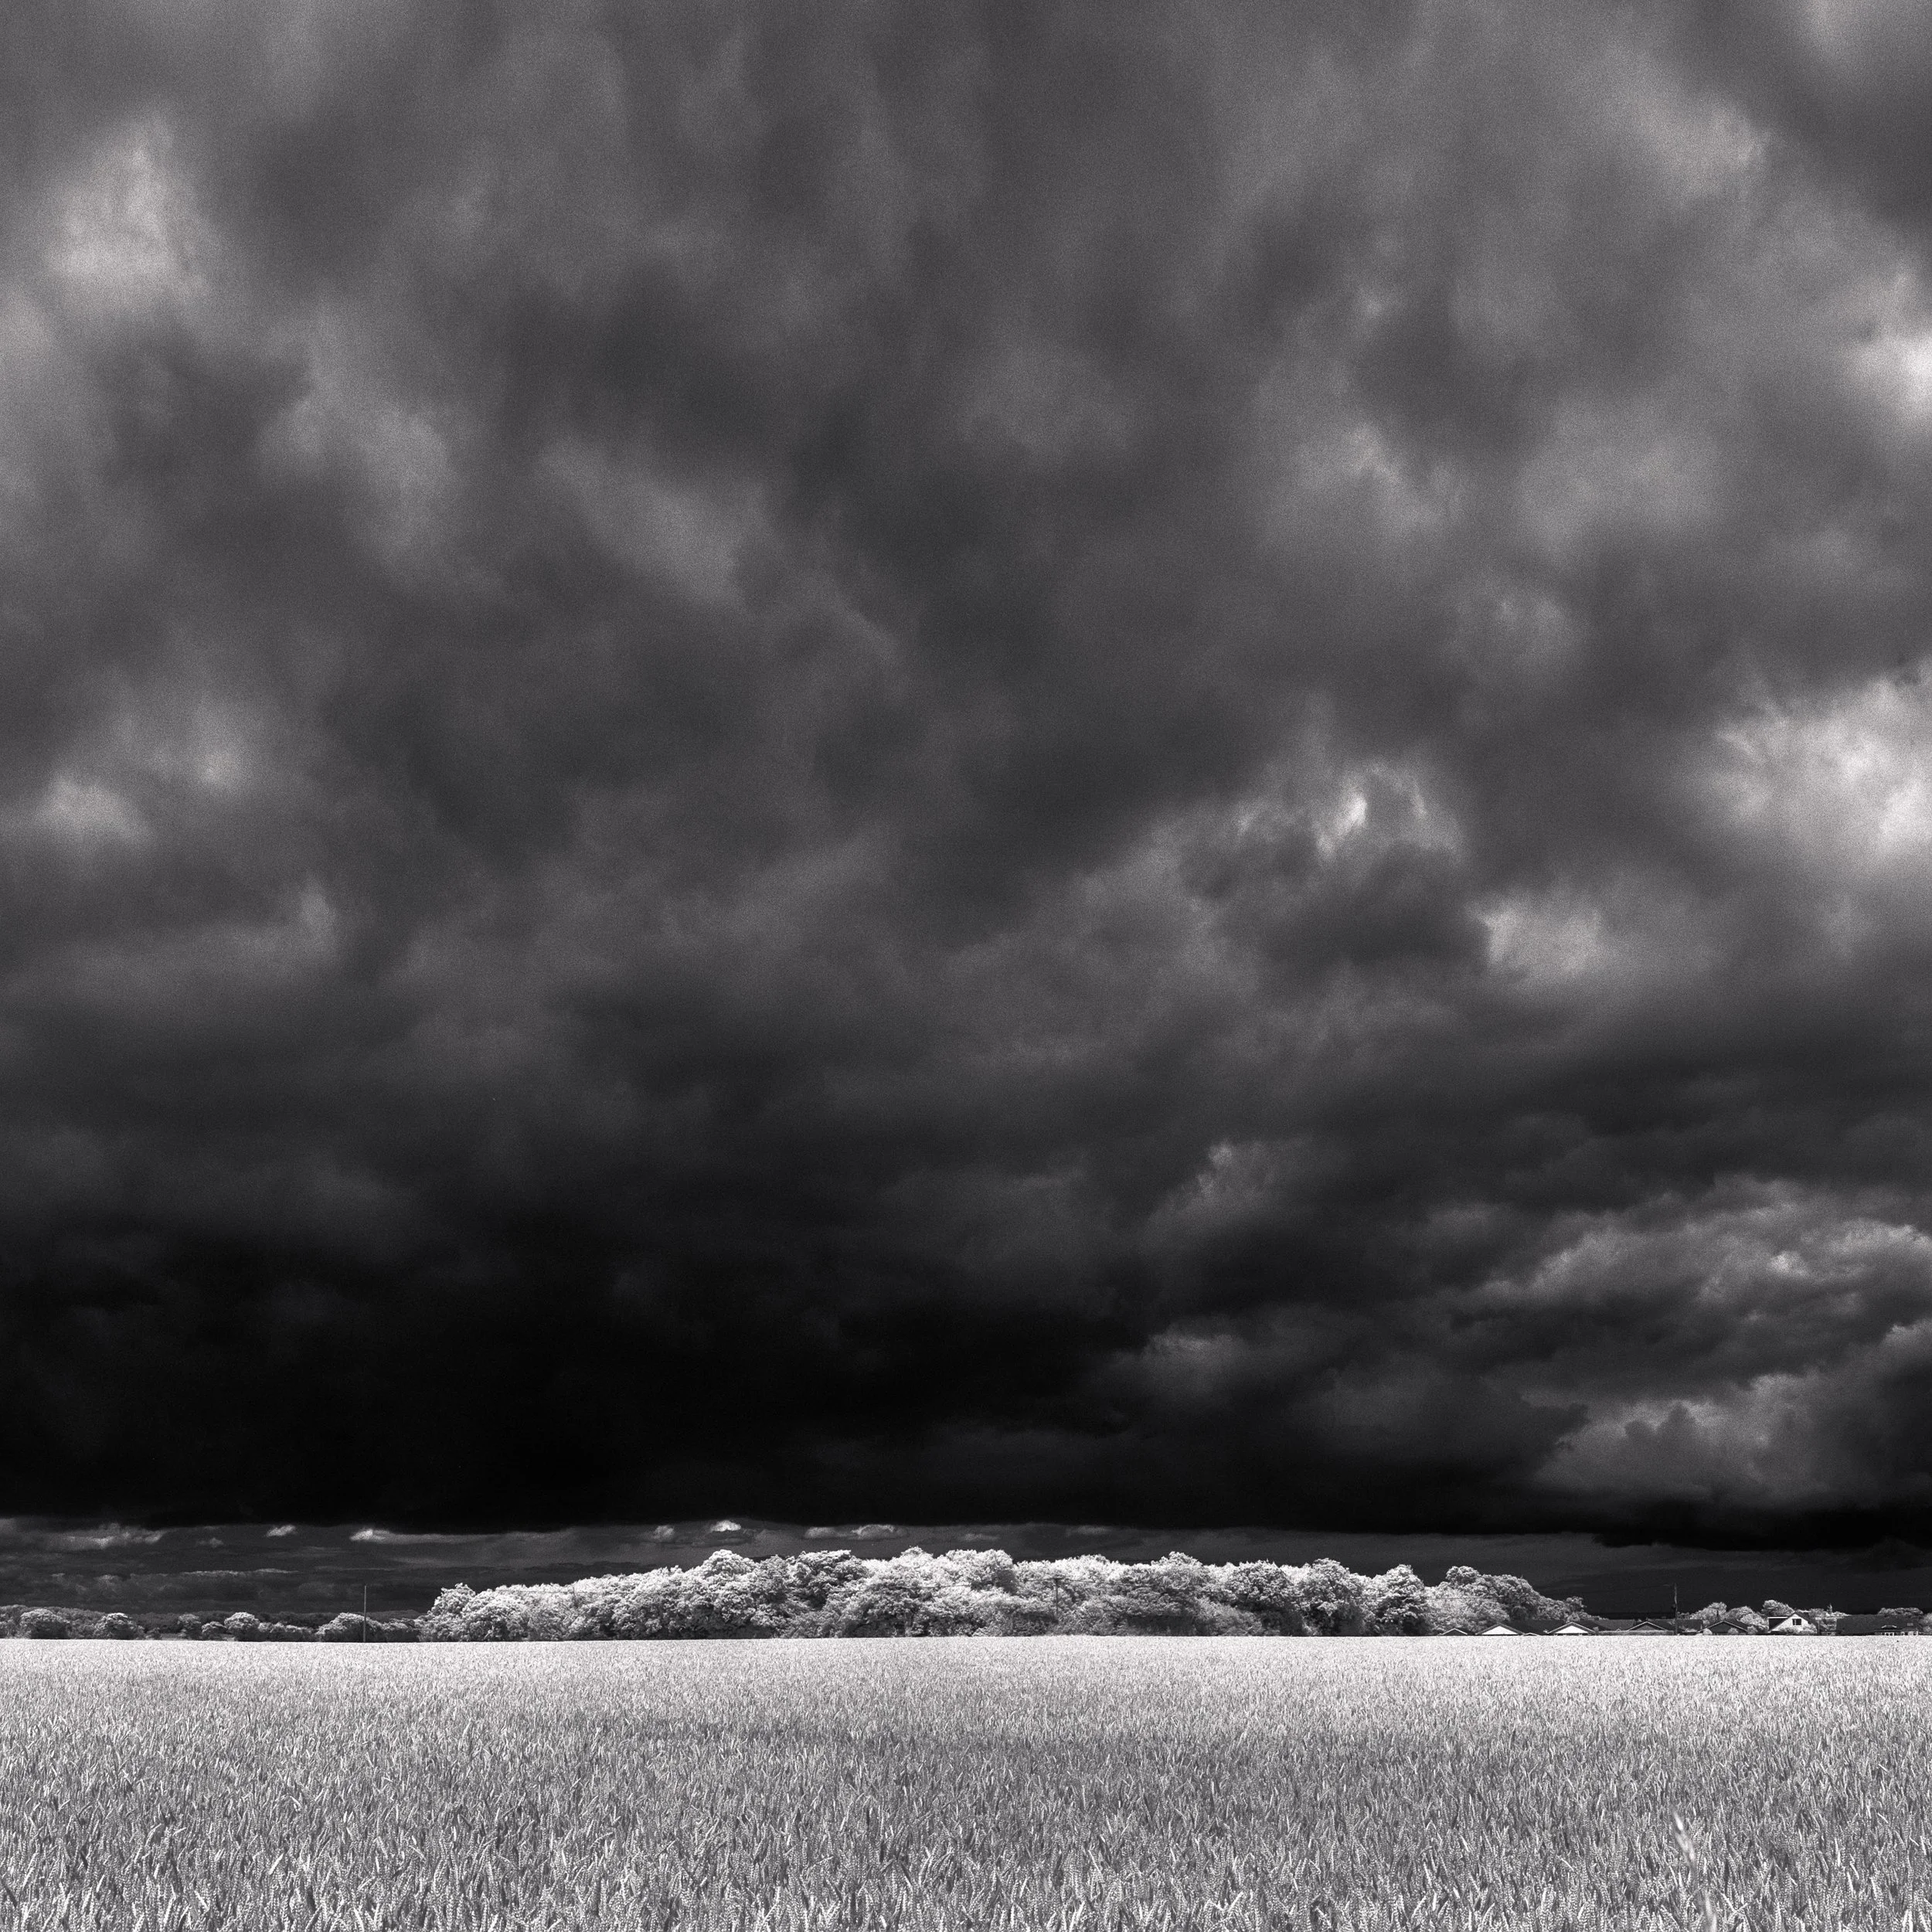
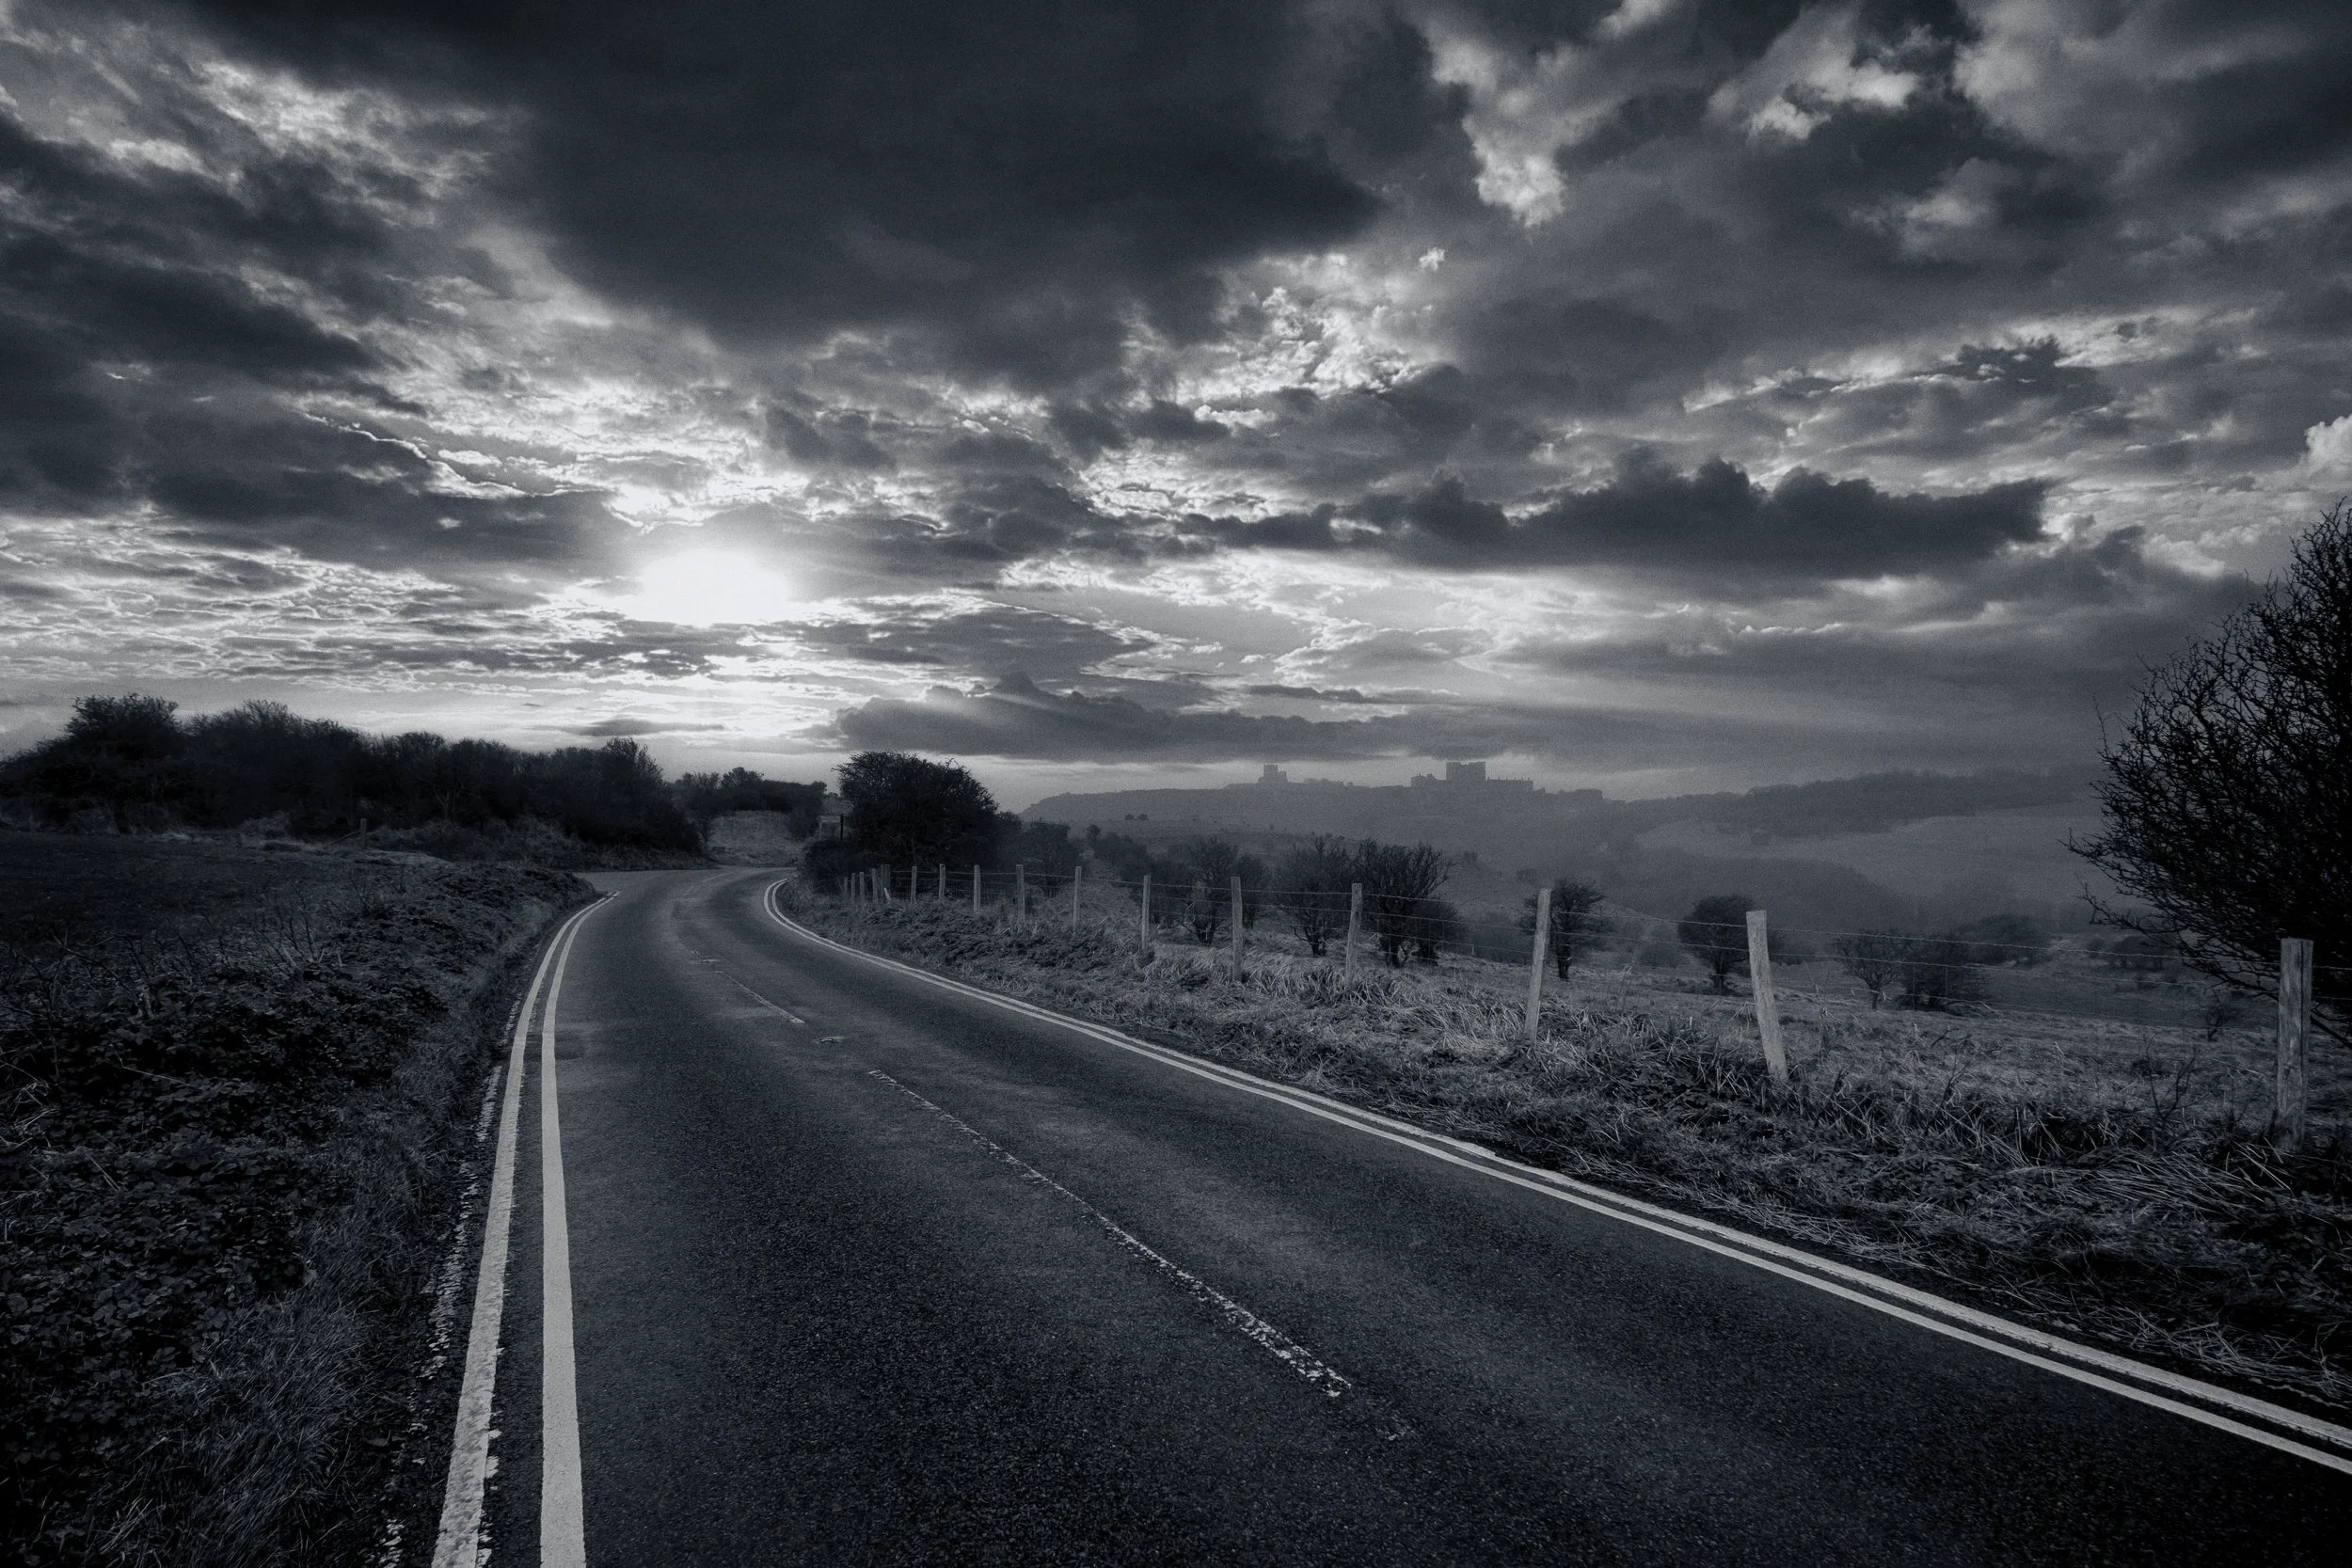
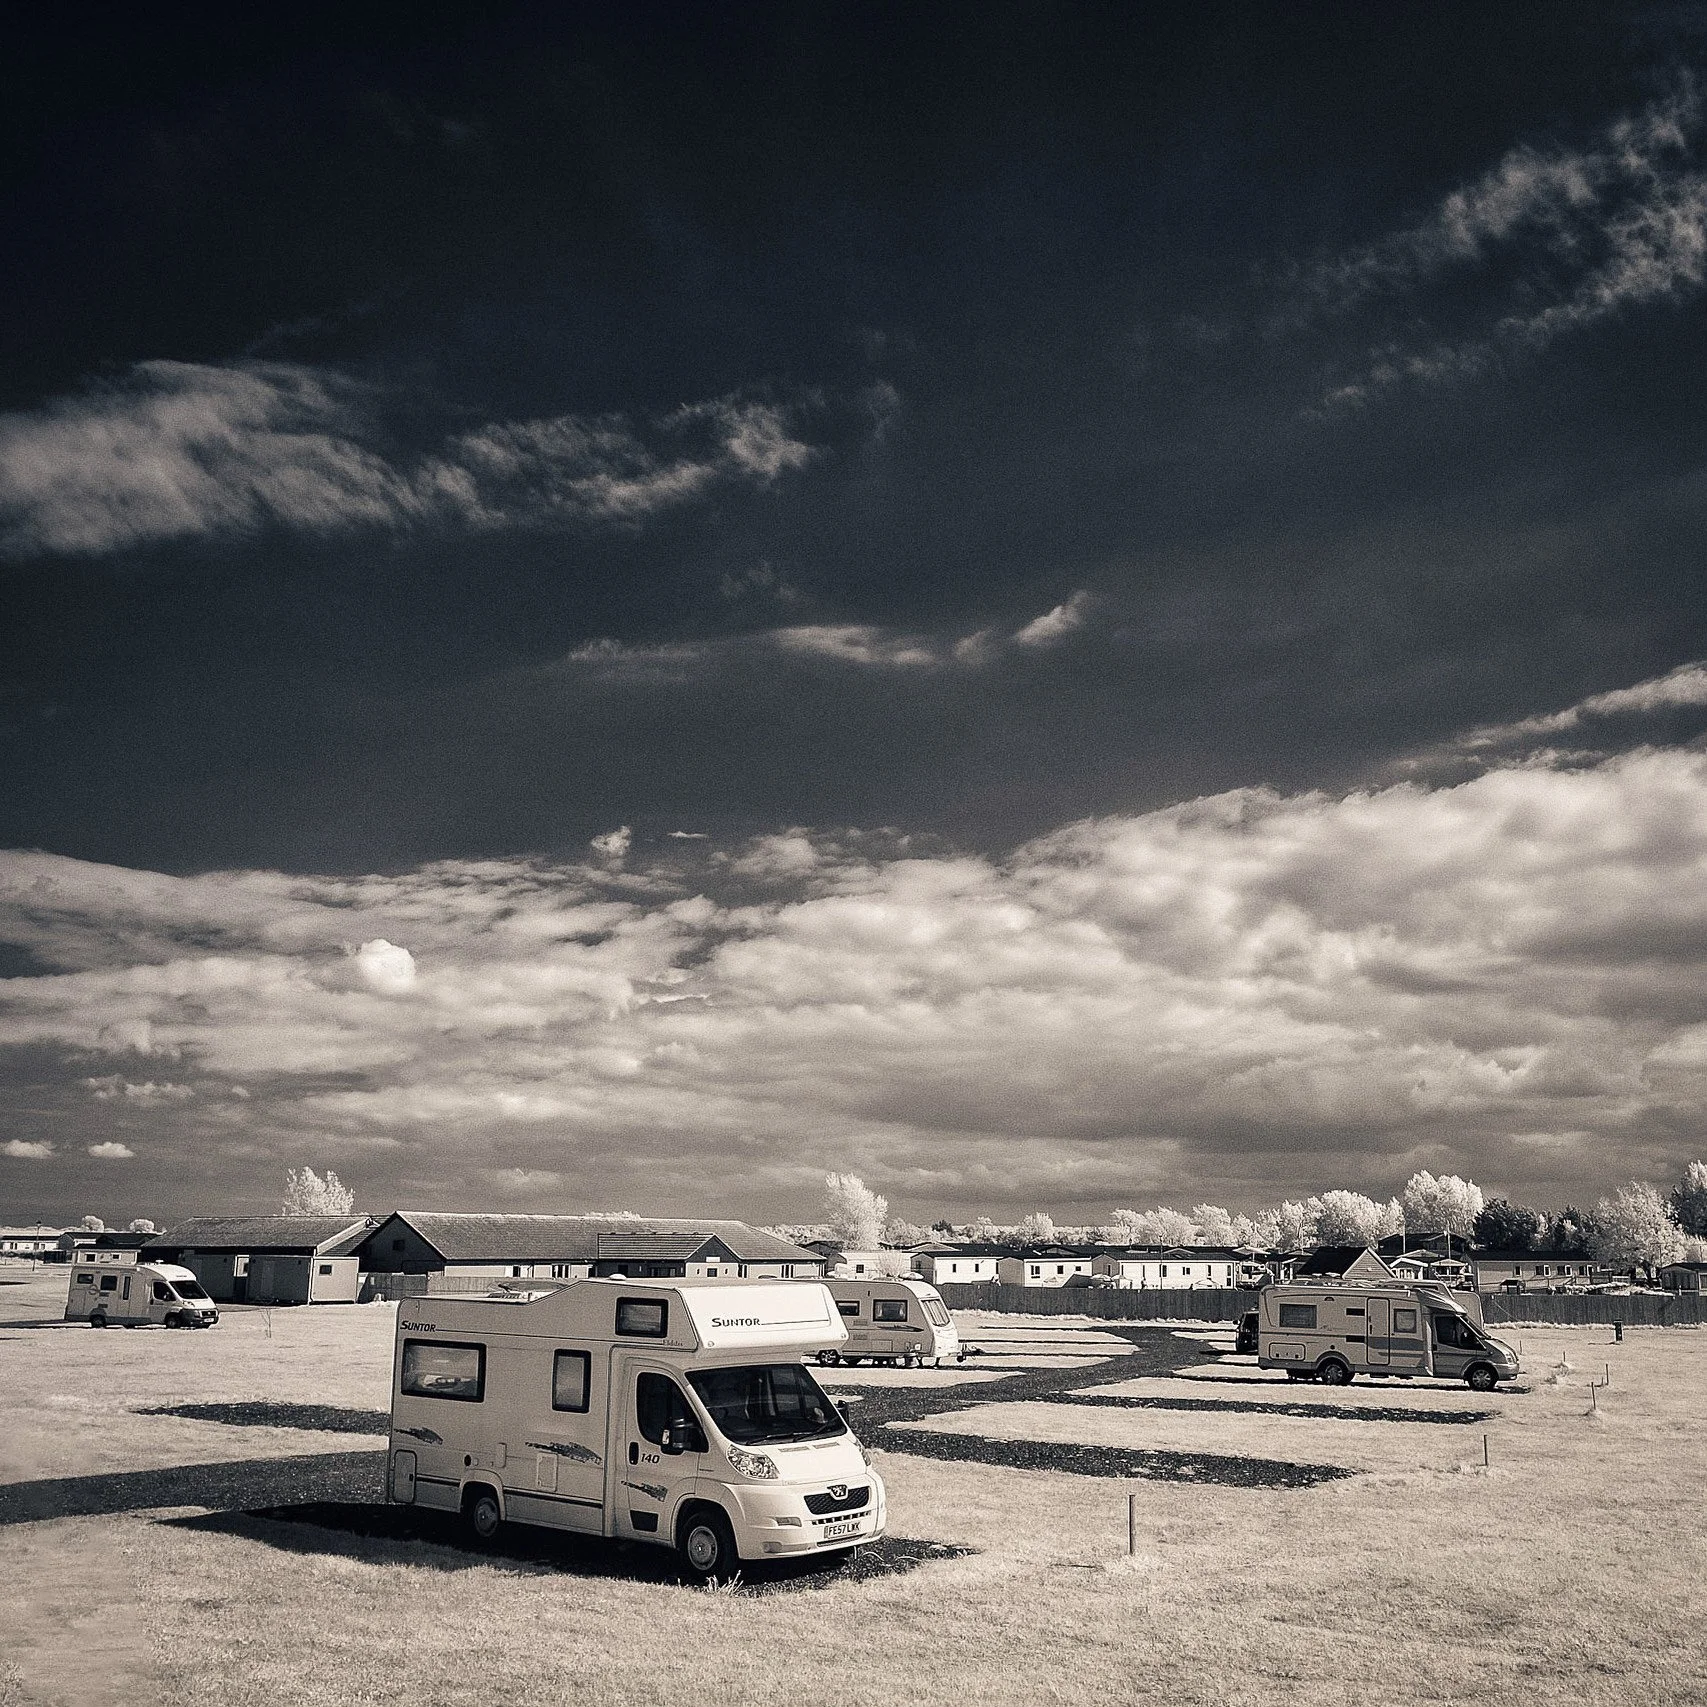
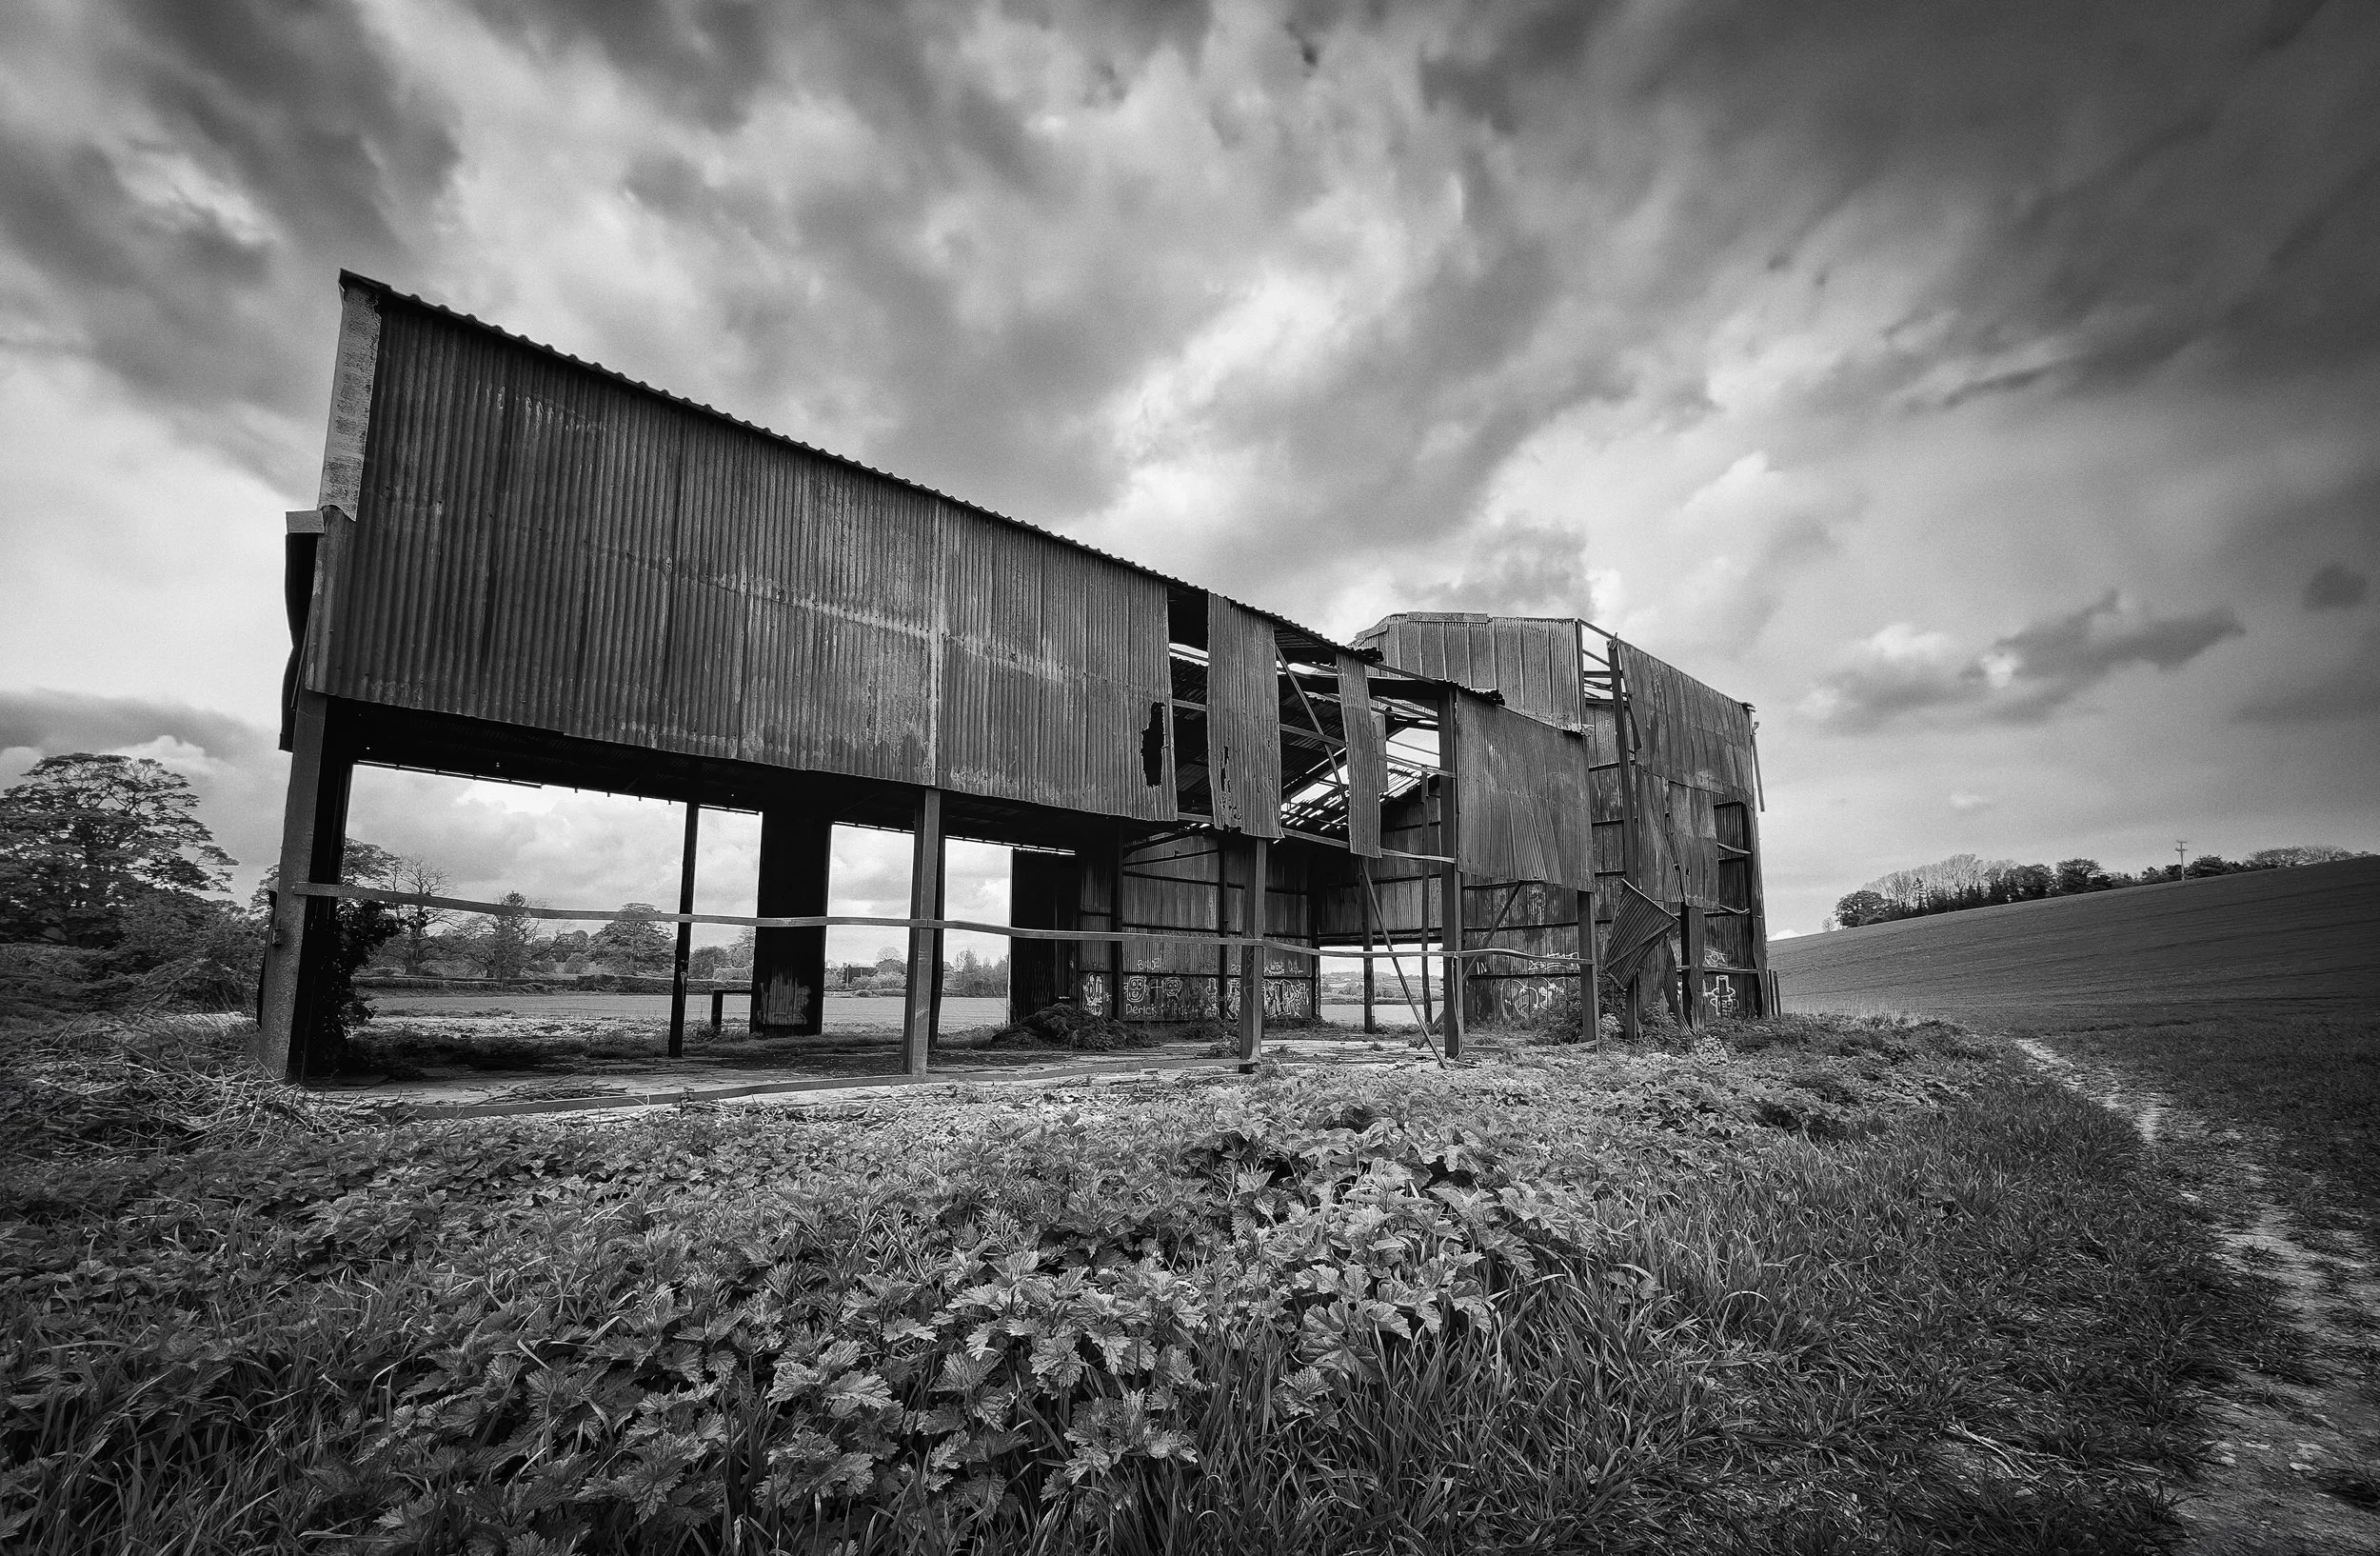
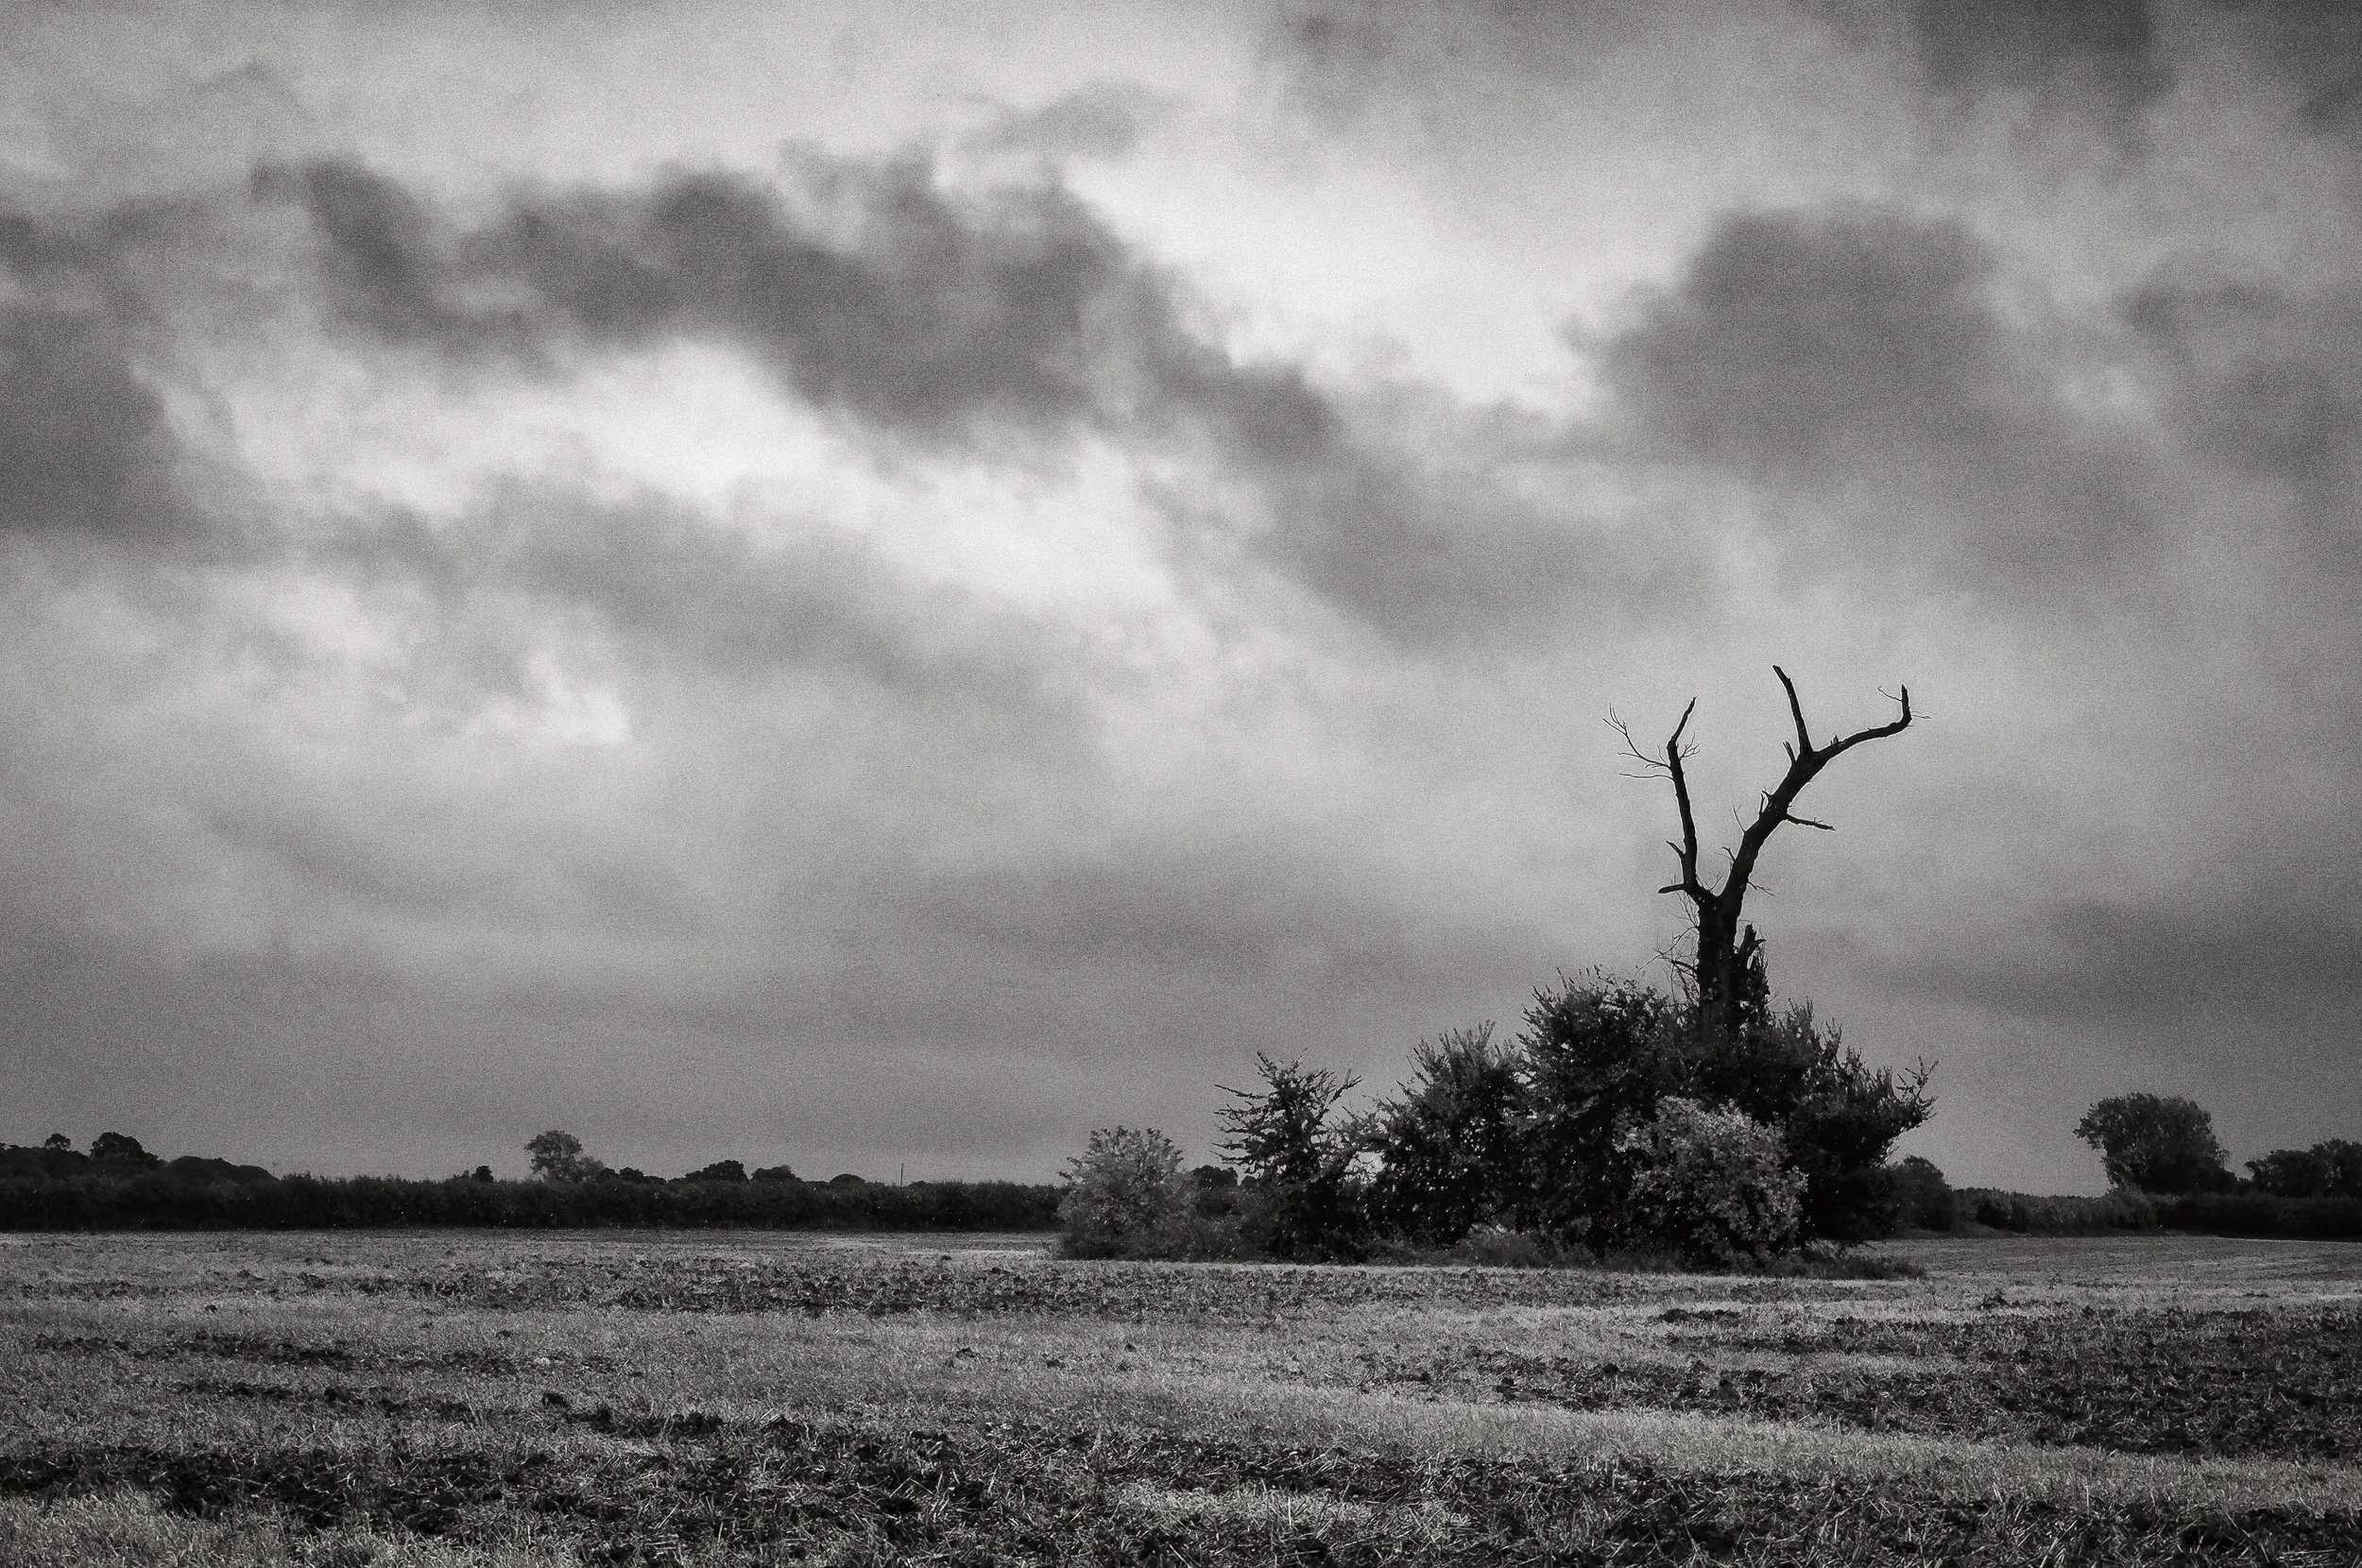
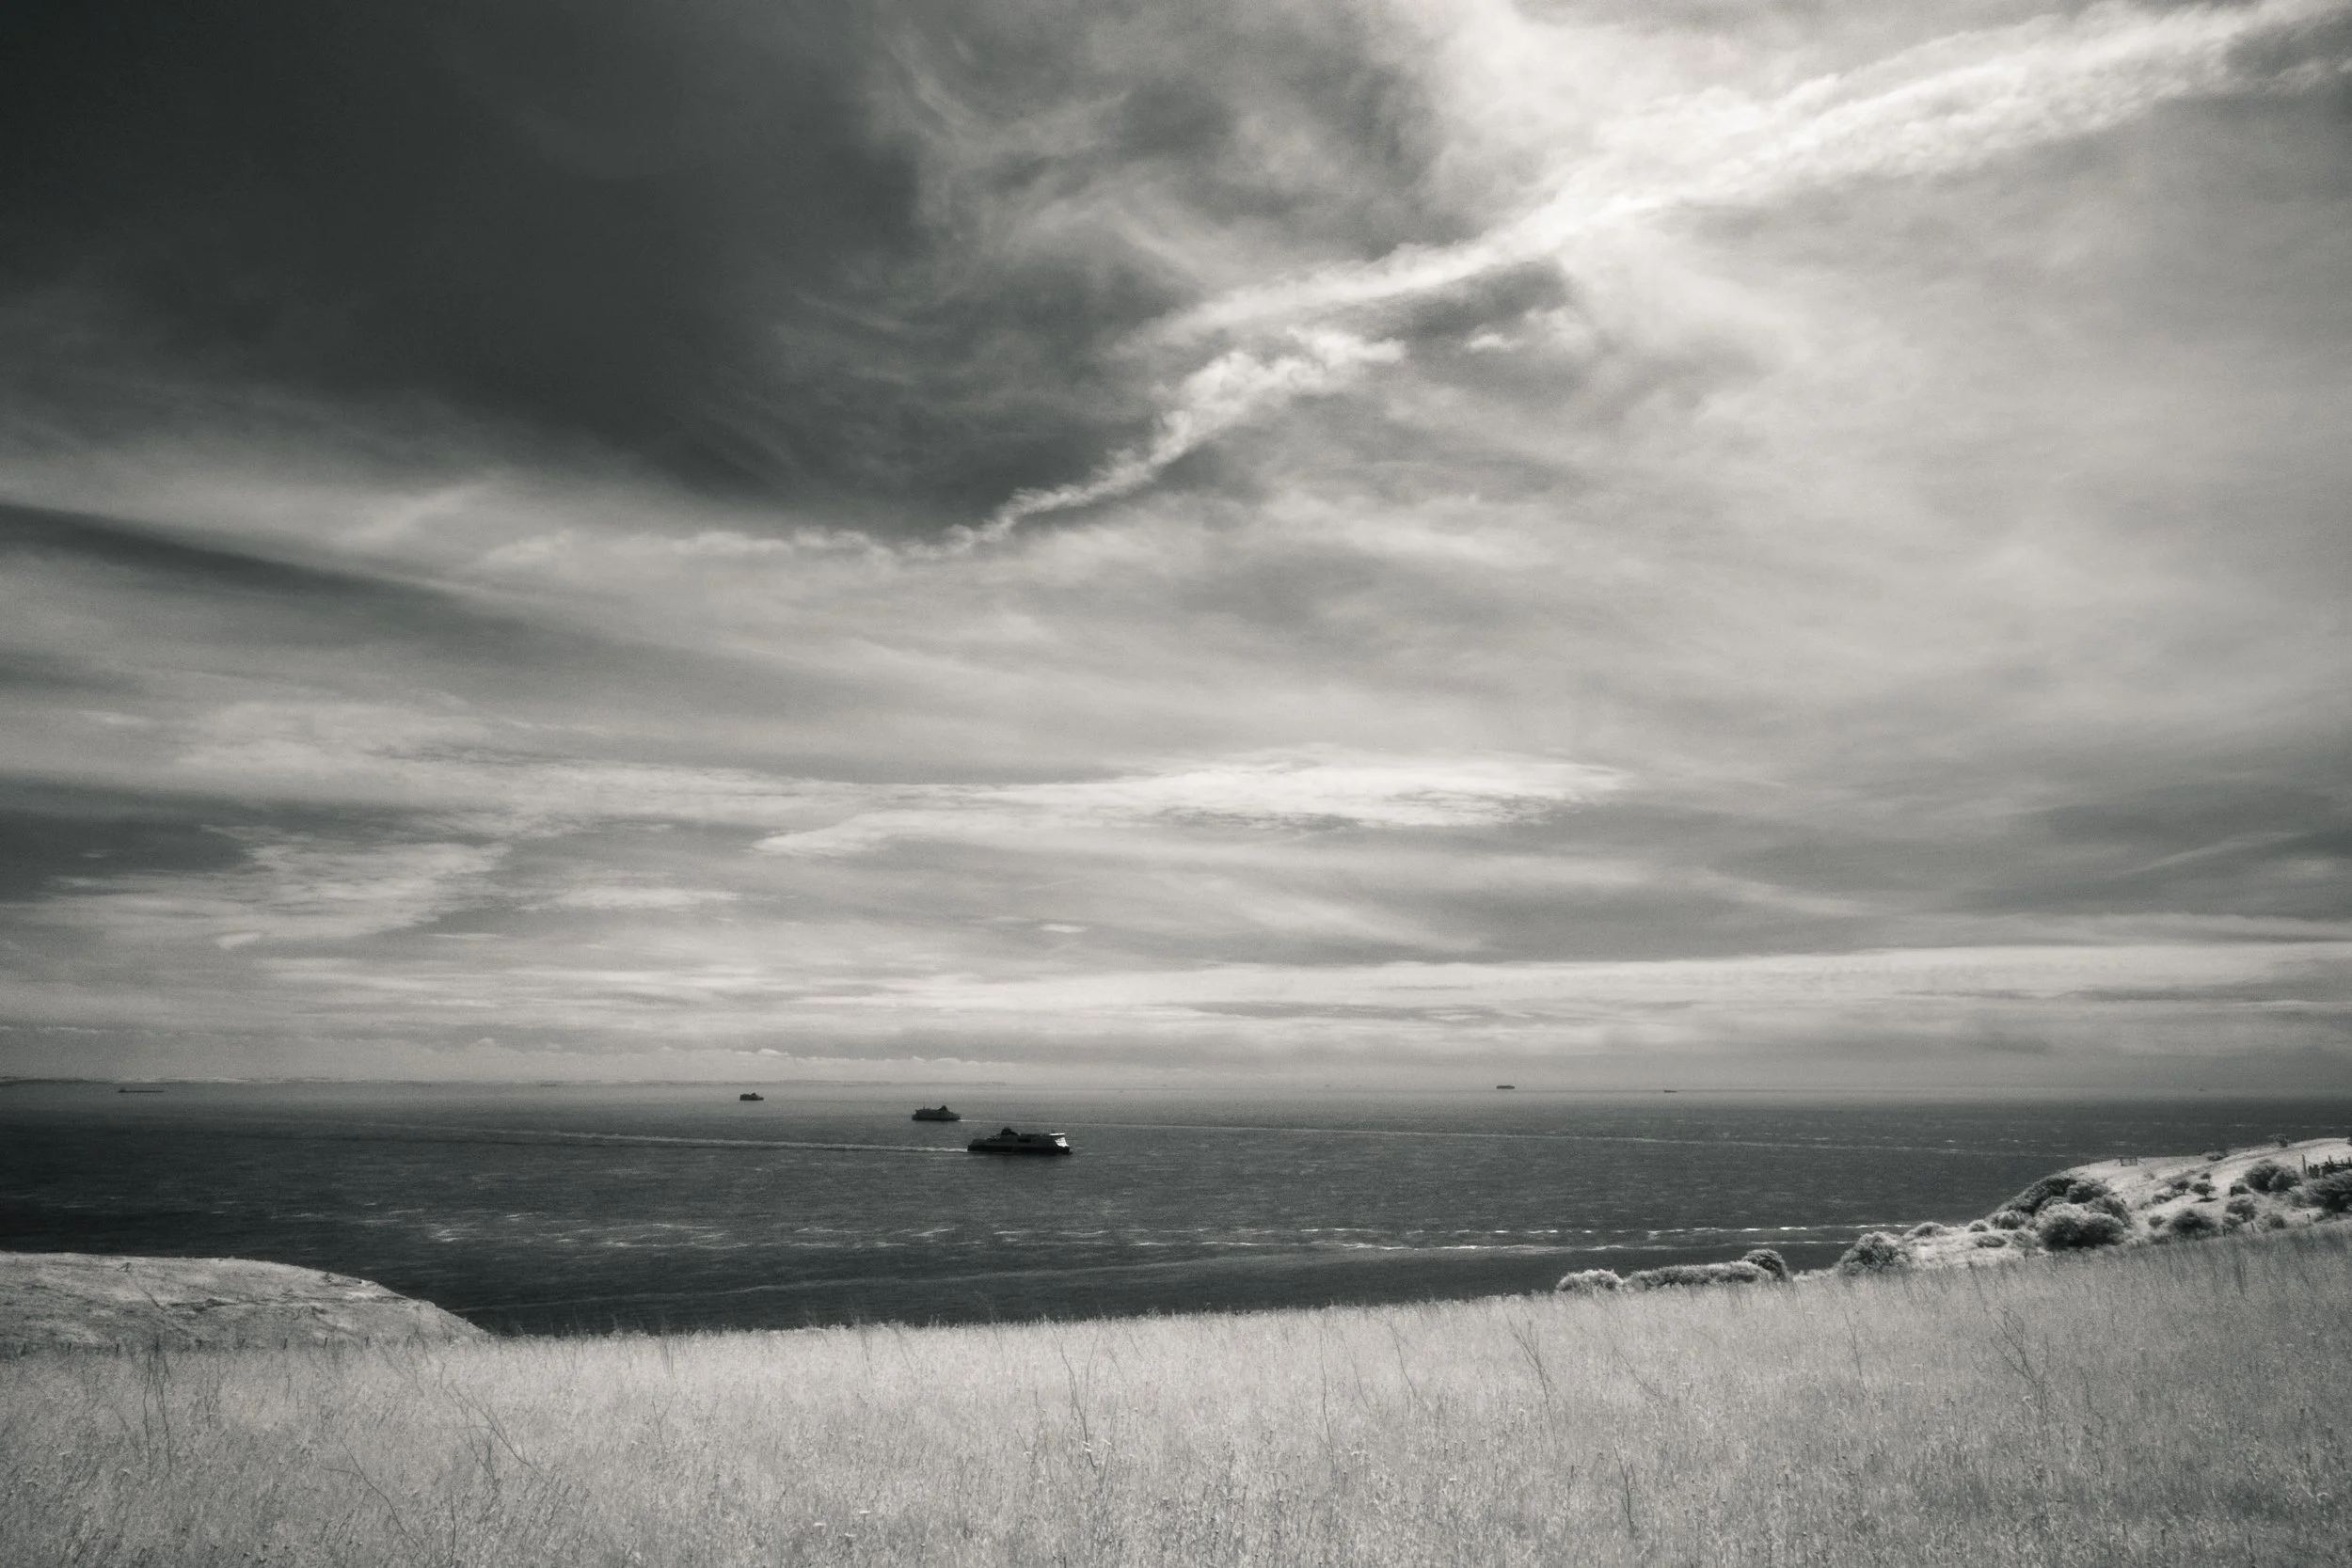
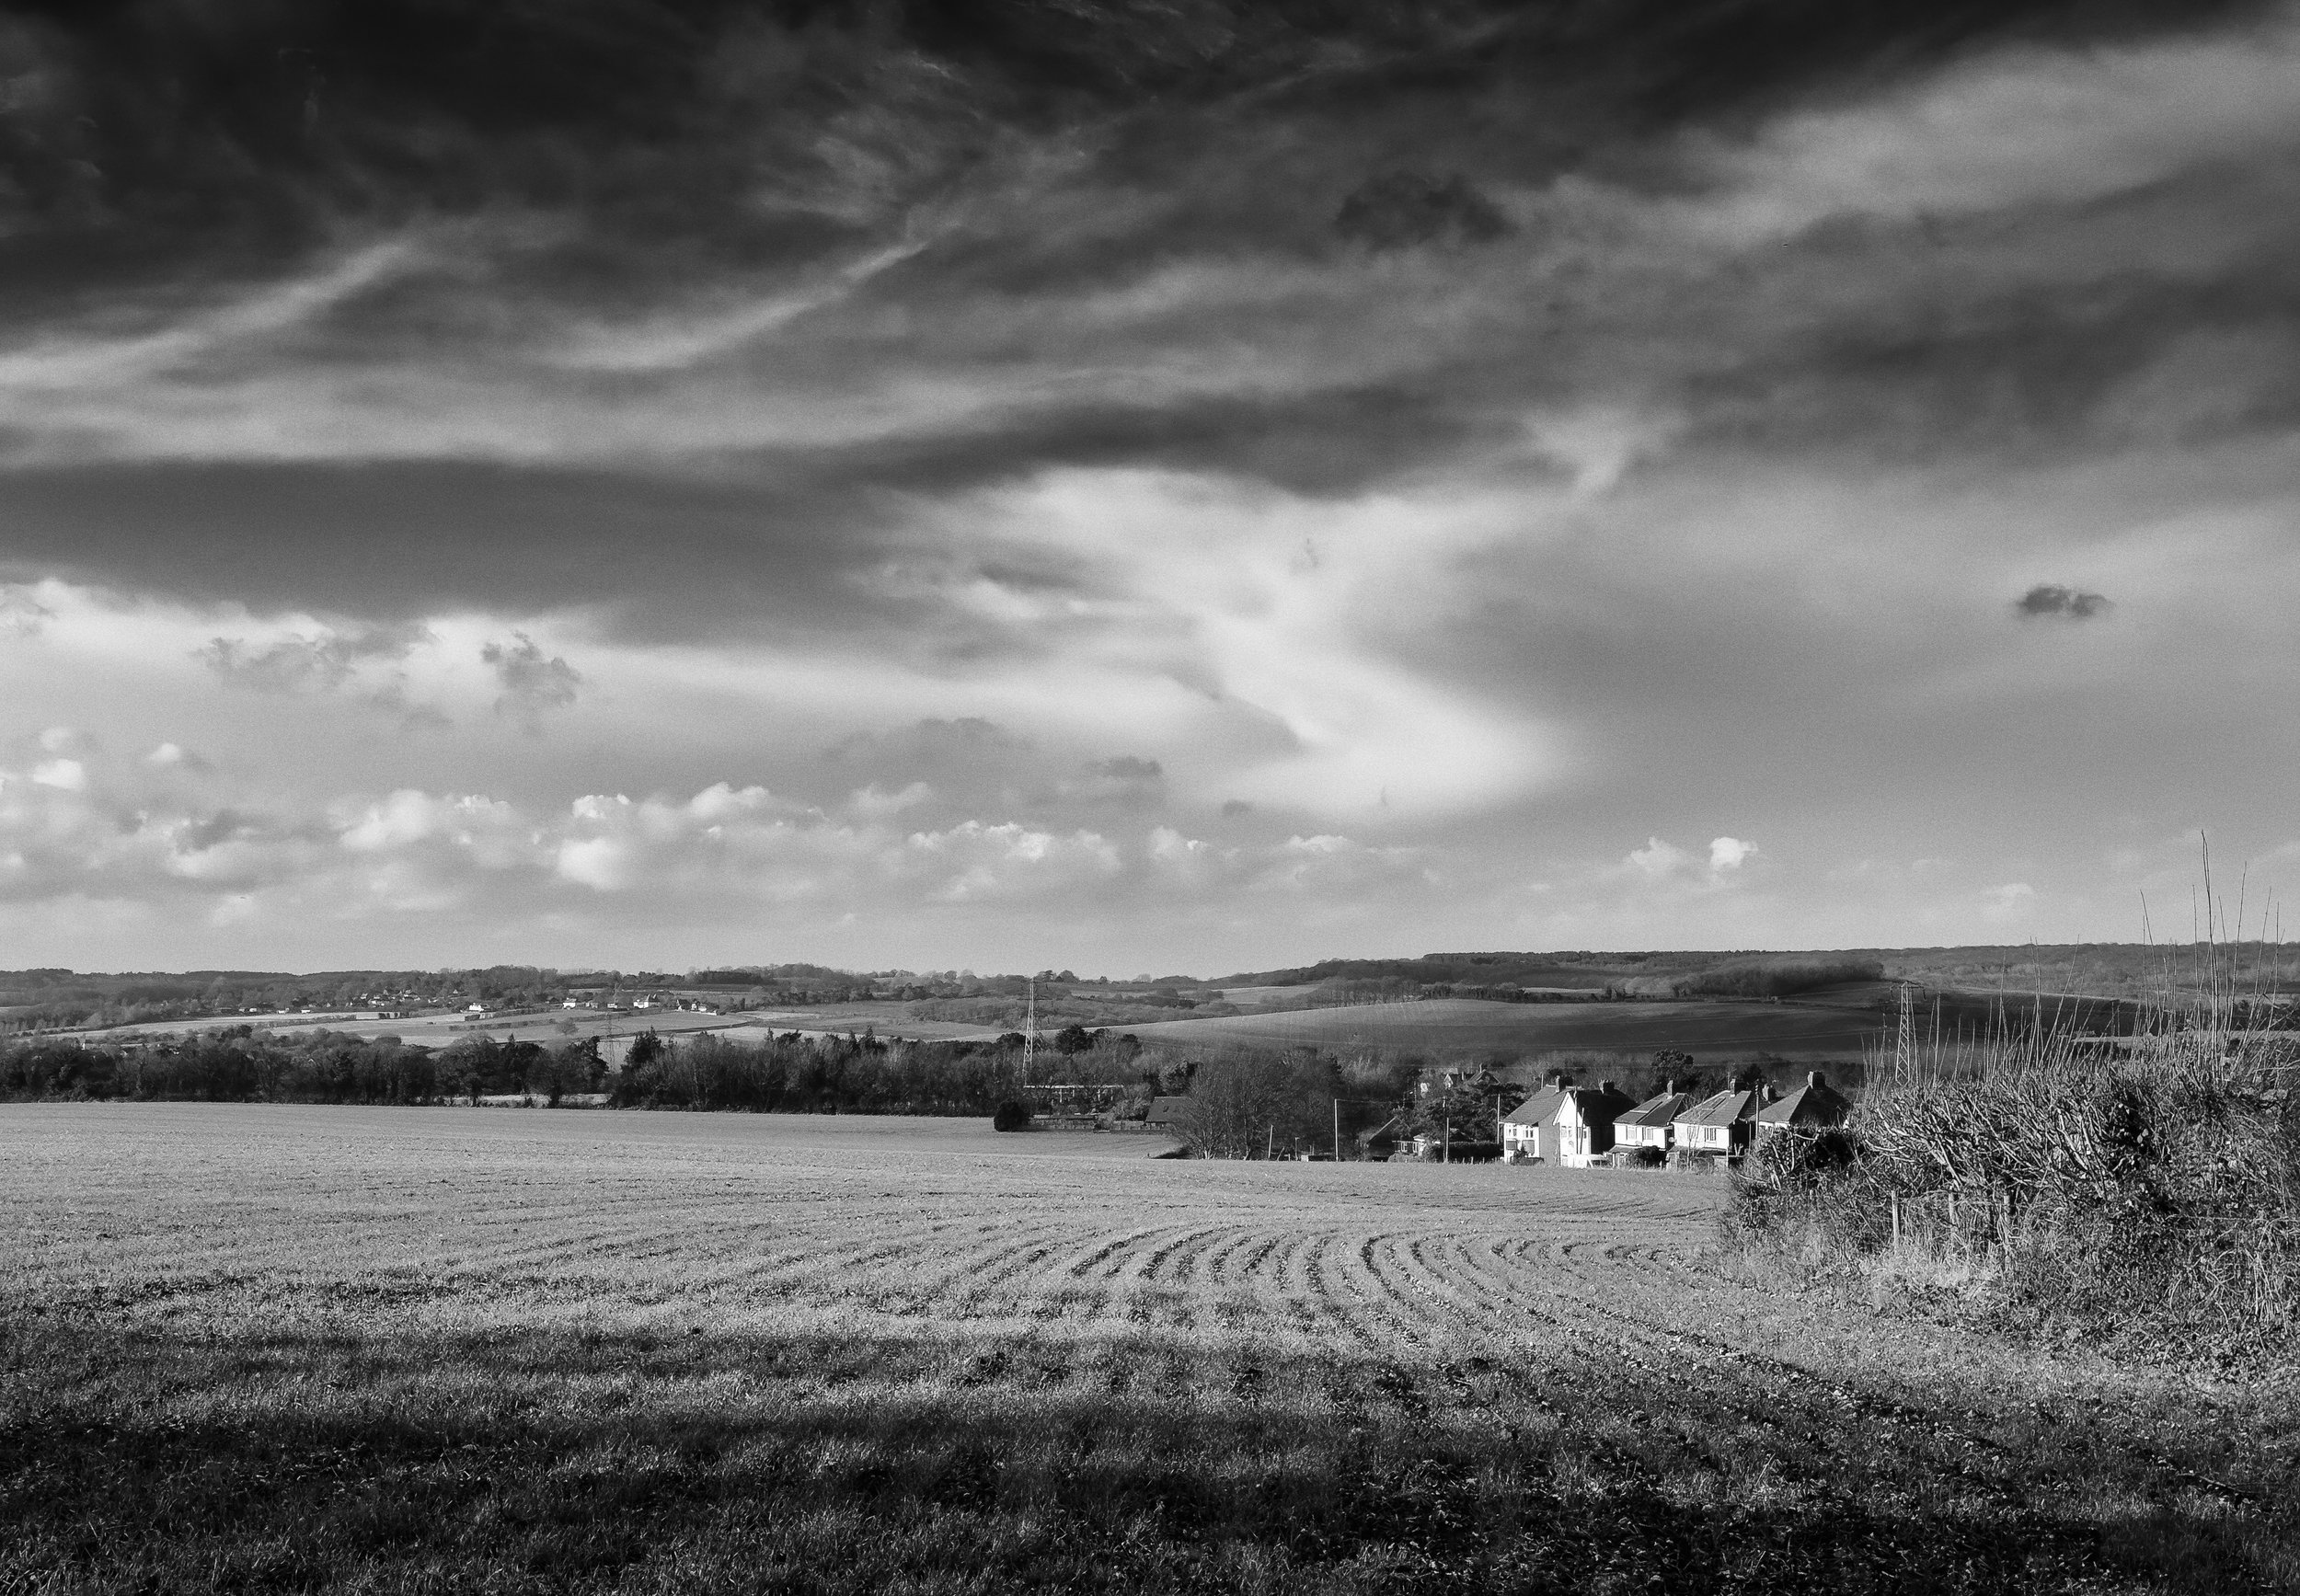
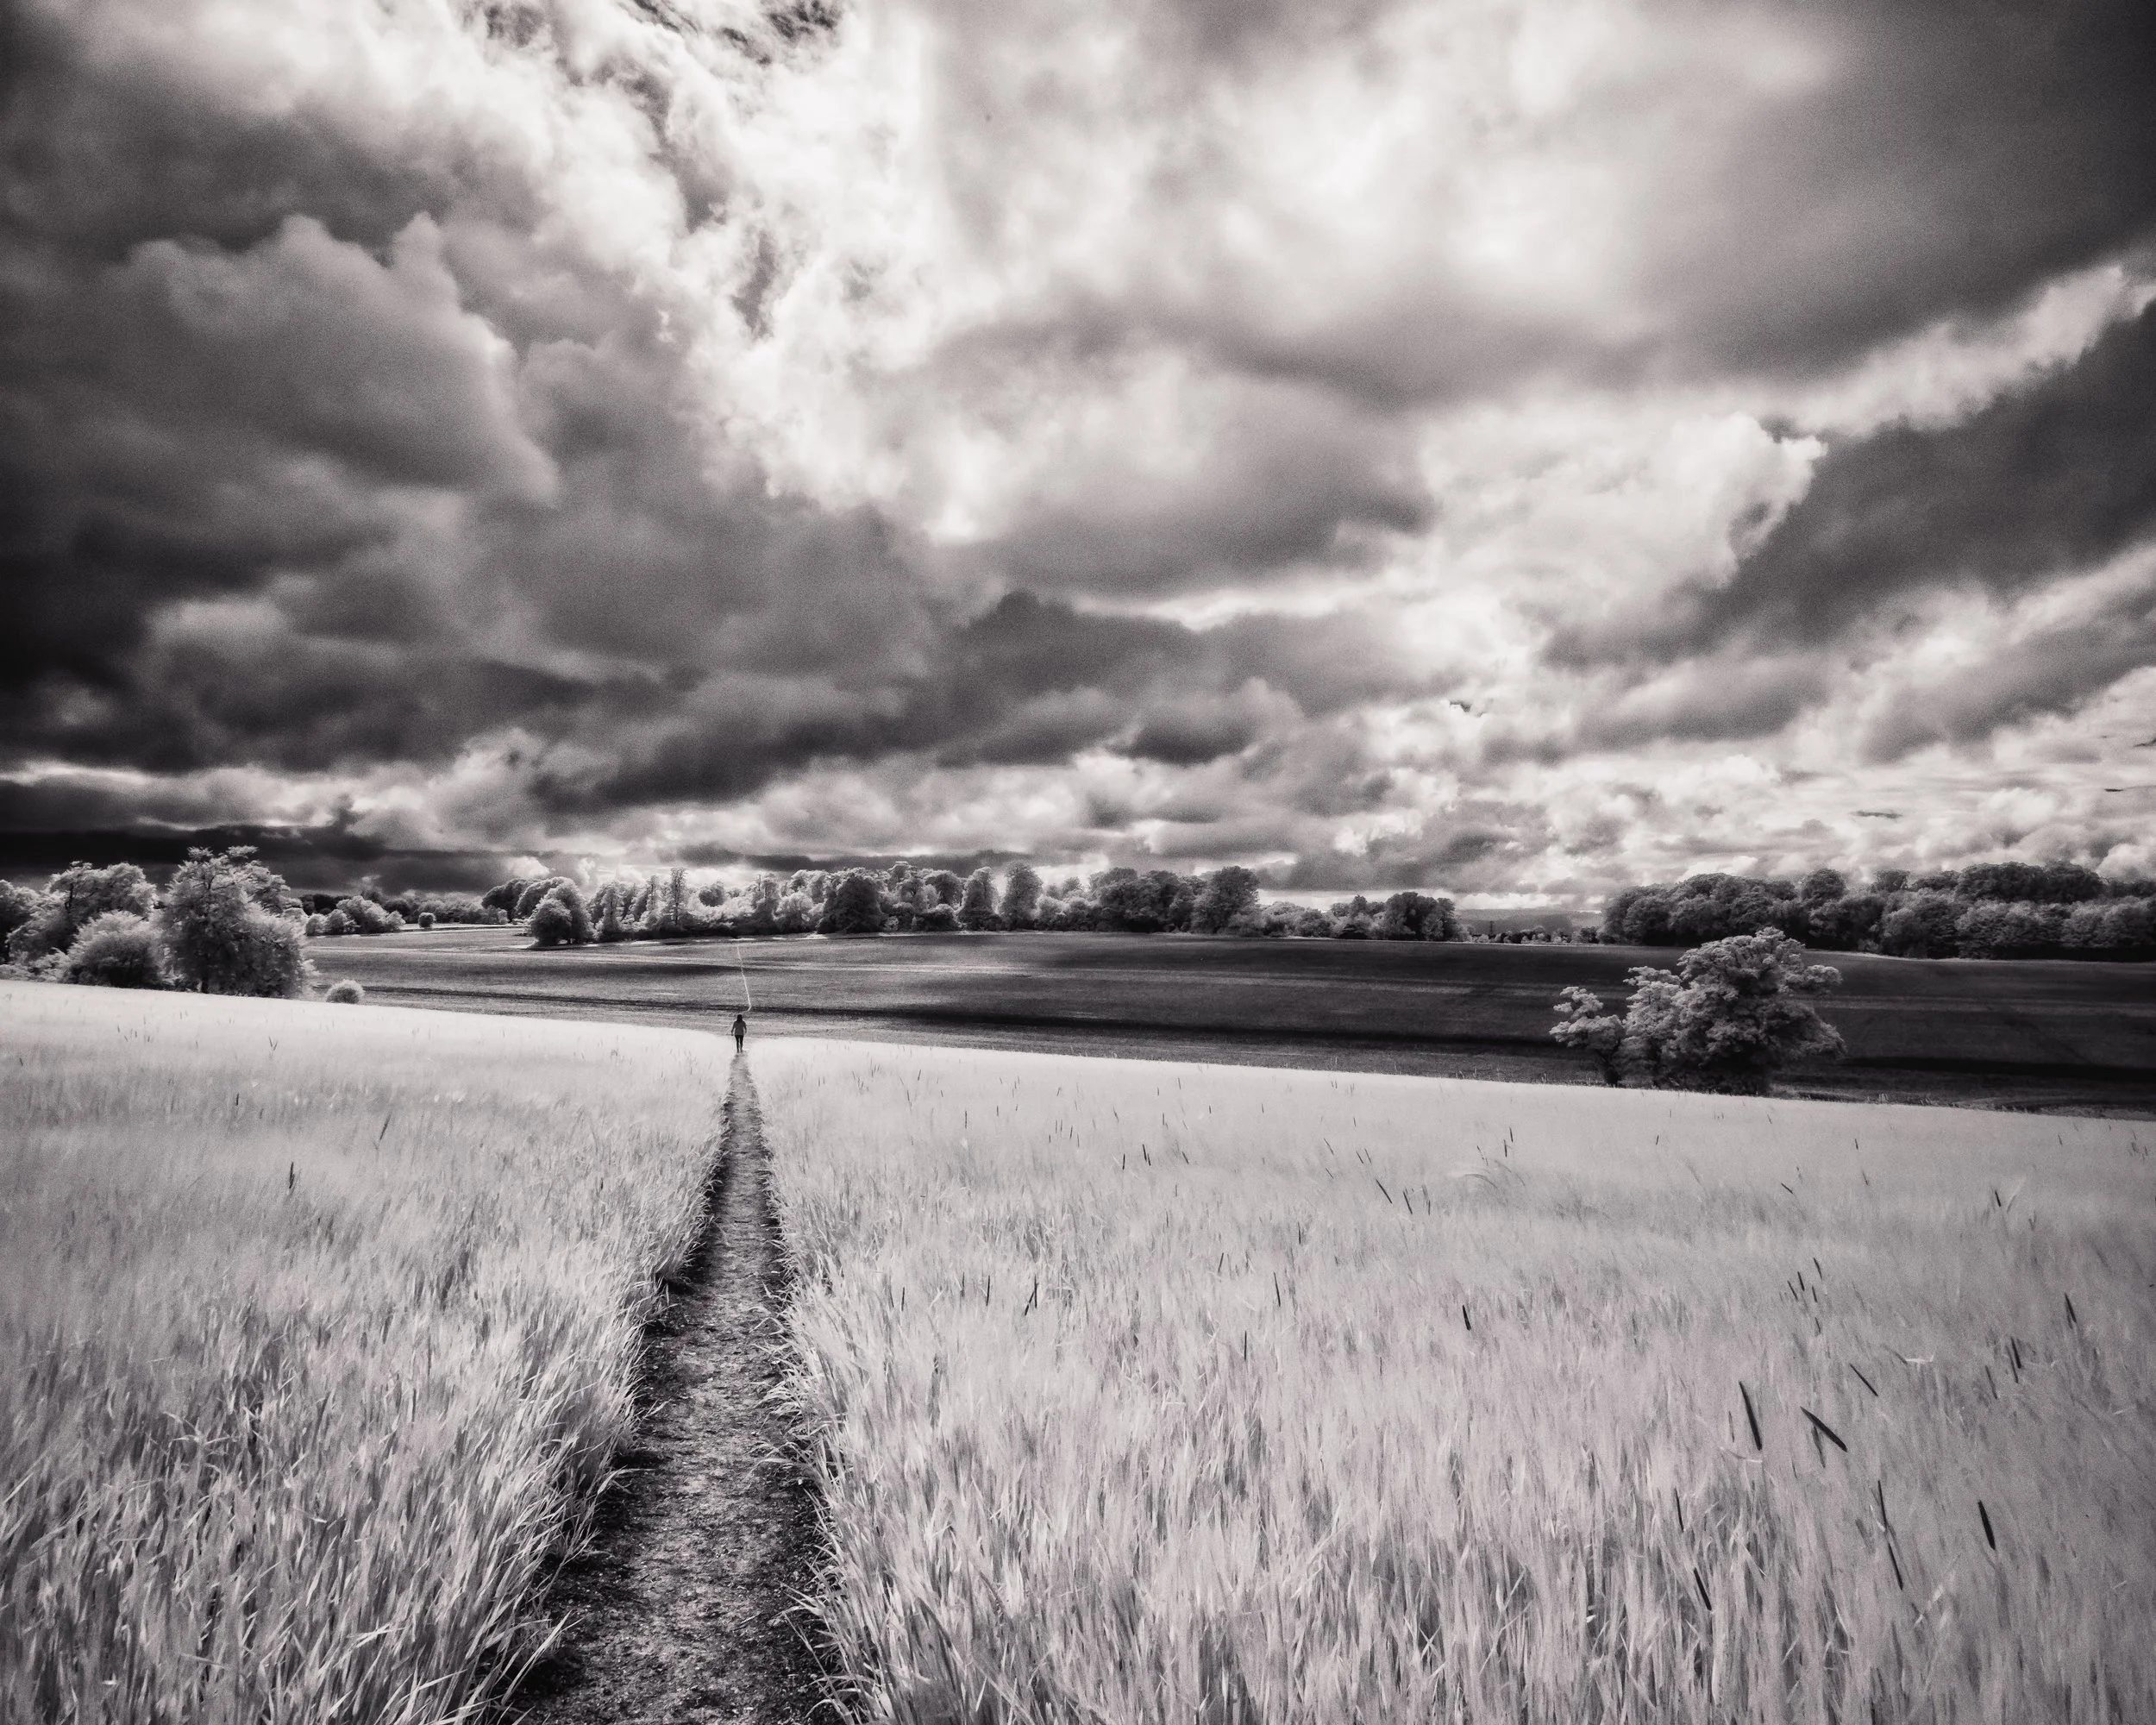
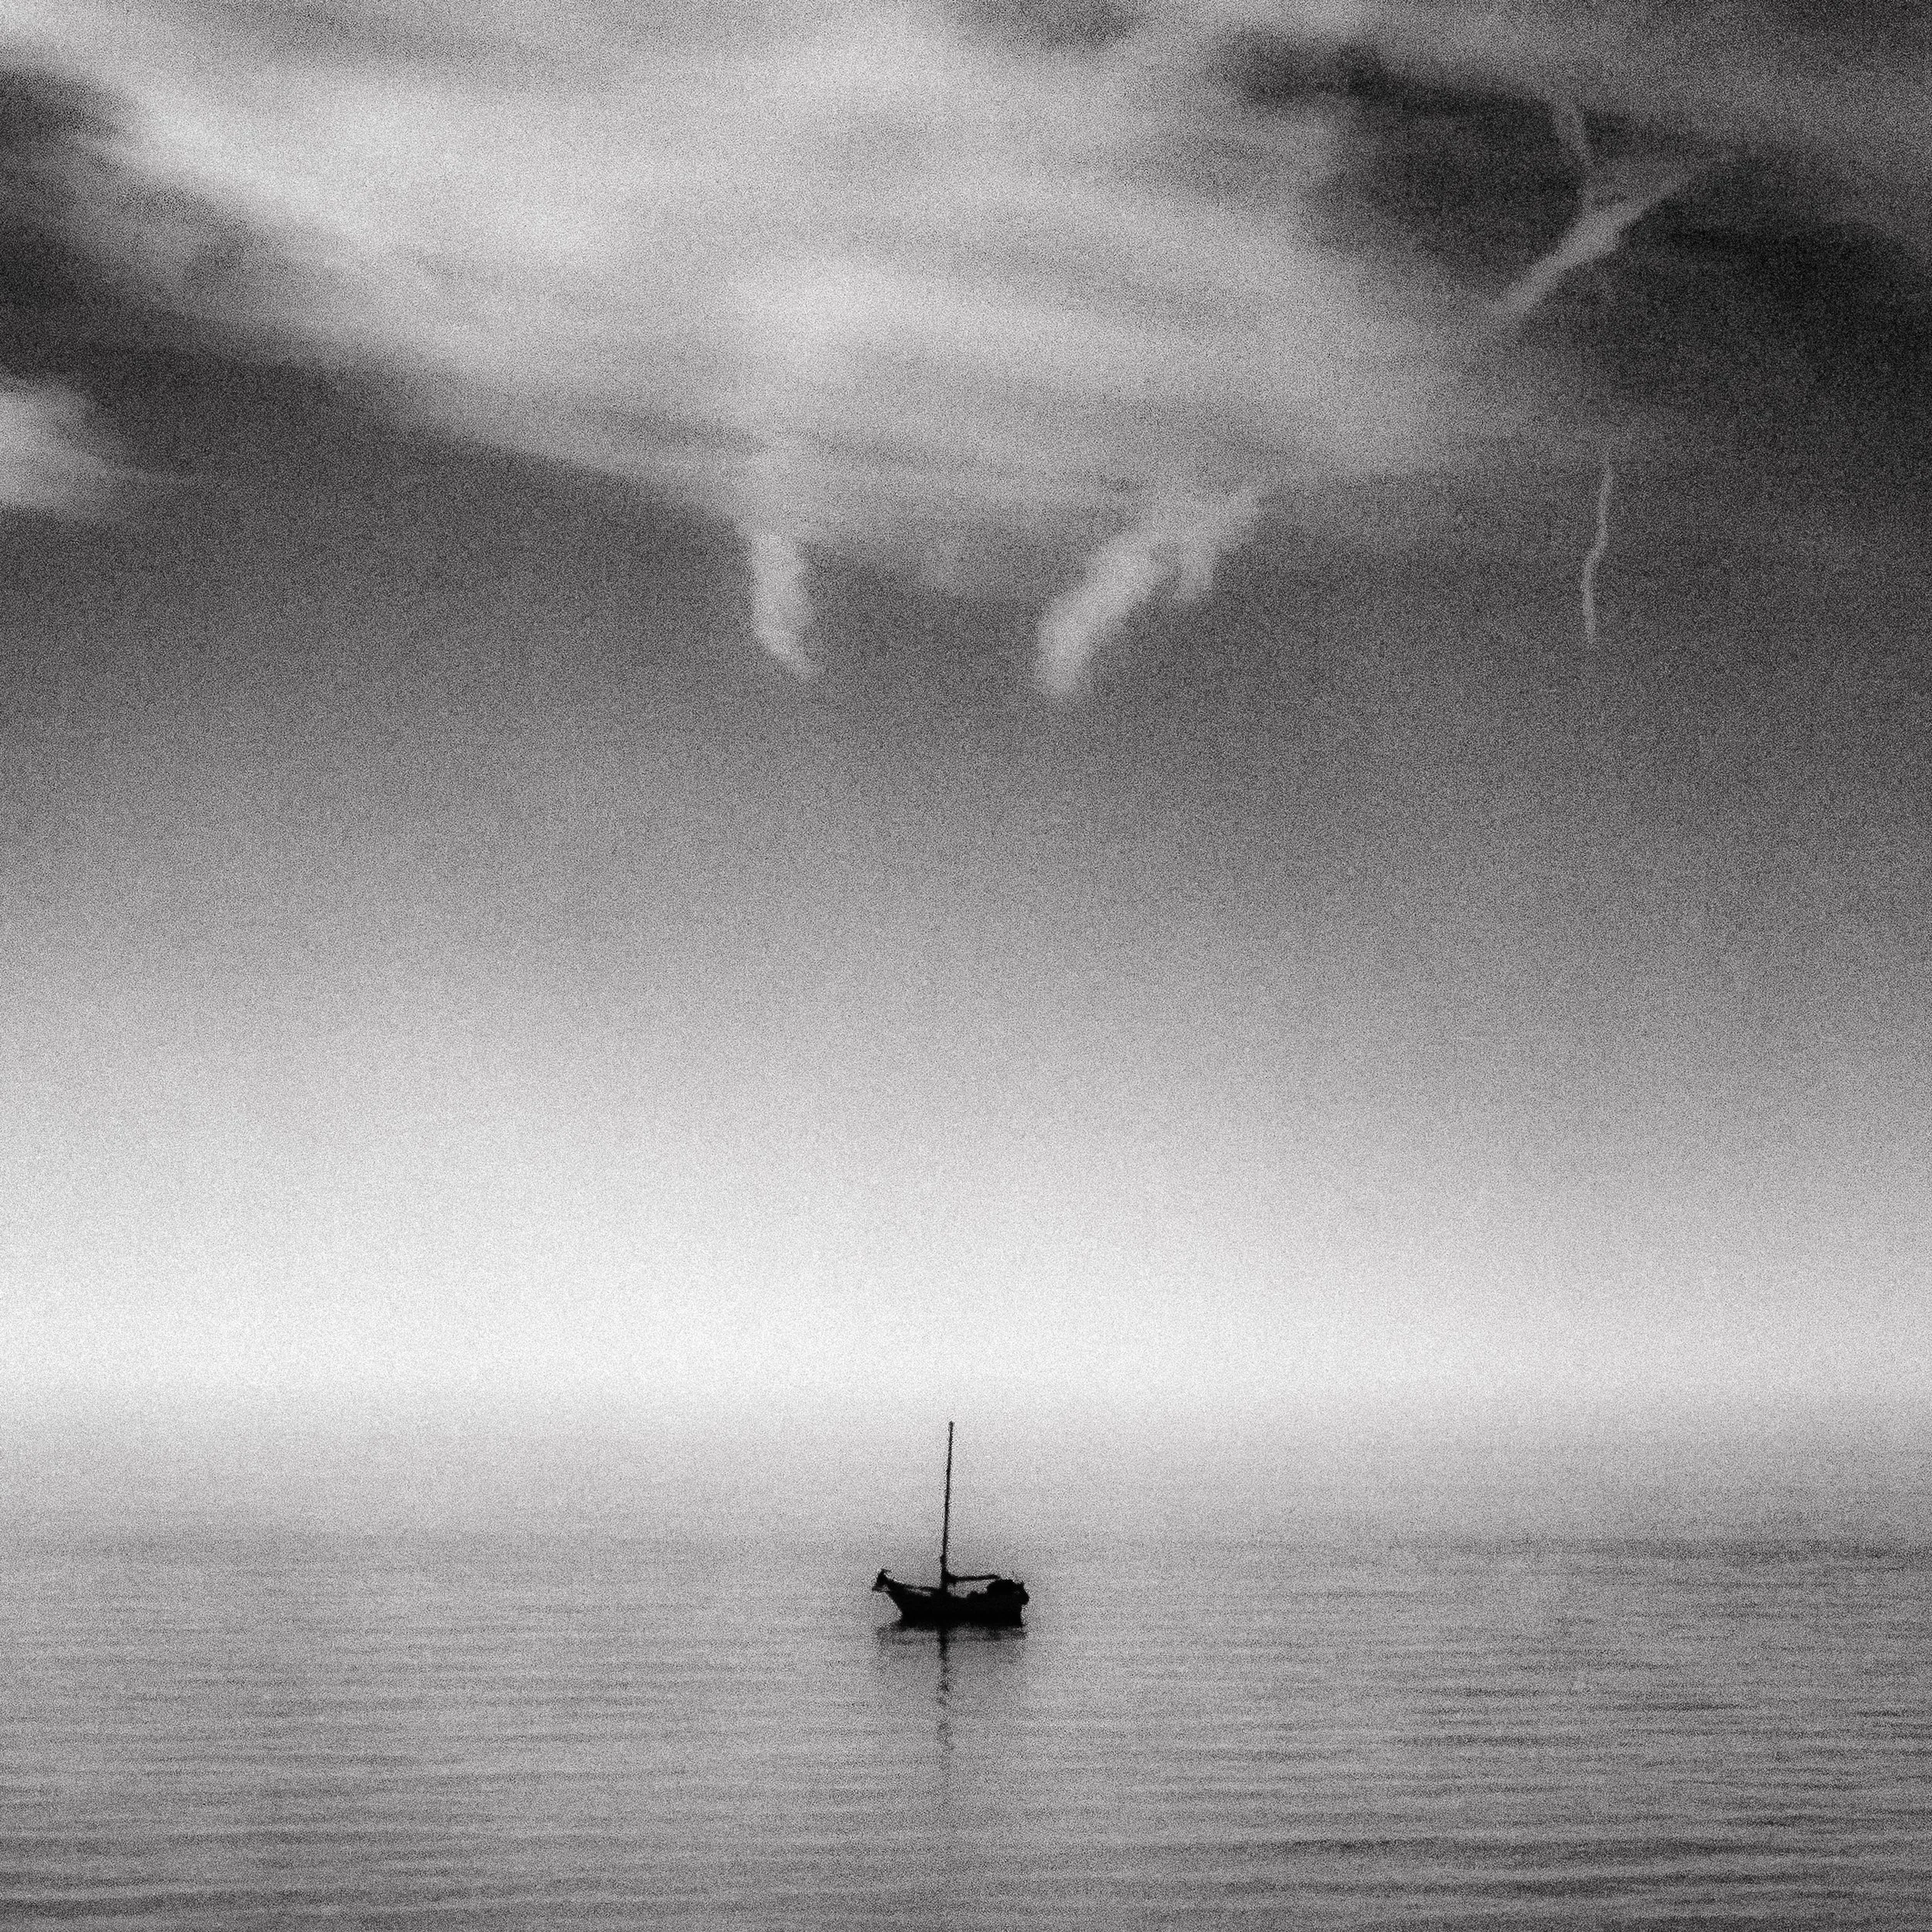
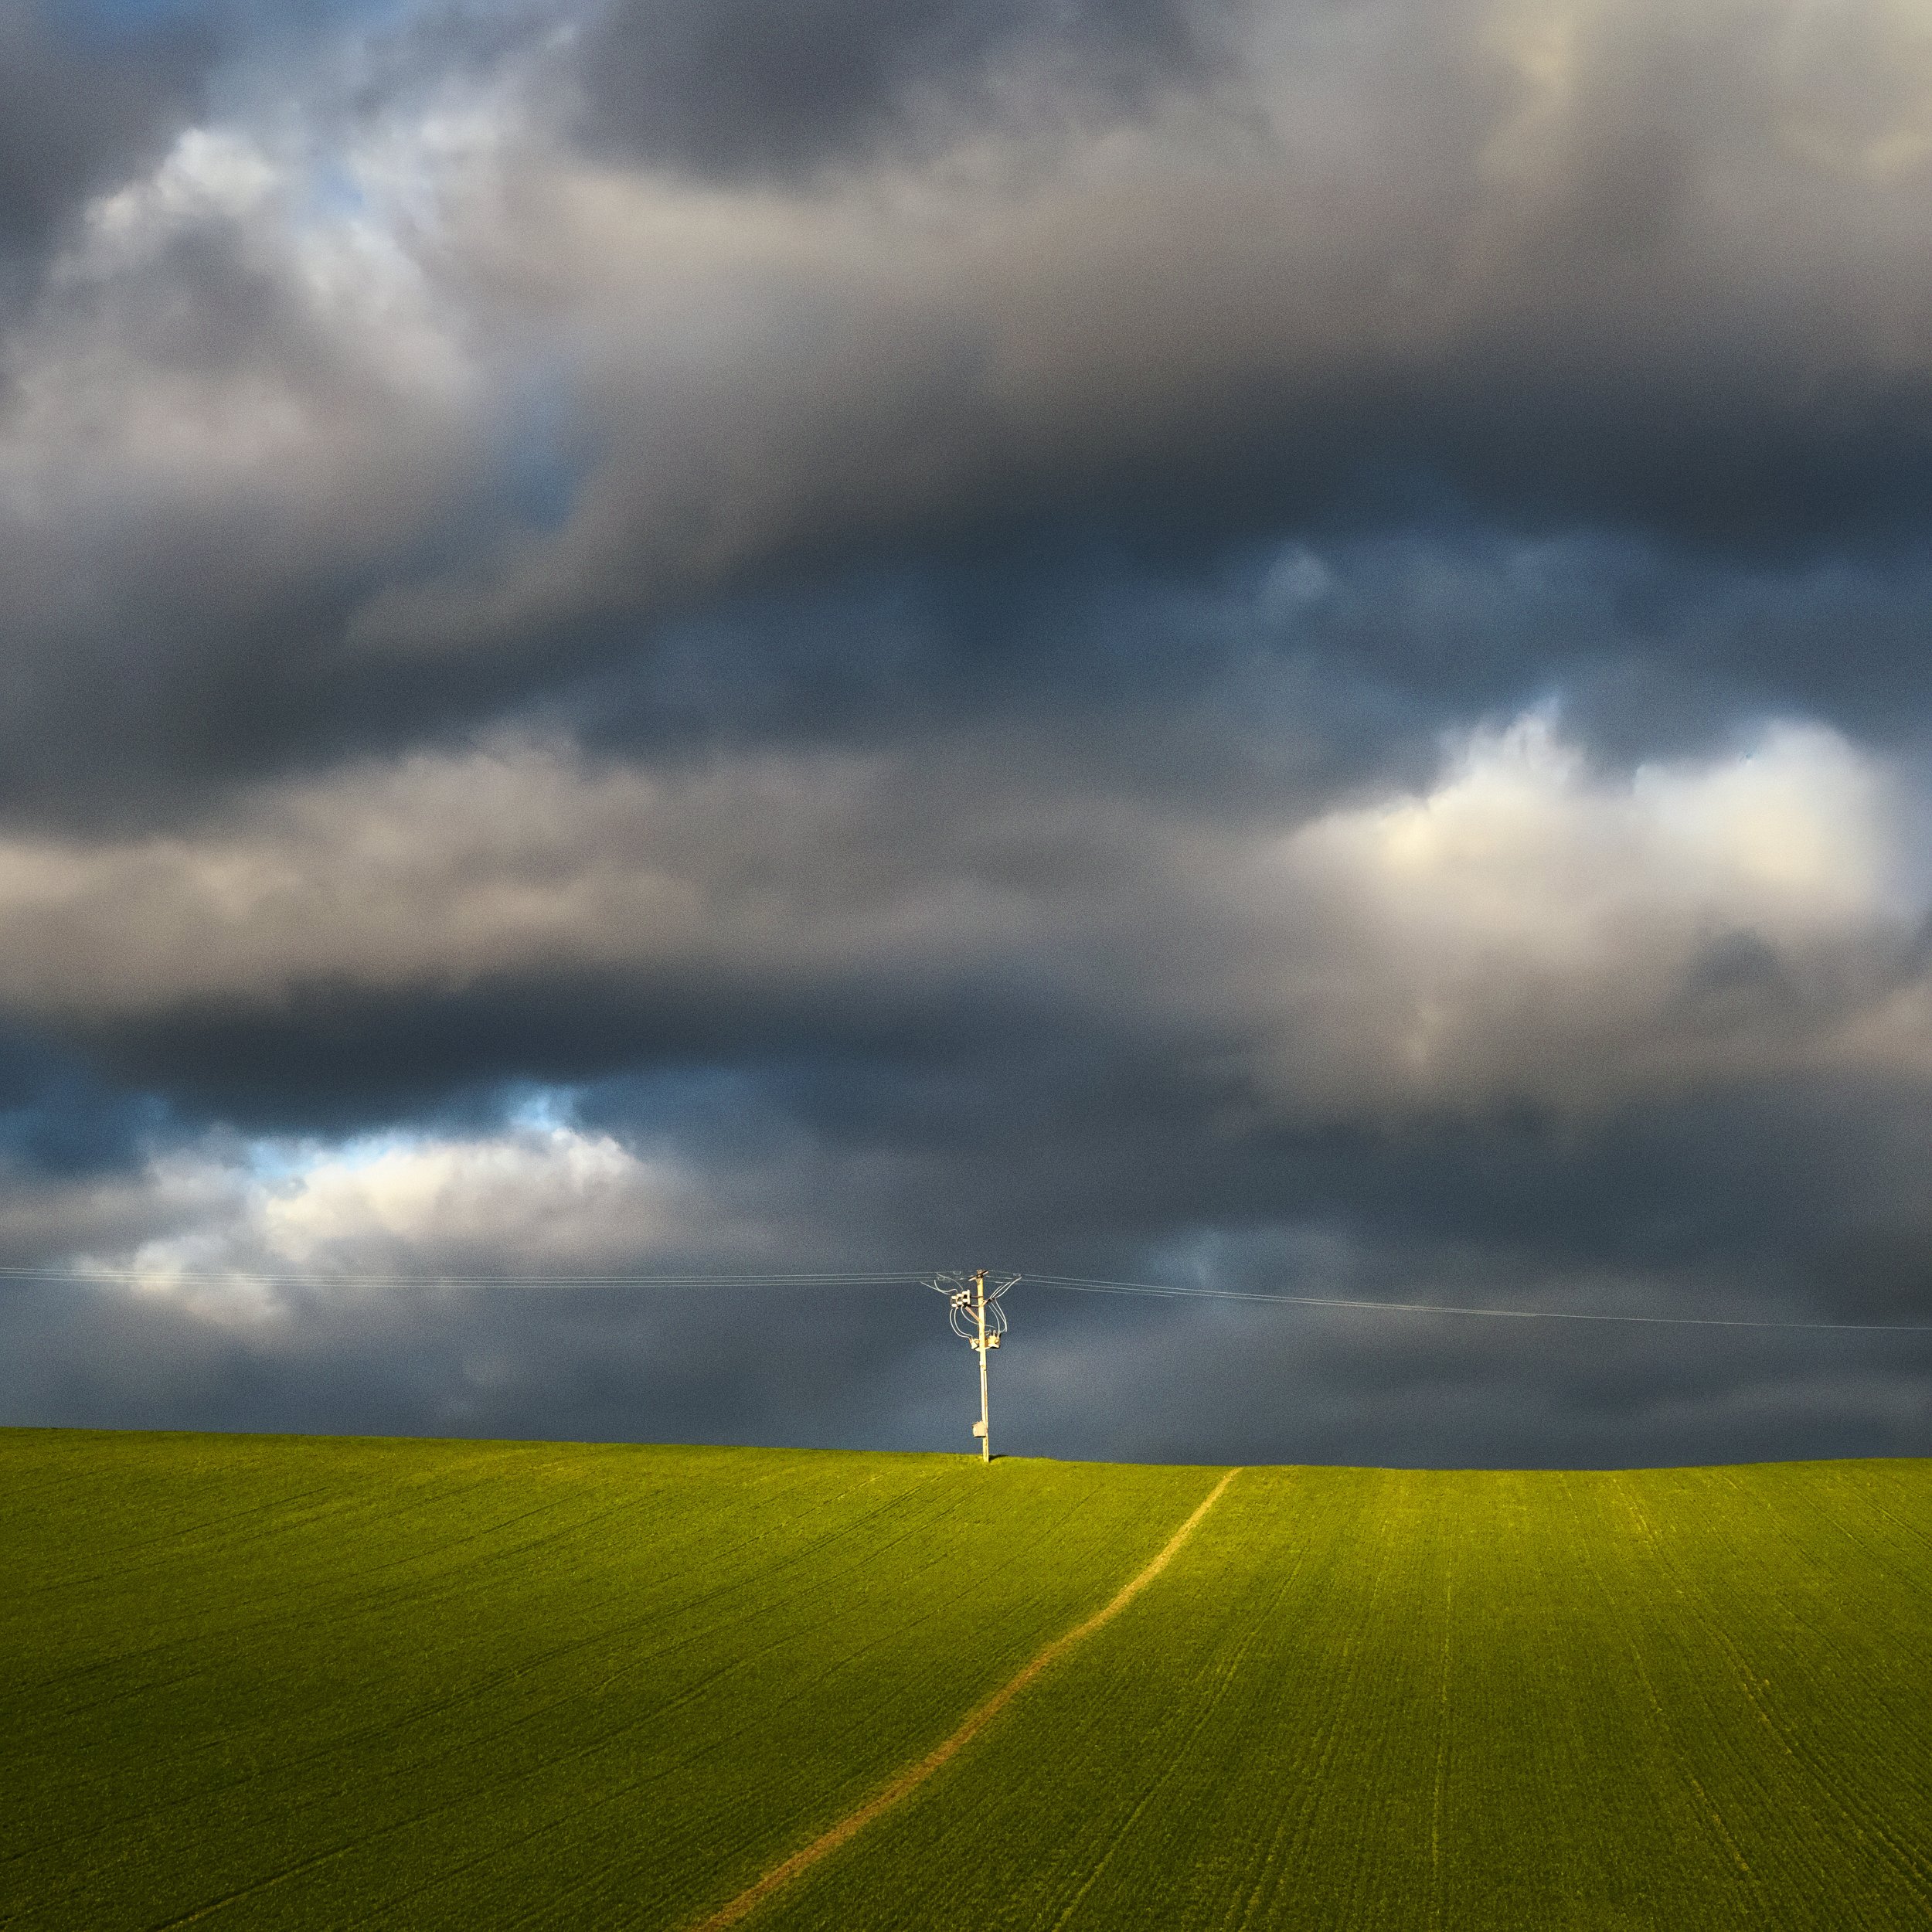
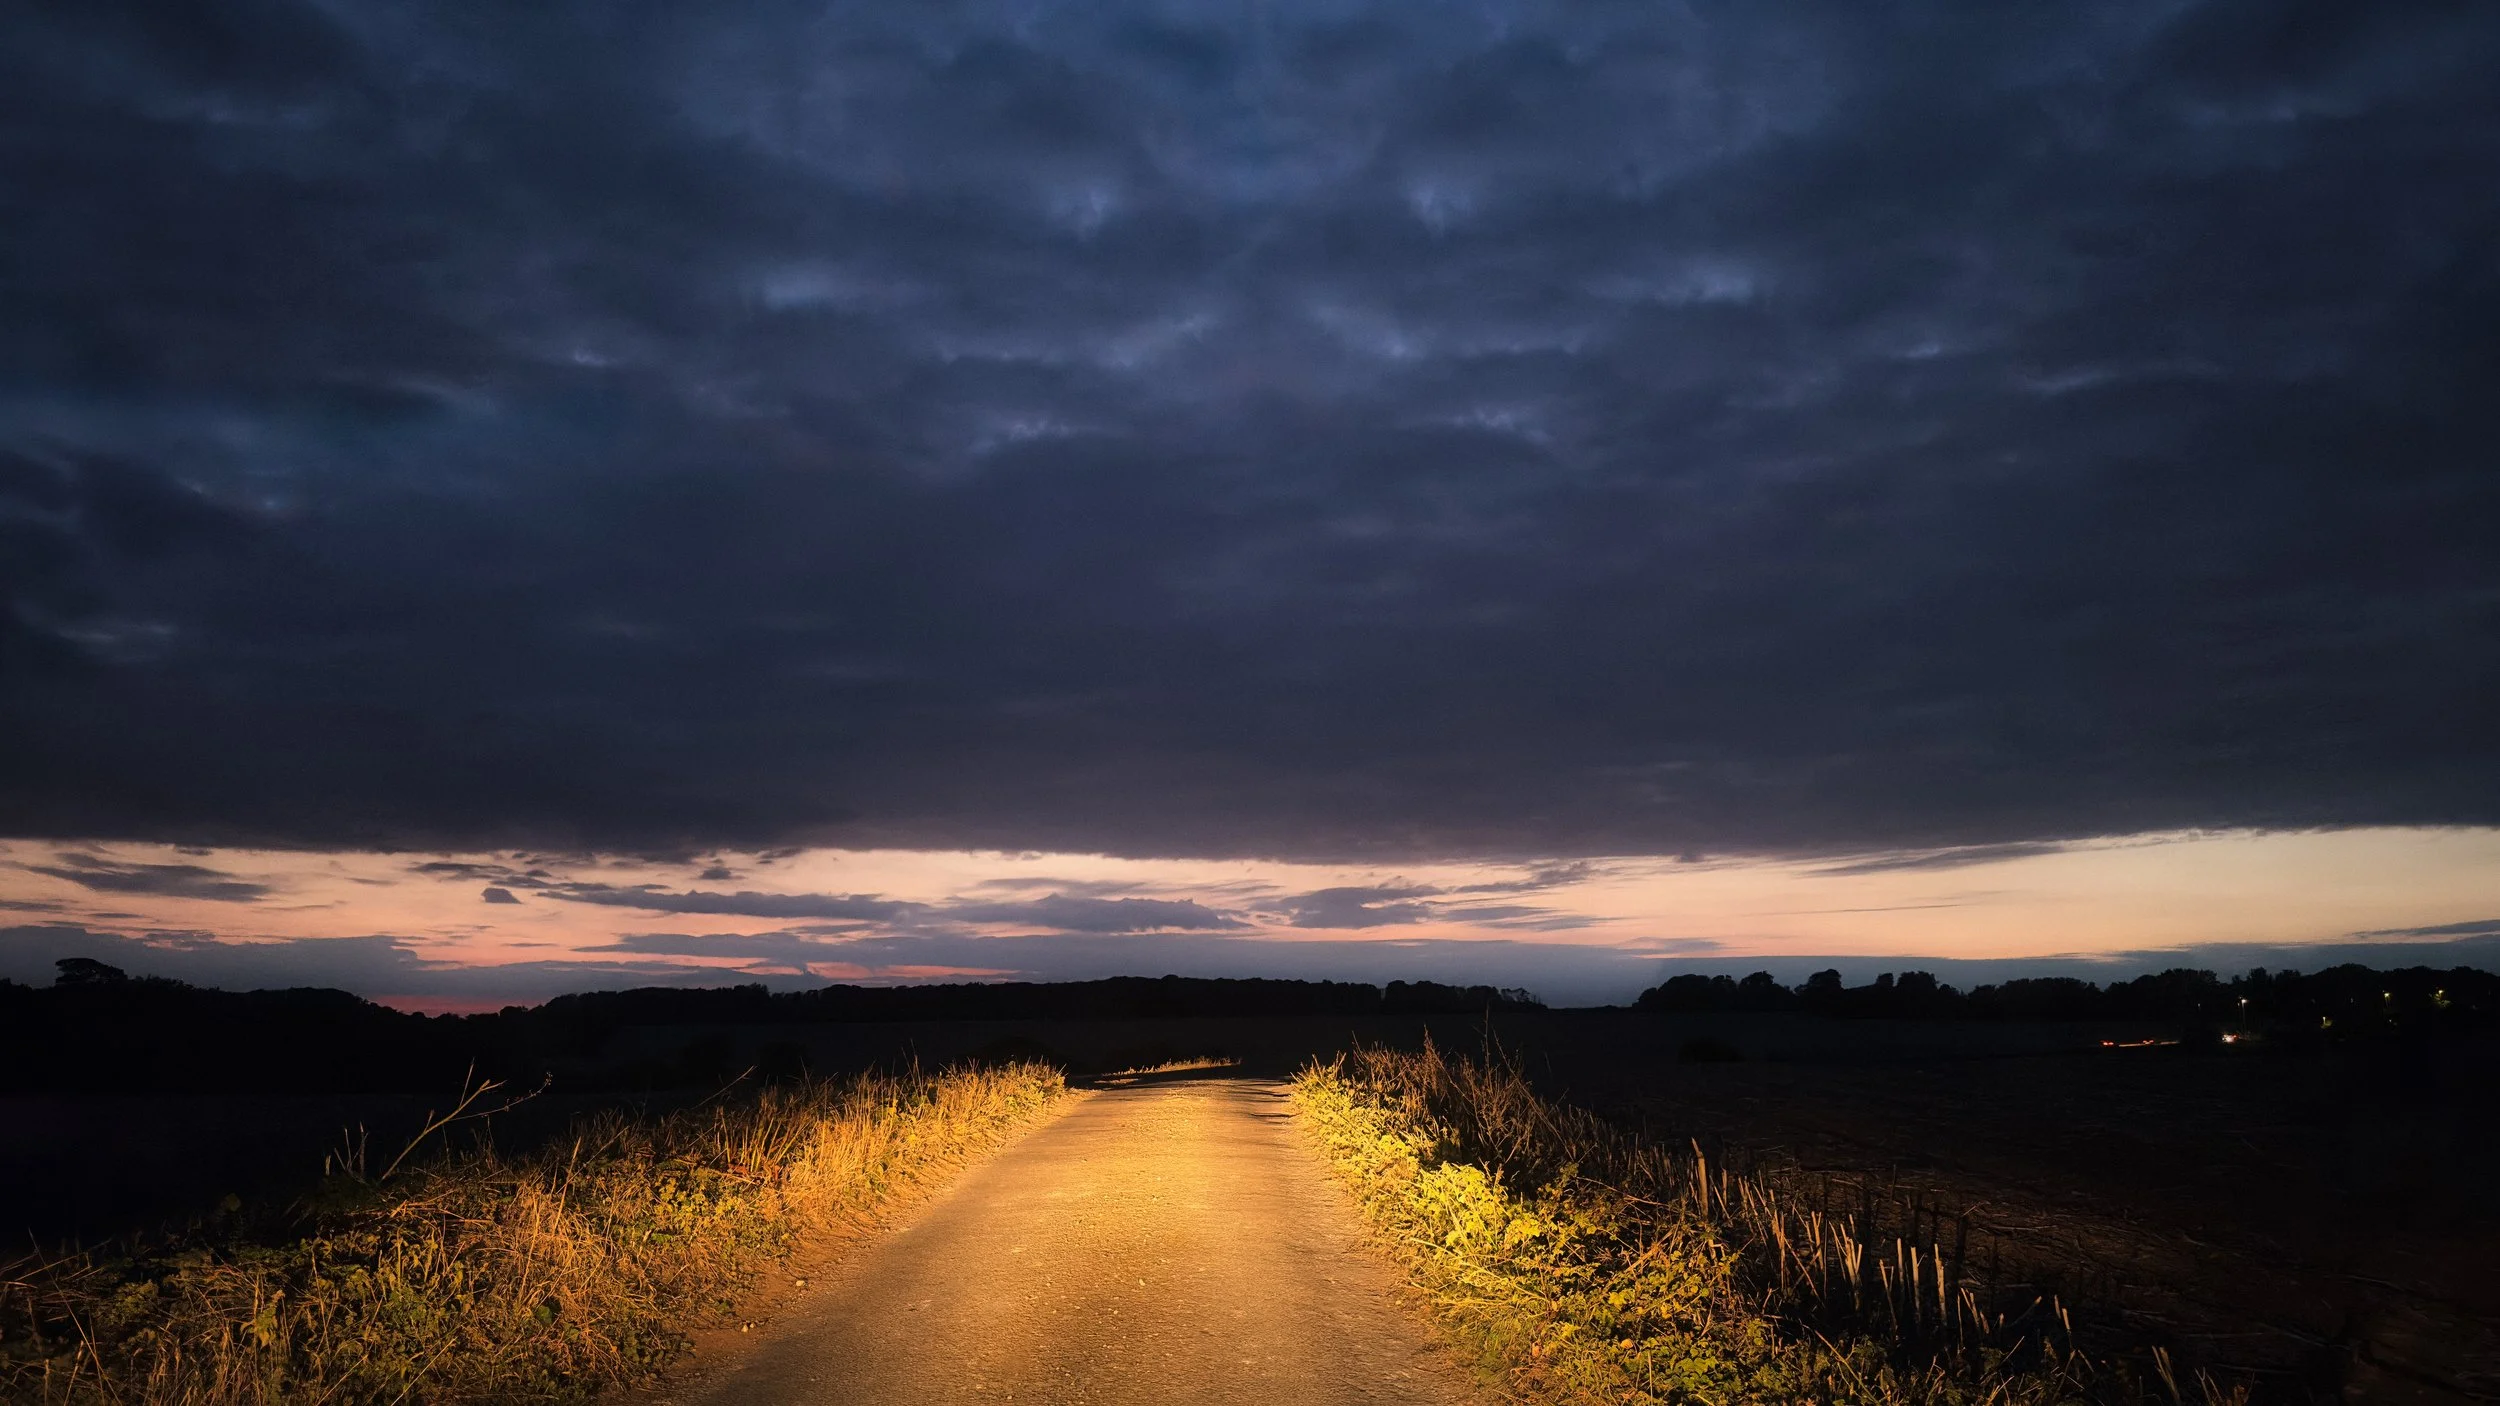
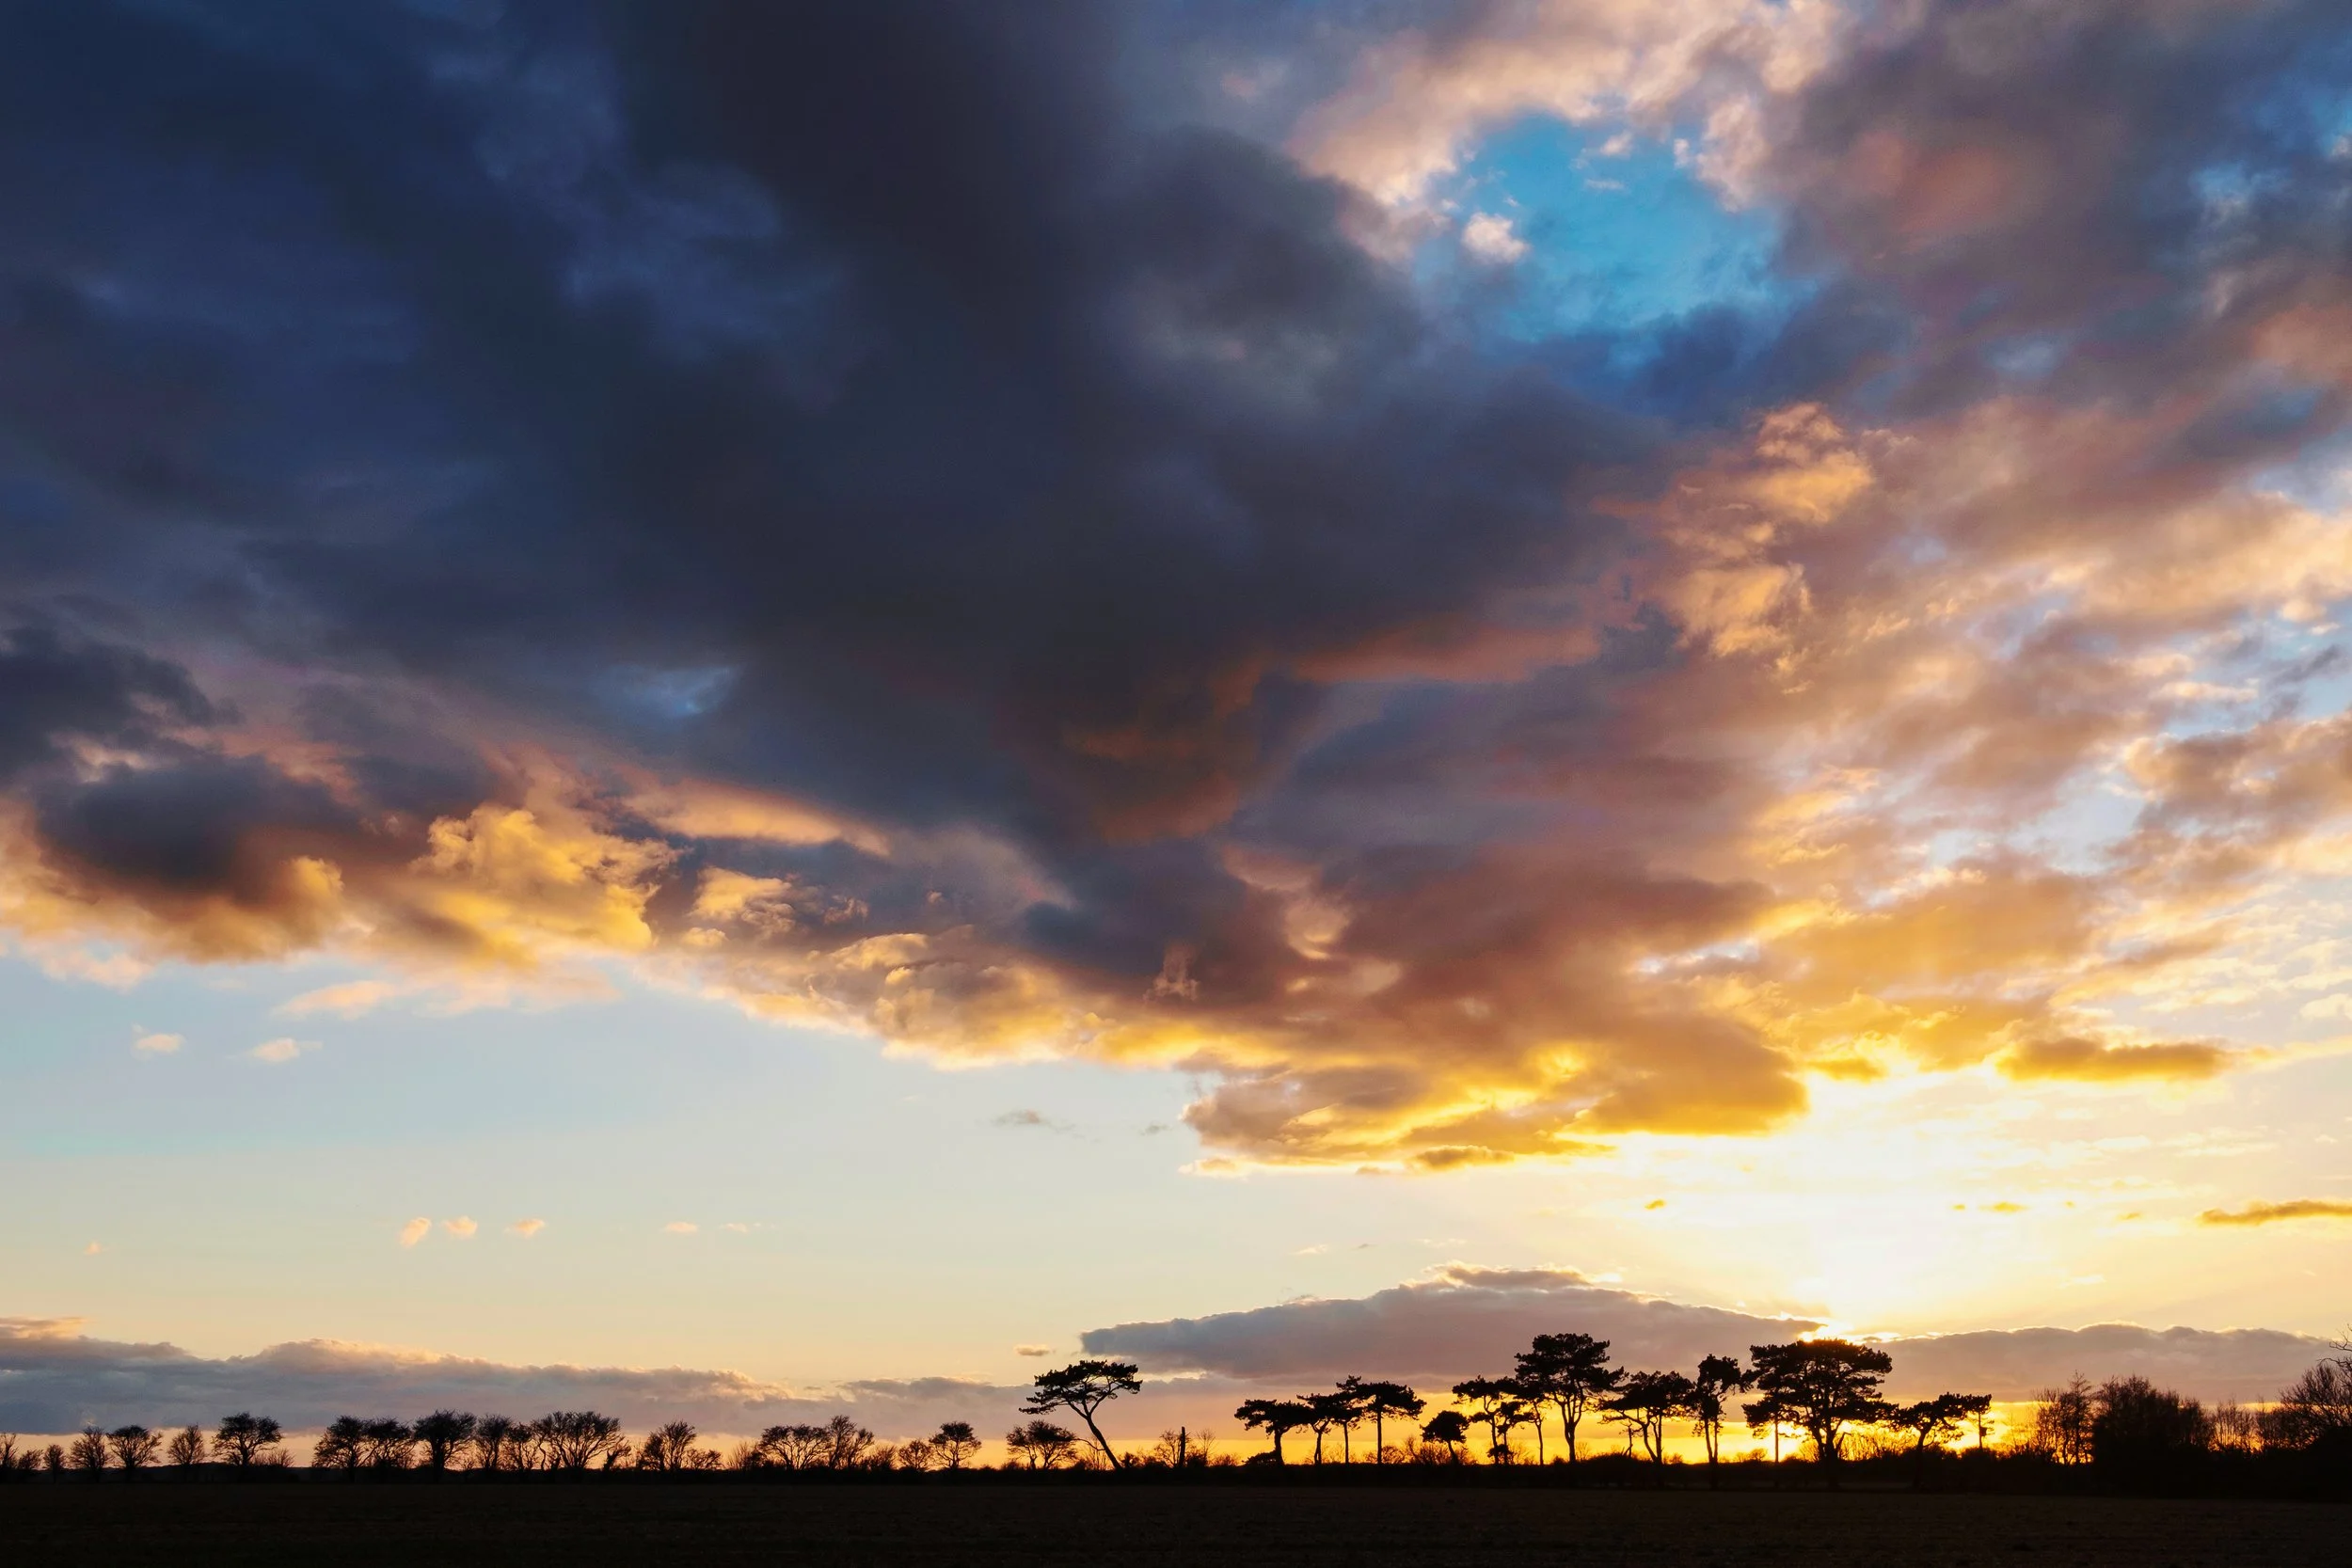
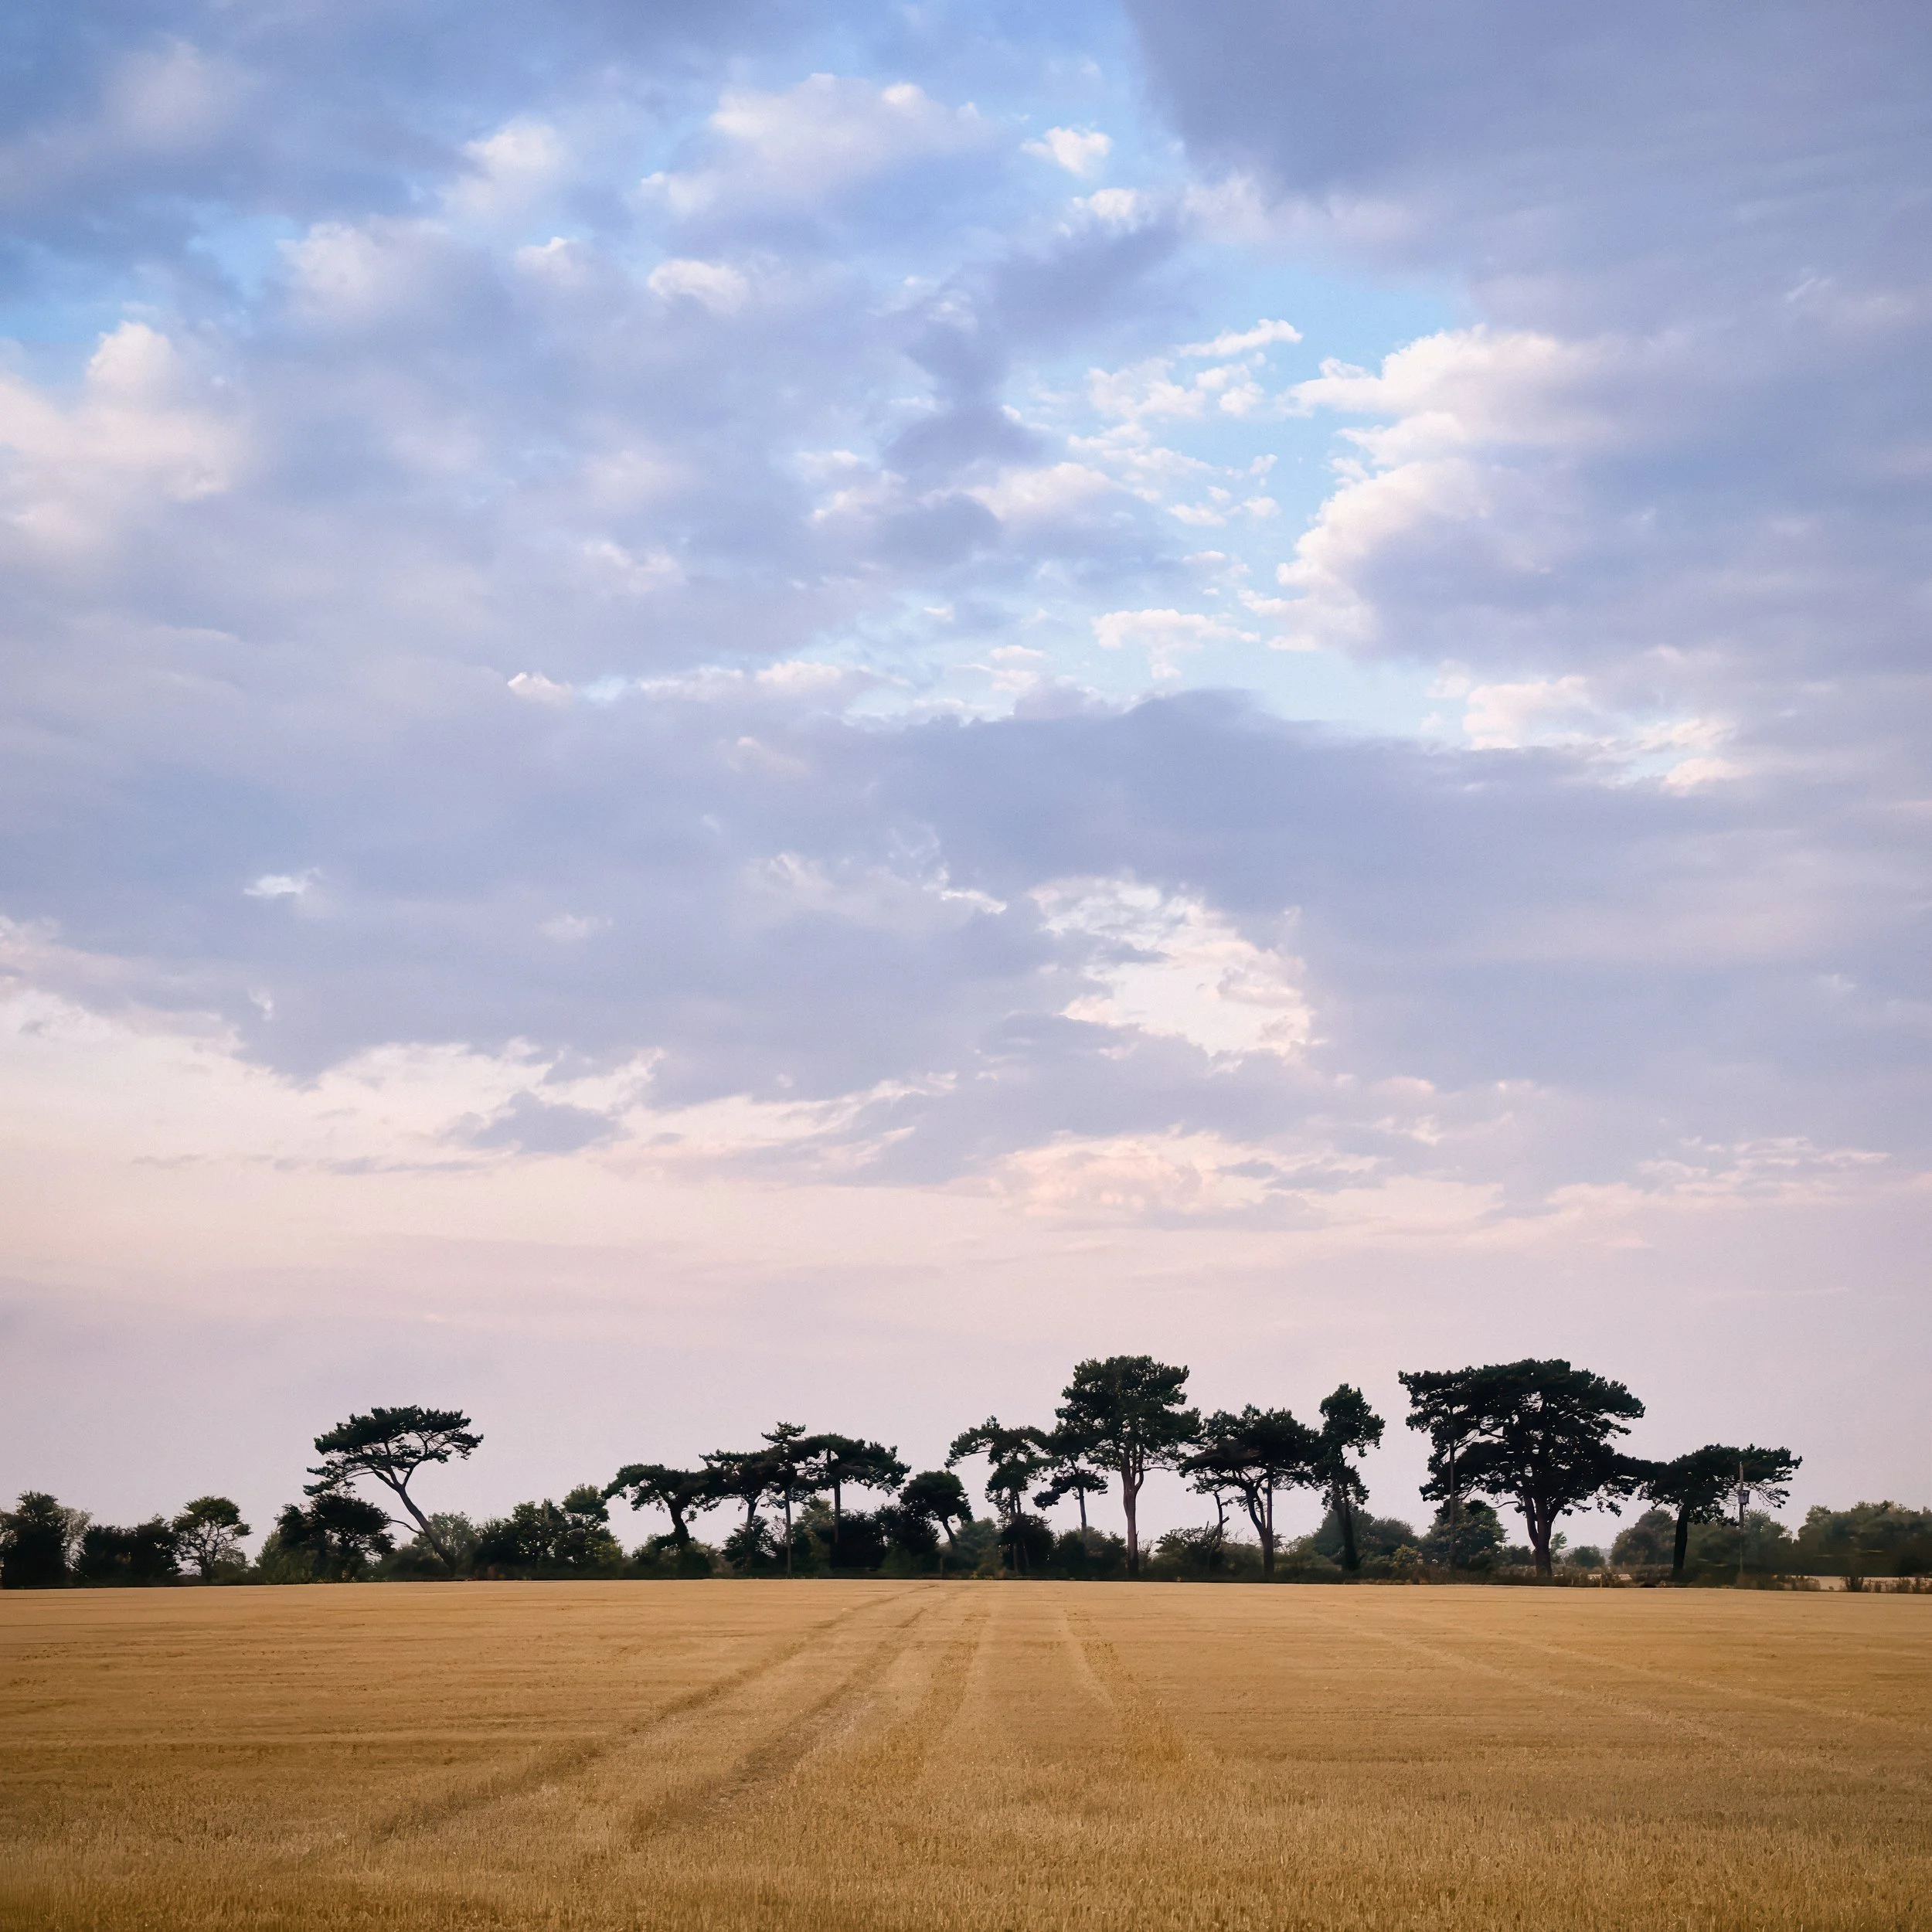
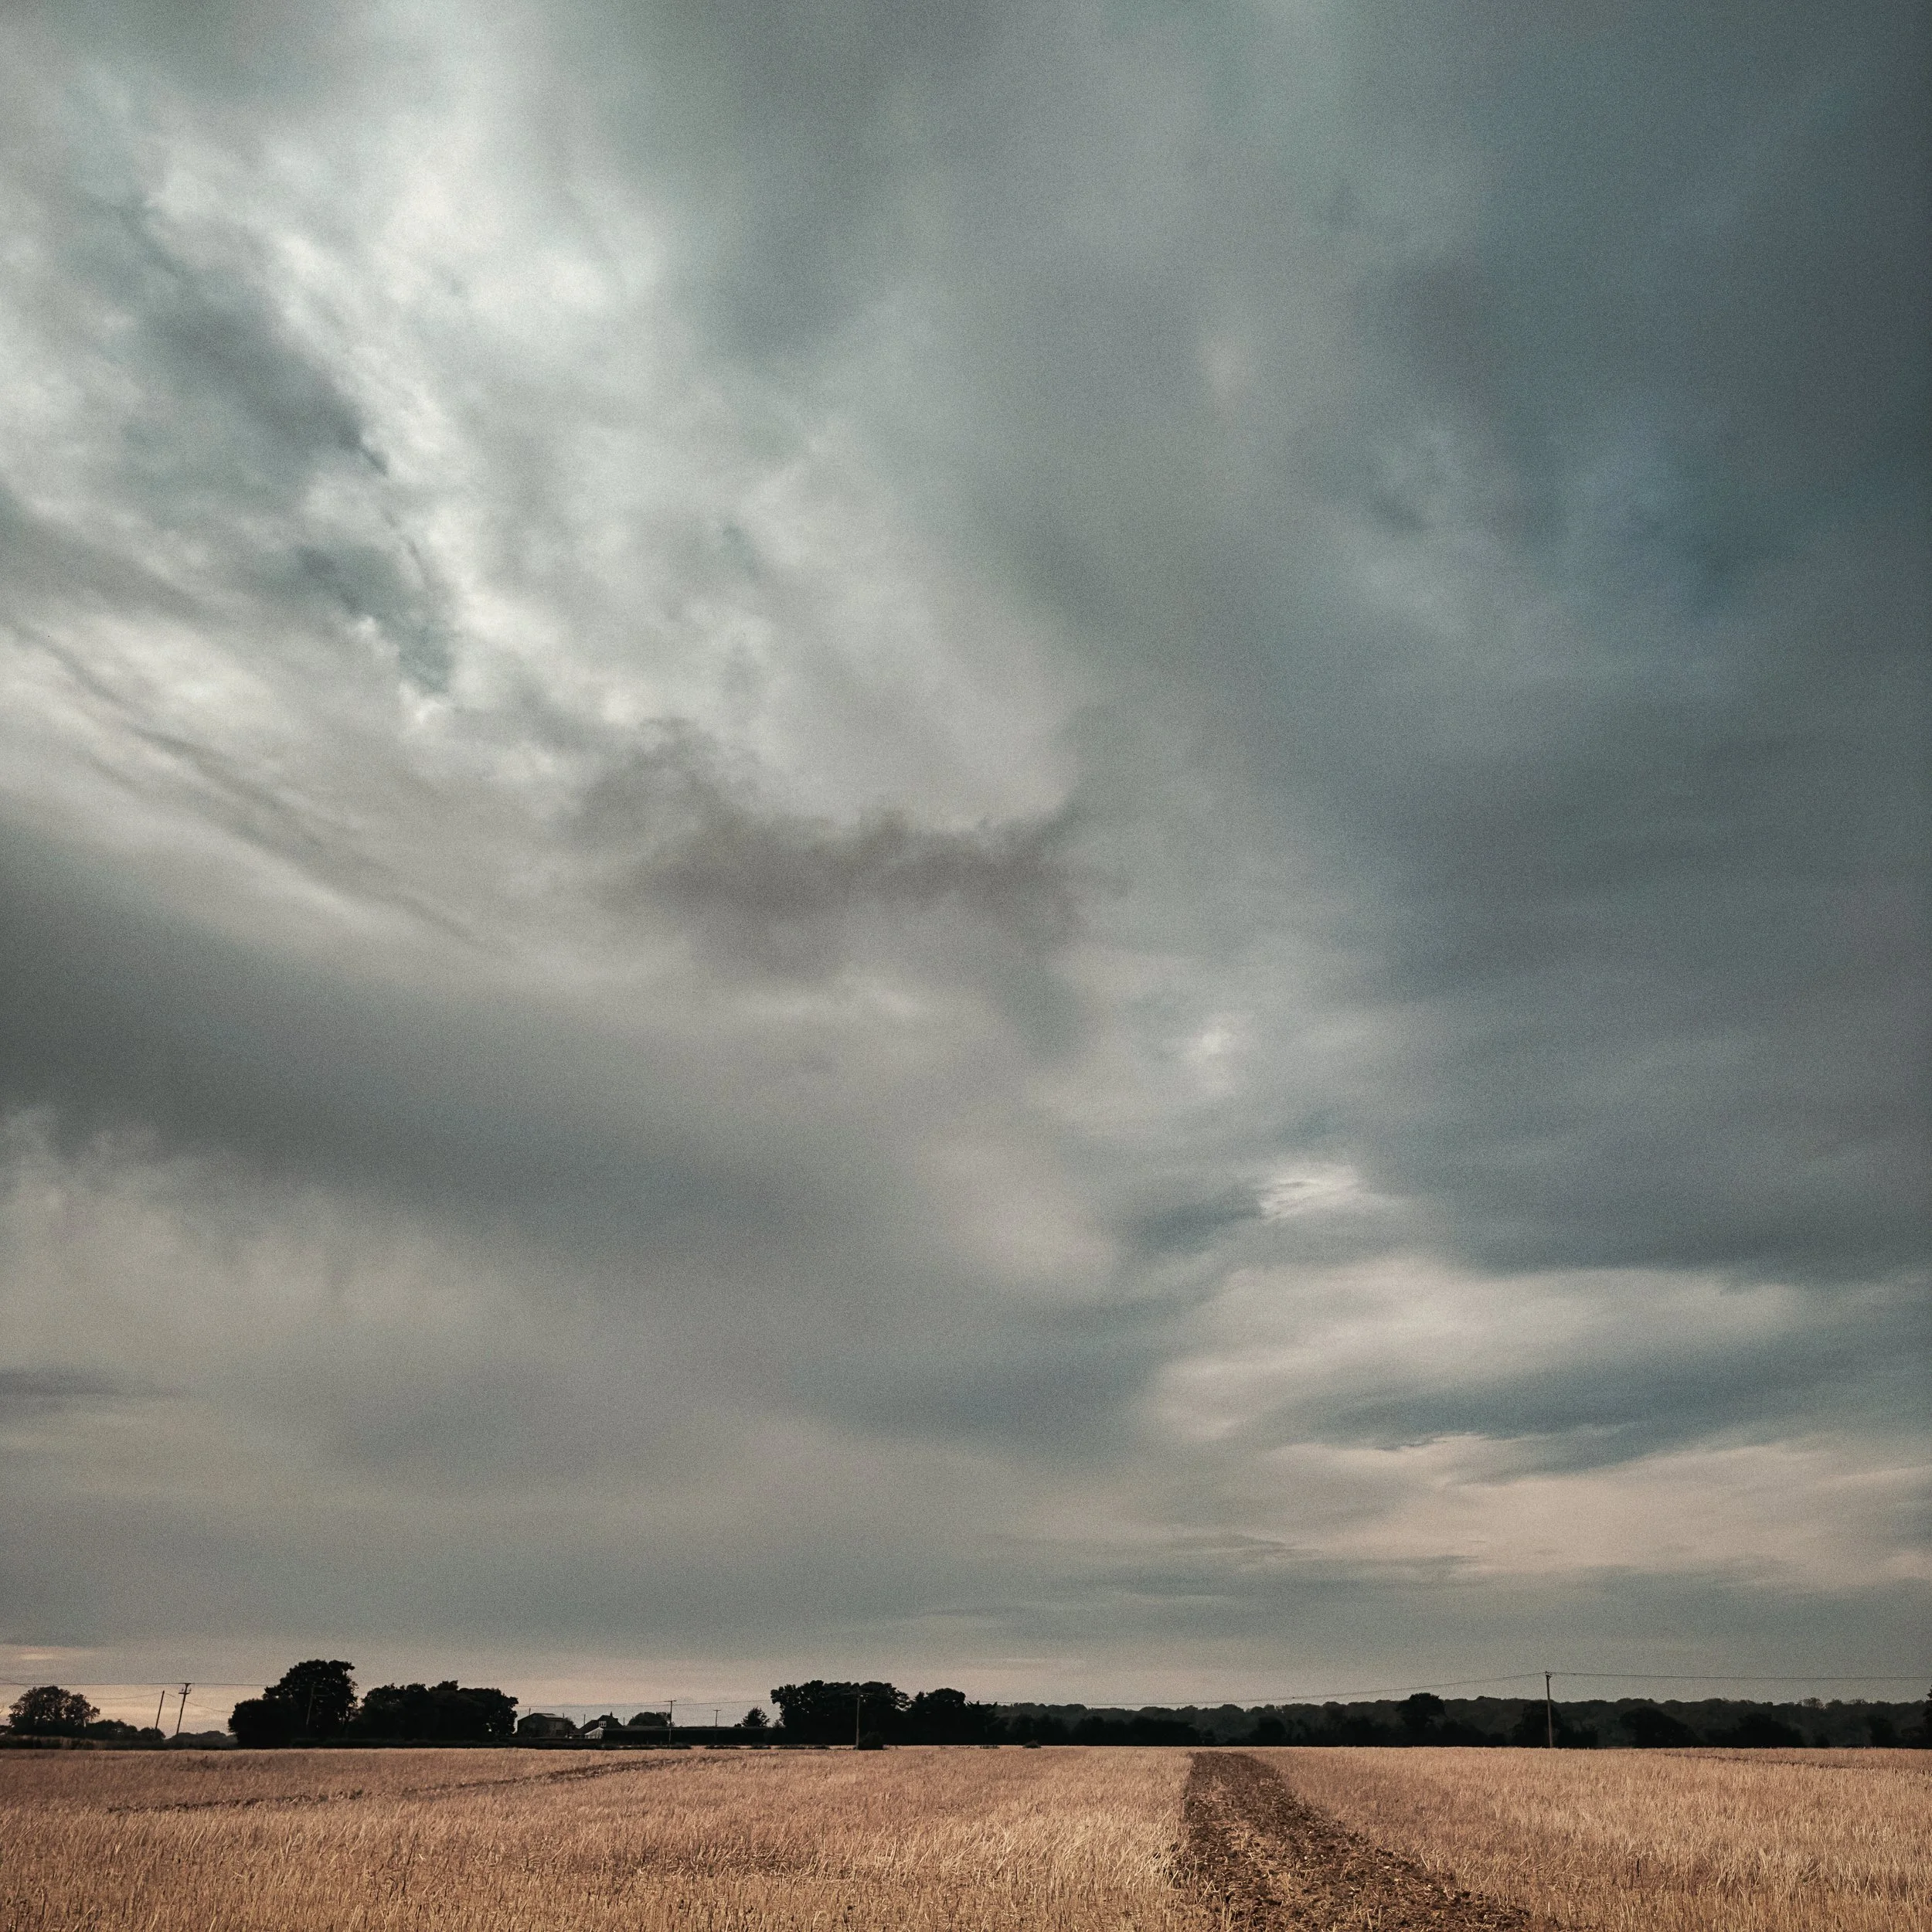
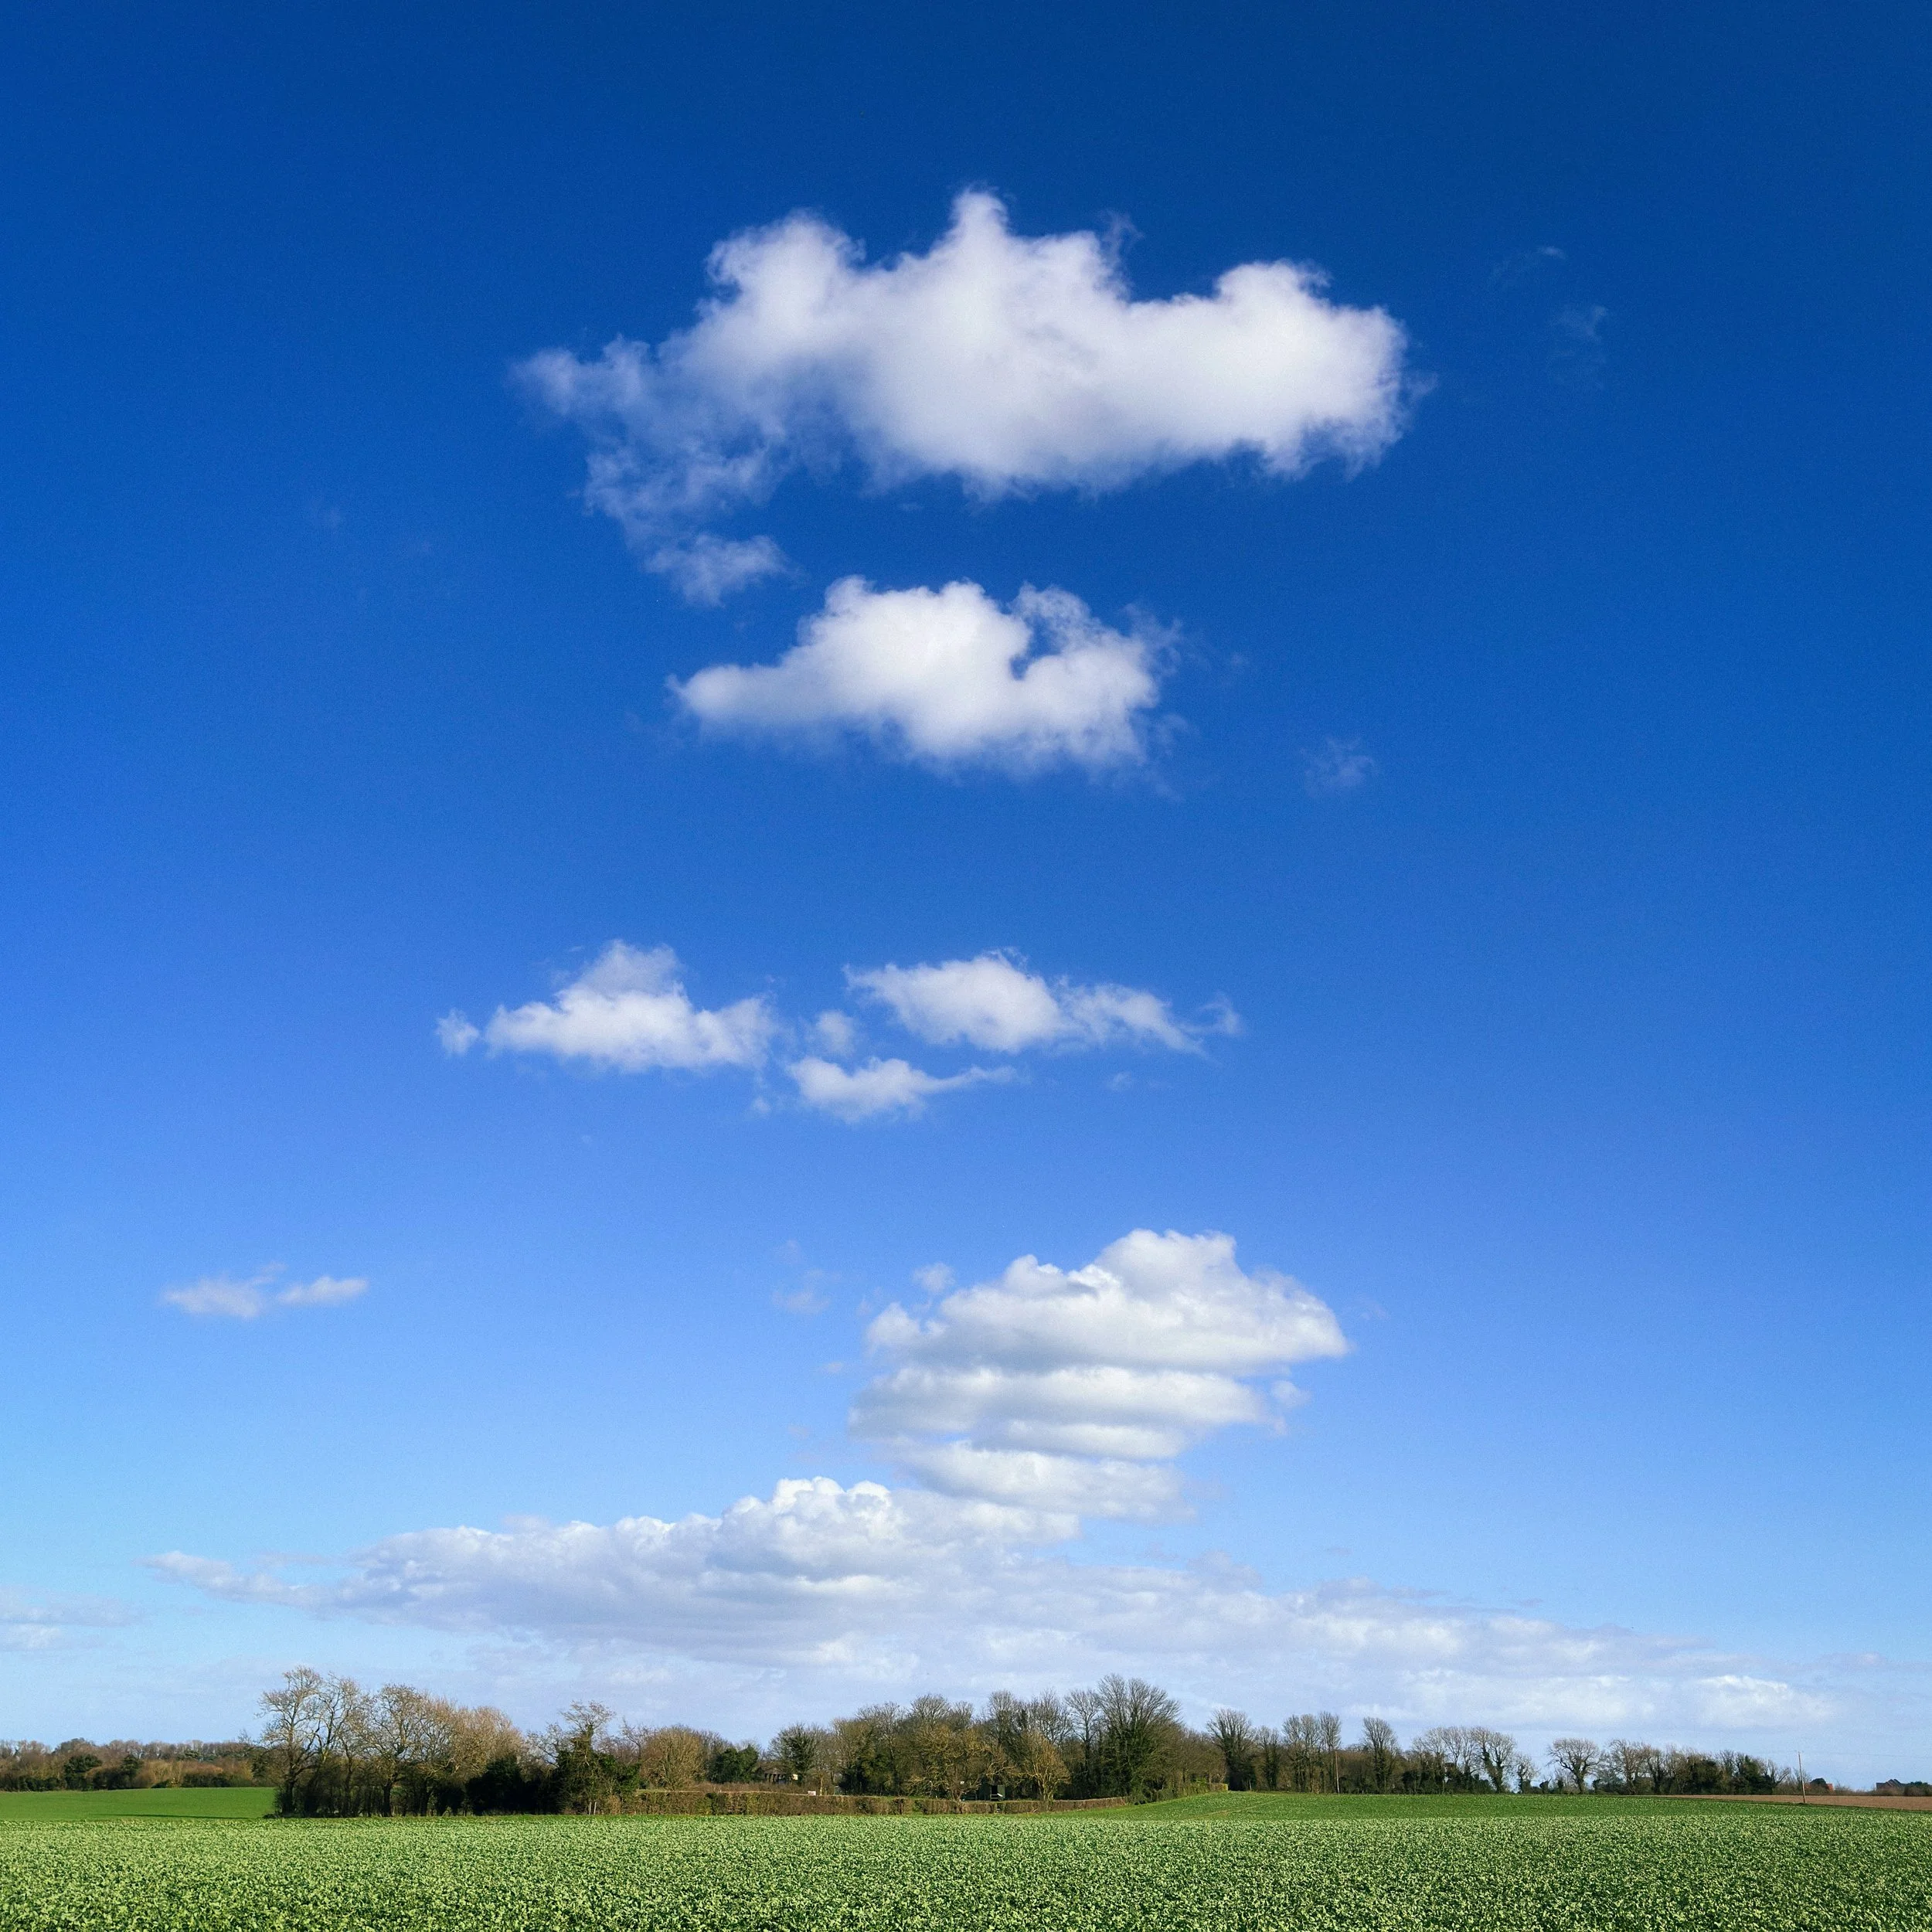
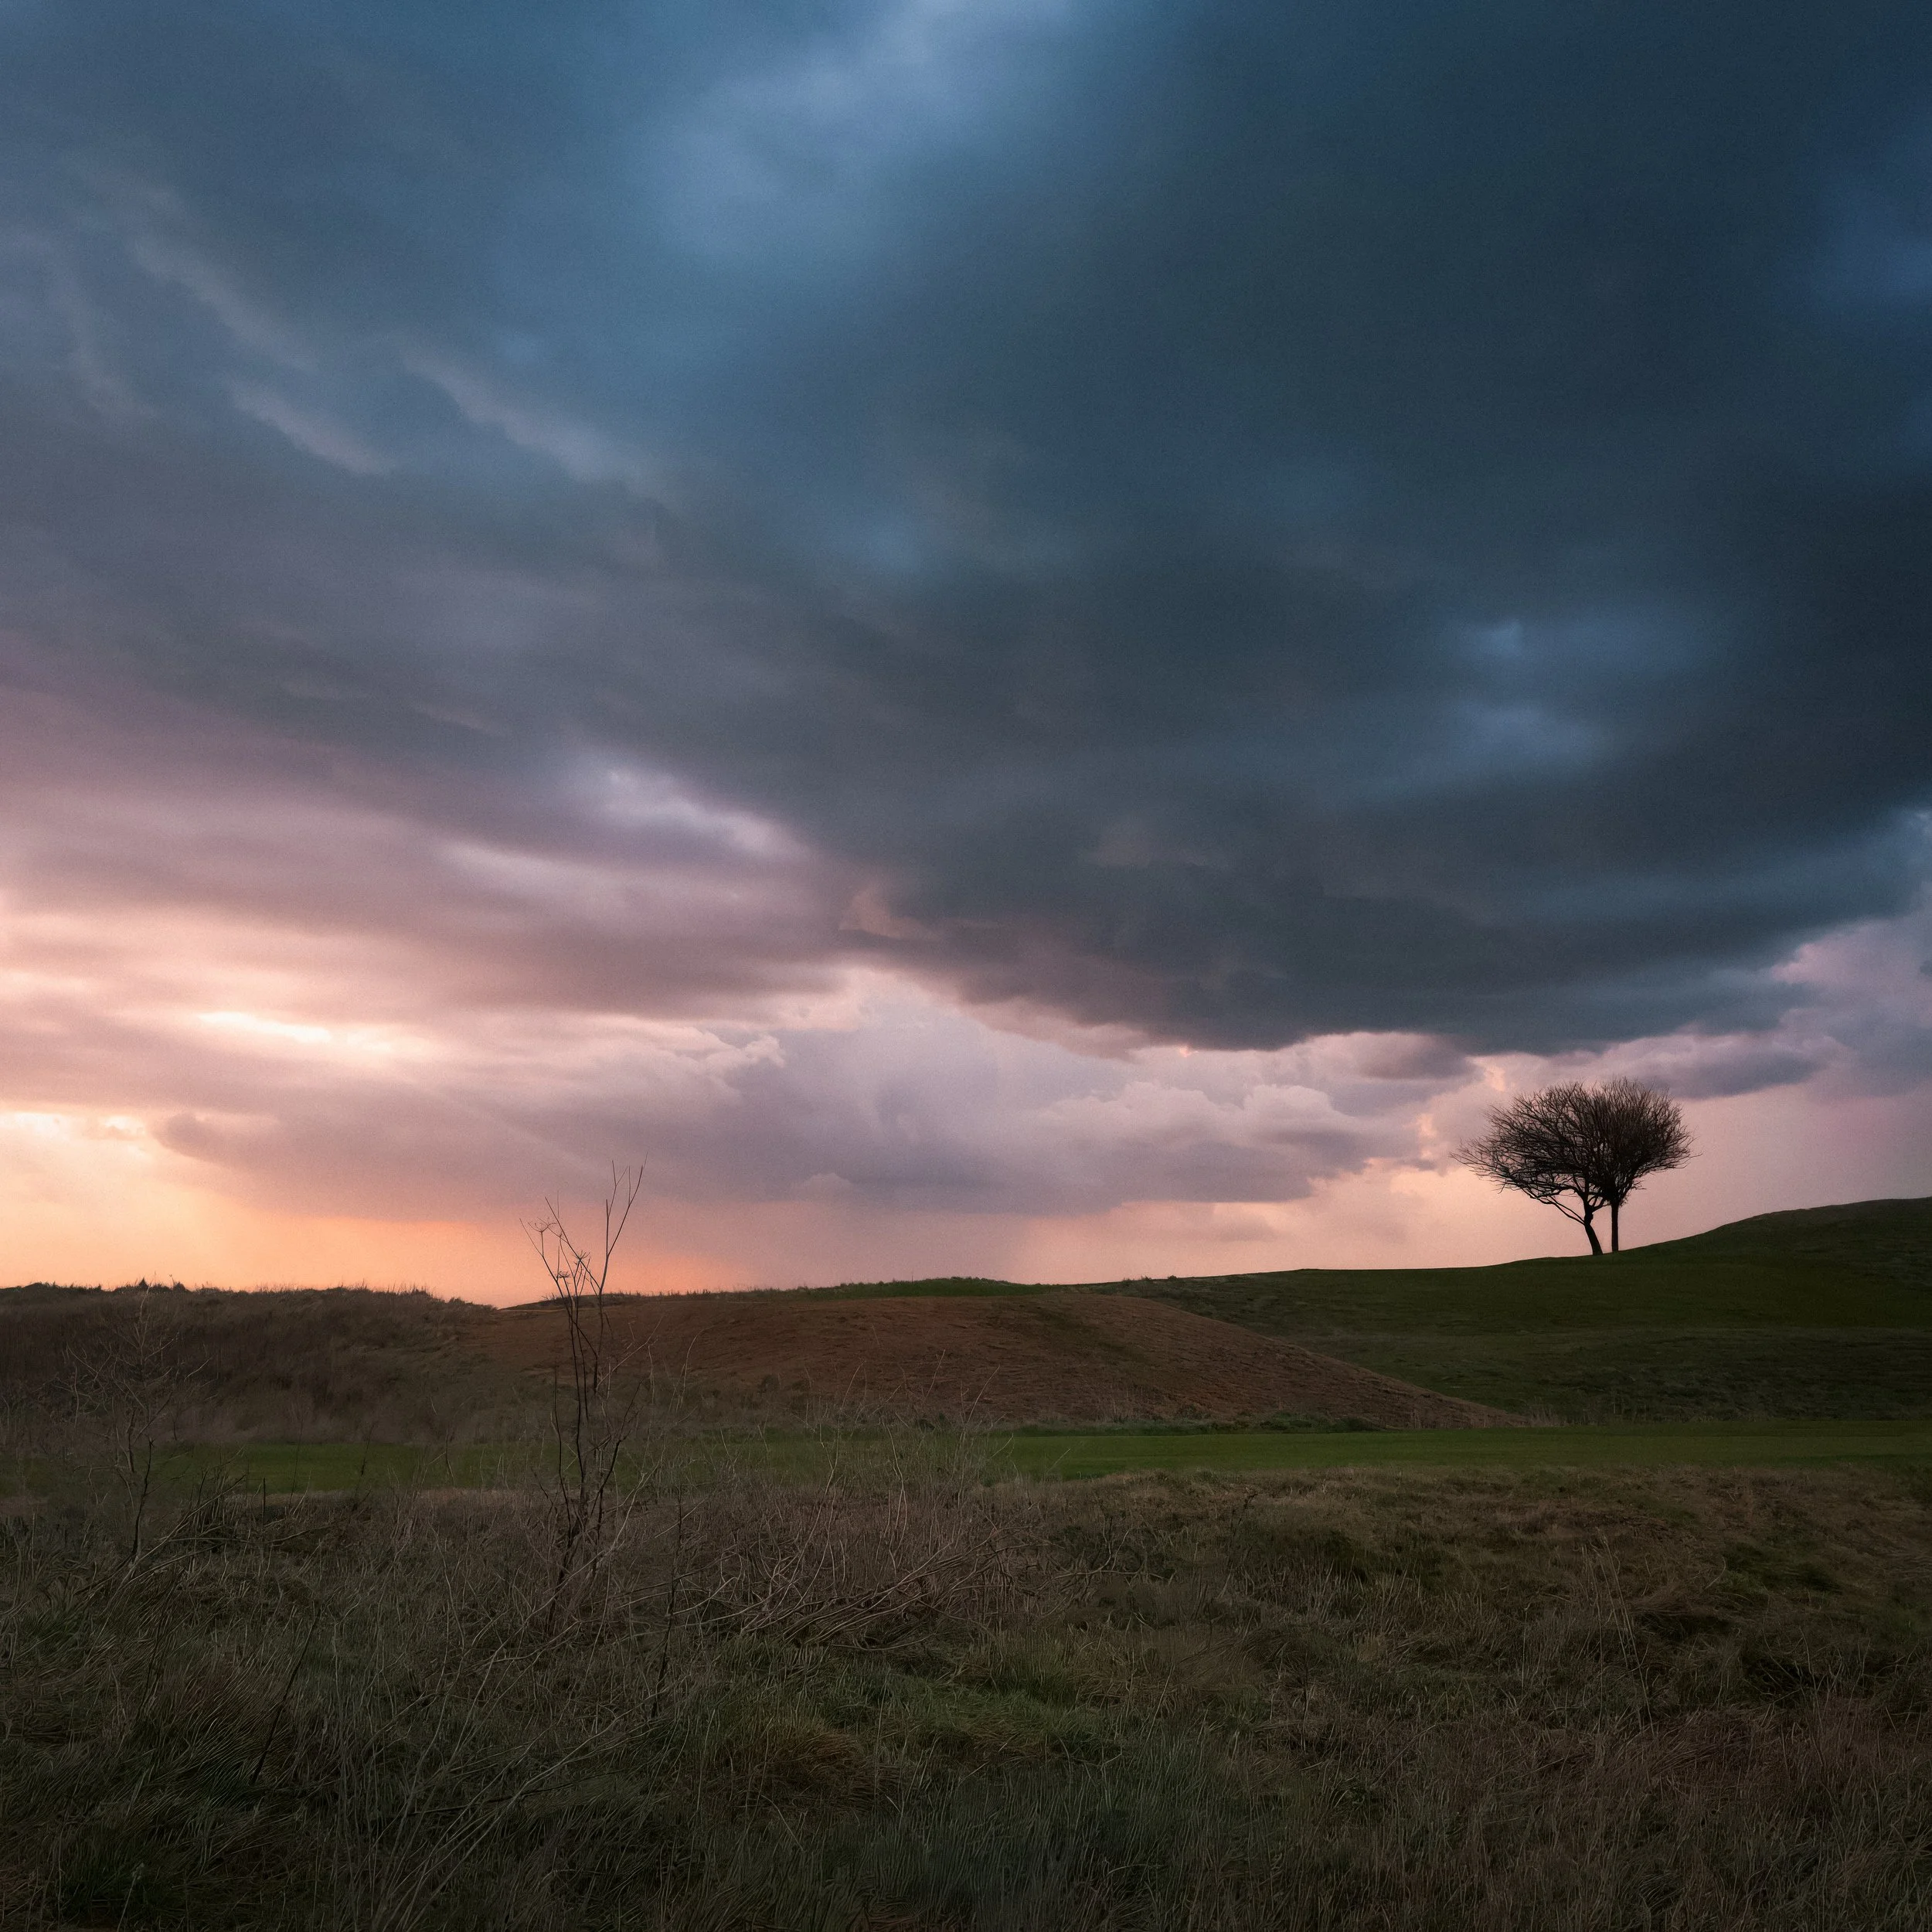
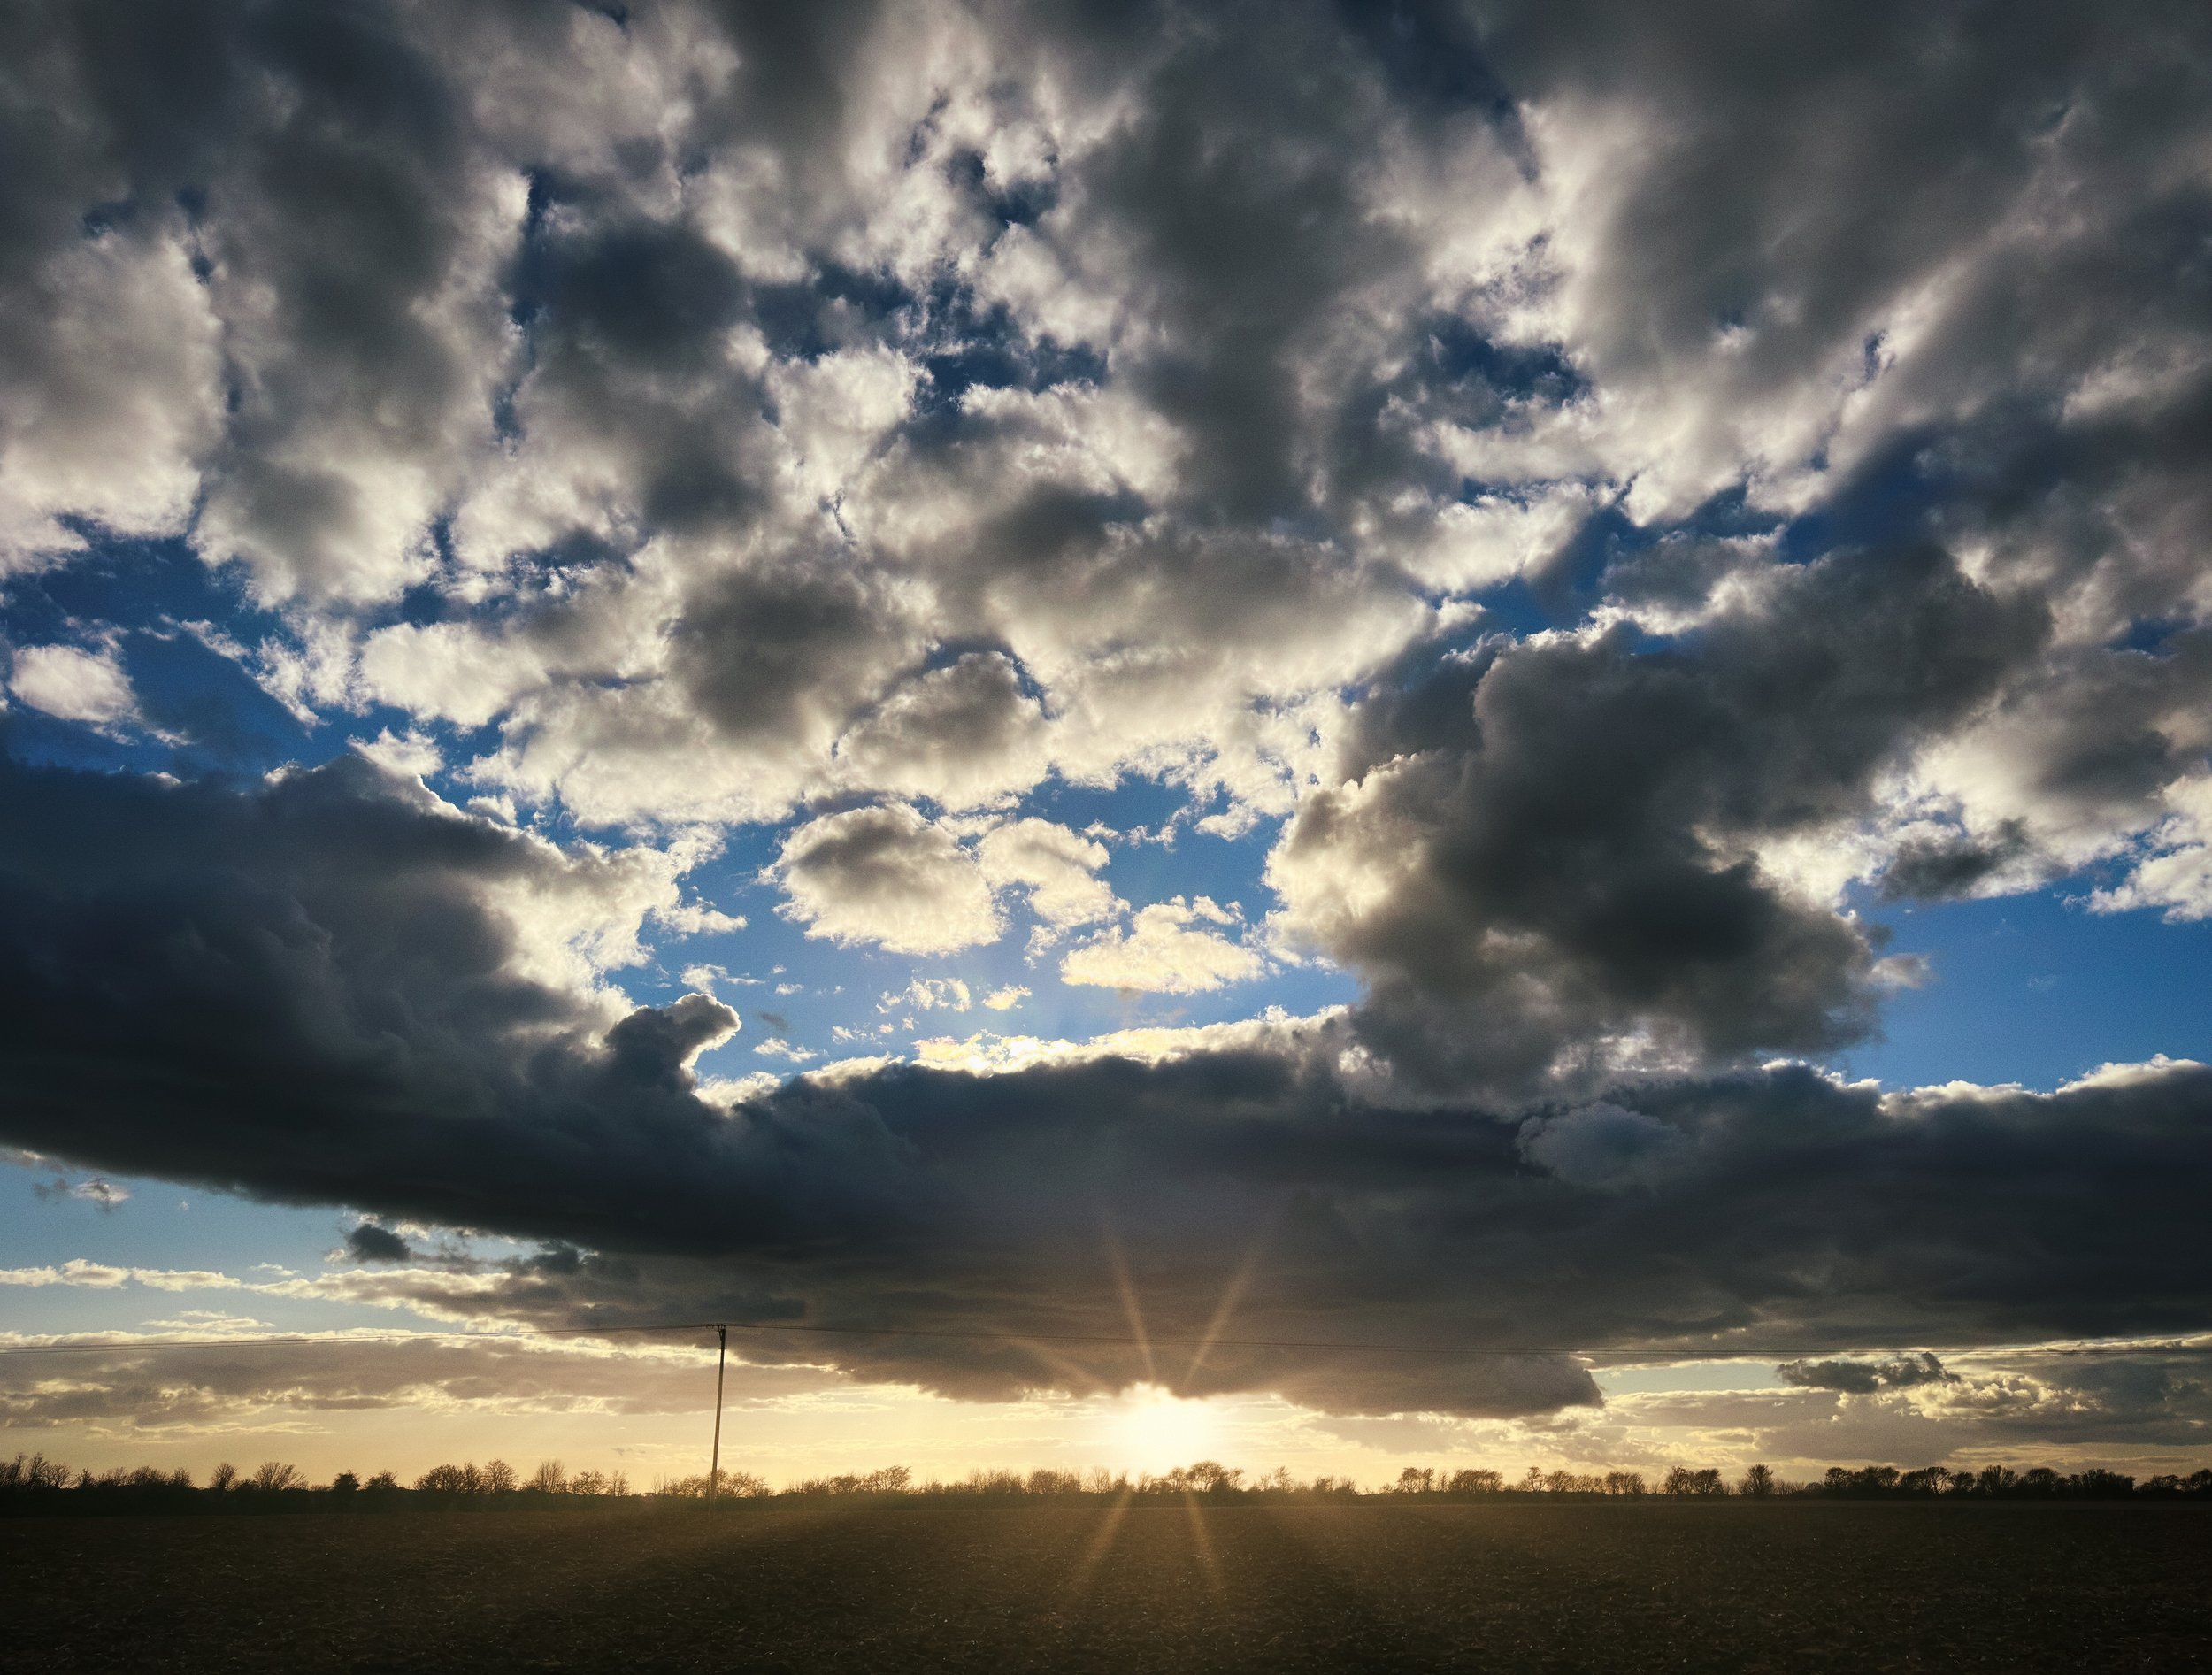
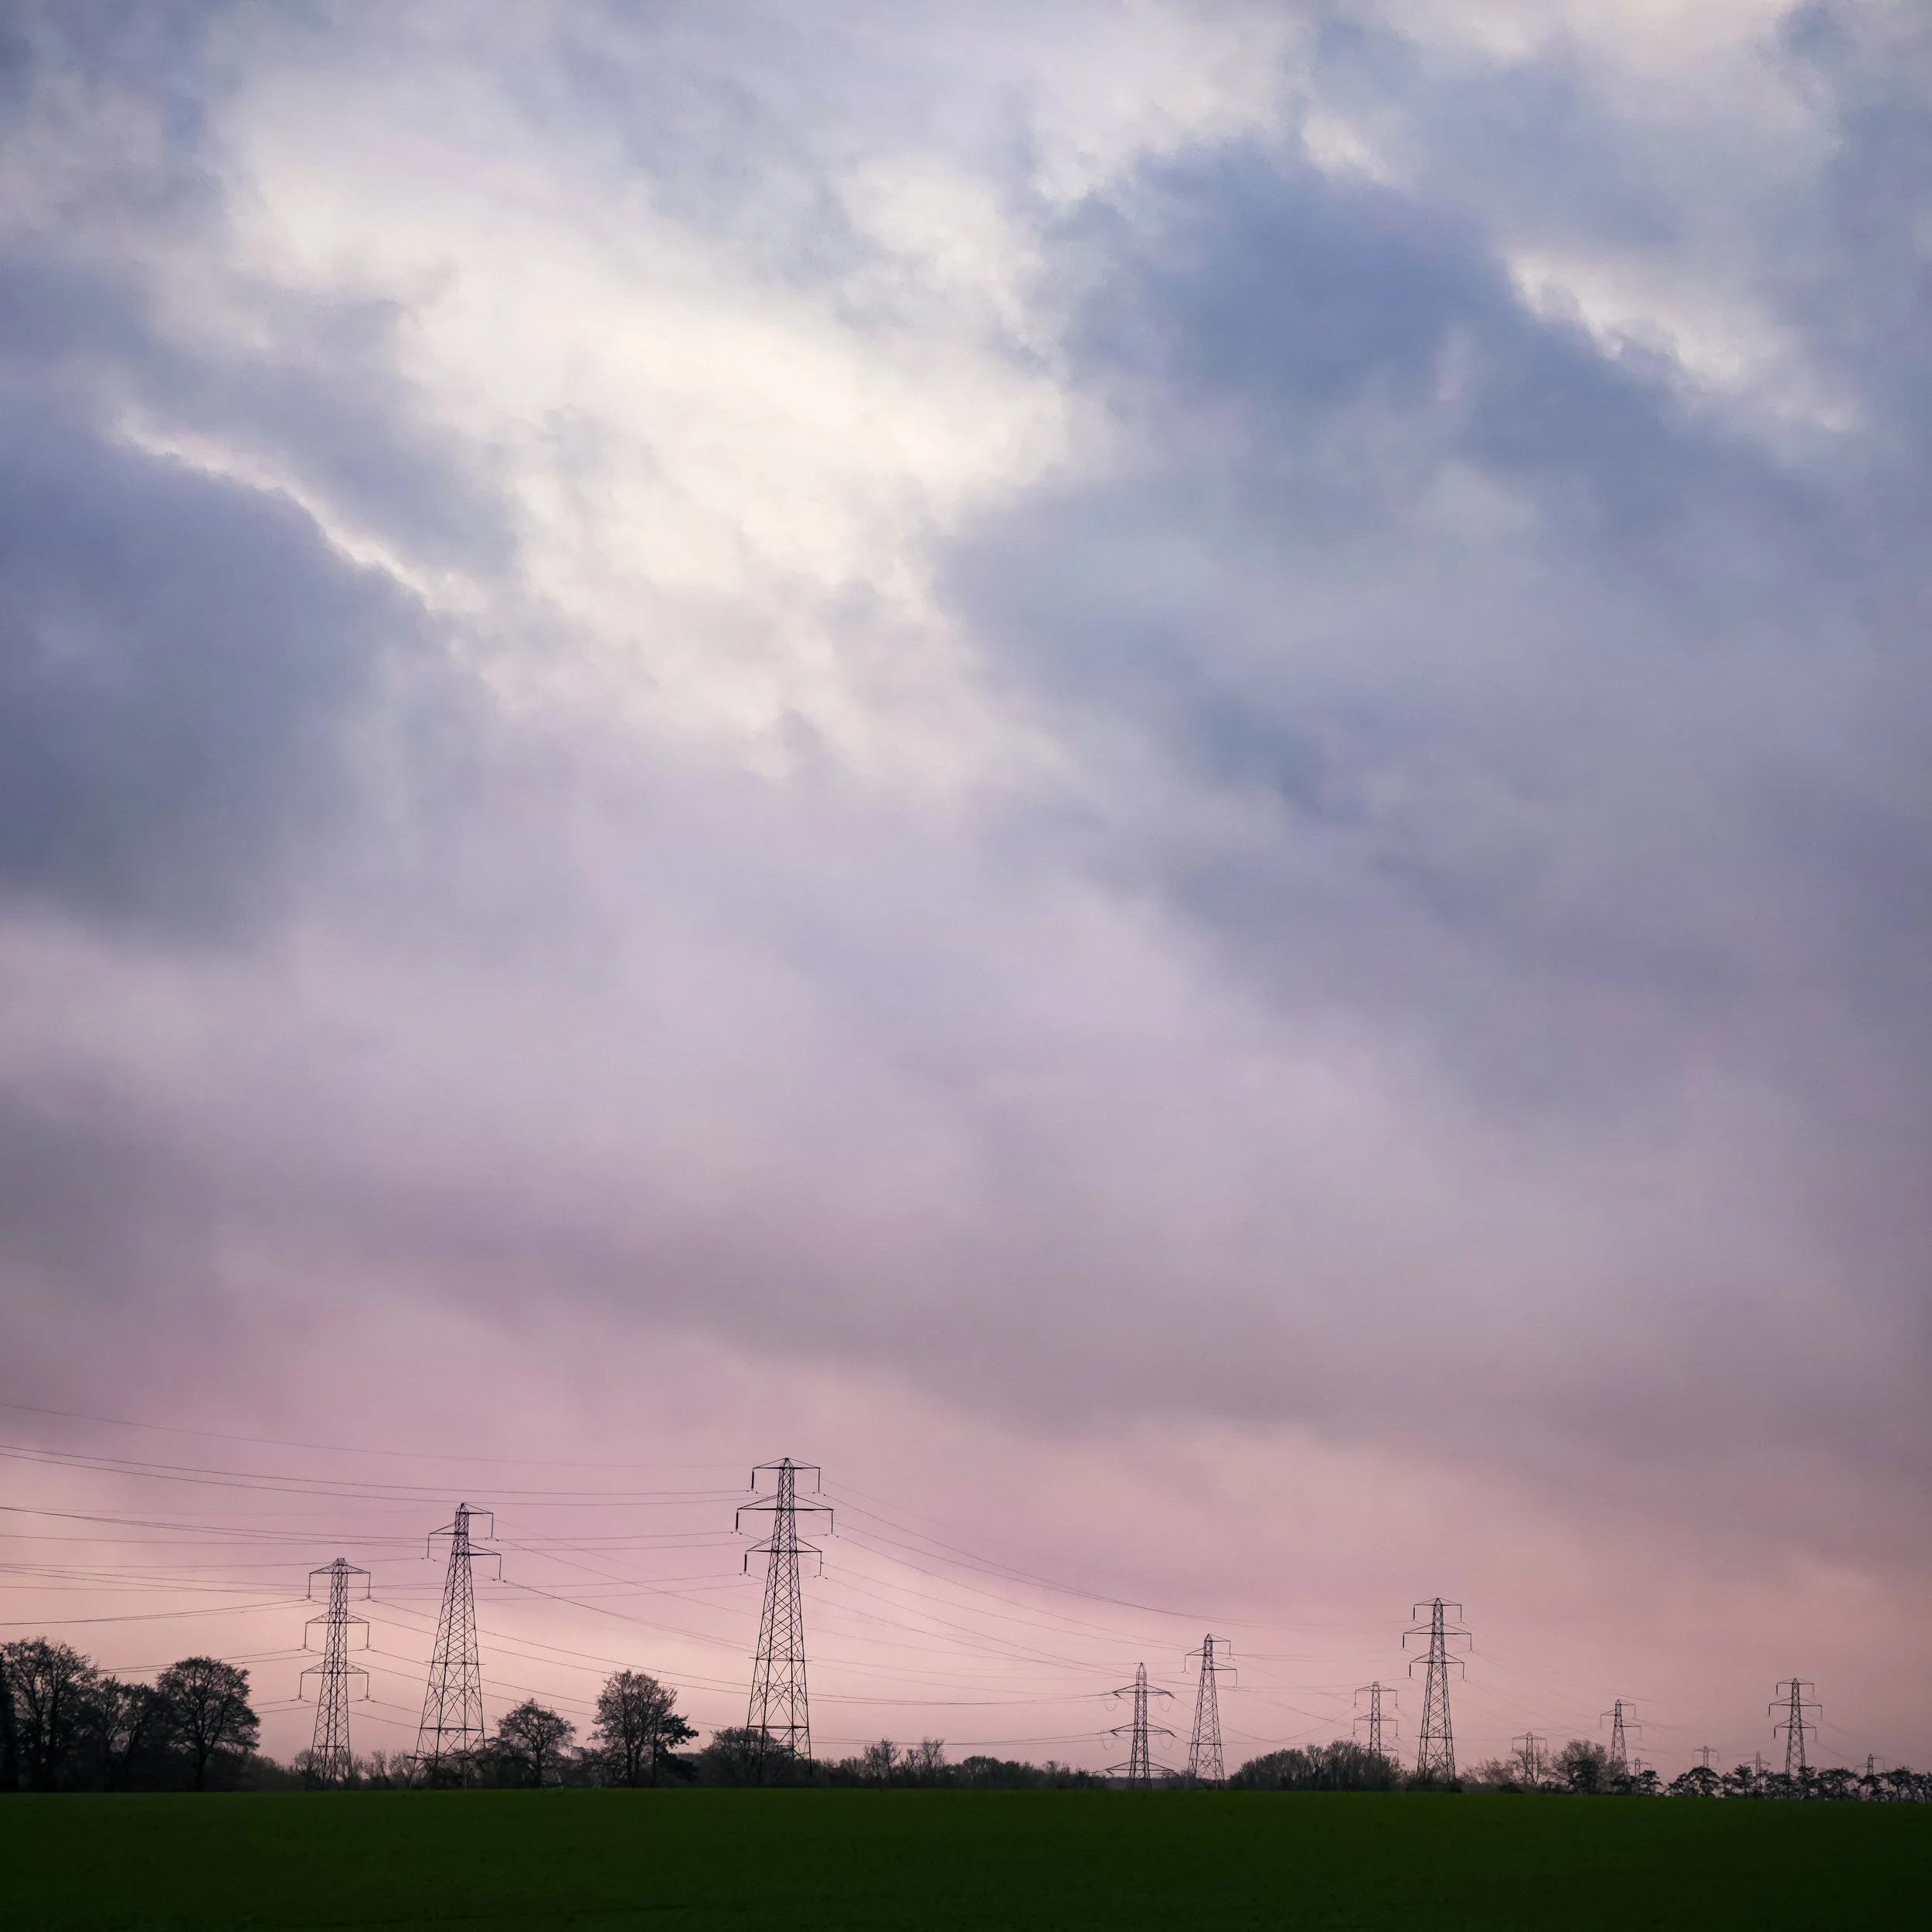
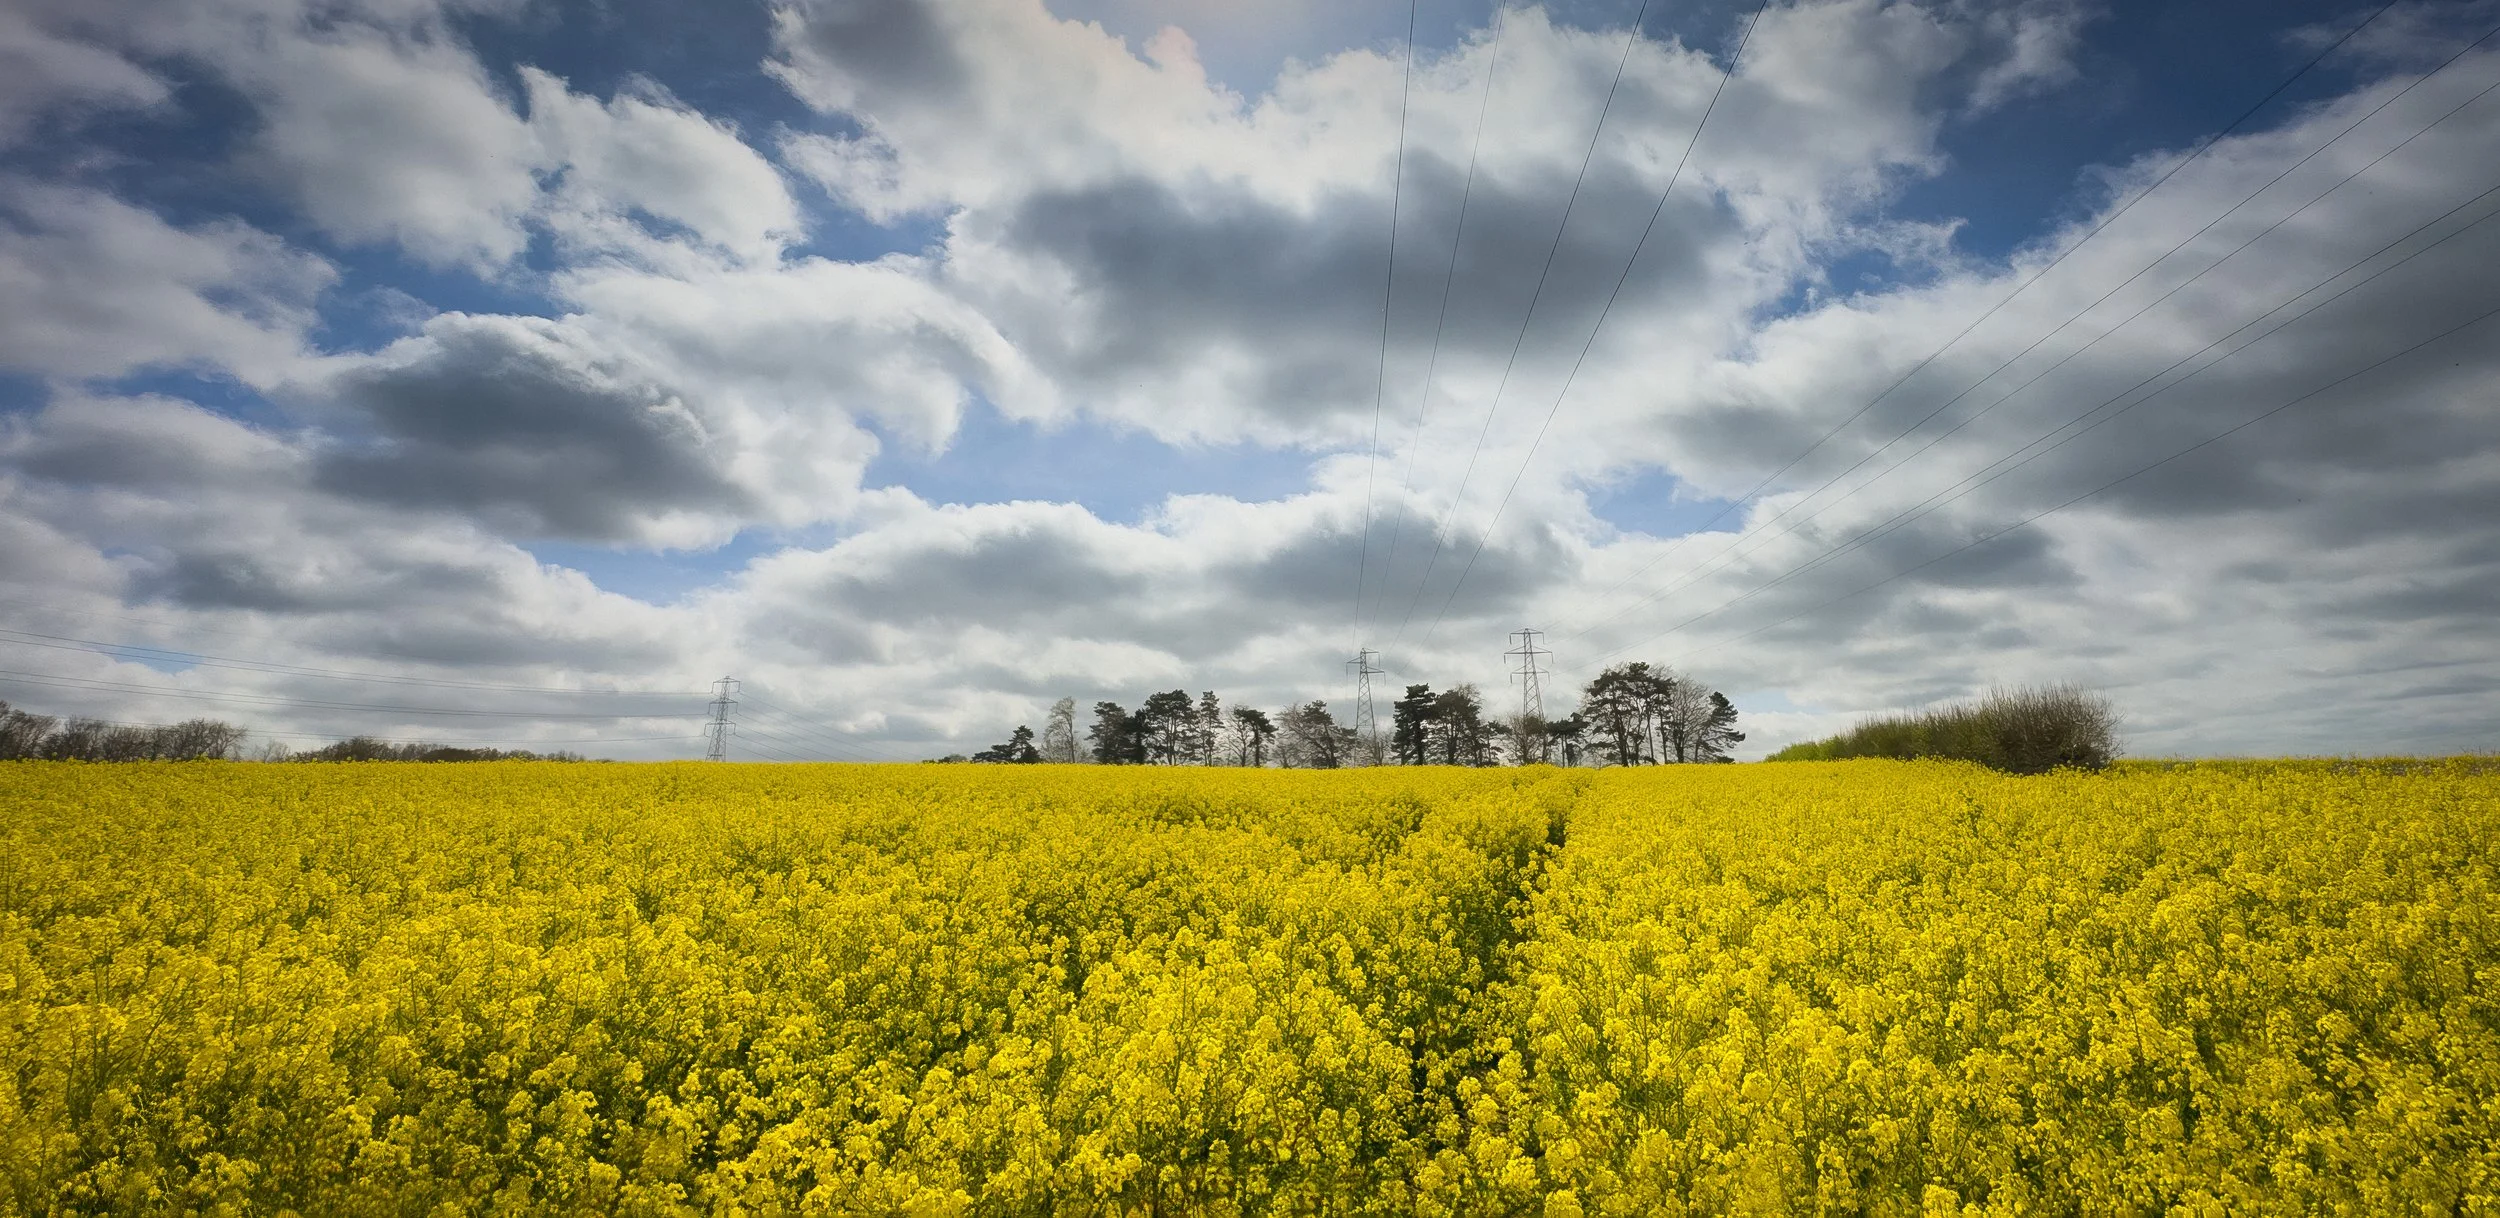
A high sky — with the horizon in the lower third or lower, giving two-thirds or more of the frame to clouds and sky — makes an explicit commitment: the photograph is about the sky. The land provides a base, a reference scale, a horizon line that anchors the viewer and gives the cloud formations context. This is the right choice when the cloud formation is genuinely the subject, when the light in the sky is extraordinary, or when the foreground, while not particularly interesting in itself, provides a useful compositional anchor — a dark, flat field, a simple coastline, the silhouette of a treeline. The risk is the opposite of the low-sky problem: give the sky all the space and then discover the clouds are uninteresting and the foreground is the better subject.
An equal split — horizon at mid-frame — is generally the least satisfying option, because neither element dominates and the image can feel compositionally uncommitted. There are two specific cases where it works: a strong reflection, where a body of water is doubling the sky and the symmetry is the point; and a very strong architectural or natural horizon, where the line itself is worth equal emphasis. In most cases, commit one way or the other.
The deliberate all-sky shot — no horizon, no land, pure cloud — is the most radical option, and one that is worth trying more often than most photographers do. It disorients the viewer in a productive way, removing all the familiar cues of scale and orientation. It works best with cloud formations that have strong formal properties: the repeating pattern of altocumulus, the dramatic billowing of a building cumulus, the abstract filaments of cirrus against a deep blue sky. Stieglitz spent more than a decade photographing exactly this way with his Equivalents series, and the results remain among the most compelling cloud photographs ever made. You do not need to commit to a portfolio of abstract sky studies — simply try it occasionally and see what it produces.
The decision about sky ratio should be made before you raise the camera, not after. Look at the scene, decide what it is actually about, and then frame accordingly.

Reading the Sky as a Subject
Once the sky-to-land ratio is settled, the compositional work becomes more specific: how do you arrange what is actually in the frame to make the strongest possible image?
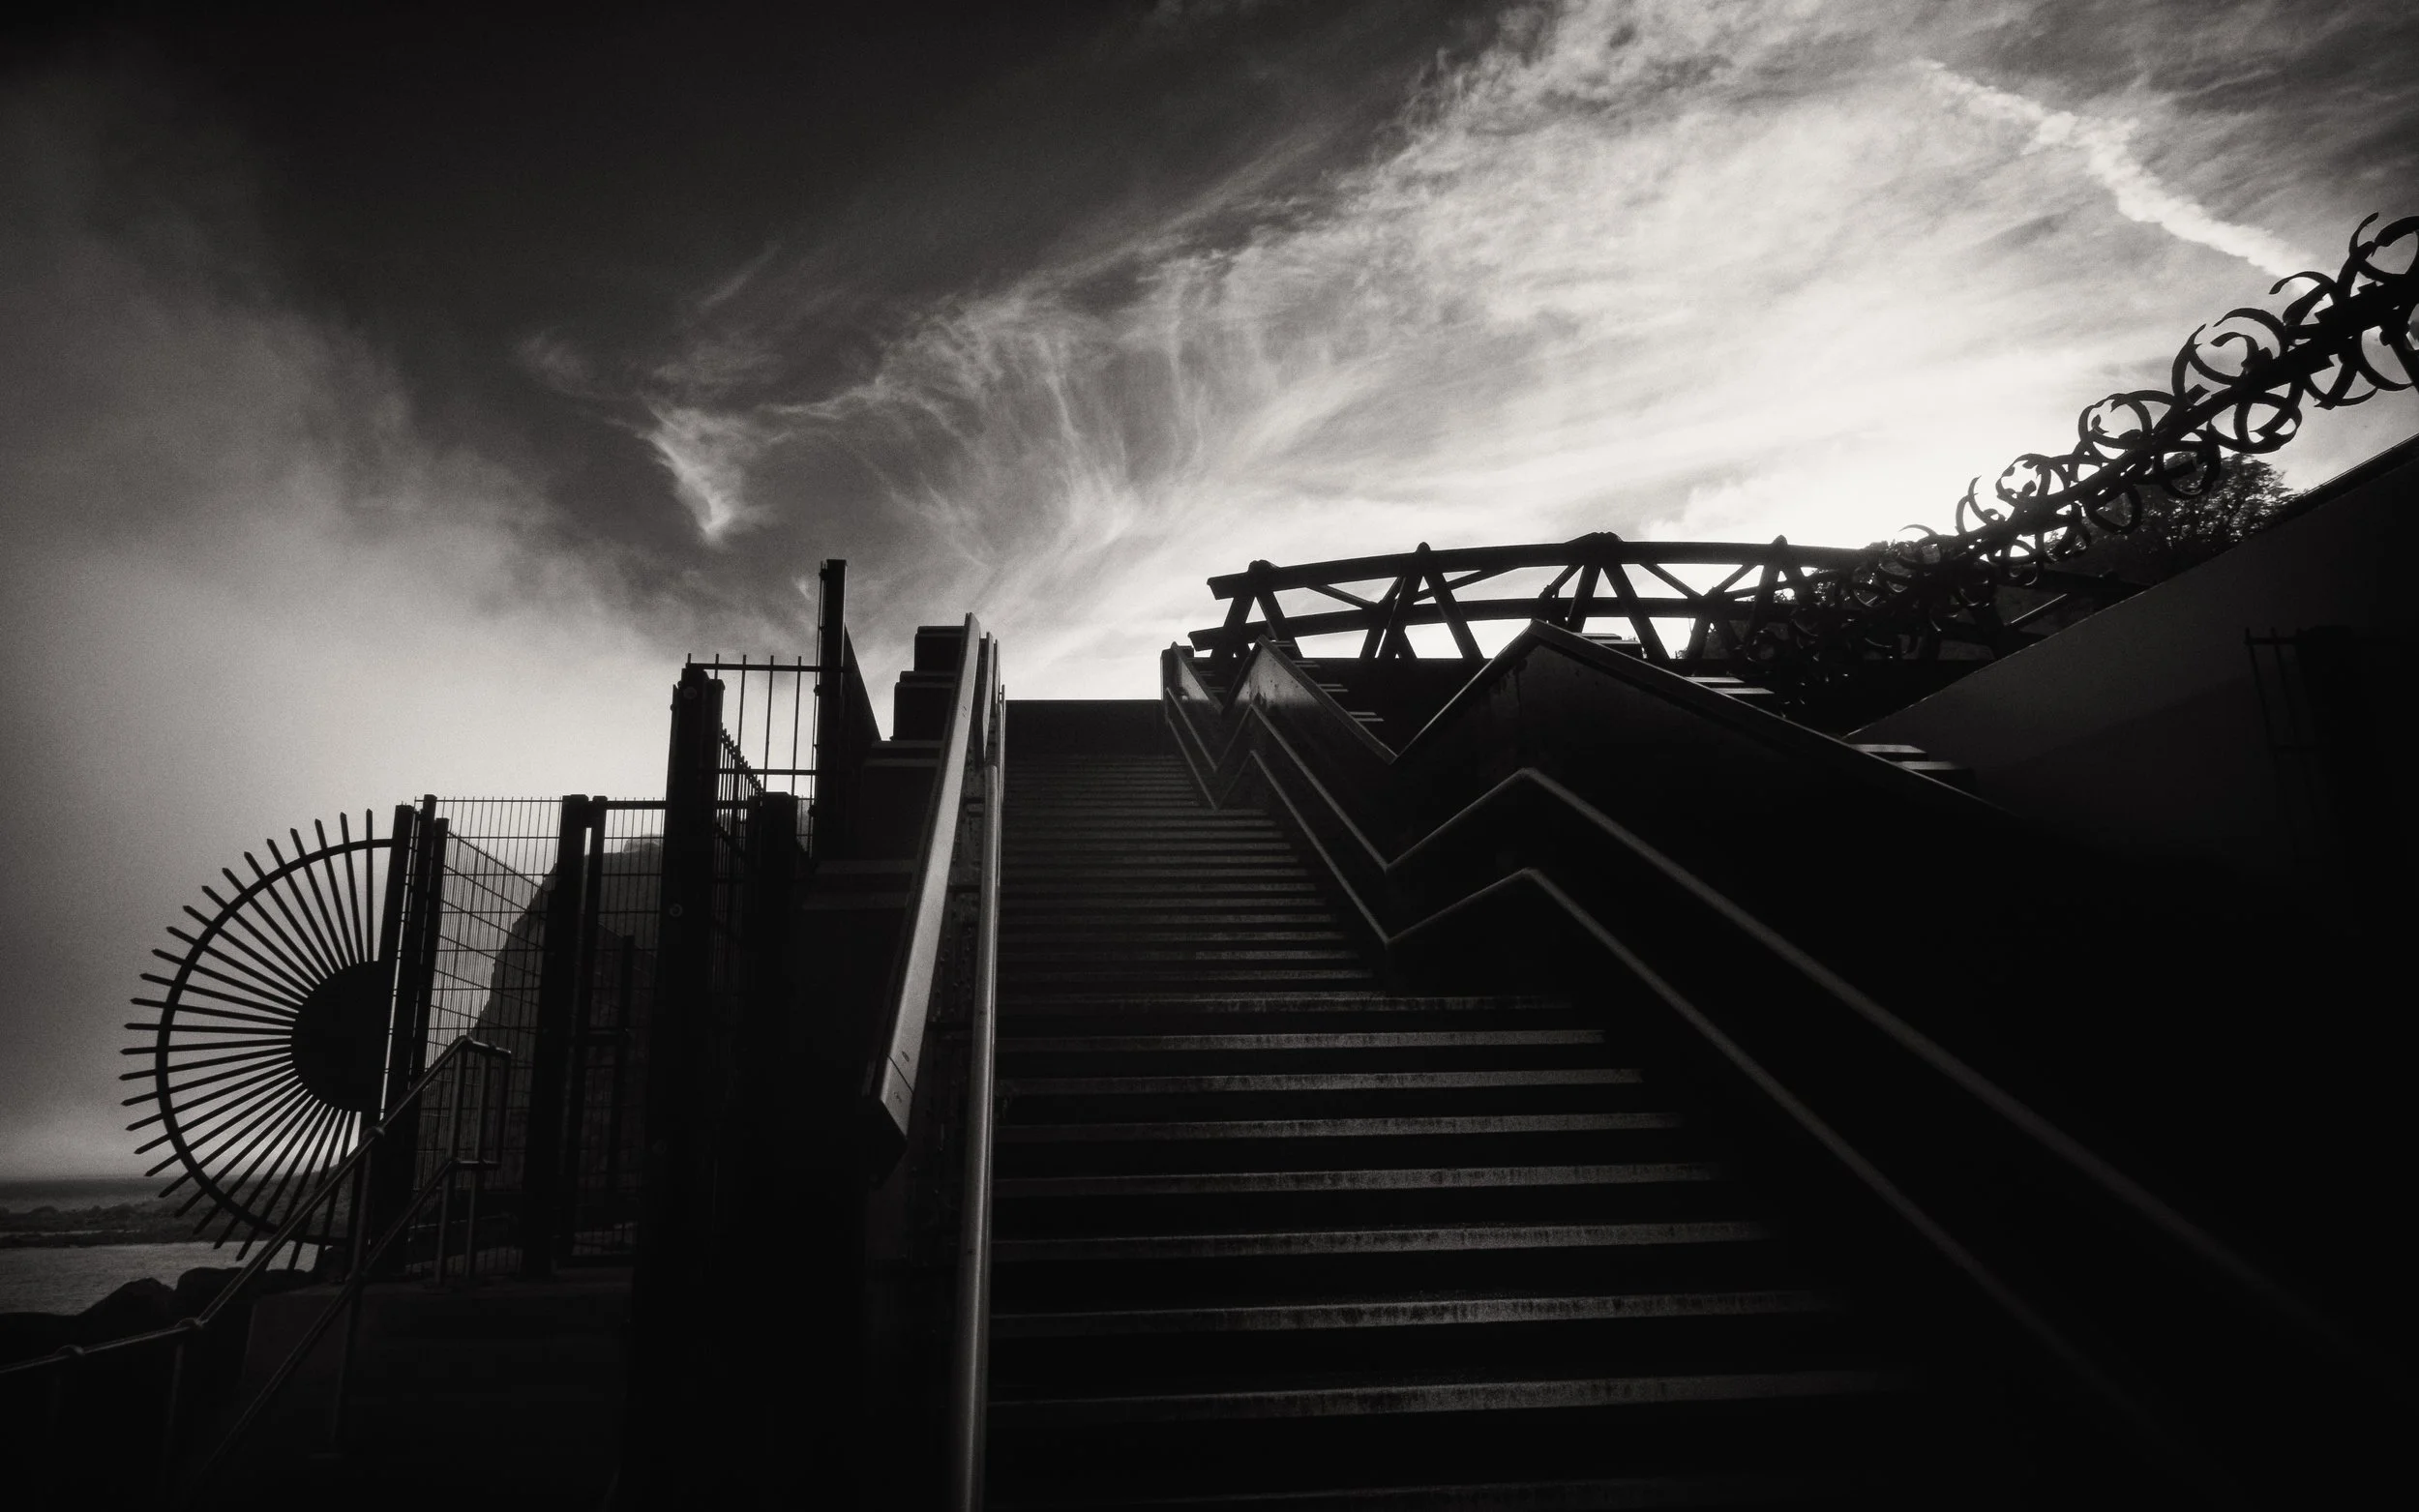
Clouds as leading lines. Cloud formations very often have strong directionality — the long streaks of cirrus, the edge of an approaching front, the wind-blown bases of storm clouds, the directional flow of a fast-moving stratocumulus layer. This directionality can be used in exactly the same way as a road or a river in conventional landscape composition: a line that leads the eye from one part of the frame to another, creating movement and depth. The direction of cloud movement and the direction of light often align — both are driven by the wind — which means a composition that uses cloud direction as a leading line frequently also uses the light well. Look for this convergence and exploit it.
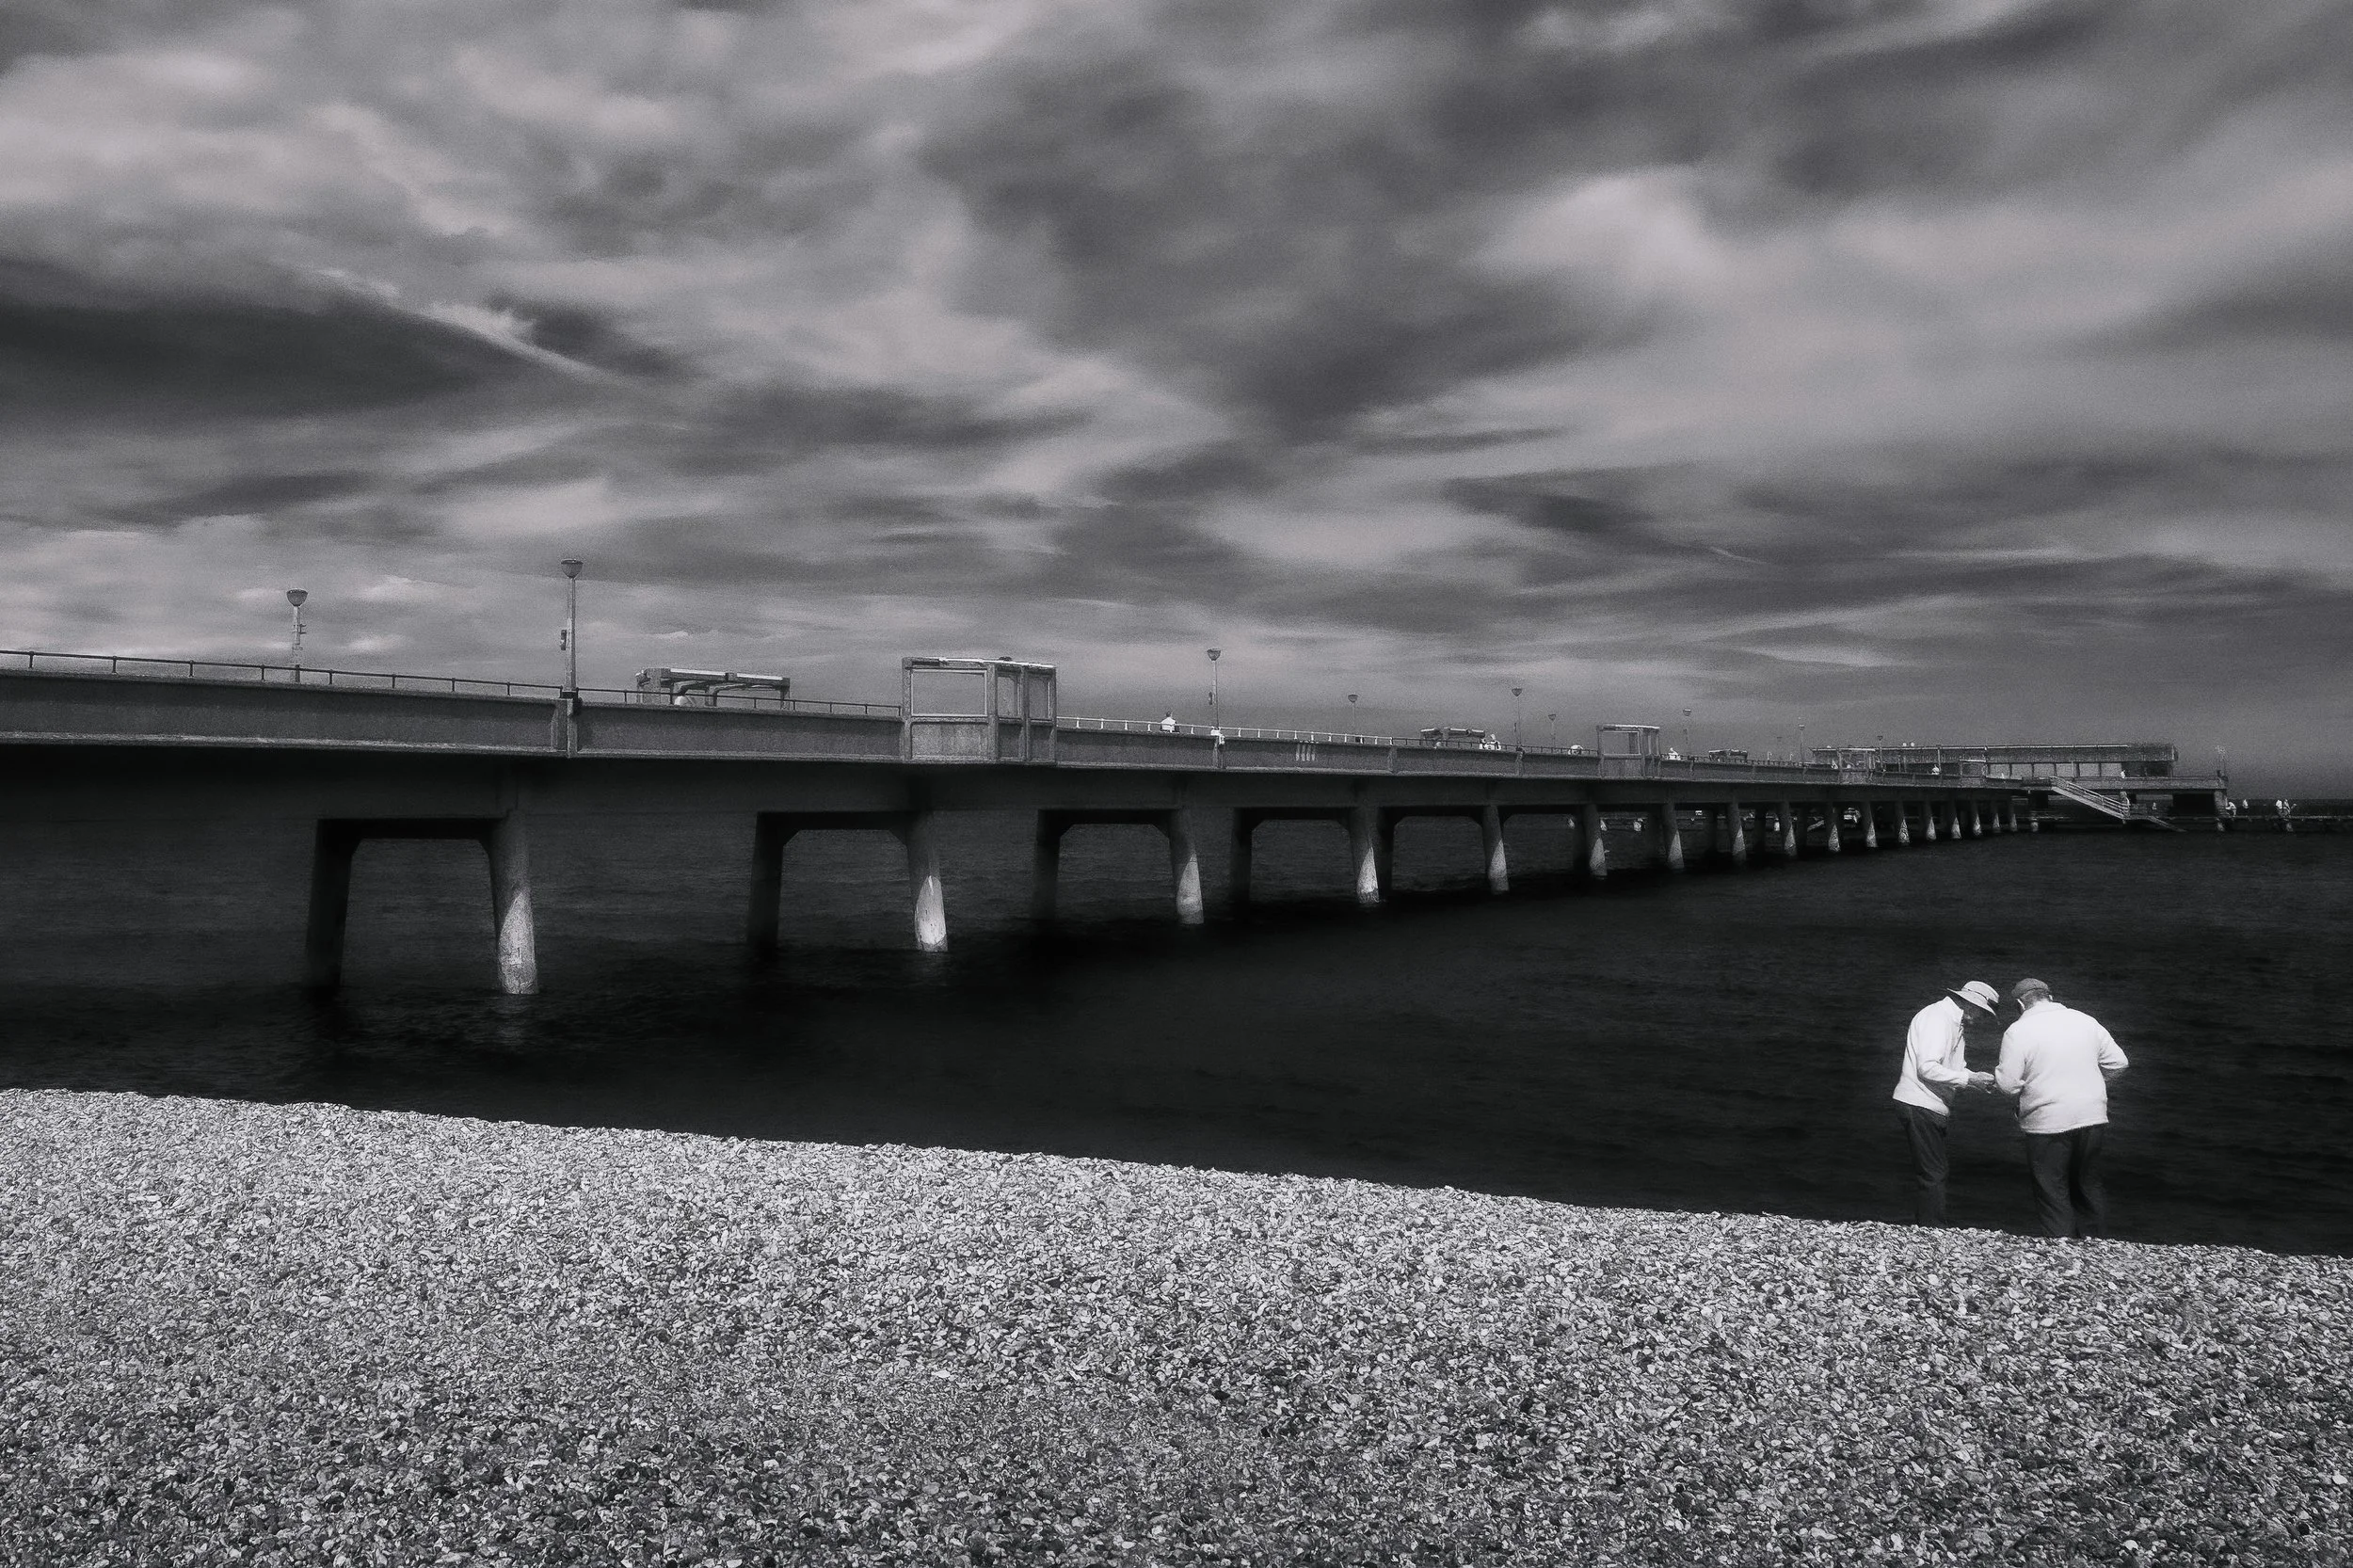
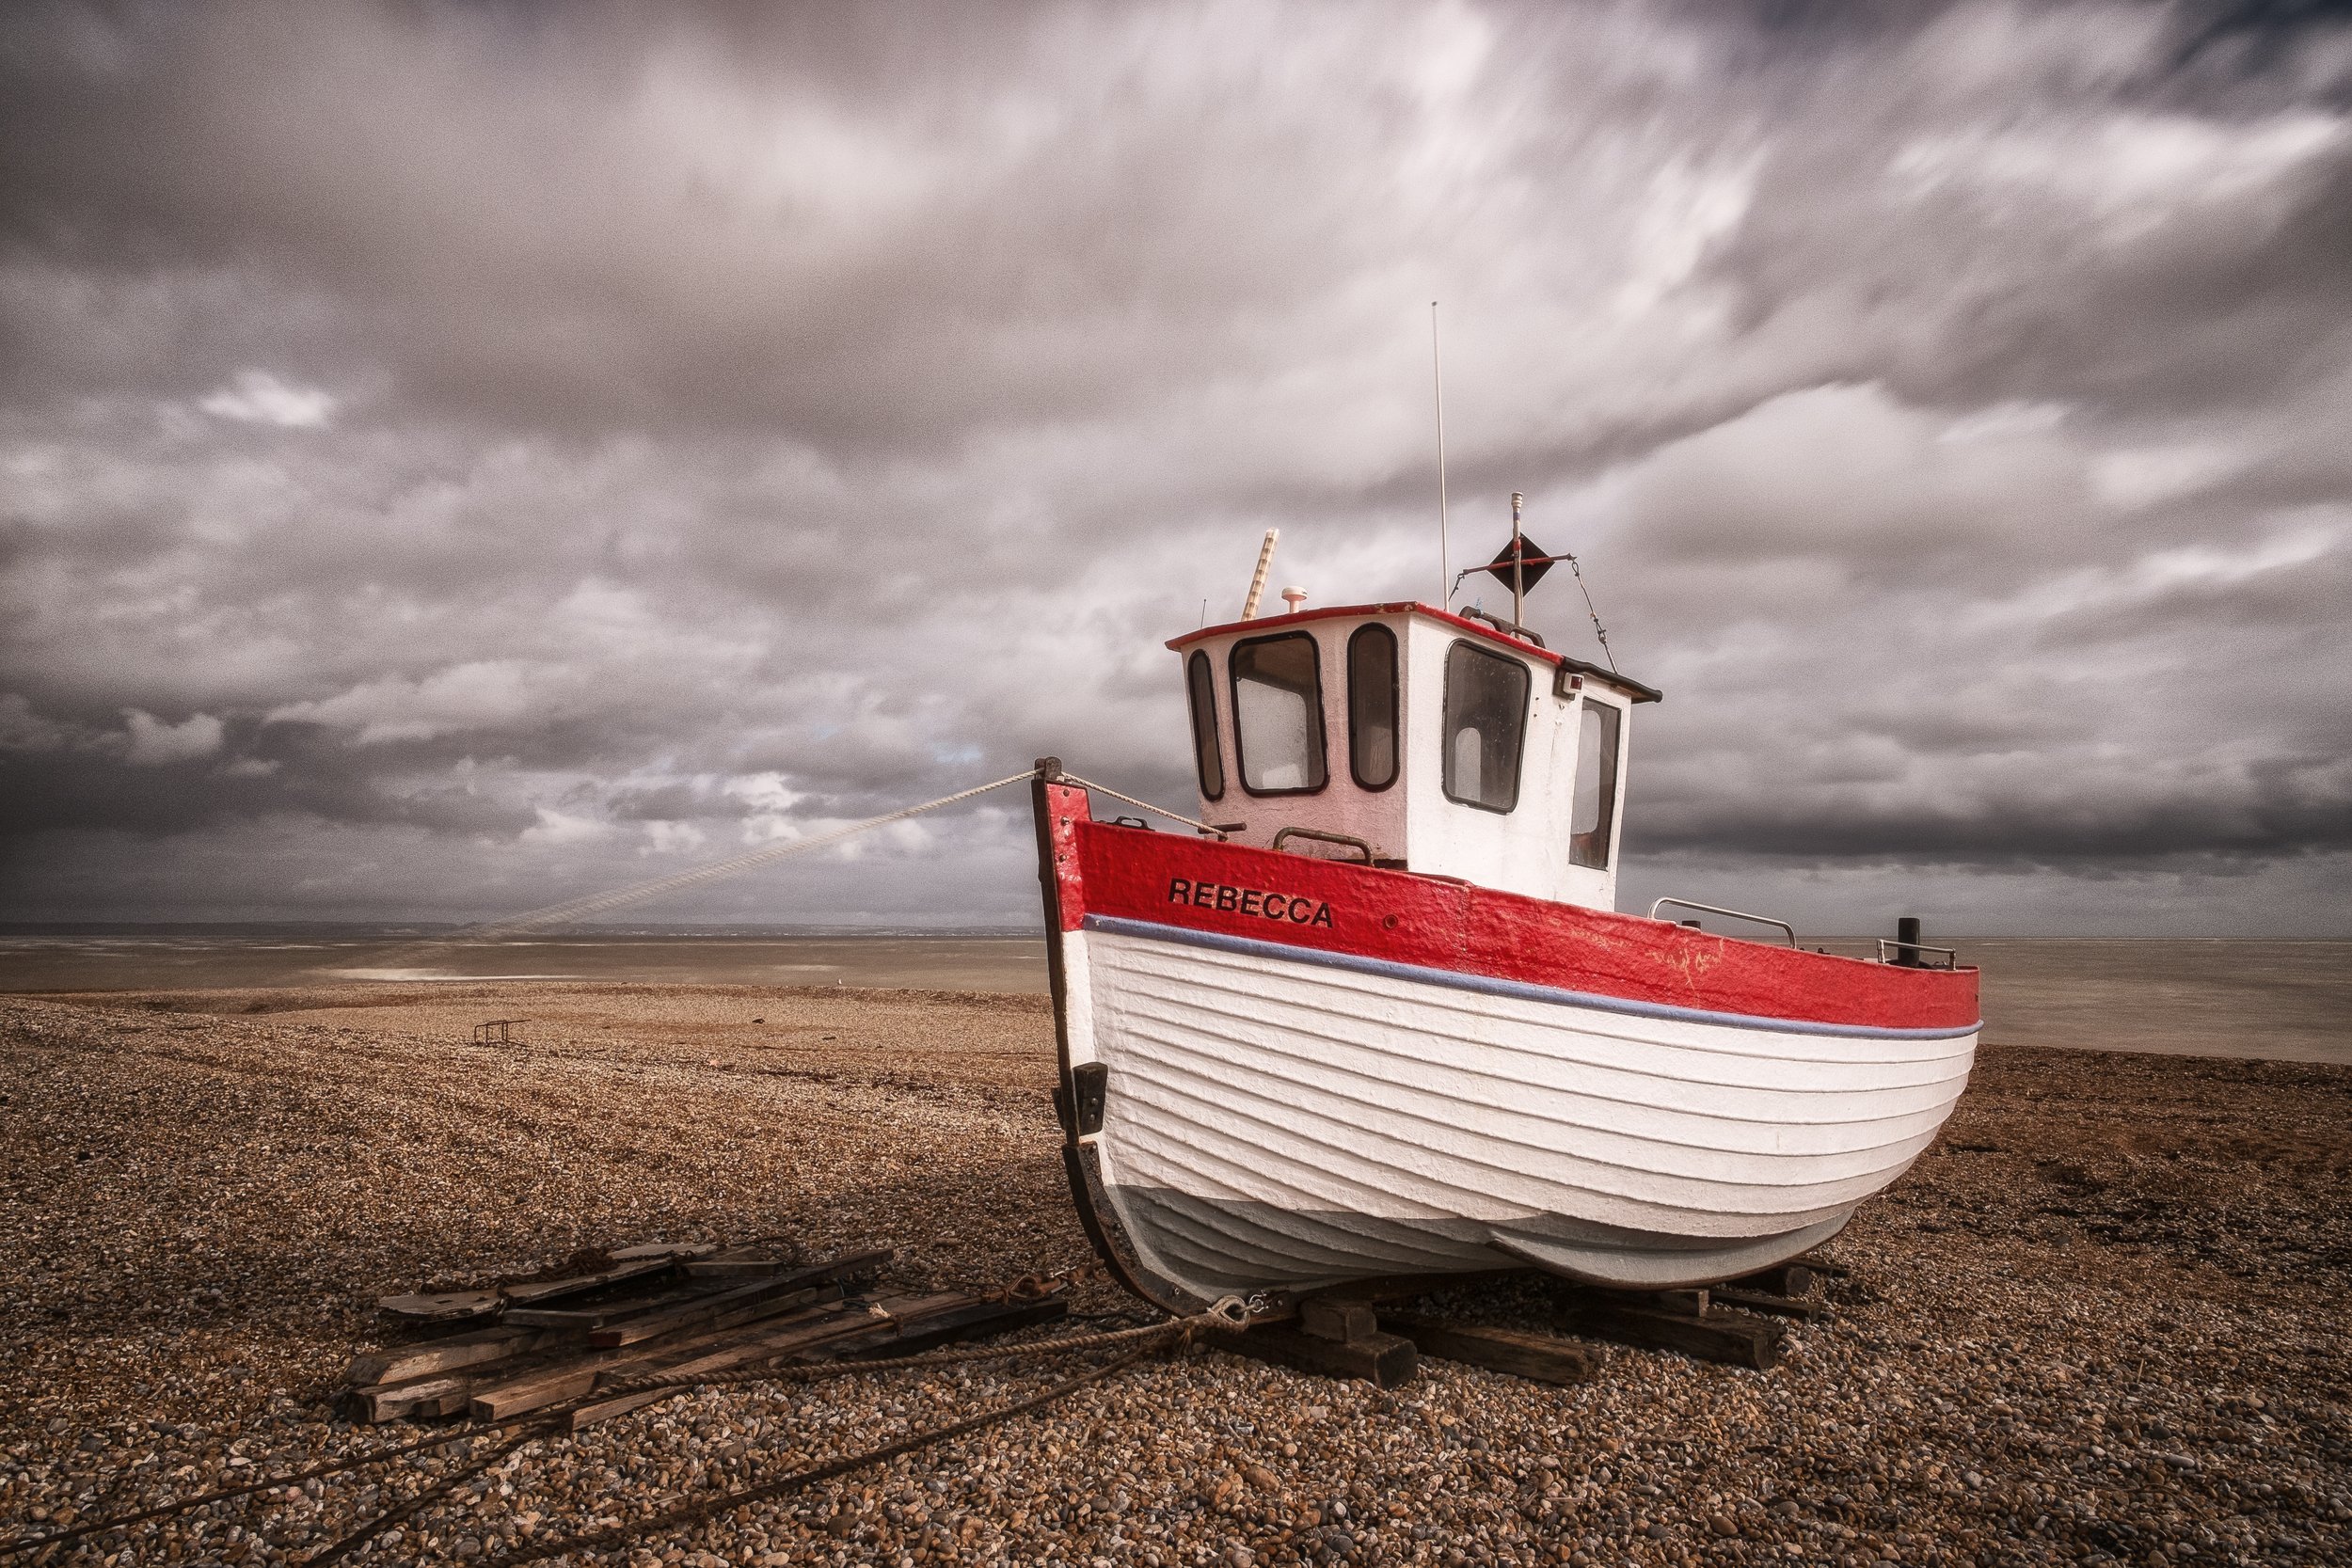
Scale and drama. Clouds have no intrinsic scale — a small fair-weather cumulus and a vast cumulonimbus can look surprisingly similar in a photograph taken with nothing else in the frame. Without a reference object, the viewer has no way to judge the size of the formation, and the drama is correspondingly reduced. Including a recognisable element — a building, a tree, a person, a boat, a single car on a road — gives the cloud formation scale and makes the dramatic ones feel dramatically bigger. This is counterintuitive: the instinct when shooting a great sky is to give it all the space. But the inclusion of a small human element typically increases rather than reduces the sense of scale and power.
Symmetry and pattern. Certain cloud formations — altocumulus mackerel sky, stacked lenticular clouds, morning fog filling a valley — have strong repeating patterns that suit symmetrical or near-symmetrical compositions. The wide-angle lens is your friend here: get the pattern to fill the frame rather than sitting in one corner of it. Shooting slightly upward from a low position can help pull more of an altocumulus formation into the frame while retaining a foreground anchor. With reflected formations — a stratocumulus layer reflected in a still lake or estuary — the symmetry of sky-and-reflection can justify that mid-frame horizon discussed above.
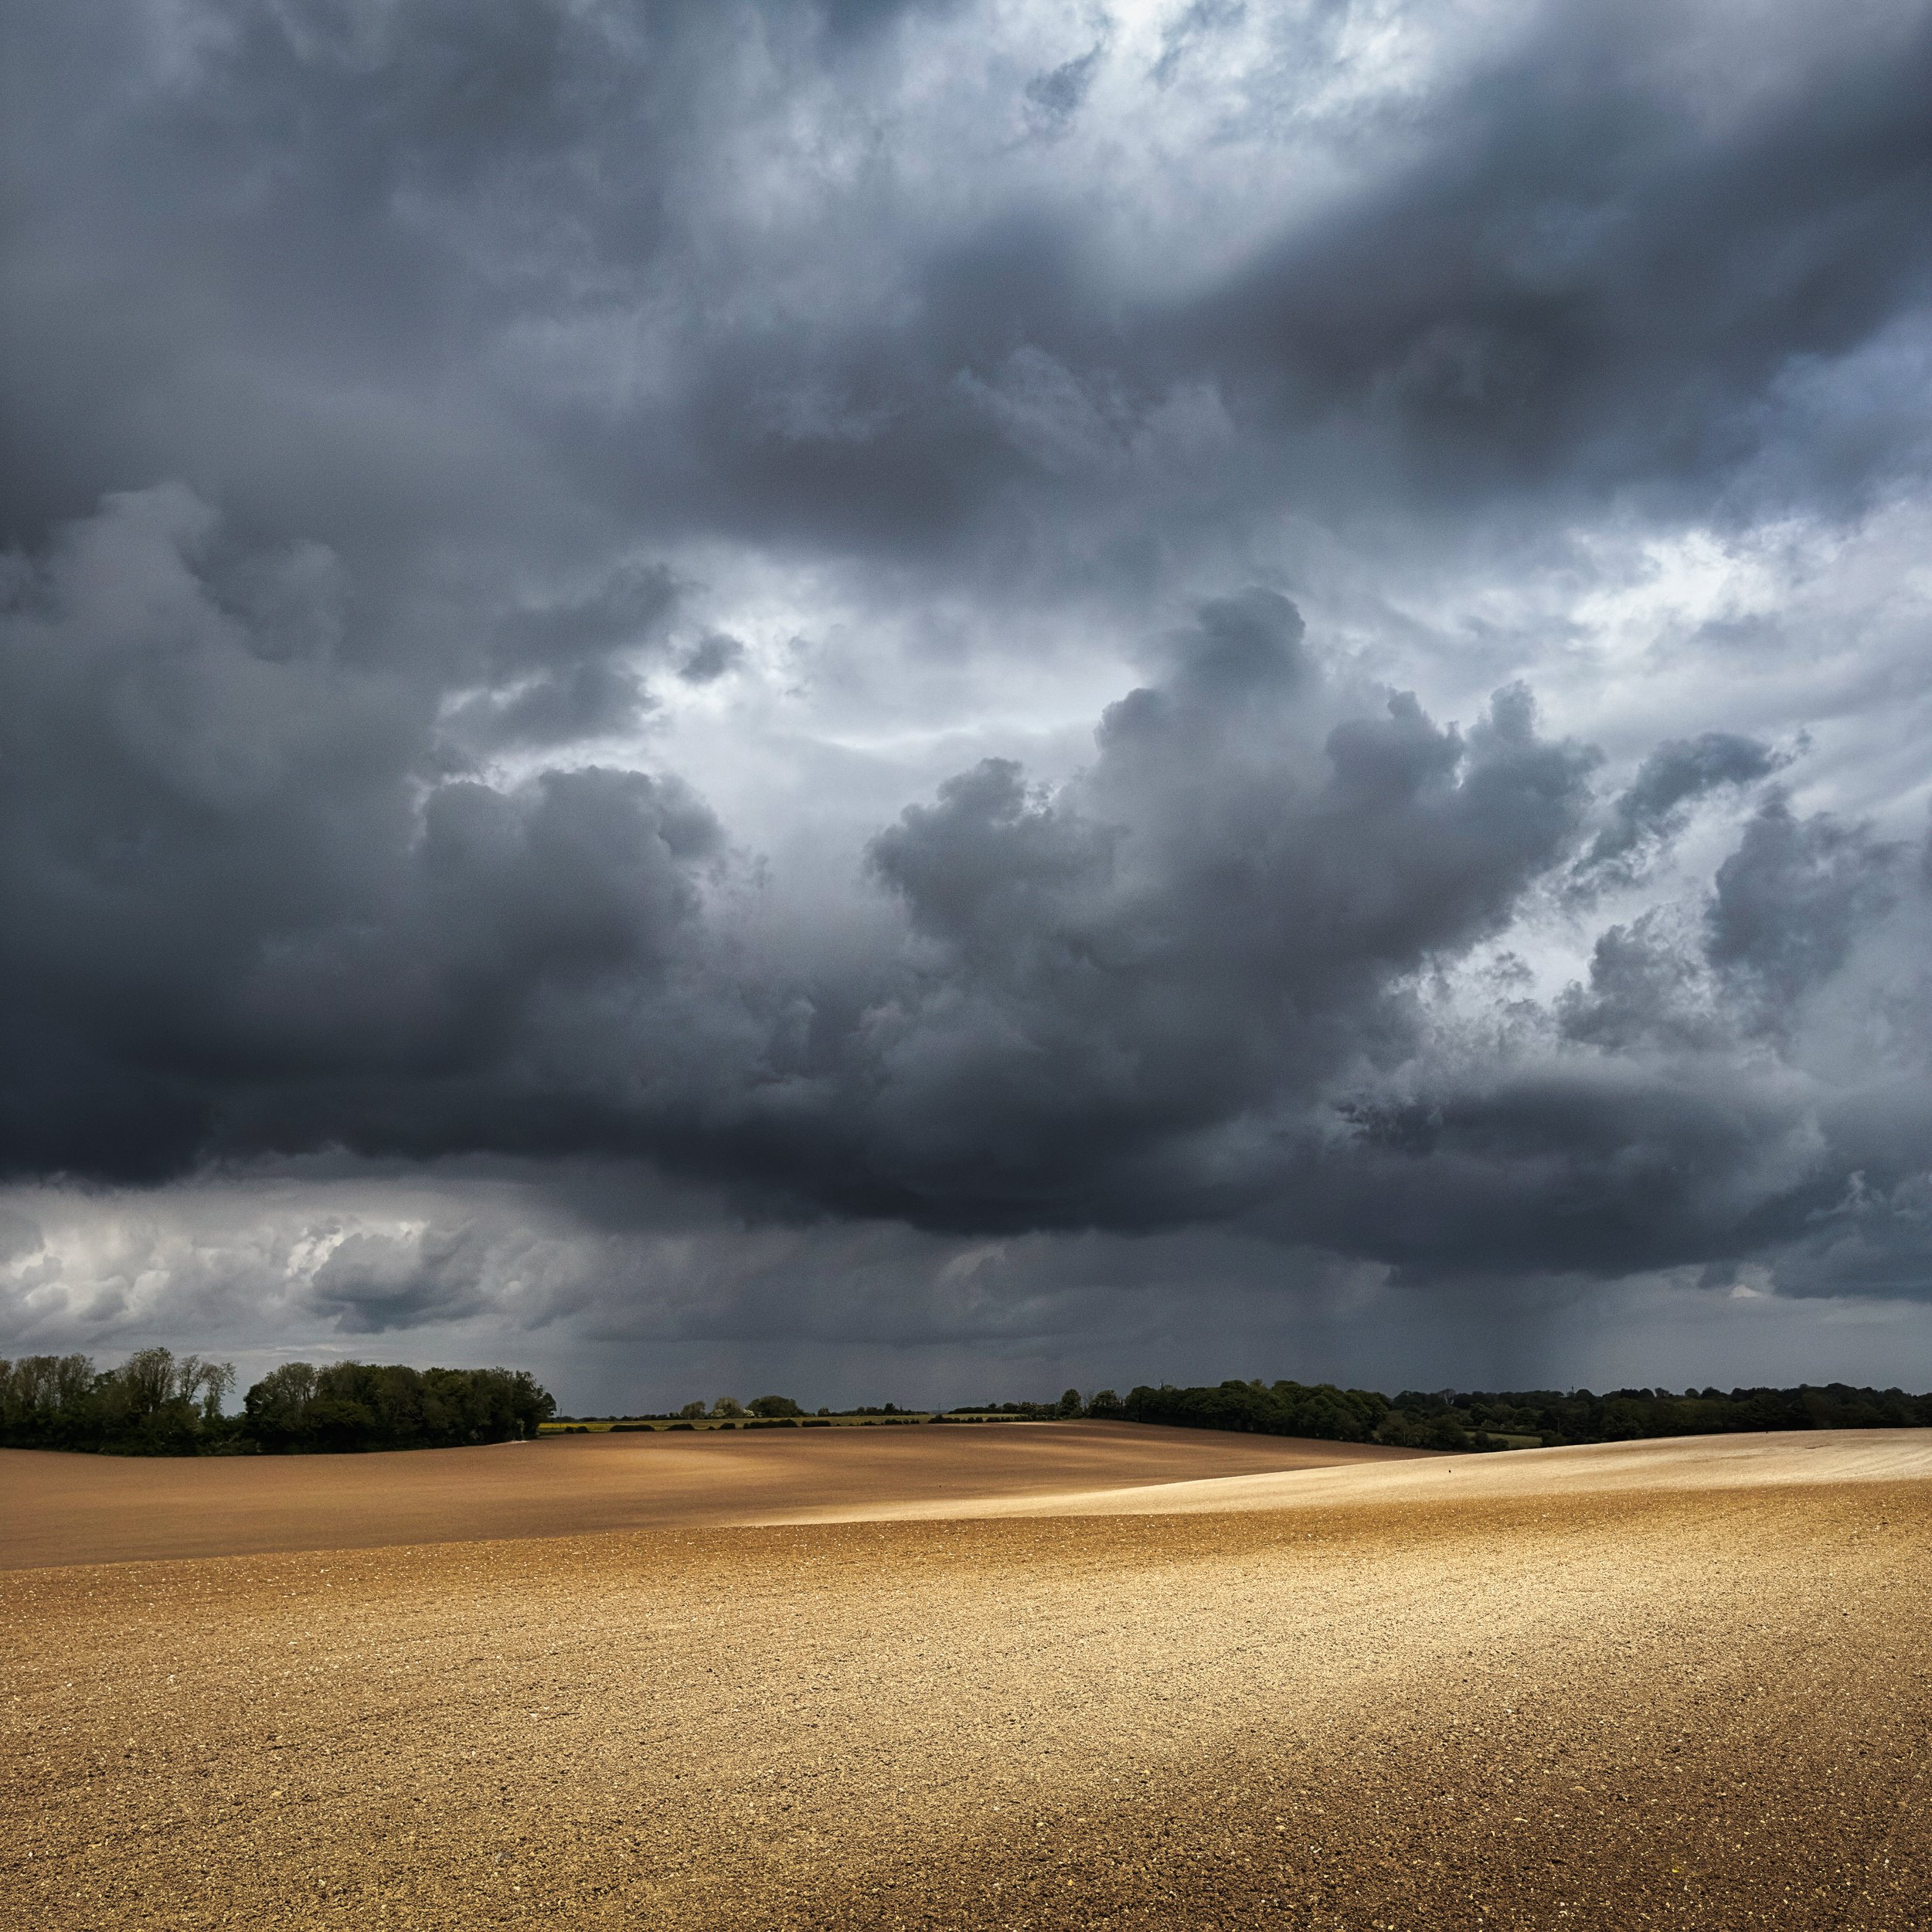
The edge of a storm. The boundary between clear sky and arriving cloud cover is consistently the most photographically interesting zone of any weather transition — more rewarding than being underneath either the clear sky or the cloud. At the transition boundary, you have simultaneous access to the dramatically lit foreground under the clear sky to one side and the dark, moody sky of the advancing weather system to the other. The contrast in light quality across the scene — warm, directional sun on the near landscape, cool grey below the approaching cloud — produces a drama that is almost impossible to replicate in any other conditions. Rather than retreating when weather approaches, position yourself at the transition boundary and shoot towards the incoming weather. This is where the good frames happen.
Waiting for the break. After a rain shower, the sky often clears partially and suddenly — a gap opens in the cloud, shafts of light descend, the wet landscape catches and reflects the light with an intensity it never has when dry. This post-shower window can last anywhere from two minutes to half an hour, and the light quality in those minutes is often the best of the day: low-angled and warm if it is late in the day, brilliantly clear and high-contrast if it is midday, and in every case enhanced by the reflective quality of wet surfaces. It cannot be predicted exactly but it can be anticipated. If you know rain has passed and clearing is underway, do not start walking back to the car. Stand at your position and wait.
Light : How Clouds Change Everything
Clouds are not just photographic subjects; they are the primary modifier of the light that illuminates everything else in the frame. Understanding what different cloud conditions do to light is as important as understanding how to compose the clouds themselves.
The broad categories are well known: overcast produces soft, diffuse, shadowless, cool light that reduces contrast and eliminates the harsh shadow problems of midday sun. Partly cloudy produces the most dynamic and most difficult conditions — rapid, unpredictable shifts between high-contrast directional light and flat overcast as clouds pass across the sun. Clear sky produces hard, directional light with strong shadows, high contrast, and — in the middle of the day — conditions that are actively unflattering for most landscape subjects.
Within these broad categories, clouds produce specific lighting effects that are worth understanding and seeking out.
Crepuscular rays — also called god rays, Jacob's ladder, or volumetric light — are the shafts of light that appear when sunlight breaks through gaps in cloud cover and is made visible by dust, moisture, or particulate matter in the atmosphere. They are among the most dramatic effects available to any landscape photographer. To position yourself to capture them effectively, you need to think about geometry: the rays radiate outward from the light source, so to see them as shafts rather than as general brightening, you need to be roughly perpendicular to the direction of the shafts. Looking slightly towards the light source (not directly at it) rather than away from it makes the rays more visible. Early morning and late afternoon, when the sun is low and atmospheric particles are at their most scattering, are the most productive times.
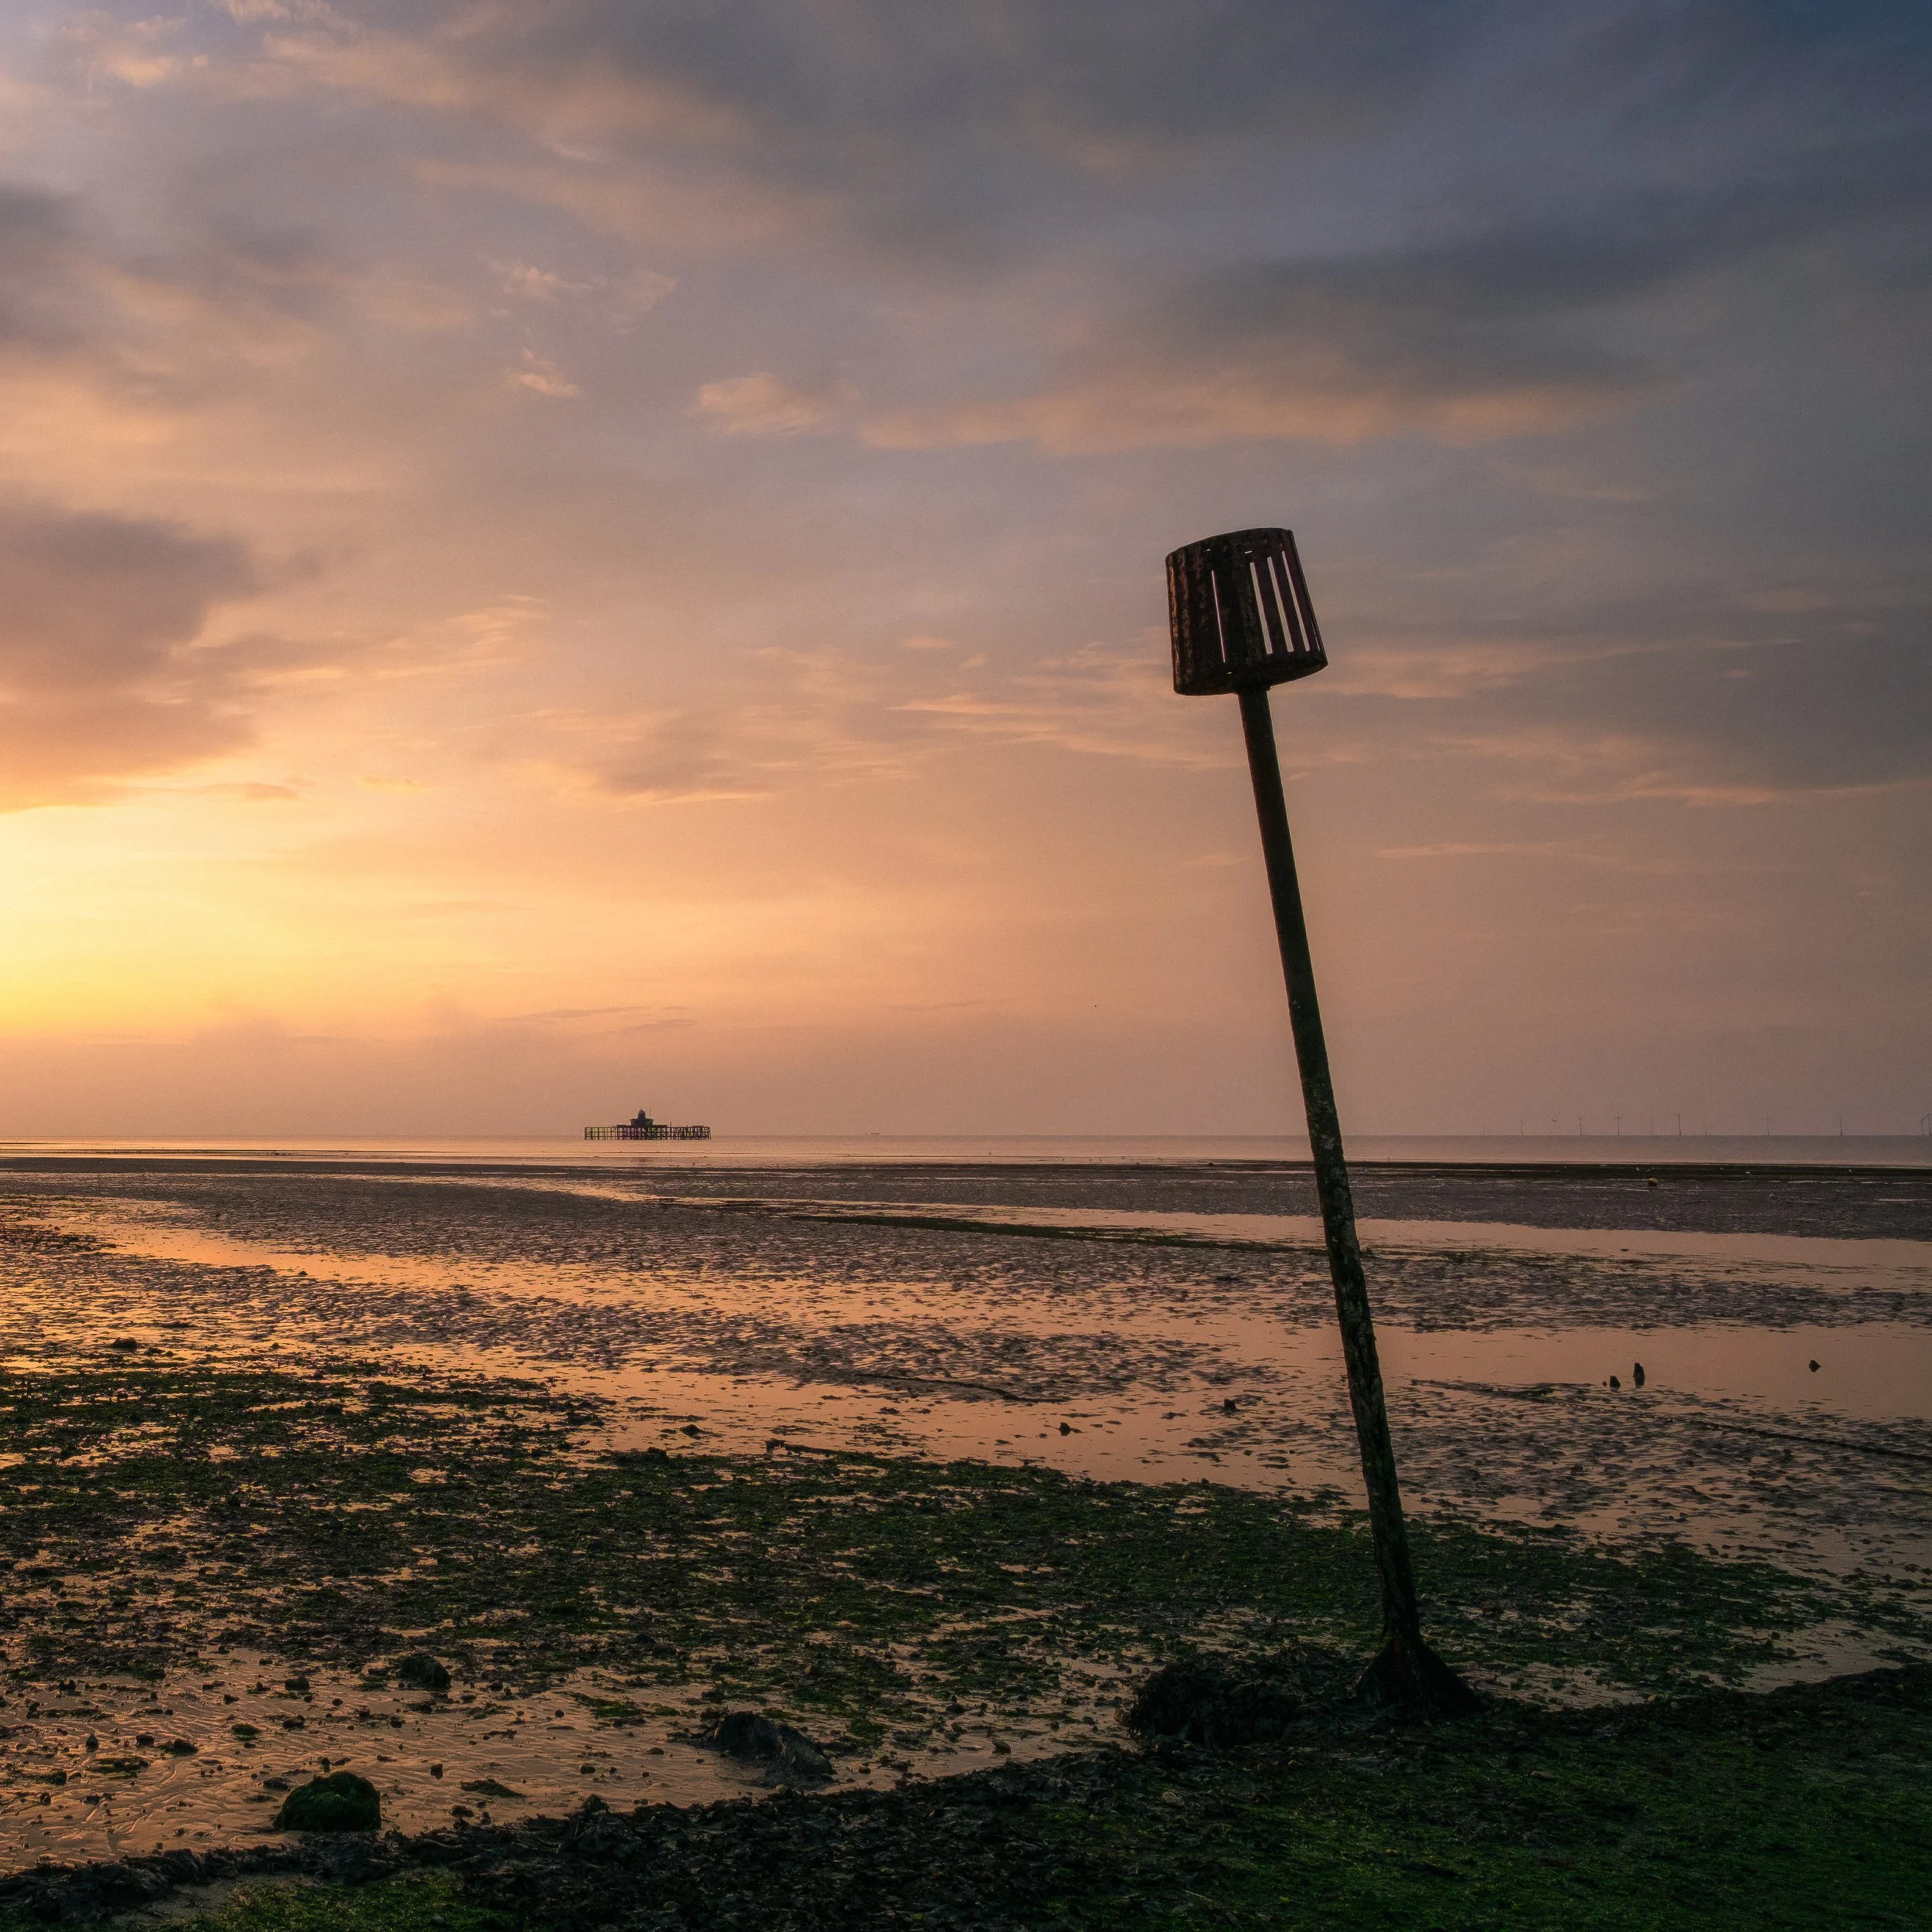
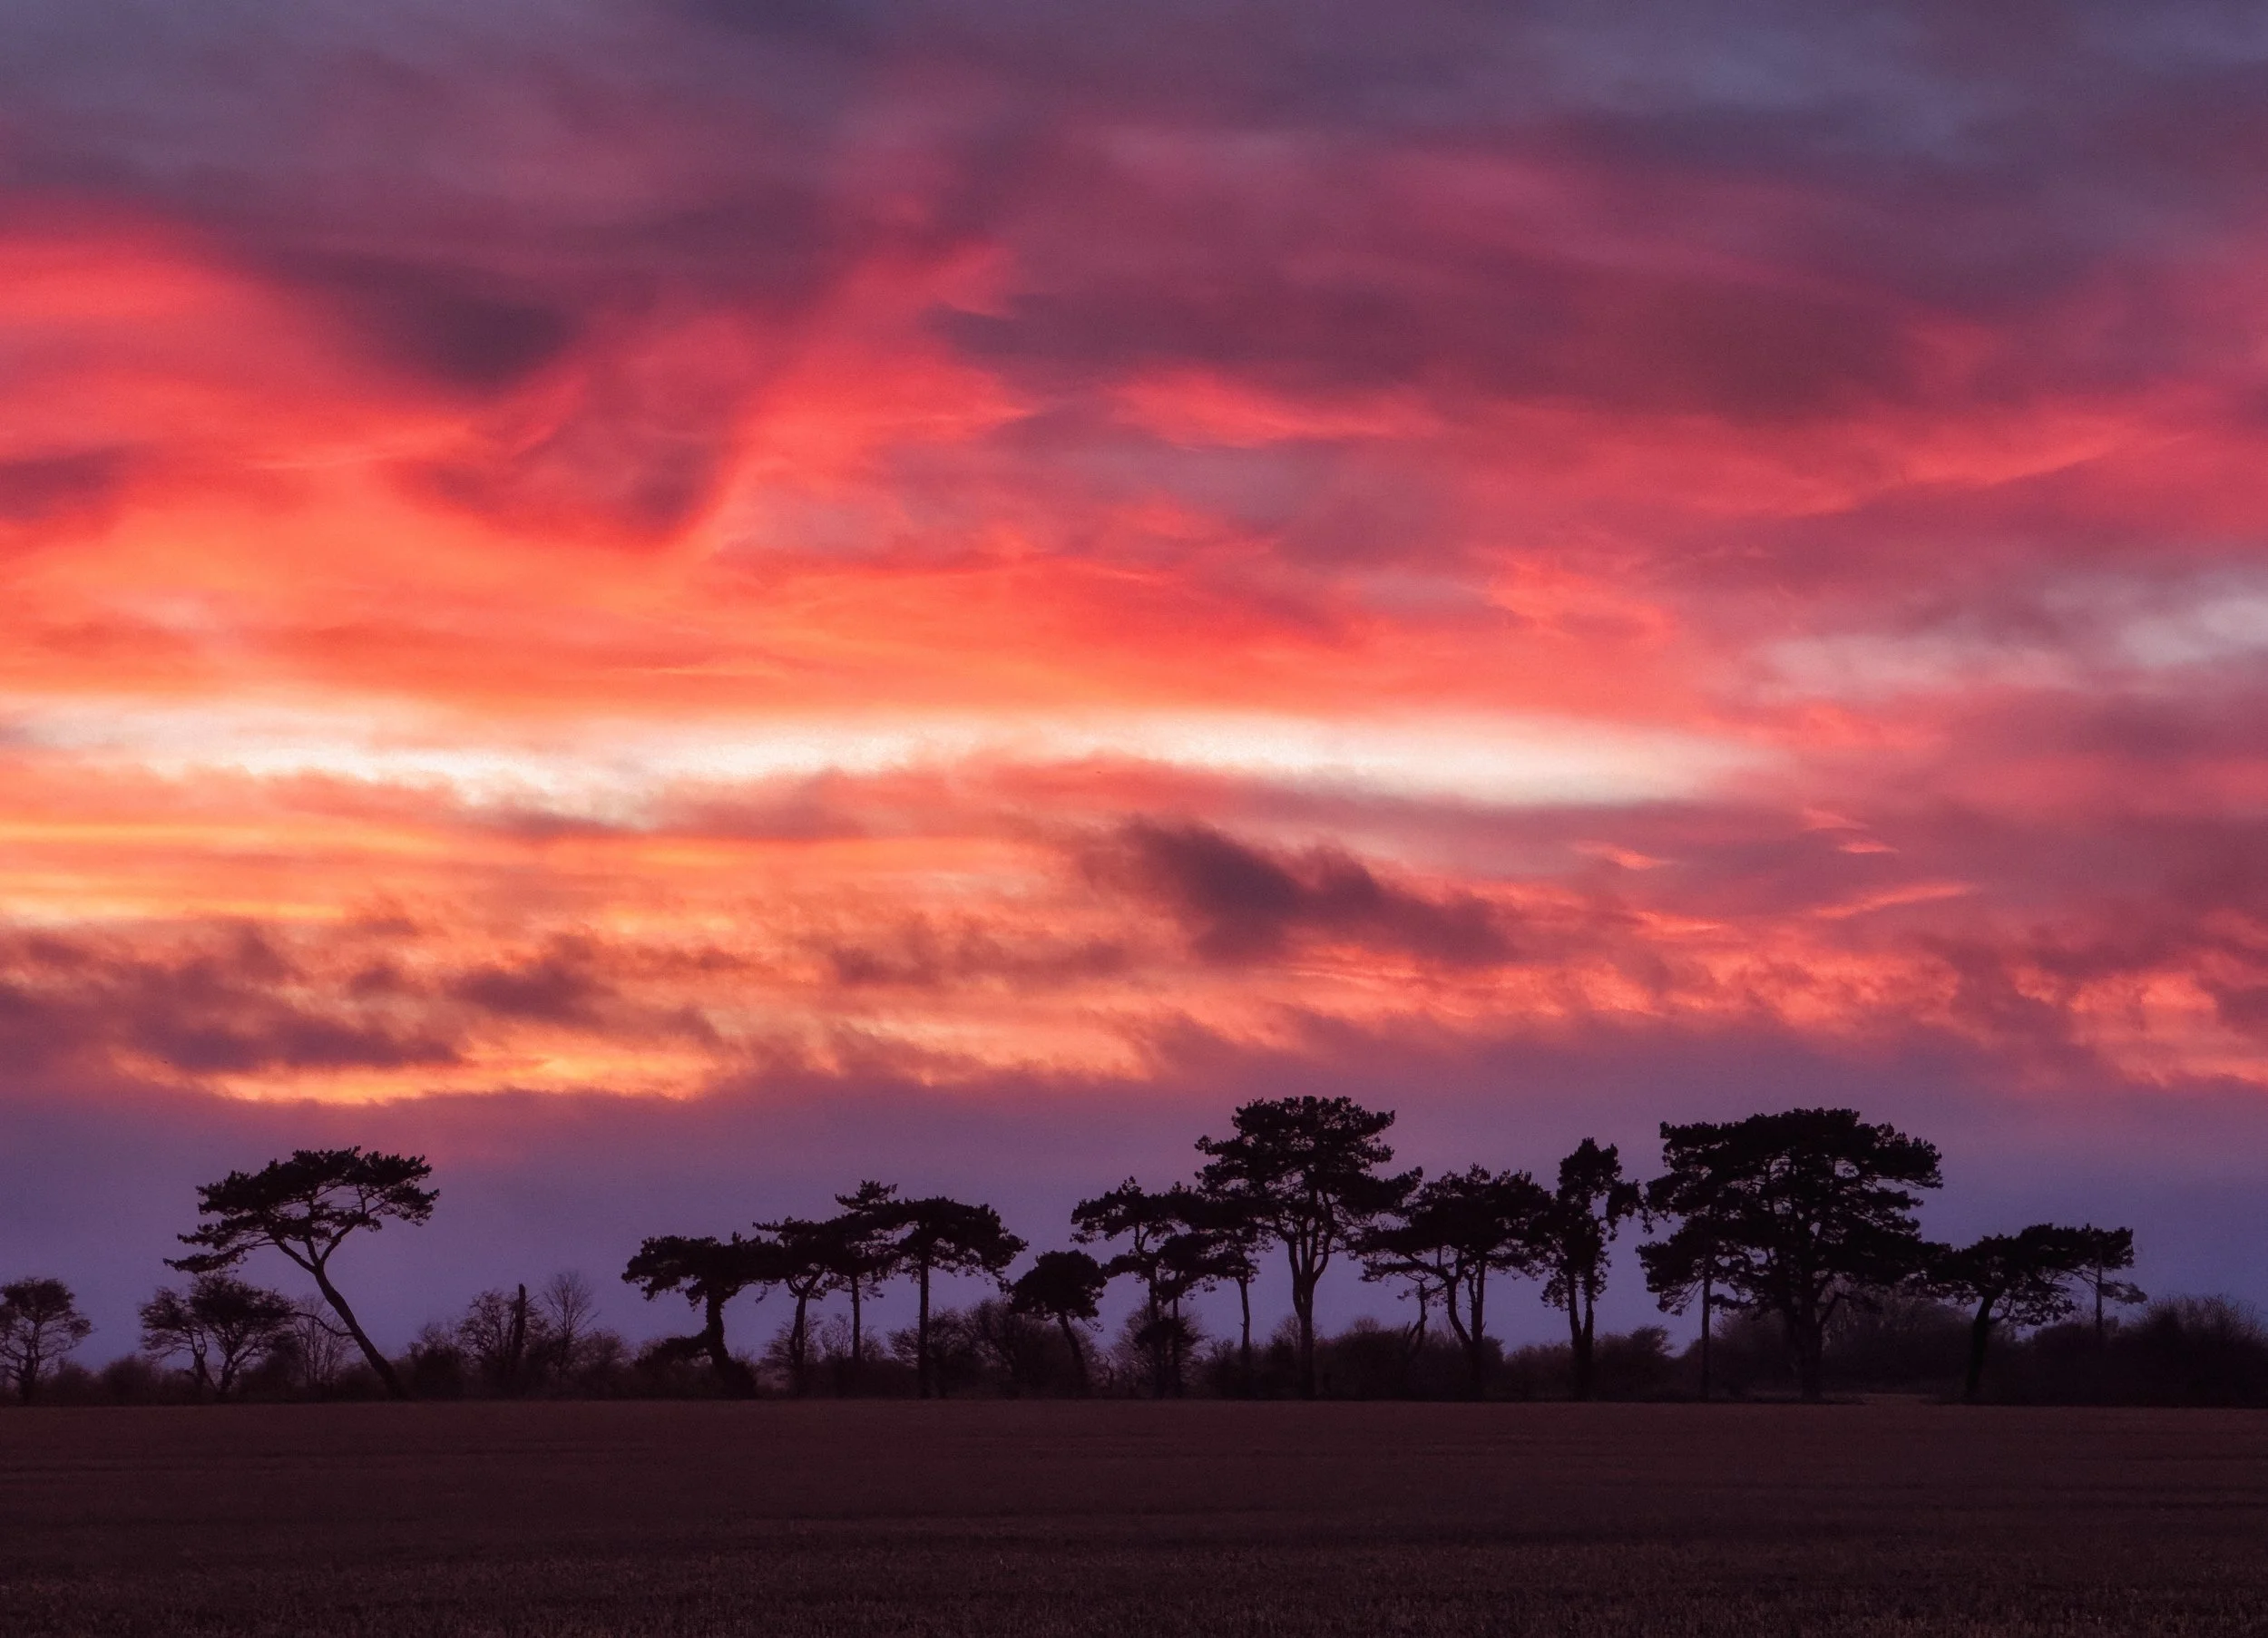
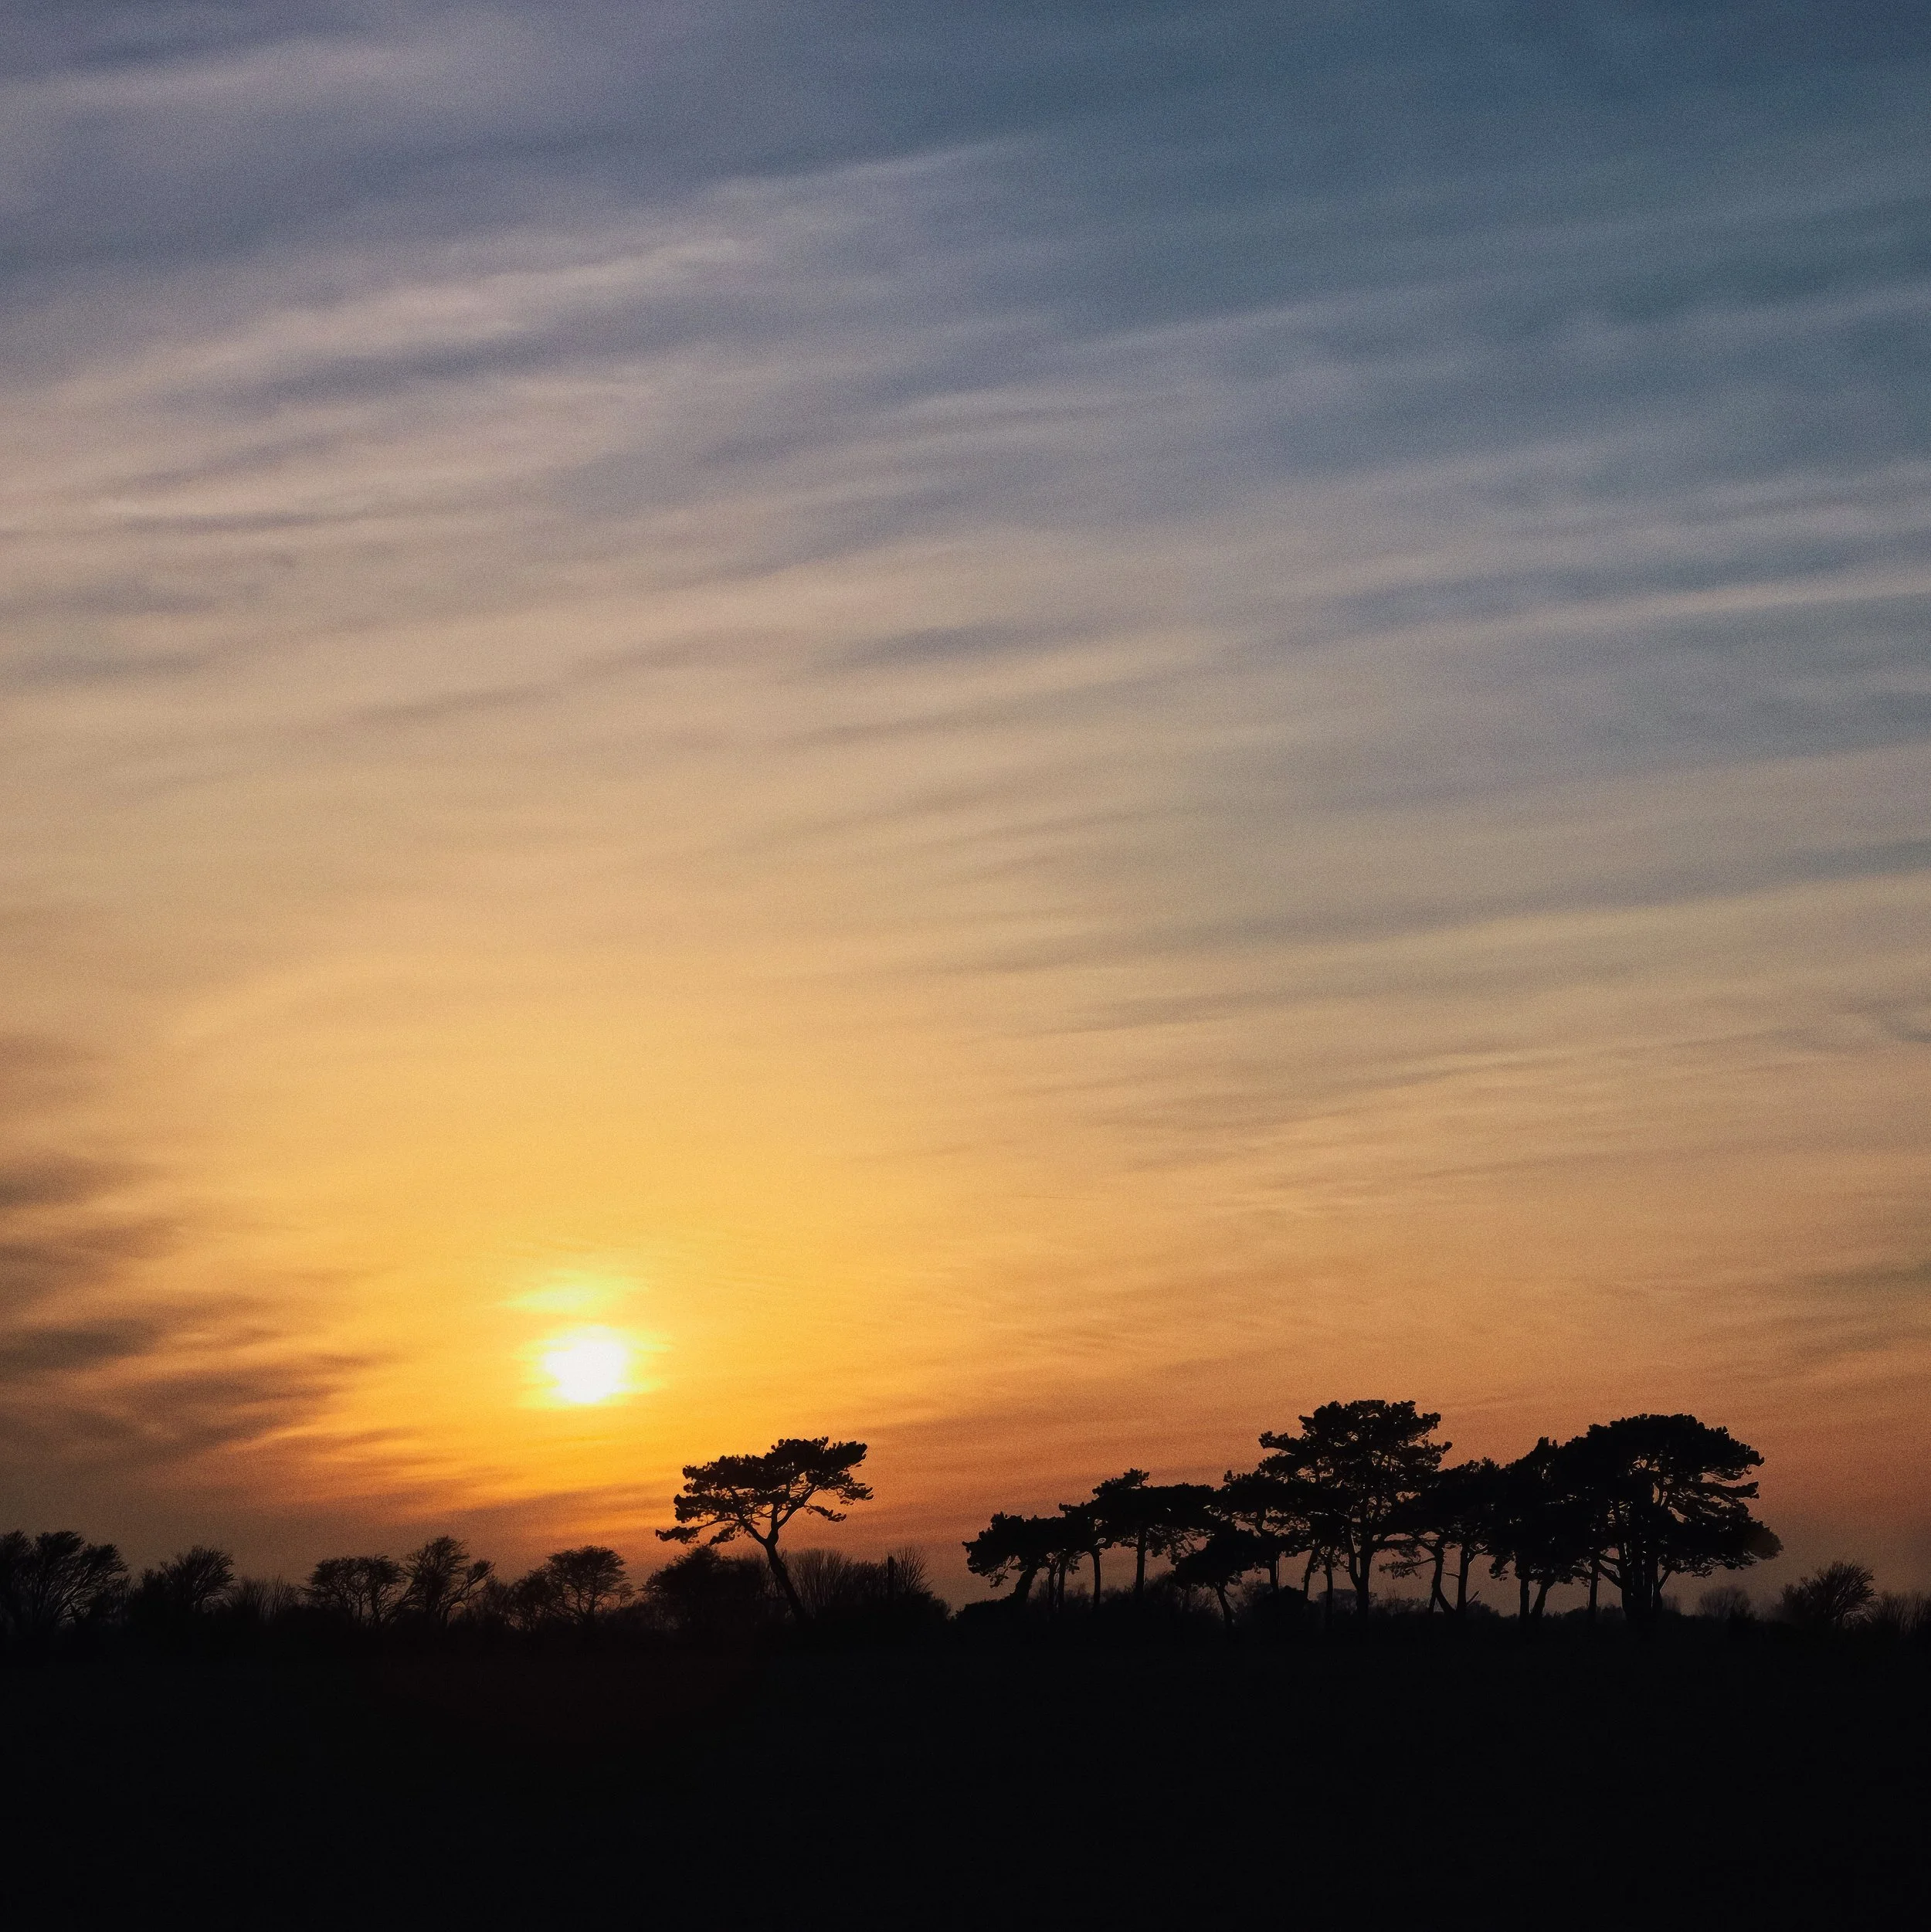
Sunrise and sunset clouds catch the warm light of the low sun whilst the ground below may still be in shadow or cool diffuse light — this differential is what gives great sunrise and sunset photographs their characteristic quality. The timing is less predictable than most photographers expect: the colour is often most intense not at the moment of sunrise or sunset itself but in the five to fifteen minutes before or after, when the light is travelling through the most atmosphere. A point that catches many photographers by surprise: the most dramatic colour at sunset is frequently not in the western sky (where the sun has just set) but in the east, where thin cloud is reflecting the orange and red light back. If the western sky is blank and the eastern is streaked with cloud, turn round.
Underlit storms produce some of the most extraordinary light in British weather. When the sun is low or below the horizon but the cloud base of an active storm system is still catching light from below — illuminated from a sun that the ground observer cannot see — the result is a dark, billowing cloud mass with an orange or pink underside, rain curtains catching golden side light, and the general quality of a natural special effect. The late evening before a summer storm clears, or in the longer twilight of a winter afternoon when a front is building, are the most likely times for this.
Post-storm light is the most reliable golden-light opportunity in otherwise unpredictable British weather. The clearing after a rain shower produces conditions — sharp, clean air, wet reflective surfaces, broken cloud allowing shafts of low light through — that are genuinely exceptional. This is not guaranteed, and not every shower clears to sunshine, but it occurs often enough that if you have a productive location in mind, arriving just as a shower ends is a viable strategy rather than a lucky accident.
Practical Smartphone Techniques
The smartphone is arguably the best tool ever made for opportunistic cloud photography — not because it produces the finest technical quality, but because it is always in your pocket. The cloud formation you see from a lay-by at 7:15 on a Tuesday morning is one that your dedicated camera will never photograph. Here is how to use that portable camera as effectively as it deserves.
Planning and weather apps. You cannot control the clouds, but with the right tools you can predict them well enough to be in the right place at the right time considerably more often than chance would allow. Windy (available free on iOS and Android) is the best single tool for understanding what the sky will be doing: it shows cloud cover, wind speed and direction at multiple altitudes, precipitation, lightning risk, and atmospheric pressure all in a single animated view that you can scrub forward in time.
For broad UK planning, BBC Weather is serviceable; for the kind of accuracy that matters when you have driven an hour to a specific location, the Met Office app is substantially better.
Clear Outside (developed specifically for astrophotographers and outdoor photographers) gives a detailed cloud-cover forecast broken down by altitude, which is genuinely useful for knowing whether the high cirrus will thin out by evening.
The Photographer's Ephemeris and PhotoPills add sun and moon position information, golden hour and blue hour timing, and shadow direction — essential for planning compositions around the light rather than after it has already happened.
Exposure for clouds. The sky is almost always the brightest element in the scene, often significantly brighter than even a light-toned foreground. The smartphone's automatic exposure system, metering for the average brightness of the scene, will typically underexpose the cloud formations — rendering them as properly bright whites but losing the subtle tonal variation in the cloud structure, or, at the other extreme, exposing for the dark foreground and completely blowing out the sky.
The solution to the first problem is to tap on the sky area before shooting, setting the exposure to the cloud rather than the foreground average. This will underexpose the land, which you can address in post.
The dynamic range problem. The difference in brightness between a bright cloudy sky and a shaded foreground can exceed what any smartphone — or any camera — can capture in a single exposure whilst retaining detail in both. You need a strategy before you shoot, not after.
Option one: let the foreground go dark and embrace the silhouette. A well-chosen dark foreground — a treeline, a building, a figure — against a dramatically lit sky is a completely valid and often very effective approach, and requires no post-processing gymnastics.
Option two: shoot in RAW format (available in most modern smartphones' Pro mode) and use the highlights and shadows sliders in post to recover what the sensor recorded but the standard JPEG discarded. Option three: bracket exposures and blend them in editing.
HDR mode and when not to use it. HDR mode is useful in its proper context: evenly lit scenes with moderate contrast. For dramatic cloud formations, however, it tends to produce unnatural results — the tone-mapping algorithm that lifts the shadow detail also flattens the cloud highlights, producing a processed, slightly plastic look that is immediately recognisable and not generally desirable. Use HDR mode for flat-lit, high-contrast scenes (a bright building against shade, for example) and turn it off for dramatic skies where the cloud formation is the subject.
Long-exposure apps for cloud movement. Slow Shutter Cam (iOS) and NightCap Camera (iOS) allow exposures of several seconds to several minutes; Android equivalents include Manual Camera and ProShot. Extended exposures of moving clouds produce soft, silky streaking forms that turn an ordinary broken sky into something more abstract and dynamic. The technique works best with slower-moving clouds — cirrus and altocumulus — rather than with rapidly building cumulus, where the movement is so fast that long exposures can simply produce a blank white smear.
Exposures of 15–60 seconds give a useful sense of cloud movement without completely losing the cloud structure; 2–5 minutes begins to approach the fully smooth silk texture of the classic long-exposure cloud photograph. A tripod — even a small travel tripod with a phone adapter — is essential; no hand-holding produces useful results at these shutter speeds.
Locking exposure. On both iOS and Android, pressing and holding on a point in the frame locks both the exposure and focus to that area, and a padlock icon confirms the lock. Do this on the sky before you reframe to include the foreground, and the camera will not re-meter when you shift composition or when a cloud brightens or darkens. This simple habit eliminates one of the most common smartphone cloud photography problems: the frame that would have been perfect if the sky had not blown out in the half-second between tapping and shooting.
Shooting RAW. If your smartphone supports it — and most modern flagships do, via their Pro or manual mode — shooting in RAW format is the single biggest improvement you can make to your cloud photography workflow. RAW files retain far more highlight and shadow detail than processed JPEGs, and a sky that looks completely blown out in the JPEG preview often has recoverable cloud structure in the RAW file. This matters enormously for cloud photography, where the most interesting detail is frequently in the brightest part of the frame.
Filters for Cloud Photography
Filters are not optional accessories for serious cloud photography — they address real physical limitations that no amount of post-processing can fully compensate for.
The polarising filter is the most useful single filter for daytime cloud photography. A polarising filter works by blocking polarised light — the scattered, reflected light from the blue sky — while transmitting the direct light from cloud formations. The practical effect is a darkening of the blue sky (which makes white clouds stand out more dramatically against it) and an increase in tonal contrast across the sky. It also reduces reflections on wet surfaces, which is useful for post-storm shooting. The effect is strongest when shooting at approximately 90 degrees to the sun — that is, with the sun to your left or right, not in front of you or behind you. Looking directly towards or away from the sun, a polariser has very little effect.
On a smartphone, clip-on circular polarisers work effectively — rotate the filter element to find the position that produces maximum sky darkening and cloud contrast. The important caveat: polarising filters do not work on overcast skies. There is no polarised light to filter when the sky is a uniform grey — the filter simply adds 1.5–2 stops of light loss without any visible effect. Remove it when the sun goes behind cloud.
The graduated ND filter is the solution to the sky-brightness problem when you want to retain detail in both sky and foreground. A graduated ND filter is dark at the top and clear at the bottom, with a transition zone between them; placed over the lens, it darkens the sky relative to the foreground, reducing the brightness differential that the sensor struggles to capture. Available as physical clip-on attachments for smartphone lenses, or applied digitally in post (Lightroom's Graduated Masking tool replicates this effect very accurately).
The physical version is more versatile in real-time shooting but requires a relatively clean, horizontal sky-to-land boundary — an irregular treeline or building will show the filter edge clearly. When the horizon is uneven, the digital approach is more practical.
The ND filter for long exposure addresses a different problem: how do you achieve a shutter speed of 30 seconds or more in daylight without overexposing the entire image? A strong ND filter — 6 stops (ND64) or 10 stops (ND1000) — reduces the amount of light reaching the sensor sufficiently to allow exposures of 30 seconds to several minutes in normal daylight conditions, turning moving clouds into silky, elongated streaks.
The results — particularly with a sharp, still foreground against a completely blurred sky — are dramatic and quite different from anything achievable with a standard exposure. This technique requires a tripod, an app that allows manual shutter speed control, and some patience whilst you calculate the exposure adjustment. Neutral density apps such as the ND Timer function built into Slow Shutter Cam will calculate the required exposure time from a base reading.
Infrared filters represent a specialist technique that produces striking and unusual results: infrared photography renders clouds as bright, glowing white against an almost black sky, creating a tonal reversal that gives cloud photographs a dramatic, otherworldly quality.
Standard digital cameras (and smartphone sensors) have an infrared-cut filter built in to block IR wavelengths; a clip-on or screw-in deep red infrared filter allows some IR light through at the cost of very long exposures (often 30 seconds or more even in bright sun).
For the most dramatic results, a camera with the IR-cut filter removed by a specialist modifier is the professional approach, but usable results are achievable with a smartphone and a clip-on IR filter. Blue sky goes very dark; white clouds become radiant; green foliage also goes strikingly pale.
Post-Processing Clouds
Most cloud photography benefits from post-processing, and not in a cosmetic sense. The camera does not see what you see — the dynamic range is compressed, the highlights may be slightly blown, and the subtle tonal gradations in a cloud formation often need to be drawn out rather than accepted as captured. Here is a systematic approach.
Highlight recovery is the first adjustment to make on any cloud photograph, and it should be applied before anything else. Pull the Highlights slider fully down, or at least to the point where the cloud formations show full tonal detail. In a RAW file, it is genuinely surprising how much recoverable information sits in apparently blown highlights — the white that looks featureless in the preview often contains complete cloud structure once the highlights are recovered. This single adjustment resolves a majority of the exposure problems common to cloud photography.
The sky masking tool in modern Lightroom (and in Lightroom Mobile) can automatically identify the sky in an image and apply adjustments to it independently of the foreground.
This is an extraordinarily useful tool for cloud photography, because the sky and the land almost always need different treatment. With the sky selected, you can darken it, increase cloud contrast, adjust the colour temperature of the sky independently of the warmer tones of the landscape below, and recover highlights in the cloud formations without affecting the shadow and midtone work you have already done on the foreground.
It is not perfect — it occasionally misidentifies a very pale building or a patch of mist as sky — but it is close enough to right often enough that it should be the first tool you reach for when the sky and land need different treatment.
Graduated filter remains the fastest solution when the sky-to-land boundary is clean and relatively horizontal. Draw a graduated adjustment over the upper half of the image, set the Exposure slider down by 0.5–1 stop, and pull the Highlights down. For the lower half, bring the Shadows and Exposure up. This two-graduated-filter approach addresses most of the dynamic range problem in a natural-looking way that avoids the over-processed quality of aggressive tone-mapping.
Contrast and clarity in clouds. Adding contrast (via the tone curve, not the flat Contrast slider, which is too blunt) and clarity (which increases local contrast in the midtones specifically) brings out the three-dimensional texture of cloud formations in a way that flat capture cannot.
The caution: restraint. Heavy clarity applied to clouds produces the signature look of over-processed HDR photography — a kind of crunchy, hyper-detailed quality that dates photographs badly and reads immediately as processed. A clarity increase of 15–25 points on a cloud formation is typically enough to bring out genuine texture. At 50 or above, the result begins to look worked.
Colour grading the sky. The blue of a clear sky can be made more saturated, shifted towards cyan for a cooler look, or pulled towards violet for something more unusual. The HSL panel — specifically the Hue, Saturation, and Luminance controls for blues and aquas — allows you to target the sky colour specifically without affecting the greens and earth tones of the landscape.
For sunrise and sunset clouds, the orange and red sliders control the warmth of the light in the cloud formations; warming them slightly (or conversely, cooling them to make a storm look colder) can emphasise the temperature of the light in a way that the camera captured only approximately.
Luminance for blue sky control. In the HSL panel, pulling the Blue luminance slider downward darkens the blue sky whilst leaving white clouds untouched — effectively replicating, in post, the effect of a polarising filter or the classic photographic red filter used in black-and-white darkroom work.
This is one of the most useful single adjustments in cloud photography post-processing, and it is non-destructive: you can pull it as far as you like and push it back without penalty. A blue-luminance reduction of 30–50 points produces a dramatic sky darkening that brings cloud formations forward in the tonal hierarchy.
Black and white conversion. Some cloud formations — particularly dramatic storm clouds, where the colour information is minimal, and the tonal contrasts carry the image — work better in monochrome.
Convert to black and white and then use the luminance sliders to control how the tones render: pull blue luminance down to darken the sky (as if shooting through a red filter in the darkroom), bring orange and yellow up slightly to add warmth to sunlit cloud edges, and use the contrast curve to push the dark cloud bases further into shadow.
The best black-and-white cloud photographs have a tonal range that goes from near-white in the cloud tops to near-black in the storm base — full use of the available tonal space.
Long-exposure blending. If you have shot a long-exposure cloud image (giving soft, streaked sky) and a separate sharp exposure for the ground, blending the two in Photoshop — using the long-exposure image for the sky and the sharp image for the foreground — produces a combination that would be impossible in a single shot: a detailed, sharp landscape beneath a silky, motion-rendered sky.
The technique requires consistent framing between the two shots (tripod) and a careful mask at the sky-to-land boundary. Alternatively, Lightroom's HDR Merge can sometimes produce a usable combination if the exposures were taken close enough in time for the cloud positions to be compatible.
Resources
Here’s an interesting video from Tony Howell, who talks about his passion for shooting clouds, and pure cloudscape images in particular, very much in the footsteps of Stieglitz and the Pictorialists.
Here’s a great video from Kim Grant, who is out shooting cloudscapes in the Scottish islands: “Join me at Cantick Head Lighthouse in Orkney as I photograph some stunning cloud formations. I also show you some of the beautiful sites on Hoy, including a cliff top walk, an ancient tomb and a secluded bay.”
An excellent explanation of how to find and photograph cloud inversions, from Scott Walker of Walks on the Wild Side: “In this video I photograph the weather phenomenon of a cloud inversion. I'll let you know how cloud inversions are formed, how to predict them and give examples of how to photograph them. These pictures were all taken from Winnats Pass in the Derbyshire Peak District.”
Here’s a fantastic video from Danish photographer Mads Peter Iversen about the rare but fascinating phenomenon of noctilucent clouds: “Noctilucent clouds, also known as night-shining clouds, or NLCs for short, are fairly easy to photograph, but they only occur during the summer weeks around the summer solstice. In this video, I do some night landscape photography in four different locations, photographing the noctilucent clouds in four different ways, and share how I do it. I share footage from both 2020 and 2021, which includes some mesmerising time-lapses. This video has been years underway, all the material (besides the music) is my own. Enjoy!”
Give it a Try!
Three exercises that will change how you see the sky.
1. The sky ratio experiment. Find a view with both a strong foreground and a strong sky — the two elements do not need to be equally strong, just both present. Shoot it three times without moving your feet: once with the horizon in the upper third (giving most of the frame to the land), once with the horizon at mid-frame, and once with the horizon in the lower third (giving most of the frame to the sky). Do not select a winner in the field. Wait until you are looking at the three images on a screen, side by side, and ask yourself which of the three is most honest to what drew you to that location in the first place. The answer tells you something about how you actually see landscape, as opposed to how you think you see it.
2. The long-exposure cloud. On a partly cloudy day with some wind and reasonable light, mount your phone on a tripod and open a slow shutter app. Try exposures of 15 seconds, 30 seconds, and 2 minutes on the same scene. Compare the three results and pay attention to what each shutter speed does to the clouds: at 15 seconds, you can still see individual cloud shapes, softened at the edges; at 30 seconds, the forms are beginning to merge and trail; at 2 minutes, the sky may have become a uniform silk, losing all cloud structure but gaining a quality of light that is entirely its own. Decide which you prefer, and why — this is not a trick question with a right answer.
3. The storm edge. Next time a front approaches, position yourself at the transition boundary between the clear sky behind you and the approaching cloud. Shoot towards the incoming weather. Notice the quality of the light on the landscape in front of you — it is lit by the clear sky behind, and simultaneously shadowed by the advancing cloud ahead. This creates a lighting condition that rarely occurs in any other way: directional, low-contrast light from one side, with a dark dramatic backdrop on the other. The light is almost never what you would expect. When the front arrives and the rain starts, you have done your work — head for shelter and review what you have.