
How to Shoot Flowers
Flowers are among the most photographed subjects in the world, and that ubiquity can make them seem easy — point your camera at something and let the subject do the work. In practice, the opposite is closer to the truth. Flower photography is accessible in the sense that the subject is everywhere, requires no booking, and has yet to demand a modelling fee, but it rewards patience and deliberate decision-making in ways that less forgiving genres do not. The margin between a flower photograph that feels alive and one that merely records is surprisingly narrow.
This guide covers the full practical range: lighting conditions that work and those that really do not, how to get close enough to reveal the actual subject, the compositional choices that lift a snapshot into a considered image, and several creative techniques worth experimenting with. Flower photography has a rich history as a fine art medium, but this article is about what you can do today, with what you have. Almost every camera will do — what matters far more is how you approach the subject.
What Kind of Flower Photographer Are You?
It’s worth spending a moment considering what draws you to photograph flowers, because the answer shapes almost every decision that follows.
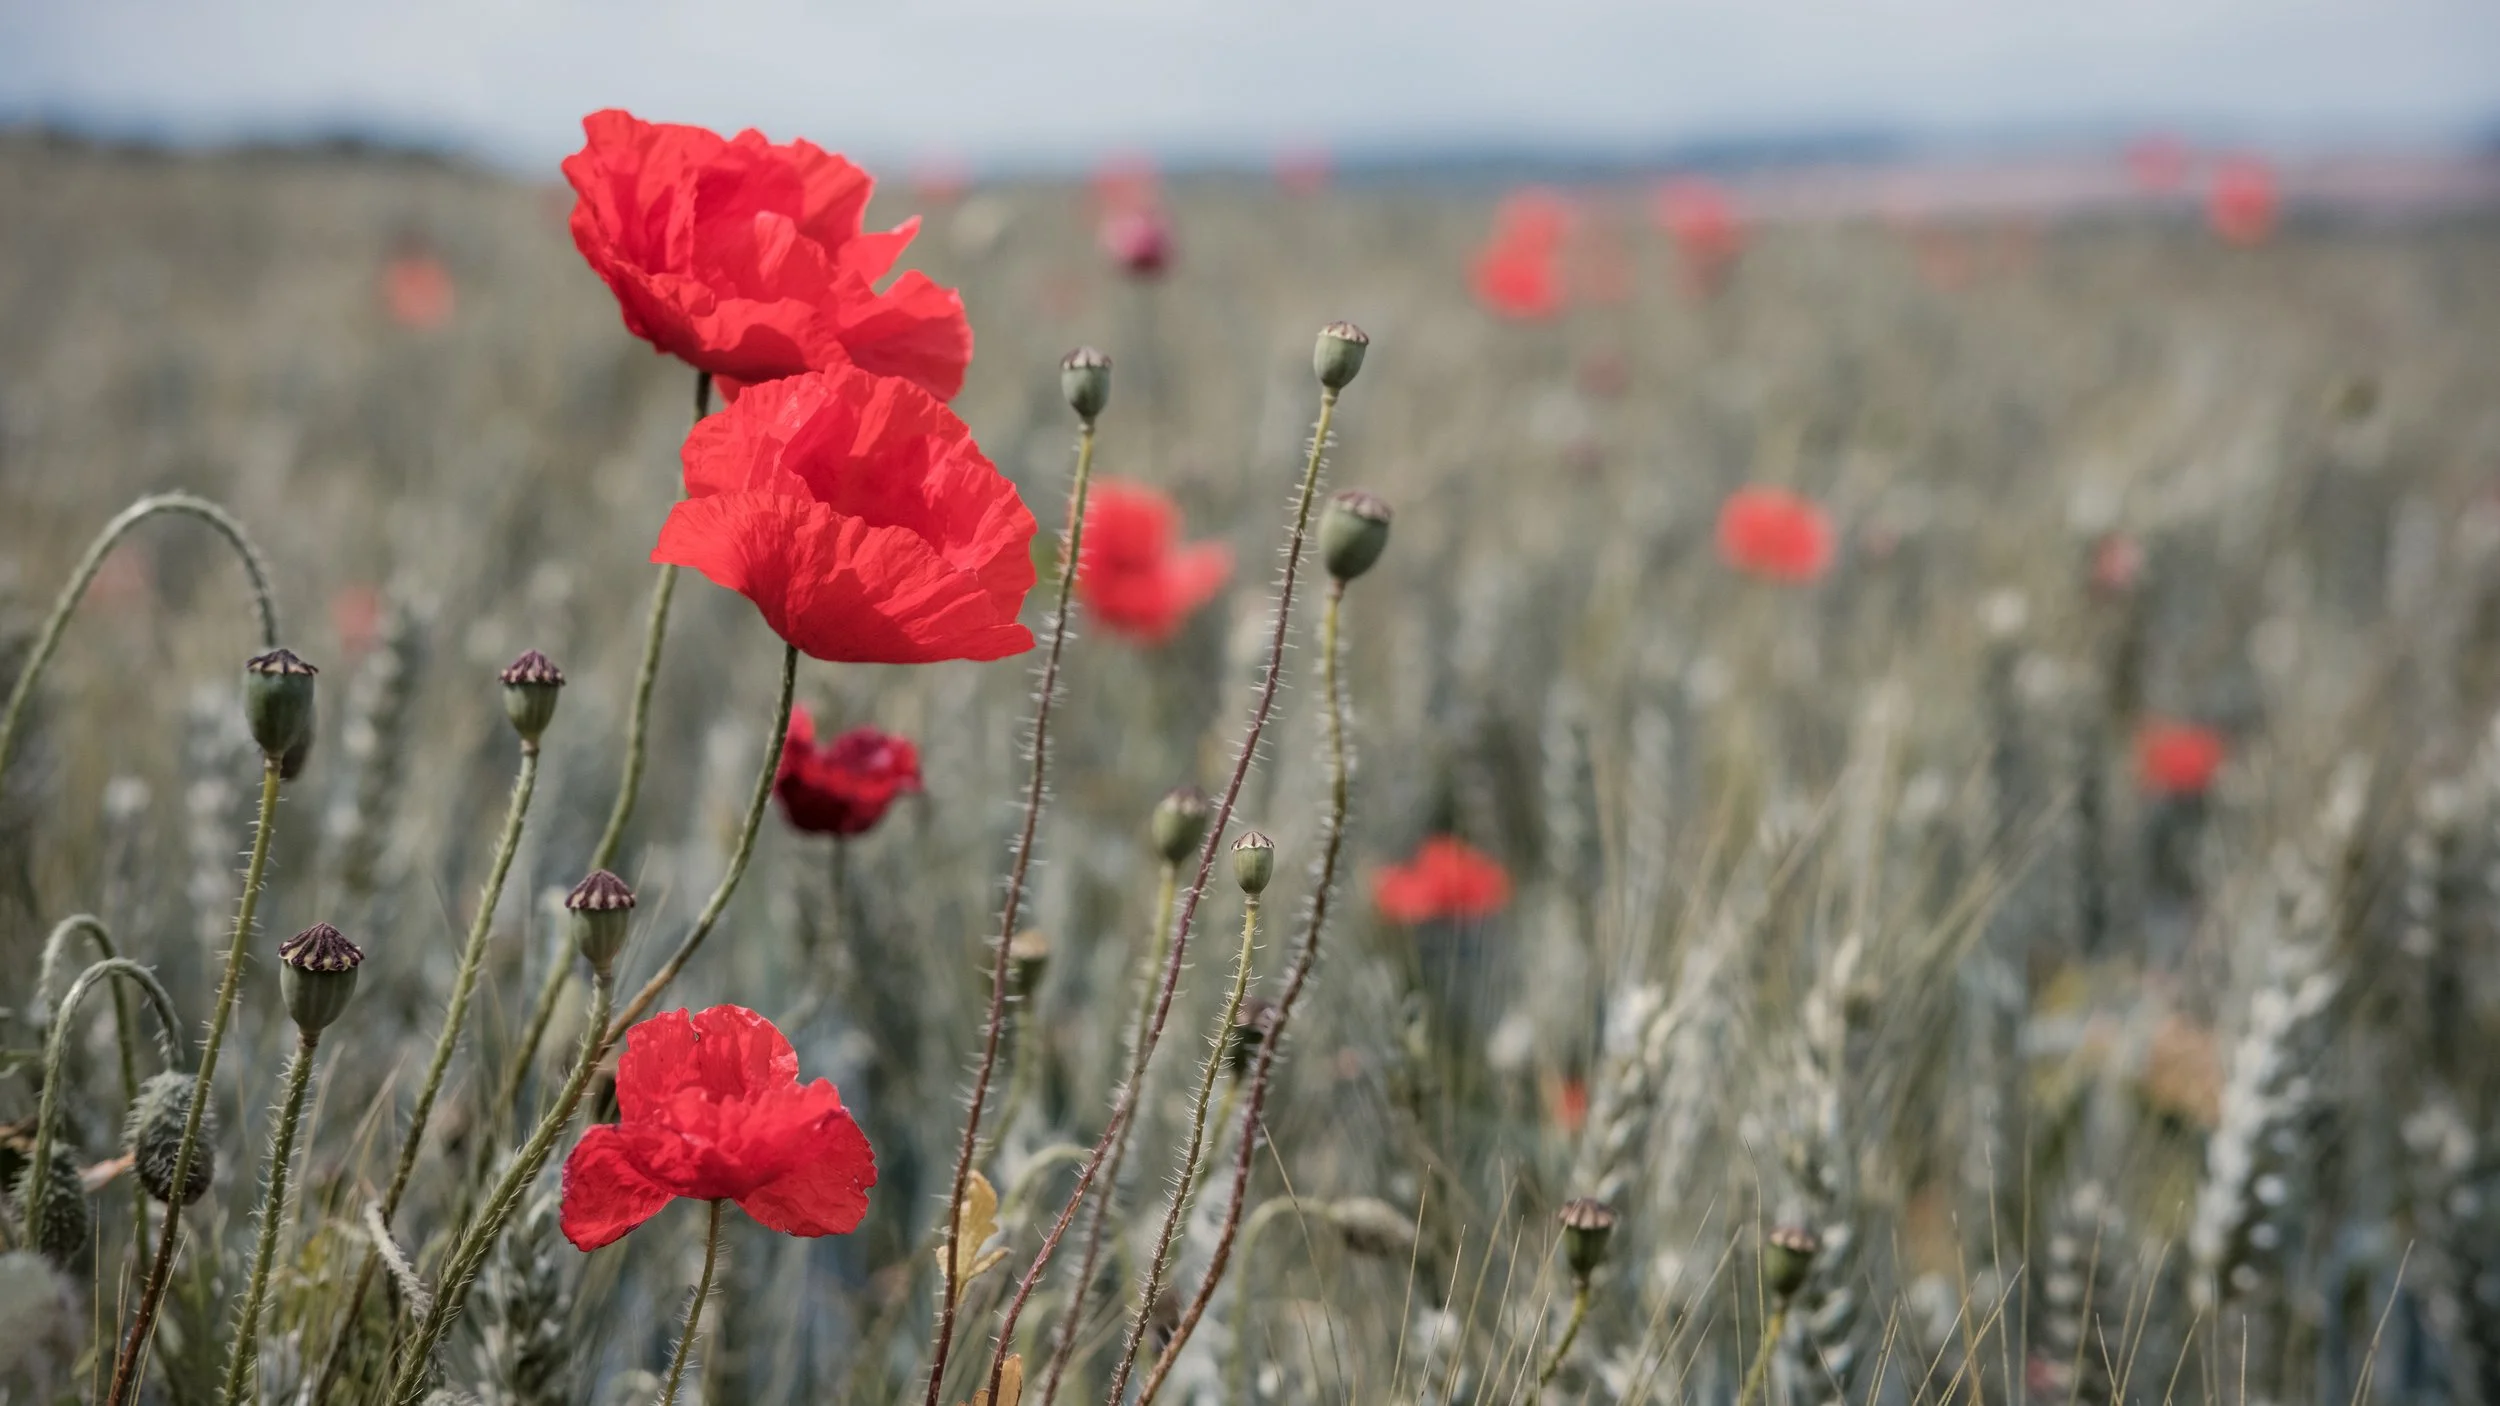
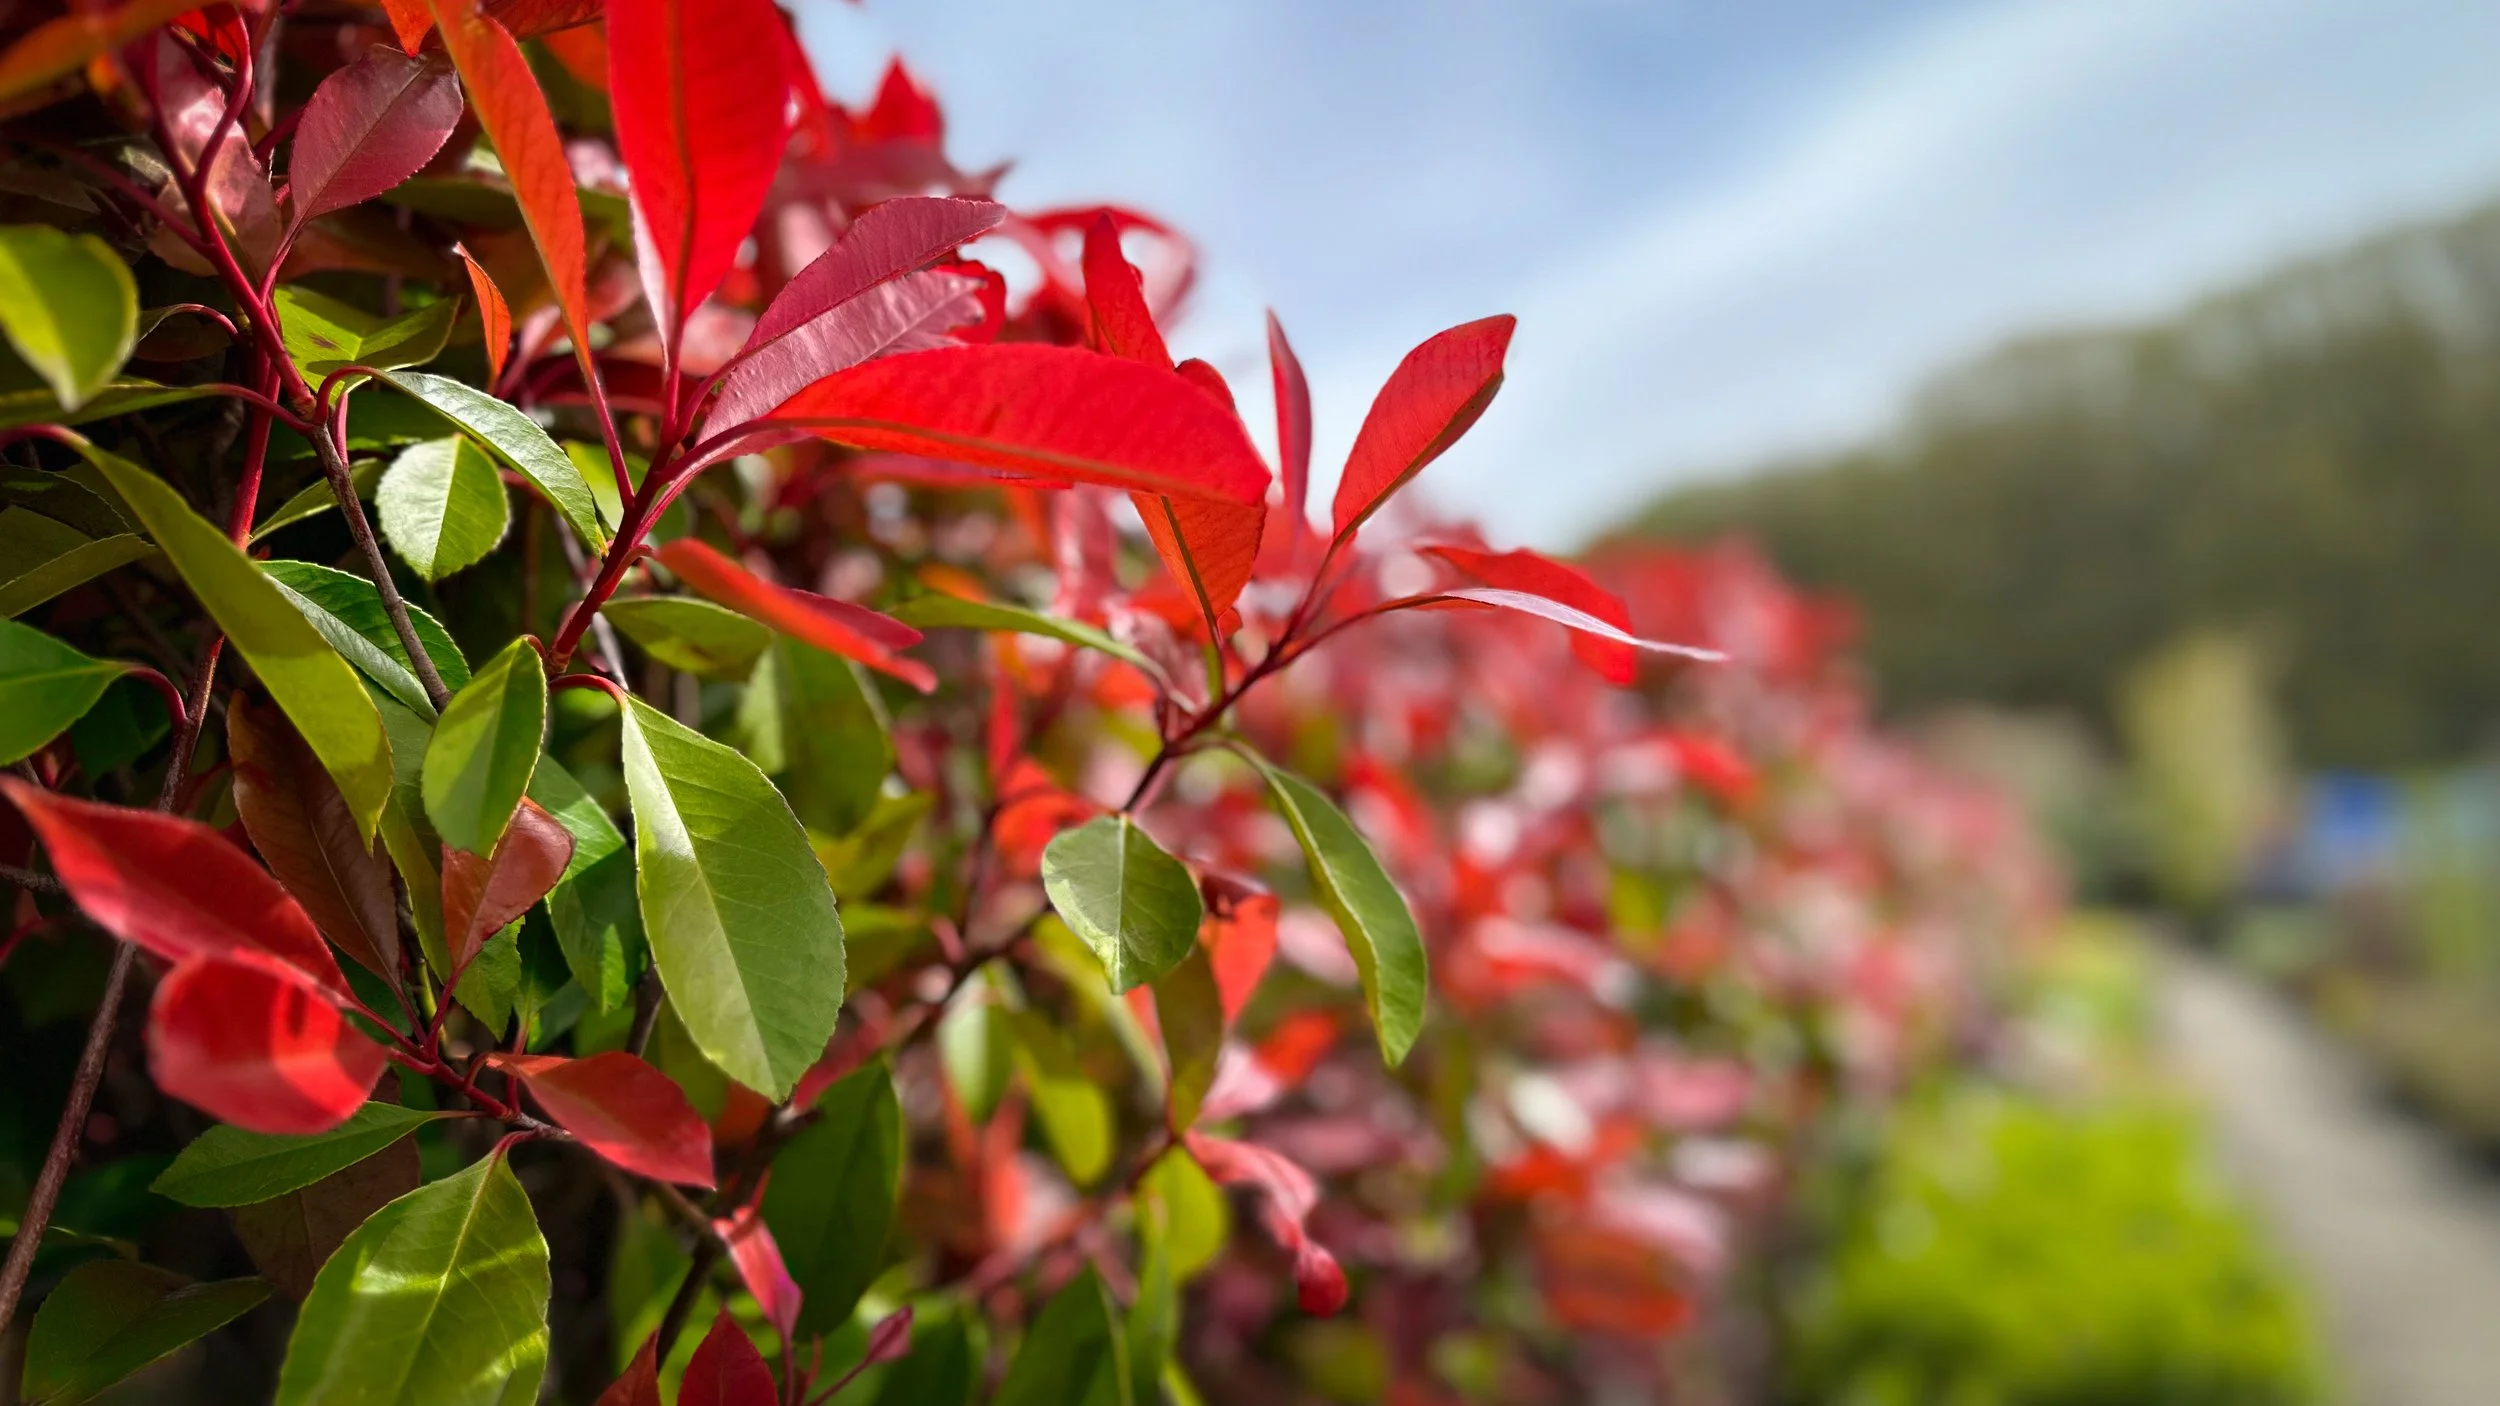
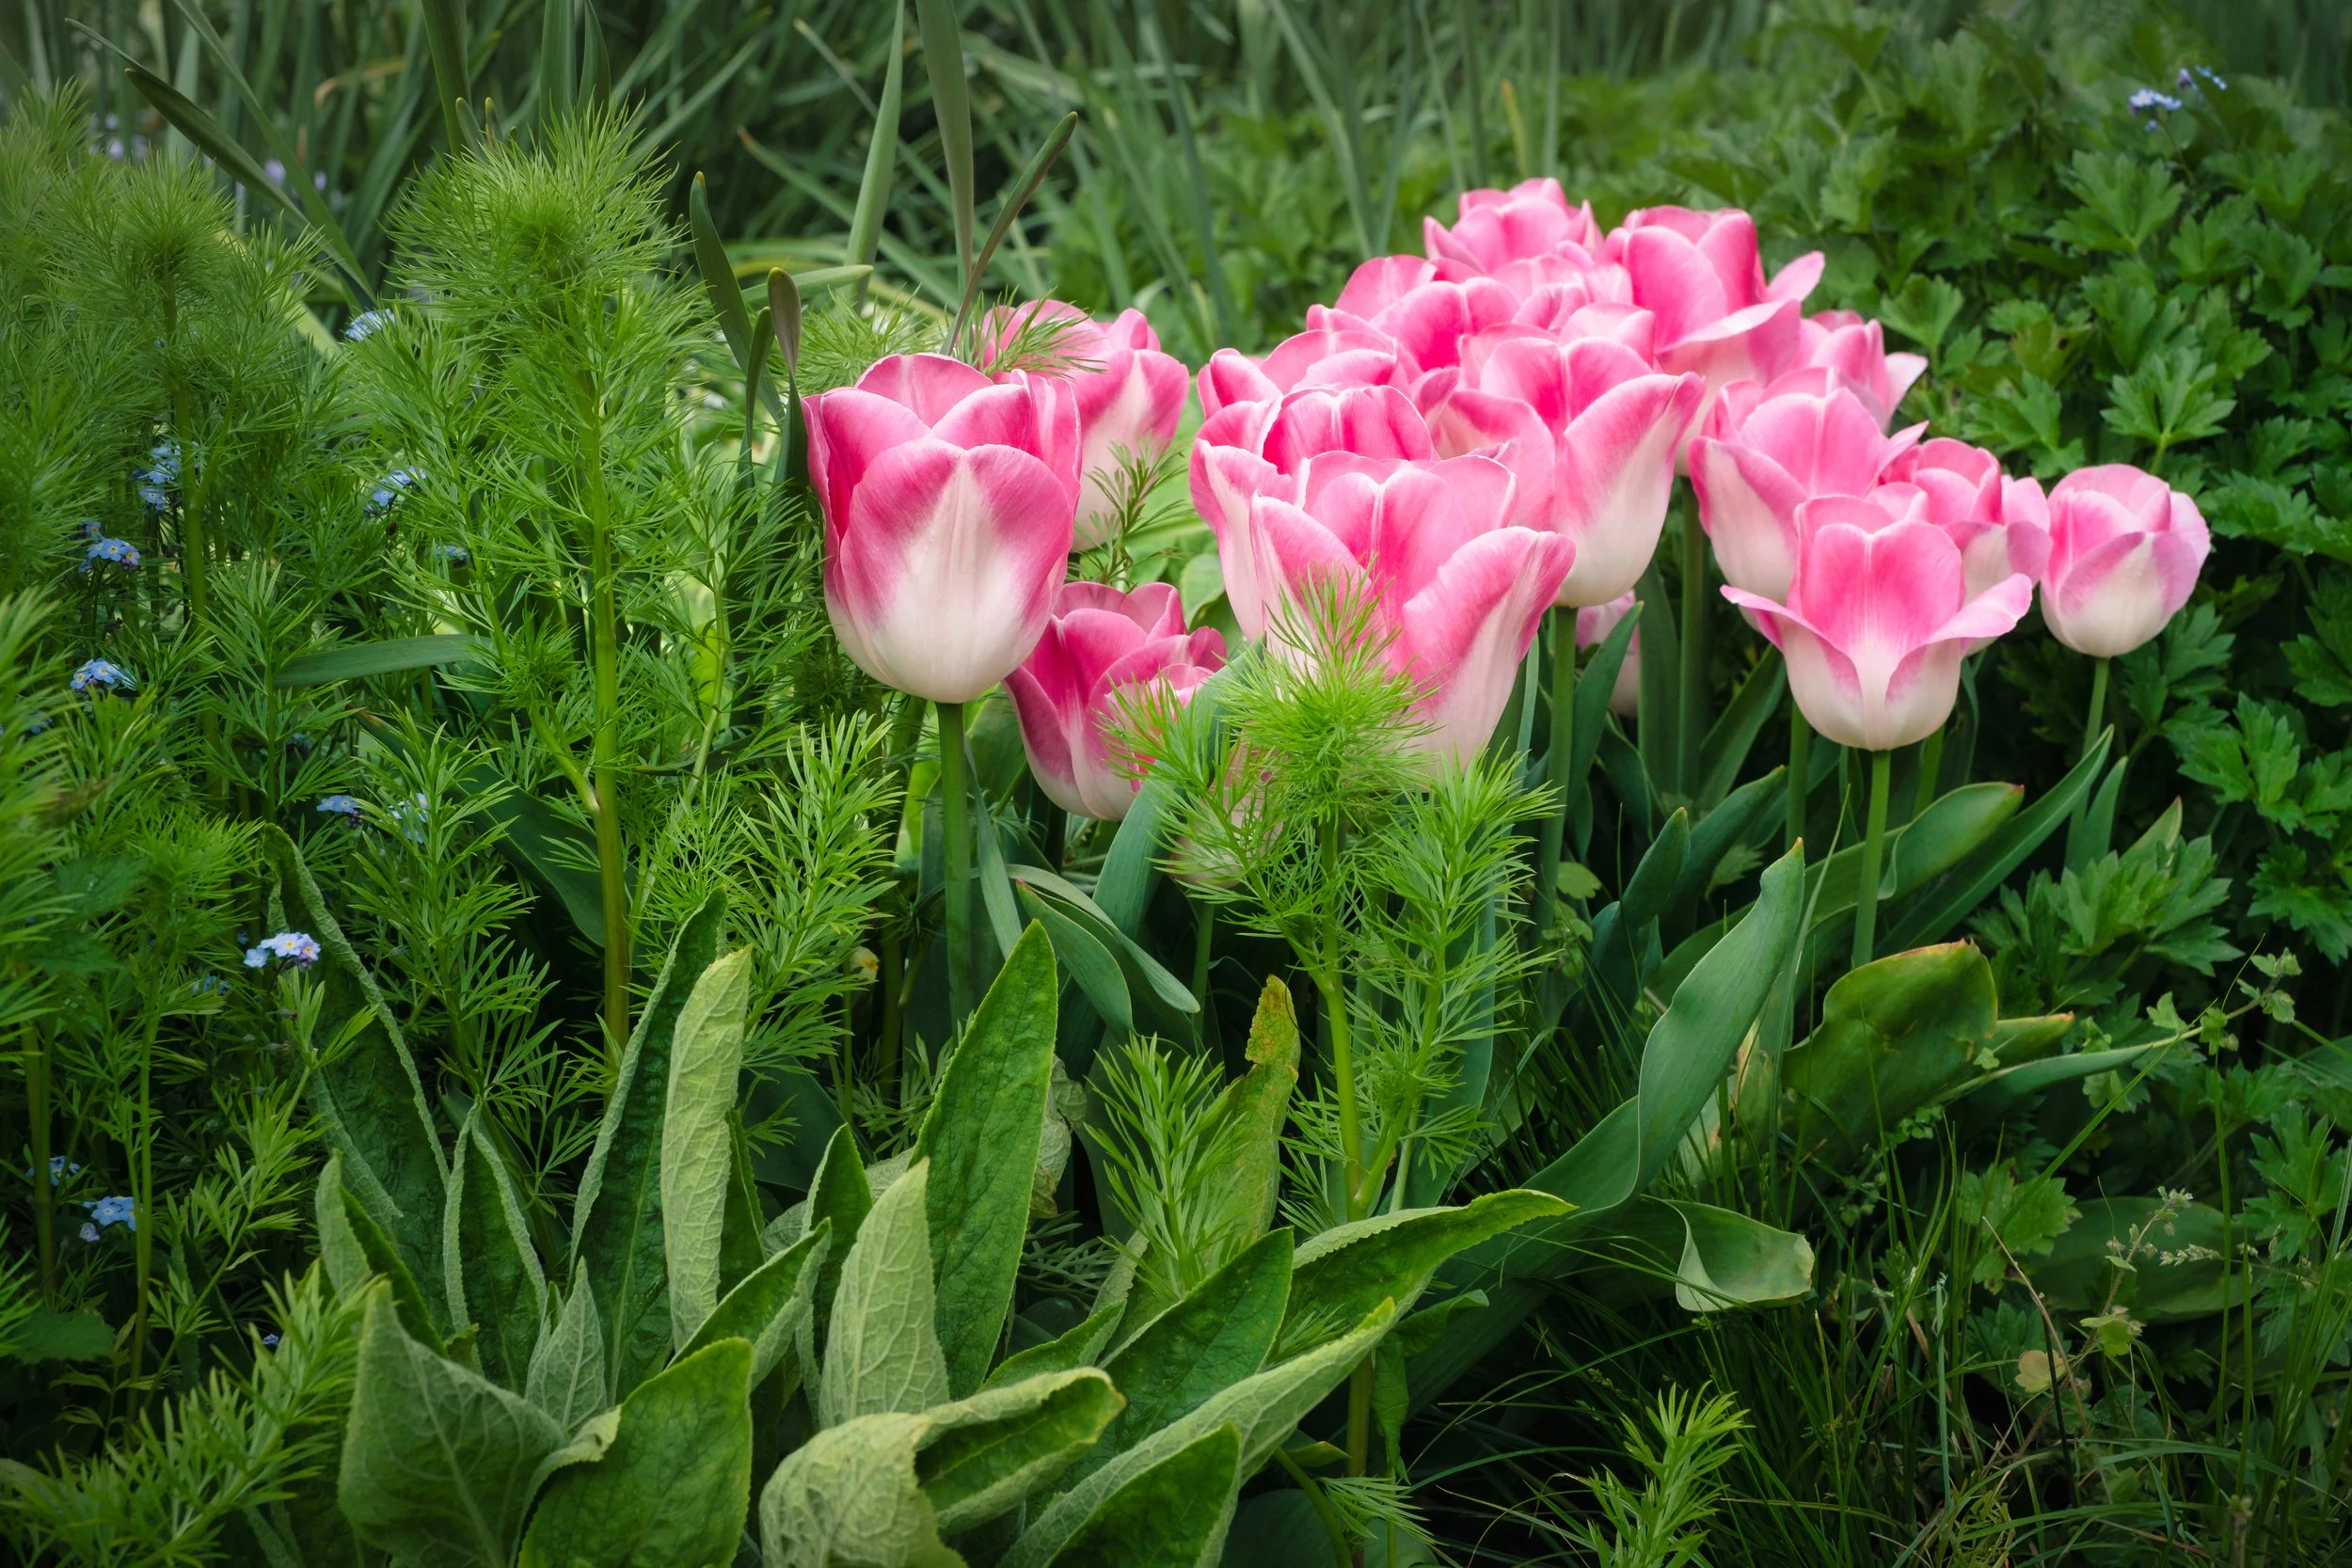
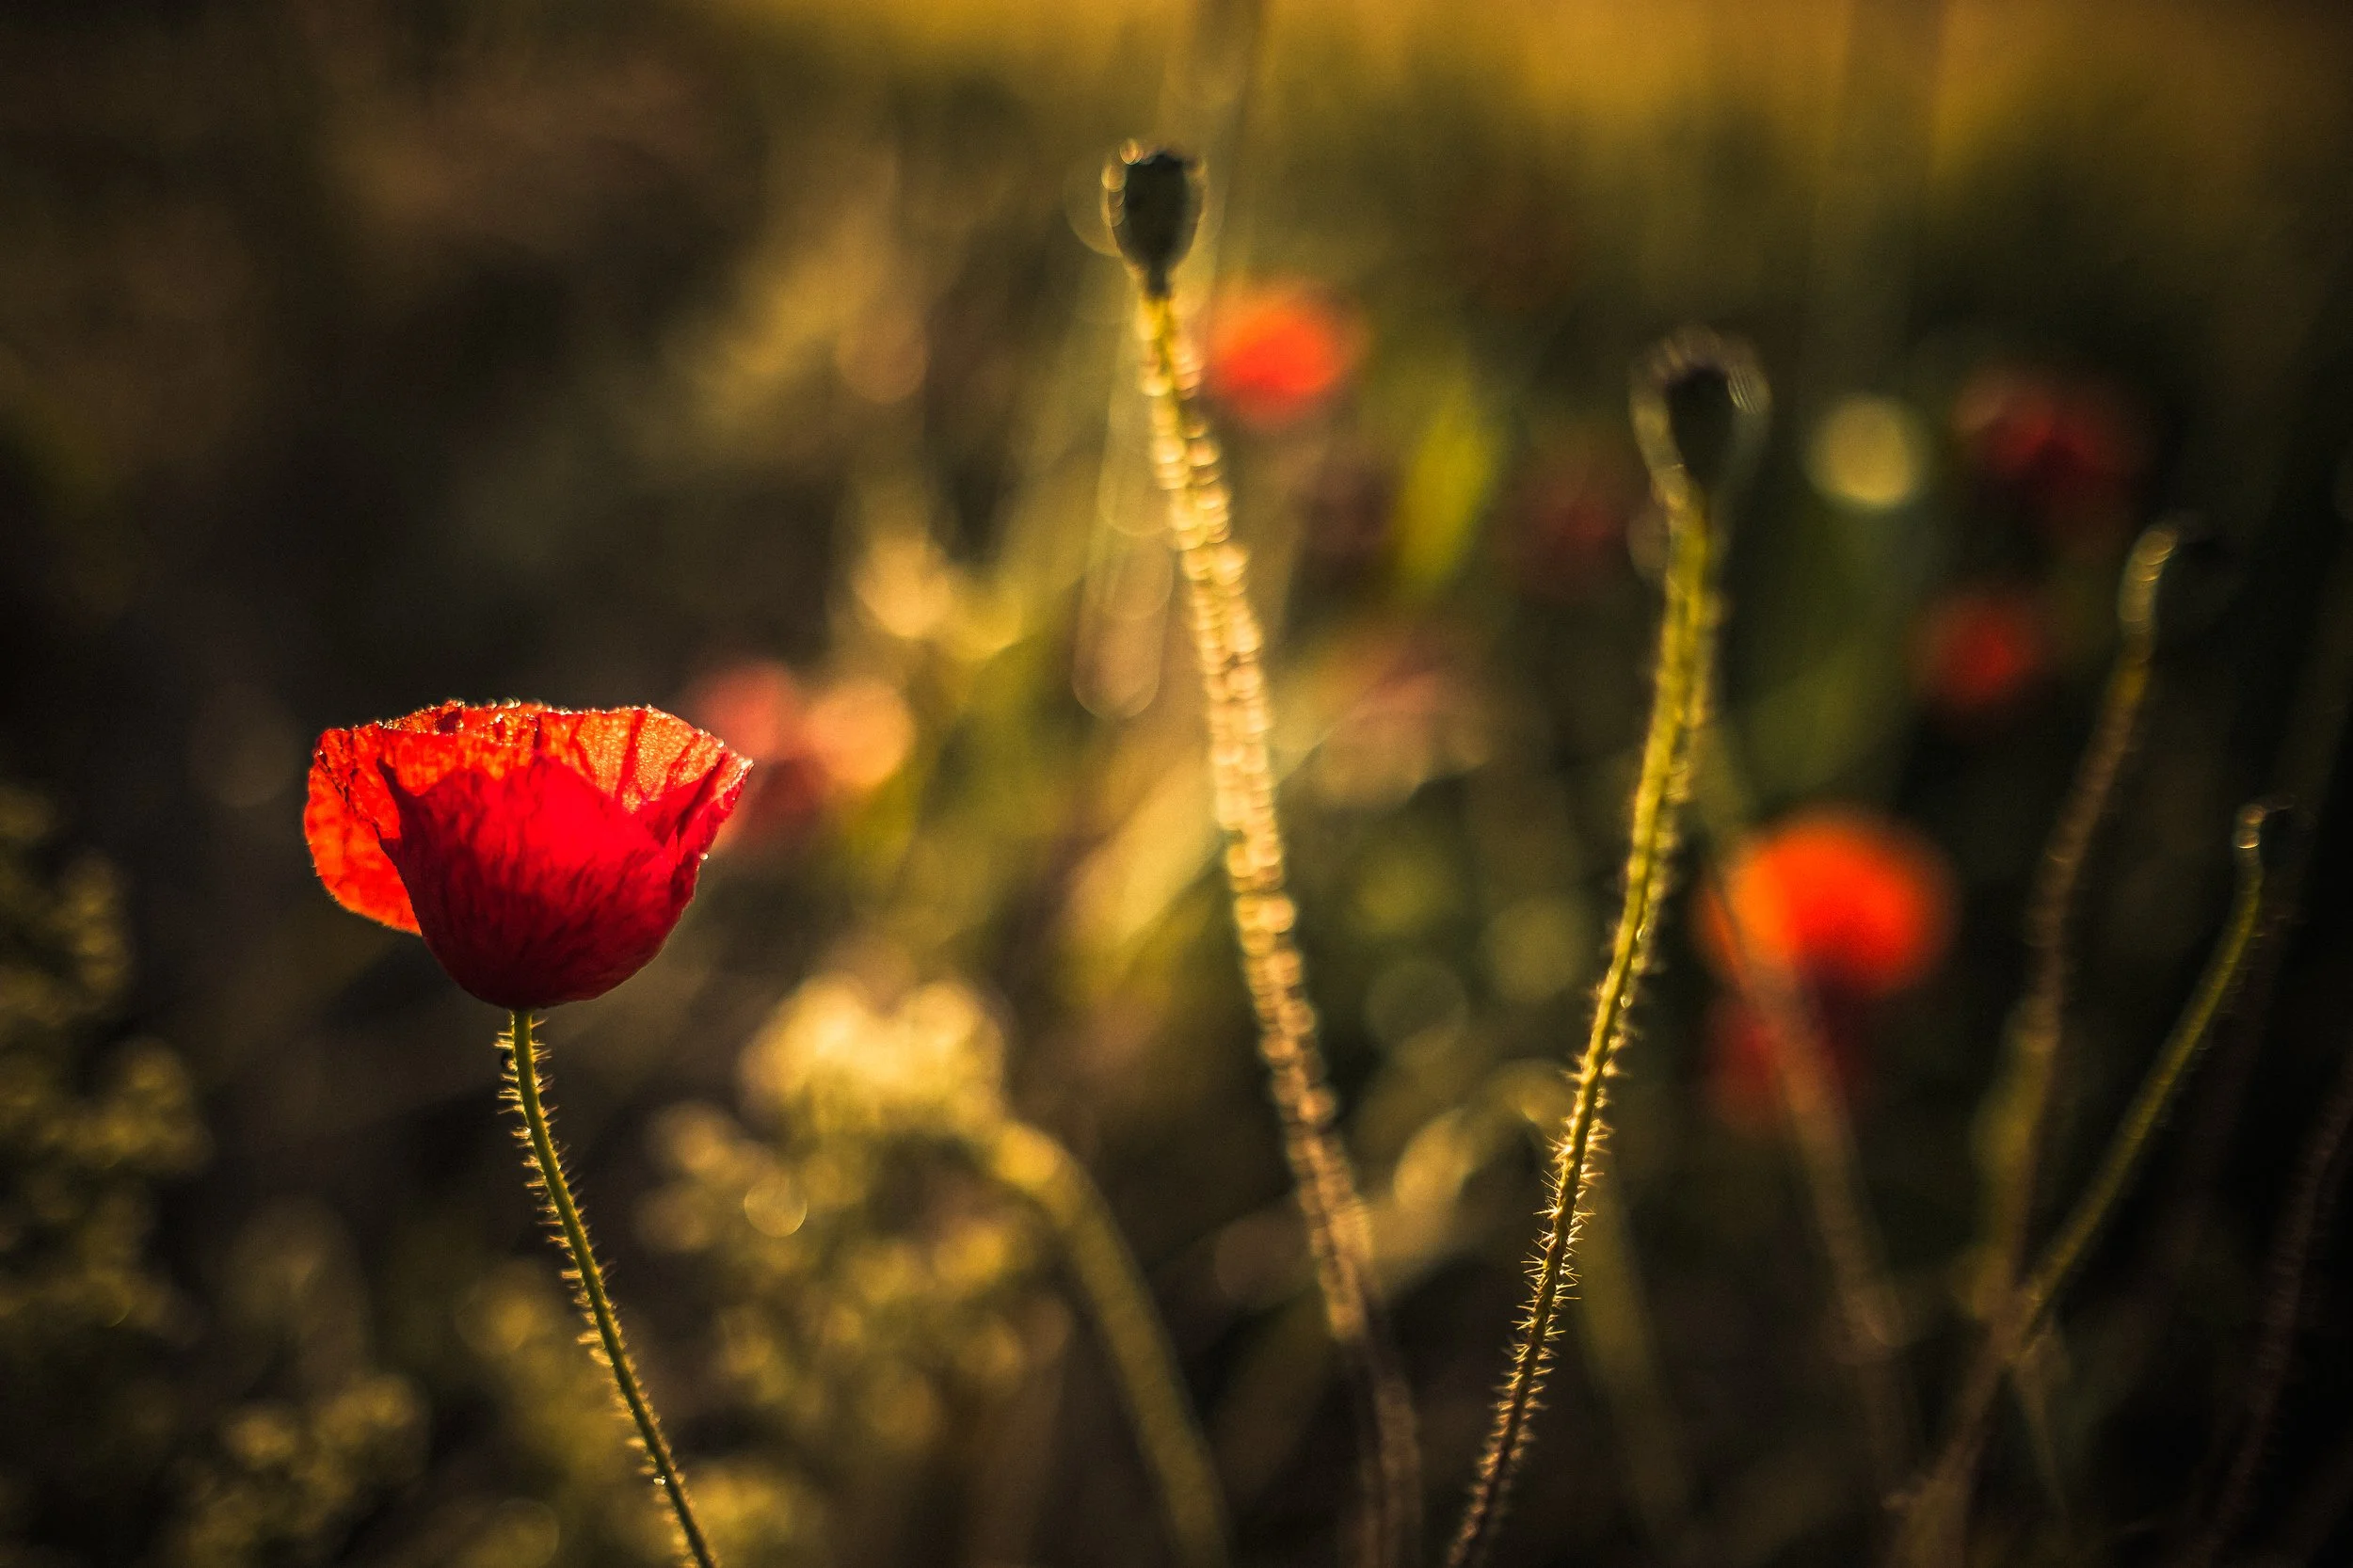
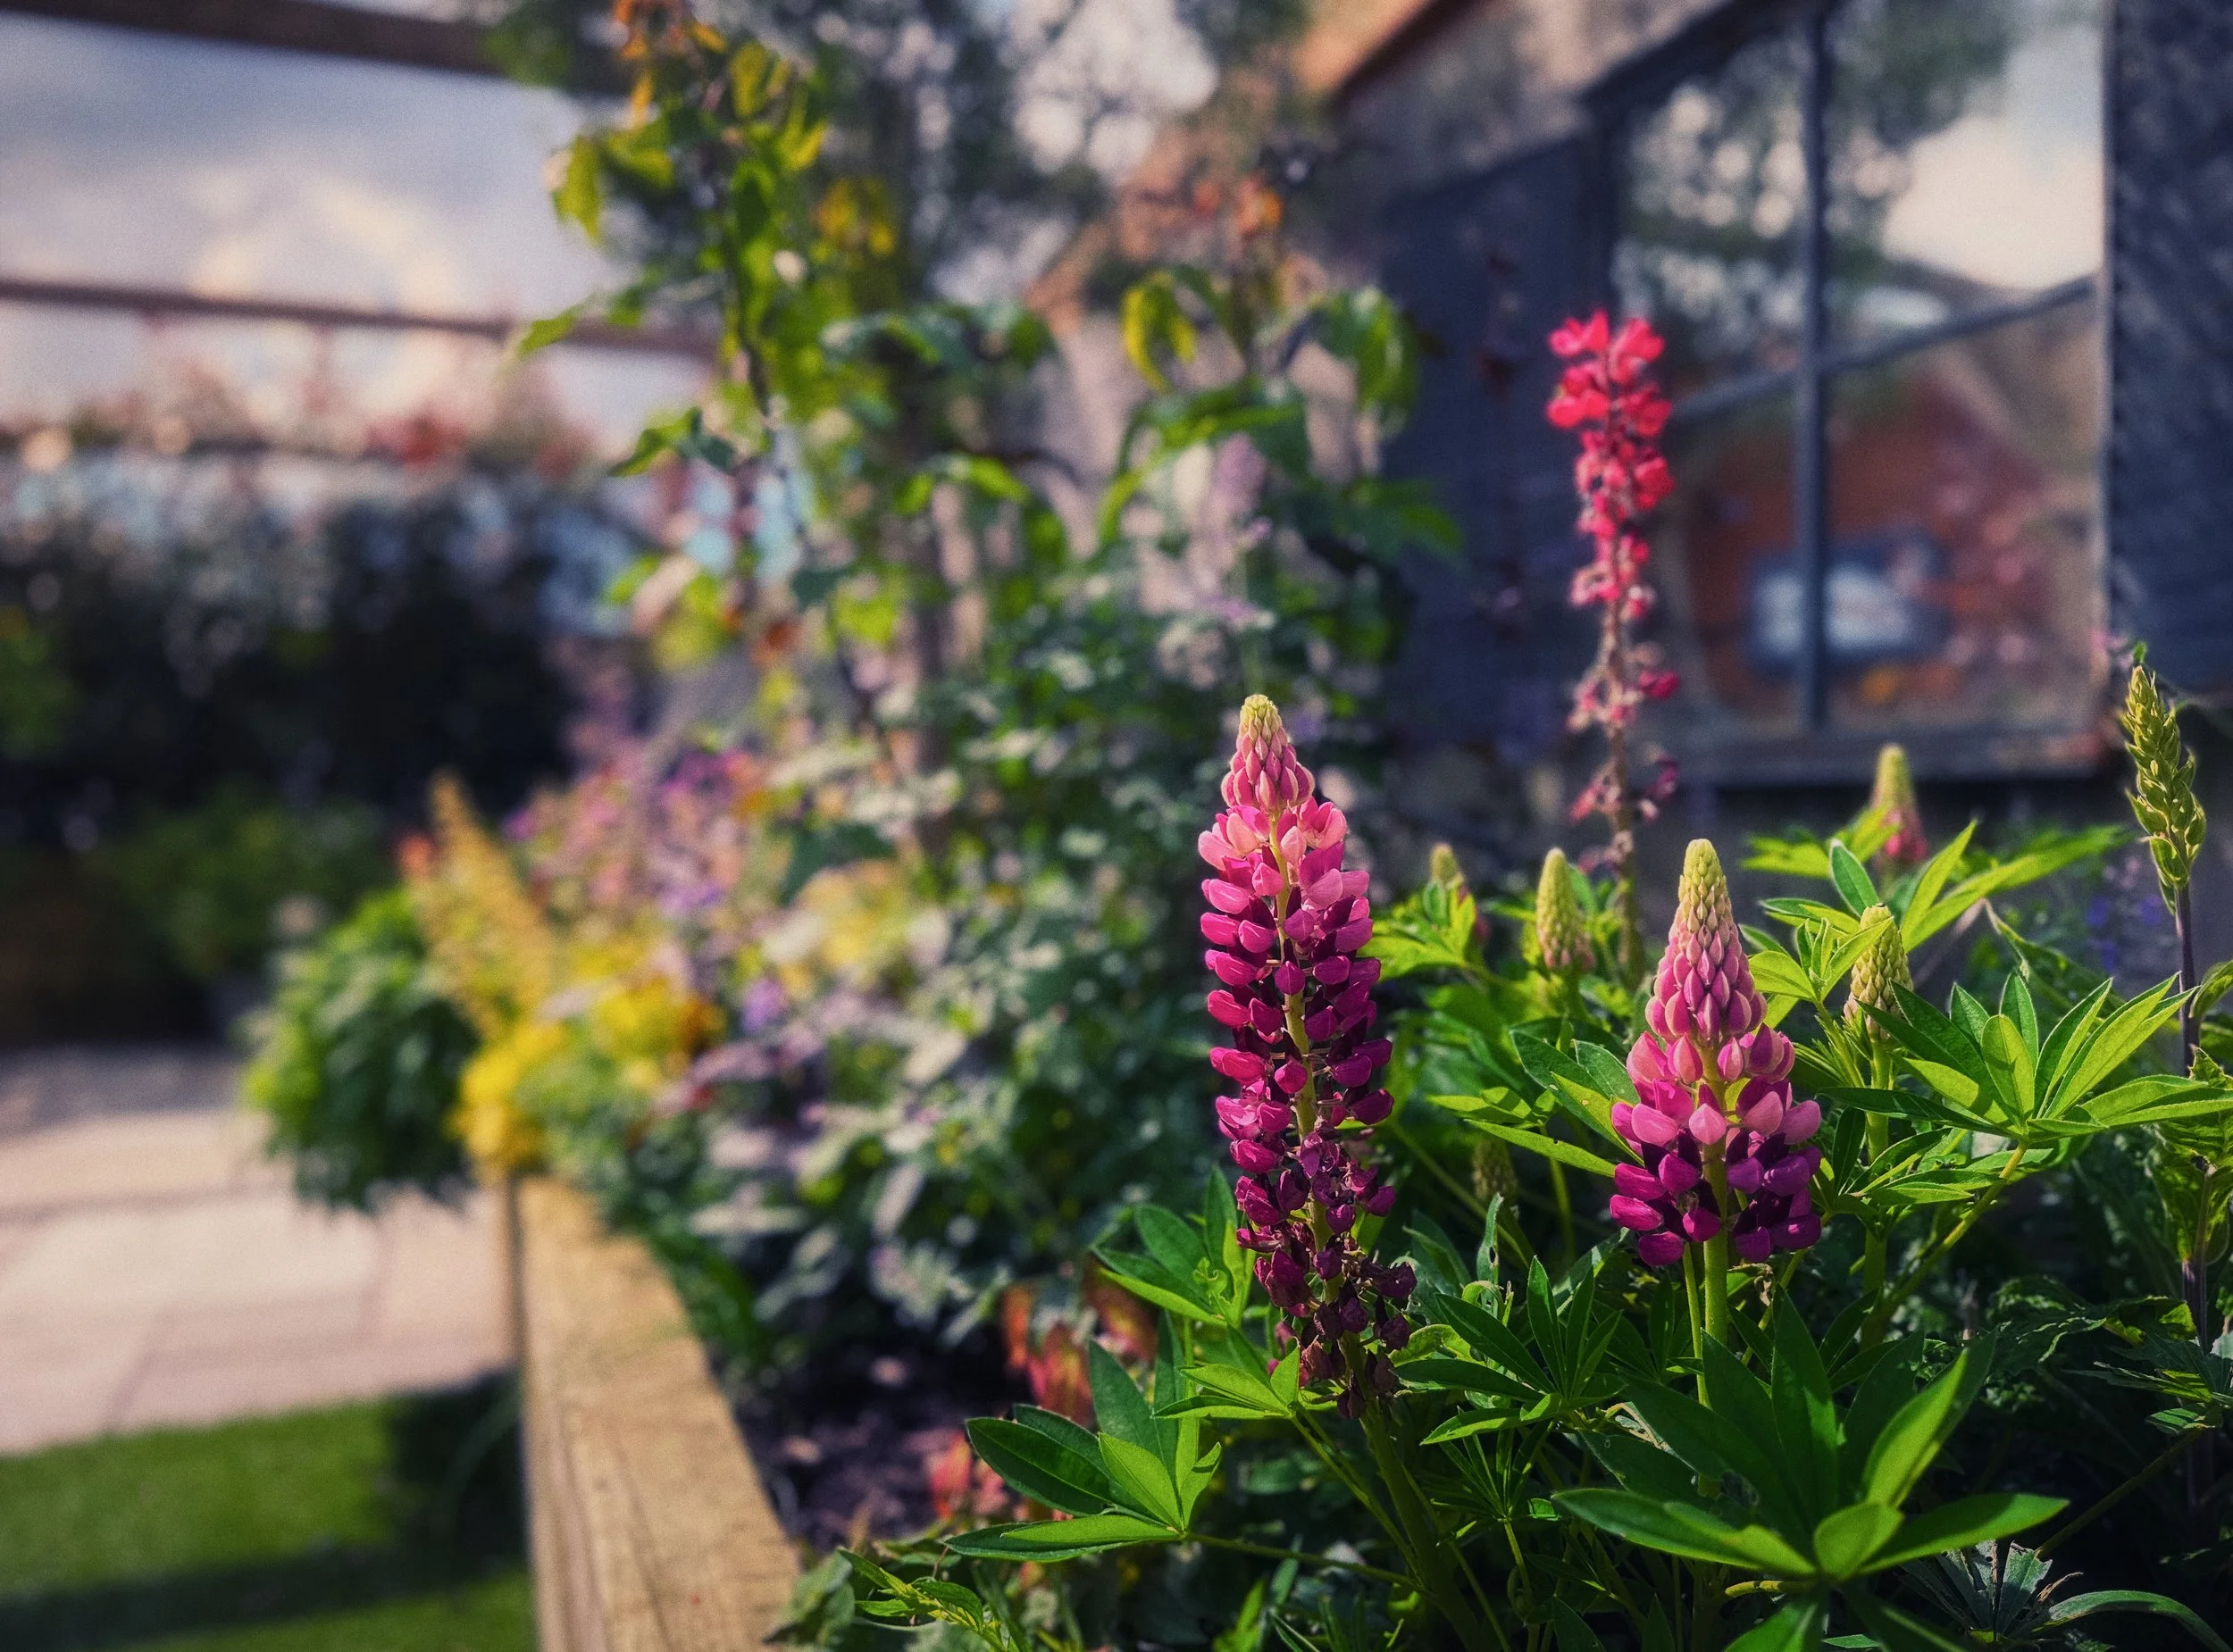
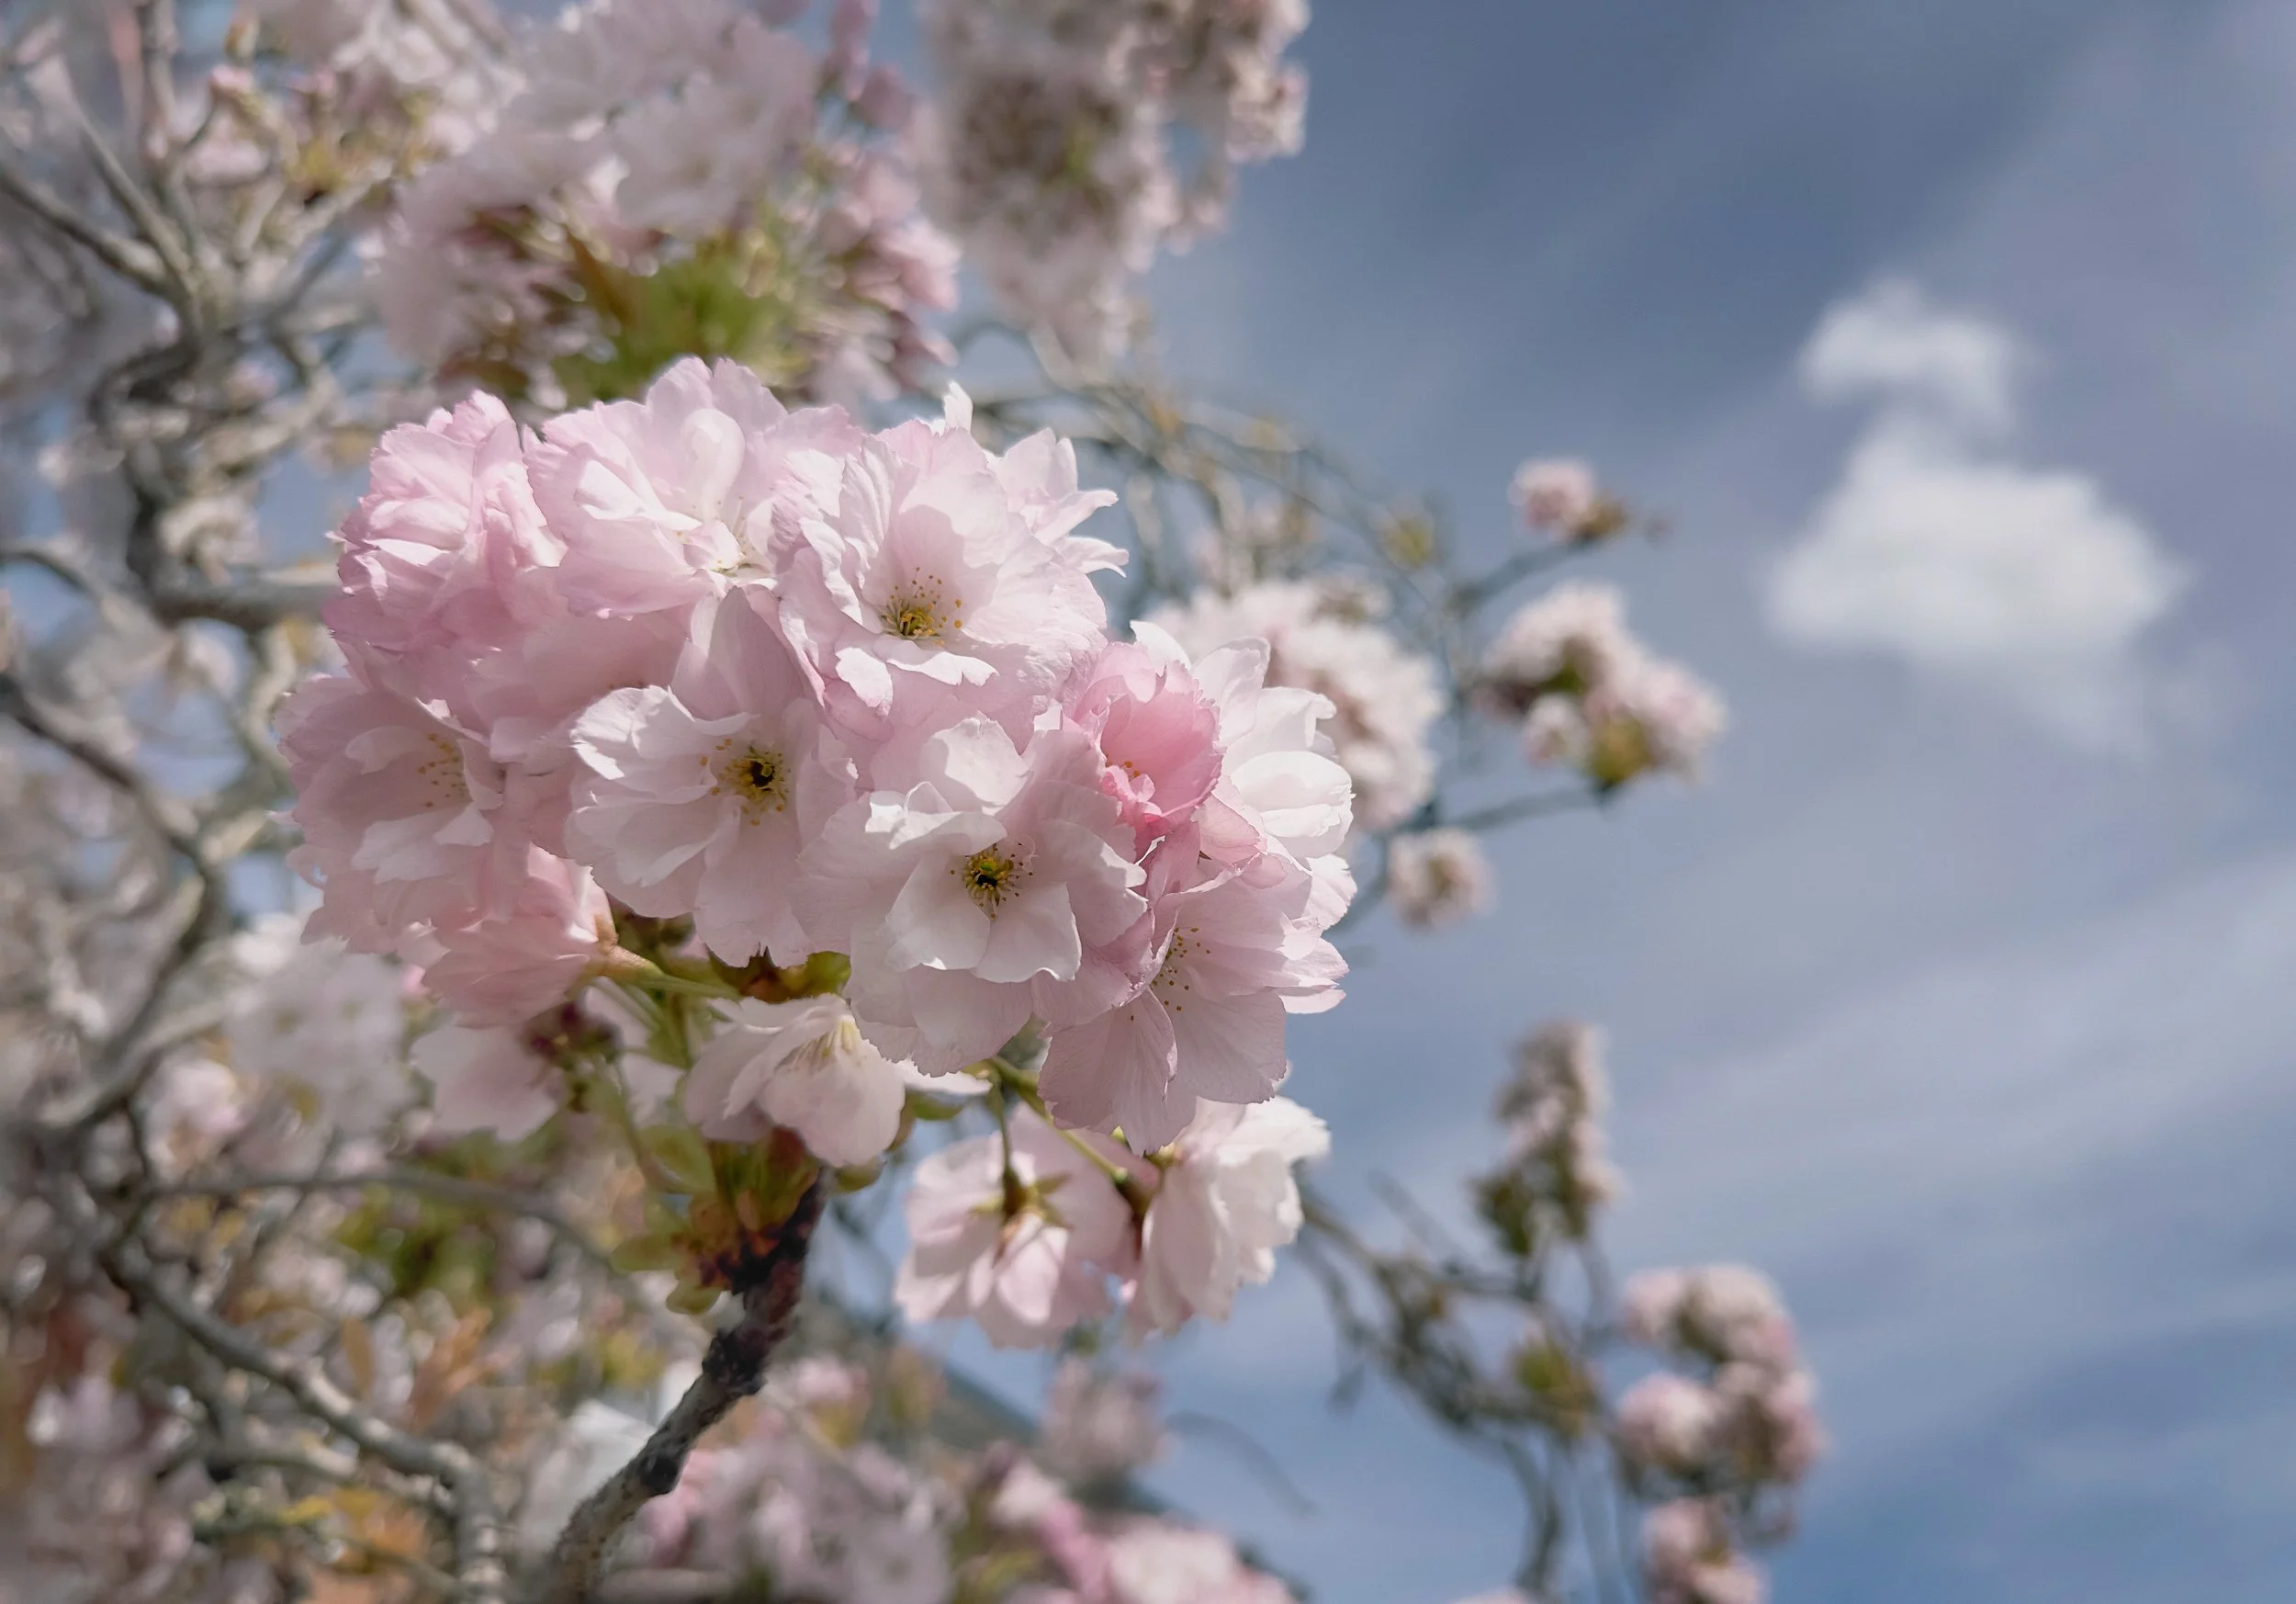
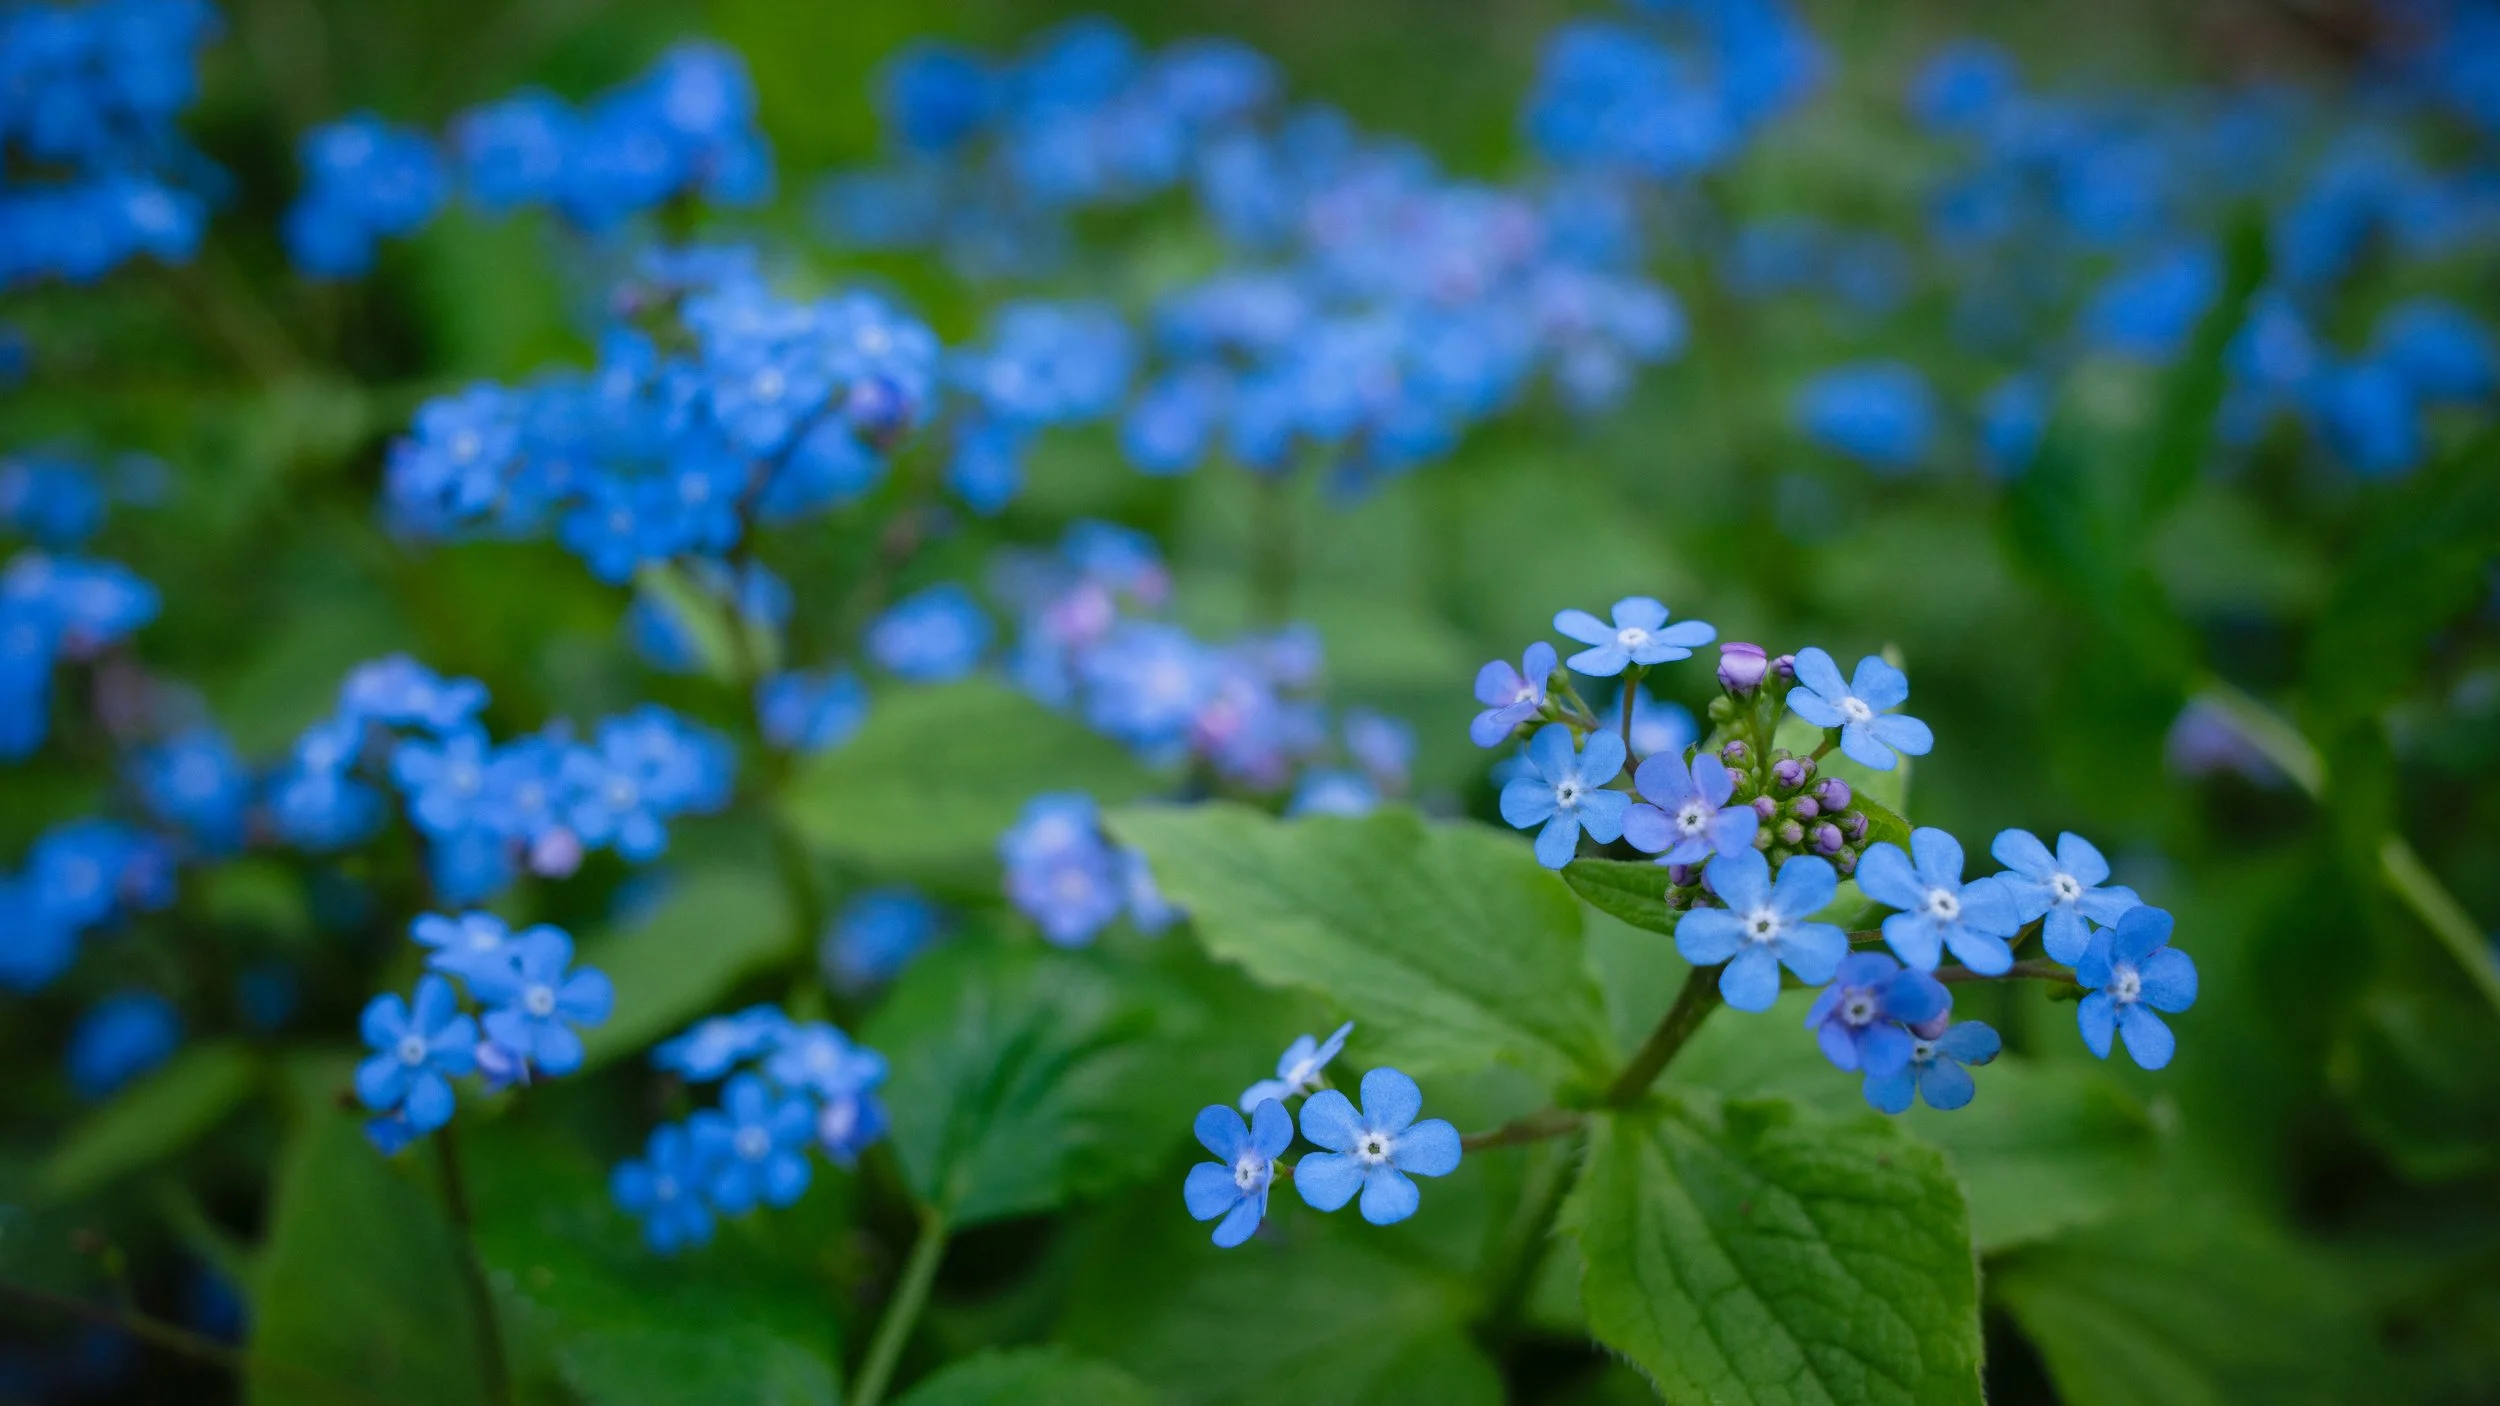
The most natural starting point is the environmental approach: flowers photographed where they live, in available light, as part of a wider scene. A field of poppies, a snowdrop emerging from leaf litter, a climbing rose against old brick. The flower is inseparable from its context, and the image is partly about place. Working this way rewards observation and patience, and photographs made outdoors in real conditions tend to have a quality of presence that studio work rarely matches.
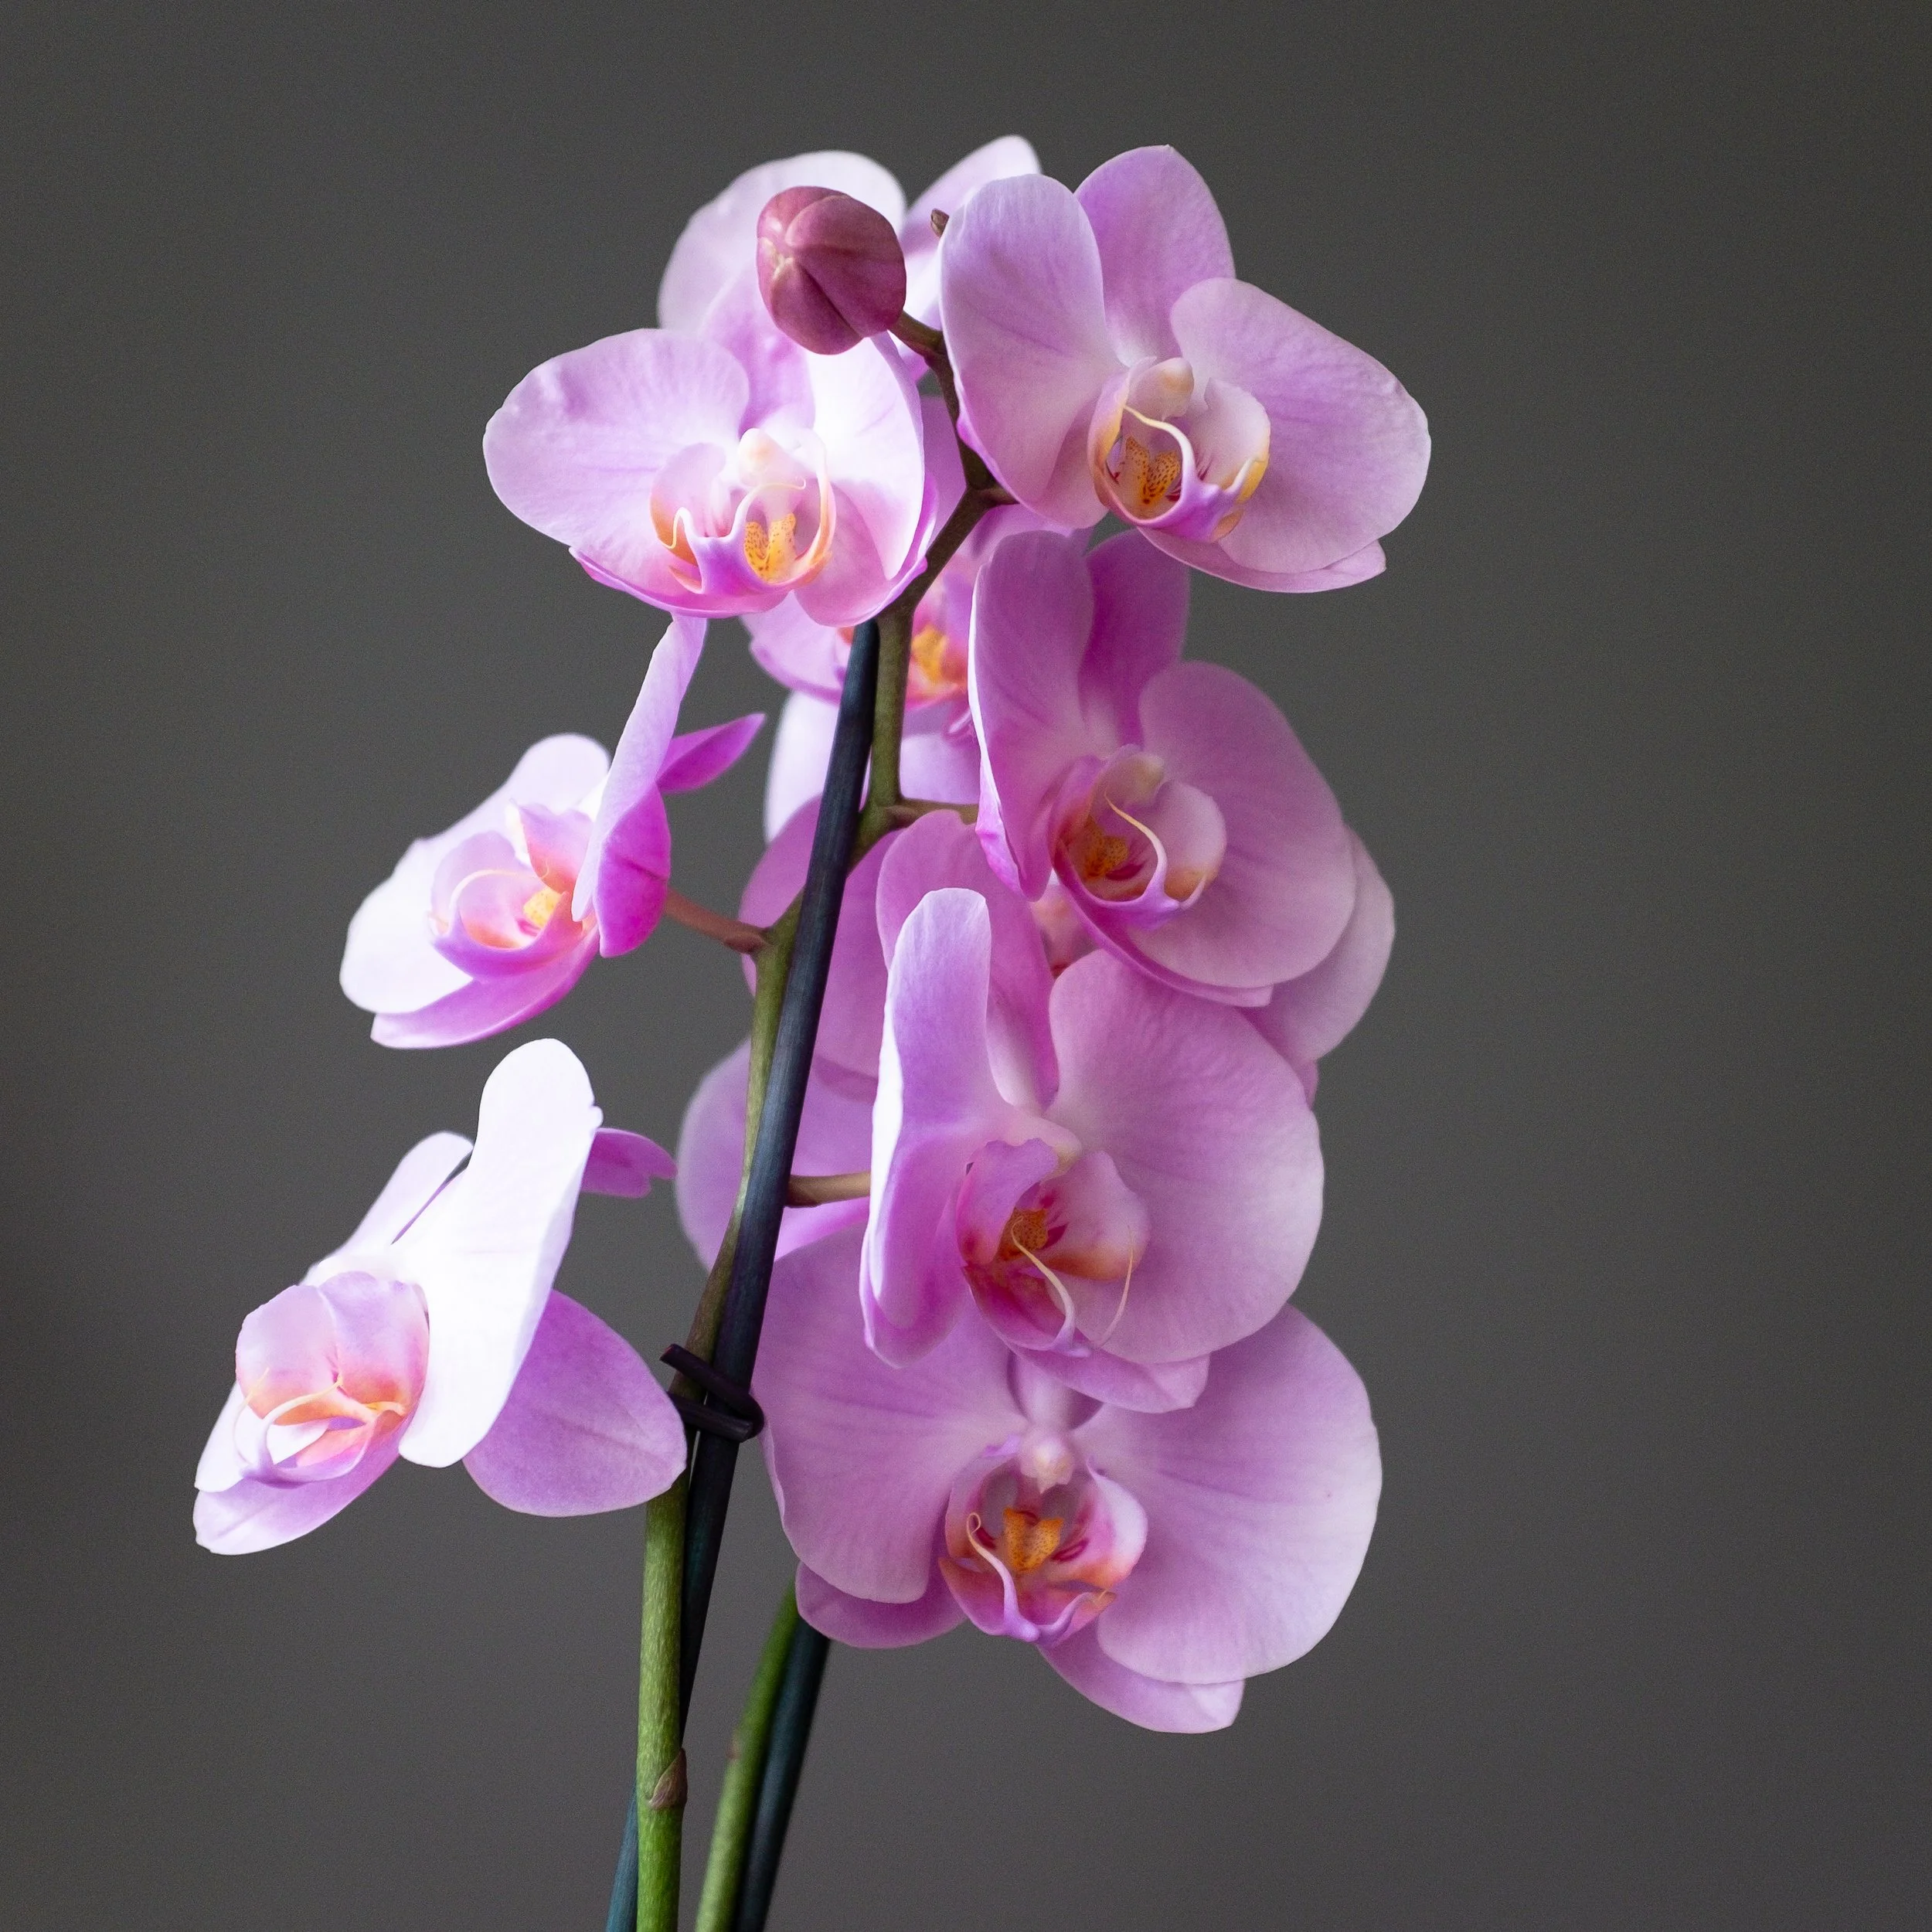
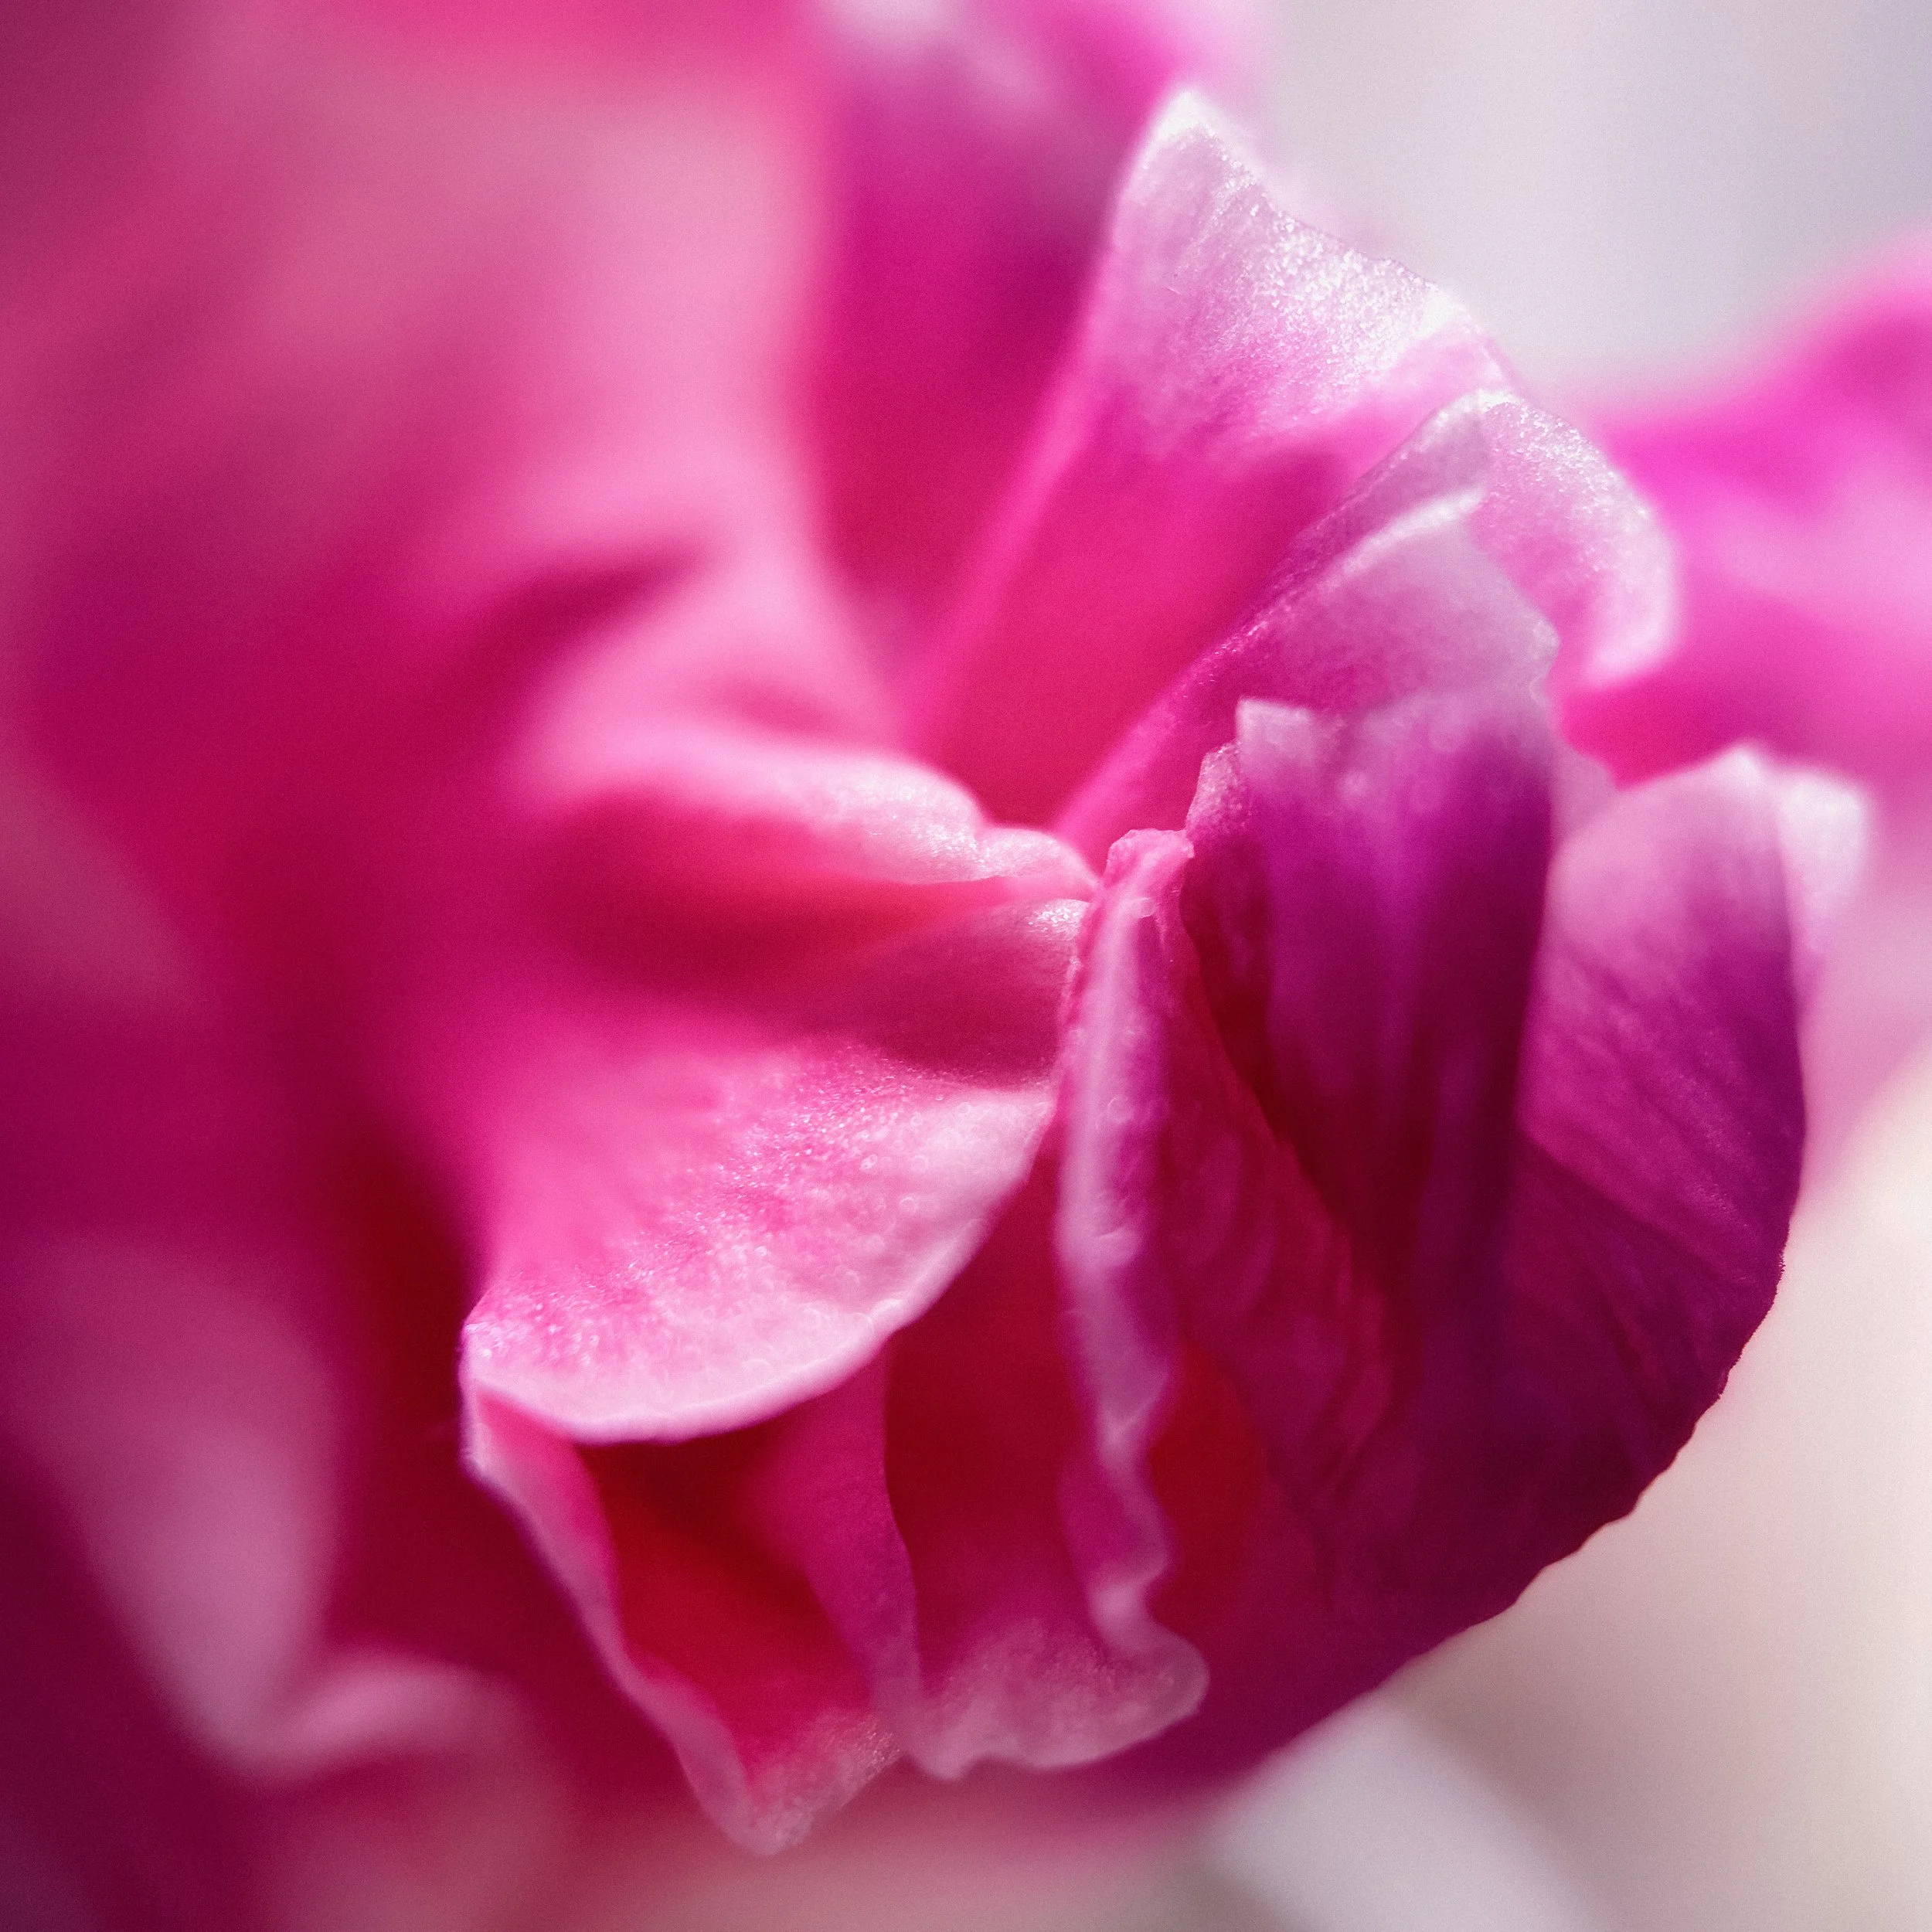
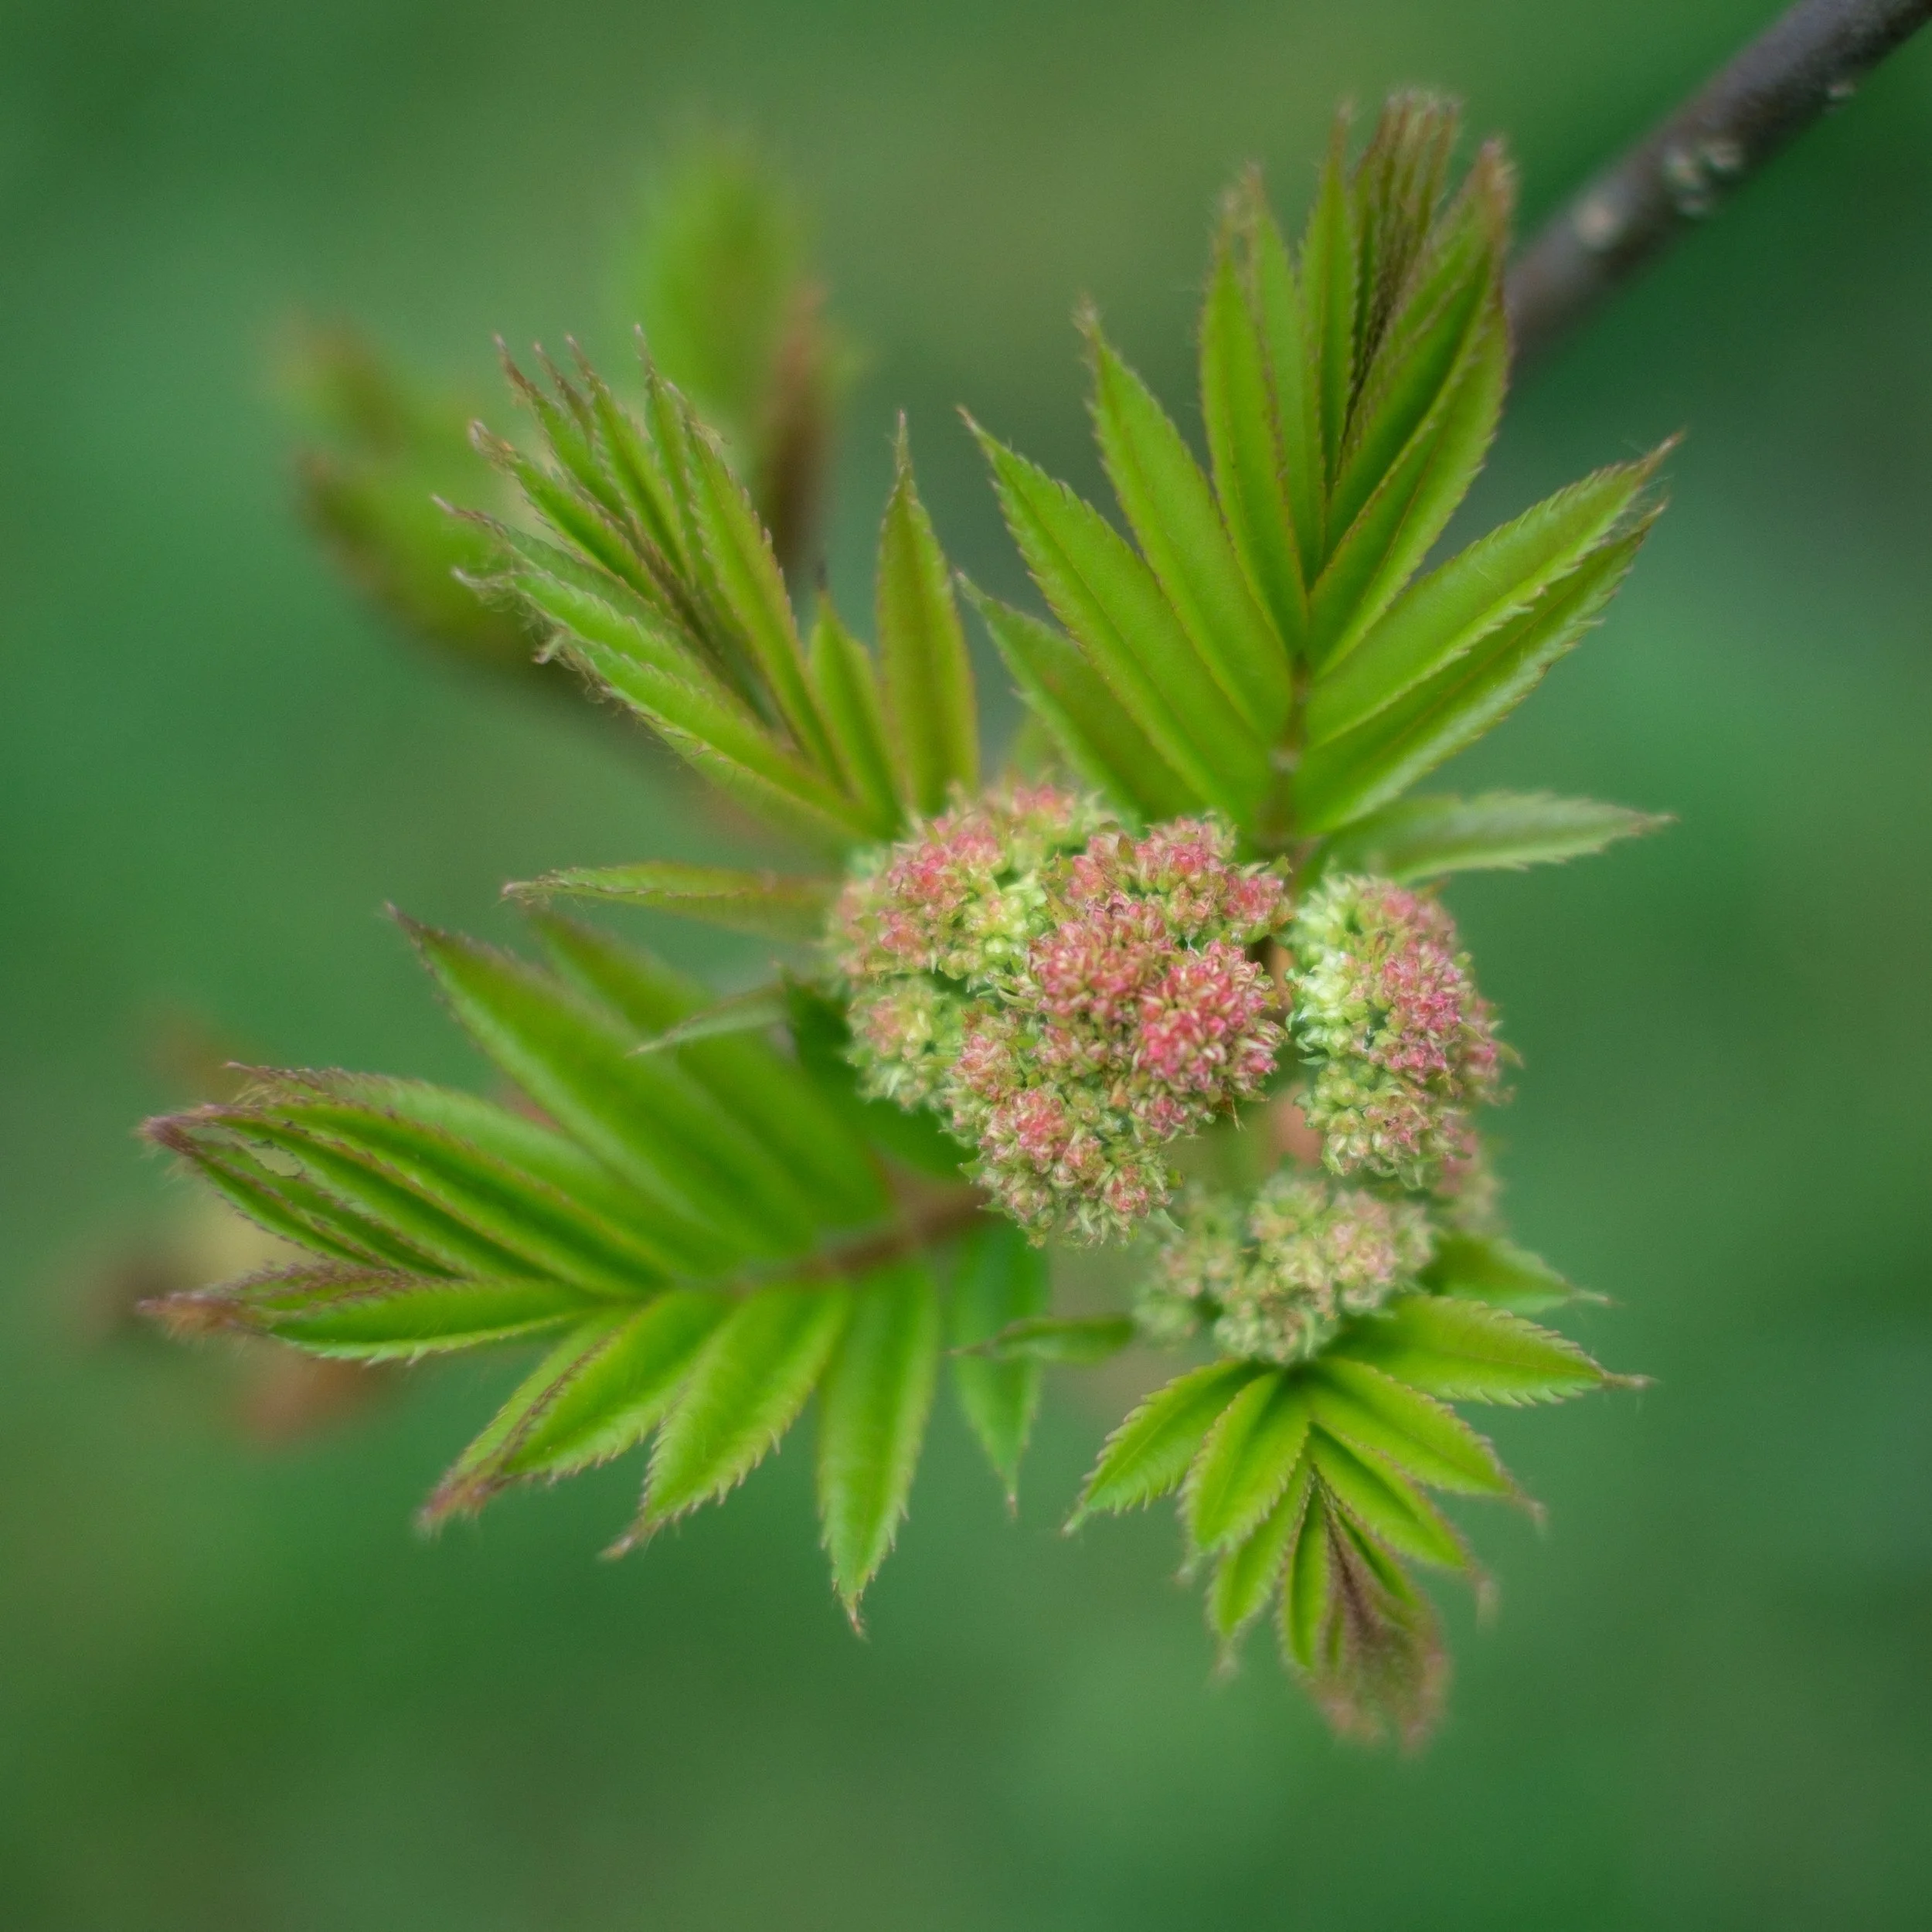
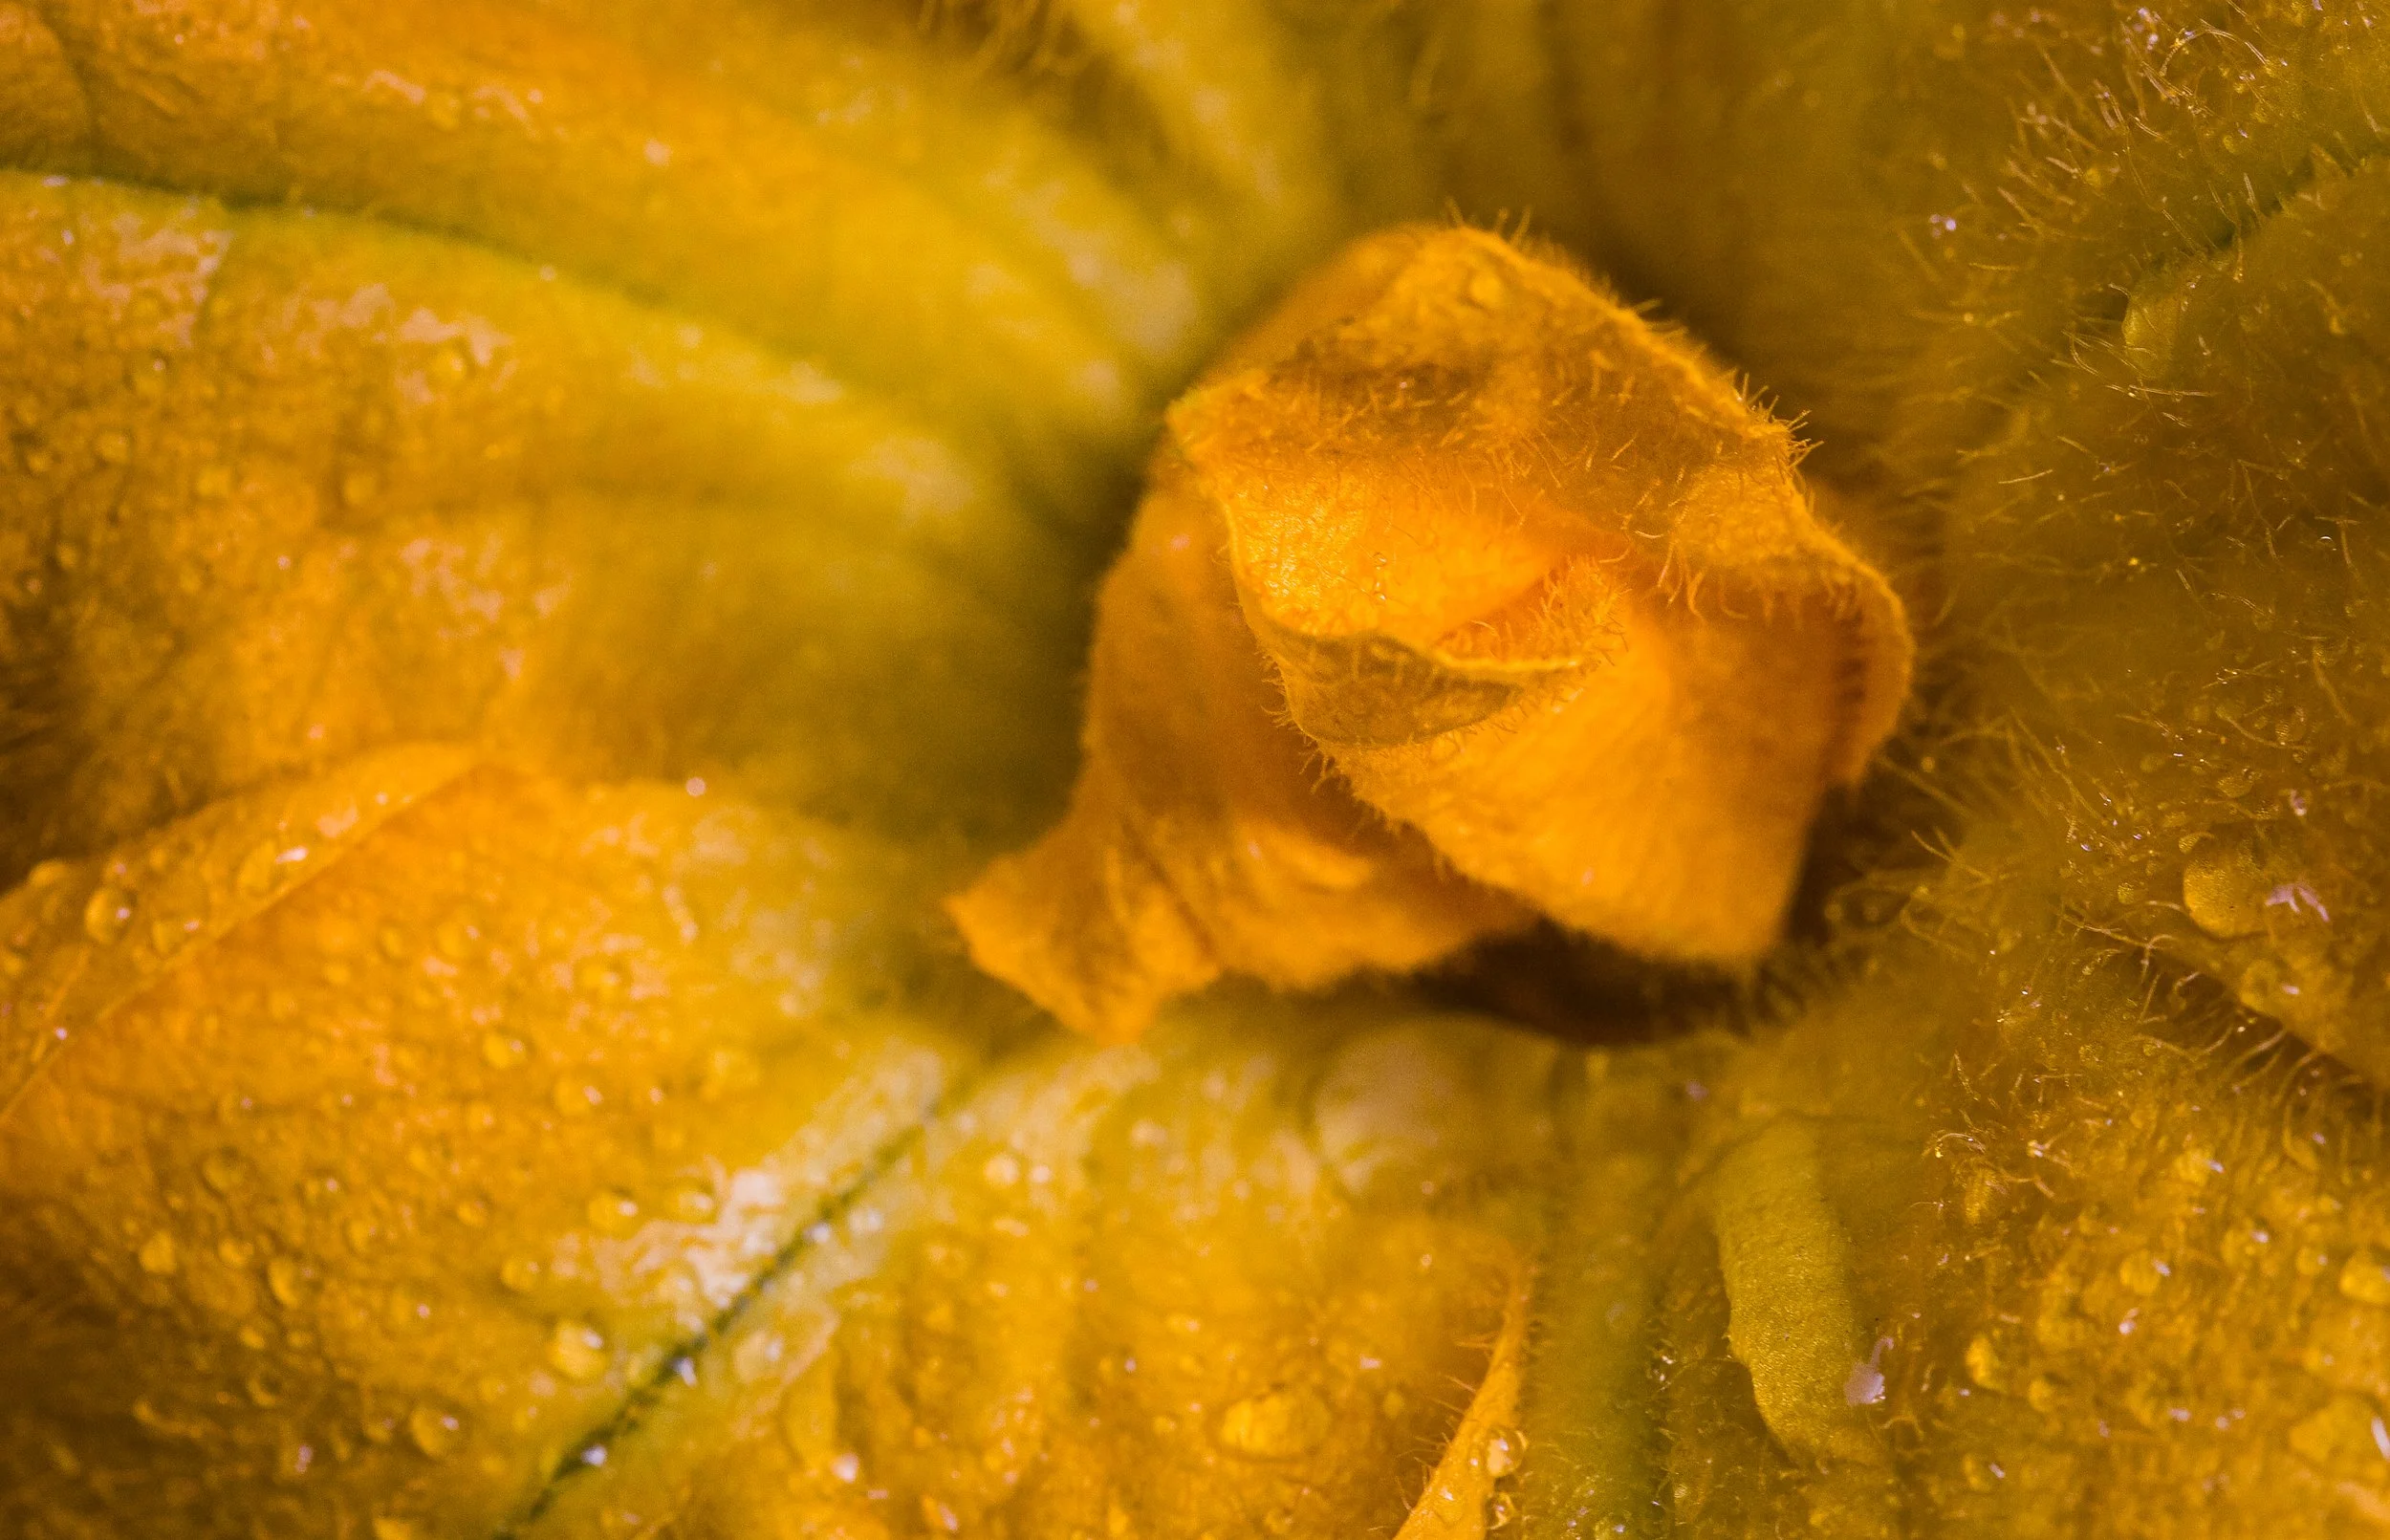
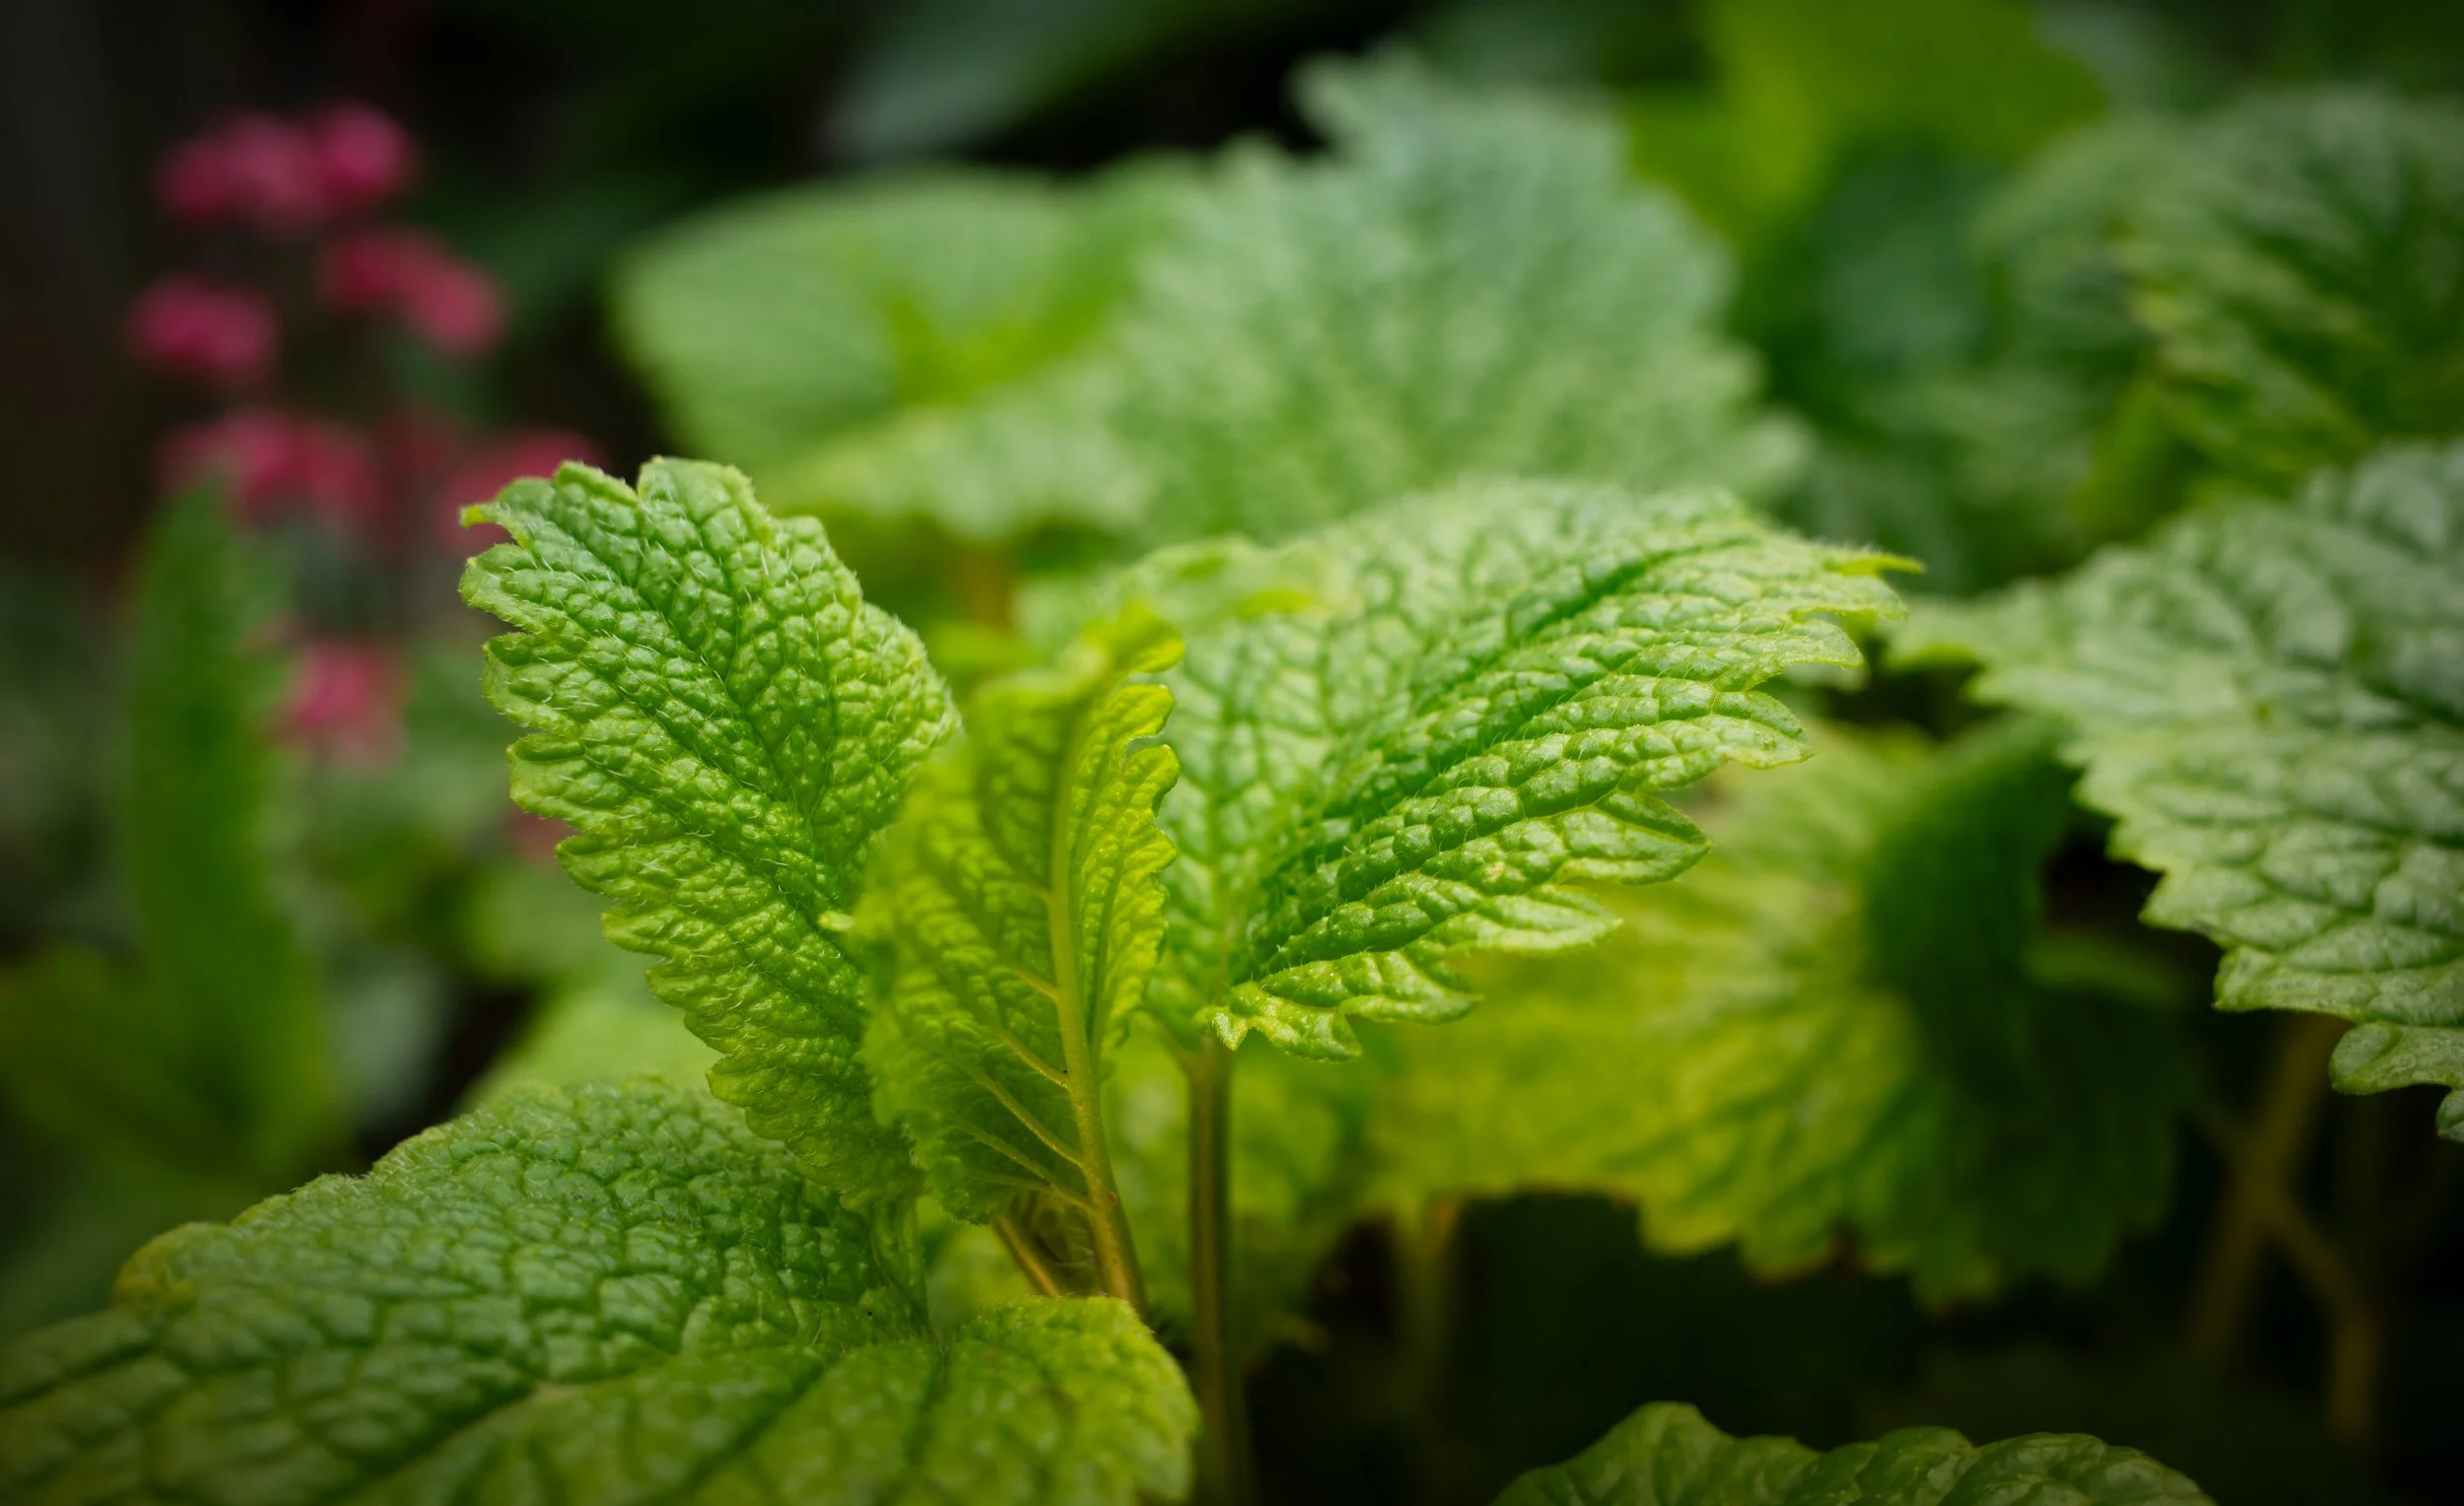
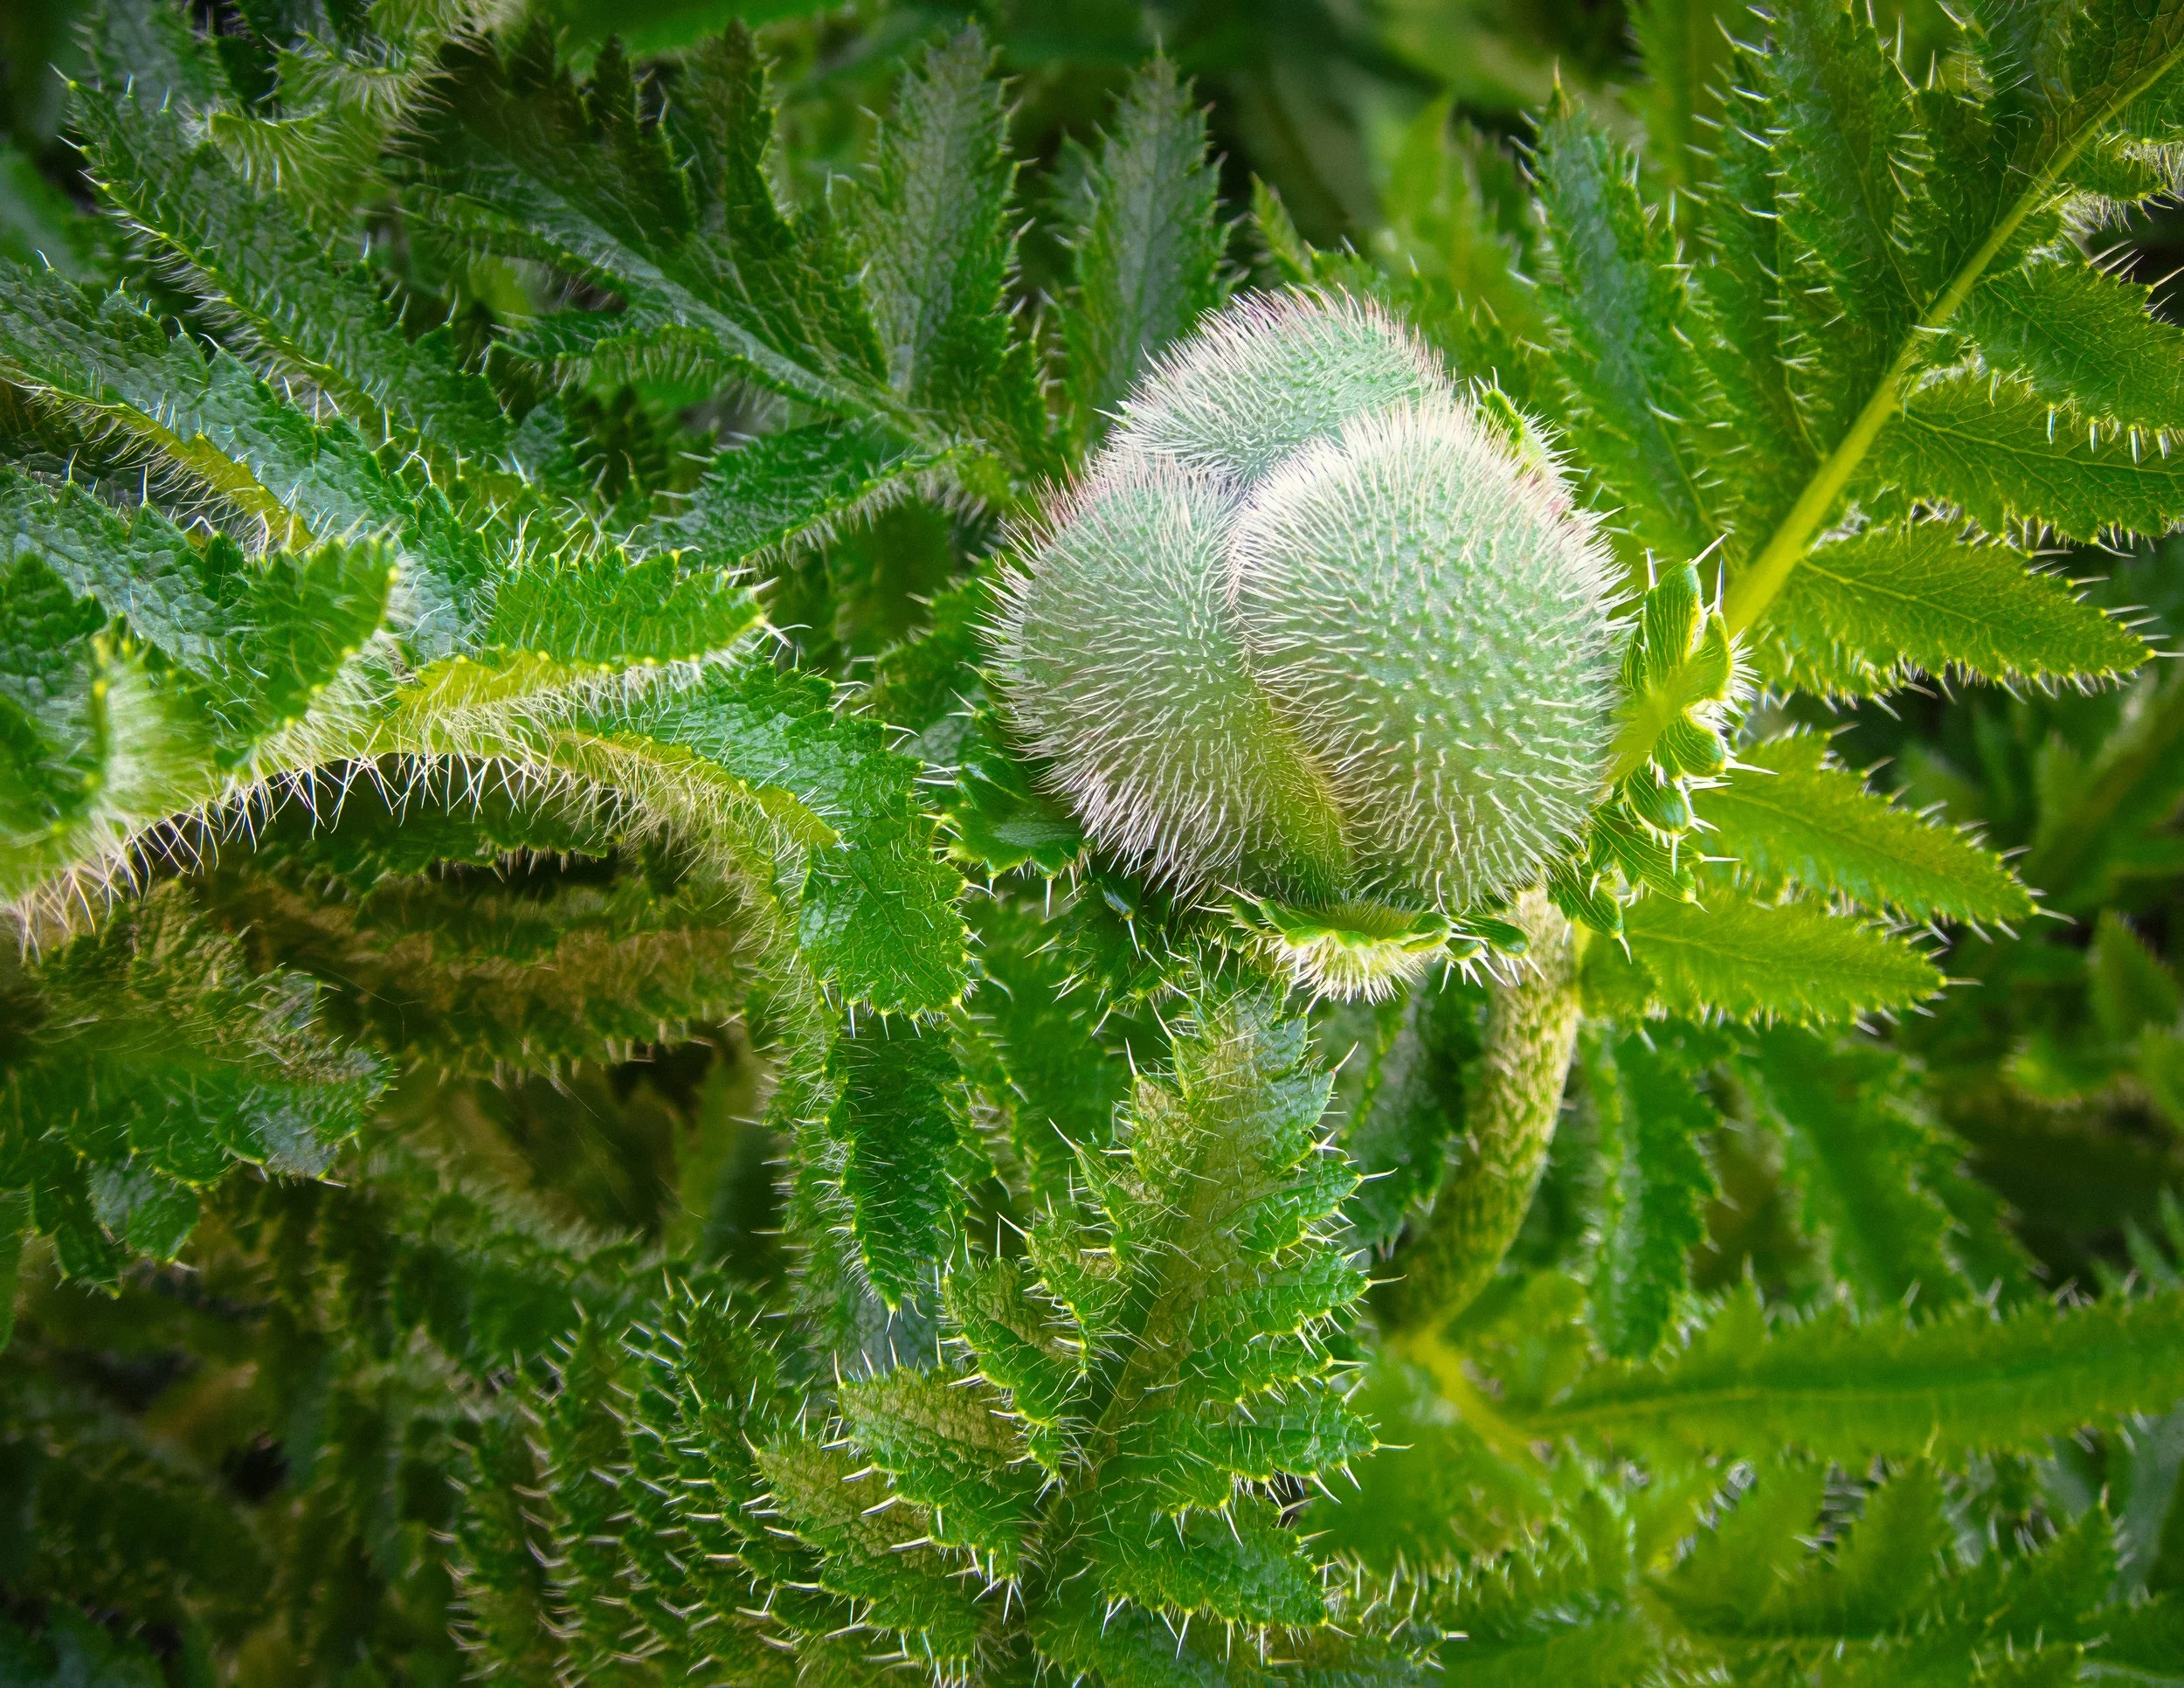
A different instinct leads towards macro photography — filling the frame with the bloom or part of it, using proximity to reveal what the casual observer never notices: the powdery texture of pollen-covered stamens, the fine venation of a petal, the way water sits in a near-perfect sphere on a waxy surface.
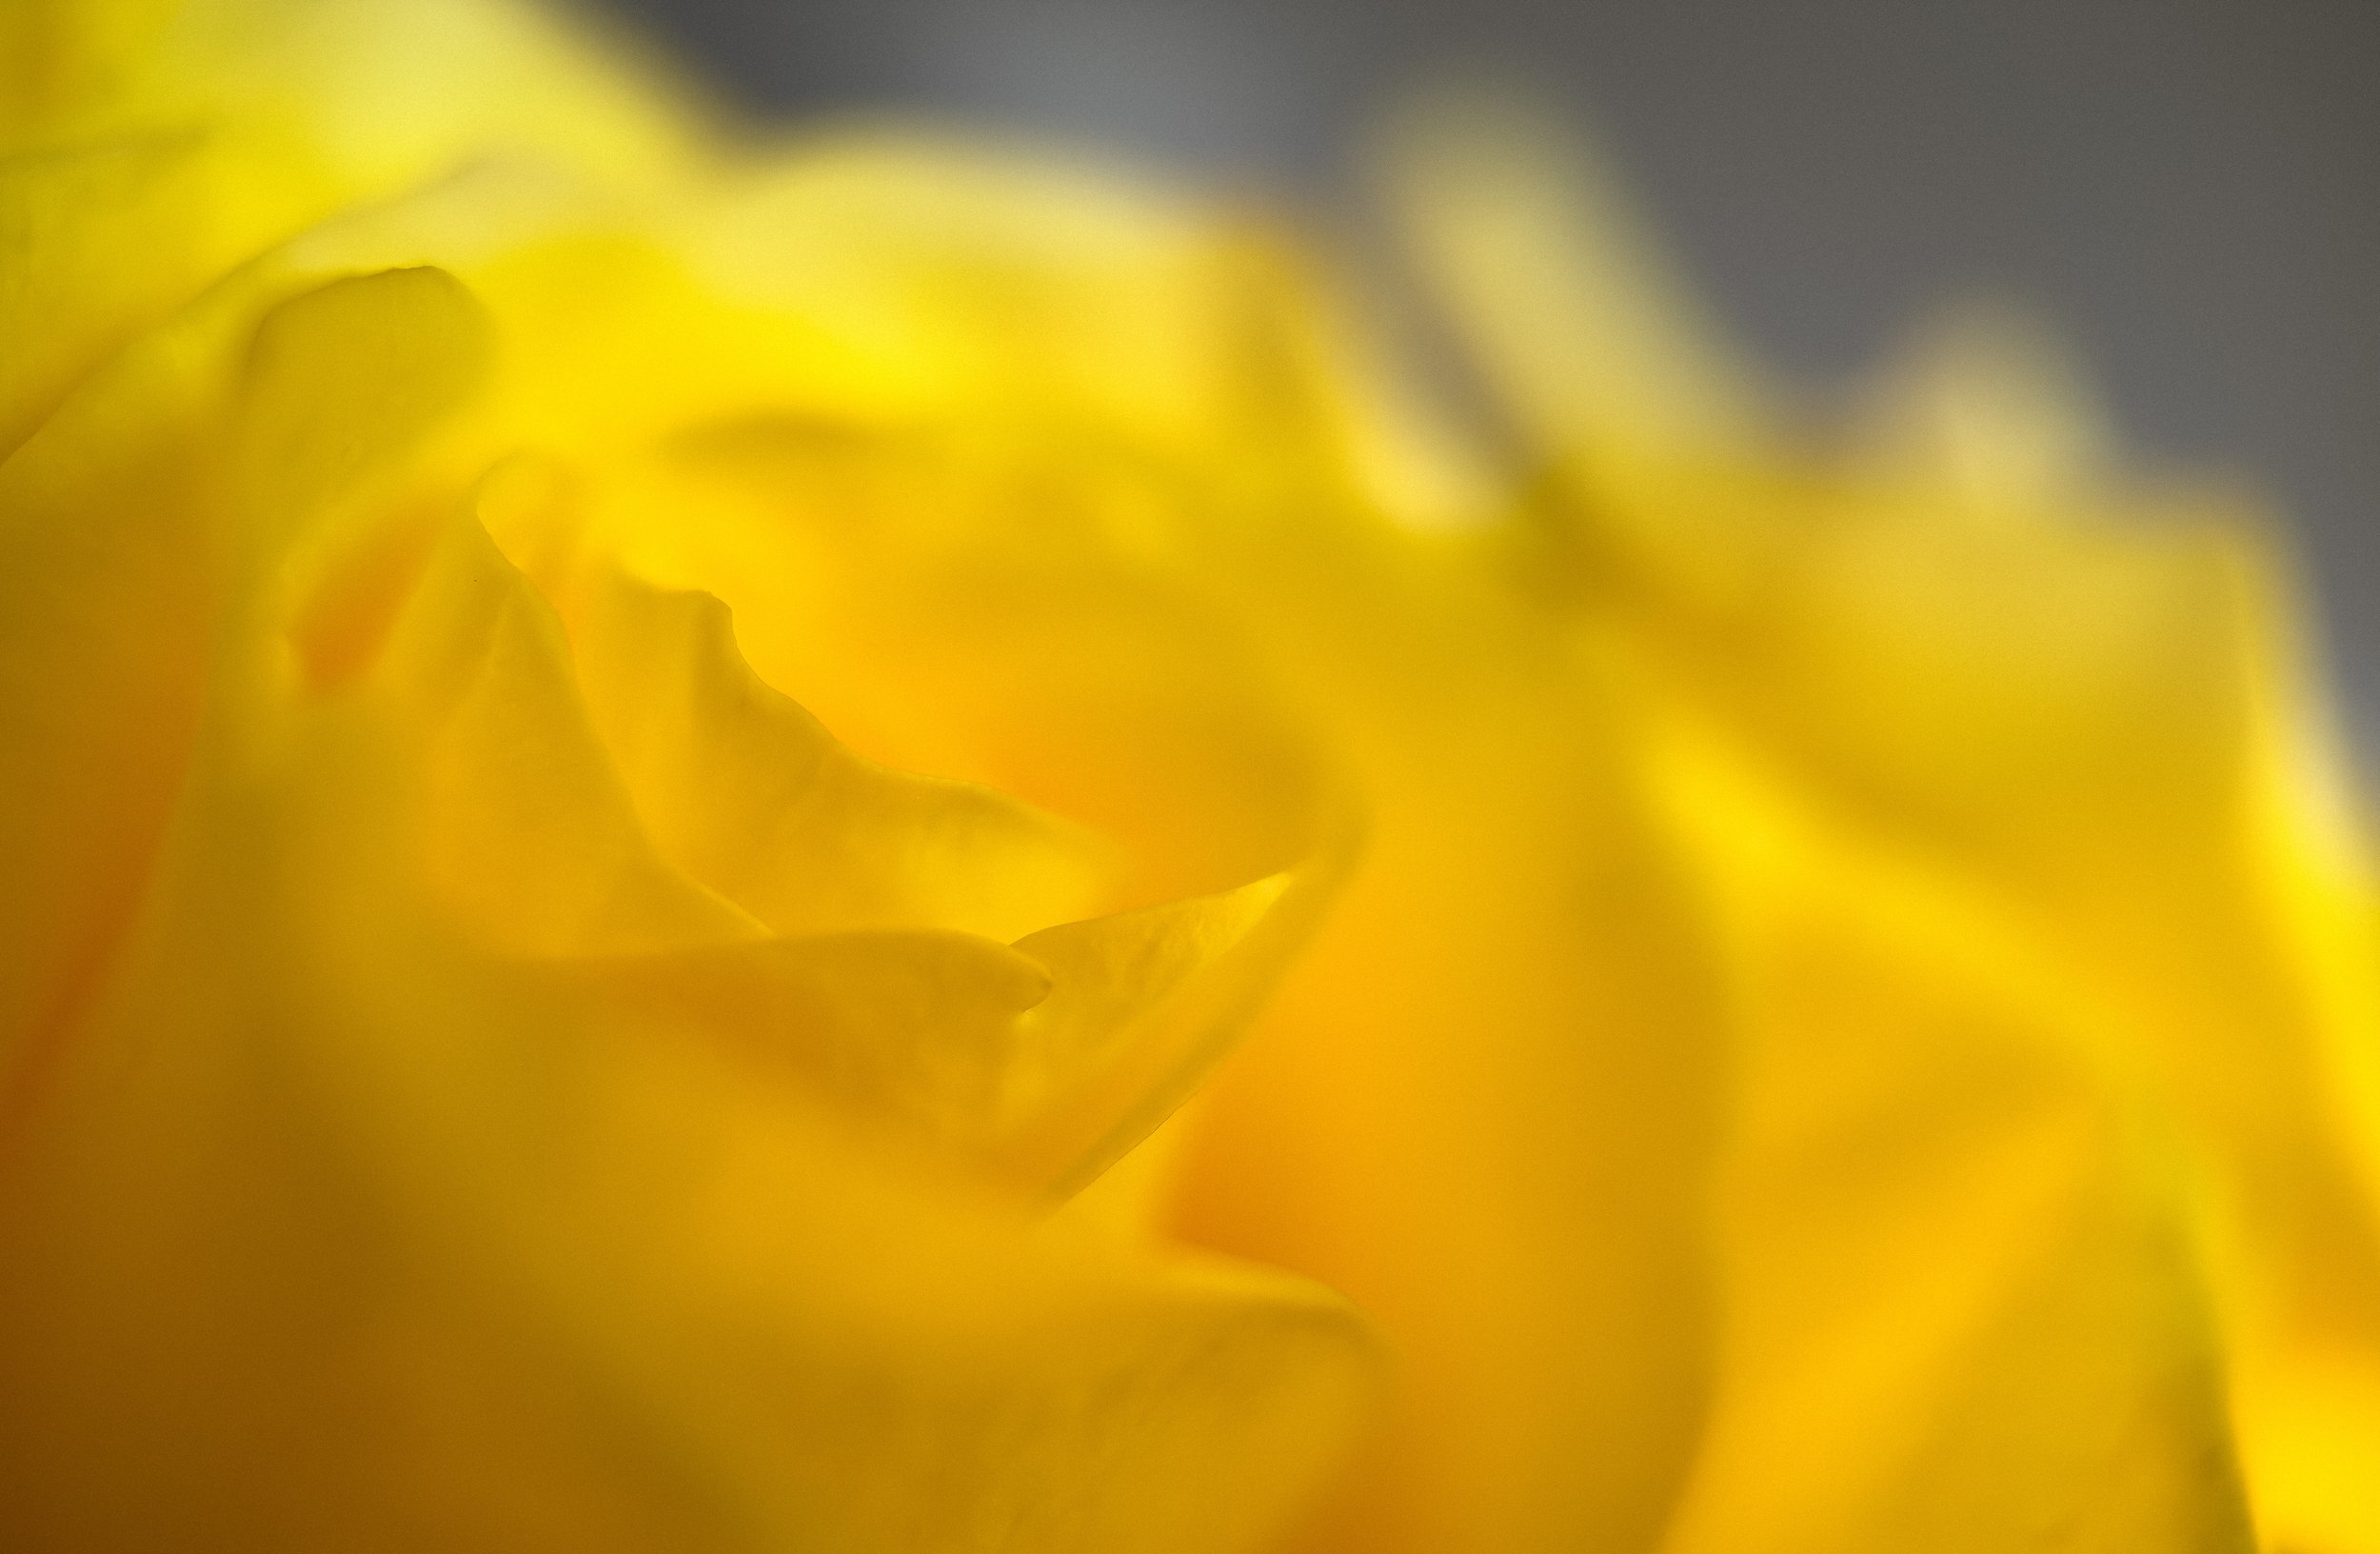
Taken further, this tips into the abstract: at extreme magnification, with selective focus and unusual angles, a flower ceases to be recognisable as itself and becomes a study in colour gradients and form. Some photographers find this a natural extension of macro work; others find it unsatisfying precisely because the flower disappears. Neither response is wrong.
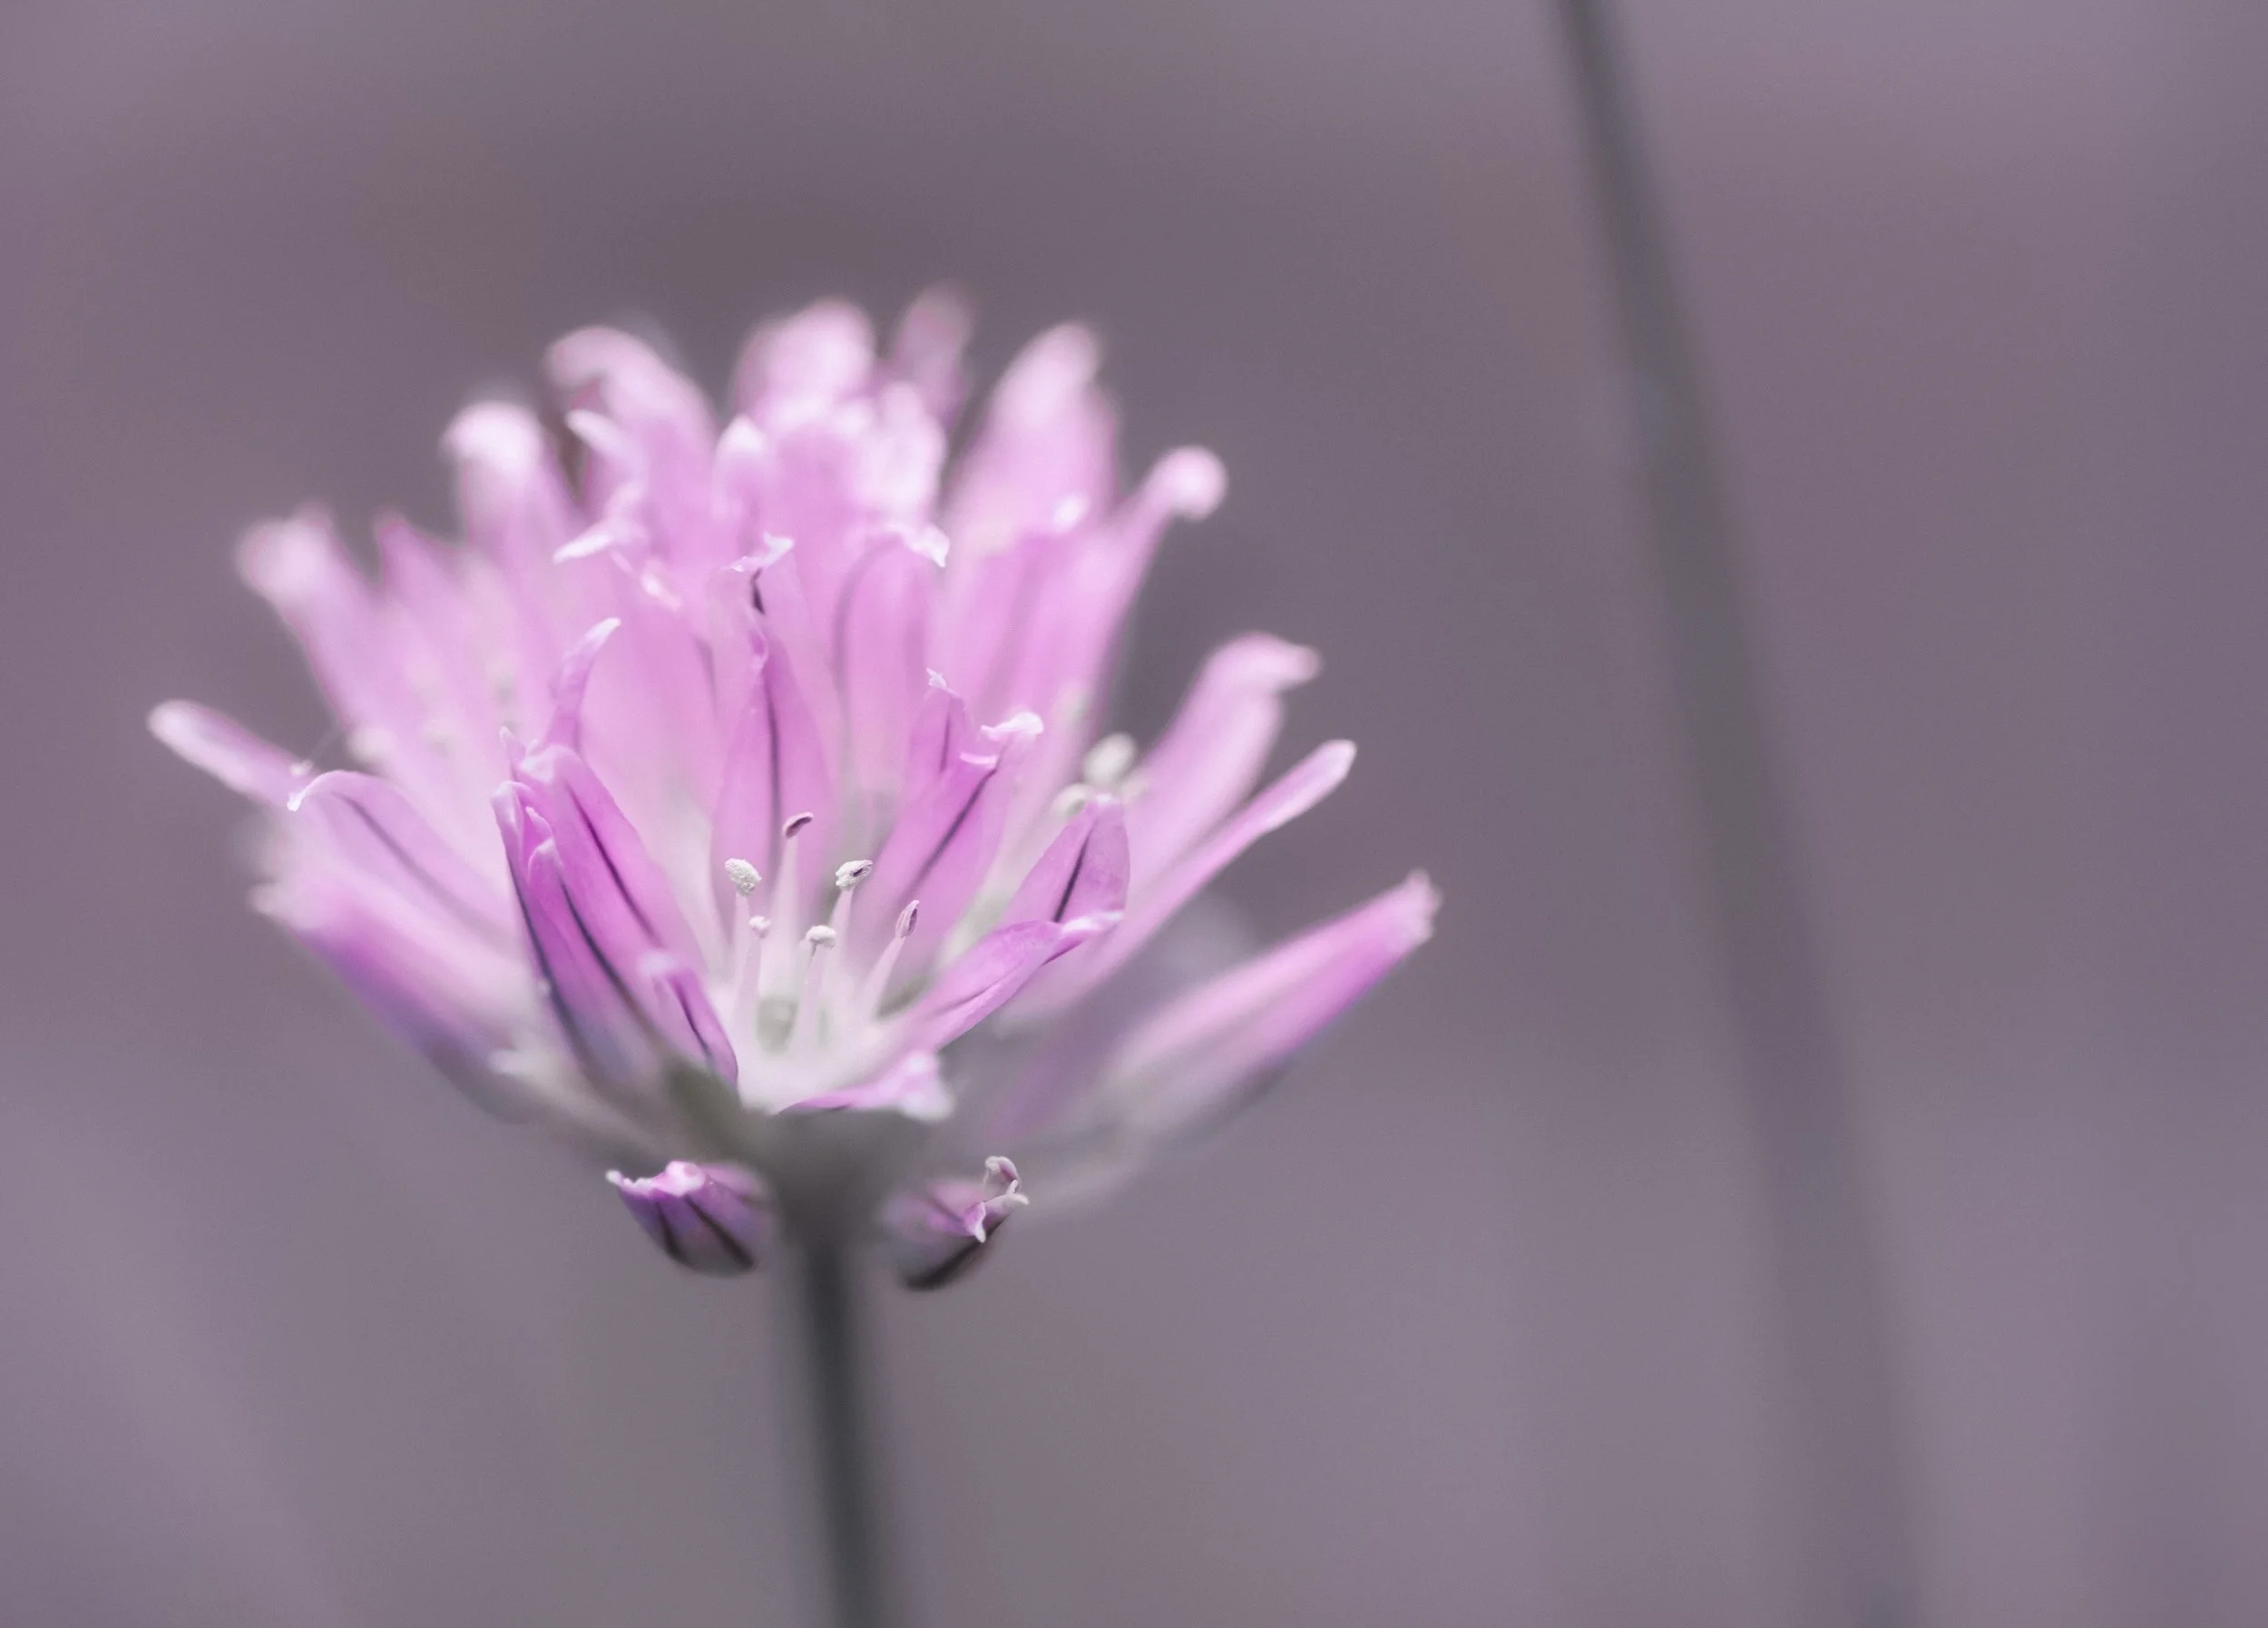
Minimalism is a related but distinct tendency: a single bloom against a plain background, generous negative space, every element earning its place. Documentary or botanical photography aims for something else again — accuracy, even light, correct colour, scientific clarity.
Most photographers move between these approaches, and the most interesting images often combine two or three. These categories are a starting point, not a cage.
Light : Your Most Important Decision
Of all the variables in flower photography, light matters most. It is also the variable over which you have the most real control — which is a more useful combination than it might initially sound.
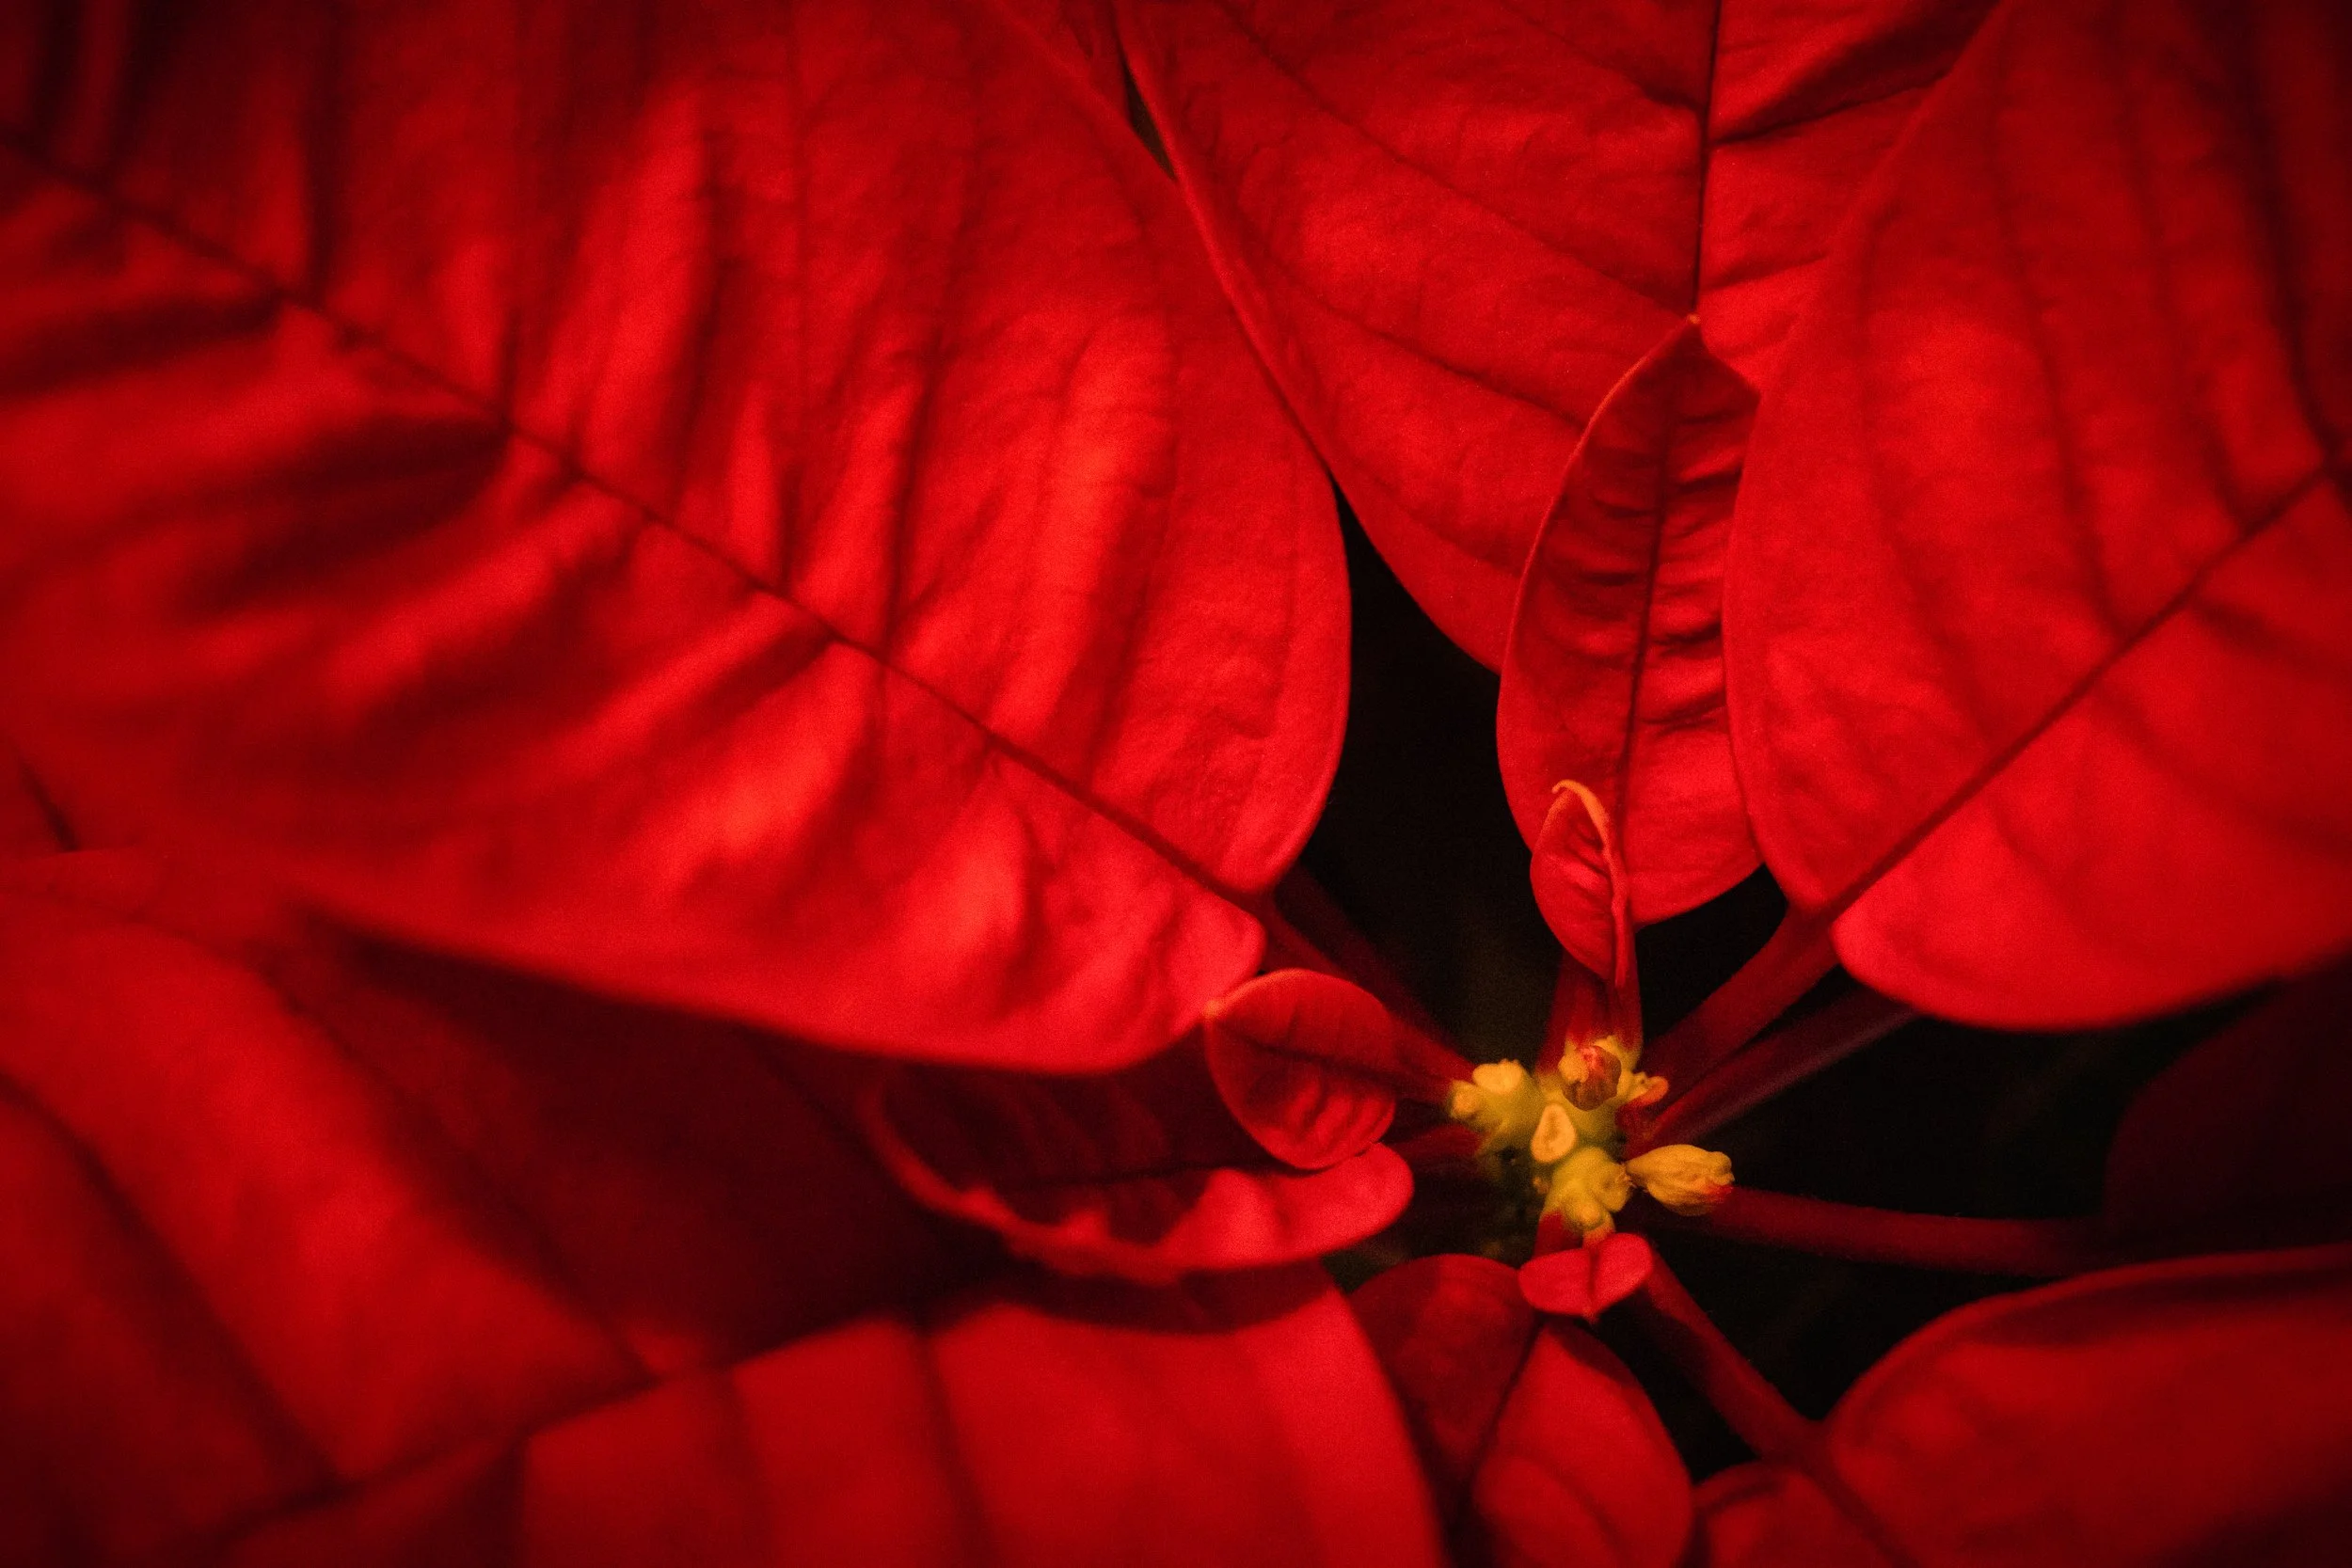
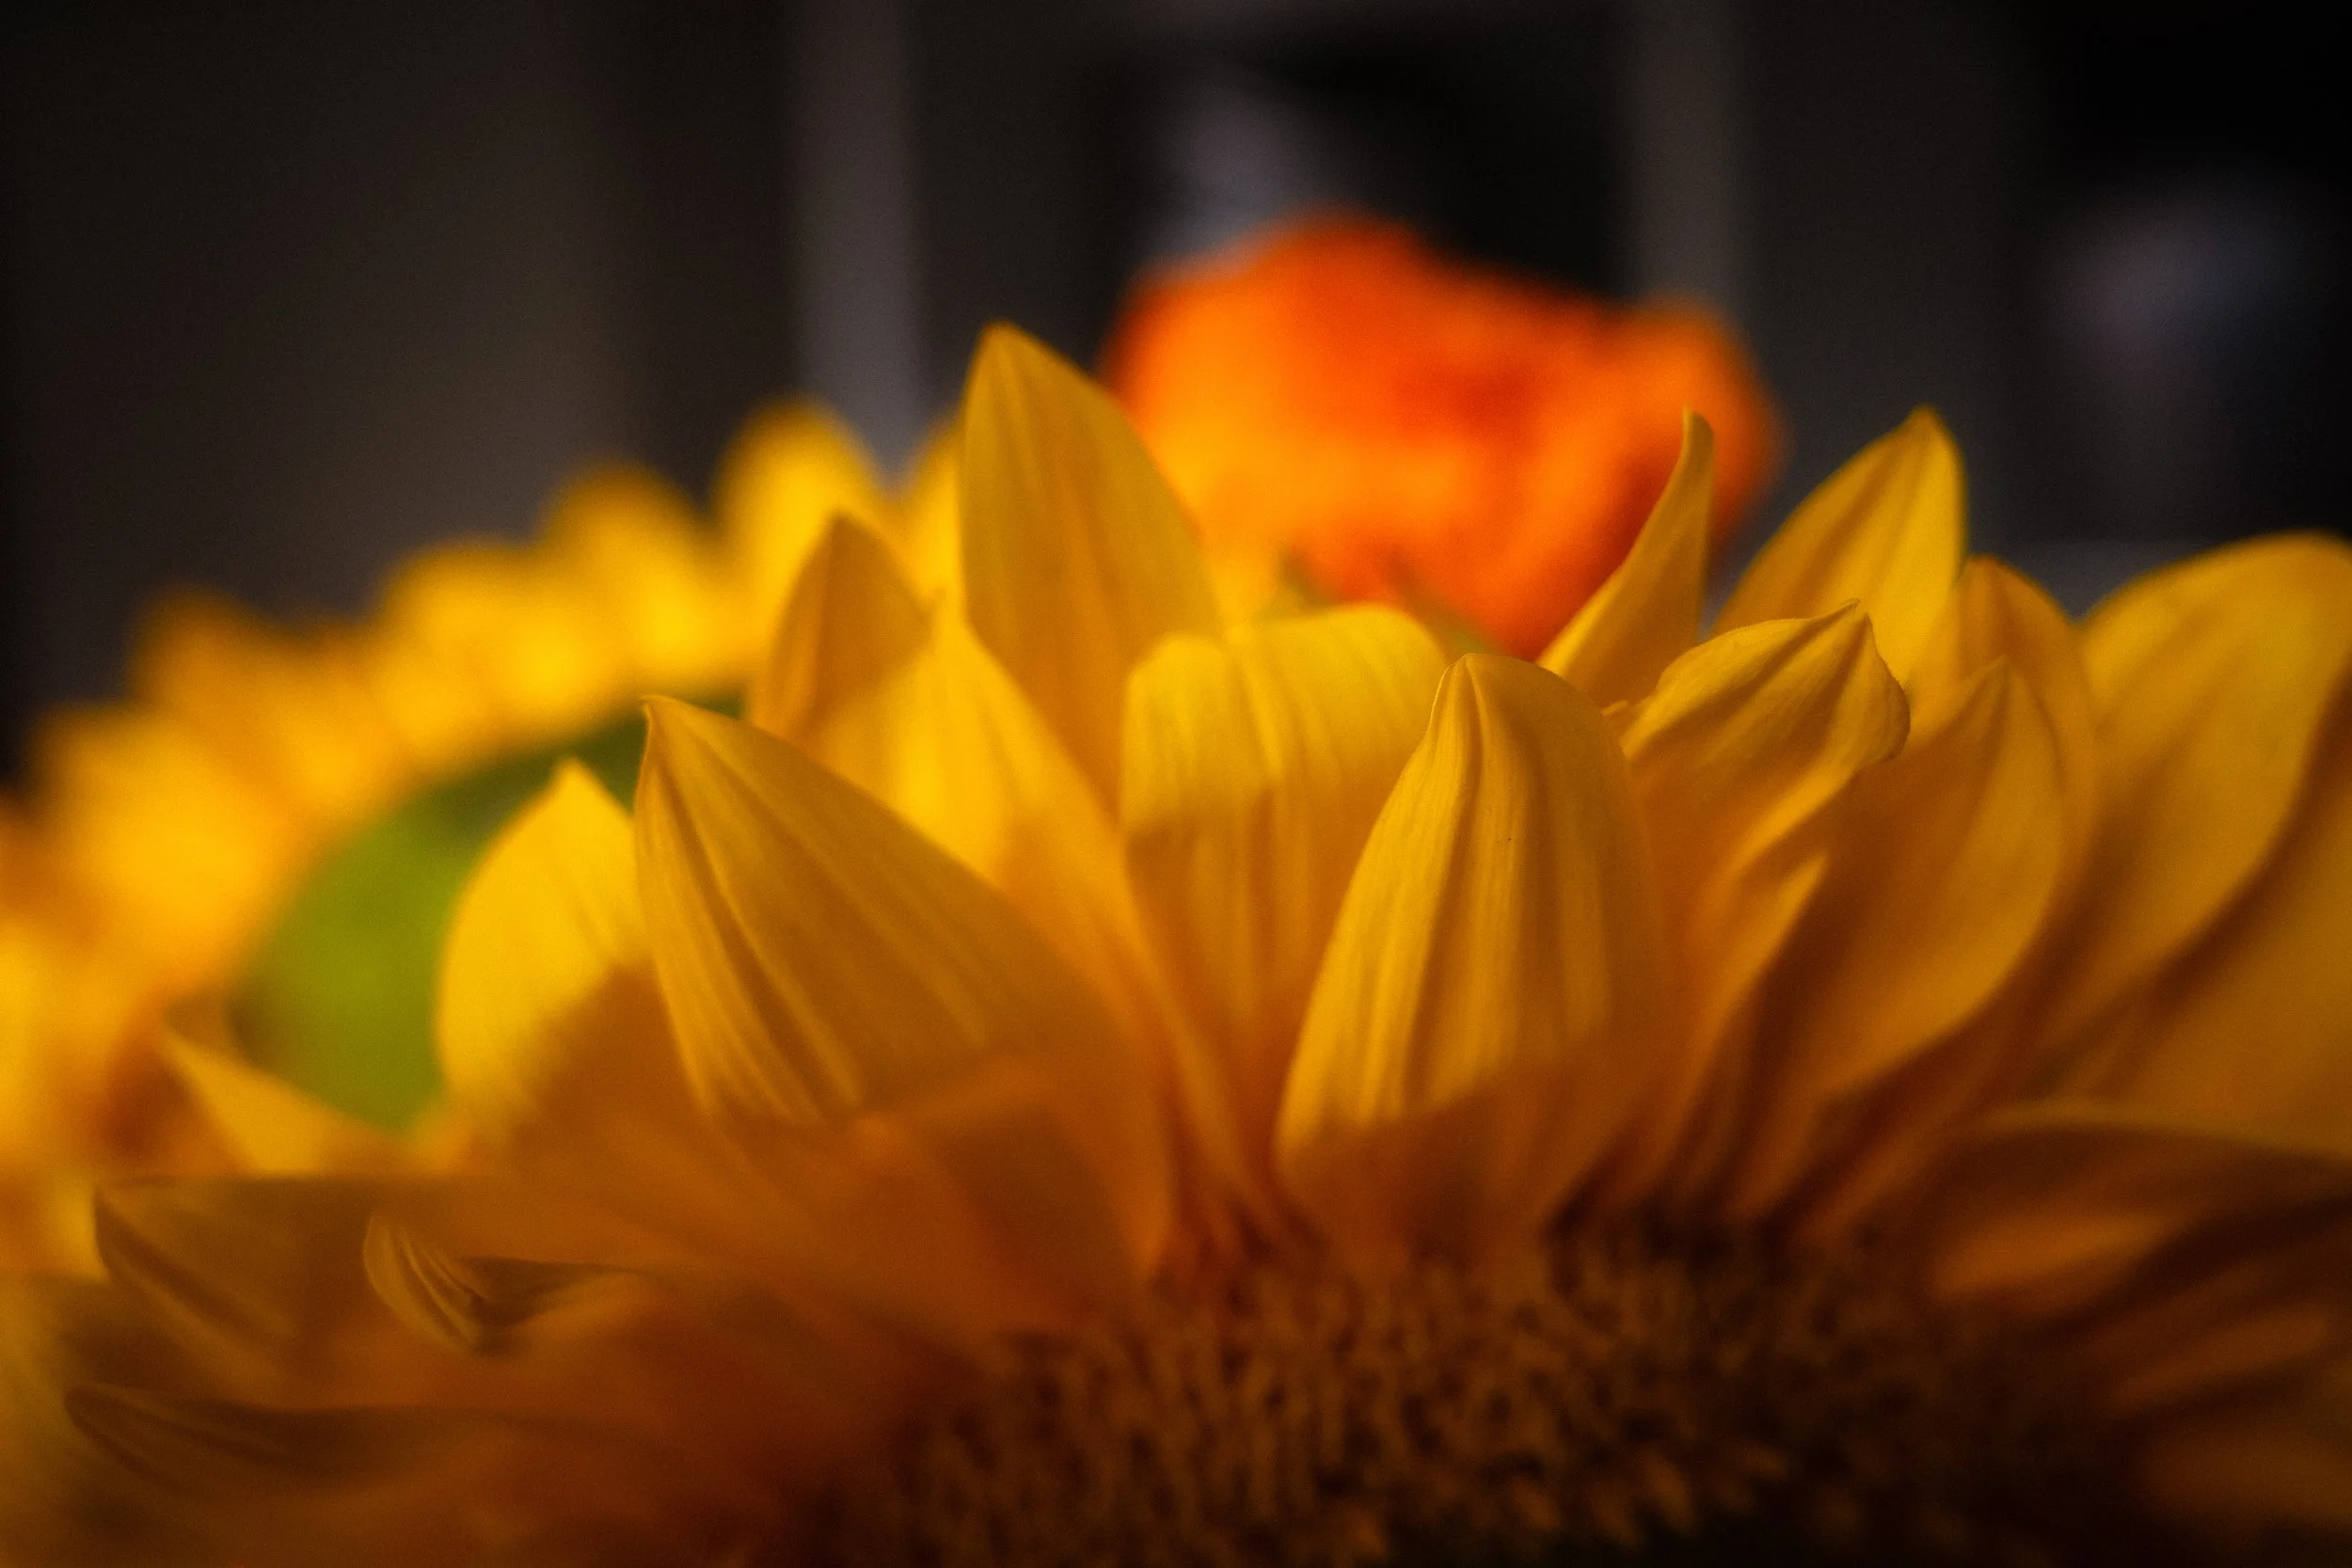
Natural light is the default. In the hour after sunrise and the hour before sunset, the sun is low, the light is warm in colour temperature, and shadows are long and soft. This suits warm-coloured blooms well; it can make white flowers look slightly yellow and cool blues look a little muddy, but for reds, oranges, and warm pinks it is close to ideal. Overcast light is persistently underrated: flat cloud cover acts as a giant diffuser, eliminating hard shadows and producing even, accurate colour. Many professional flower photographers actively prefer grey days. Do not put your camera away just because the sky has decided to sulk.
Direct midday sun is almost uniformly unhelpful. The light falls nearly vertically, creating harsh shadows in every recess of the bloom. Highlights on reflective petals blow out easily, losing all detail. Flowers that have been in sun since morning may have begun to wilt and look it.
Pay attention to the direction of light as well as its quality.
Sidelighting — light from roughly 90 degrees to the camera axis — picks out texture and three-dimensionality.
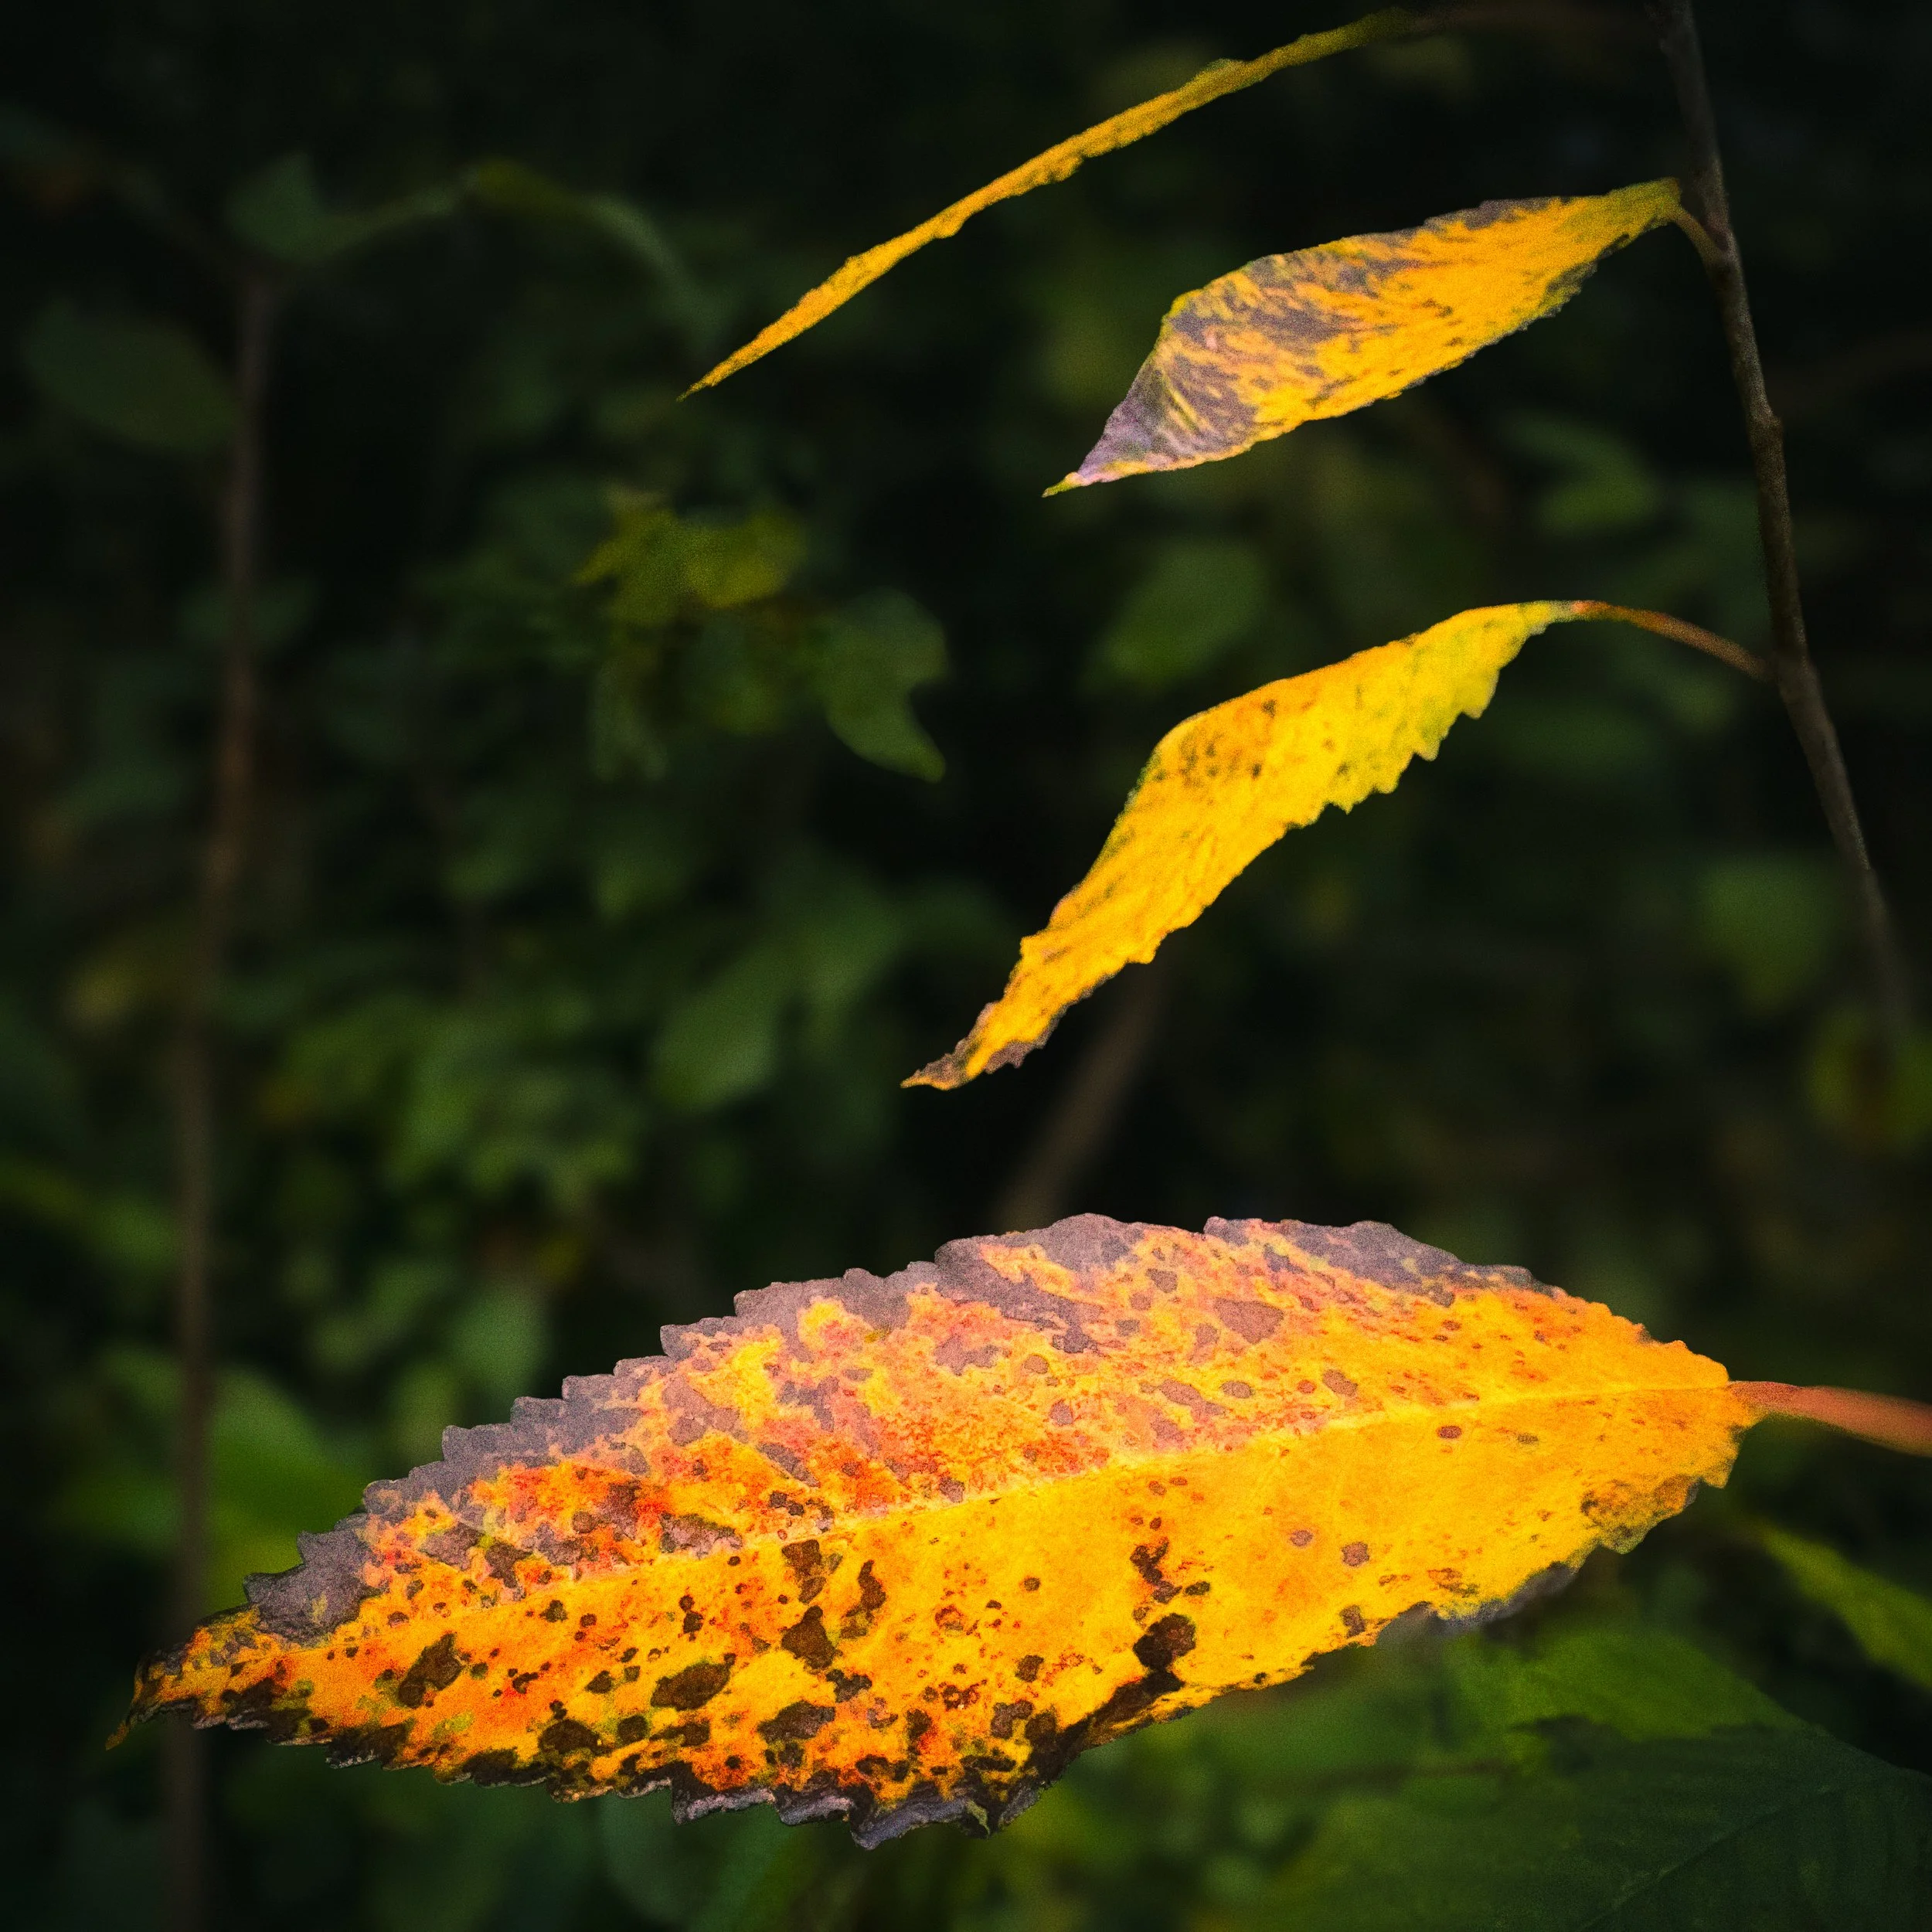
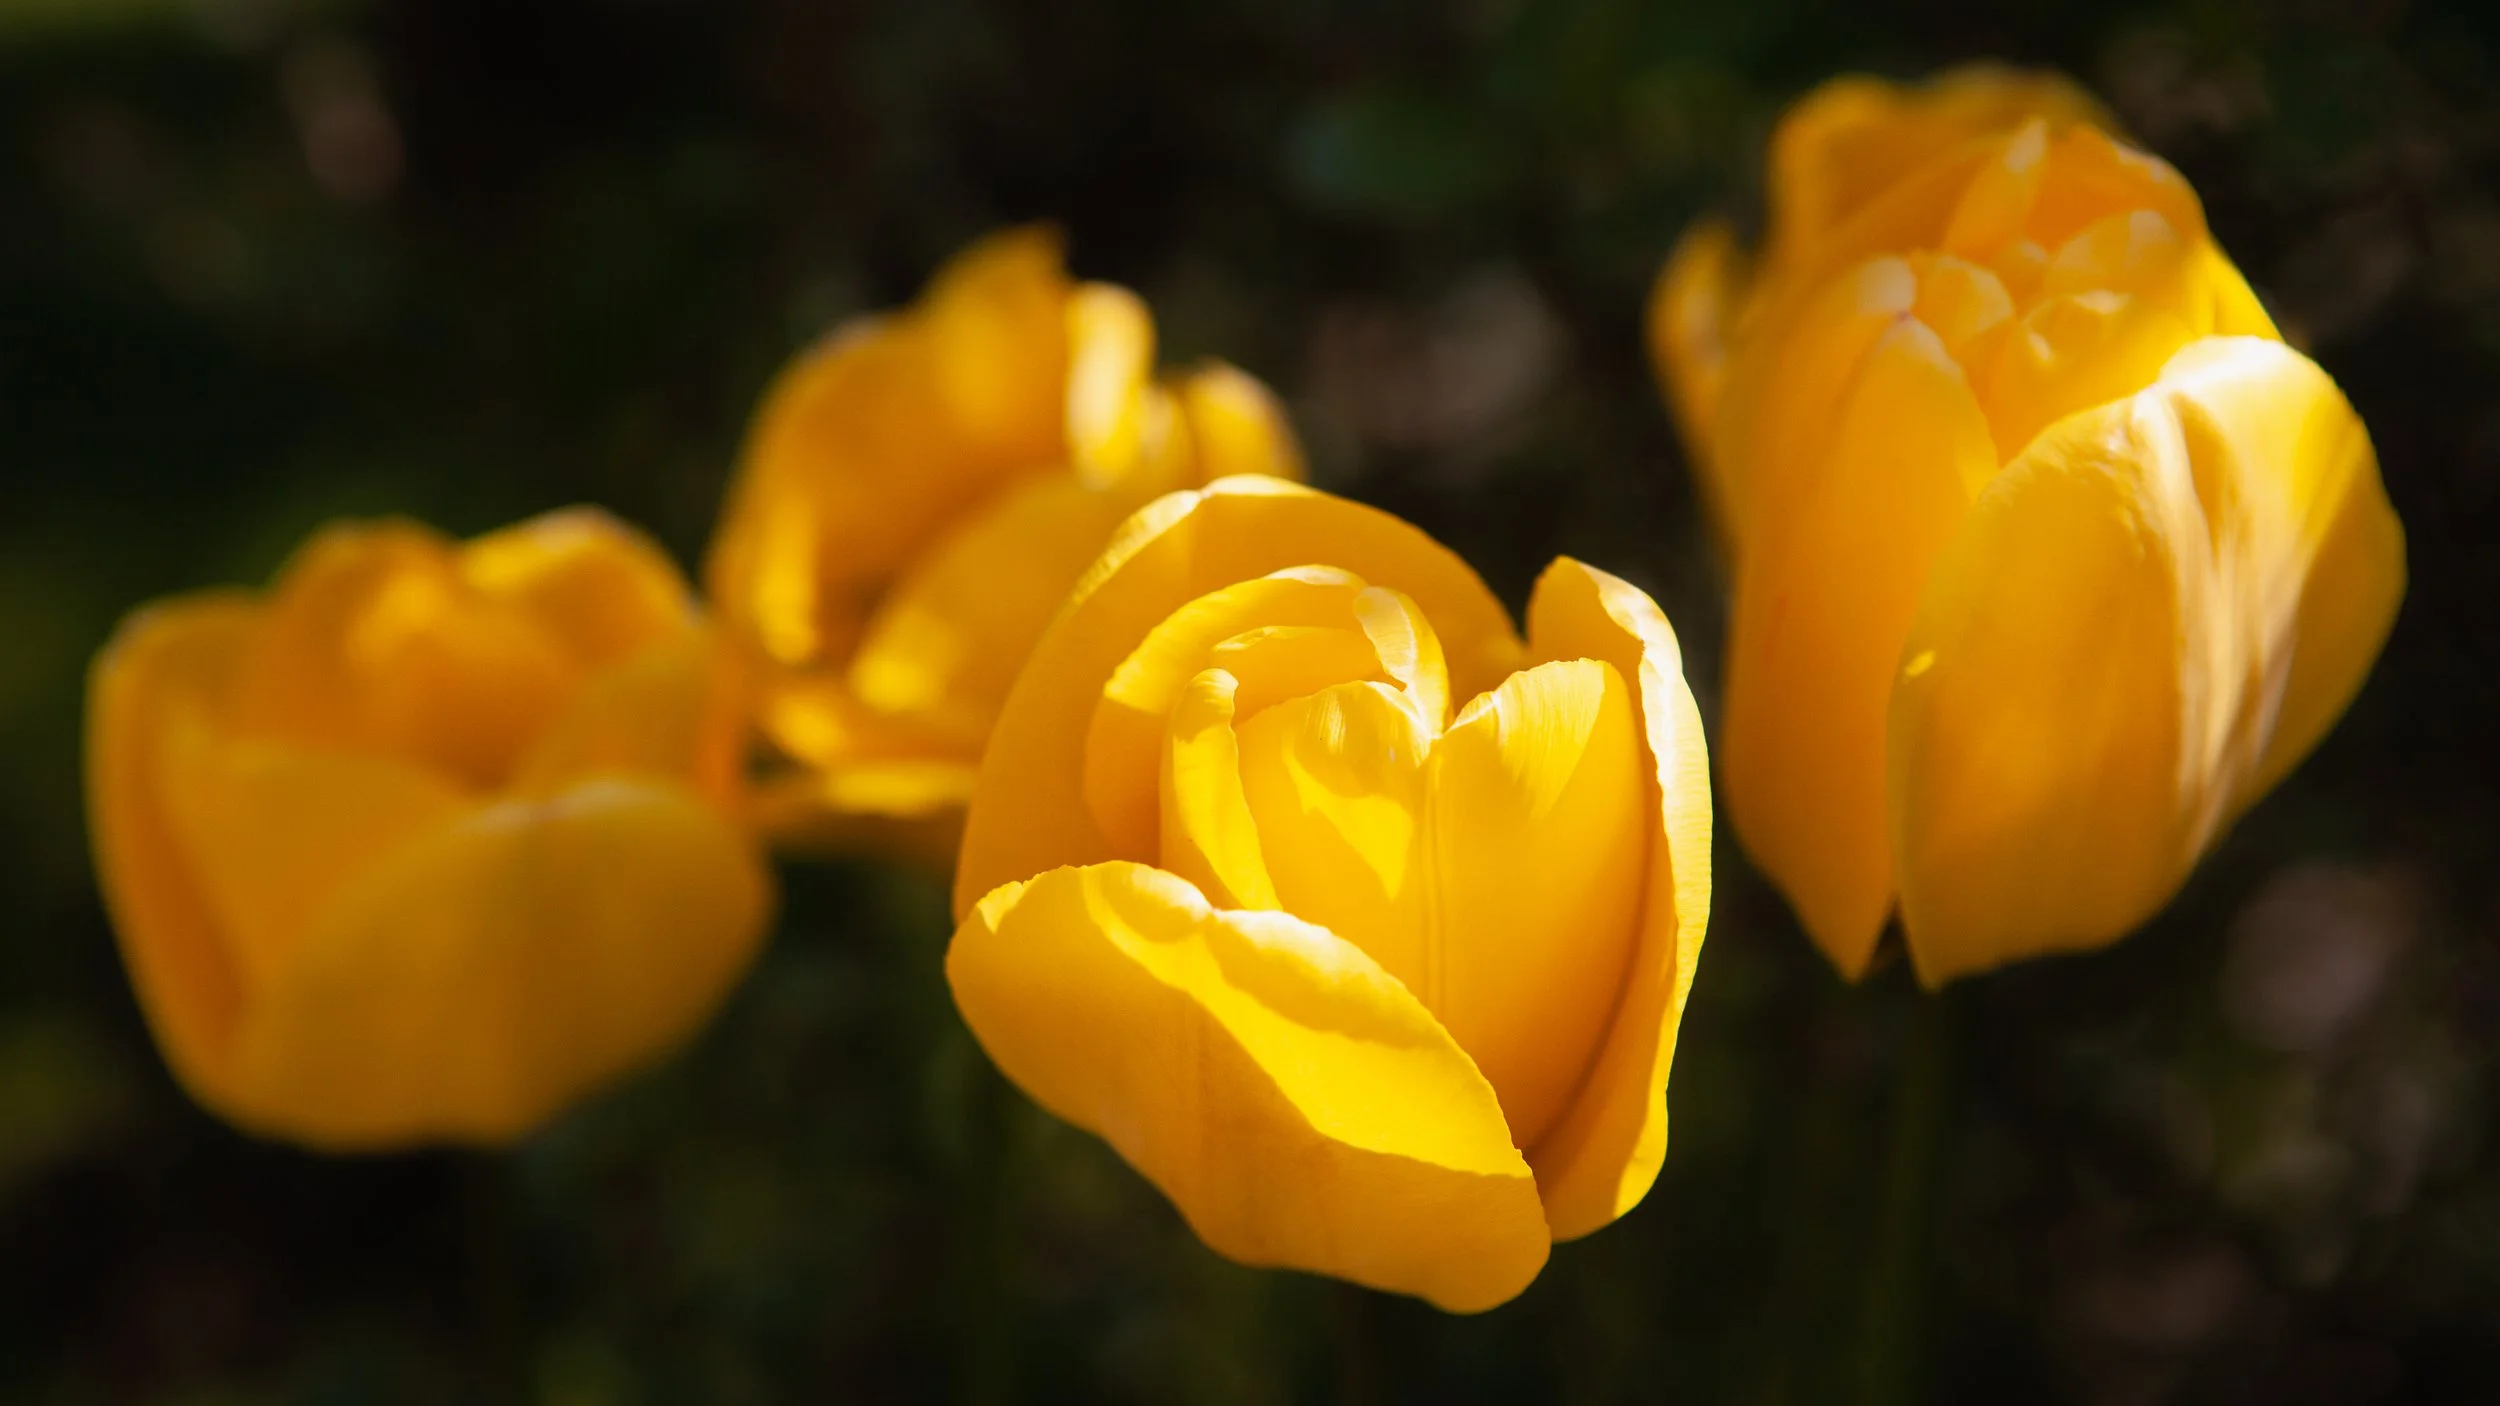
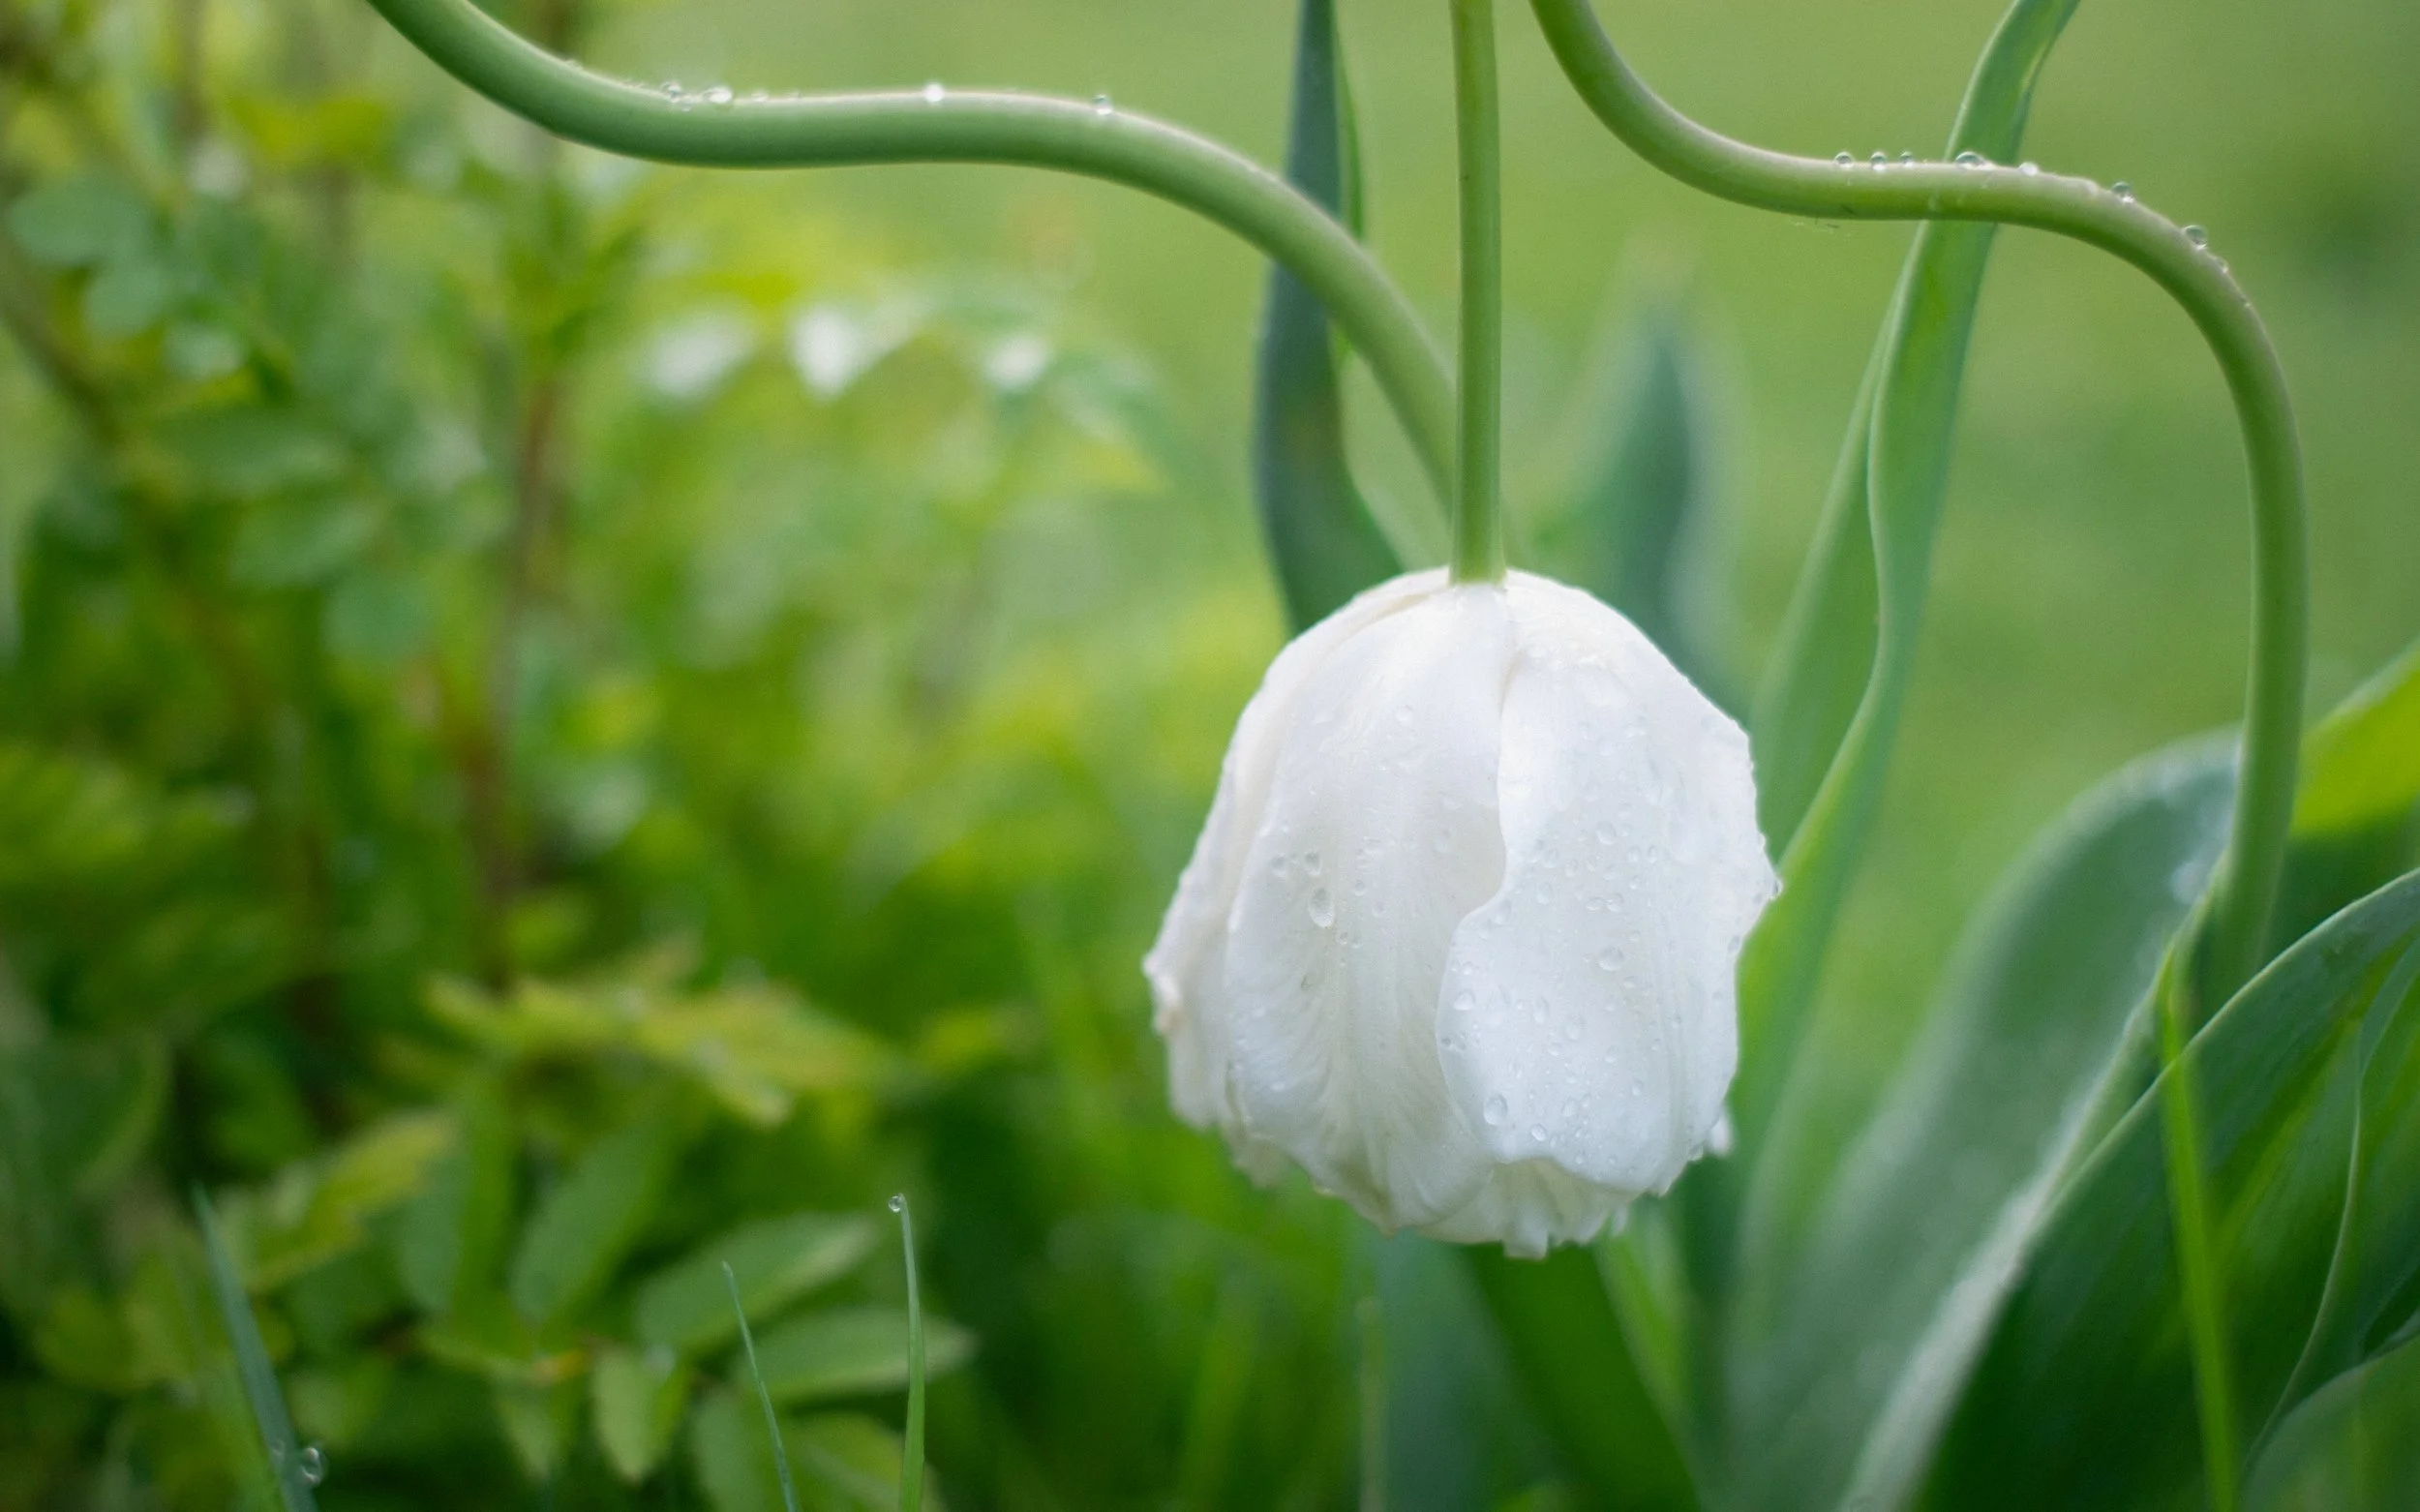
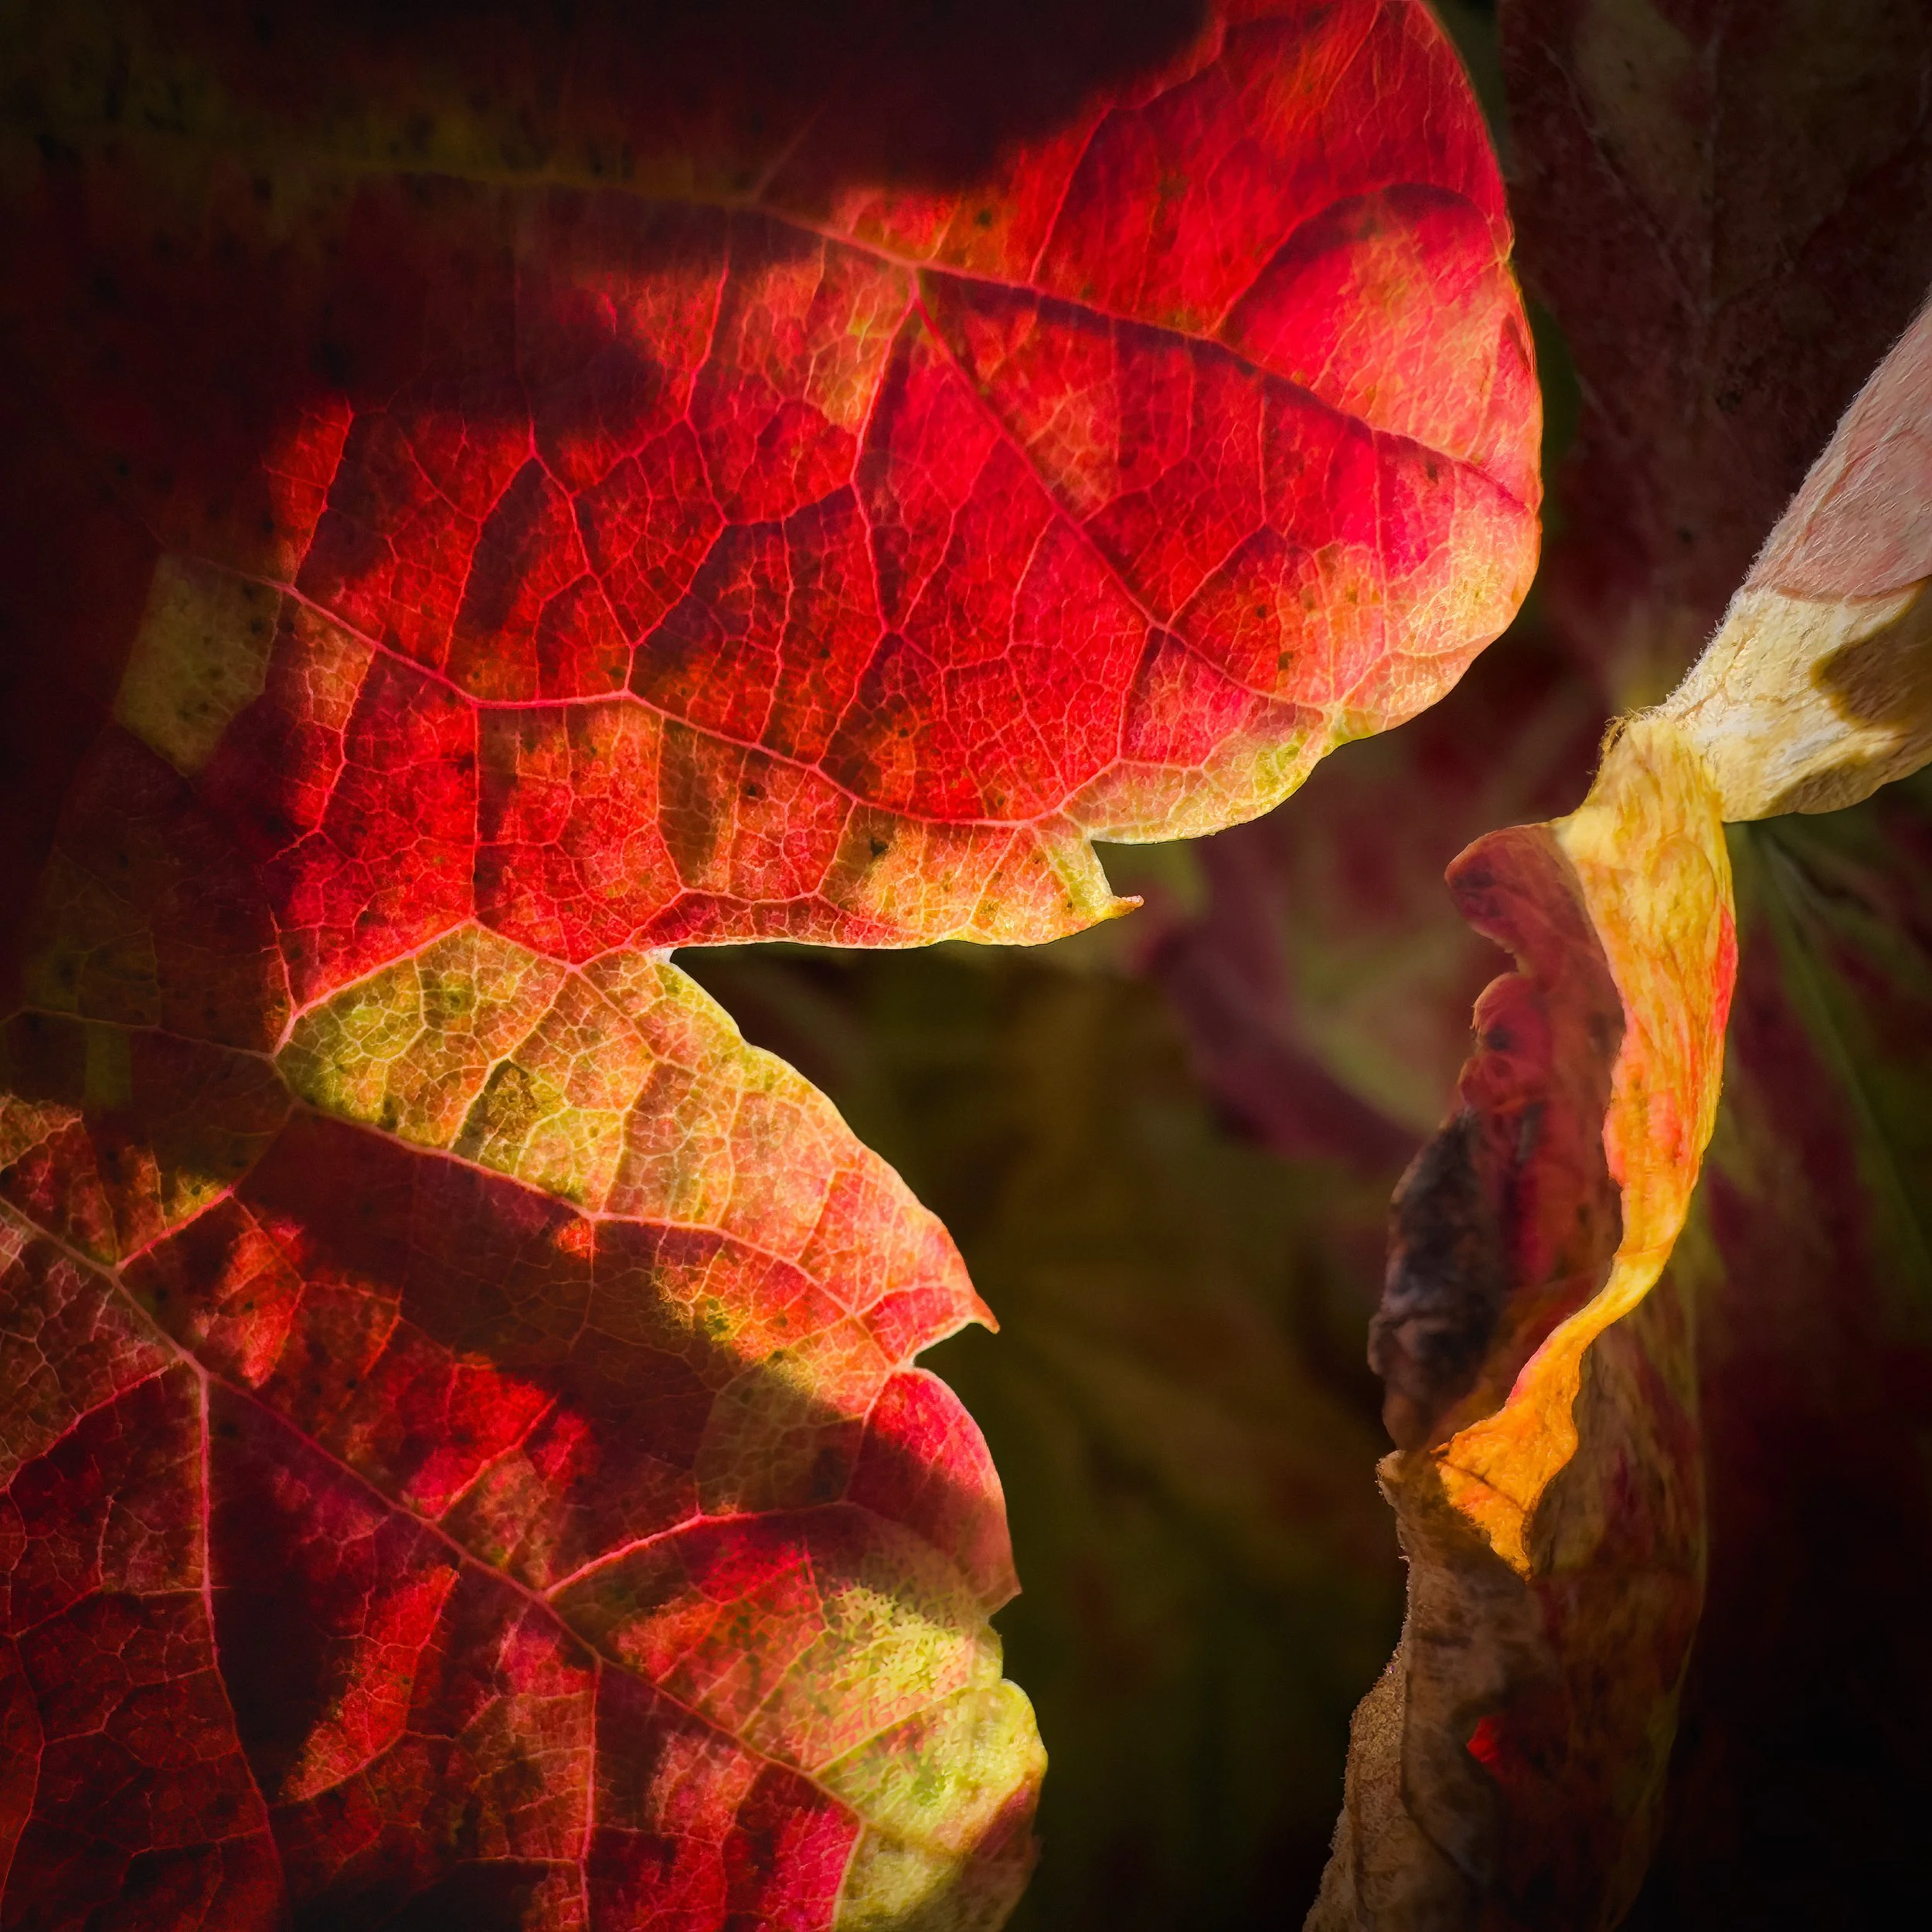
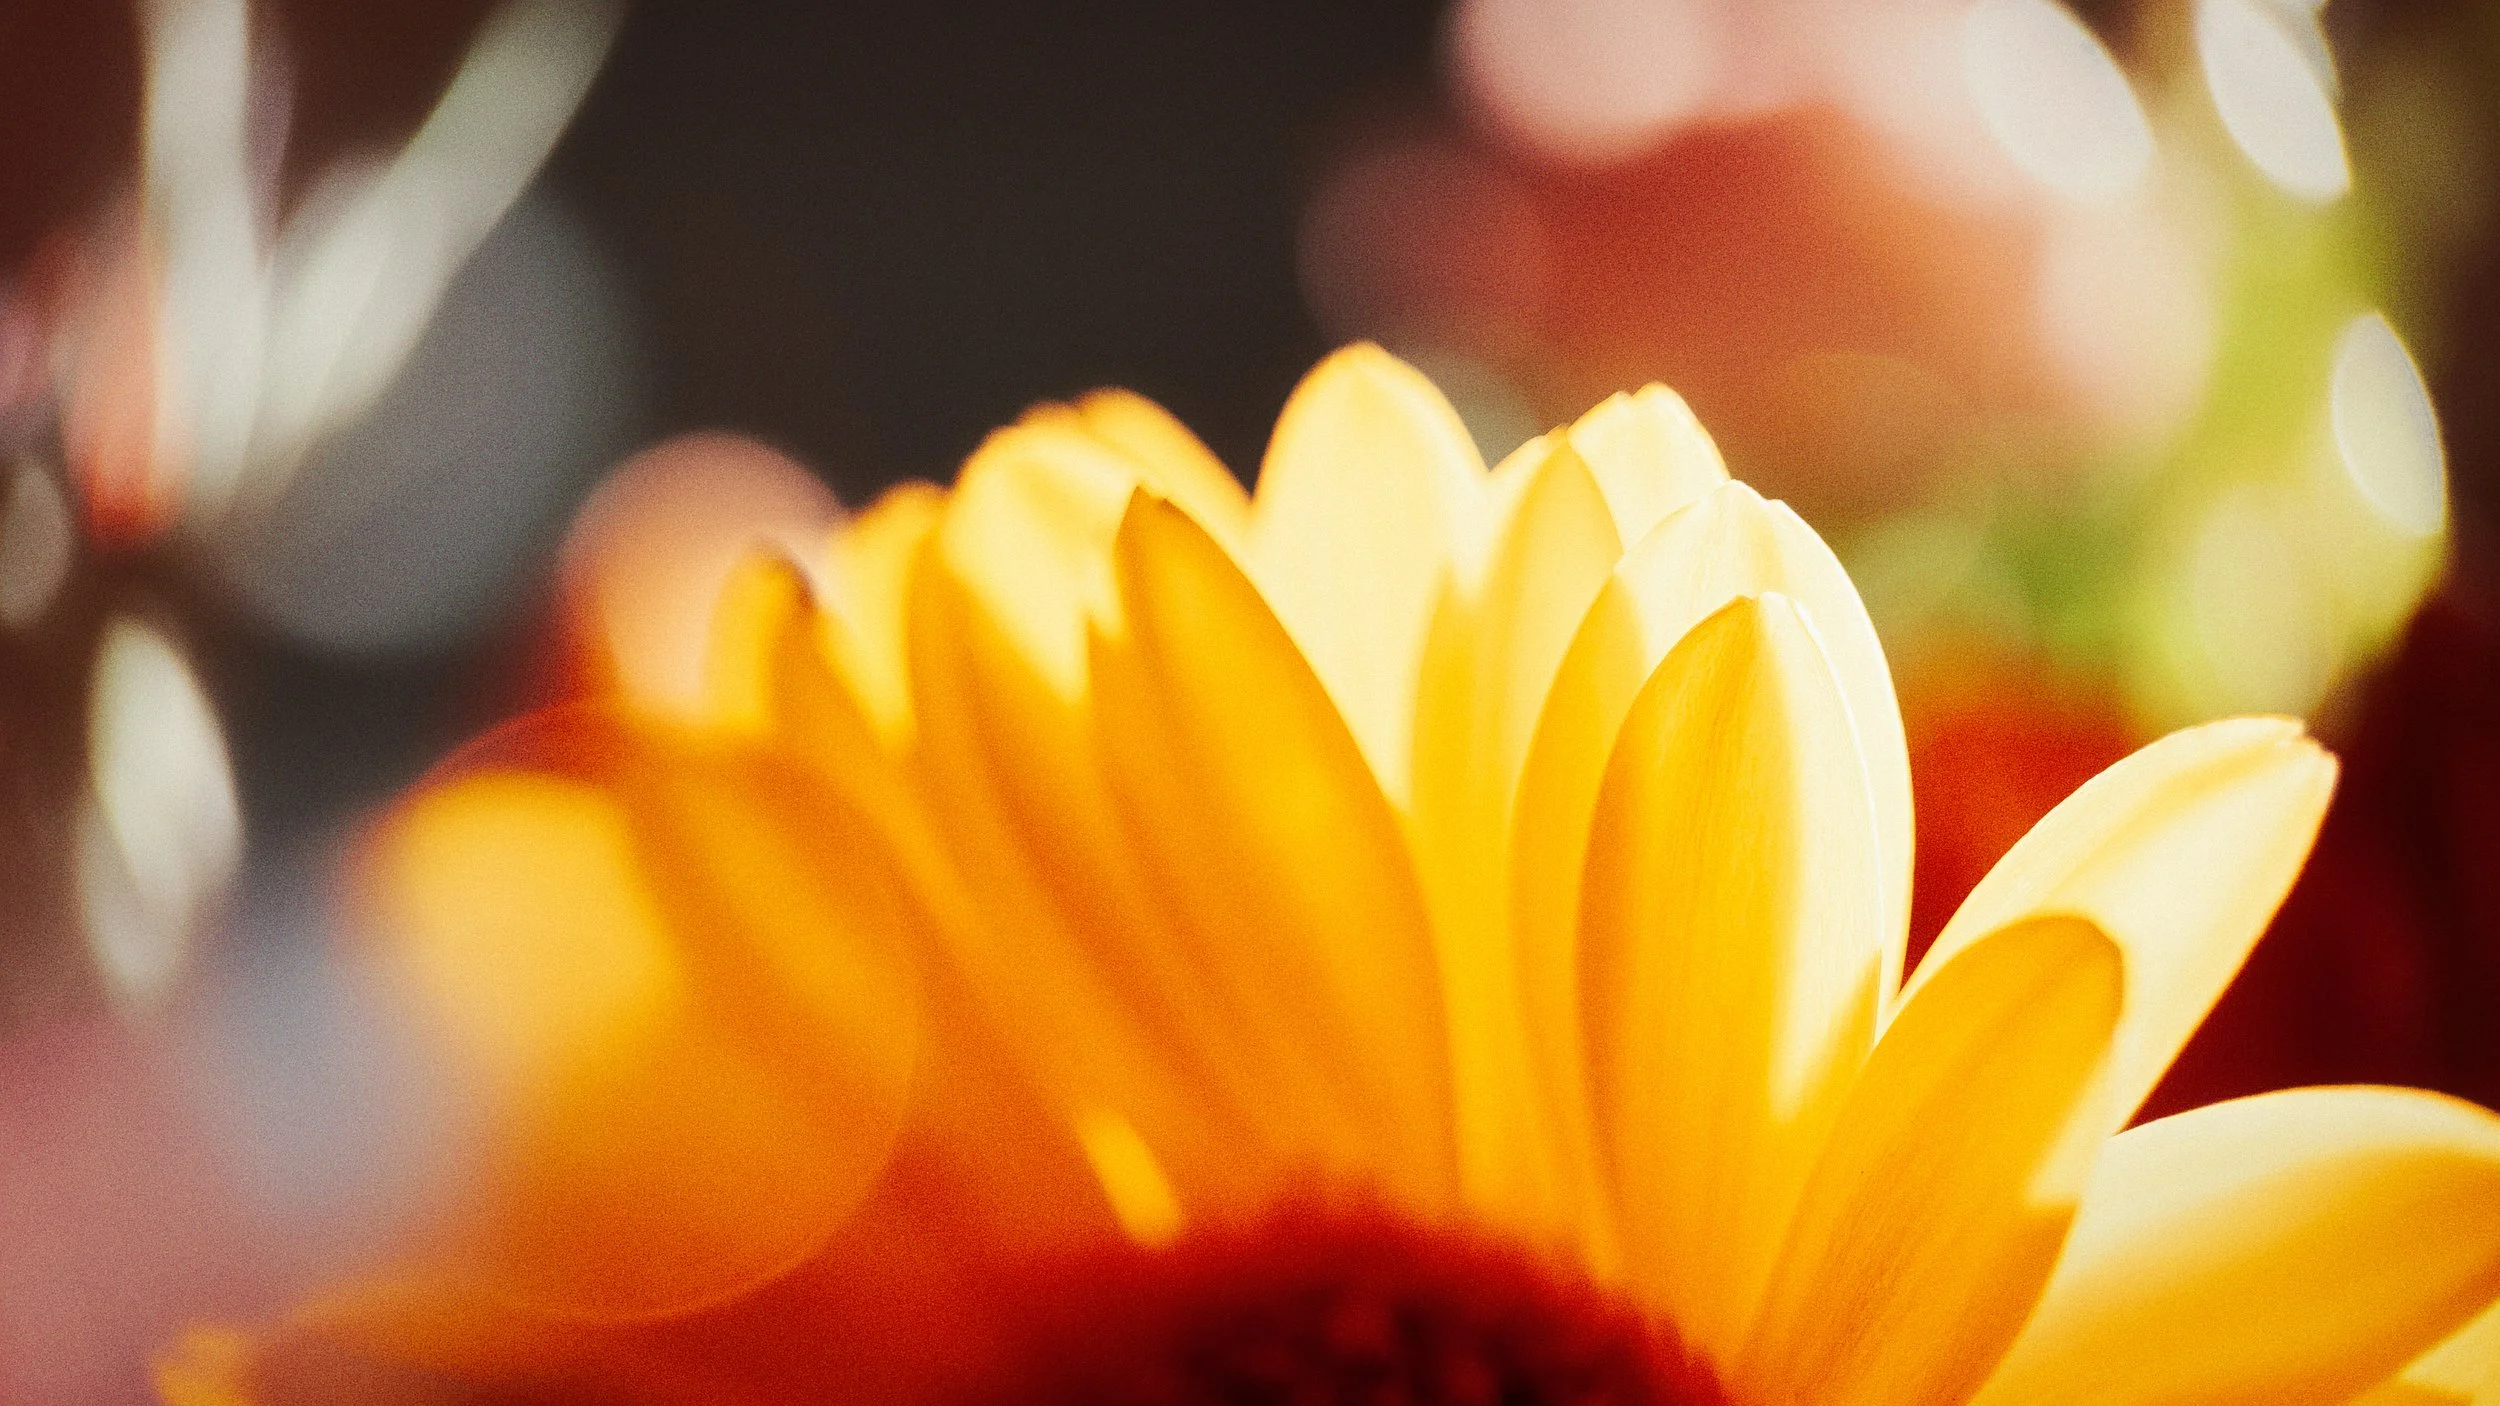
Backlighting produces translucency in thin petals — poppies and tulips respond particularly well, making them glow as if lit from within; shooting into the light will lead your metering to underexpose the flower, so apply positive exposure compensation.
Front lighting is flat but records colour accurately, which is what documentary and botanical work requires.
You can modify natural light with simple tools. A sheet of white card on the shadow side acts as a fill reflector, reducing contrast and opening shadow areas. Tracing paper or white fabric held between the sun and the flower softens direct light; professional photographers use purpose-made diffusers, but the principle is identical.
Indoor window light is a completely viable option. A north-facing window provides consistent, diffuse light without direct sun at any time of day. Position the flower with the window to its side for gentle directional light with soft shadows; tape net curtains or tracing paper to the glass if the light is still too harsh.
Flash and artificial lighting are worth approaching with caution. Ring flash produces a bright, flat, characteristically painted quality that rarely suits flowers. If you must use flash, soften it: bounce it off a reflector, add a diffuser, or position it to one side so it at least implies some directionality.
On a smartphone: because your aperture is fixed — typically around f/1.8 — you cannot stop down in bright conditions. In strong sun, automatic exposure will often underexpose the flower to protect the background. Tap the flower on screen to move the exposure point to the subject, then slide the brightness control (the sun icon on iPhone; the equivalent dial on Android) slightly downward until the petal highlights look correct. A third of a stop of deliberate underexposure is preferable to blown-out whites.
Getting Close : Macro and Focus
Proximity reveals what casual observation misses. The fractal structure of a stamen, the way petal texture shifts as it curves towards the light — these become the photograph's real subject at close range.
Before going any further, it is worth briefly acknowledging what different cameras bring to this work:
A smartphone is what most people have with them, which immediately makes it the right tool; recent flagships are genuinely capable at macro distances, and almost everything in this section applies to them.
Compact cameras with dedicated macro modes — the Ricoh GR IIIx being a particularly good example, offering a larger APS-C sensor in something that fits in a shirt pocket — occupy a useful middle ground: better dynamic range and low-light performance than a phone, with none of the bulk of a DSLR.
At the other end, a traditional DSLR or mirrorless body with a dedicated macro lens offers maximum flexibility, the ability to choose focal length, and genuine 1:1 reproduction ratios — but at a cost in weight, expense, and the need to carry it in the first place.
There is no single right answer; it depends entirely on where you are, what you are doing, and how much you want to carry. What follows is mostly about smartphones, because that is what most of us actually have in our pockets when we find something worth photographing.
Most recent flagship smartphones include a macro mode. On iPhone 13 Pro and later, the phone switches to the ultrawide camera automatically within roughly 14 cm of a subject; many Android flagships offer a comparable mode in the camera settings. To check whether yours does: move to within 5–8 cm of a subject. If it stays sharp, you have it.
Where native macro is absent, clip-on macro lenses attach over the existing lens and reduce the minimum focus distance dramatically. Reeflex, Beastgrip, Moment and Olloclip make well-regarded versions; and inexpensive generics also exist. Their limitation is reduced edge sharpness and a narrow working distance: too close or too far and focus collapses. Experiment before you go out with any intention behind the work.
Tap to focus, then lock. These are two separate operations, and conflating them is the single most common technical error in smartphone flower photography — so it is worth being precise. Tap once on the subject to set focus. On iOS, if you then hold that tap, the camera locks both focus and exposure simultaneously: a yellow banner reading "AE/AF Lock" appears at the top of the viewfinder, and both settings are now fixed regardless of what happens in the scene. On Android, a similar tap-and-hold gesture activates the lock, though the exact interface varies by manufacturer.
Alternatively — and this is often the more useful option for flowers — tap once to set focus only, then use the separate exposure slider (the sun icon on iPhone; the equivalent on Android) to adjust brightness independently. This matters because a flower and its background are frequently at very different brightness levels: the automatic exposure that correctly renders the petals may turn the background into a blank void, or vice versa. Taking explicit control of both focus and exposure separately gives you the result you are actually after rather than the compromise the camera would choose for you.
Always tap to focus manually on the element that tells the story: the stamen cluster, the curl of a petal edge, a dew drop. Do not leave the phone to choose; its selection will not always correspond to the most visually important point — and at macro distances, the two are rarely the same thing.
At macro distances, even a fixed aperture of f/1.8 produces very shallow depth of field — perhaps 3–5 mm at 10 cm working distance. This is a tool, not a problem. A sharp stamen floating against a softly dissolved background is a compelling image precisely because of that shallowness. Use it deliberately. Portrait mode and computational bokeh can assist, but at macro distances the edge detection can produce visible artefacts where the software cannot distinguish petals from background; check the result at full magnification before deciding it worked.
For situations where you need the entire flower sharp — a complex bloom extending towards and away from the camera — the technique is focus stacking: shoot a sequence of frames with the focus point stepped progressively through the subject, then merge them so that every part draws on its sharpest frame. On a smartphone, the Macro Stacker app (iOS) automates the capture; alternatively, shoot the bracket manually and merge using Helicon Focus or Photoshop's Auto-Blend Layers. Worth knowing when shallow depth of field starts to feel like a persistent limitation rather than a stylistic choice.
A note on RAW. If your phone supports it, shoot RAW — iPhone ProRAW, or RAW via the native camera app on most Android flagships; third-party apps like Halide (iOS) or Camera FV-5 (Android) will often unlock it if the native app does not. At macro distances and in the challenging light conditions that flower photography frequently involves, the additional headroom for highlight recovery and white balance correction in post is genuinely worthwhile. The difference between a slightly blown highlight in a JPEG and the same shot in RAW is the difference between a petal that is gone and one that can be pulled back. It costs nothing except a larger file.


Stability : Defeating Movement
Camera shake and subject movement are responsible for more technically failed flower photographs than any other single cause. At macro distances, very shallow depth of field and potentially long exposures in soft light combine with a subject that moves in any breeze — which is to say, almost constantly.
When shooting handheld, brace both elbows against your torso, hold the phone with both hands, and fire on the exhale with your breath momentarily held. If you are low to the ground — and you will be — brace your elbows on the surface instead. This is harder than it sounds when you are lying face-down on a muddy path, but it works. A small tabletop tripod eliminates shake entirely and is inexpensive enough to justify carrying everywhere; a GorillaPod — a flexible-legged tripod that conforms to uneven surfaces — is particularly well suited to fieldwork. When using a tripod, use the two-second self-timer so that any vibration from your finger pressing the shutter has fully dissipated before the exposure fires.
For subject movement, shoot in burst mode: press and hold the shutter through each gust and select the frame caught in the still moment. If the wind is persistent, consider bringing the flower indoors — controlled conditions give you complete freedom to work at your own pace, and this is no less legitimate than any other approach. Outdoors, use your body as a windbreak, or hold a piece of card behind the bloom: it blocks the wind and, as a bonus, provides a plain background simultaneously.
Composition in the Flower Frame
When the frame is filled with a single flower, standard compositional rules apply in modified forms. The rule of thirds — which advises against centring the main subject — often does not apply: flowers have natural radial symmetry, and a perfectly centred, symmetrical composition can be among the most satisfying results in the genre. That said, it is worth making the choice deliberately rather than just defaulting to the middle.
The most important question at close range is: where do I want the viewer's eye to go first? In a head-on macro of a daisy, the stamen cluster is the obvious answer; in a side-on iris, the complex lip of the petal. That point of entry is where you put your focus, and everything else in the frame should serve it.
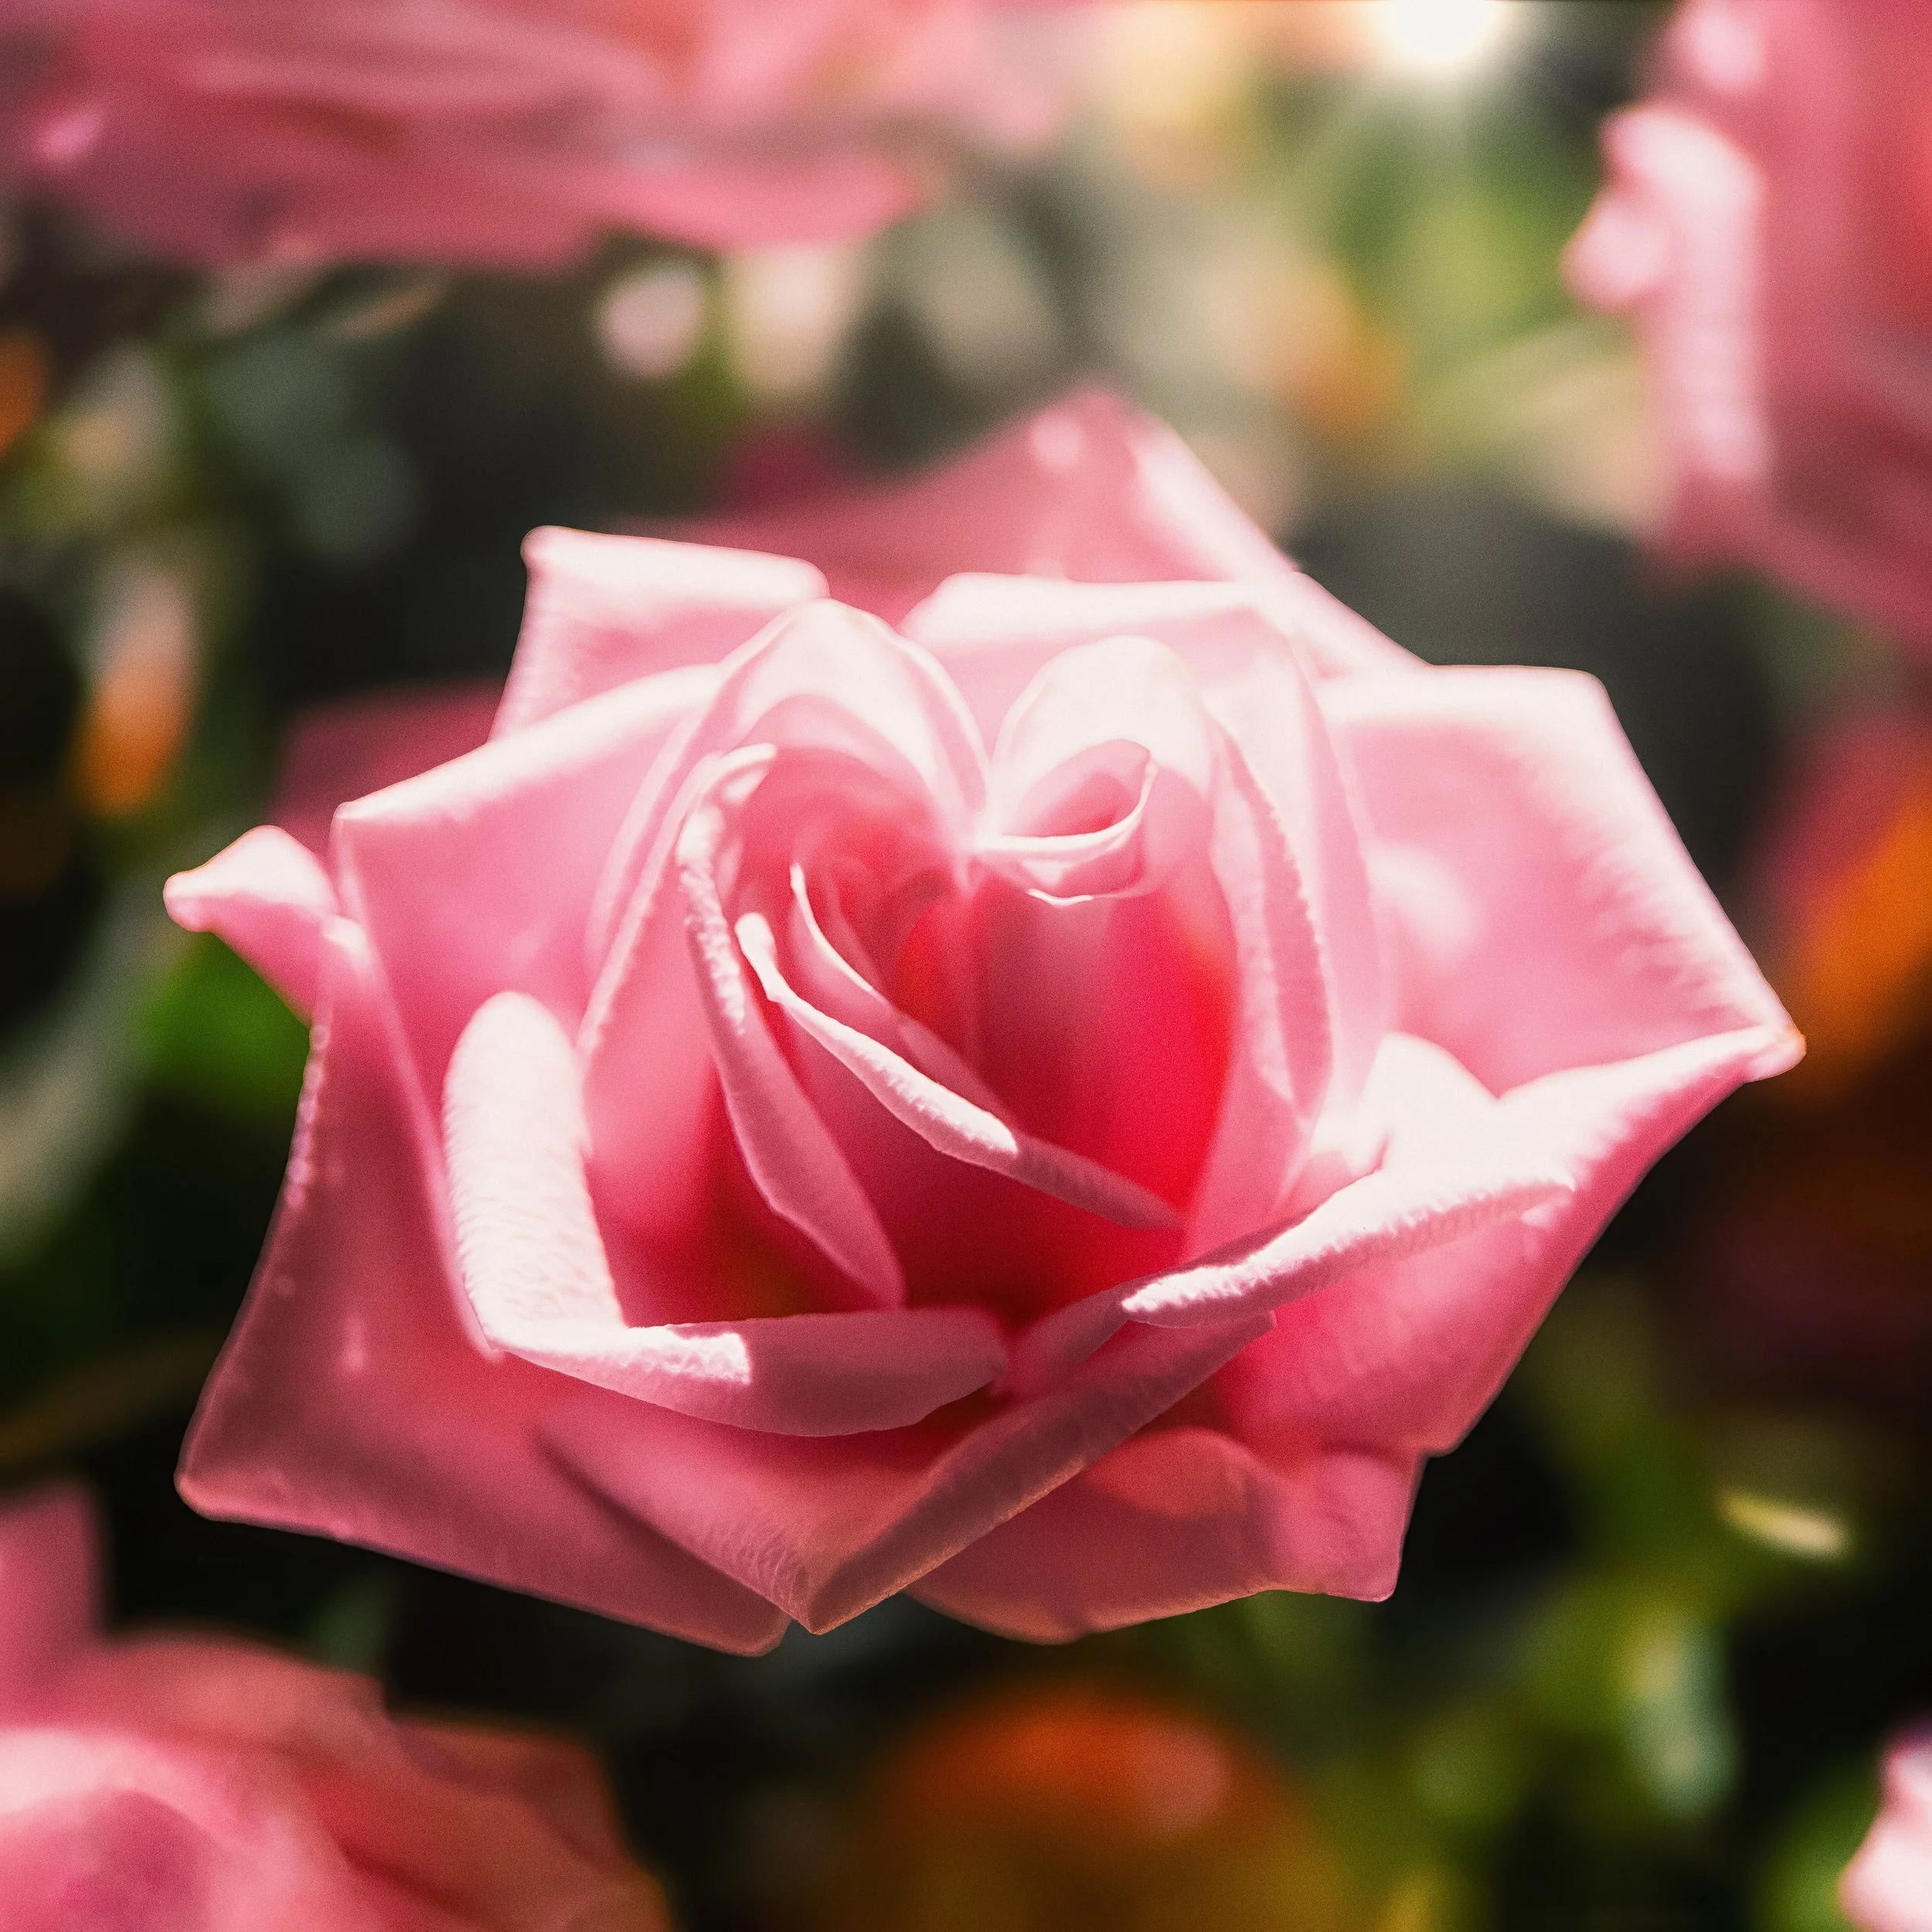
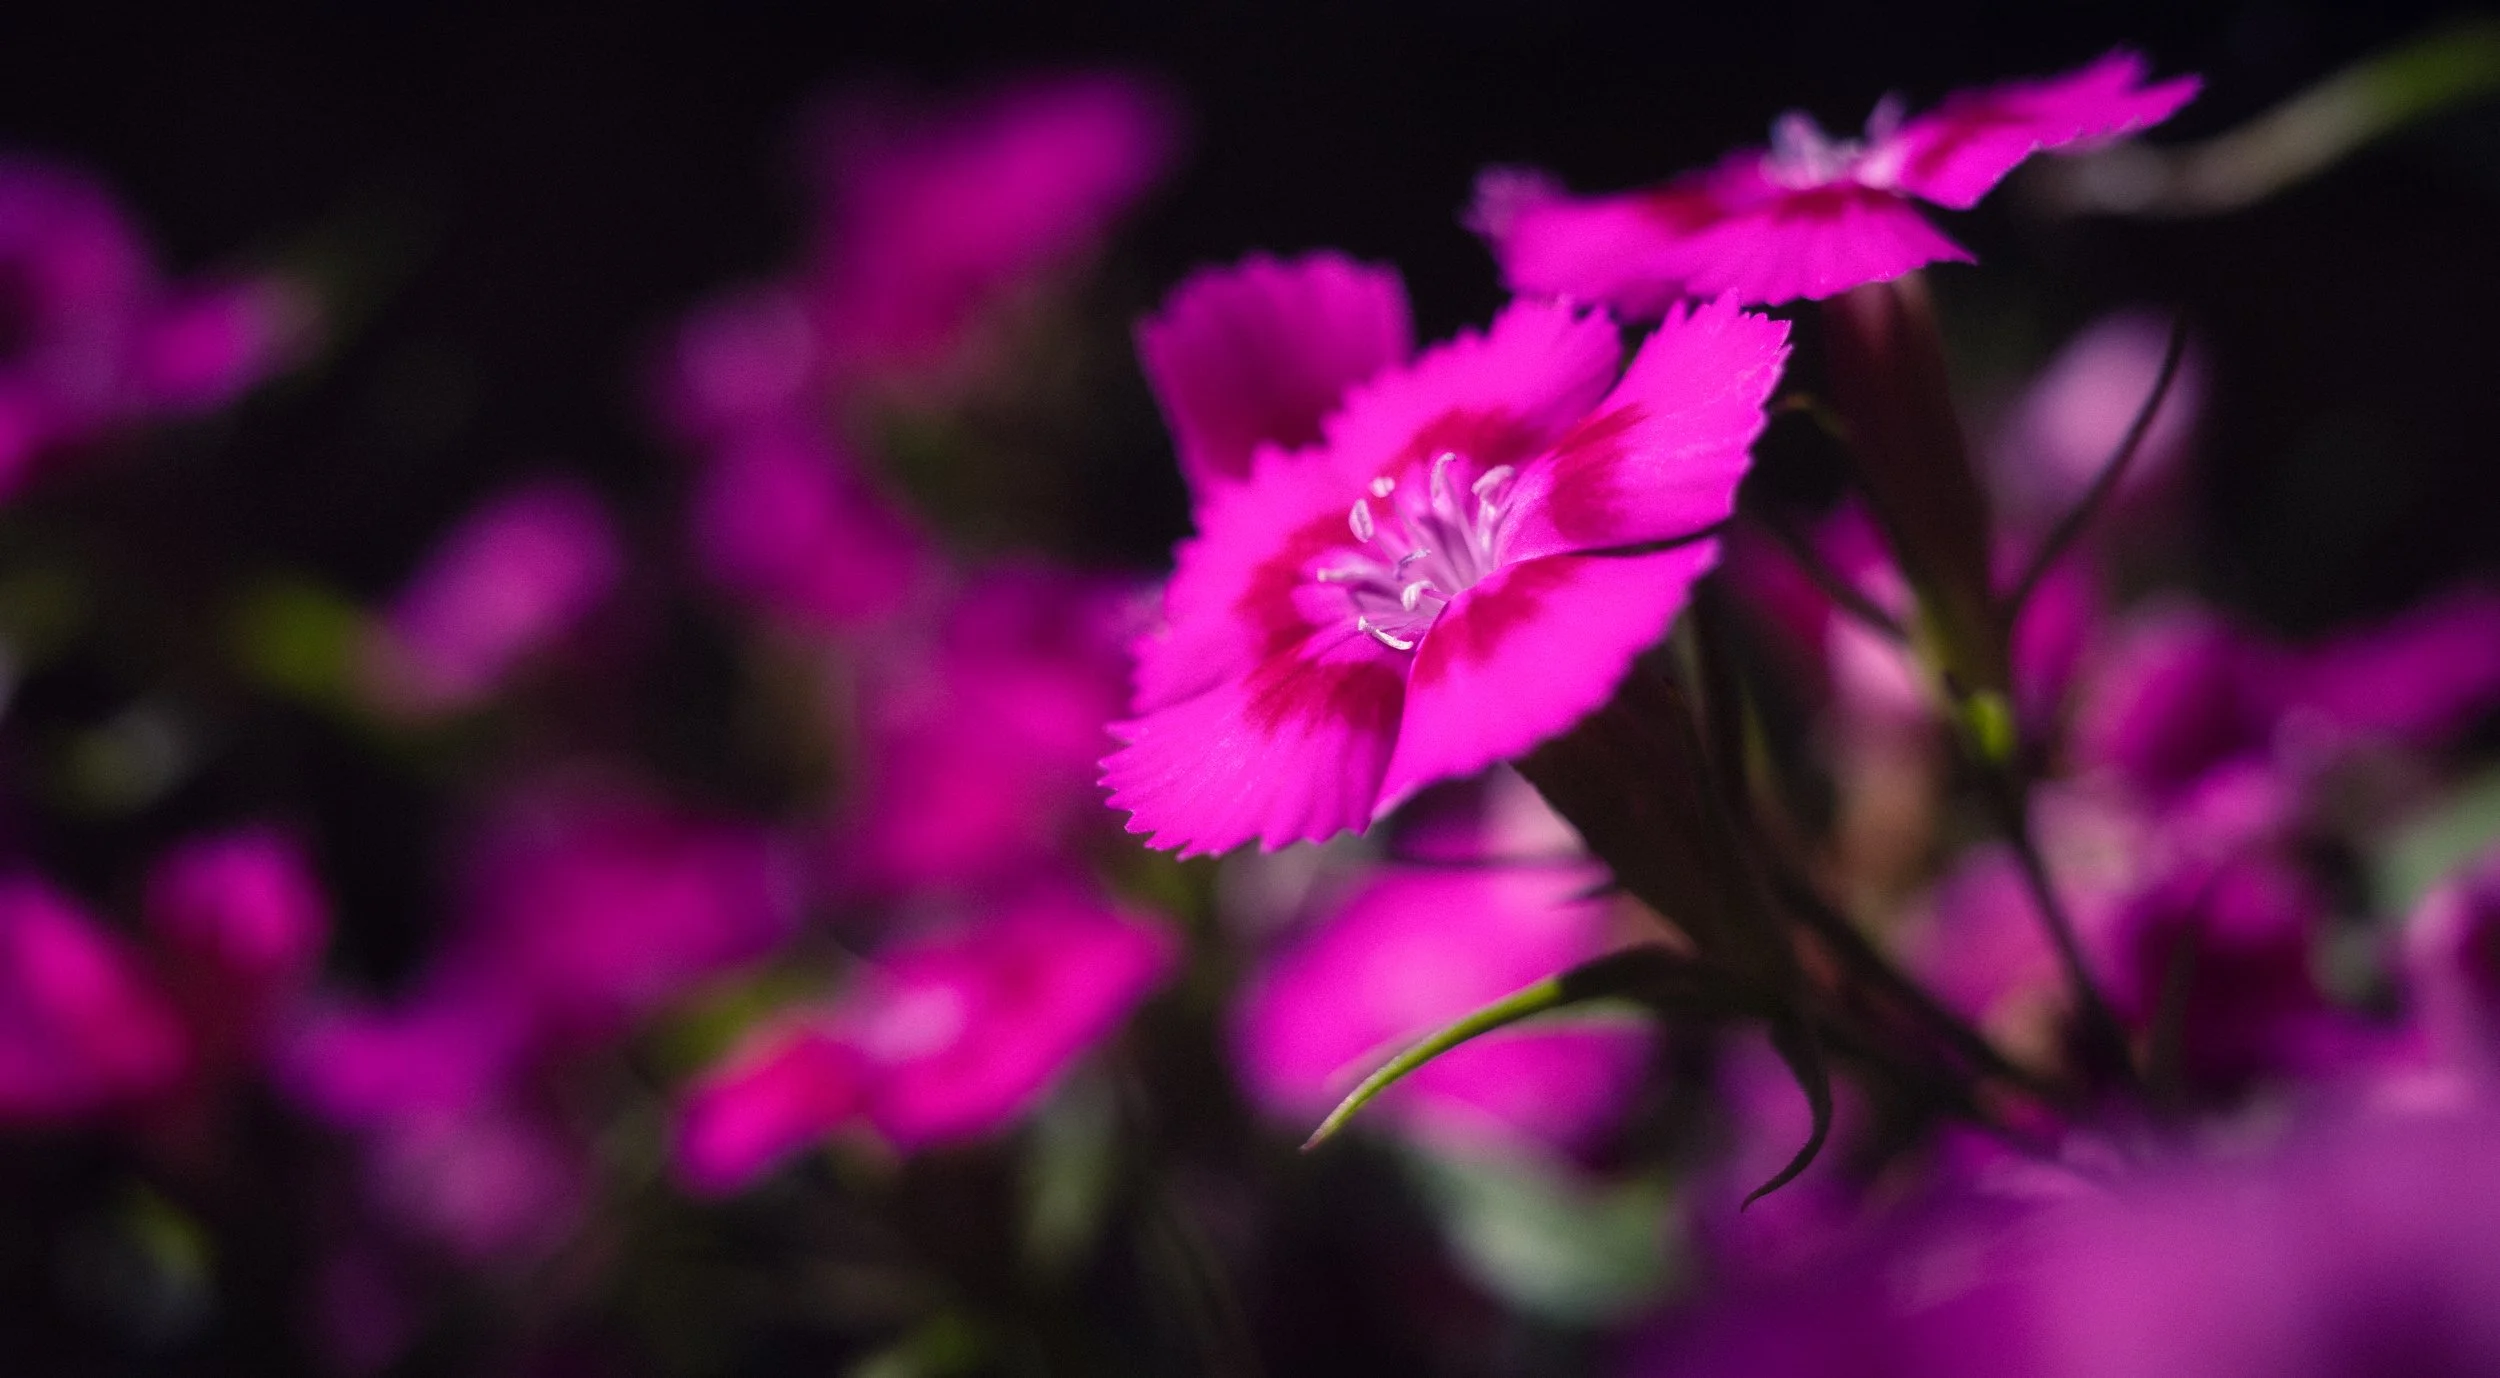
Foreground and background relationships. At close range, the background will almost always be out of focus — but it is far from irrelevant. Its colour and tonal values do real compositional work even when soft. A warm green bokeh background behind a red rose creates a very different mood from a near-black shadow background behind the same flower: the first reads as alive and verdant; the second as graphic and slightly theatrical. Neither is wrong, but the choice should be deliberate. Seek out clean backgrounds by adjusting your angle until the flower sits against a patch of sky, a shaded section of lawn, or a smooth surface behind it. The further the background is from the flower, the more smoothly it will dissolve, so when composition allows, maximise that distance.
The frame within a frame. One of the quieter compositional opportunities that flower photography offers is the use of surrounding petals or leaves to frame the primary subject element. A single stamen seen through the arch of a curved petal, or a bud framed by open blooms on either side — these arrangements create depth and a sense of looking in on something, rather than simply looking at it. It requires noticing rather than forcing; once you start seeing it, you will find it everywhere.
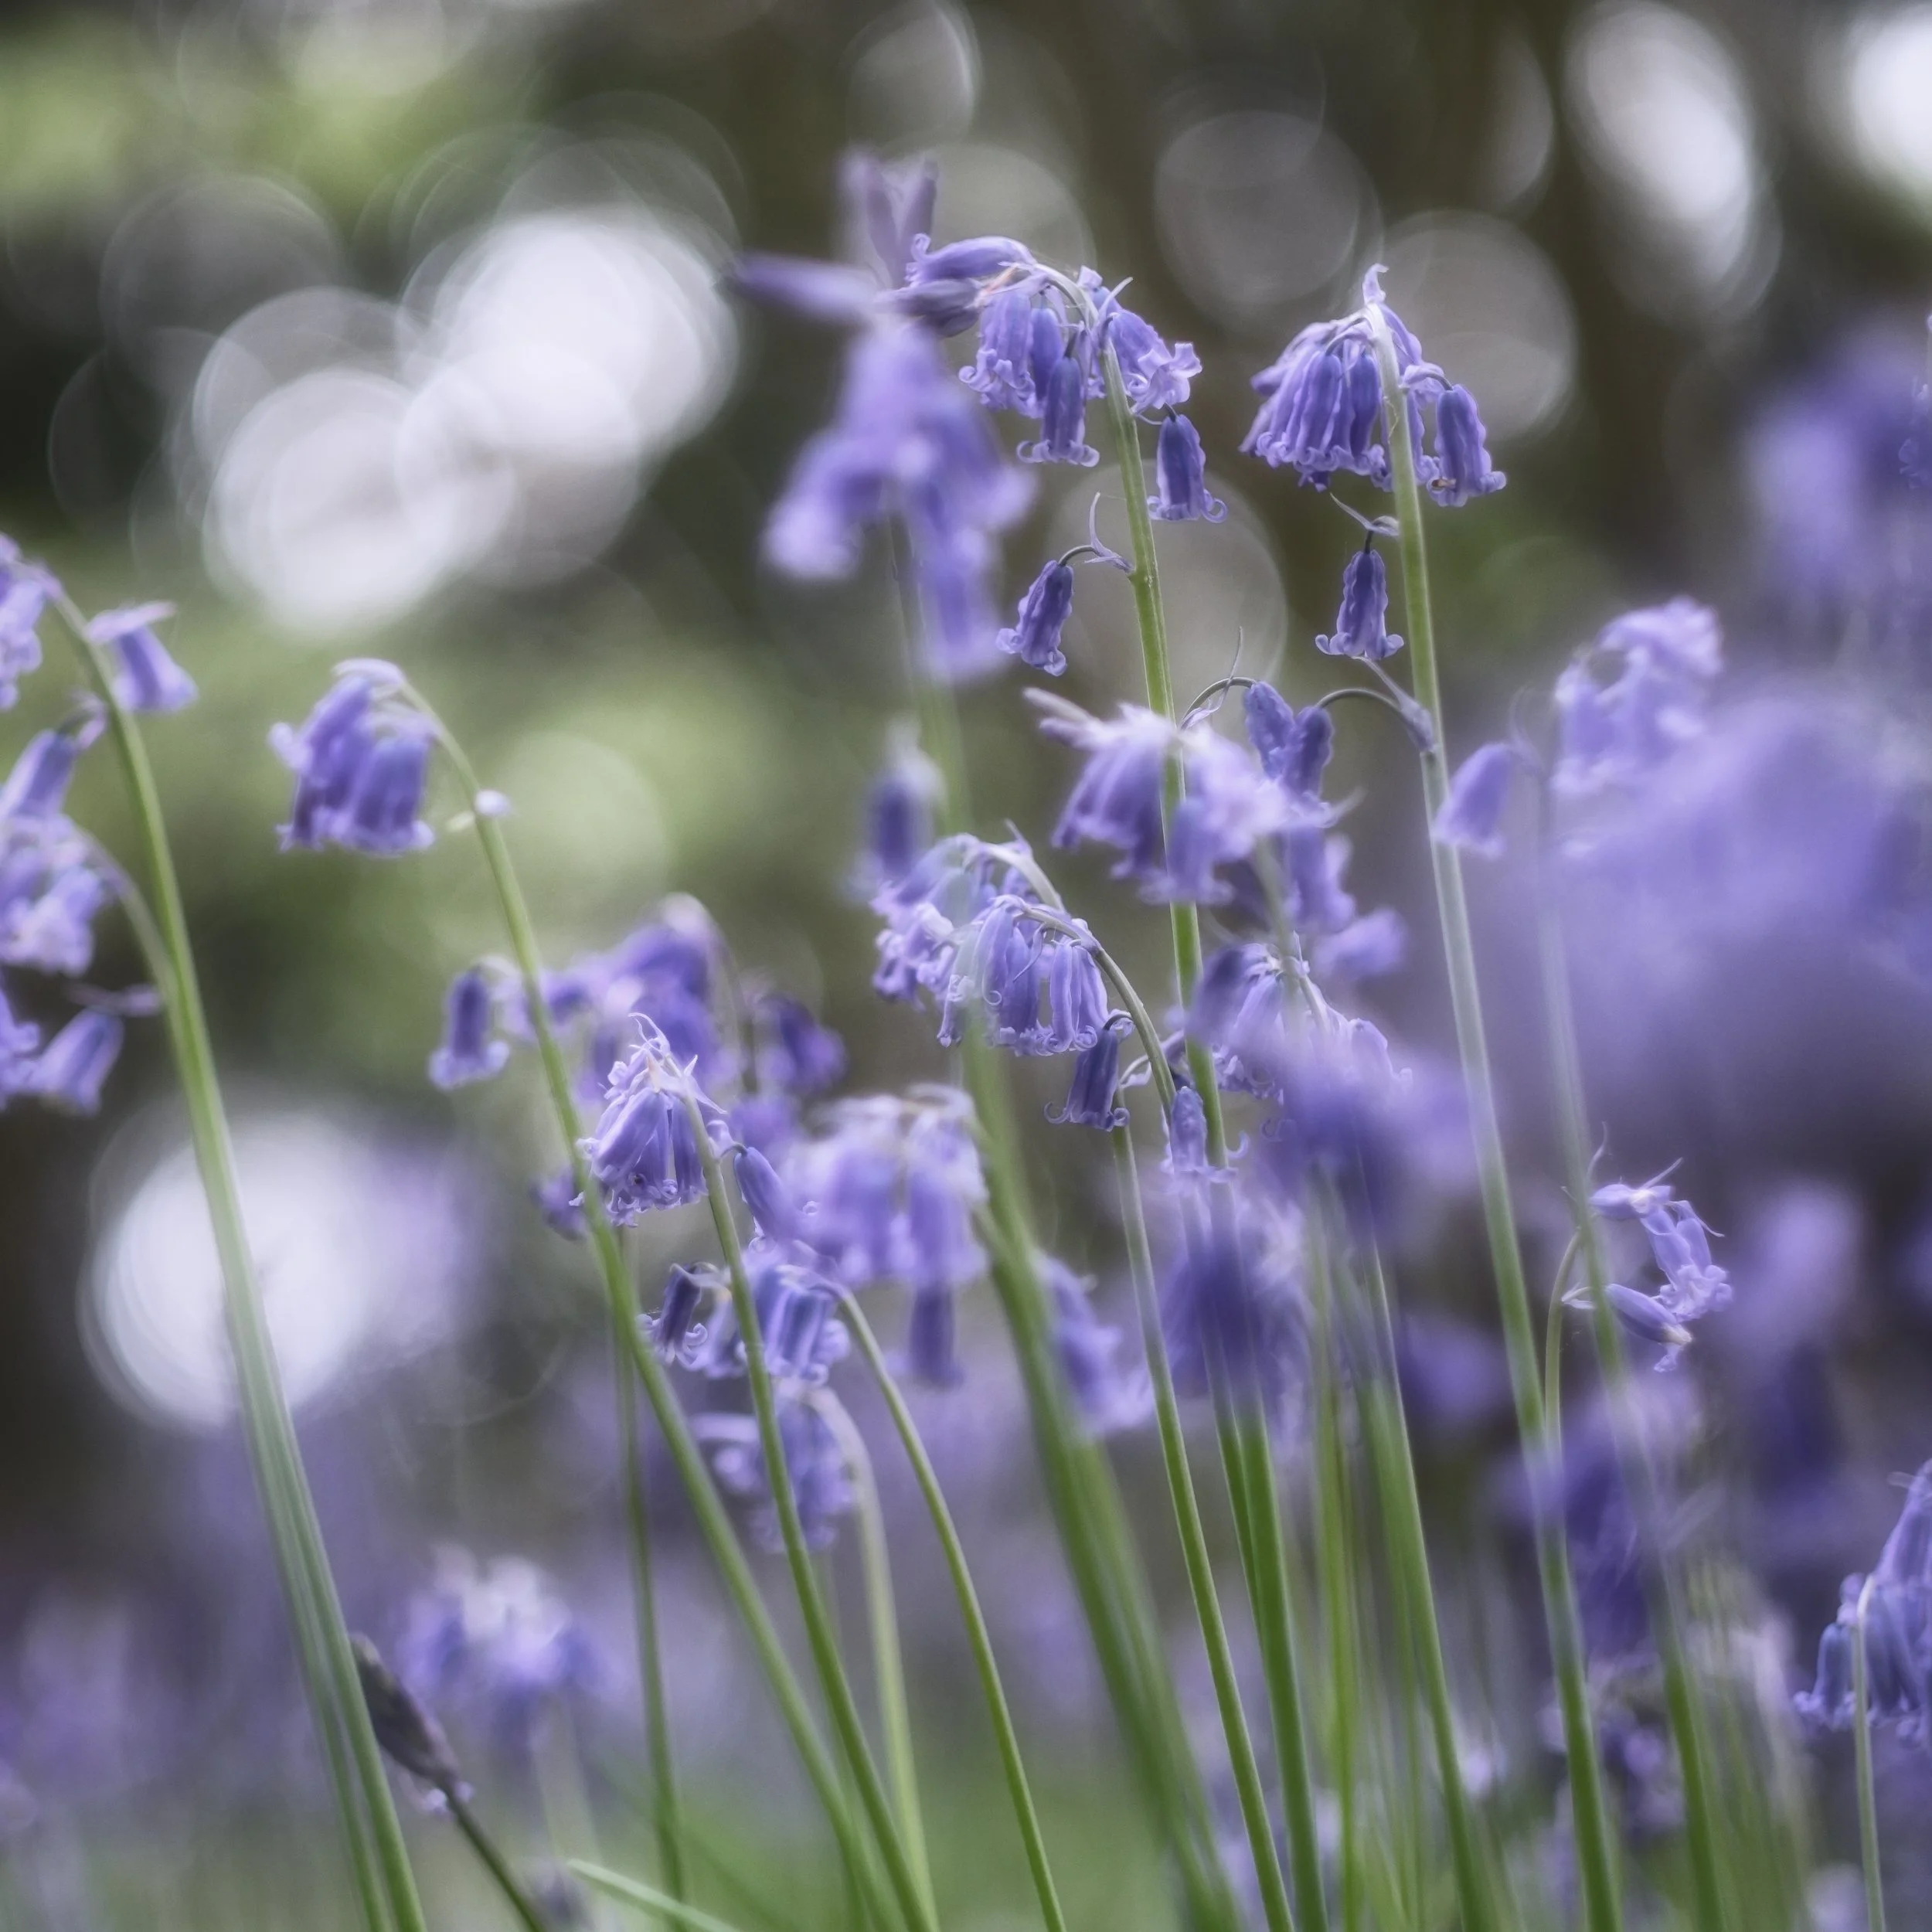
Natural patterns and repetition. Flowers are, structurally, mathematical objects — and this gives the patient photographer quite a lot to work with. The Fibonacci spiral in a sunflower head, the radial symmetry of a daisy, the repeat pattern of bluebells receding into a wood: these are compositional opportunities, not merely scientific curiosities. A sunflower's seed head is already a composition; the photographer's job is simply to decide where the frame starts and ends. Radial symmetry is an invitation to centre the subject and let the geometry do the work. Repeated forms — a row of tulips, a carpet of crocuses — become abstract patterns if you get close enough to eliminate the context.
Angle and what it actually does. Most casual flower photographs are taken from the photographer's standing eye level, which tells you a great deal about how tall they are and relatively little about the flower. Getting down to the flower's own level changes the relationship between subject and background entirely, giving context and a sense of meeting the subject as an equal rather than inspecting it from above. Shooting upward through a flower towards the sky is a technique that almost always produces something unexpected — petals become translucent, the background becomes clean white or pale blue, and the flower takes on a quality of scale it does not have when photographed from above. The flat-lay, top-down view is the third option, and it works best when the flower has strong radial symmetry: a sunflower, a gerbera, a water lily seen from directly above. Do not pick a single preferred angle and stick to it; the same flower at three different heights is three different photographs.
Negative space. Generous empty area around a single bloom emphasises form, creates stillness, and gives flexibility for cropping. Beginners tend to avoid it because it feels like wasted space. Try positioning a single stem against a plain sky and see whether that instinct survives contact with the result.
On colour. A single saturated flower against a muted background draws the eye with very little other compositional effort. Complementary colours — orange against blue, red against green — create tension and energy; analogous colours — pink against purple, yellow against orange — create harmony. You cannot control the colours a garden produces, but you can choose which part of it to frame.
Creative Approaches Worth Trying
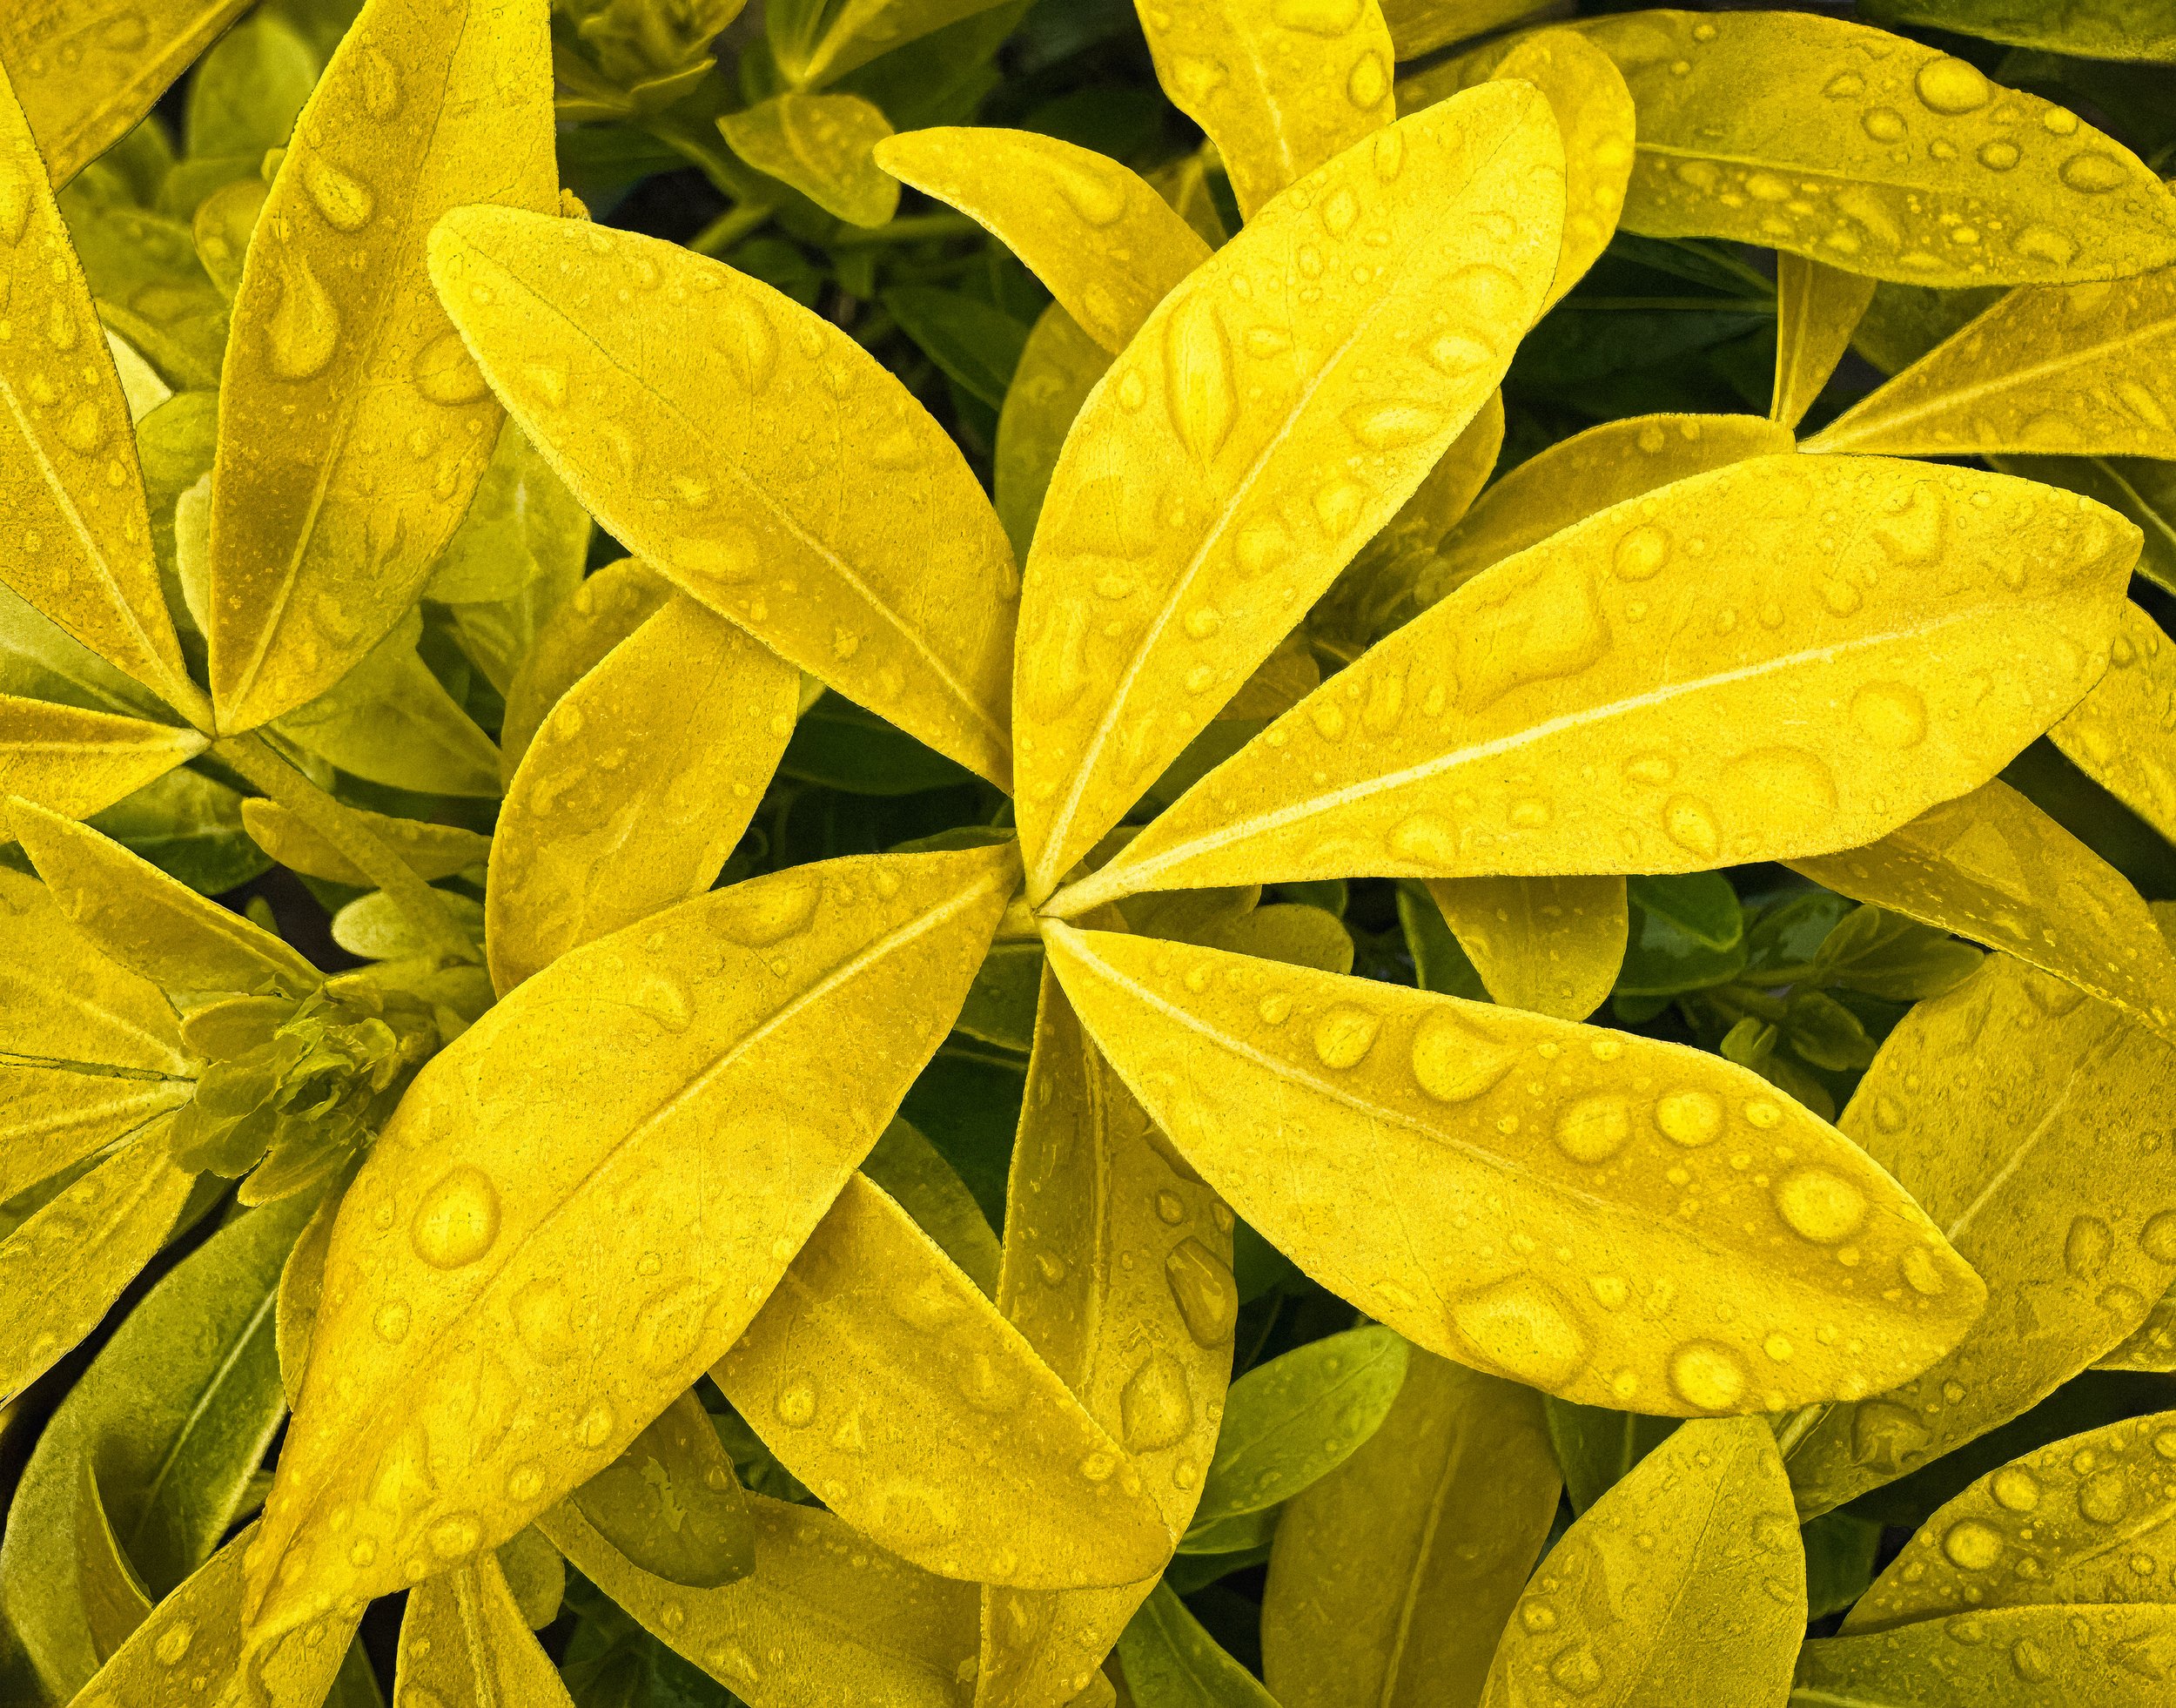
Water Droplets
A small spray bottle adds water droplets in seconds and transforms the surface texture of almost any bloom. Droplets catch and refract light, sit in near-perfect spheres on waxy surfaces, and contain tiny upside-down reflections of the surrounding scene. Position the light source slightly to the side and behind the flower to create a bright specular highlight on each droplet. Shoot within ten to fifteen minutes of spraying before the drops absorb, run, or simply lose their shape.
Bokeh and Depth
Smooth, even bokeh allows the sharp subject to read clearly; busy, high-contrast bokeh — caused by dappled sunlight filtering through leaves — competes with it. To improve bokeh quality, increase the distance between flower and background: even 30–50 cm can make the difference between a background that dissolves cleanly and one that remains an active distraction.
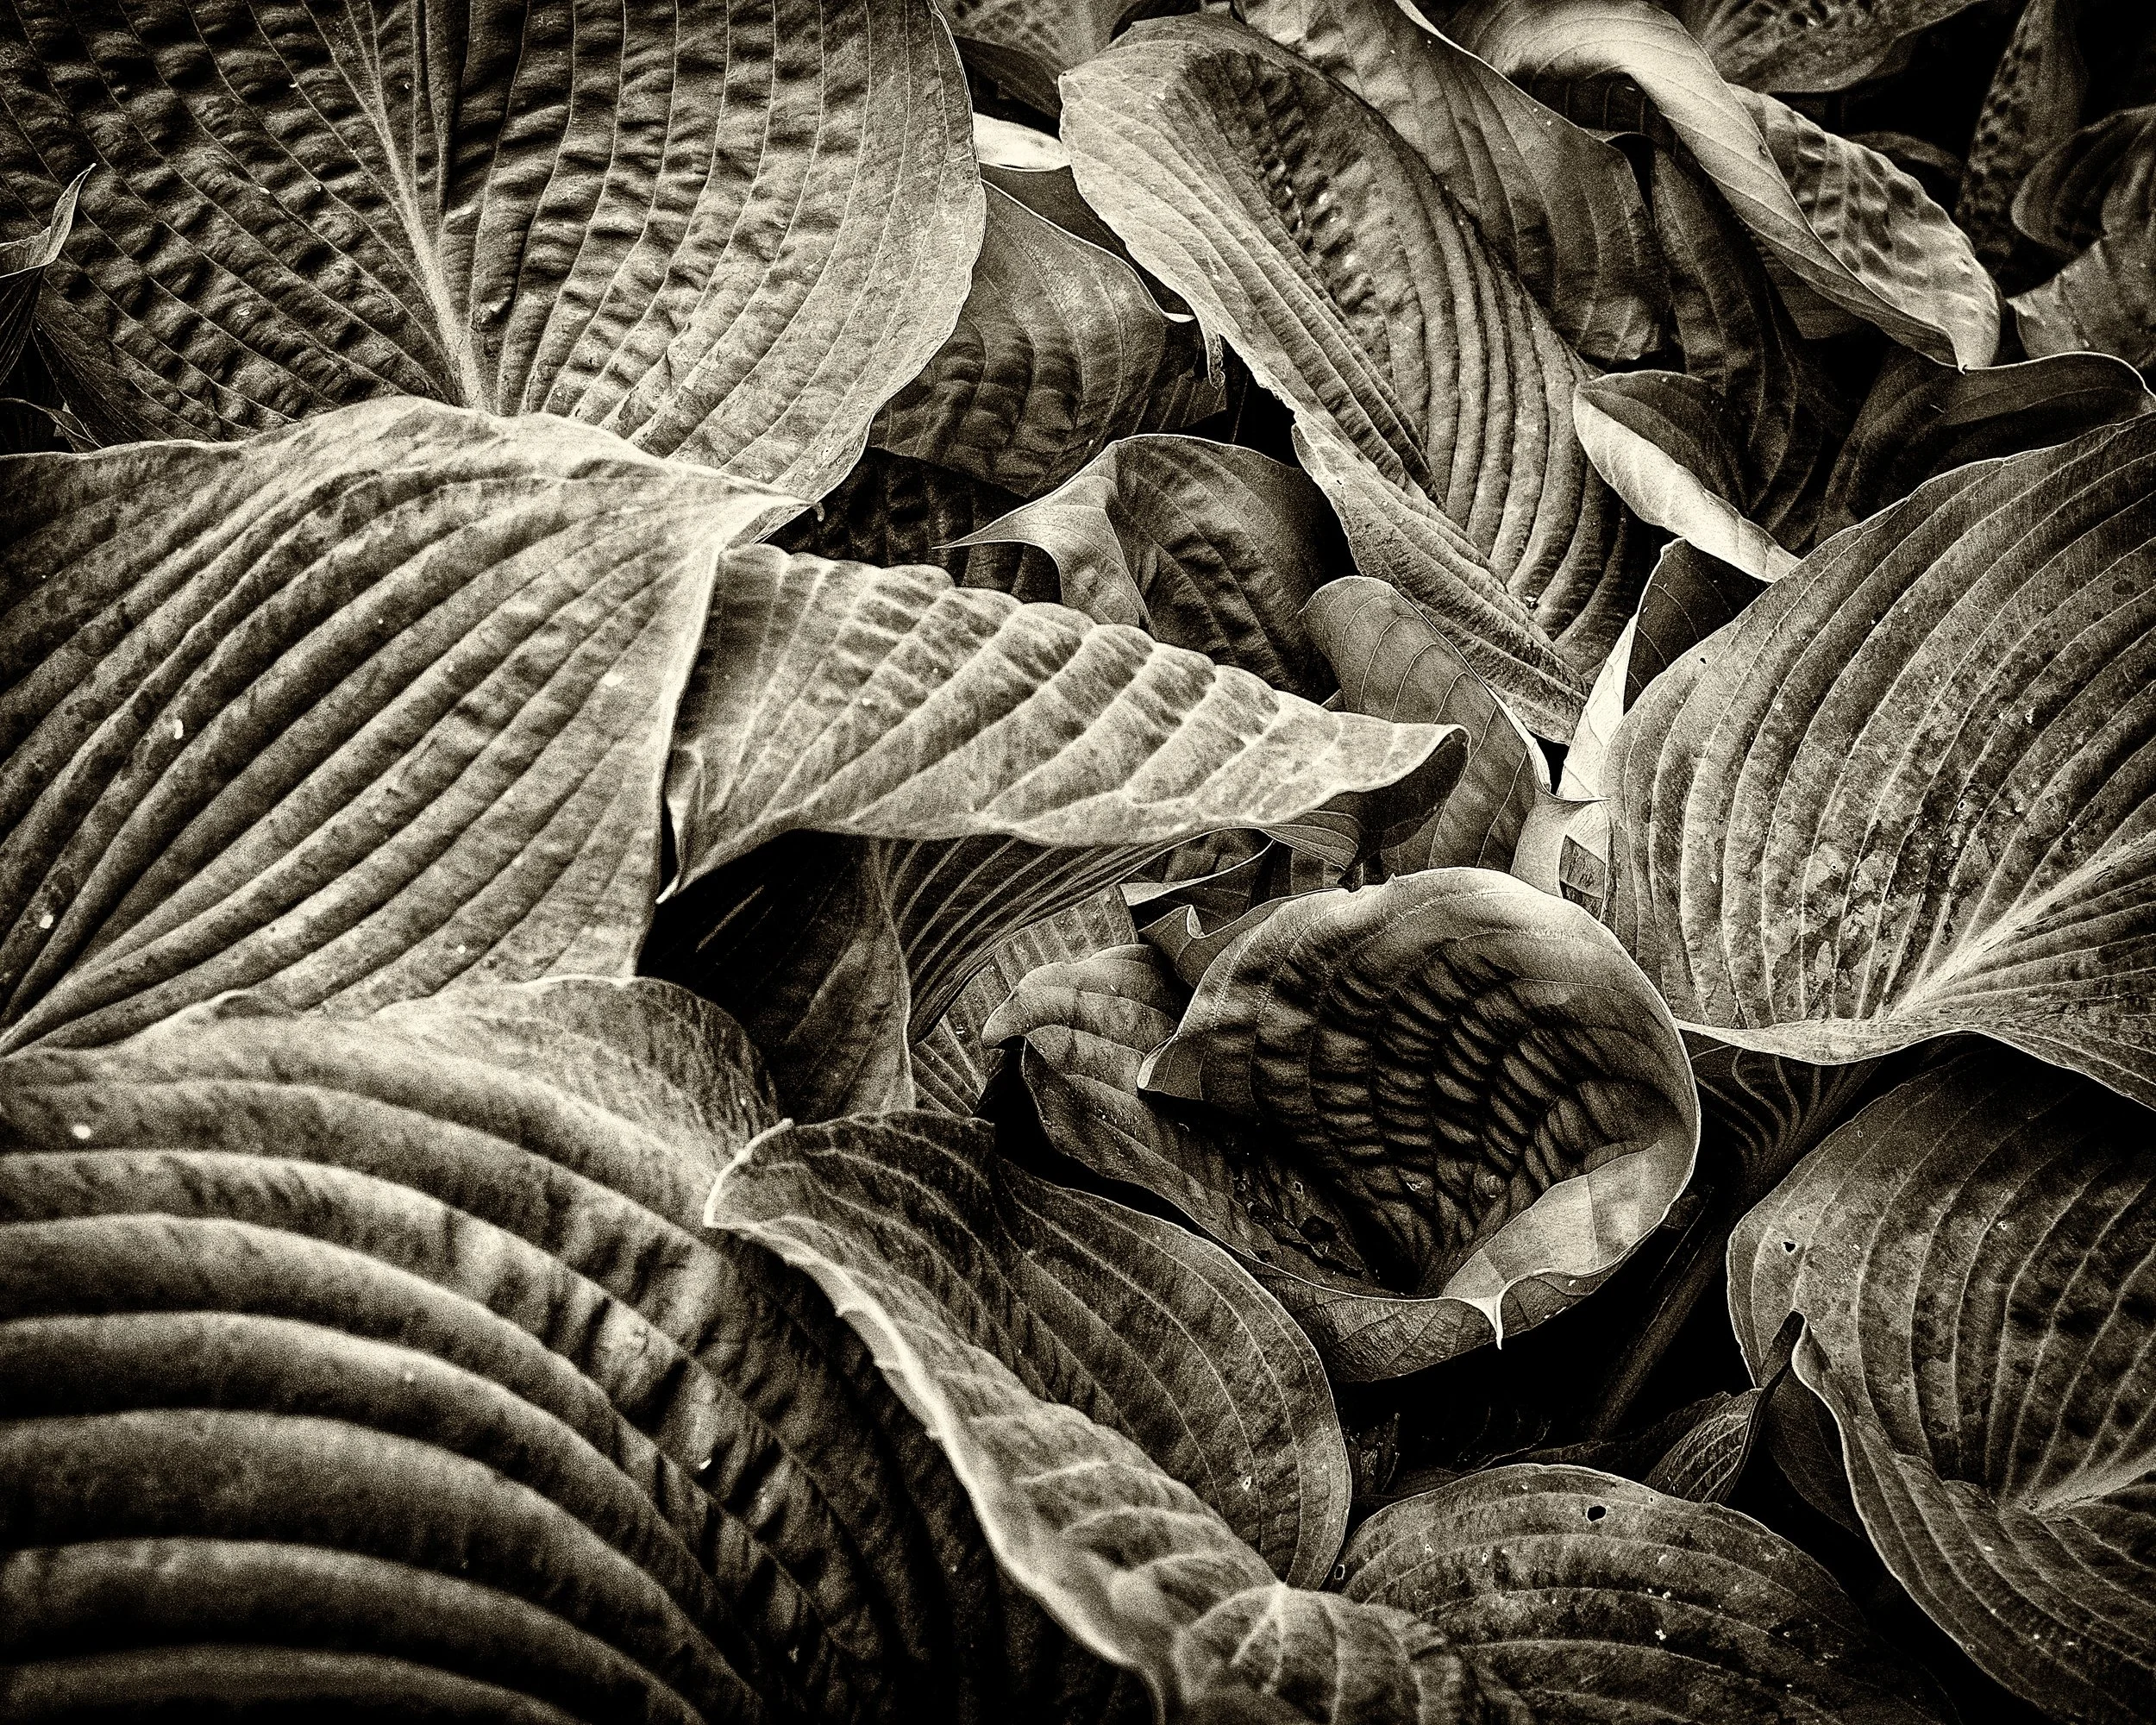
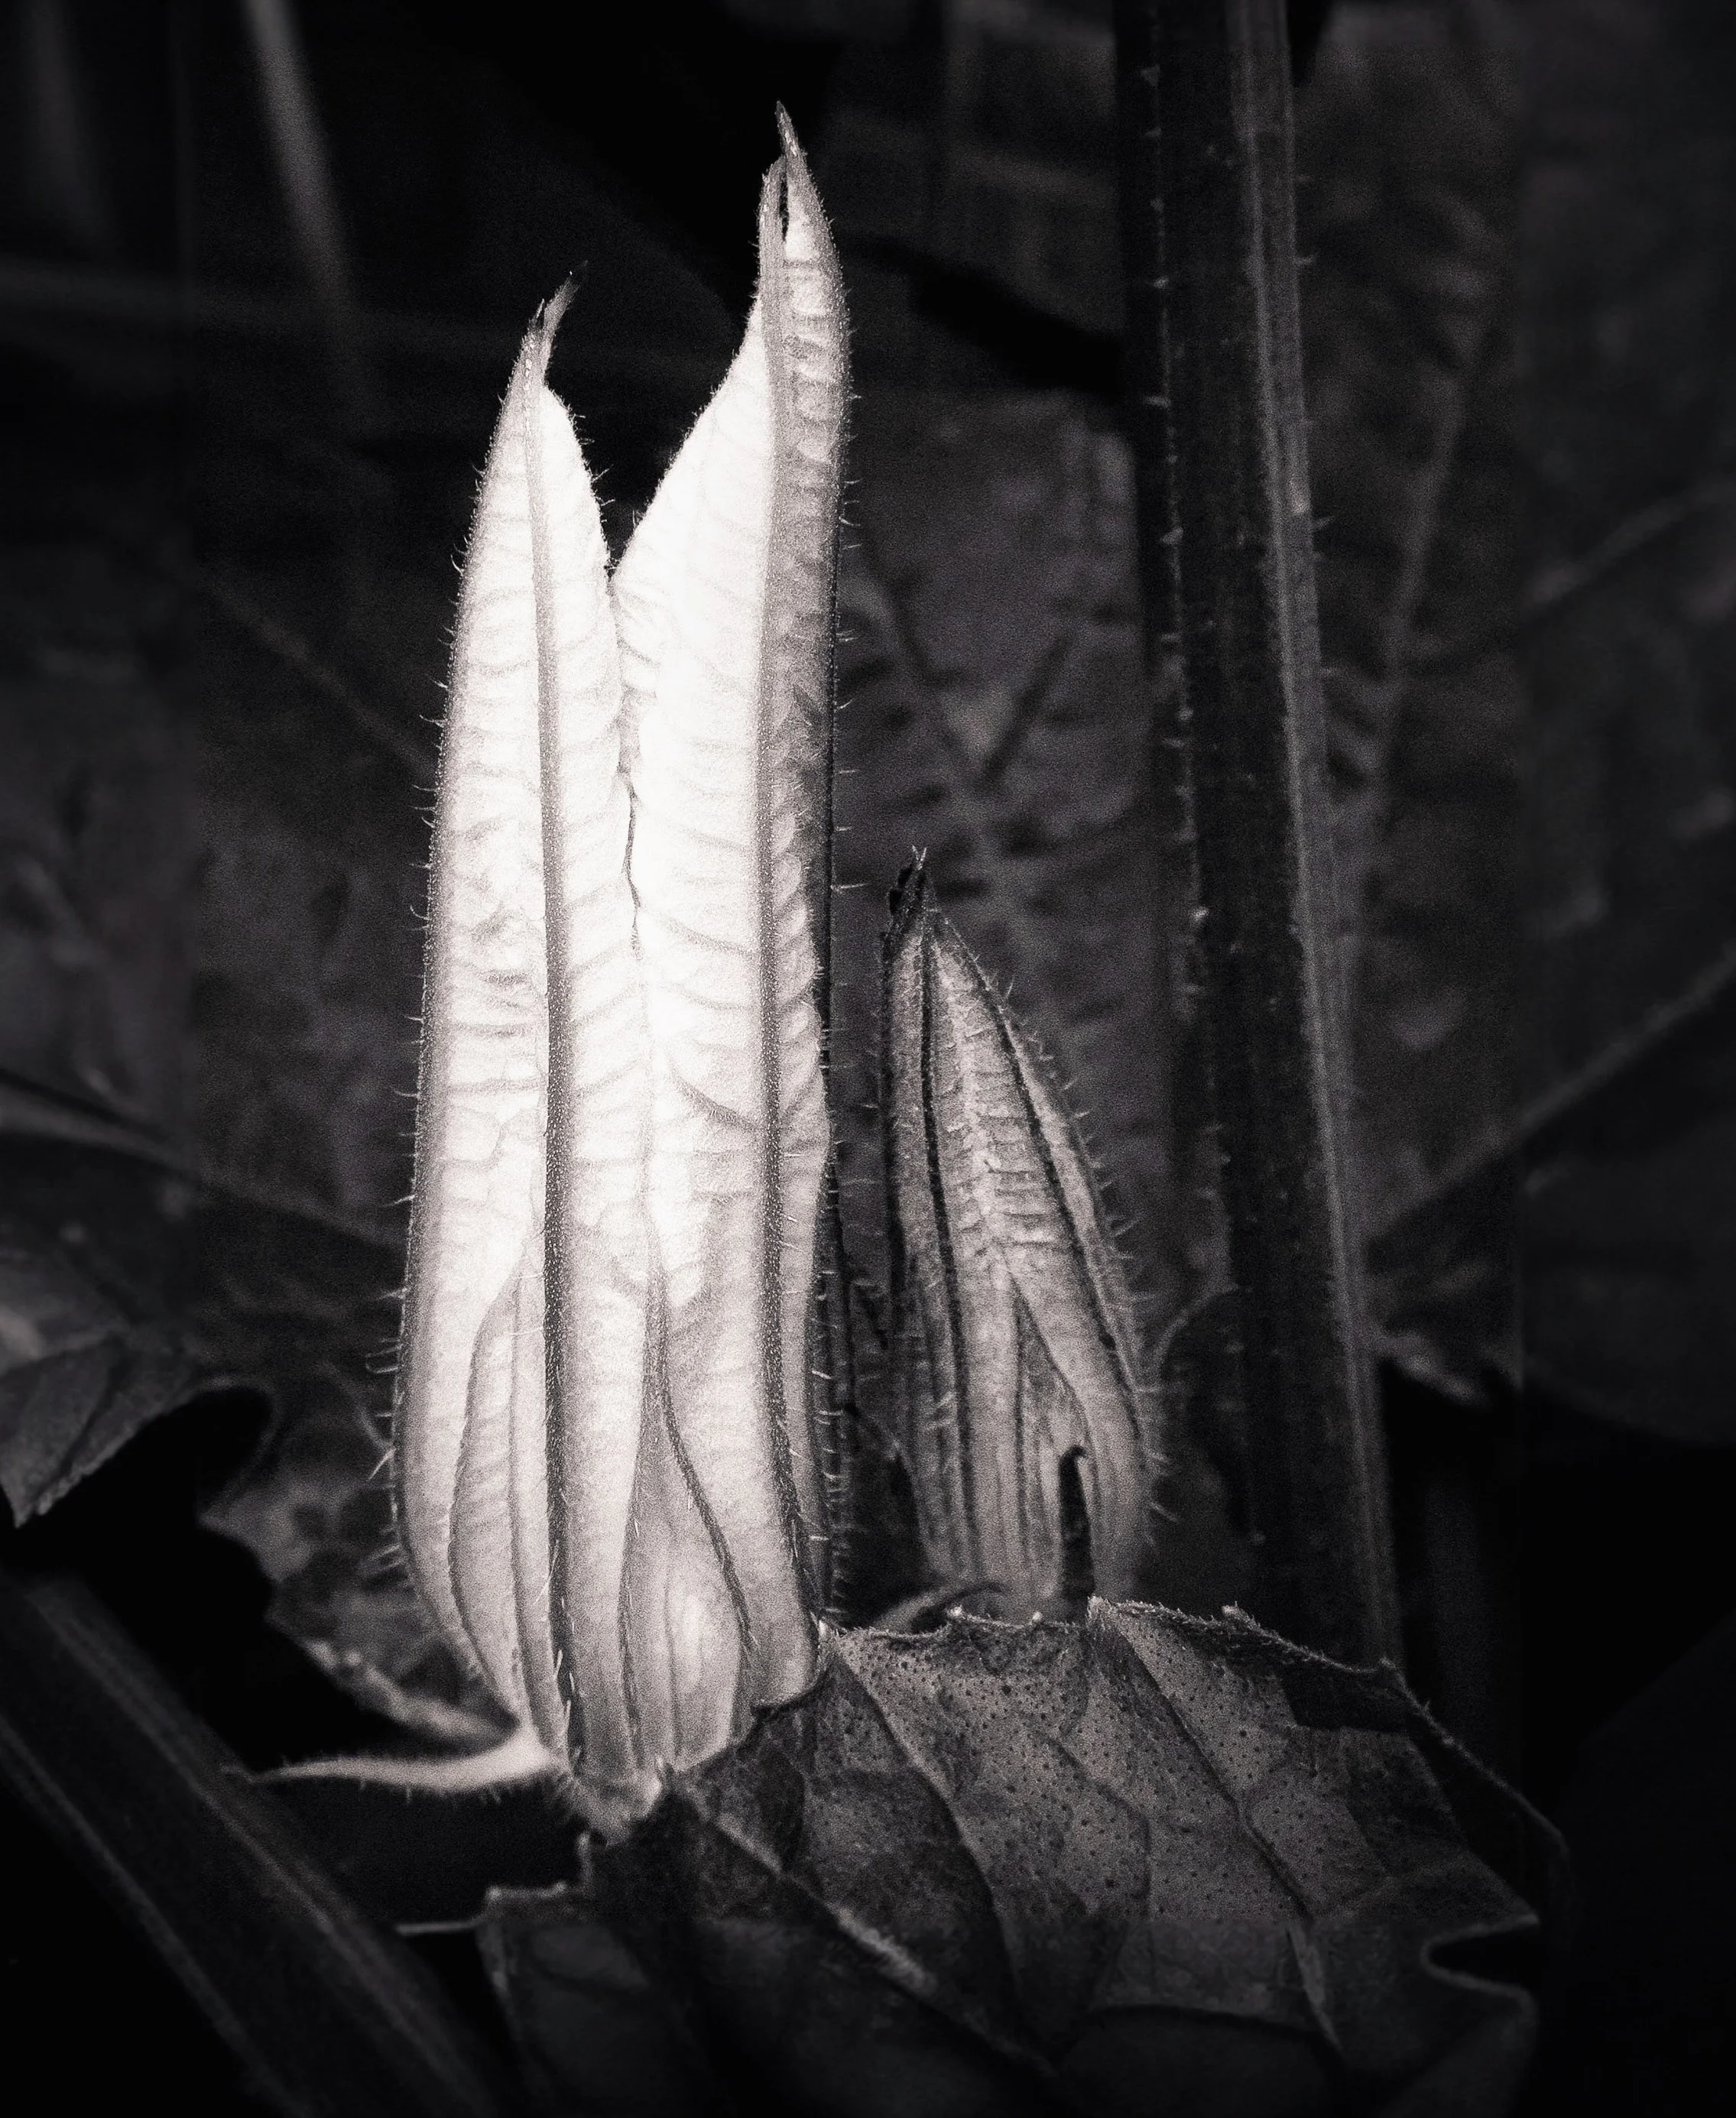
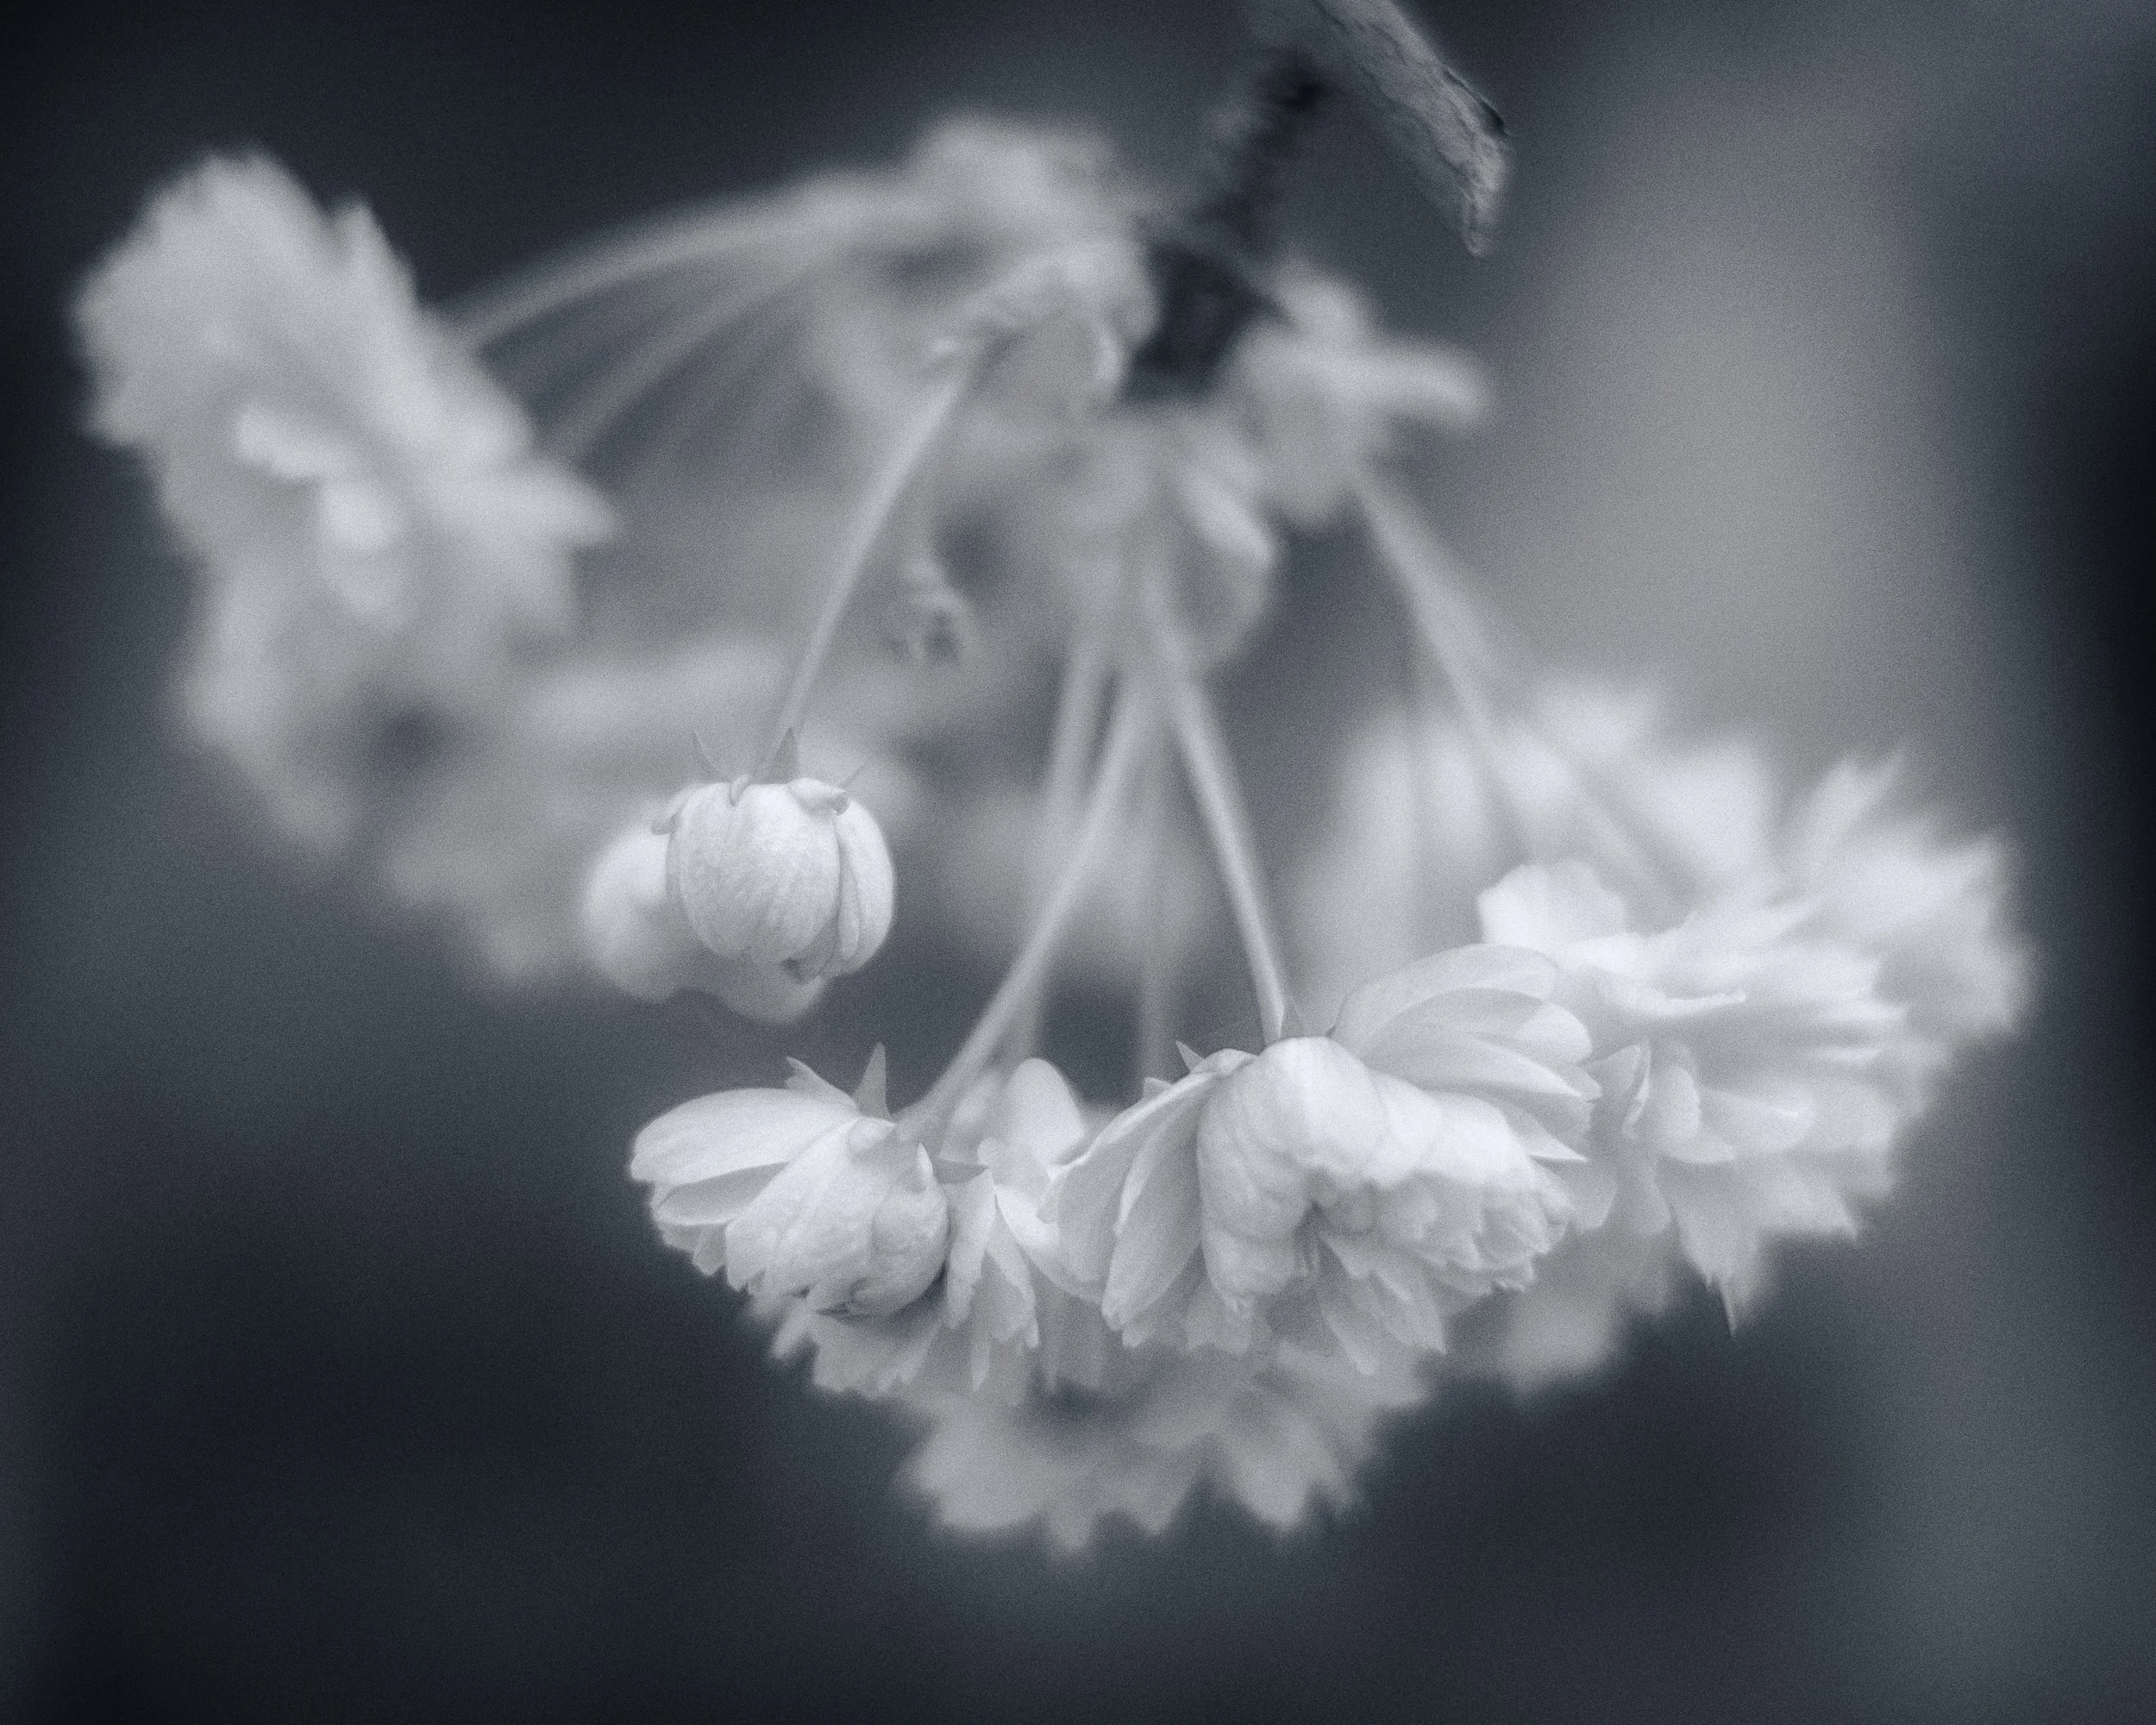
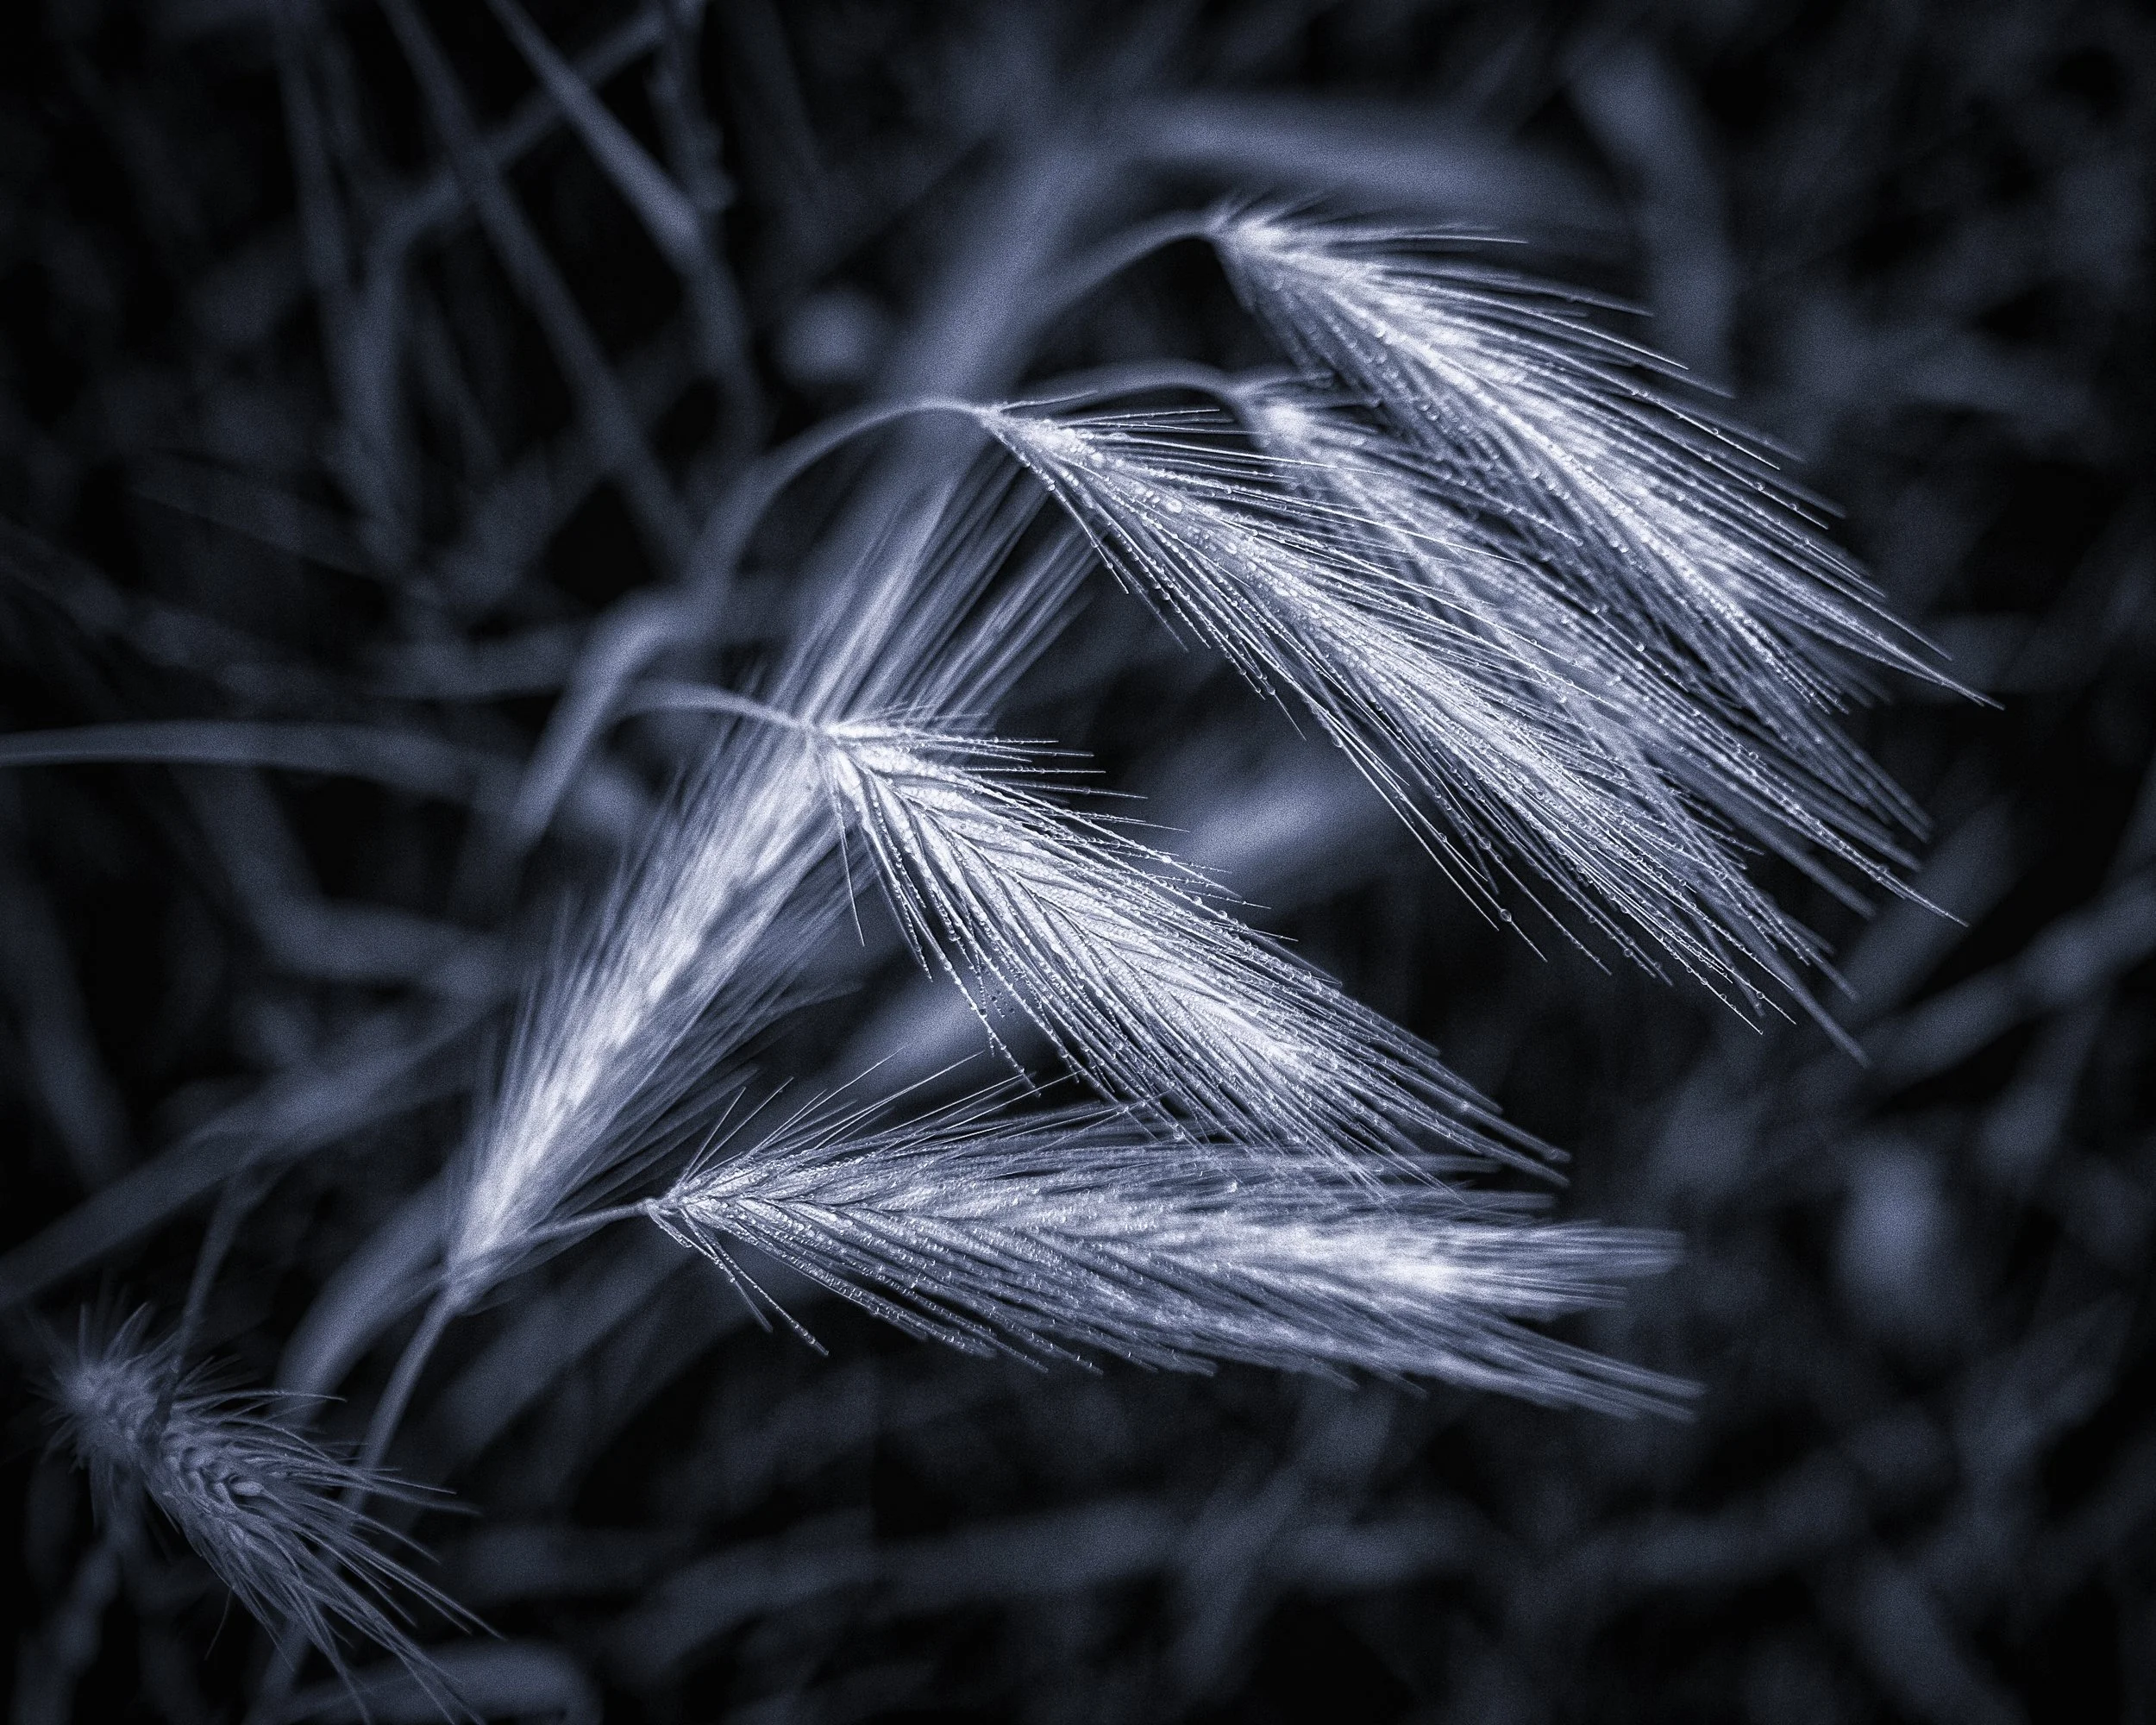
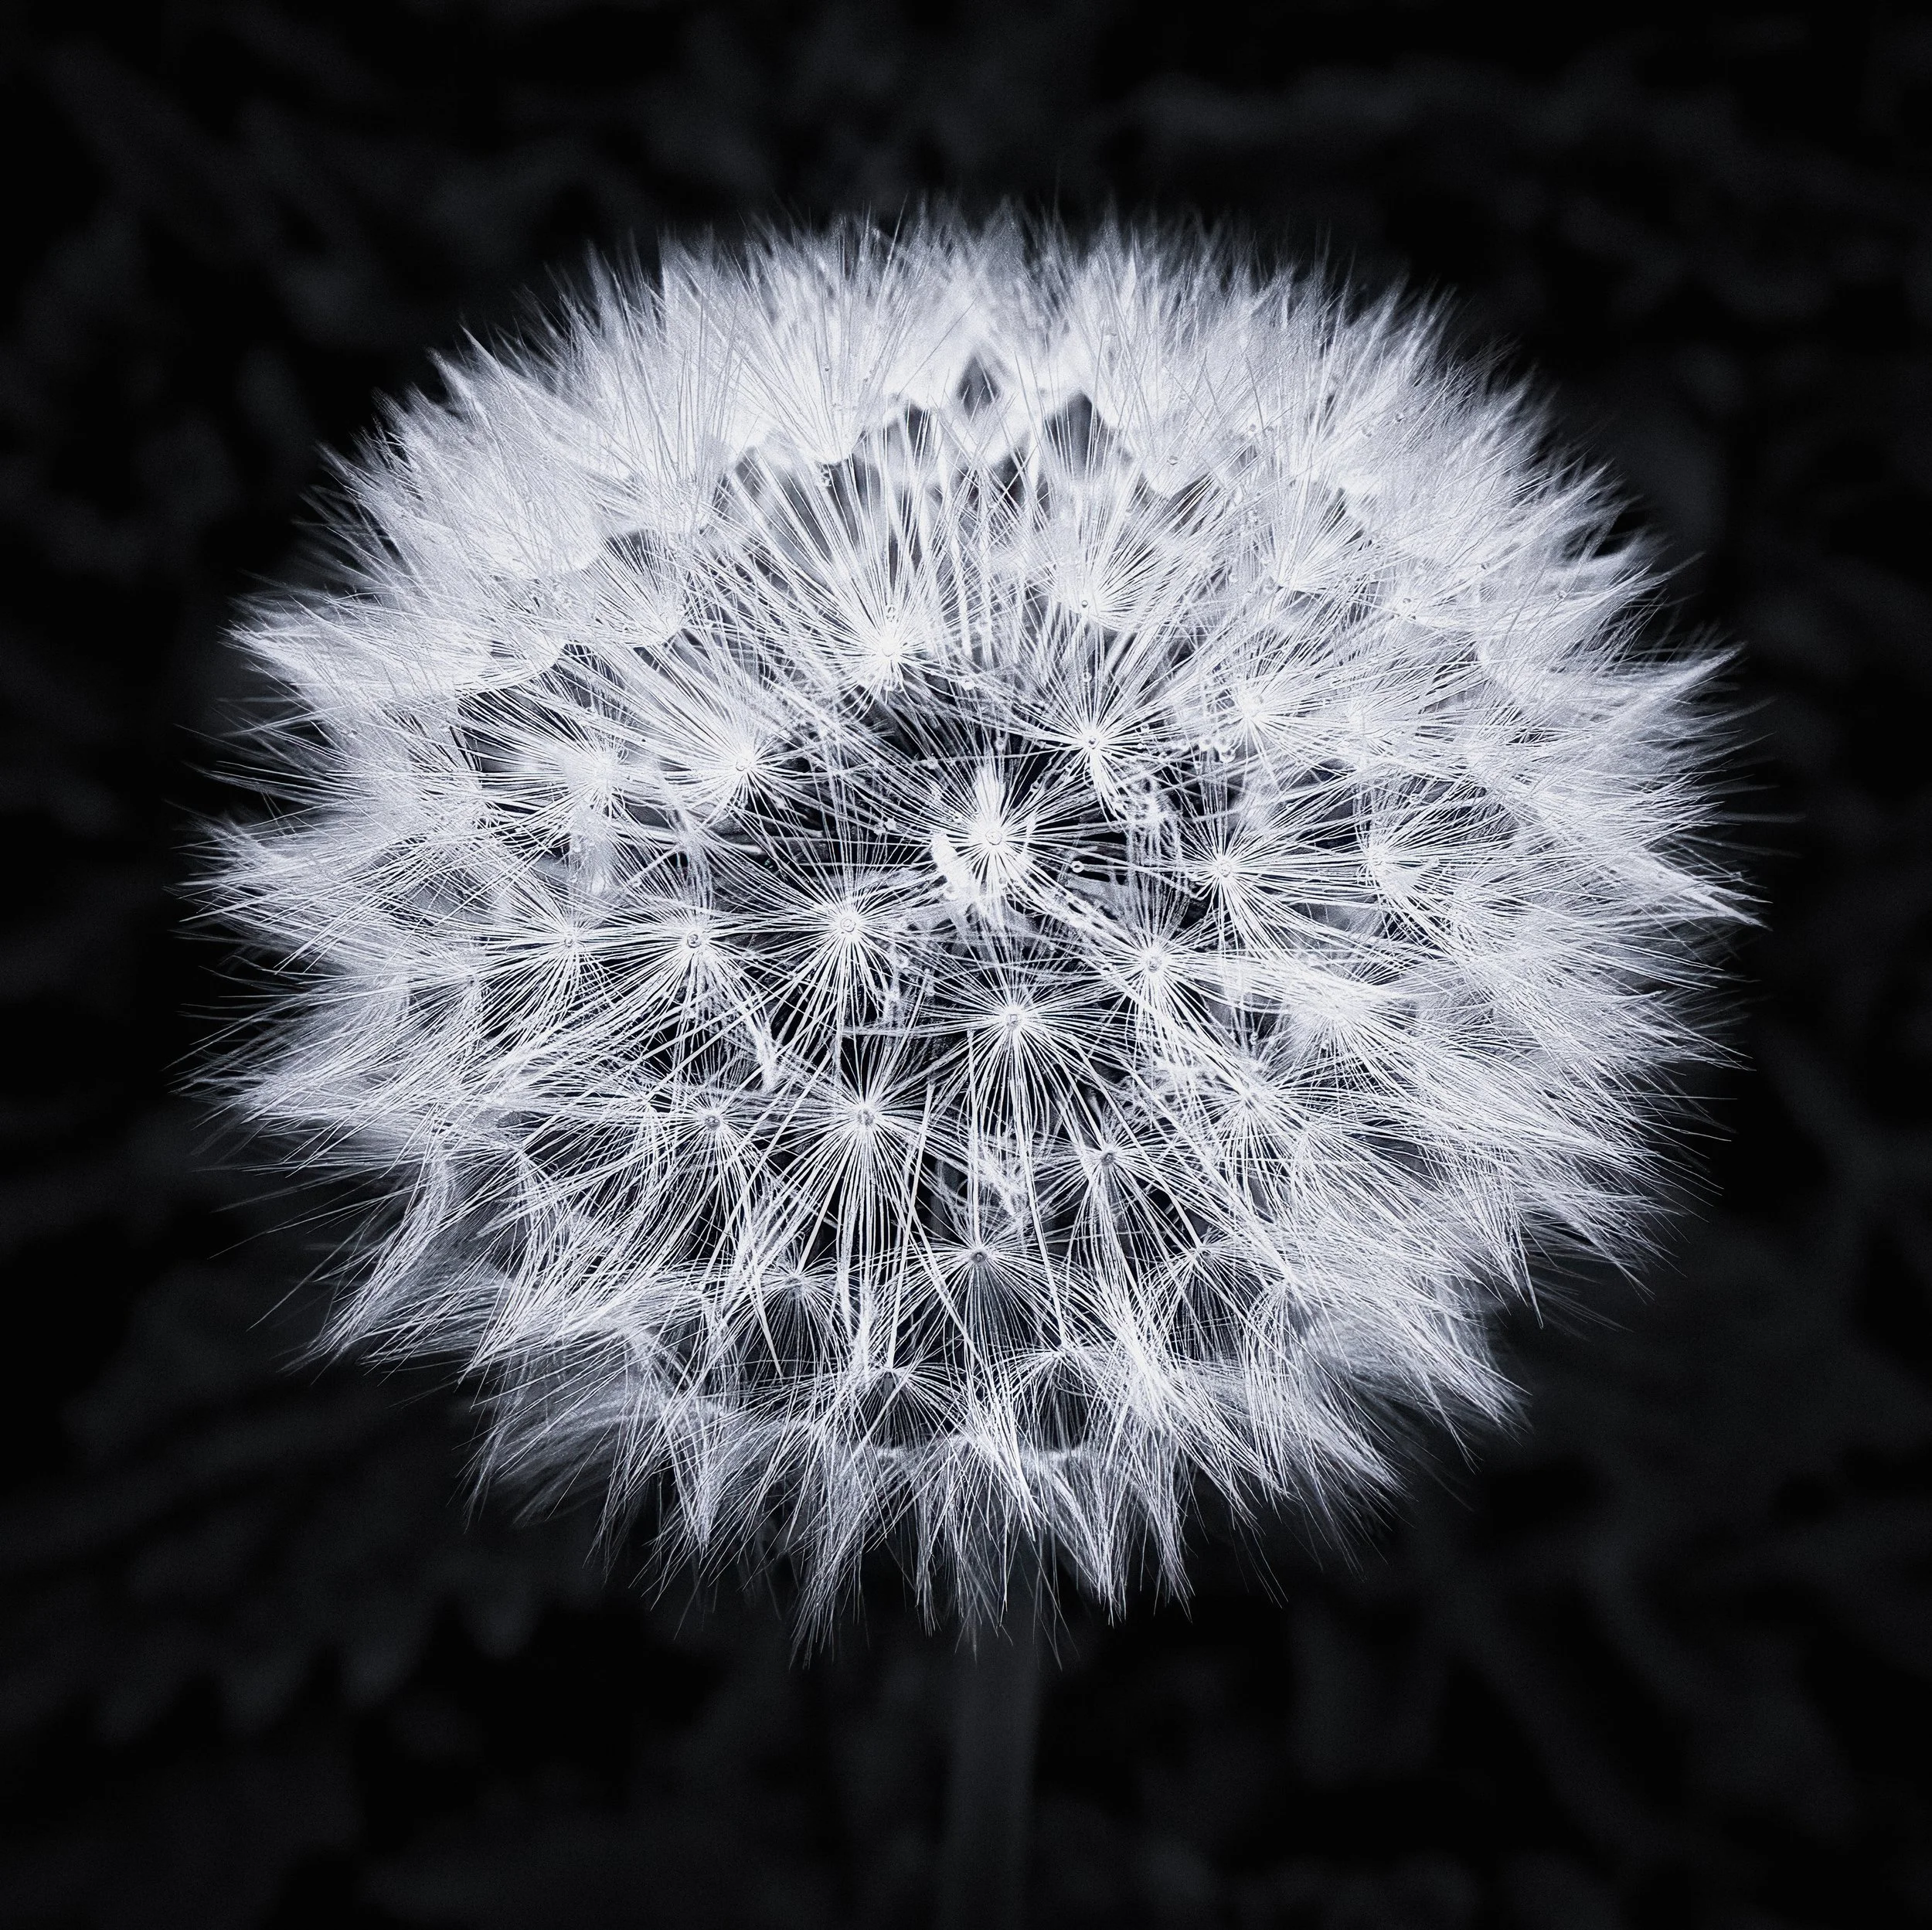
Black and White
Monochrome suits flower photography when the form, texture, and graphic structure carry the image — when removing colour clarifies rather than impoverishes. It is particularly useful when the colour palette is muddy or internally confused. When converting, pay close attention to tonal relationships: if the petals and background render as similar mid-greys, the flower simply disappears. Use the luminance sliders in Lightroom Mobile to push flower tones lighter or darker and increase their separation from the foliage behind them.
What's the Frequency, Kenneth?
Some flowers interact with light at wavelengths the human eye cannot see, and photographing at those frequencies — ultraviolet and infrared — can produce results that look genuinely unlike anything achievable in normal visible-light photography.
On the ultraviolet side, certain flowers fluoresce in striking colours when illuminated with UV light: patterns invisible in daylight suddenly appear as vivid blotches and gradients. Craig Burrows has produced notable work in this area. The technique requires a high-output 365 nm UV torch, complete darkness to prevent ambient light washing out the fluorescence, and manual camera settings throughout. It is firmly an advanced project requiring some equipment and patience, but the results can be extraordinary — the flower you thought you knew looks like a different object entirely.
Infrared photography operates at the other end of the invisible spectrum. Near-infrared light — roughly 700–900 nm — records foliage as luminously bright, skies as deep and dramatic, and flowers in ways that vary considerably by species: some petals reflect infrared strongly and render almost white; others absorb it and go dark. There are two main routes in. A dedicated IR conversion — sending a camera body to have its hot-mirror filter removed or replaced — gives clean, reliable results but commits that body to infrared work permanently; this is more naturally a traditional camera technique than a smartphone one. The alternative is an IR-cut filter placed in front of the lens, though these require long exposures (typically several seconds) because they block so much light. Some smartphone sensors can detect near-infrared through their cameras with an appropriate filter, though results vary considerably between models and the required exposure times push the limits of what handheld phone photography can manage. If infrared interests you, it is worth researching your specific phone model to find out whether others have achieved usable results before investing in a filter.
ICM: Intentional Camera Movement
Intentional camera movement (ICM) uses a slow shutter speed — typically 1/4 to 1 second — with deliberate camera movement during the exposure to create painterly blur. On a smartphone, use a slow-shutter app (Slow Shutter Cam on iOS; Pro or Manual mode on Android). Results are unpredictable and most frames are discarded, but the occasional image is worth the experiment. Try vertical movement, horizontal movement, a slight rotation, or beginning still and moving only at the end of the exposure.
Editing Your Flower Photographs
Editing should serve the image you captured — realising the light, colour, and texture that were in front of the lens — rather than fabricate what was not. Restraint is generally a virtue. Generally.
Exposure and highlights. Pale flowers are prone to blown highlights. Pull the highlights slider down until detail begins to return in the brightest areas. If the highlights were completely overexposed at capture, no editing recovers them — which is why correct in-camera exposure matters, and why shooting RAW (see the section above) gives you options that JPEG simply does not.
White balance. Tungsten or warm LED light gives an orange cast; deep shade outdoors gives a cool blue cast. Use the white balance slider to correct. Whites, creams, and pale pinks are most sensitive to cast errors and will show them immediately.
Vibrance rather than saturation. This deserves more emphasis than it usually receives. Flowers are already highly saturated subjects; pushing the saturation slider further quickly makes them look garish and artificial — a red rose starts to read as a colour-chart sample rather than a flower. Vibrance, which boosts less-saturated tones while protecting those that are already highly saturated, is the more intelligent adjustment for almost all flower work. Use it in preference to saturation, and apply both with restraint. The aim is the flower as it actually appeared, not the flower as you wish it had.
Clarity and texture. These local-contrast adjustments bring out petal surfaces and stamen detail but are easy to overdo — excessive clarity produces a crunchy, HDR-adjacent look that is not flattering to organic subjects. Apply selectively: a touch of extra clarity on the stamen or the most textured part of the petal, and leave smooth areas alone.
The Snapseed selective tool. For smartphone editing, this is one of the most useful techniques available. The selective brush in Snapseed allows you to apply adjustments — clarity, brightness, saturation — to a specific part of the image without affecting the rest. Adding local clarity to a stamen cluster while keeping the surrounding petals soft is one of the most effective finishing touches for flower work: it guides the eye to where you want it to go and reinforces the shallow-depth-of-field quality of the shot rather than fighting it.
Removing distractions. A blade of grass across a petal, a small insect mid-chew, a water droplet that has landed somewhere unhelpful — these are reasons to reach for the healing or clone tool. Both Snapseed and Lightroom Mobile have capable healing brushes. Paint carefully over the offending element, let the software sample the surrounding texture, and check that the result does not look like the software has tried to cover something up. Small distractions at the edge of the frame are usually the easiest candidates; complex areas of petal texture are harder and more likely to require a manual clone source.
Noise reduction. Low-light flower photography — under a woodland canopy, on an overcast day with a macro lens, or indoors with only window light — will push your sensor towards its limits. The resulting noise is worth addressing in editing rather than ignoring. Lightroom Mobile's noise reduction is effective; Snapseed handles it adequately for phone-sized outputs. Apply it before other adjustments, or it will interact unpredictably with the clarity and texture sliders. Be careful not to over-smooth: flower petals that look like painted plastic are their own kind of problem.
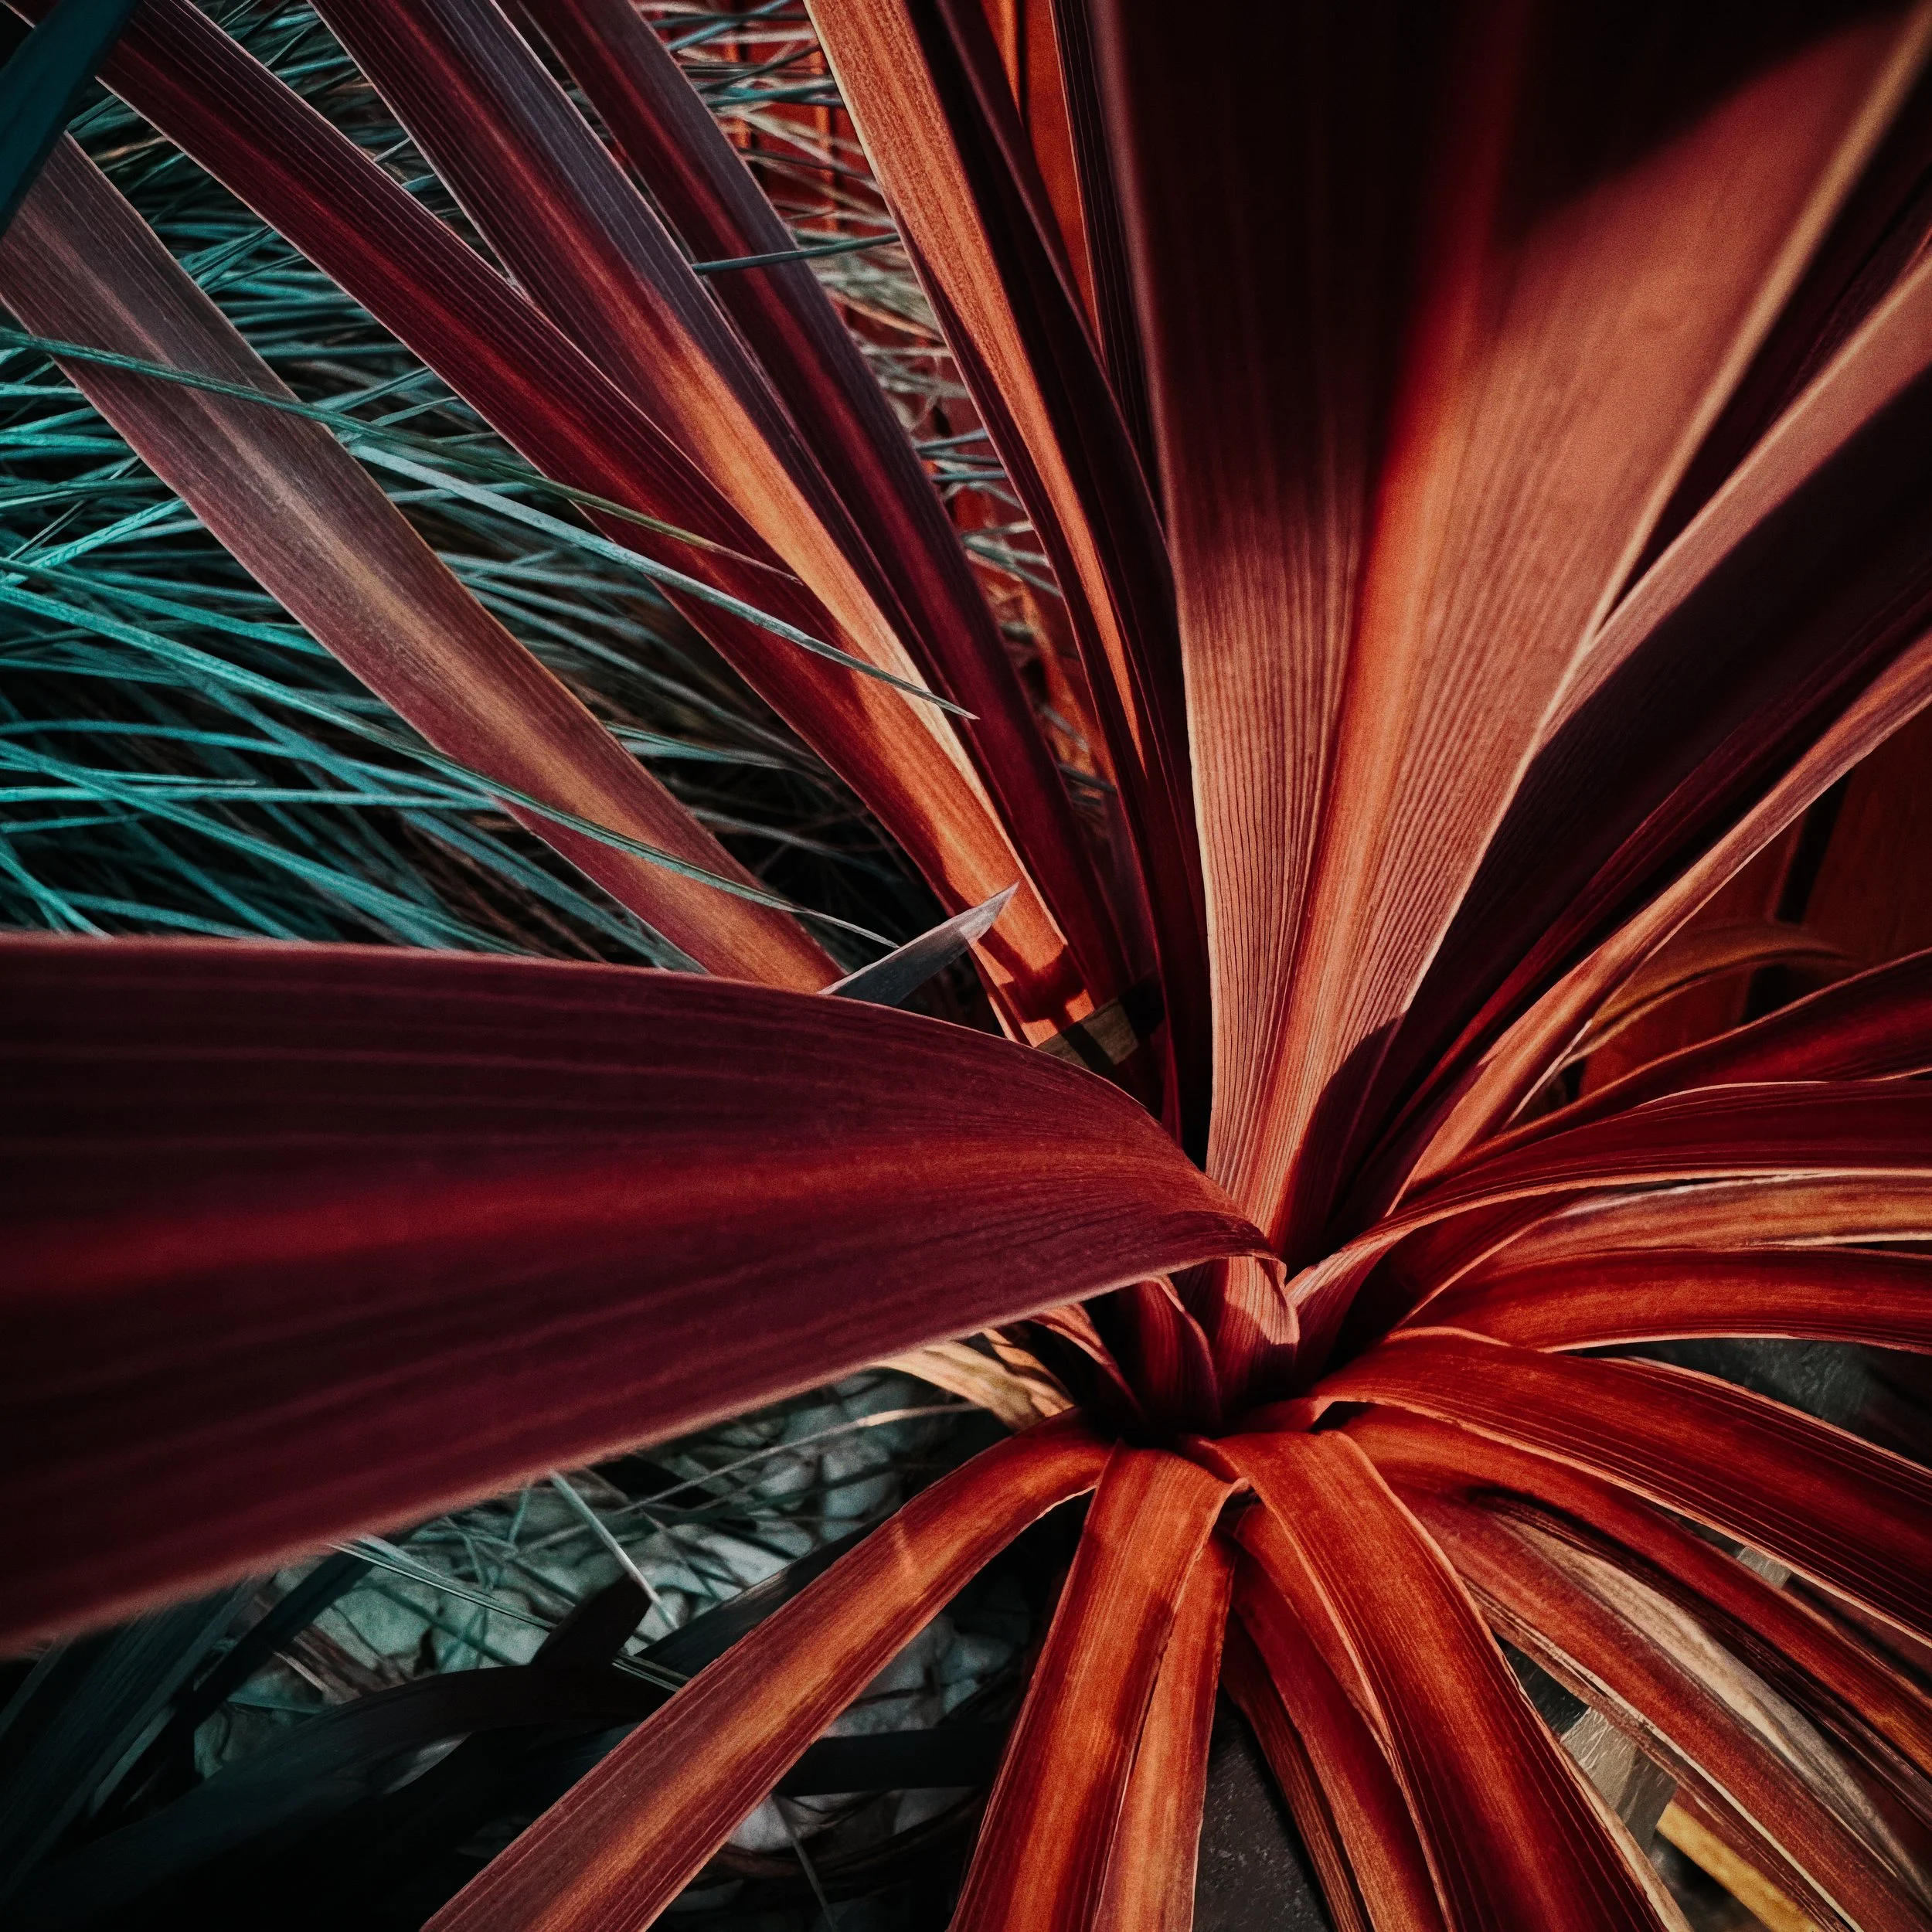
Colour grading beyond white balance. White balance correction aims for accuracy; colour grading is a deliberate creative decision. A slight warm shift — orange in the shadows, yellow in the highlights — gives a soft, organic quality that suits many flower photographs. A cool shift towards blue and green creates a quieter, more detached mood. This is worth experimenting with intentionally rather than arriving at it by accident: try both directions and see what each does to the emotional register of the image. The split-toning tools in Lightroom Mobile are the most precise instrument for this; the colour grading section in the HSL panel in Snapseed offers a rougher version of the same idea.
Cropping. Tighter is usually better in flower photography. Crop aggressively to remove edge distractions and isolate the most compelling part of the image. The original framing is a starting point, not a commitment.
Monochrome conversions. Use the luminance sliders to control how each hue translates to grey. A yellow flower against green foliage can render at near-identical mid-tones, making the flower invisible against its background. Push yellow up to lighten the petals; push green down to darken the foliage behind them. The same logic applies to any colour pairing where subject and background are close in hue.
For smartphone editing, Snapseed (free) covers most of the above and includes the selective brush tools. Lightroom Mobile (free at the basic tier) offers more precision and is worth learning if you edit flower photographs regularly.
Resources
Here’s an interesting video from Emil Pakarklis of the iPhone Photography School: “Flowers make great subjects for your photos... But it can be tough to capture their stunning beauty in a photo. 🌸 For truly magnificent flower photos, you have to know a few tricks… And avoid the common mistakes that most people make when photographing flowers! So watch this video, and discover how to capture beautiful flower photos with your iPhone!”
Here’s a great video from Danish photographer, Peter Bredahl Dam, that offers excellent advice on shooting wildflowers: “In this video, I share valuable tips and tricks on how you can capture better photos of beautiful flowers in nature. Whether you are a beginner or someone with a bit more experience in photography, these tips will help you improve your skills and take stunning images of flowers. I will cover various aspects such as lighting, composition, and the best angles to use when photographing different types of flowers. Join me as we explore the vibrant world of floral photography and learn how to make the most of your camera to create breathtaking images that truly capture the beauty of nature.”
Here’s a great video, from Ted Forbes at The Art of Photography, that looks at the work of German photographer Karl Blossfeldt, who we discussed earlier in the tutorial as one of the most influential figures in botanical photography of the 19th and early 20th centuries.
Finally, the awesome Courtney Victoria explains how she uses portable studio lighting in her woodland macro photography: ”In this video, I talk about my approach to light in macro photography in the field, and how I like to work with artificial light. Using an OM1 Mark II, some lighting arms, and lots of early spring subjects, I explore how using lighting can be a creative tool. Thank you for watching this video!”
Give it a Try!
The best way to improve is through constrained practice — not volume, but specific exercises that force you to notice things you would otherwise overlook.
Exercise one: Photograph the same flower at three points on the same day: within an hour of sunrise, around midday, and before sunset. Compare the results without heavy editing. The differences in light quality, colour temperature, and shadow direction will be immediately apparent, and thereafter you will find it difficult to ignore the time of day when planning a shoot.
Exercise two: Make ten photographs of a single bloom without moving your feet. Change the angle (get down low; look up; try top-down), the distance (as close as focus allows, then as far back), the focus point (centre; petal edge; stem), and the framing (filling the frame versus generous negative space). Ten photographs of one flower exhausts the obvious options and forces you to find the less obvious ones. The best image from this exercise will almost never be the first.
Exercise three: Take your best colour flower photograph and convert it to black and white, spending a few minutes with the luminance sliders. Does it hold up without colour? If it becomes flat or dull, that tells you what it was relying on. If it works, you have found a subject that succeeds in both registers.
None of this requires specialised equipment or unusual locations. What it requires is attention — which, in the end, is what all flower photography requires.