Your subject has no interest in your creative vision. It will not hold a pose, maintain eye contact on request, or wait while you adjust your exposure. It will look away at the decisive moment, fall asleep during the golden hour, and save its most extraordinary expression for the precise moment you have put the camera down.
This is the fundamental condition of pet photography, and no amount of equipment or technique will change it. What you can do is understand it, accept it, and work with it — and when you do, you will find that your subjects are also capable of spontaneity, physical comedy, and emotional expressiveness that no human subject can reliably produce.
The best pet photographs are acts of patient observation rather than direction. This distinction matters more than any technical consideration. A photographer who approaches a cat with a clear idea of what they want to capture will, in almost every case, end up with a photograph of a cat leaving the room.
A photographer who sits quietly and pays attention will eventually be rewarded with something real. A smartphone in a pocket is often more useful than a dedicated camera on a strap for exactly this reason — it can be produced quickly and without ceremony, and animals habituate to it faster than they do to a large black lens pointed at their face.
Before any technical discussion, two principles deserve to be stated plainly:
Get close — most pet photographs fail because the animal occupies a small corner of a large frame, surrounded by carpet or garden or kitchen furniture that adds nothing to the image. Fill the frame with your subject.
Get low — get down to the animal's eye level, completely and without compromise. A photograph taken from standing height looks down on an animal; one taken from their level meets them as an equal. These two adjustments, alone, will improve your pet photographs more than any camera setting.
Animal Behaviour and the Camera
Reading the animal's mood is the foundation of everything that follows. There is no point in attempting to photograph an animal that is stressed, overstimulated, or simply not in the mood — the resulting images will reflect the animal's state of mind as clearly as they reflect anything else. A relaxed dog has a soft mouth, loose ears that sit naturally rather than pinned back, and a tail that wags from a neutral position rather than held high and rigid. A relaxed cat has soft, slightly unfocused eyes, a loosely held tail that may curl gently at the tip, and an overall sense of unhurried ease. Both of these are states worth photographing. Neither can be manufactured.
Stress indicators are worth knowing by species.
In dogs: excessive panting that has nothing to do with temperature, lip licking or tongue flicking, lifted front paws, yawning outside the context of tiredness, and a deliberate avoidance of eye contact.
In cats: a low-held, flicking tail, flattened ears, dilated pupils in normal light, and — most definitively — a slow, deliberate walk towards the exit.
In rabbits and guinea pigs: freezing completely, thumping (rabbits), or attempting to hide.
In birds: excessive feather-fluffing, screaming, or retreating to the back of the cage.
In reptiles: gaping (bearded dragons), rapid colour changes, or a defensive coil.
Any of these should prompt you to pause, back off, and give the animal time to settle. The session can wait. A stressed animal never photographs well, and pressing it is neither fair nor productive.
The attention window is real and finite. Most pets have a short period of engagement before they either lose interest or — worse — become habituated to the camera and stop responding to your attempts to attract their attention.
For most dogs, ten to fifteen minutes of active shooting is about right before energy levels drop or the dog starts using the session as an opportunity for a nap. Cats may give you three minutes or twenty, and the determining factor will be entirely their own assessment of the situation, communicated to you with unhelpful opacity.
Work within this window rather than extending the session until both of you are exhausted. A sharp, energetic ten-minute burst will yield more keepers than an hour of diminishing returns.
Using sounds and movement to attract attention requires discipline. The squeaky toy held above the lens works brilliantly for dogs — once. The rustling paper or feather wand for cats produces an alert, forward-facing expression that is exactly what you want — the first two or three times. After that, the animal has assessed the stimulus and found it insufficient to warrant serious investigation. The lesson is to save your attention-getters for the precise moment you have the camera in position and are ready to shoot. Using them continuously as background distraction is how you spend your ammunition before the shot you actually want.
Working with natural behaviour is almost always more rewarding than attempting to stage anything. The most compelling pet photographs tend to catch the animal doing something characteristic — a dog in full fetch mode with every muscle extended, a cat in the act of washing its face with a paw, a rabbit thumping before bolting, a parrot climbing upside down along a perch with cheerful impracticality. These moments cannot be posed. They can only be anticipated. The more time you spend simply watching your pet without a camera, the better you will be at predicting when these moments will occur and positioning yourself to catch them.
The ethics of pet photography deserve a direct statement. Do not stress your subject for the sake of a photograph. An animal that is frightened, cornered, or physically manipulated into a position it finds uncomfortable will show it in the image — the body language, the eye, the overall expression will all communicate discomfort with a directness that no post-processing can soften. The photograph you were hoping for does not exist at that point; what exists is a document of an unhappy animal. Put the camera down.
Light for Pet Photography
Natural light is the default, and for good reason. The same principles that apply to portrait photography apply here, with the added complication that you cannot tell your subject to move three inches to the left. Window light is the finest available light for indoor pet photography — soft, directional, and flattering in the way that only a large, diffused source can be. Cats, who make most of their major life decisions based on thermal comfort, will very often position themselves in window light entirely without your assistance, which is one of the more useful things they do.
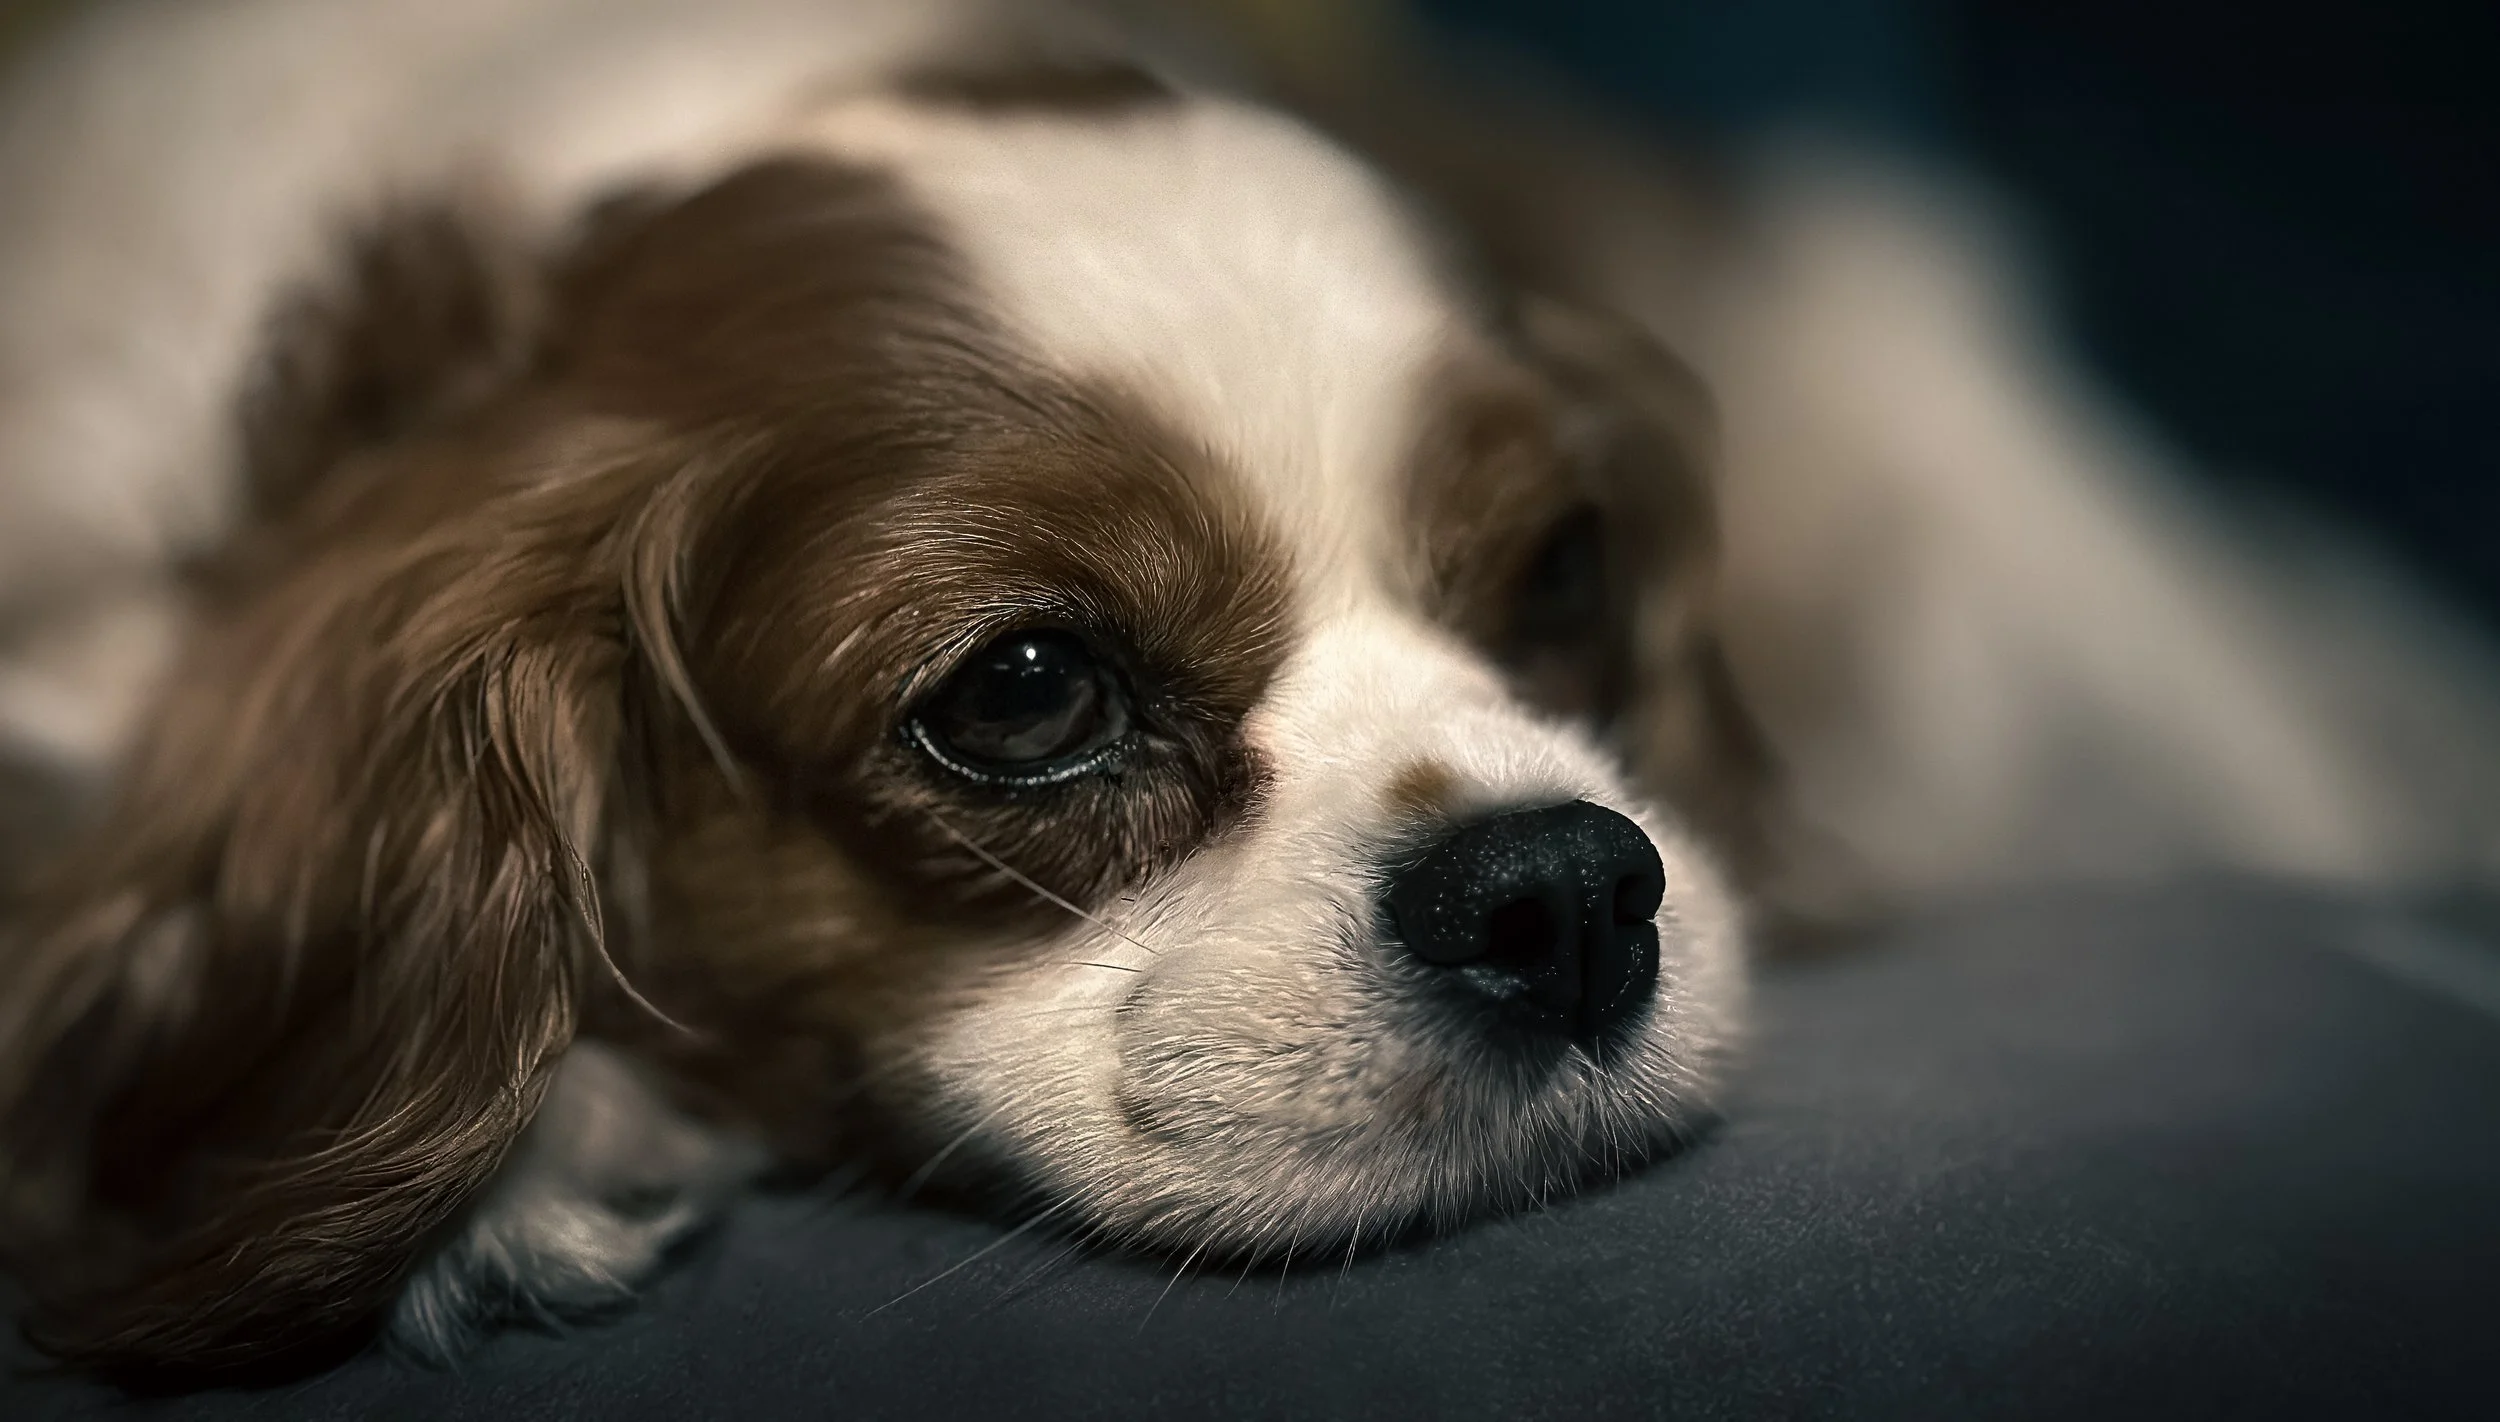
The eye light is as important in pet photography as it is in human portraiture, and perhaps even more so. A flat, dead eye with no catchlight turns an animal portrait into a taxidermy reference image. Position yourself — or the animal, when that is possible — so that a light source is reflected in the nearest eye. A window, an open sky visible through a door, even a bright wall will serve. For very small animals — hamsters, gerbils, small lizards — achieving a catchlight may require quite specific positioning, with the animal angled so that the window light falls at the right angle; but the difference between an image with a catchlight and one without it is not subtle.
Outdoor light follows the same golden-hour logic as any portrait photography. Low, warm, directional light from early morning or late afternoon is more flattering and more interesting than the flat overhead illumination of midday, which creates harsh shadows under the brows and nose and generally makes everyone look worse, humans and animals alike. For active dogs, early morning has the additional advantage that the dog is likely to be fresher and more energetic — a dog that has been walked in the afternoon heat is not always at its most expressive.
Flash should generally be avoided for pet photography. Flash is startling to animals, often produces red-eye (or the distinctive green or yellow eye-shine of the tapetum lucidum — the reflective layer behind the retina in many mammals, which evolved for night vision and was not designed with photography in mind), and produces the flat, shadowless quality of light that makes any photograph look as though it was taken at a passport office.
The further problem is that animals tend to blink at the moment of flash, which is one of the reasons the resulting photographs often feature a beautifully composed frame containing a set of closed eyes. If flash is unavoidable — genuinely unavoidable — diffuse it and bounce it away from the subject if your equipment allows.
Continuous artificial light is considerably better than flash for small animals and for indoor sessions where natural light is insufficient. A softbox, a ring light, or a bright LED panel allows a longer working session without the startling effect of repeated flash bursts, and gives you consistent light to work with across a sequence of frames.
For very small cage animals in particular — mice, hamsters, gerbils — a continuous light source positioned to one side and slightly behind the animal produces modelling that reveals texture and form in a way that frontal flash never will.
Getting the Shot
Eye-level shooting is the single most effective compositional change you can make to your pet photography, and it costs nothing. The overwhelming majority of pet photographs are taken from standing height, which produces a top-down perspective that is both unflattering and oddly disconnecting — you are looking at the animal as an object on the floor rather than meeting it as a subject. Get on the floor. Get on your knees. For small animals, get flat. The change in perspective is not subtle: it is the difference between a document and a portrait.
Focus: the eye rule applies here as absolutely as it does in human portraiture. If the nearest eye is not sharp, the image does not work. Modern smartphones include face and eye tracking that performs reasonably well for dogs and cats; before you begin shooting, check that it is engaged and that it is tracking the correct part of the animal — the nose, which is closer to the camera, is a common false target, as are the ears. Tap the screen to set focus manually if the automatic tracking is misbehaving.
Burst mode* is essential for any moving animal, and useful for any animal at all. Hold the shutter and take twenty frames; one of them will have the expression, the focus, and the pose all aligned simultaneously. Nineteen of them will not, and those nineteen should be deleted without sentimentality. The economics of digital photography favour exactly this approach, and resisting it in the name of discipline is a mistake.
Shutter speed for moving animals matters considerably in indoor or low-light conditions. Cats and dogs in motion are fast — faster than you think, if you have only ever tried to freeze the movement on a phone and found it blurred. Modern smartphones will manage the shutter speed automatically, and in low light they will choose a speed that preserves the exposure at the expense of sharpness. If your phone has a manual or pro mode, aim for at least 1/500s for a running dog, 1/250s for a walking animal, and 1/125s as an absolute minimum for a stationary one that might decide to move. In low light, raise the ISO rather than allowing the shutter to slow — a slightly noisy sharp image is a vastly better result than a perfectly exposed blur.
Depth of field and bokeh* are effective tools for separating the animal from a distracting background, which is nearly always a worthwhile ambition. On a smartphone, Portrait Mode achieves this computationally for stationary subjects — it works well for dogs and cats when they are not moving rapidly. The 2x telephoto lens on most modern phones gives a more natural perspective and better natural background separation than the wide-angle default. Moving yourself further from the background while staying close to the animal also increases natural blur.
Portrait Mode caveats deserve specific attention. The edge detection in computational bokeh struggles with fur, particularly around the ears, the fur outline, and whiskers — it has a tendency to either blur fine fur detail that should be sharp, or to leave background elements that should be soft because they are attached to a bright or high-contrast edge of the animal. Check the edges of your subject before you move on from any Portrait Mode frame, and revert to standard shooting if the artefacts are distracting. There is no shame in a well-composed standard photograph; a corrupted fur edge is harder to forgive.
Dogs : Specific Guidance
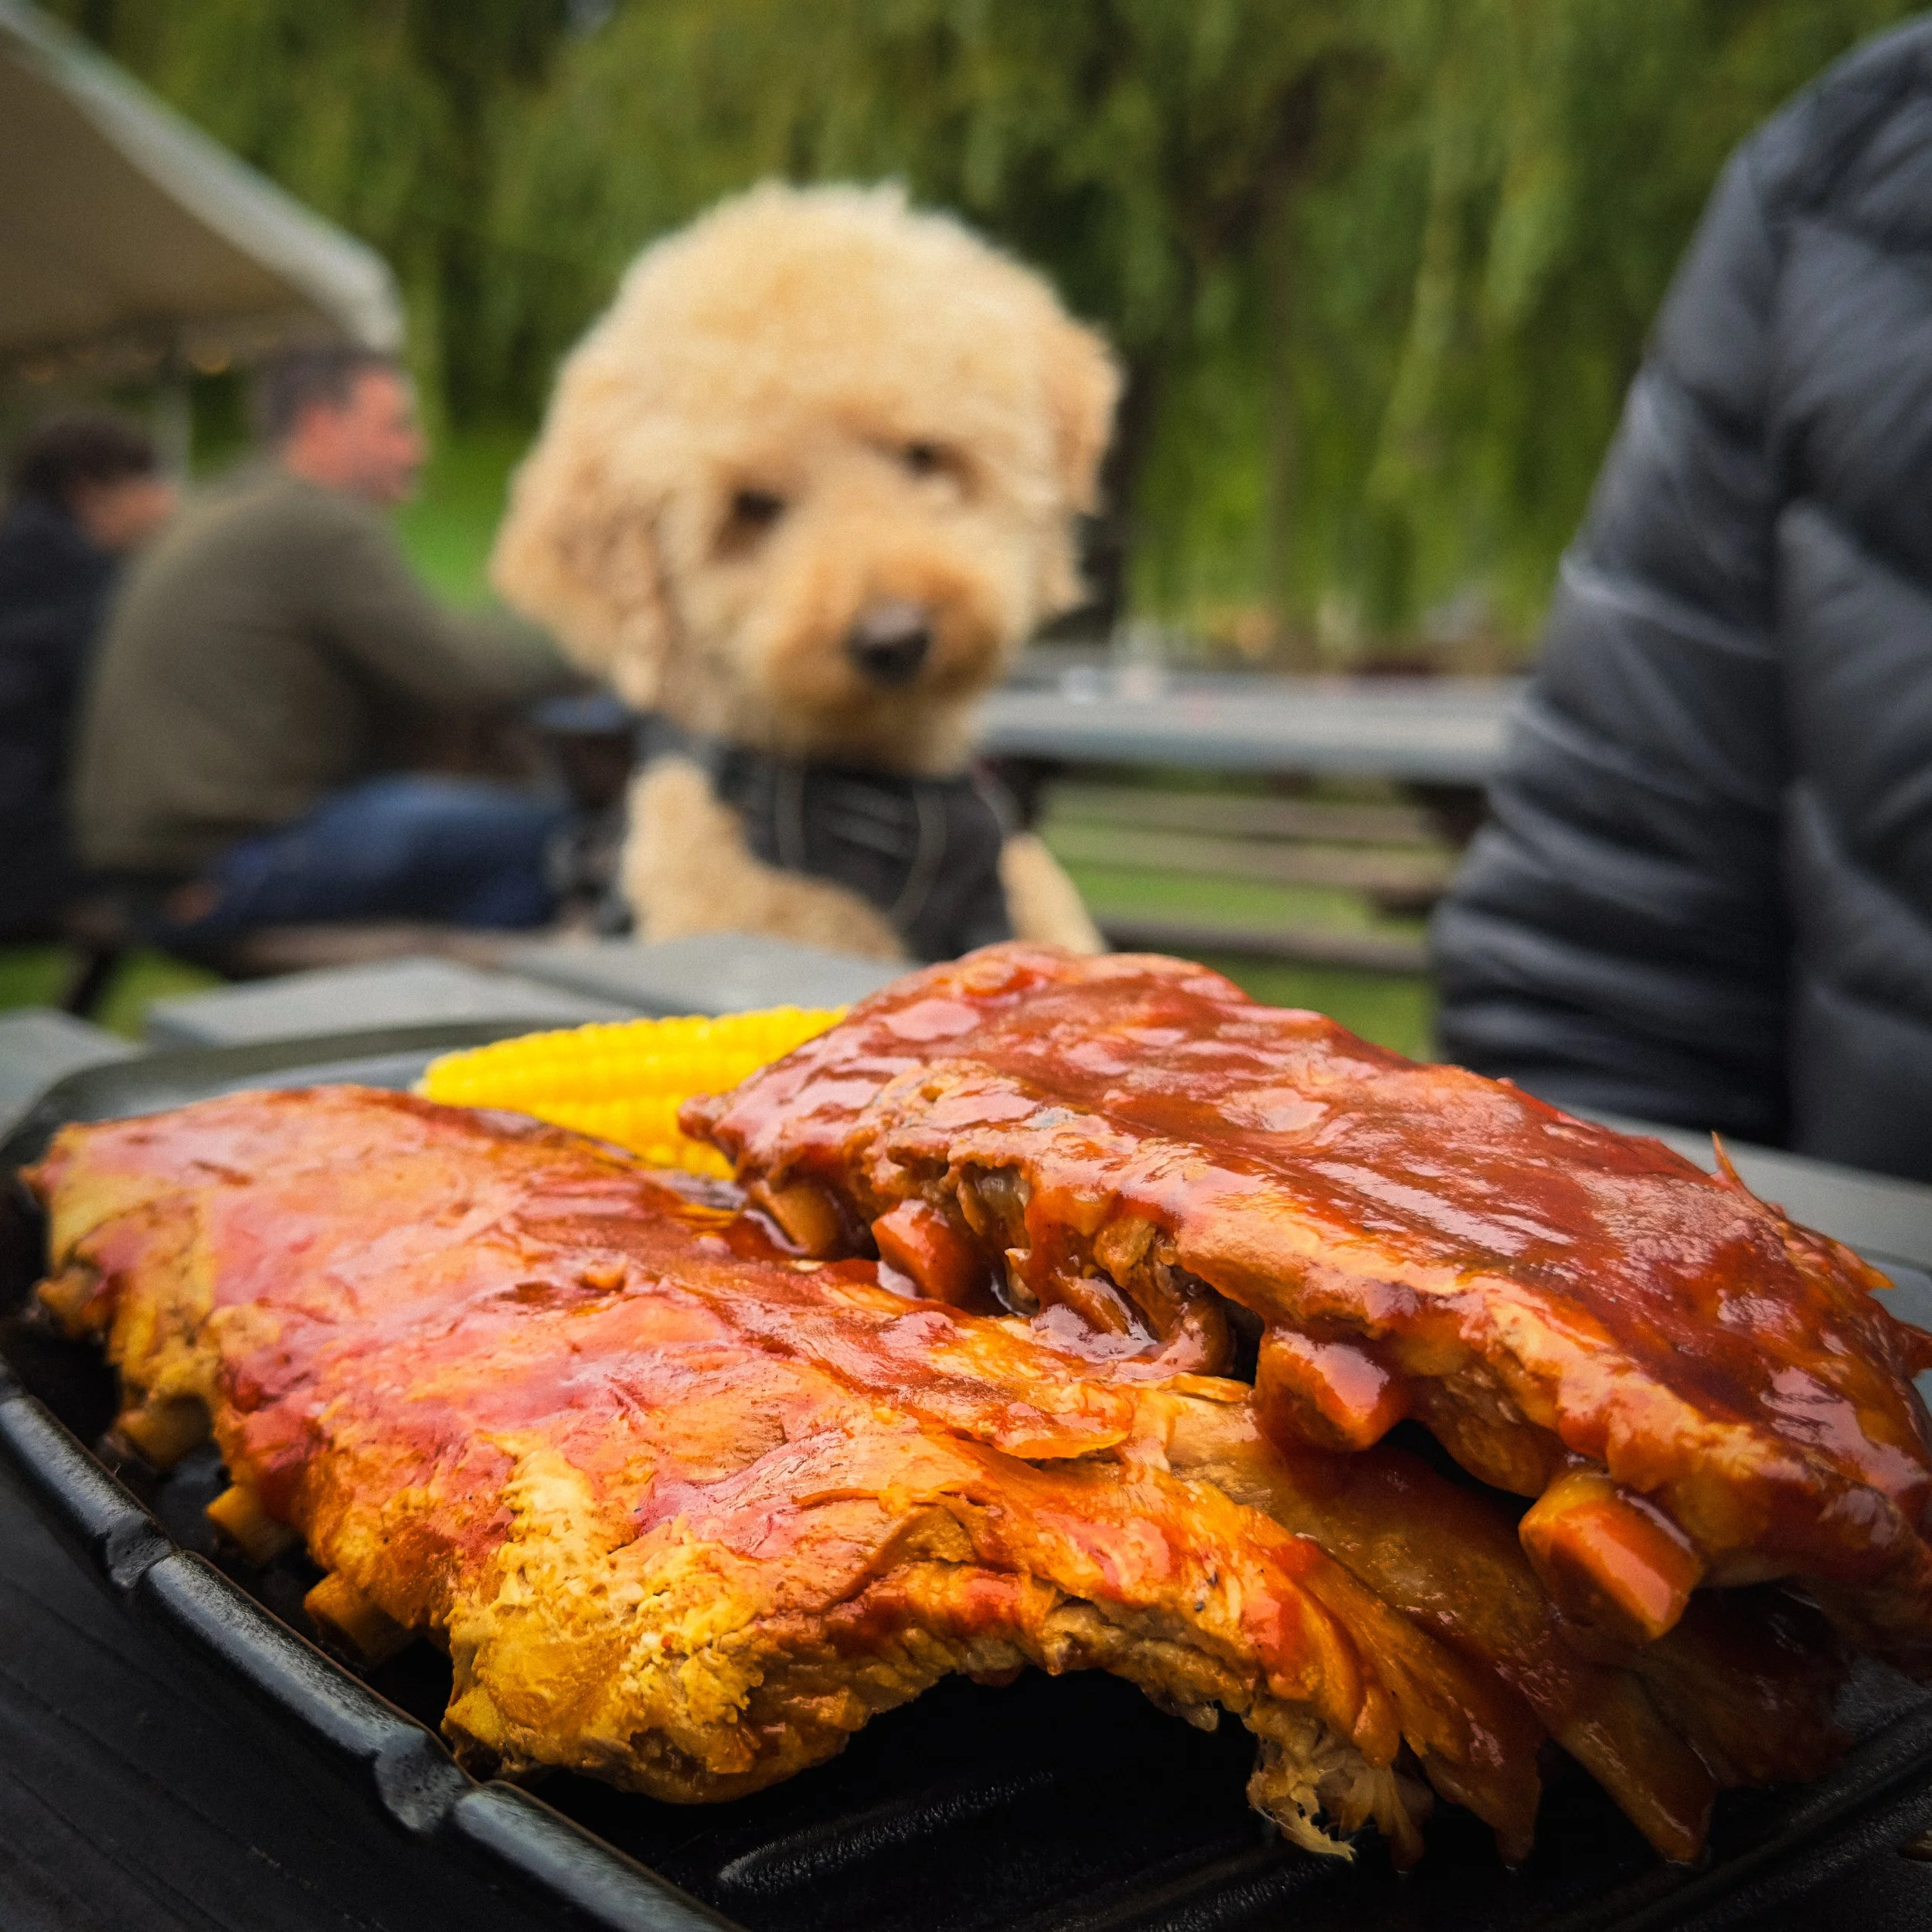
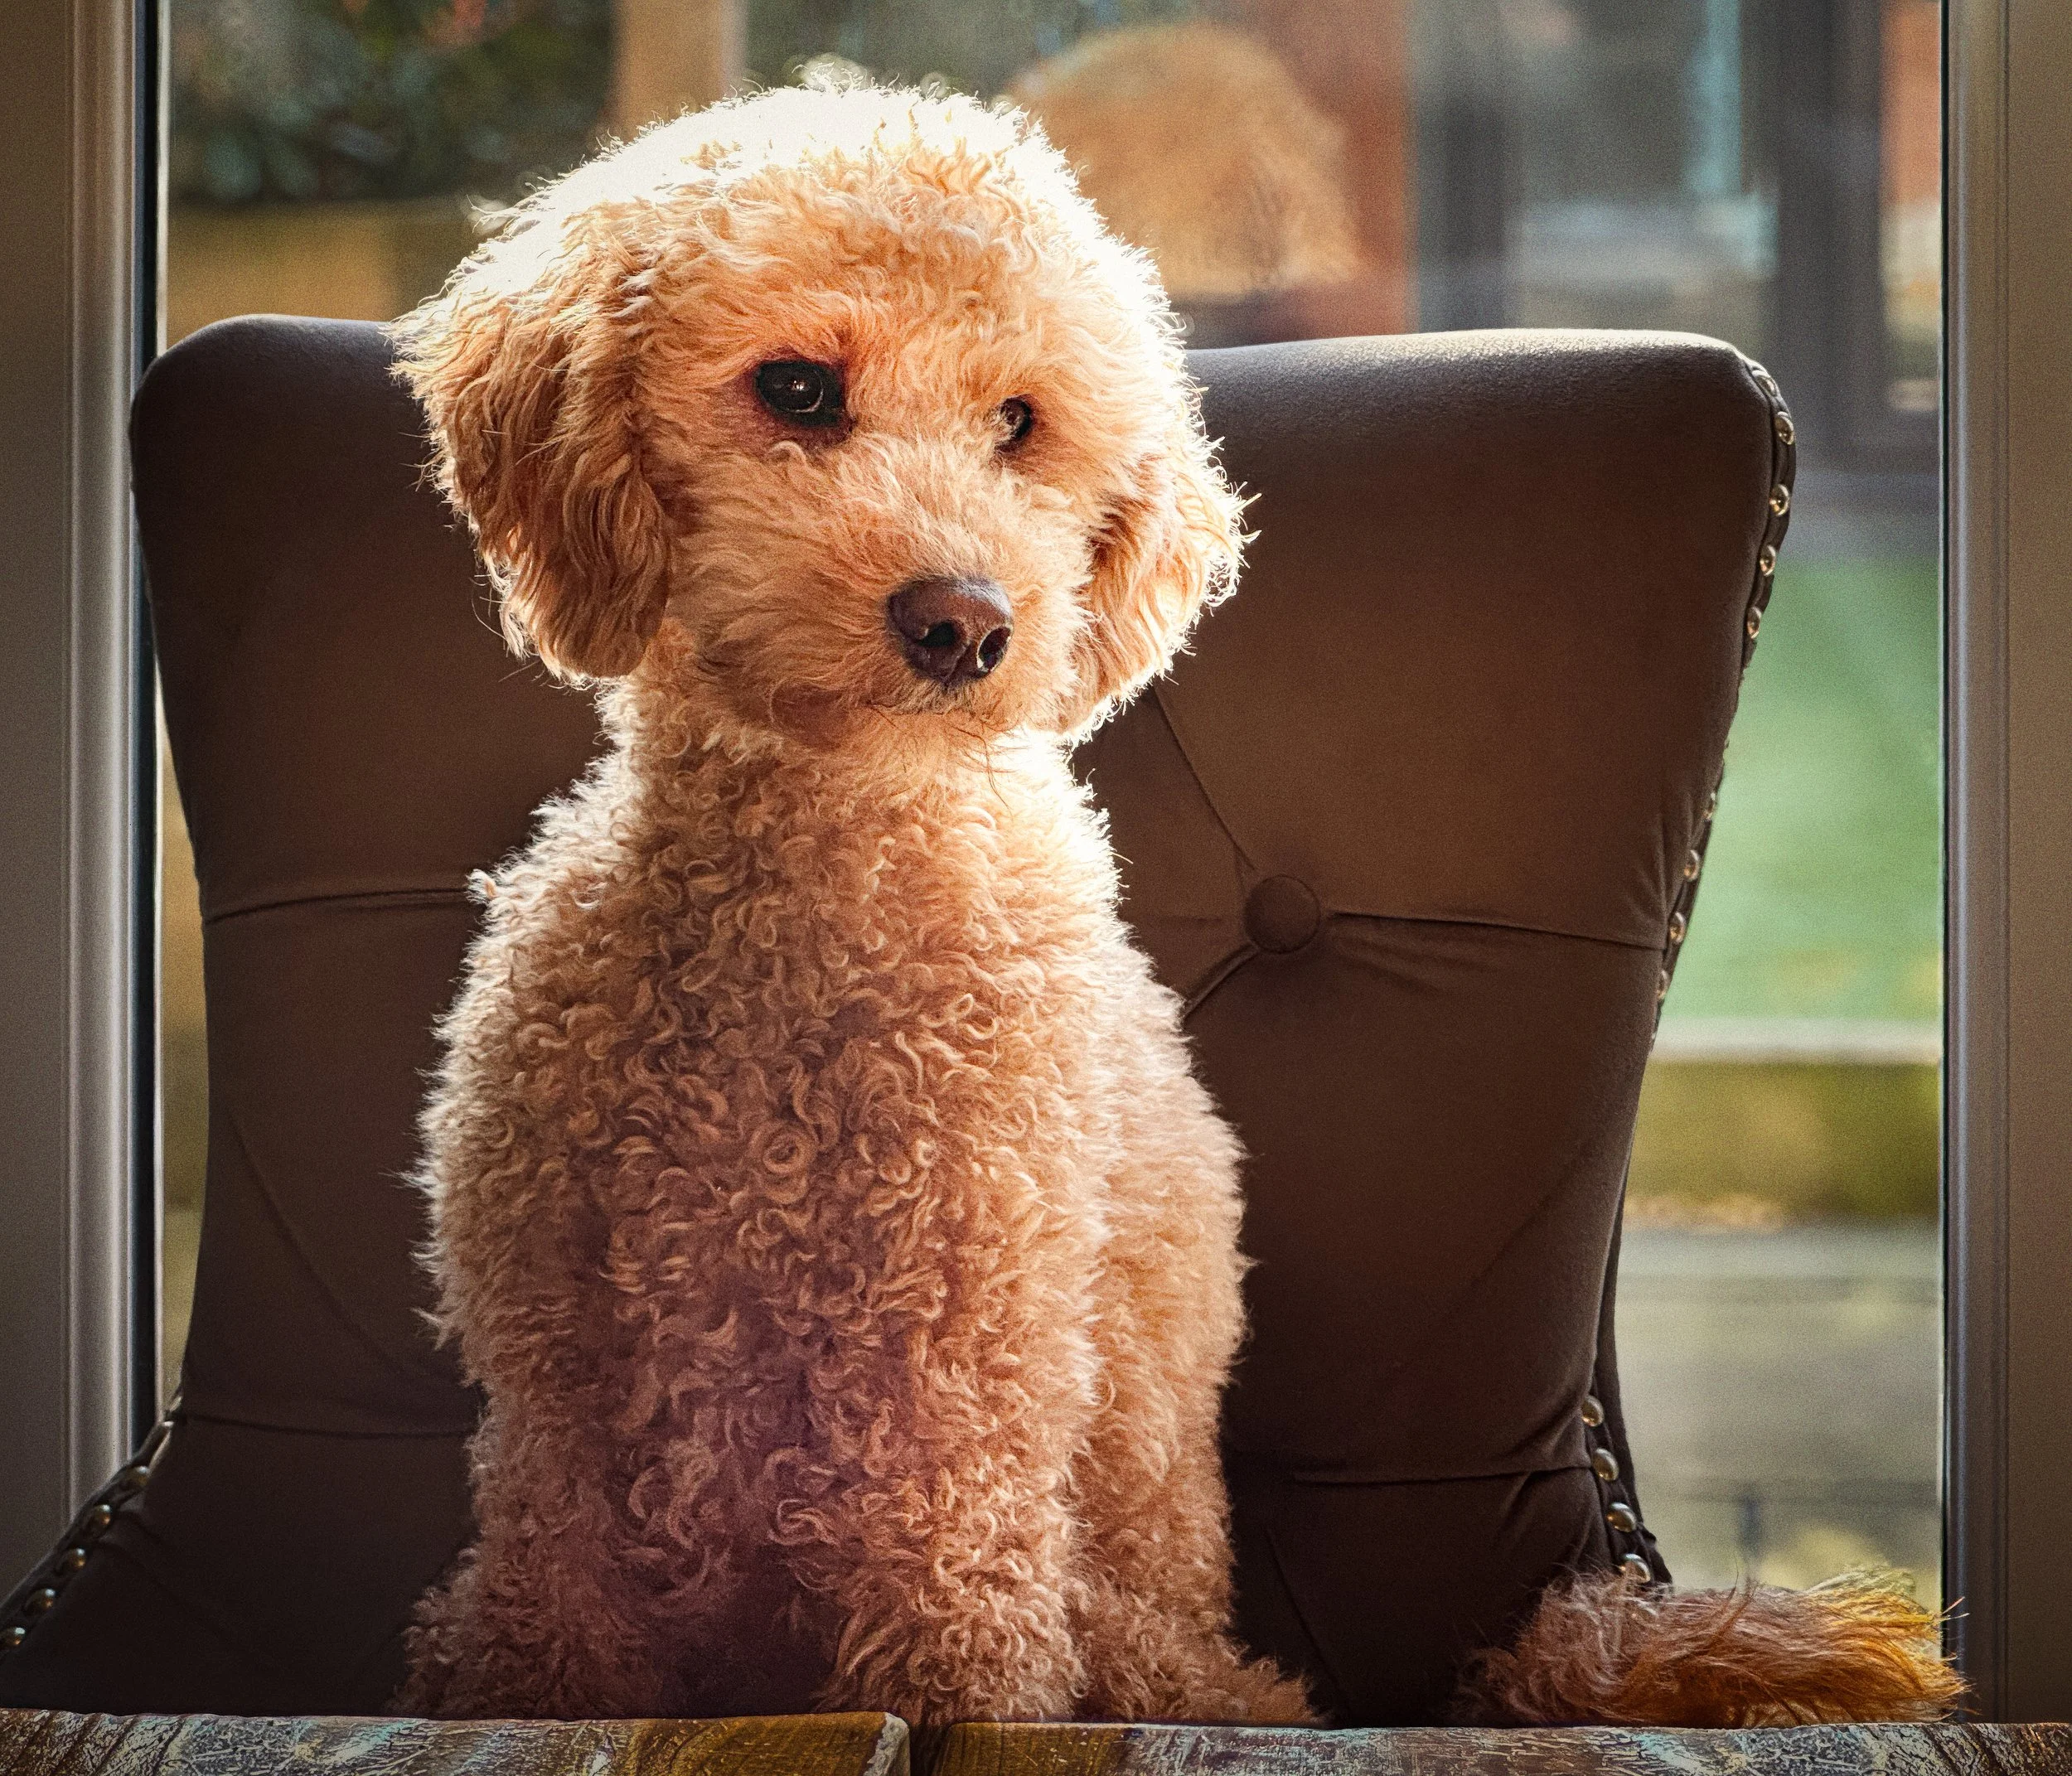
The particular challenge of photographing dogs is that they are enthusiastic and energetic and frequently have more to say about the direction of a session than you do. A dog that decides it wants to investigate your camera from a distance of two centimetres will do so; a dog that decides it would rather sniff a patch of grass seventeen feet away is unlikely to be dissuaded. This is also, it should be said, their greatest asset as subjects. Energy, expression, physical comedy, and unselfconscious enthusiasm are all present in abundance, and the camera does not make them self-conscious in the way it does humans.
Working at the dog's level means, in practice, getting entirely down. A photograph taken from knee height, looking slightly downward, is already significantly better than one taken from standing height — but eye-to-eye contact, with your lens at the same height as the dog's eyes, transforms the image into something that communicates directly with the viewer. On hard floors, this means lying flat. Outside, on grass, this also means lying flat. This is non-negotiable if you want the best results, and the grass will brush off.
The sitting shot versus the in-action shot: posed sitting portraits are technically straightforward and emotionally inert. A well-trained dog can be asked to sit and stay, and will produce a technically correct image — sharp, well-composed, correctly exposed — that looks approximately like a dog passport photograph. A dog in full chase, mid-jump, in the act of catching a ball, or engaged in play with another dog captures something that a posed shot never can: character, energy, and the physical reality of what a dog actually is. Burst mode and anticipation are the tools for action; the ability to predict the peak of a jump, or the moment the mouth opens for the catch, comes from watching and knowing your subject.
Specific breed considerations are worth addressing directly:
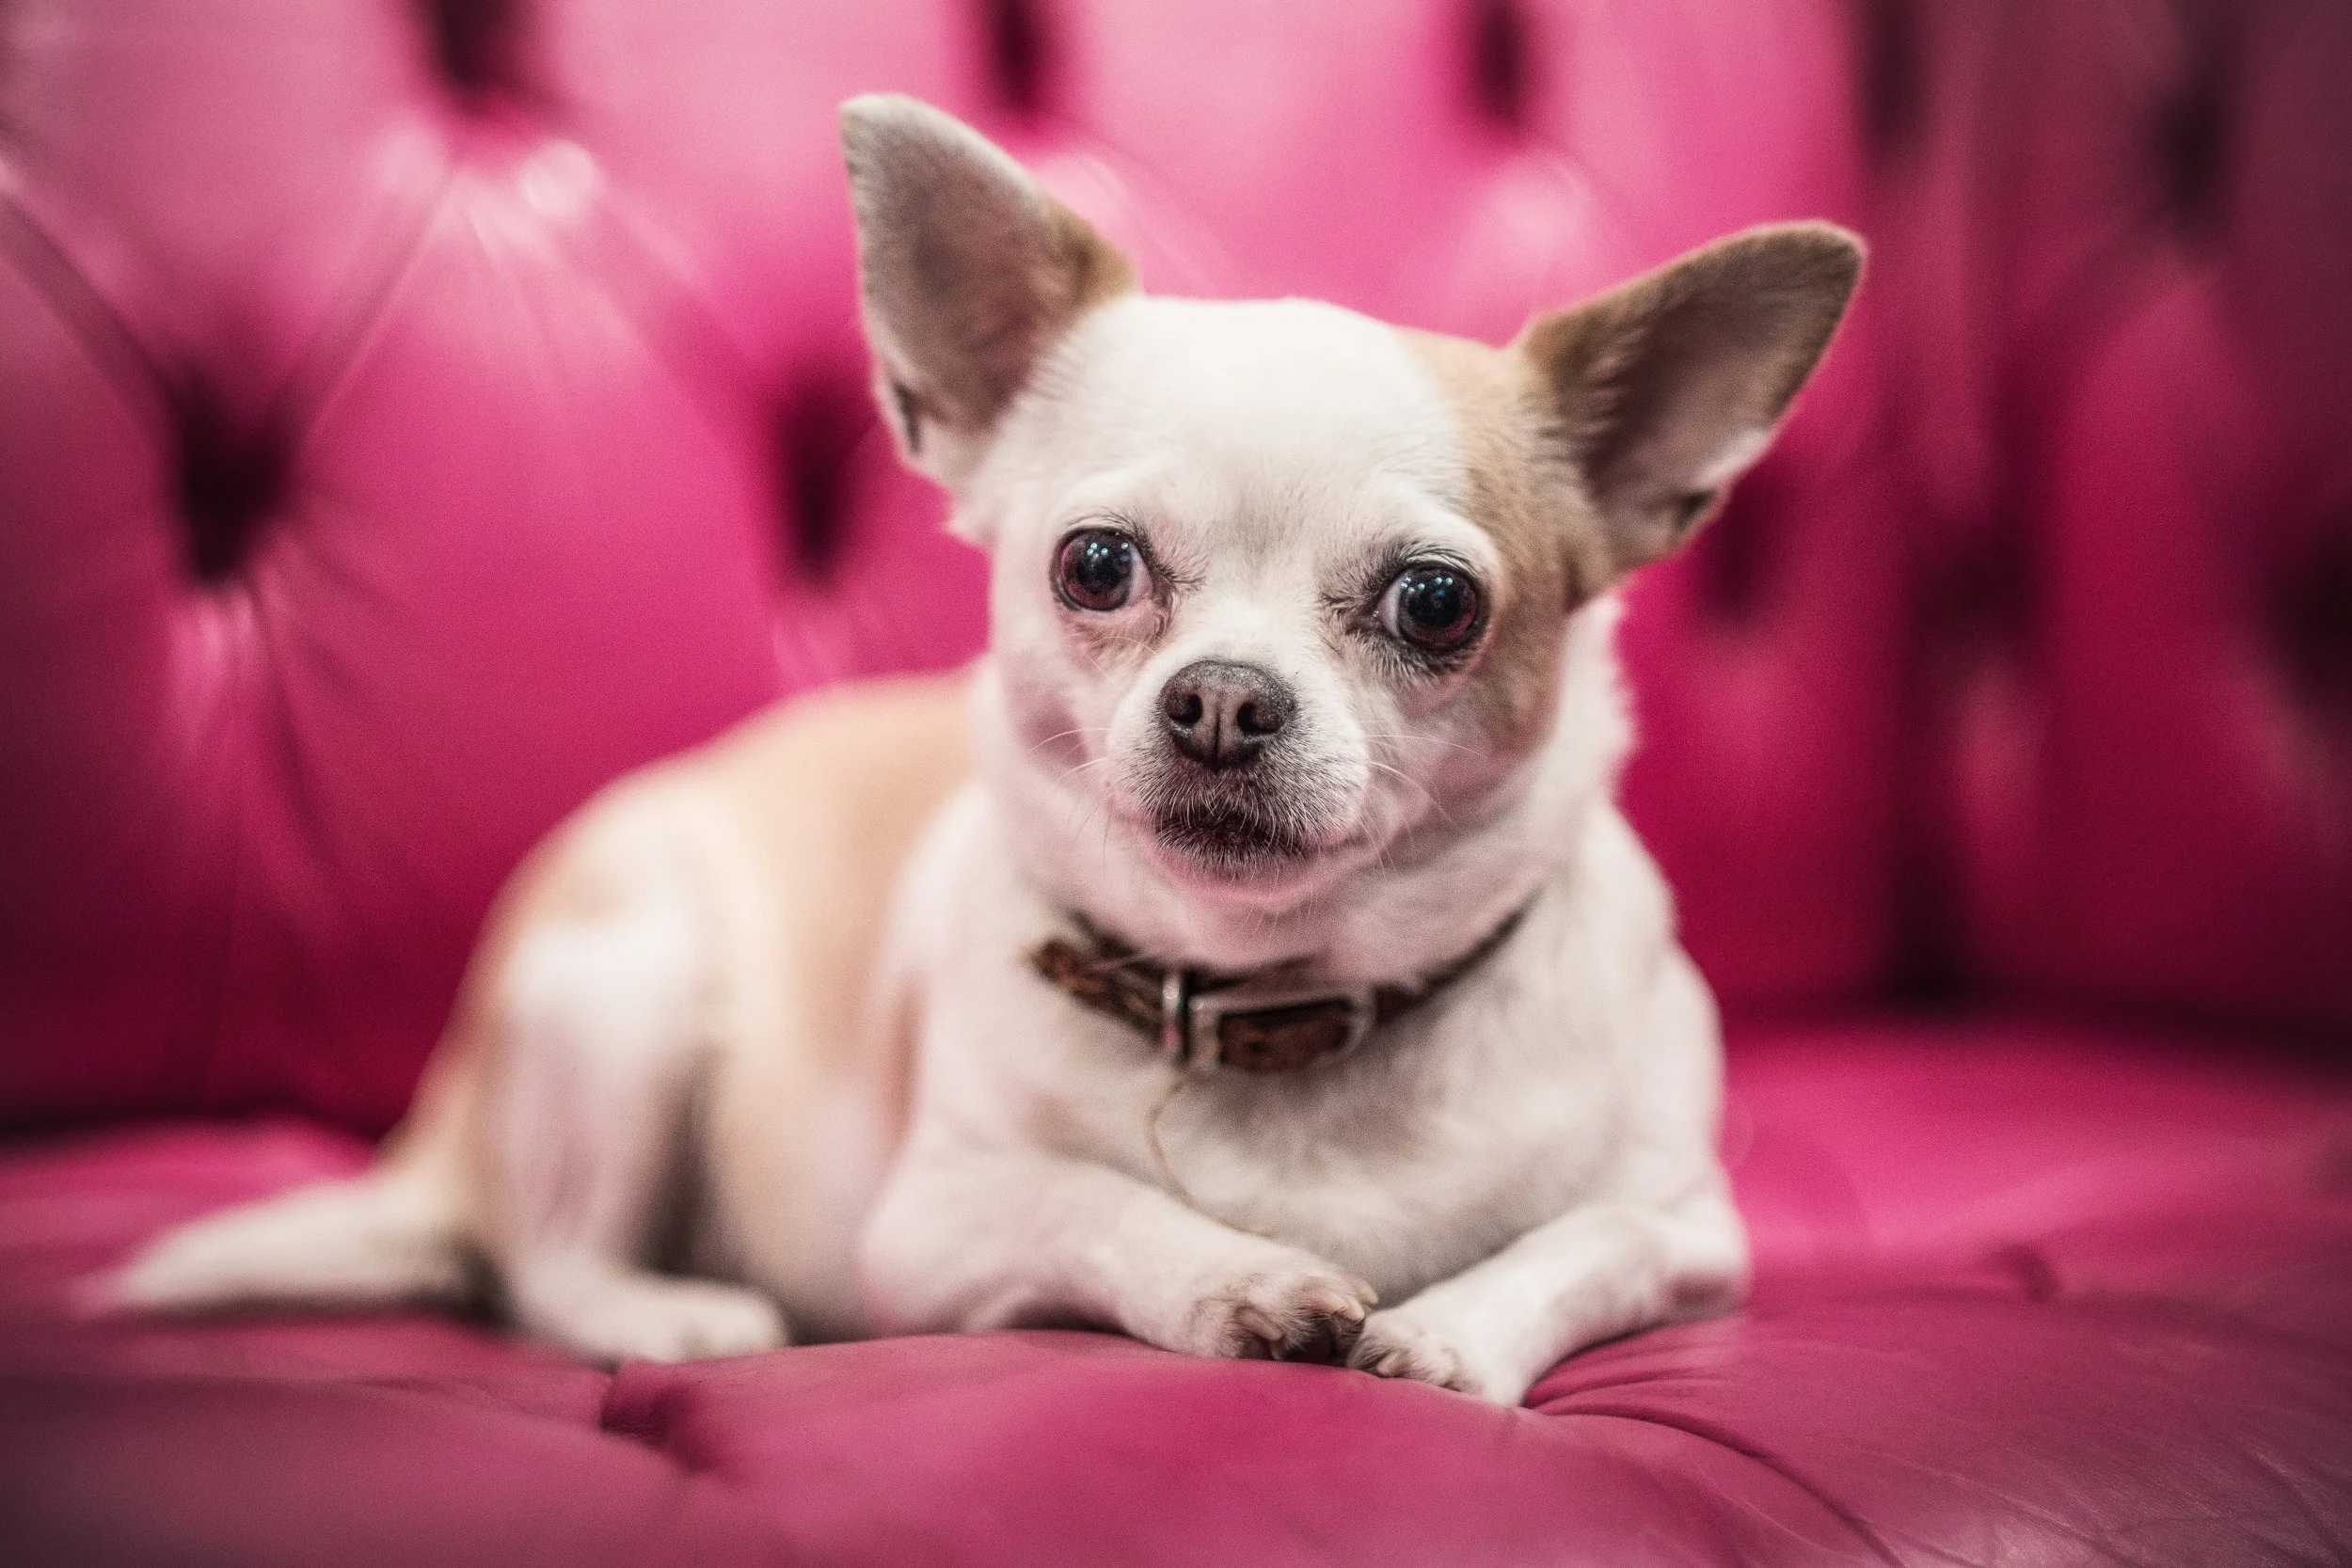
Brachycephalic breeds — flat-faced dogs including pugs, French bulldogs, bulldogs, and Boston terriers — have a face that is, in effect, the entire subject. Shoot slightly below eye level looking gently upward, which shows the broad forehead and wide-set eyes to best advantage. The wide-set eyes benefit from a slightly wider frame than you might choose for a long-muzzled breed. Be aware that the prominent eyes can reflect light unexpectedly, creating catchlights in unusual positions; this is often a virtue rather than a problem.
Long-haired breeds — Afghan hounds, Old English sheepdogs, Lhasa apsos, and their cousins — are at their most photogenic in motion, when the coat moves and catches the light. A static portrait of a heavily coated dog often reads as an attractively shaped carpet. Be prepared to use Portrait Mode carefully or avoid it entirely due to the complexity of fine, backlit fur at the edges; natural bokeh from a telephoto lens and a distant background will serve you better.
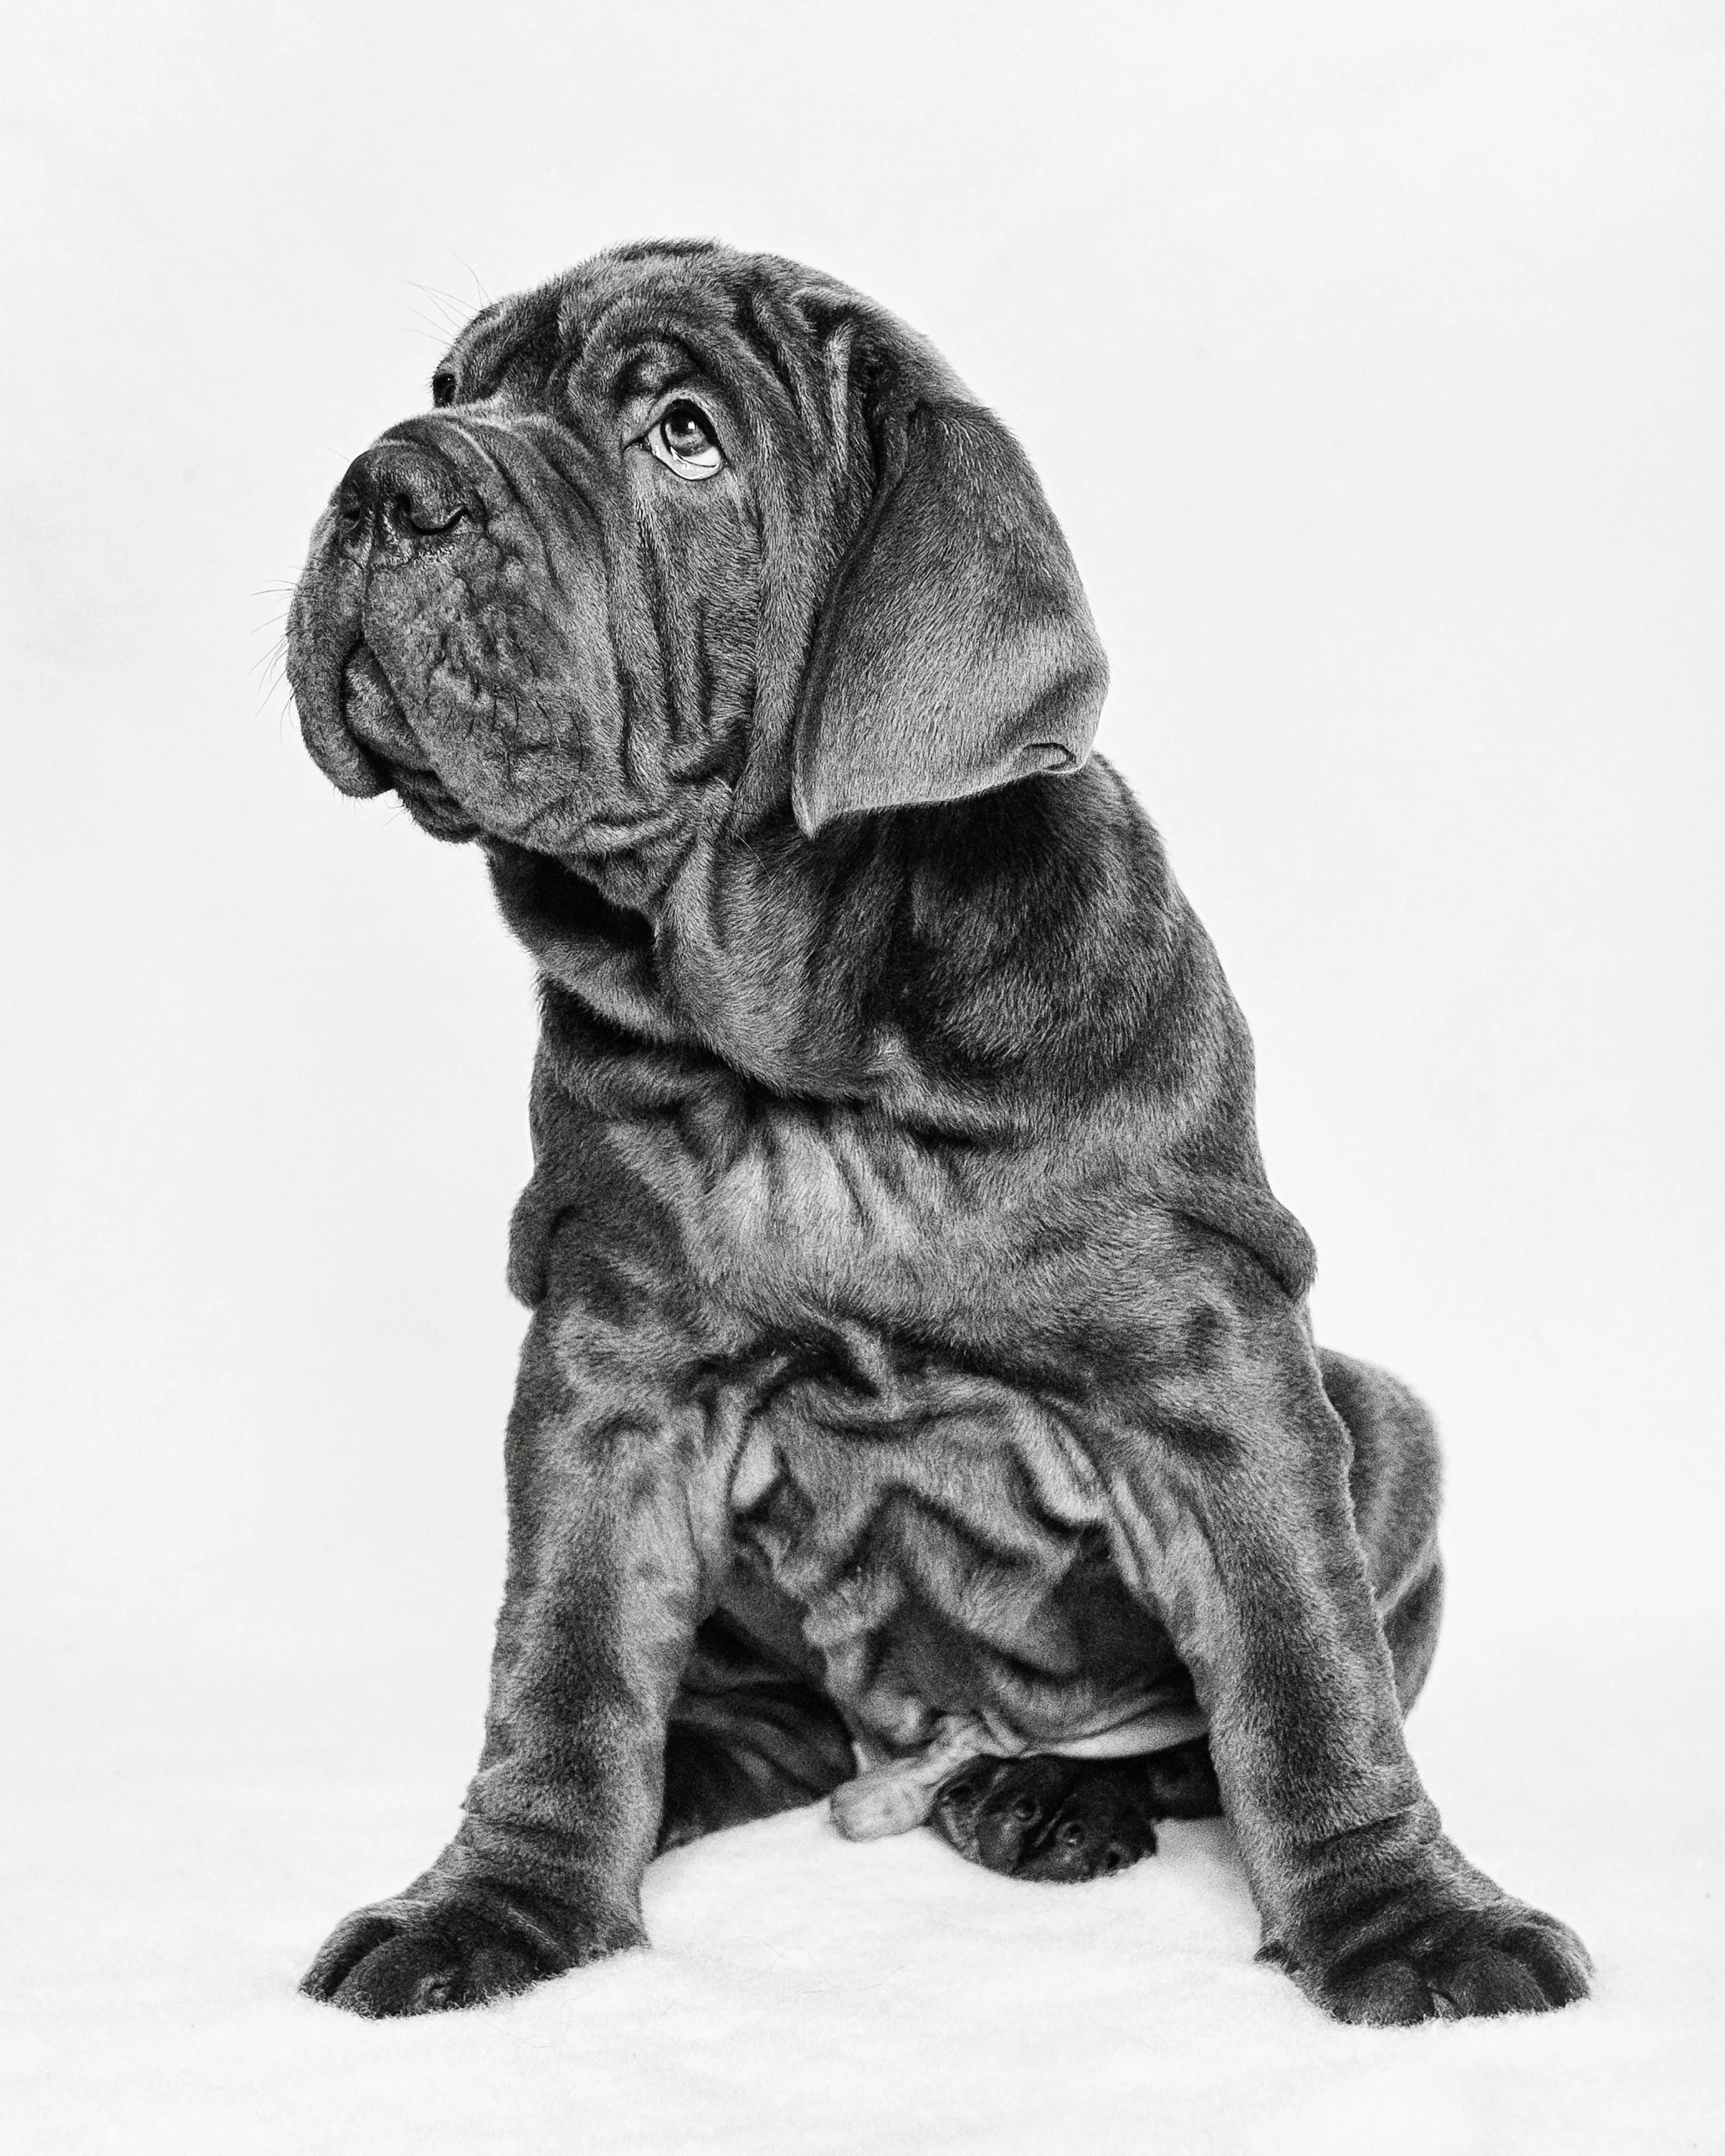
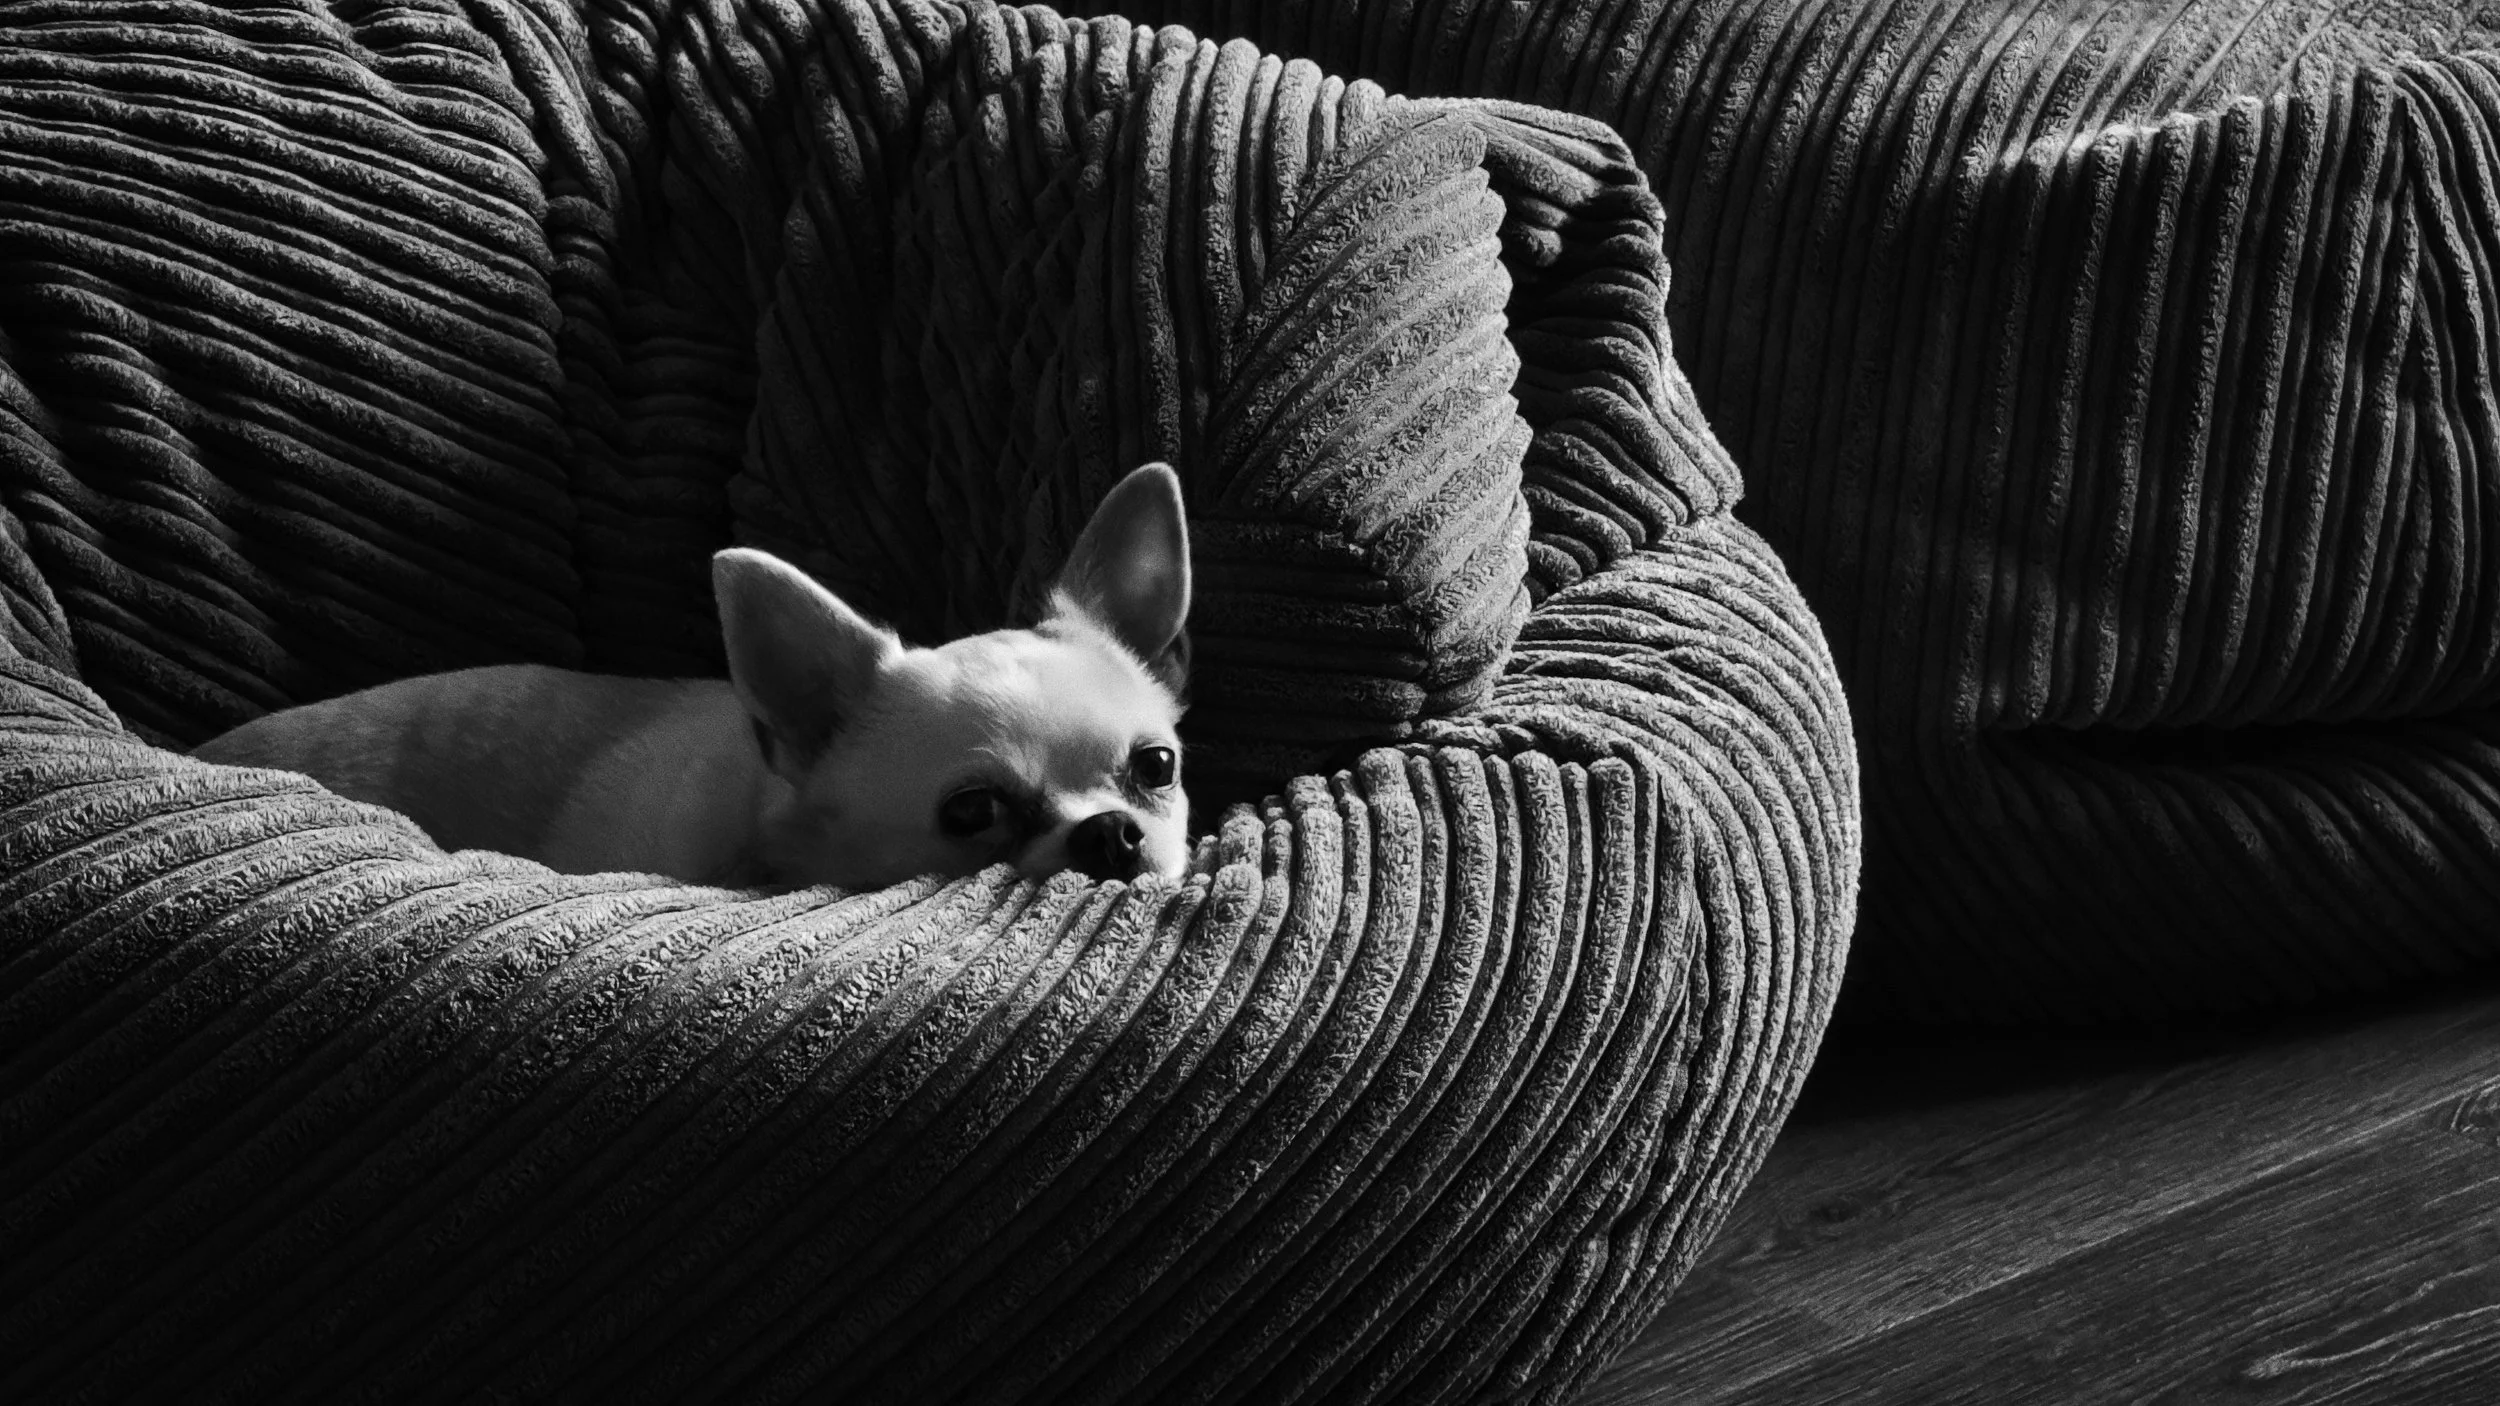
Dark-coated dogs require specific attention to the relationship between the coat and the background. High contrast between a black or very dark coat and a bright, busy background creates a silhouette where you wanted a portrait. Choose a light background if possible — a pale wall, an overcast sky, snow if you are fortunate enough to have it — or shoot in overcast conditions that reduce harsh shadows within the coat. Expose for the coat detail; the automatic metering on a phone seeing a large dark subject against a lighter background will tend to overexpose, washing out whatever detail exists.
The dog and its environment: dogs in their natural territory — garden, park, beach, woodland — are more relaxed and more themselves than dogs in unfamiliar spaces. The environment also functions as a compositional element, not merely a background. A dog at the edge of a woodland path, a dog silhouetted against a beach at low tide, a dog disappearing into long grass — these are complete images in which the setting contributes meaningfully to the whole.
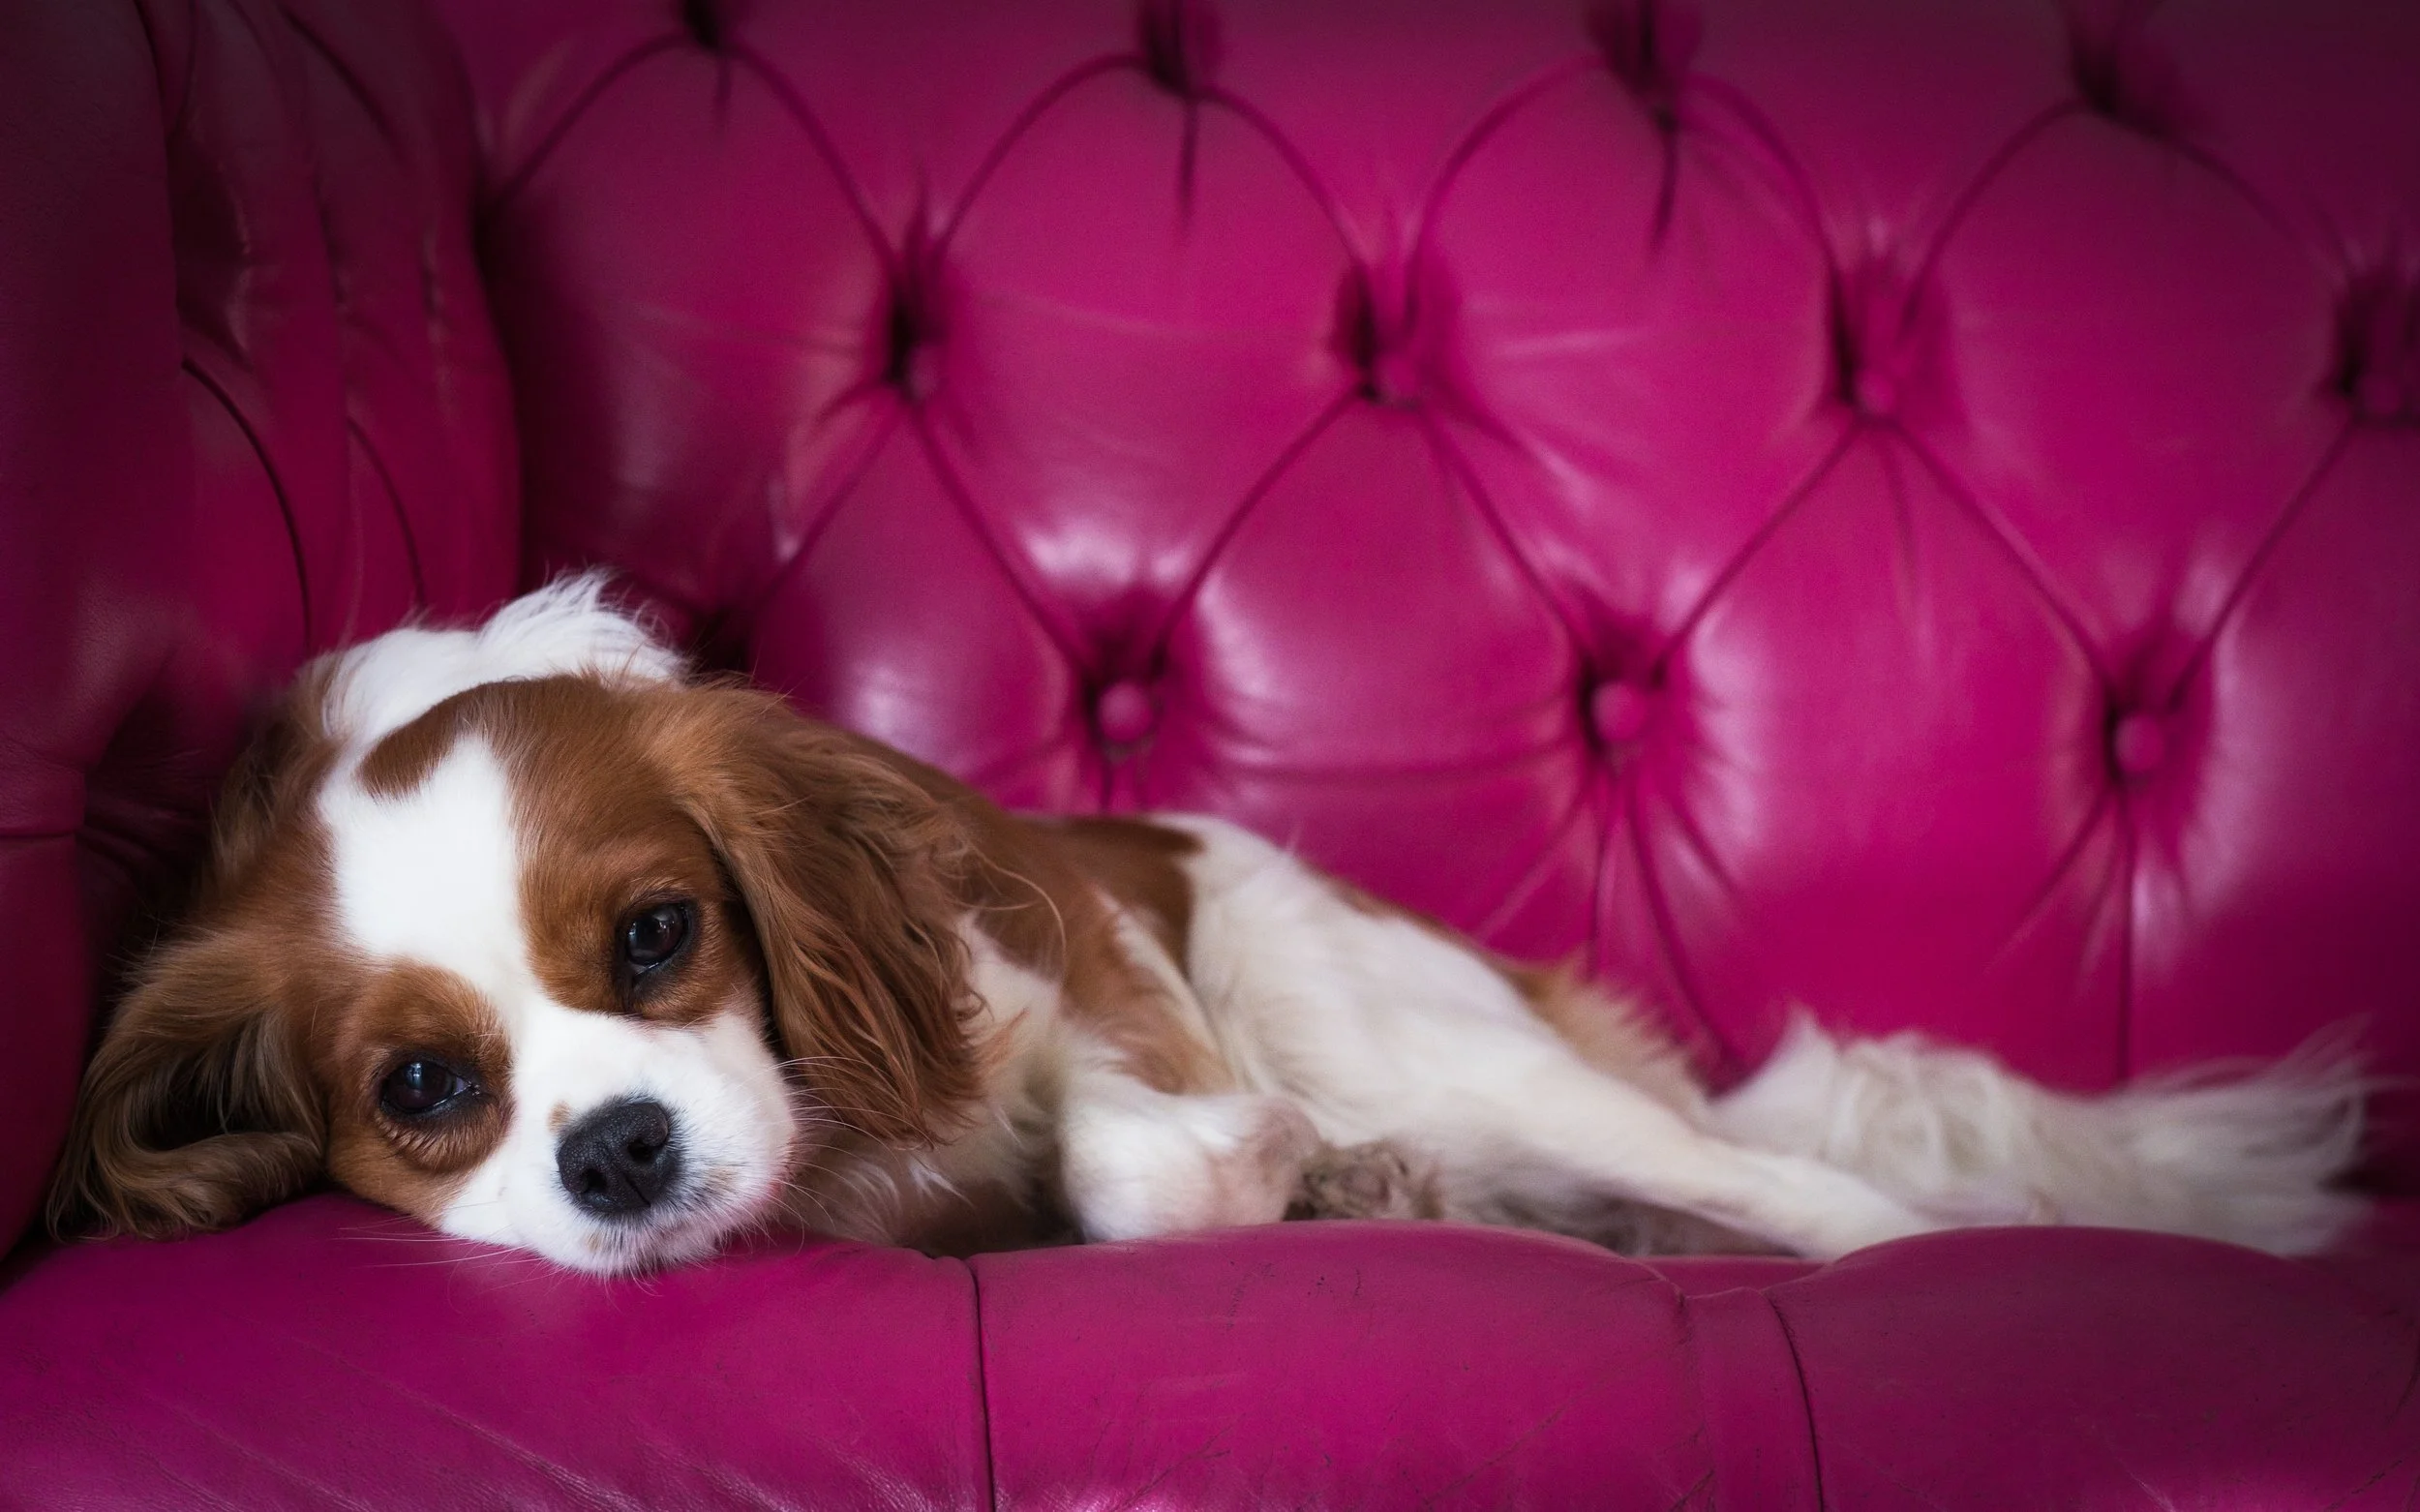
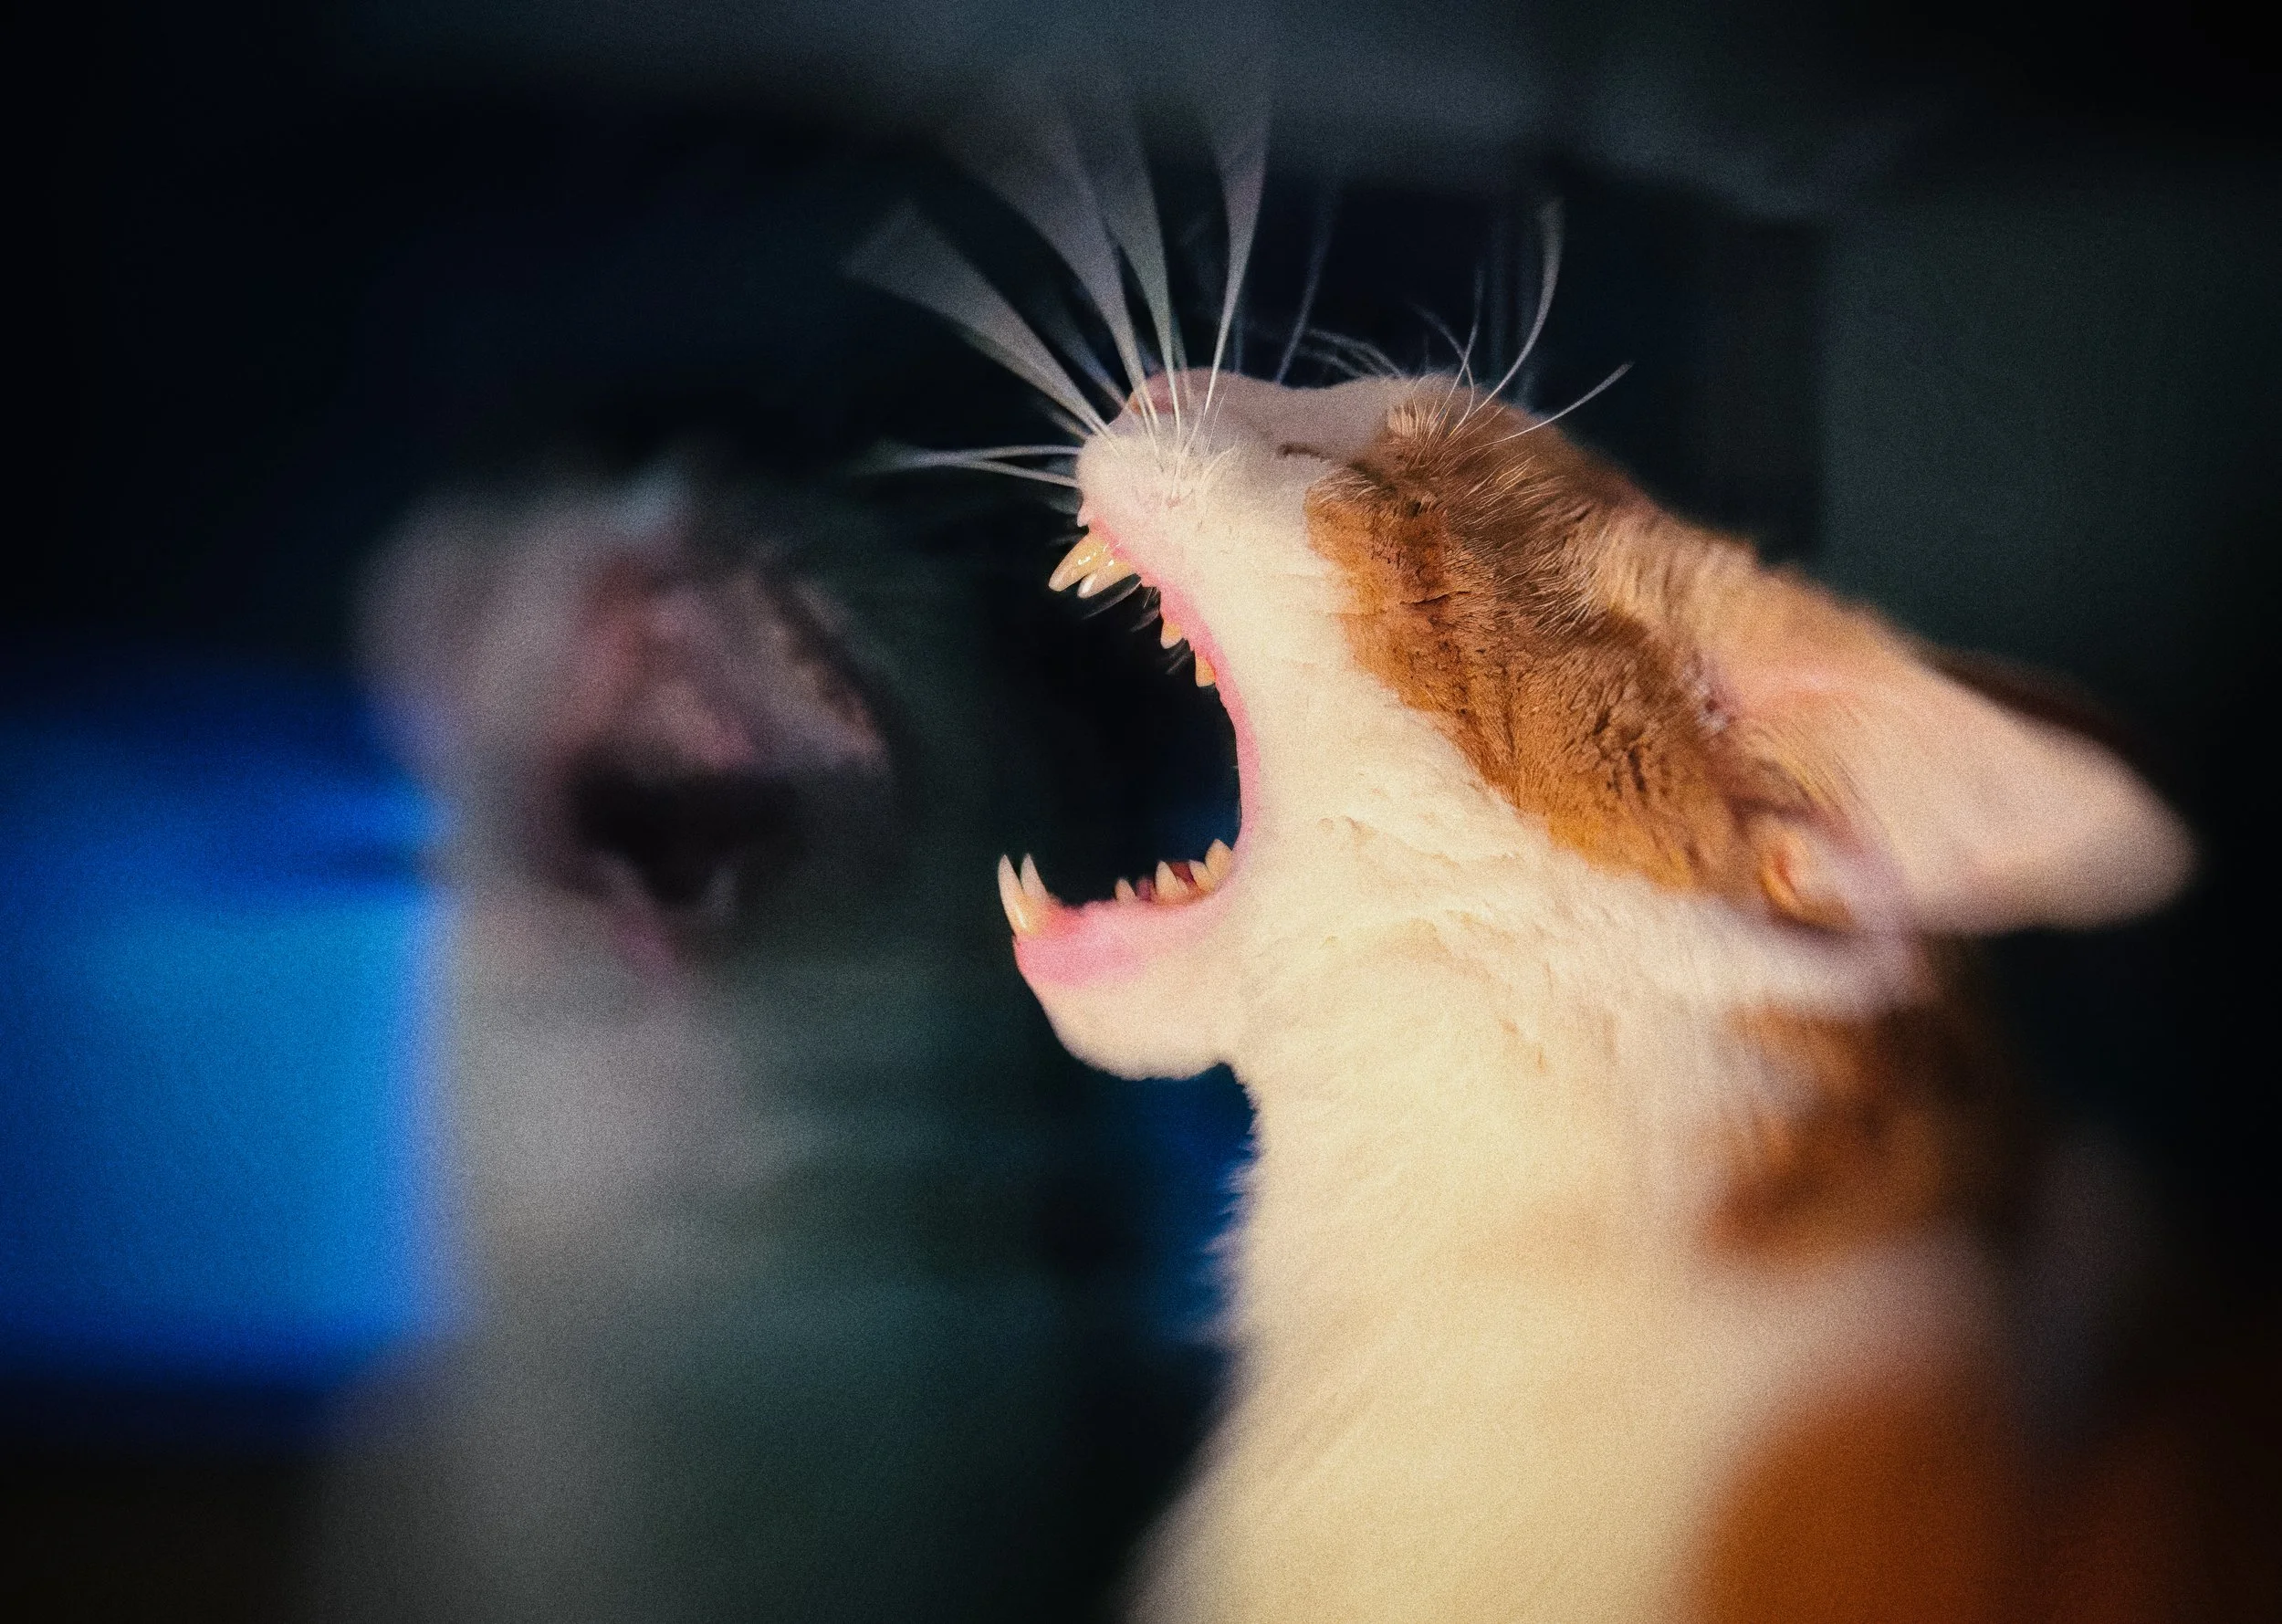
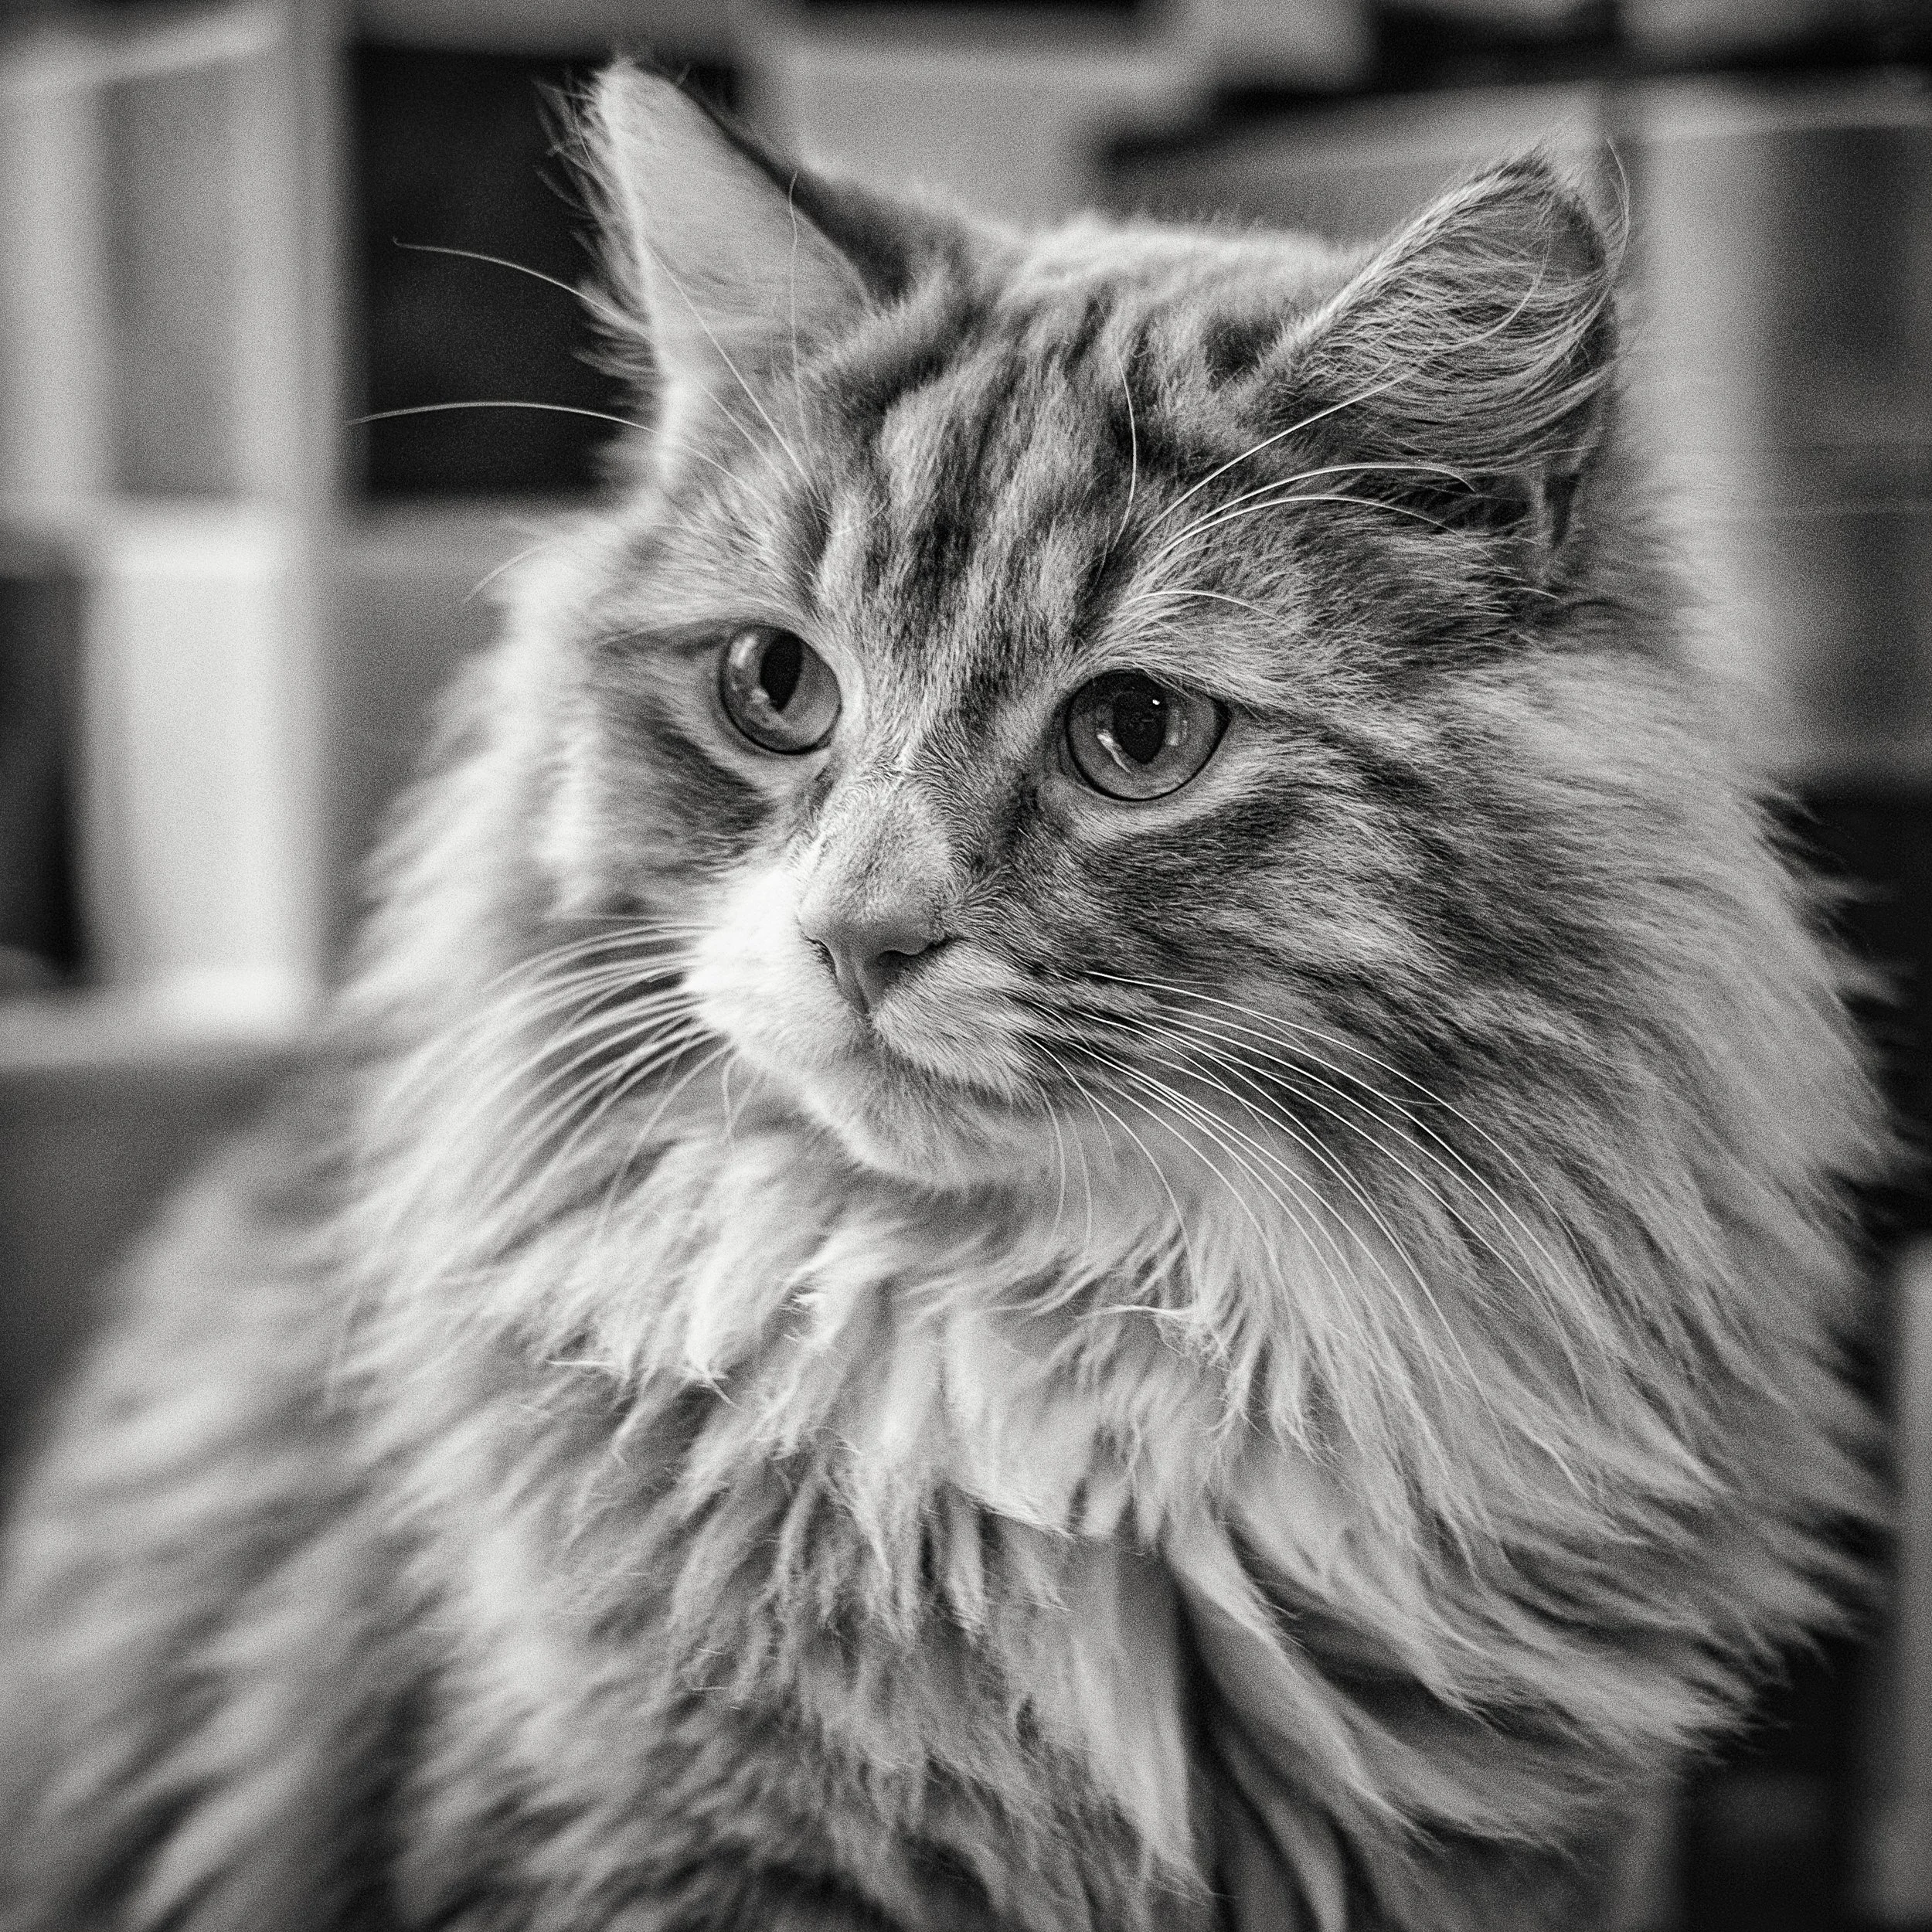
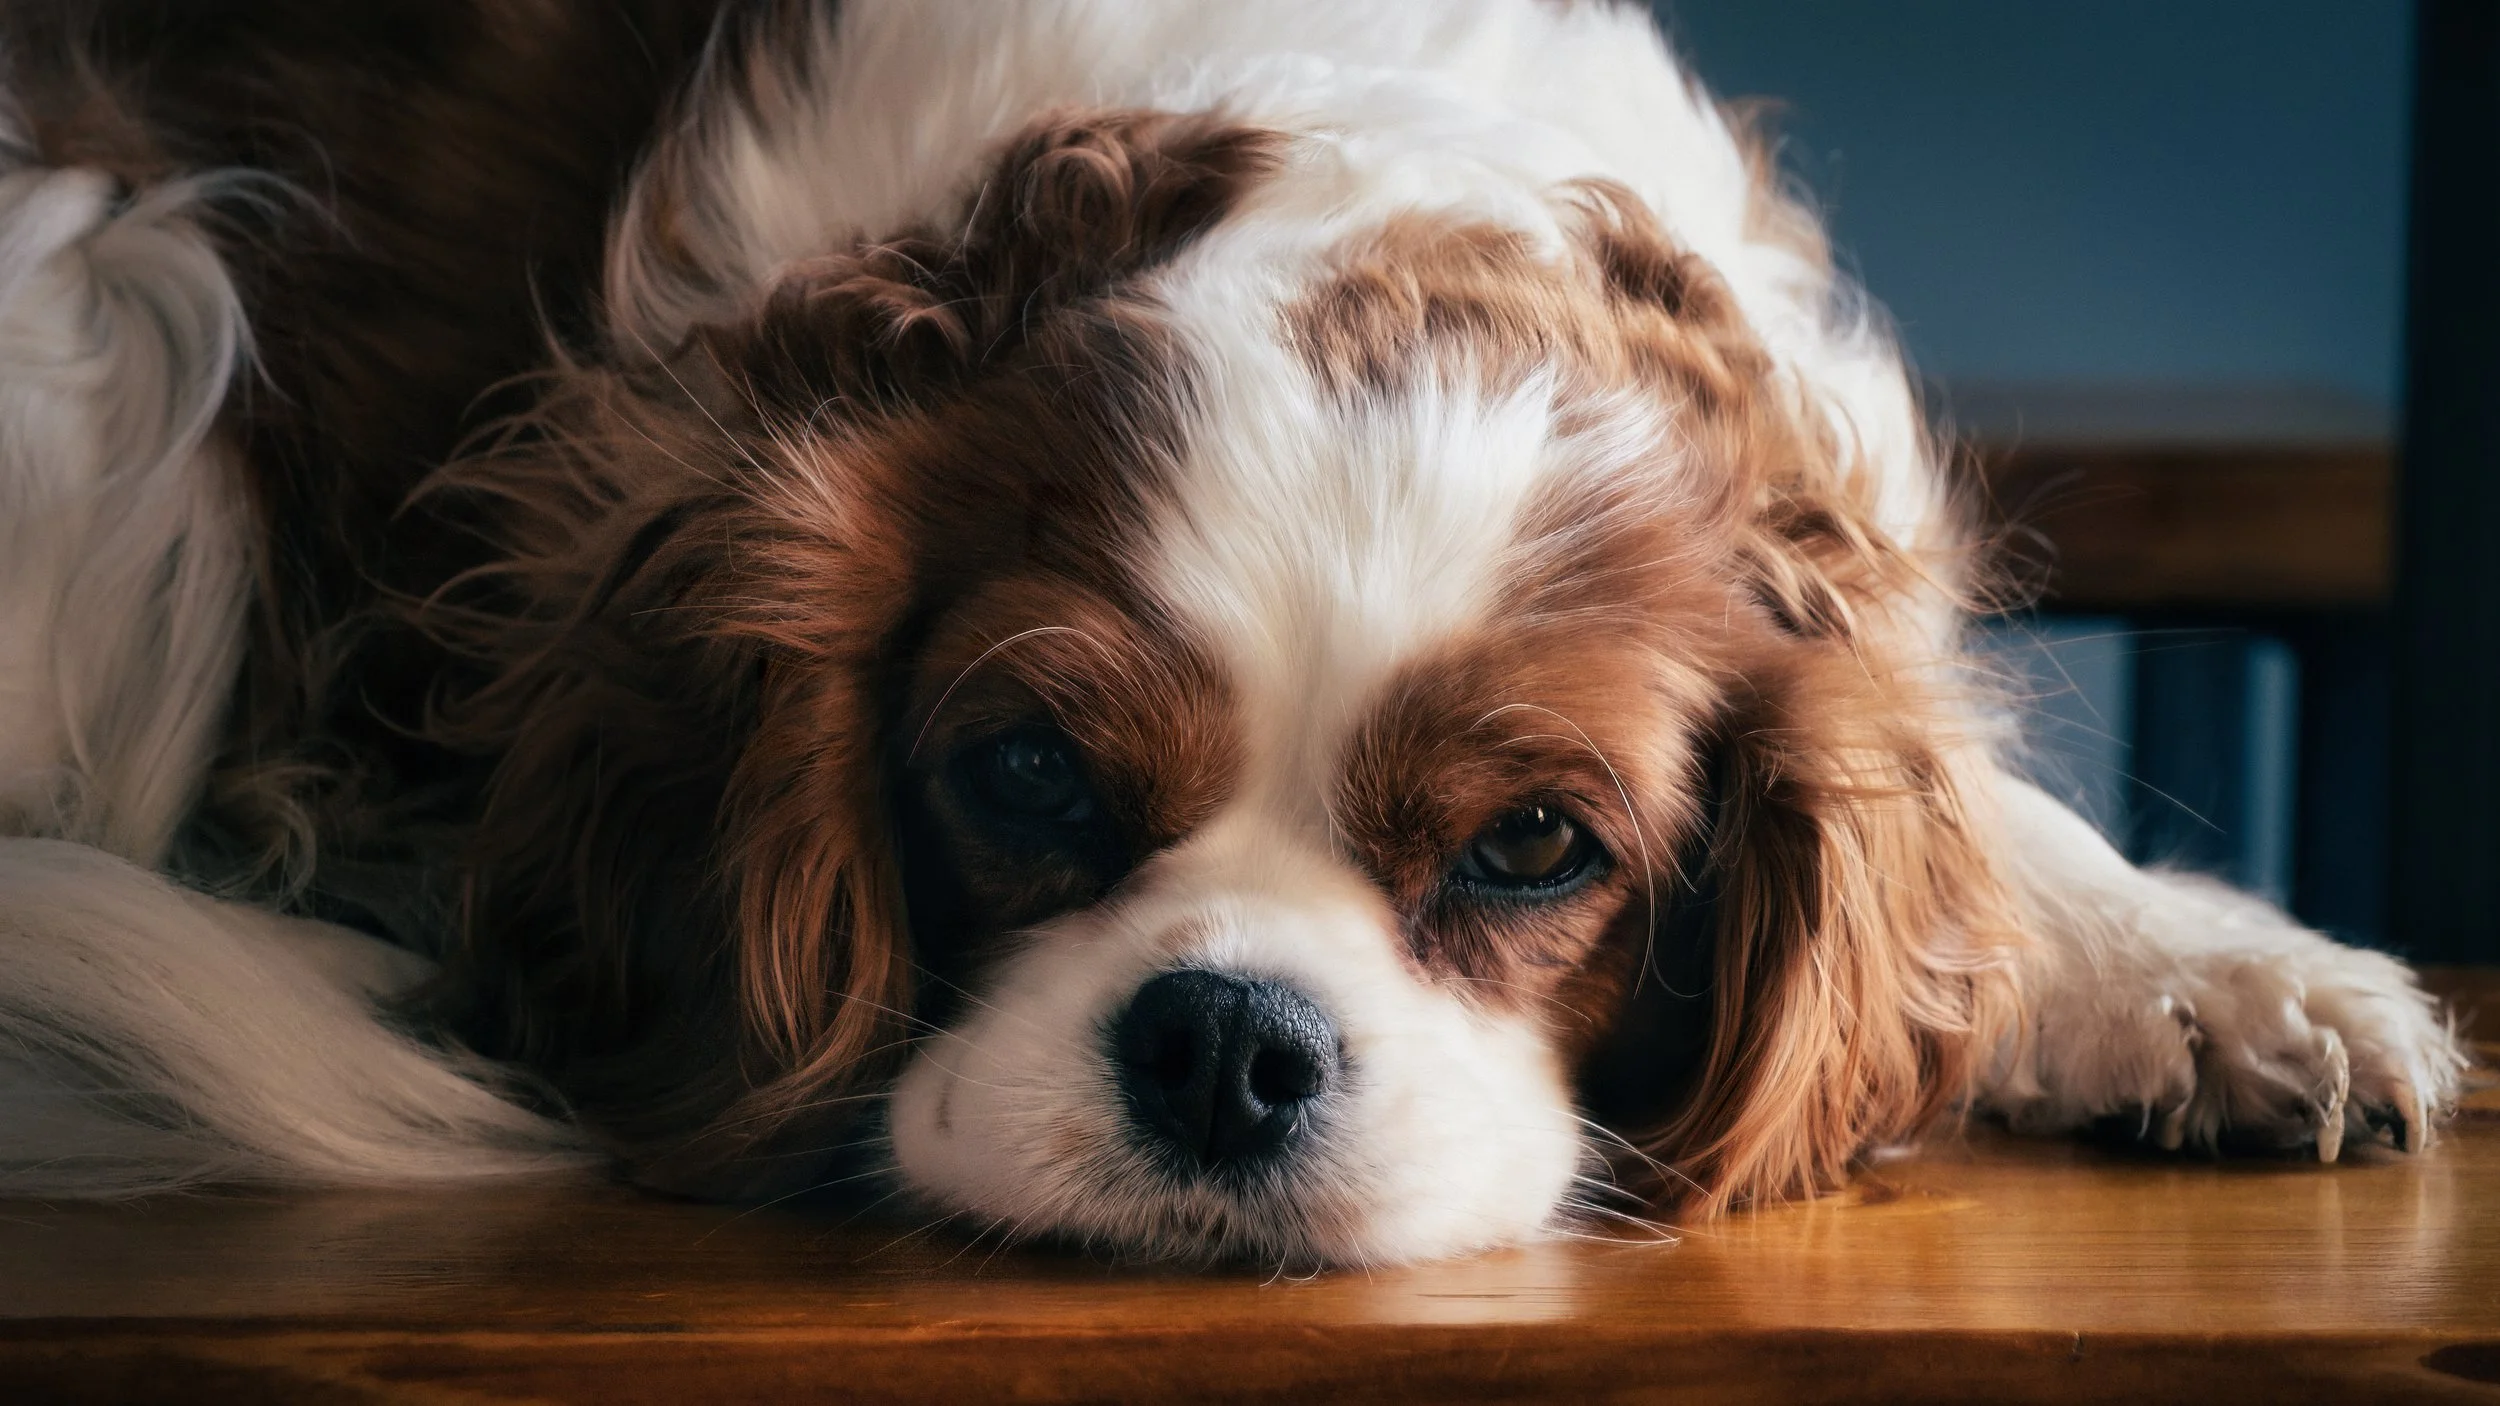
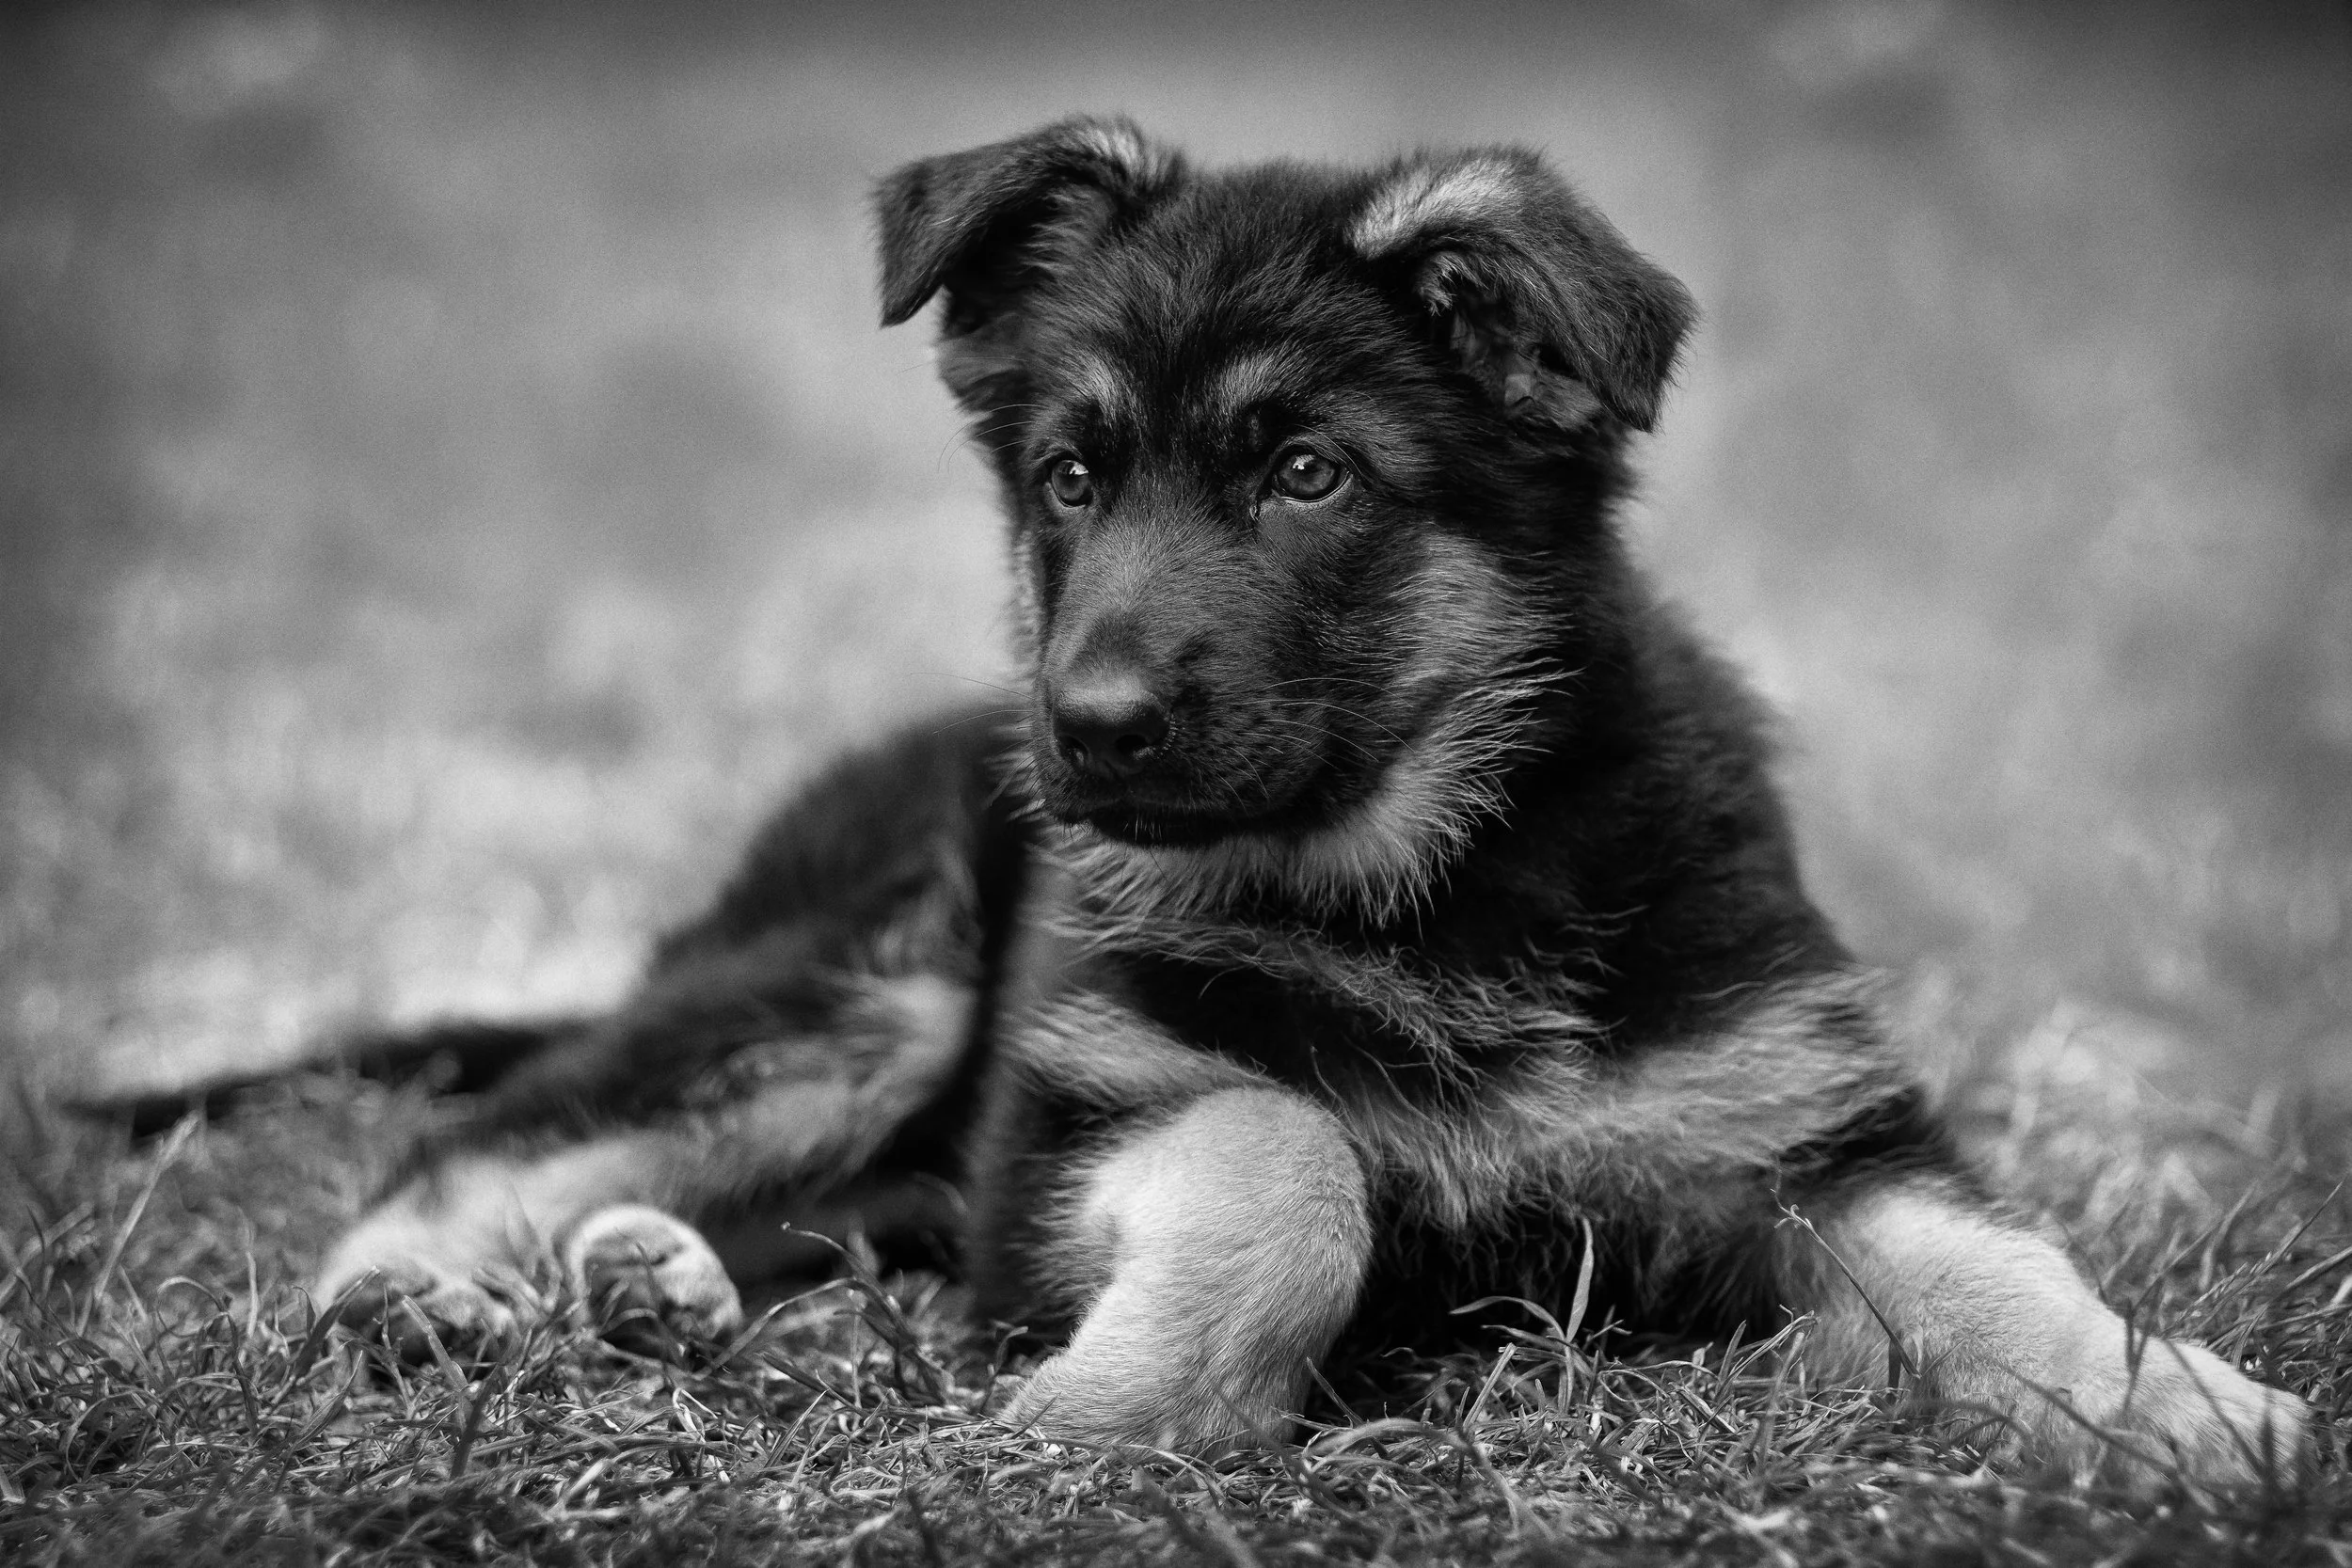
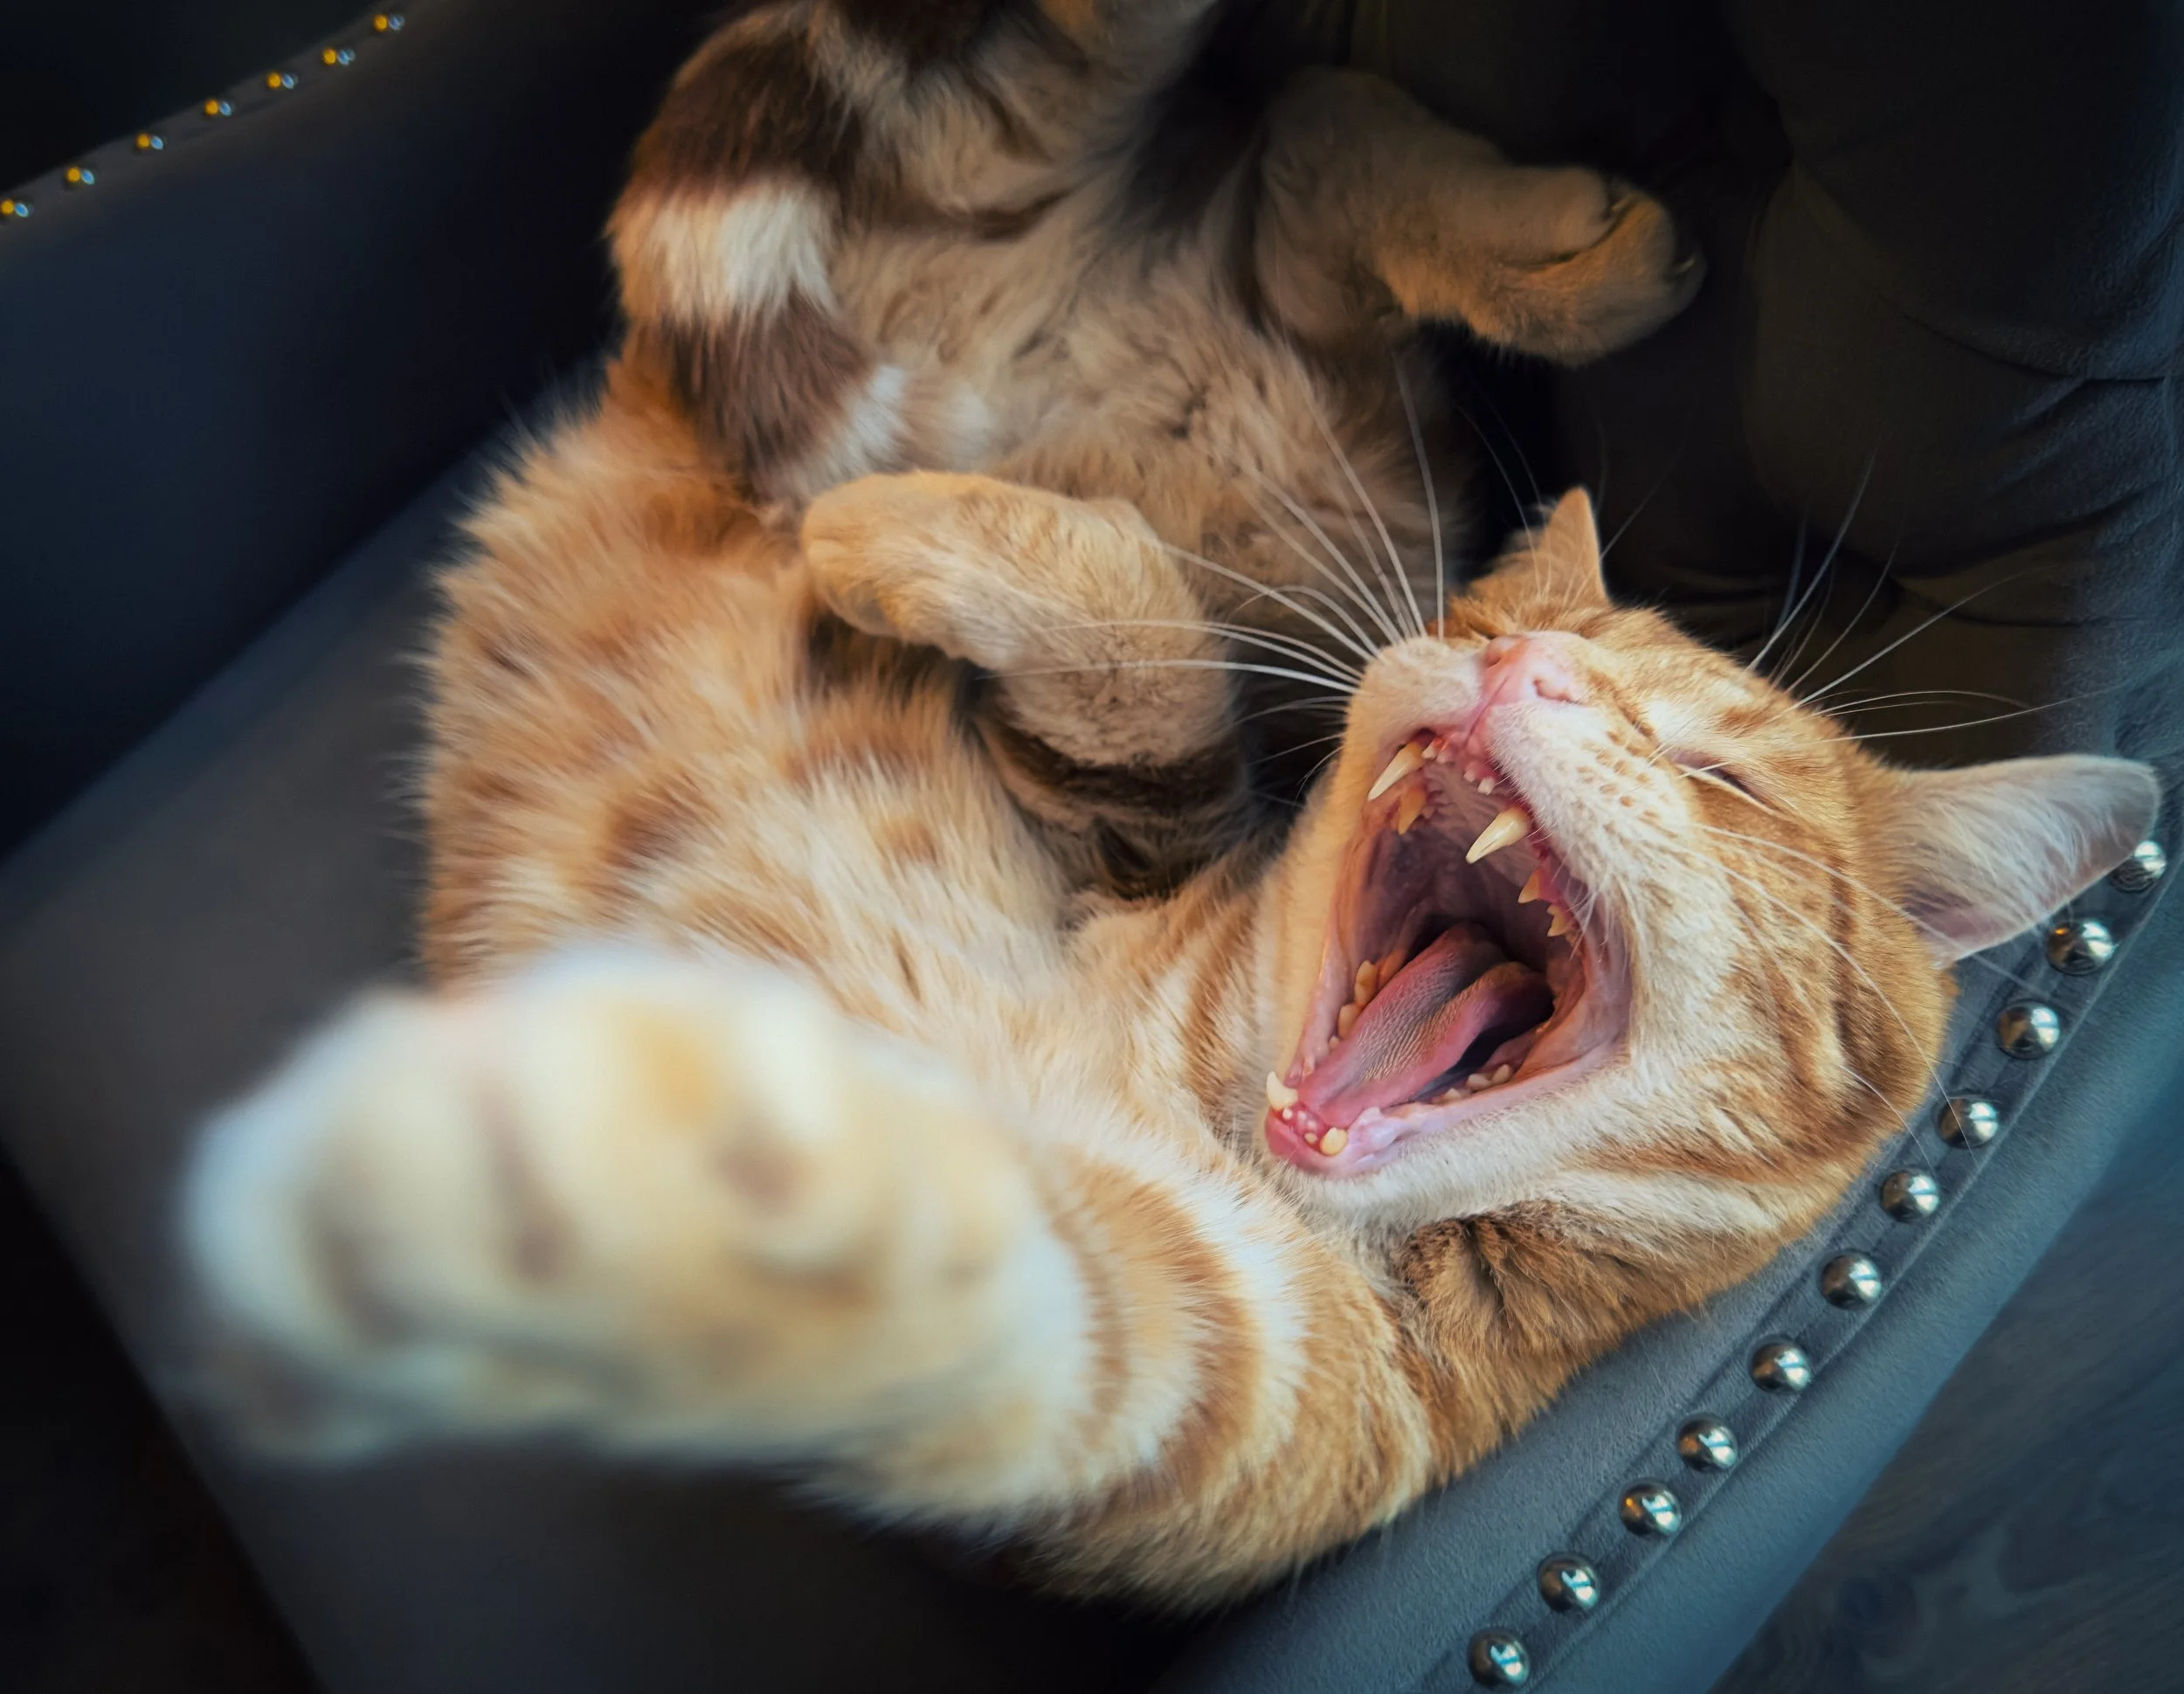
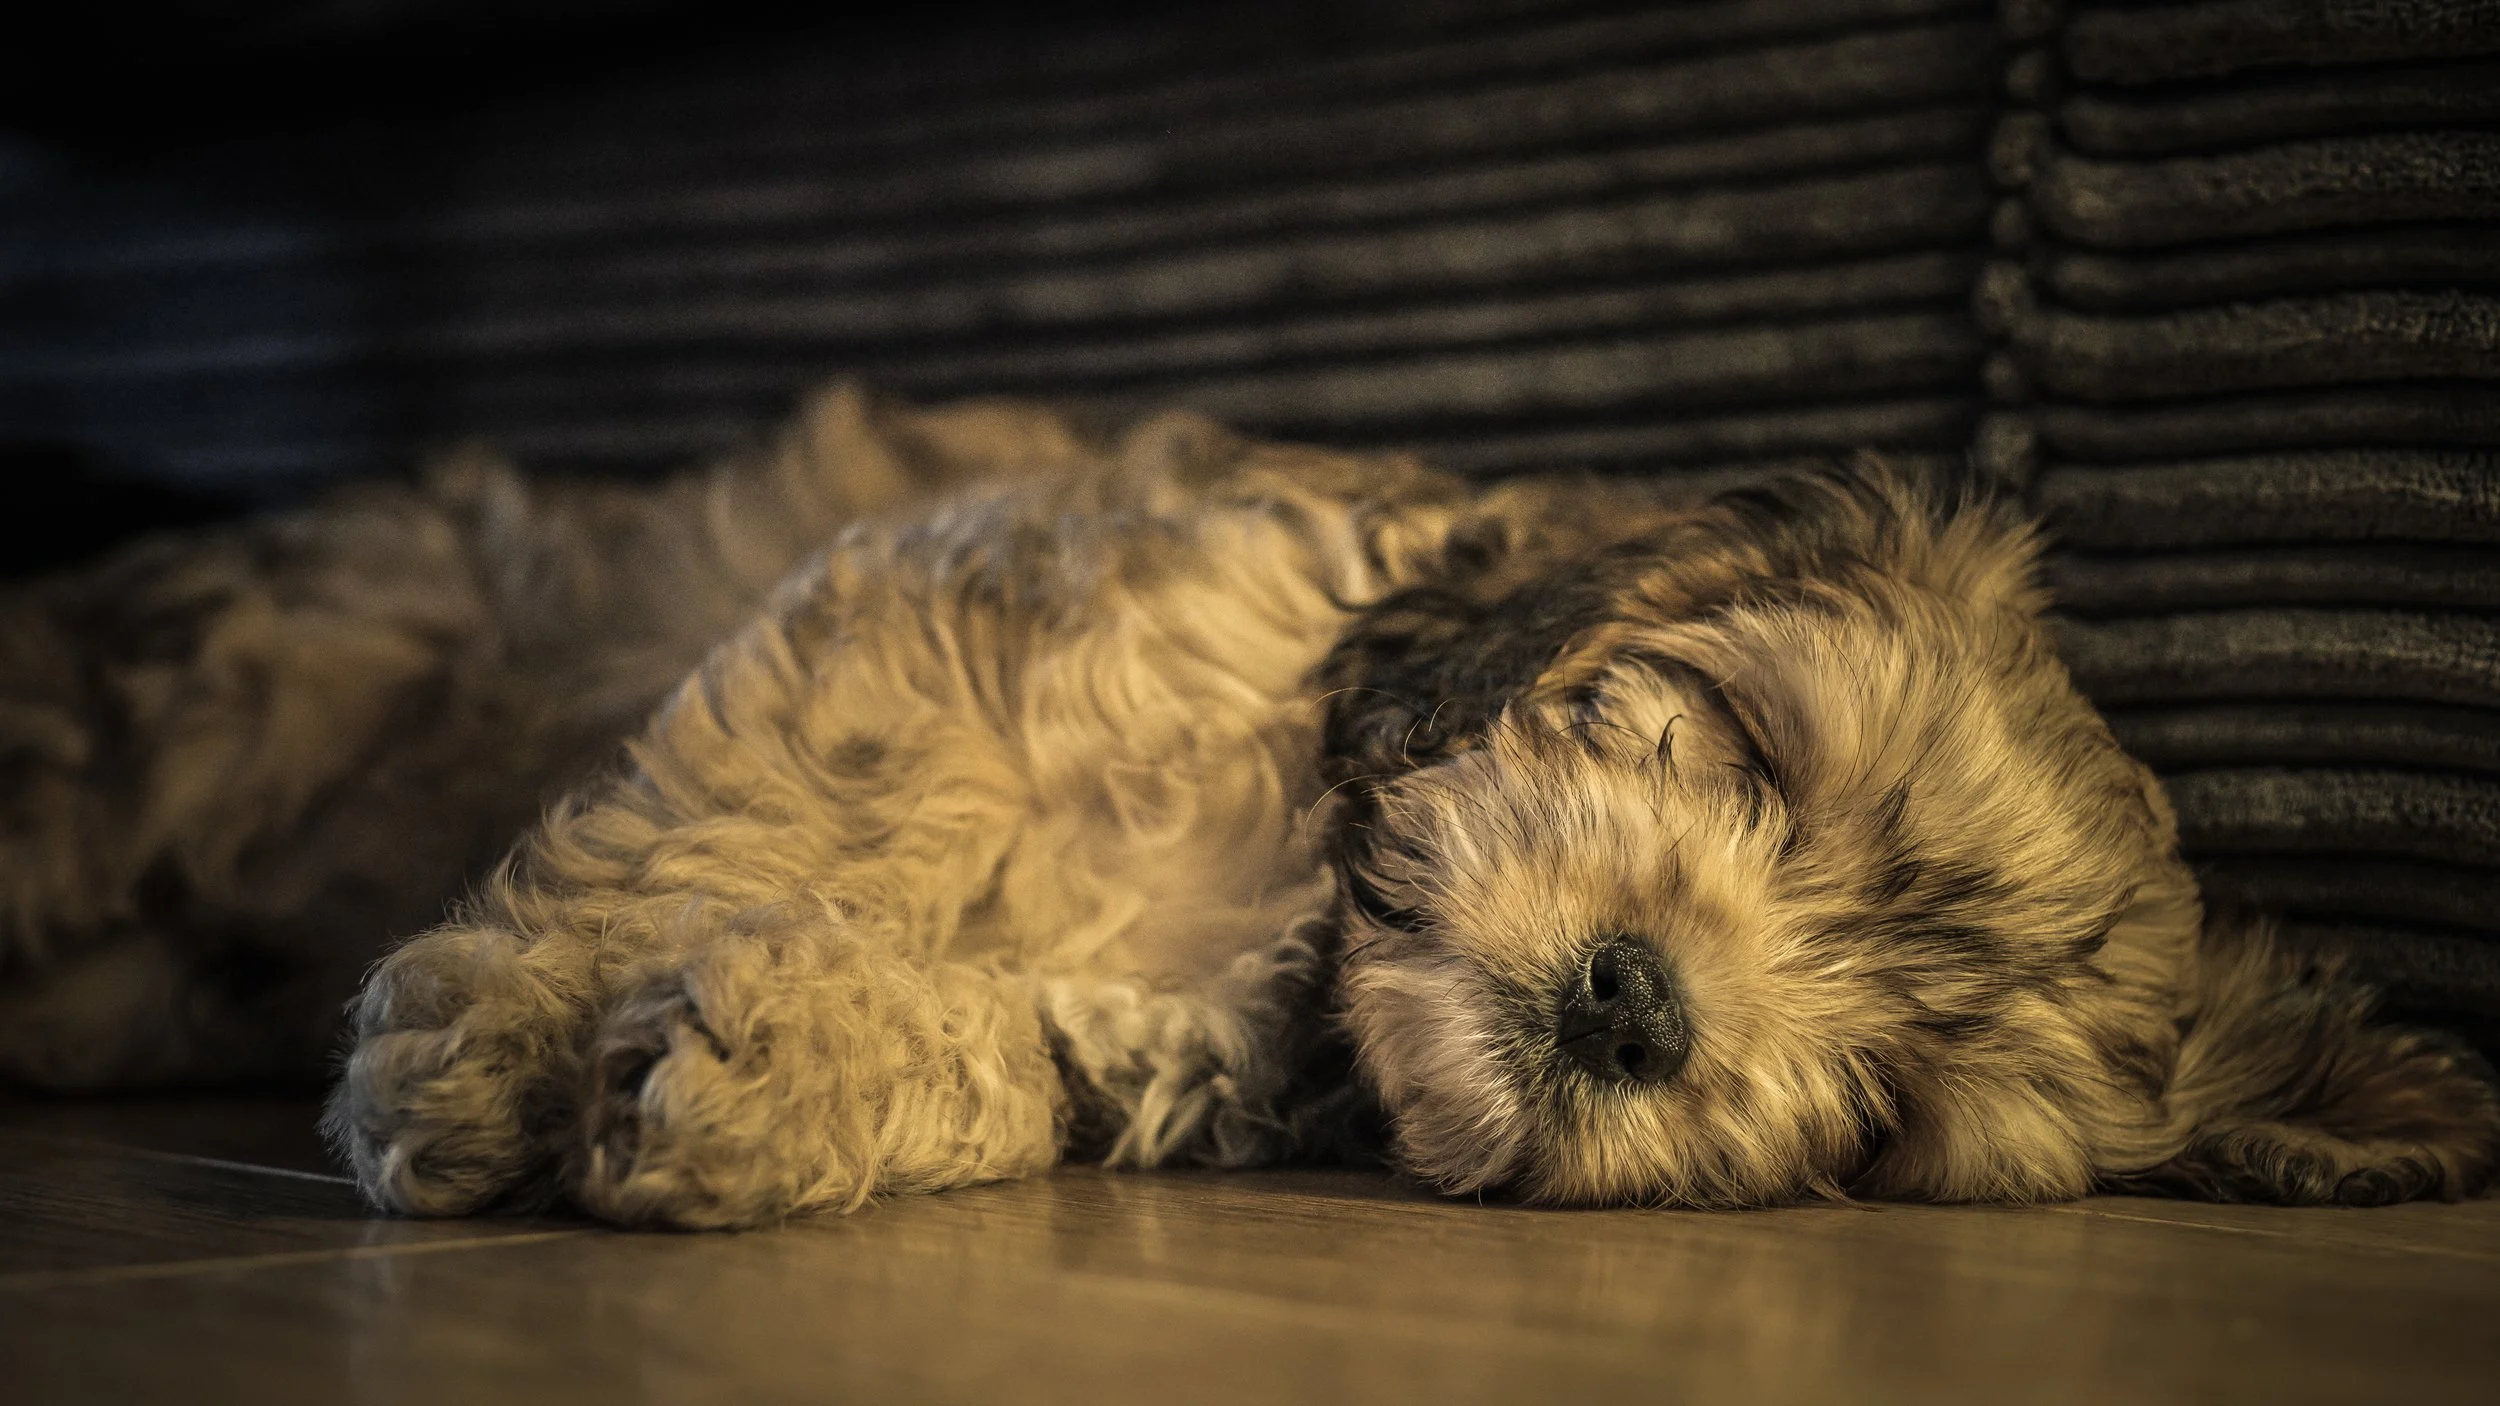
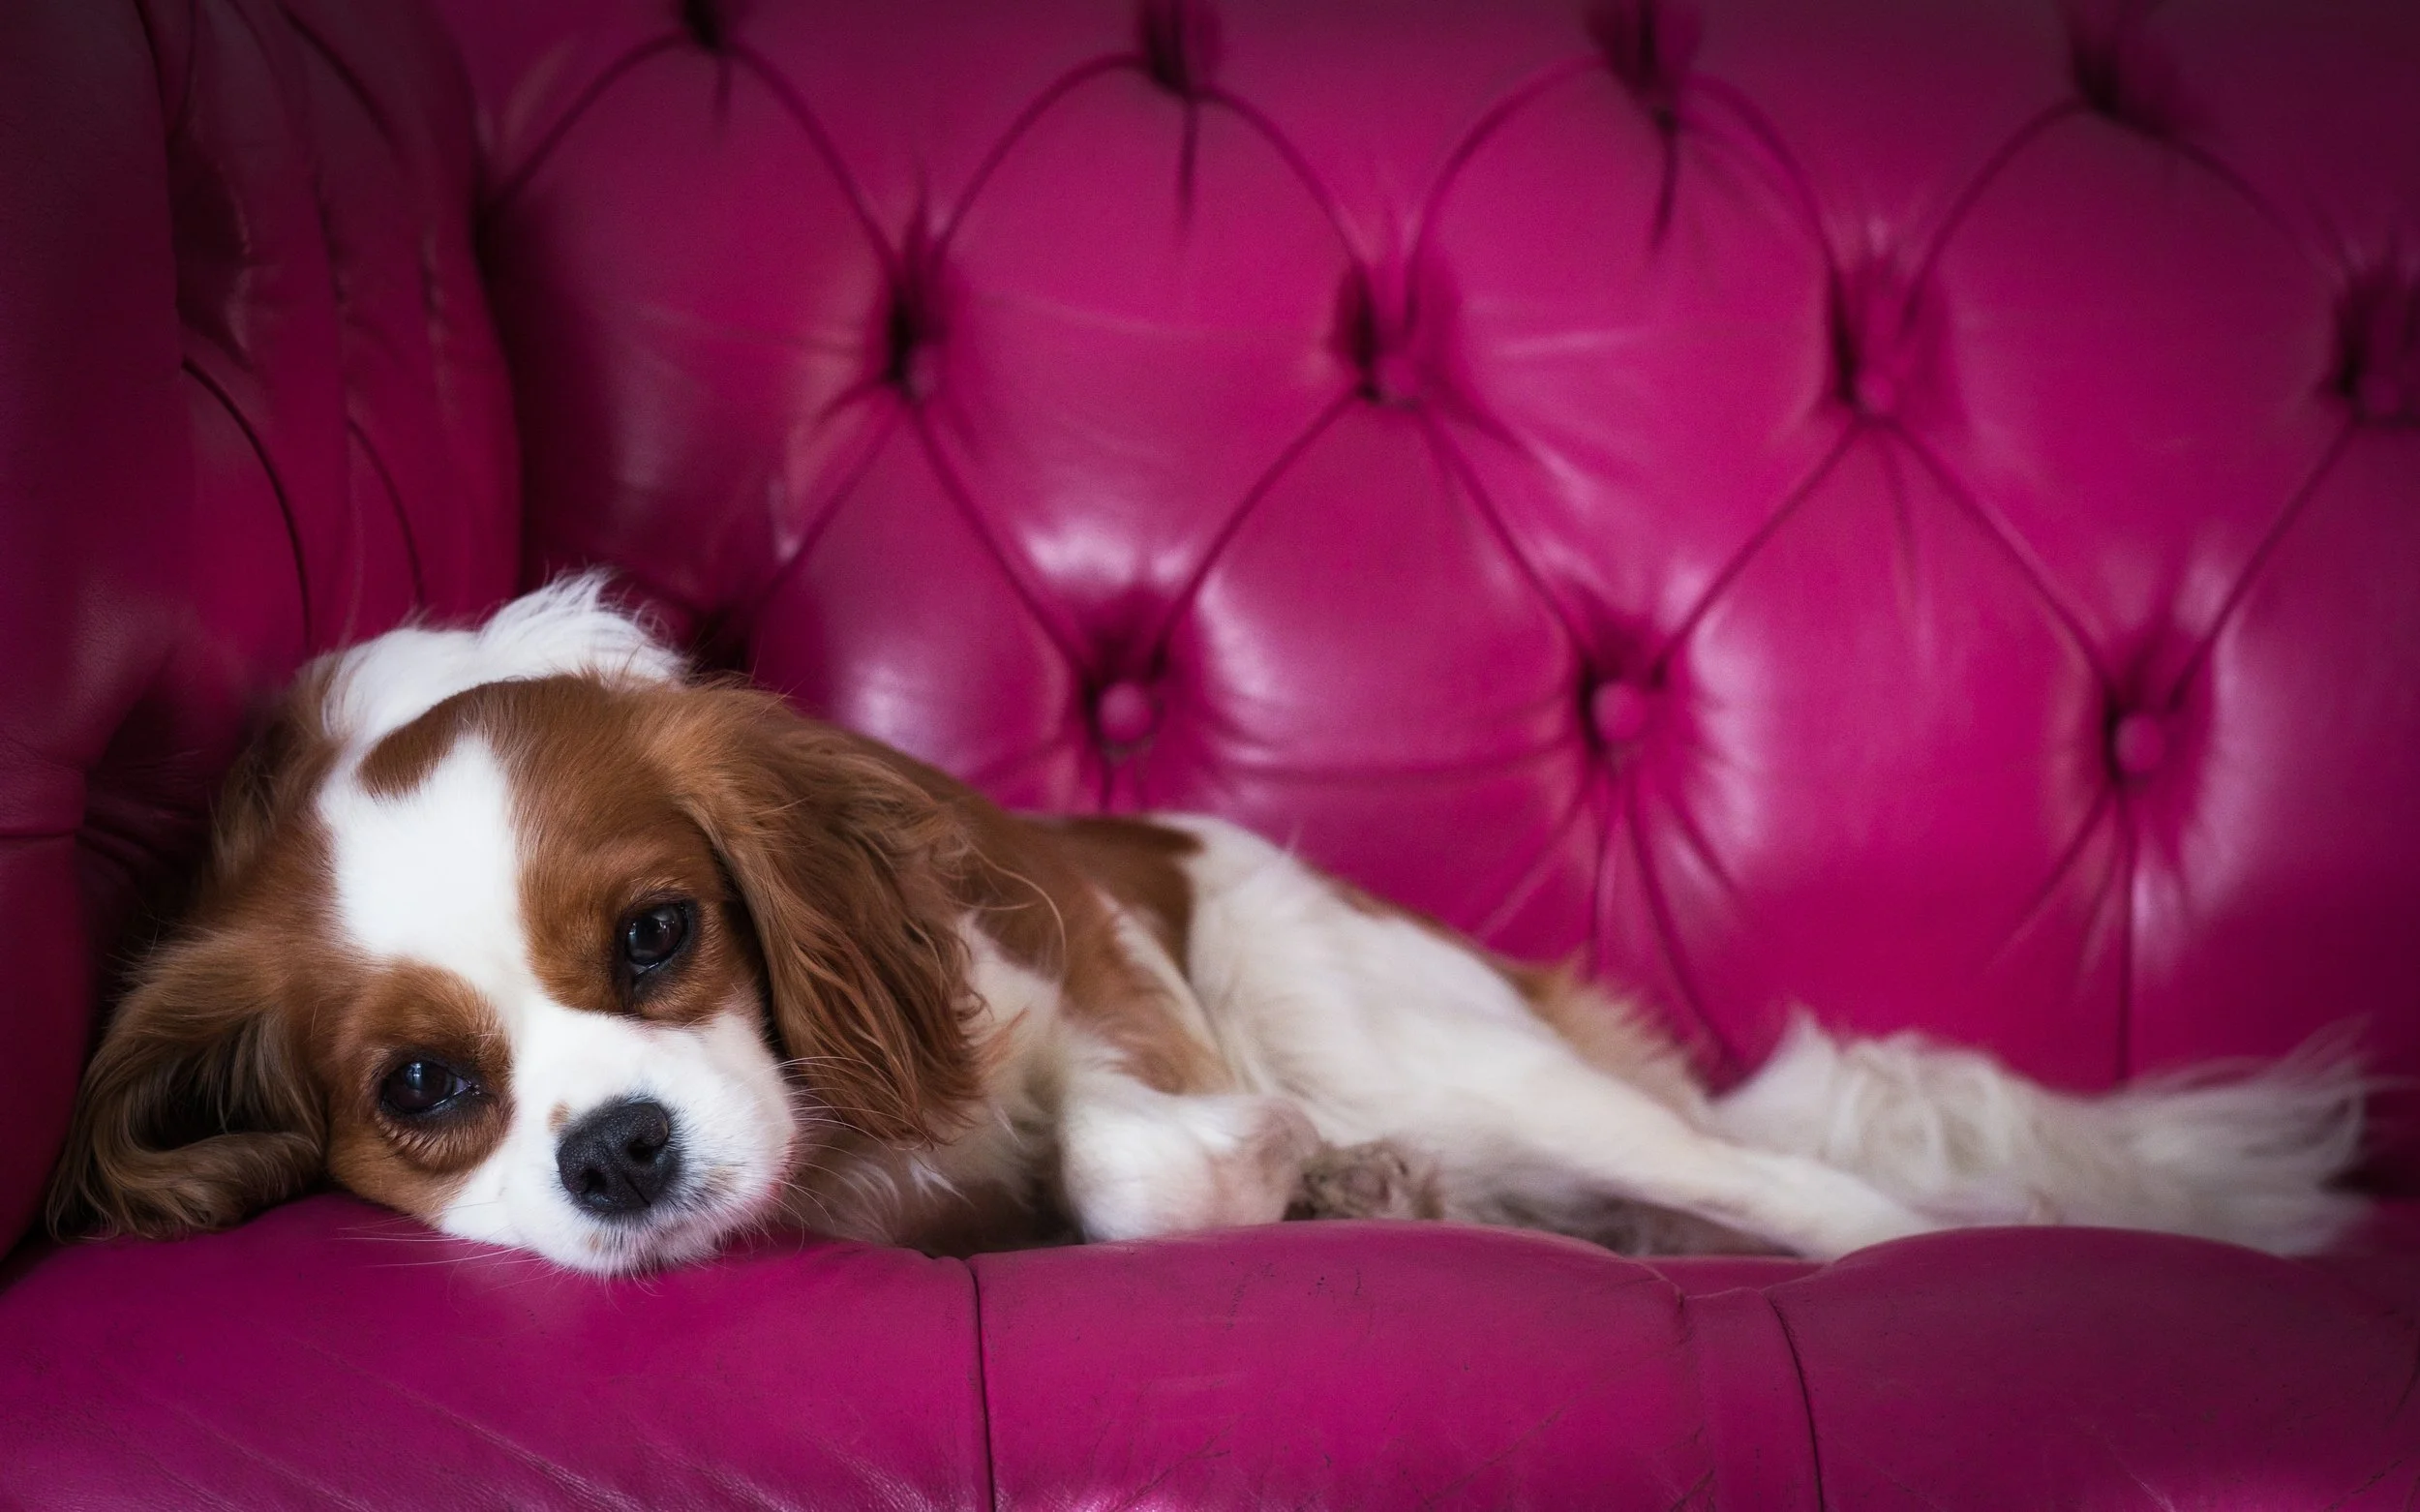
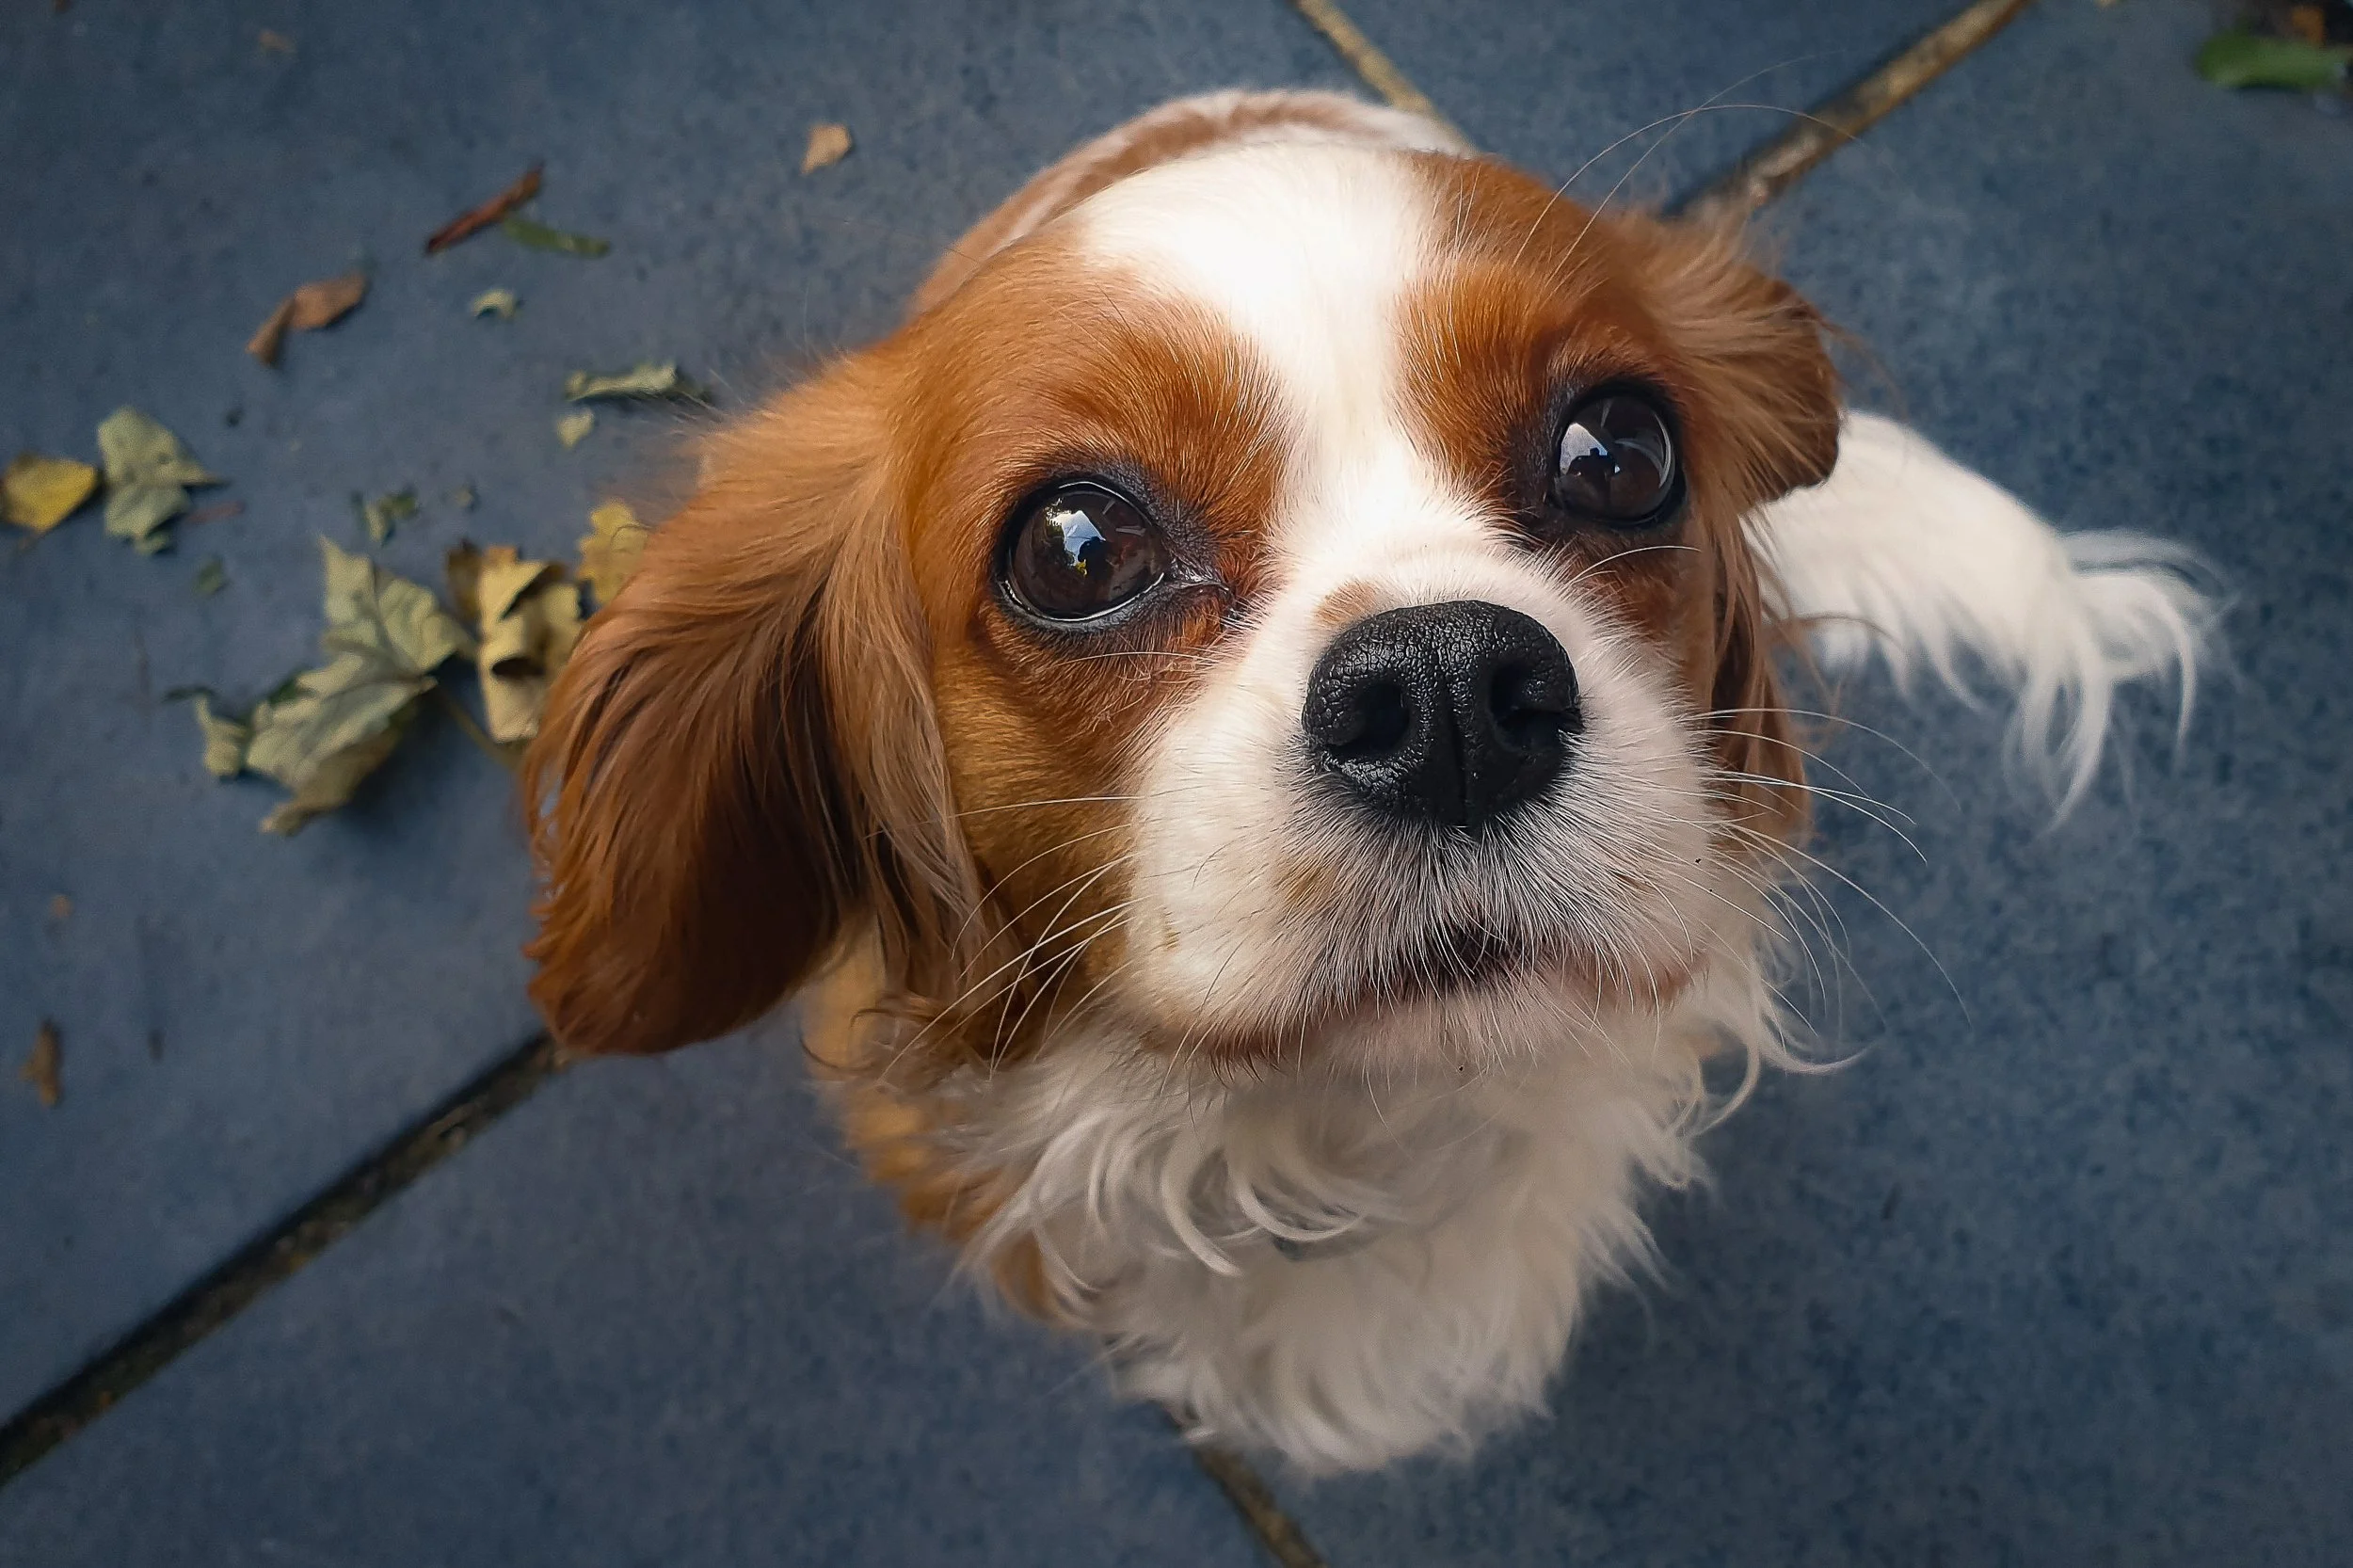
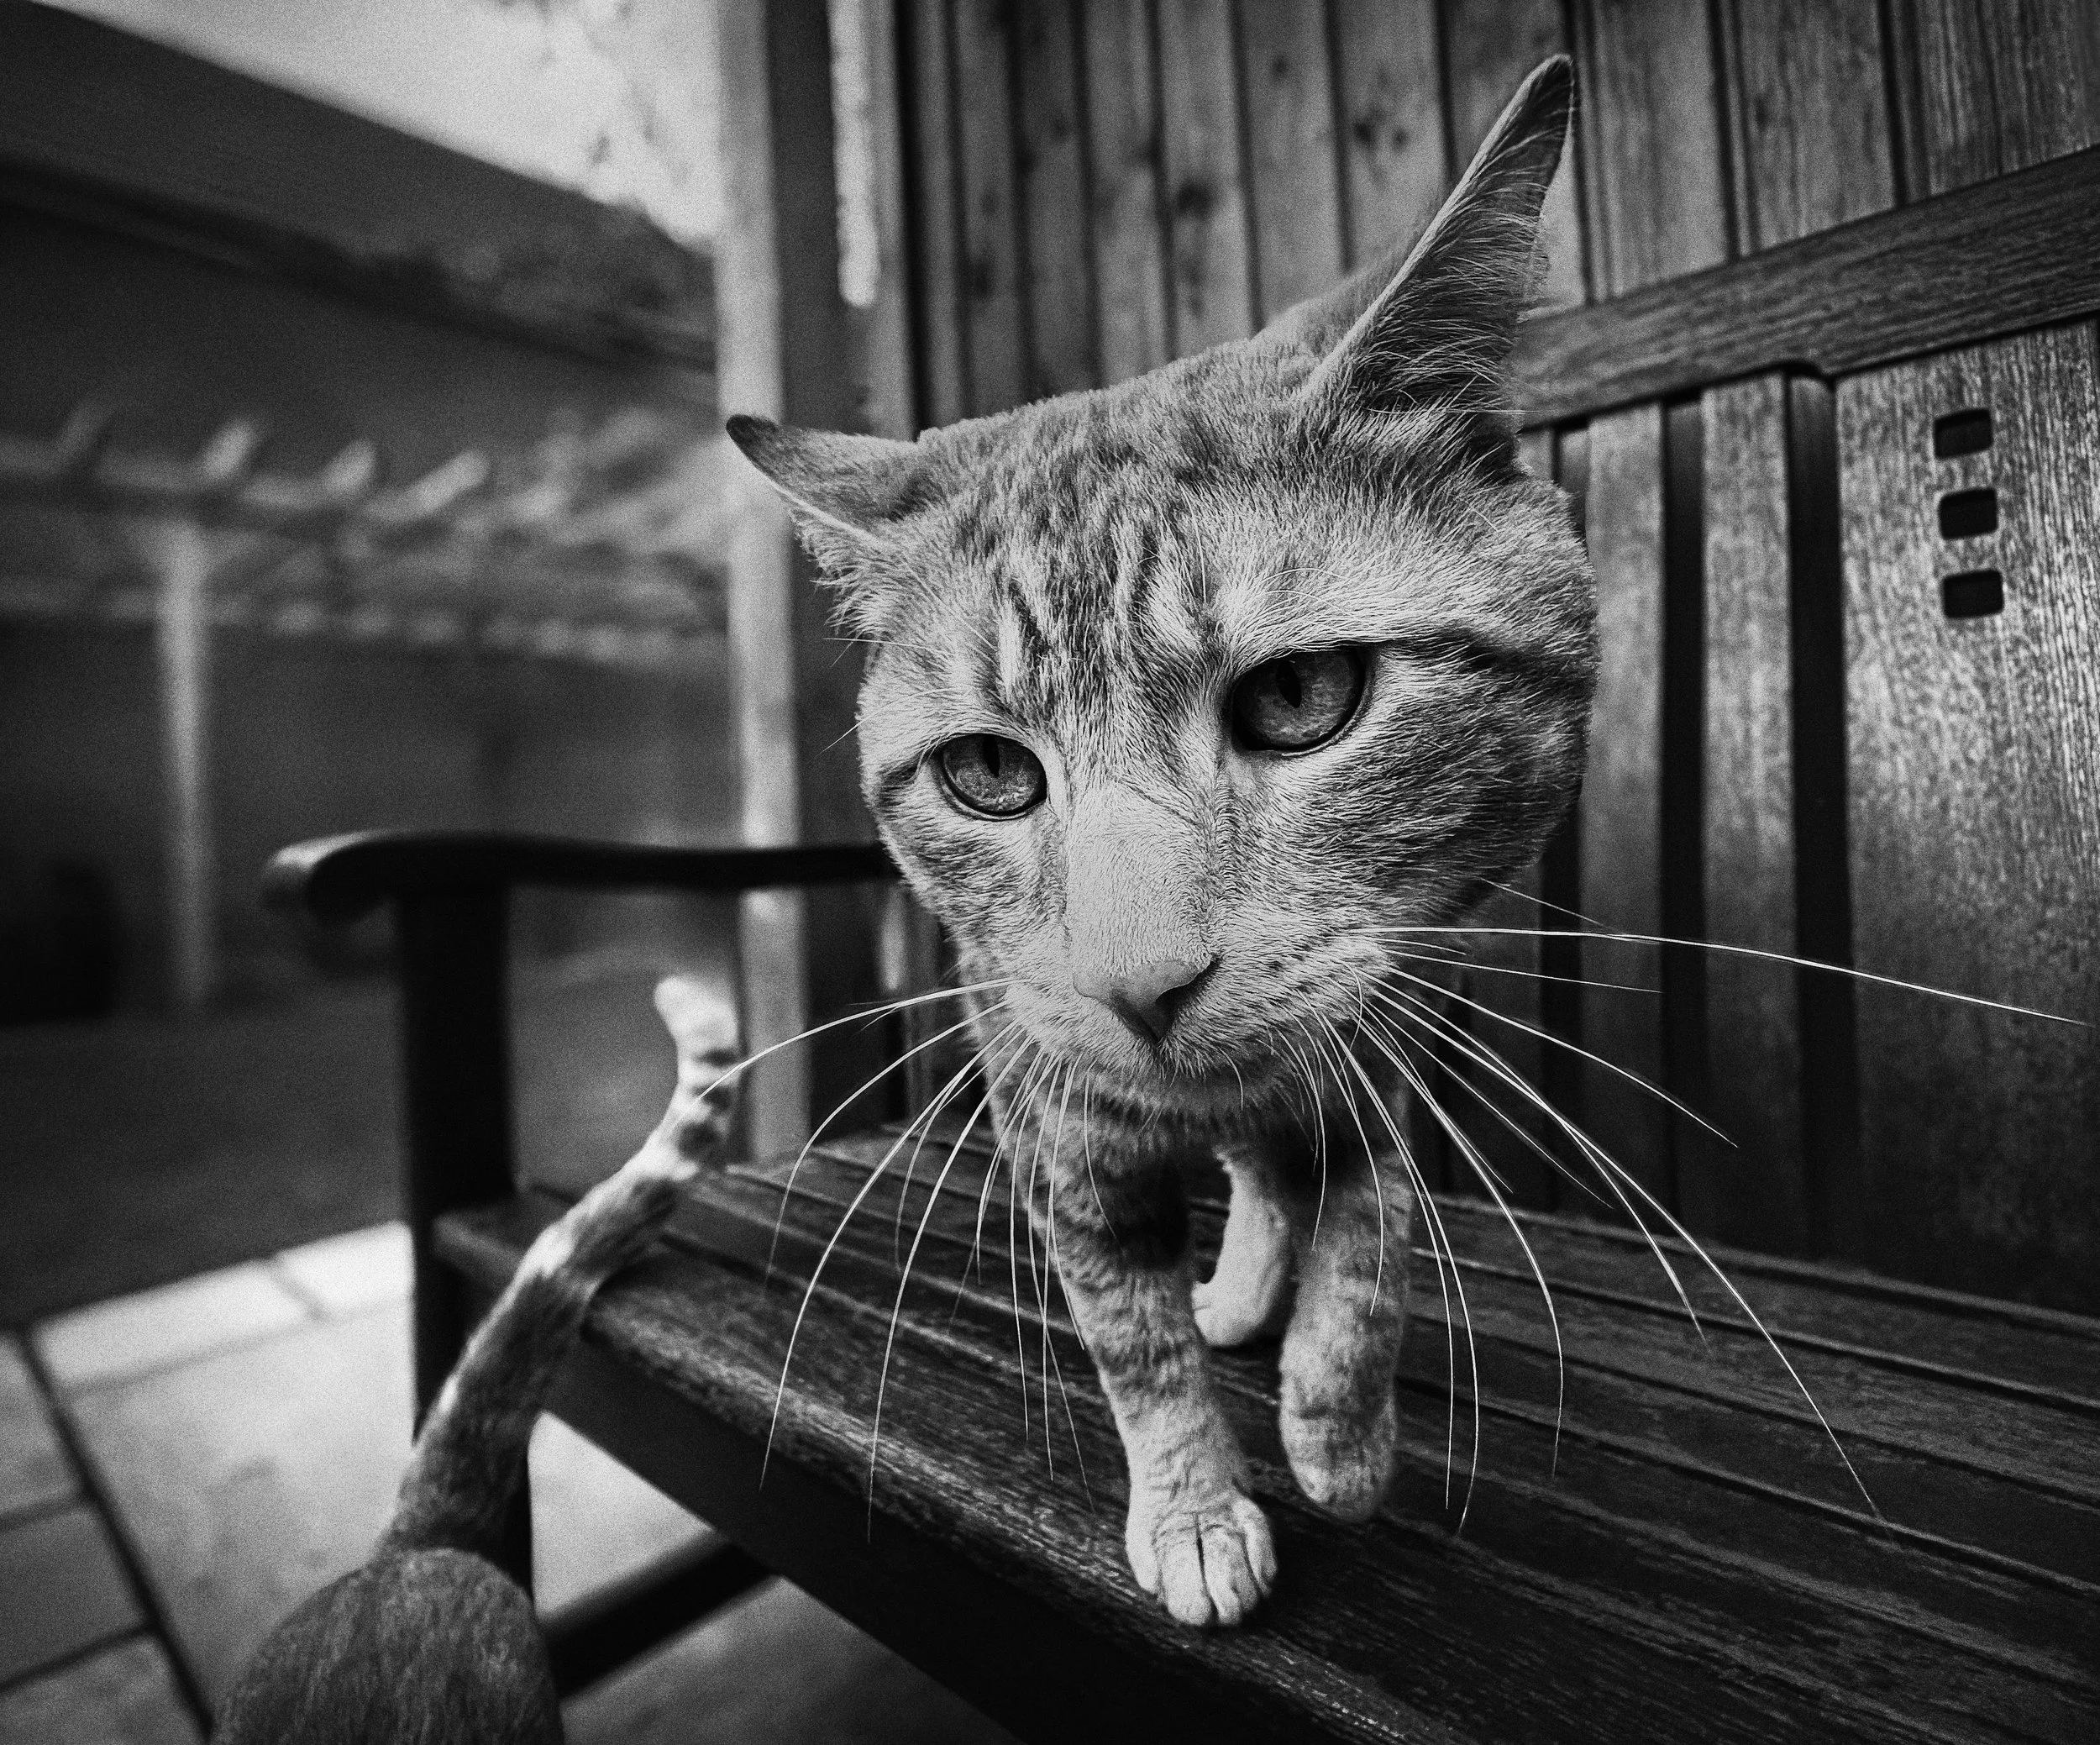
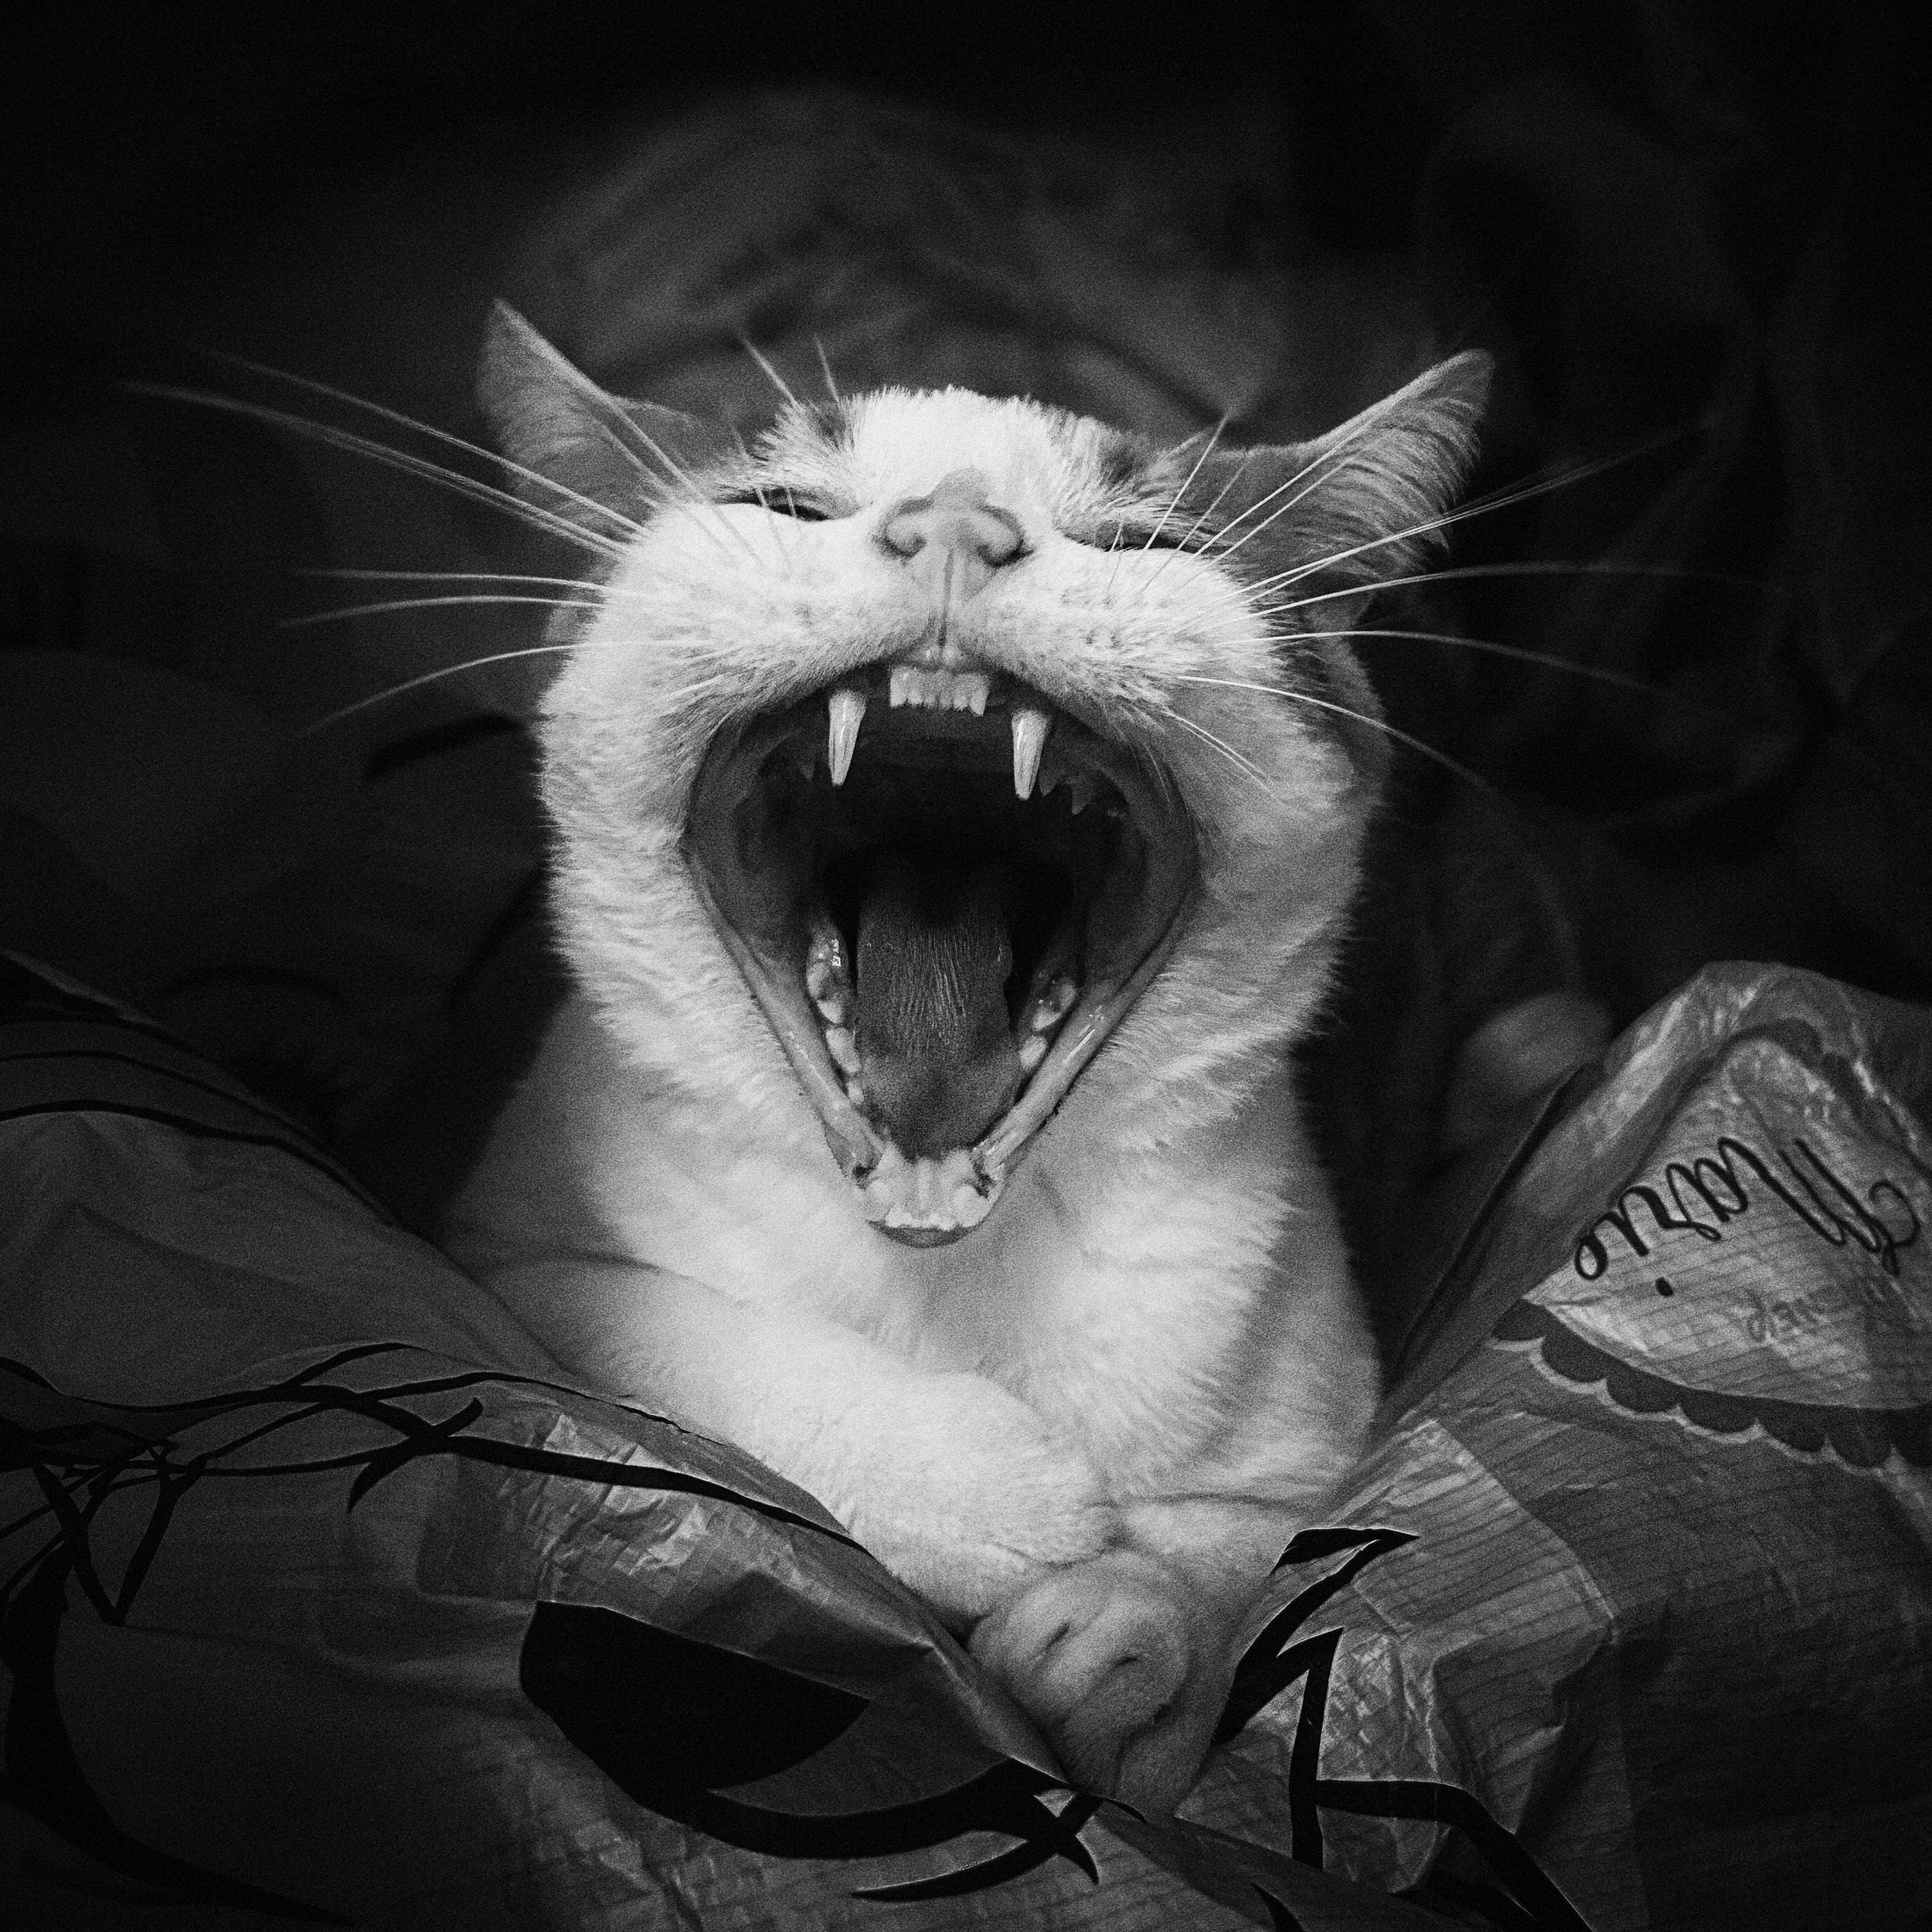
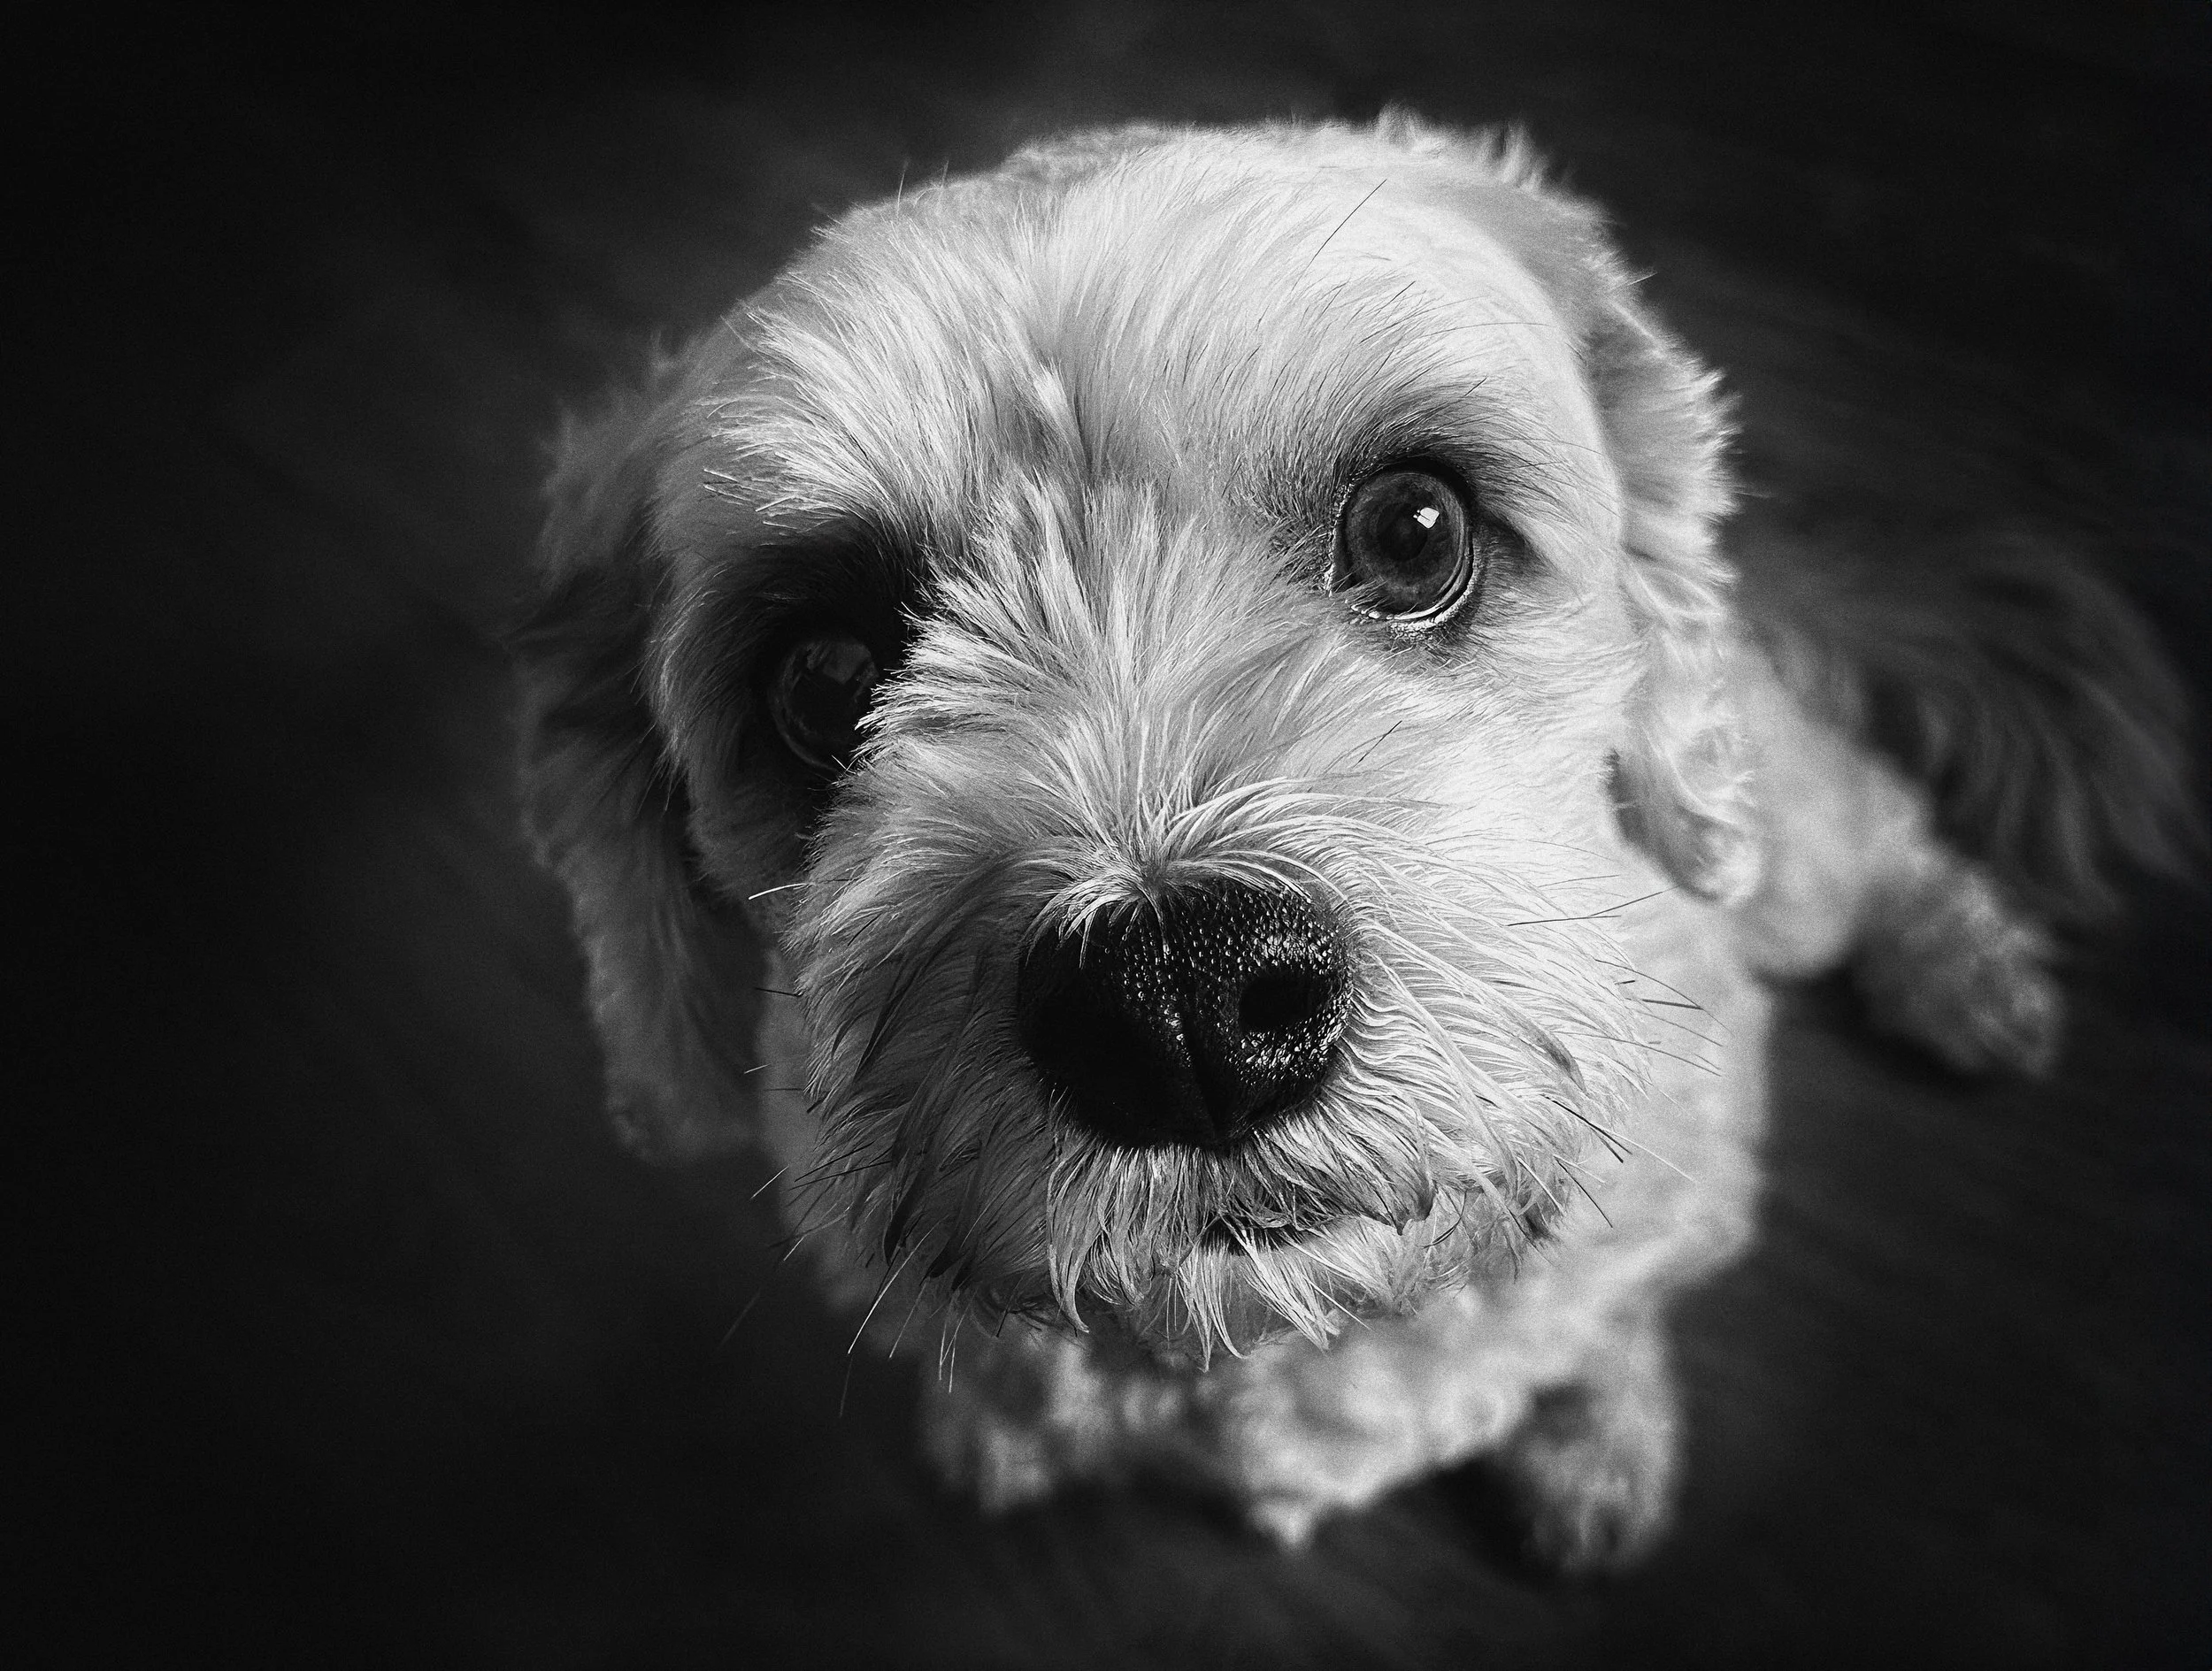
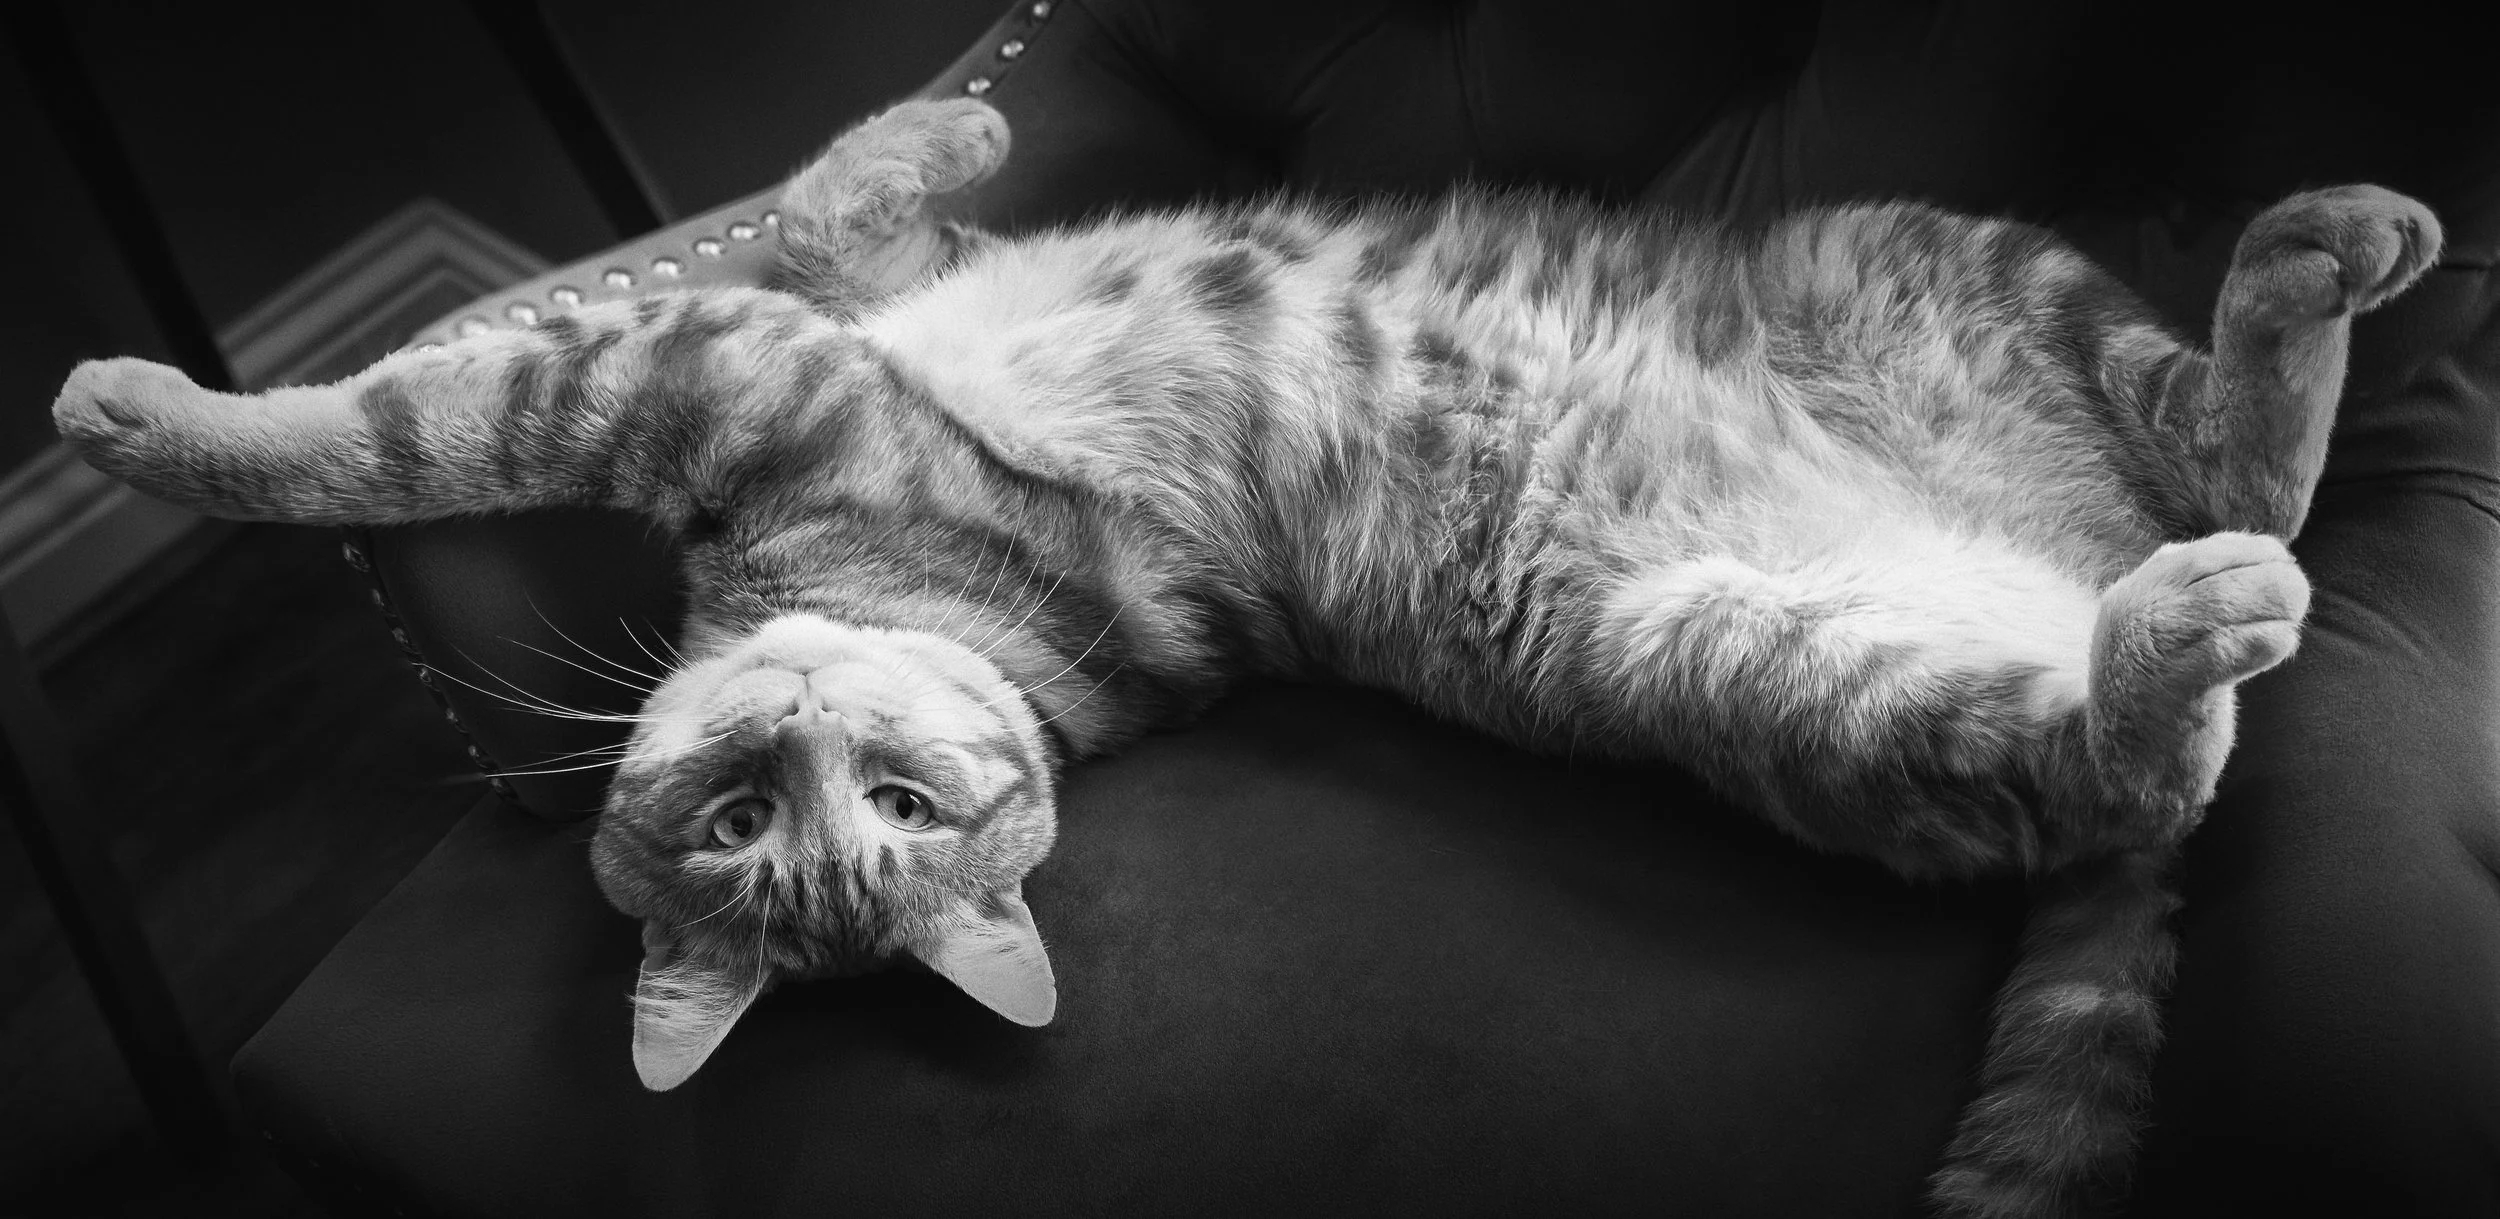
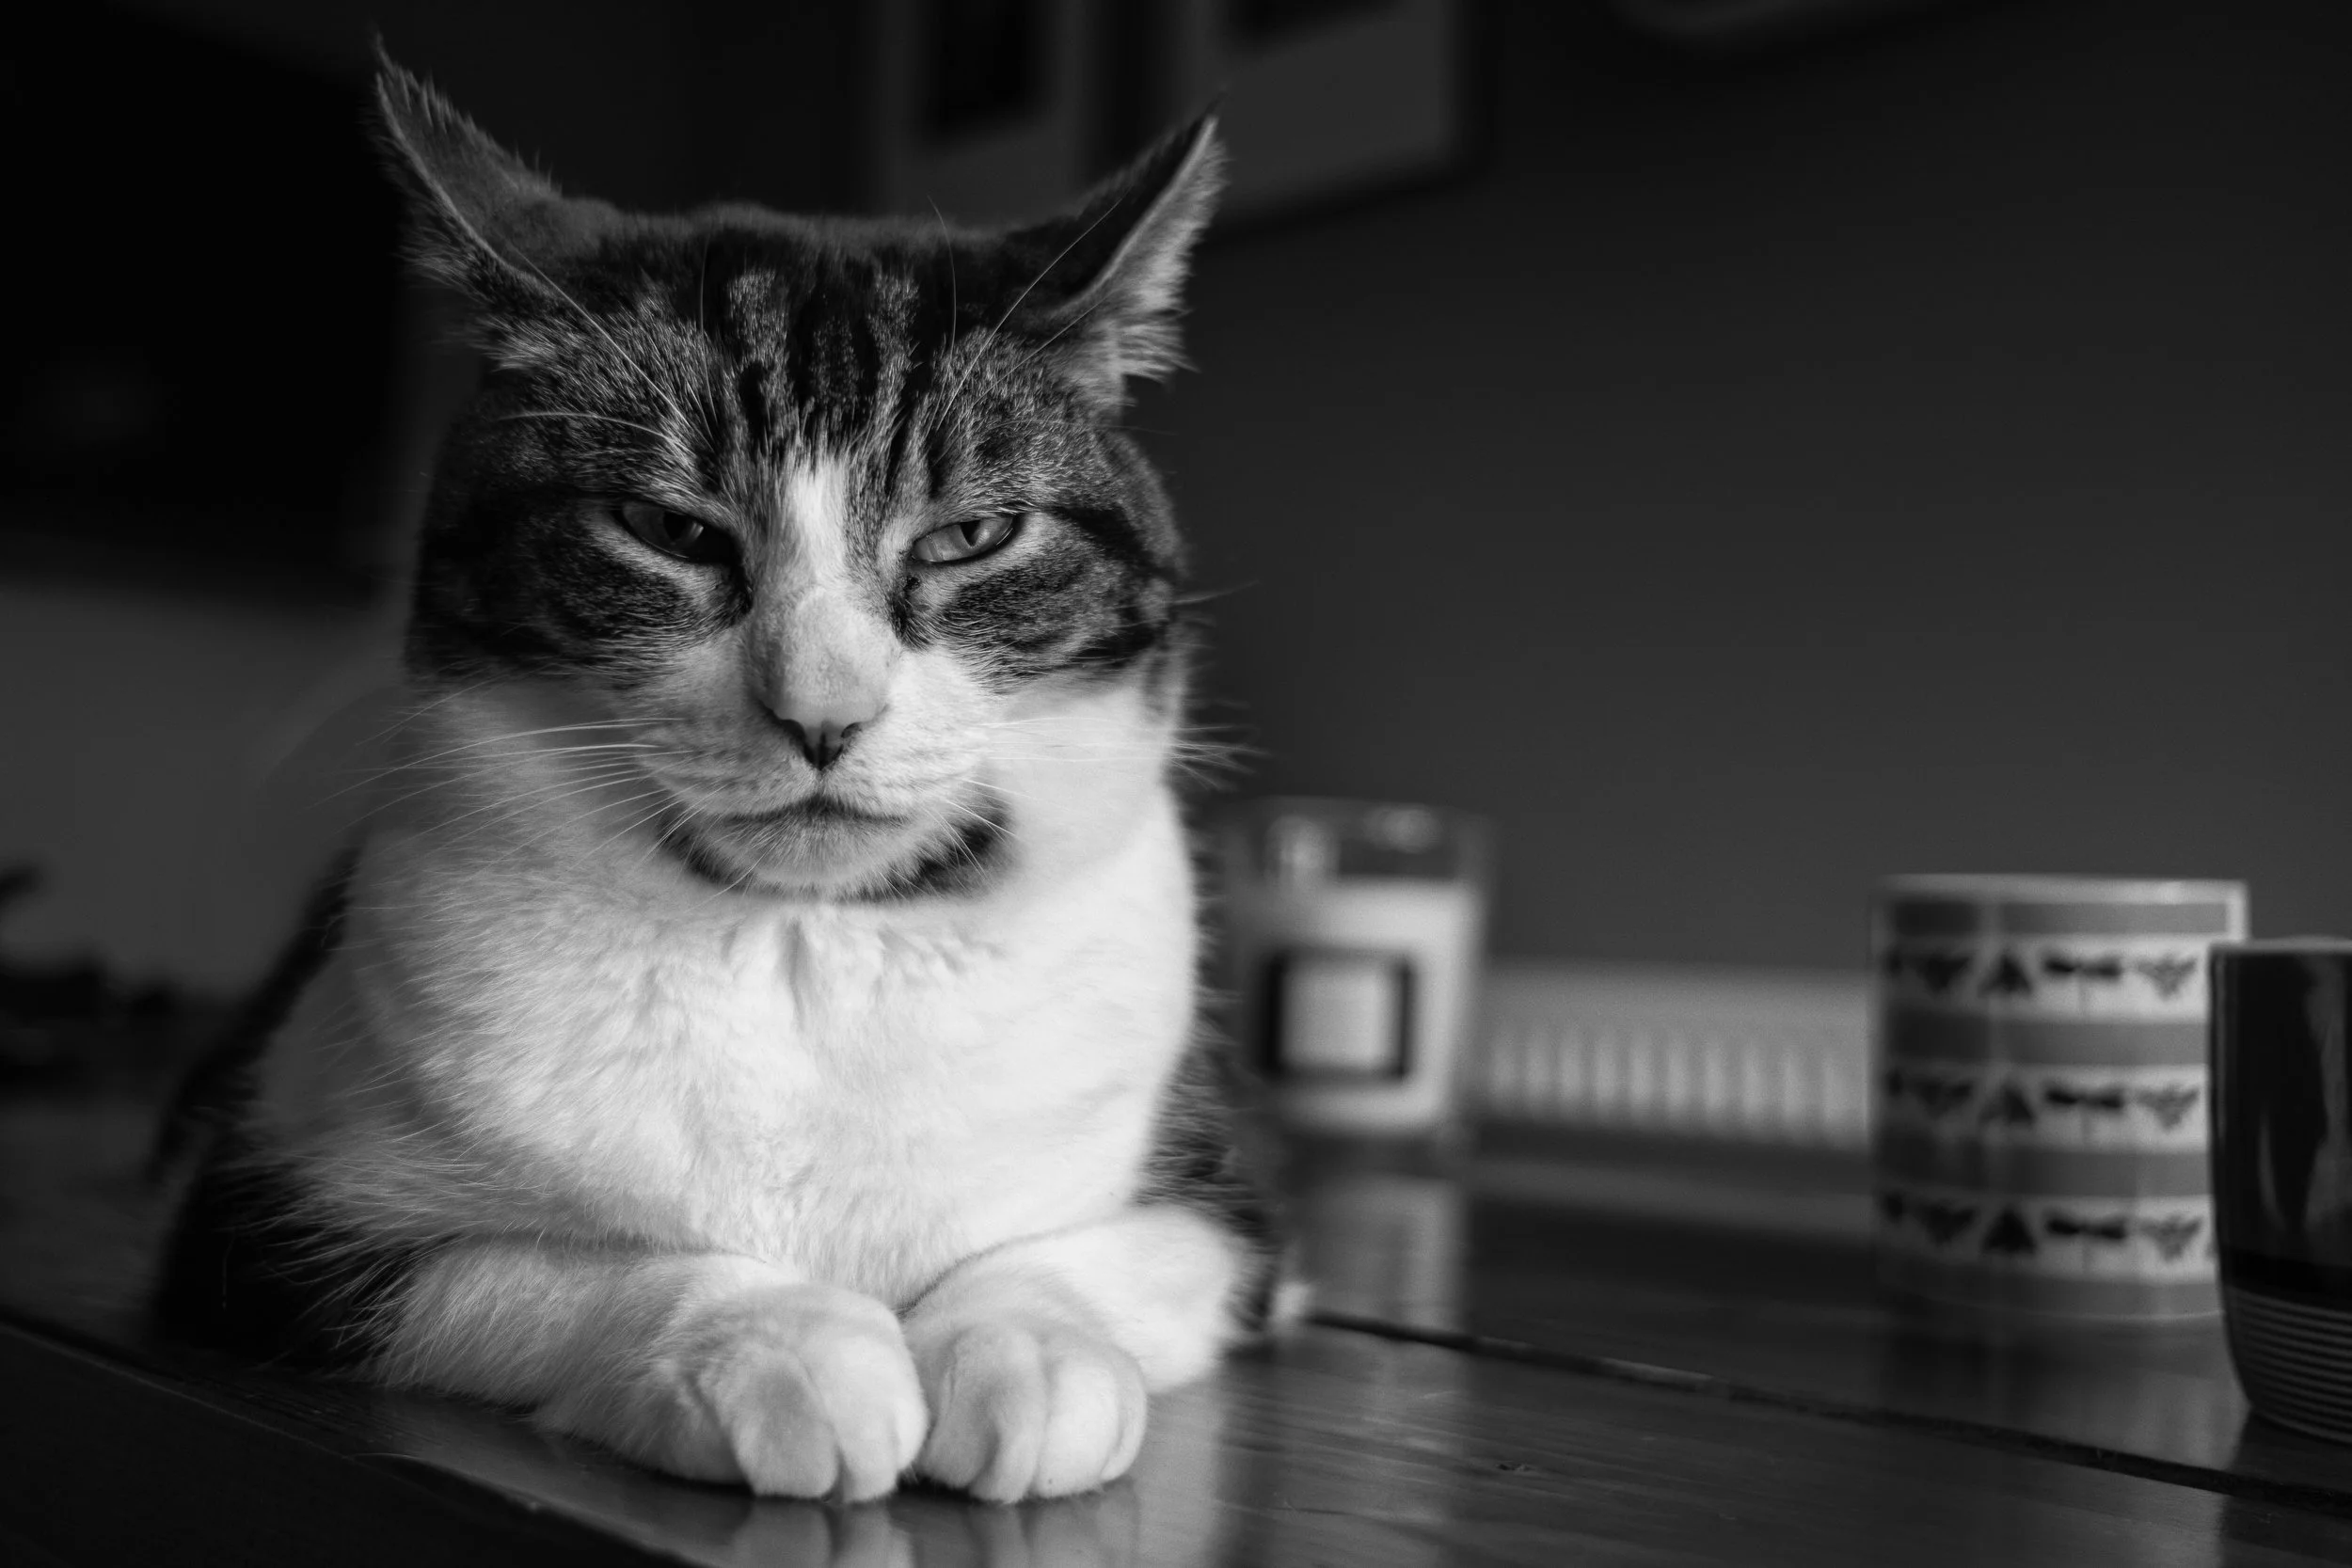
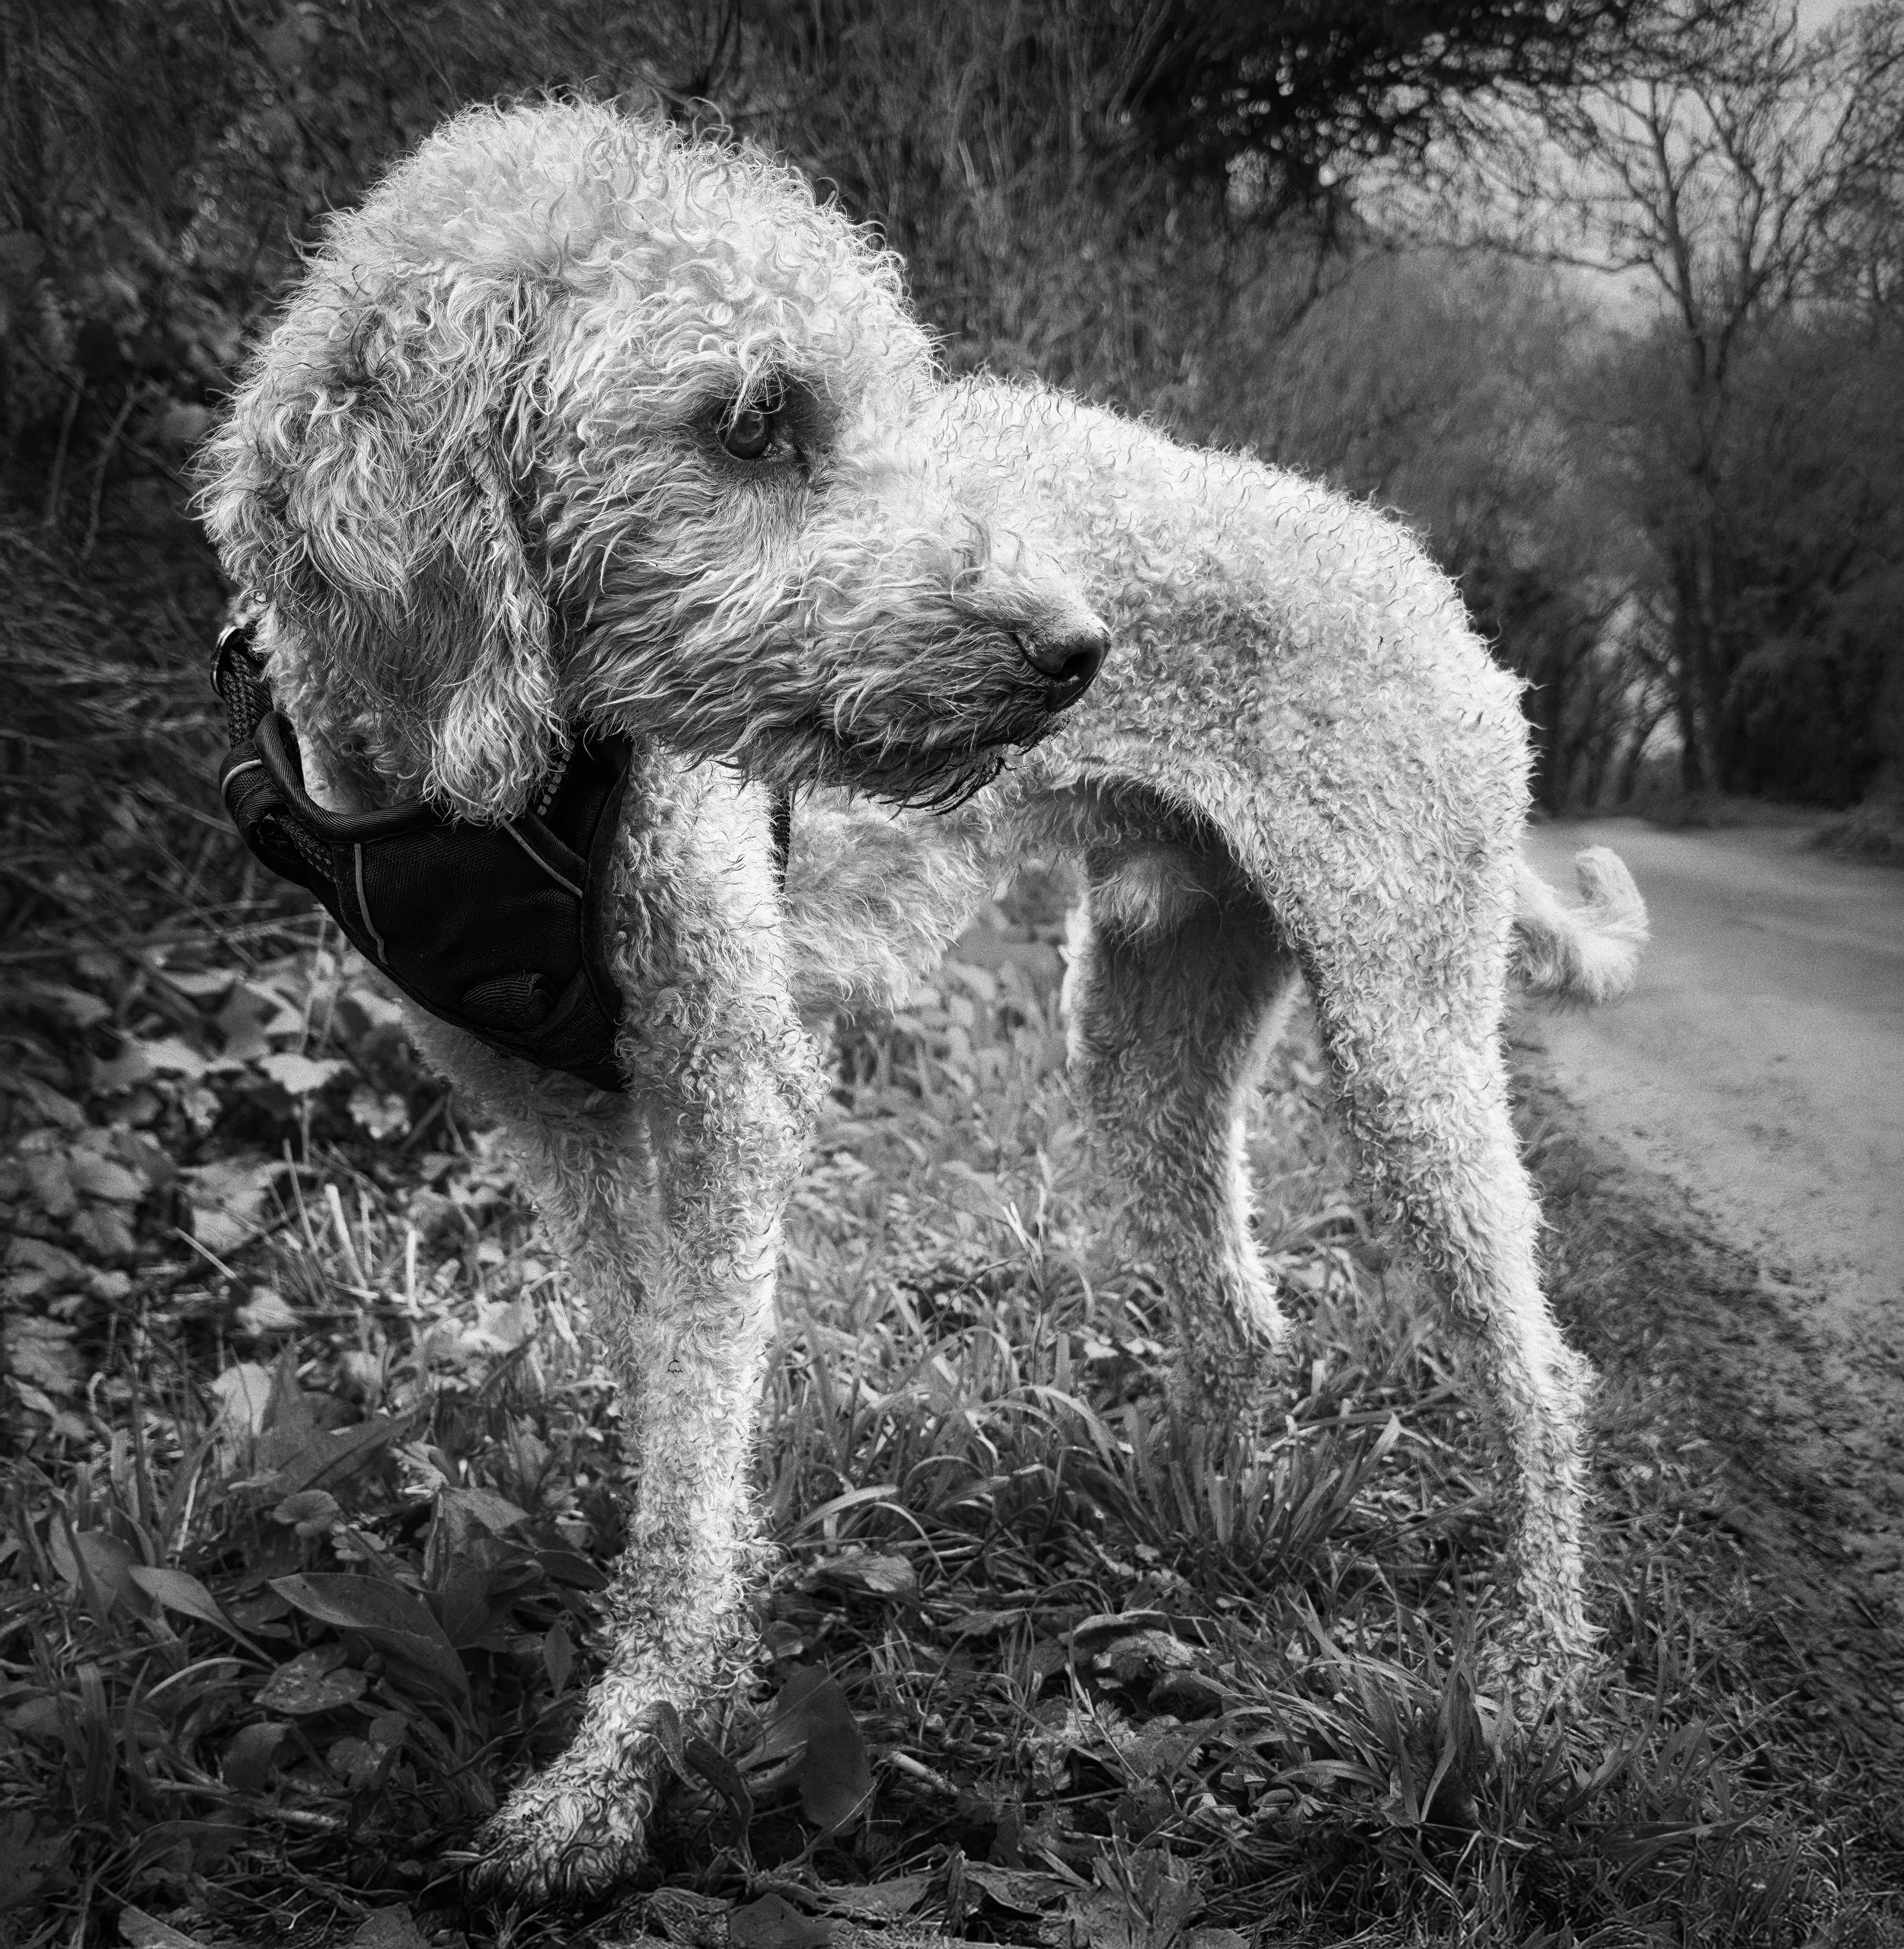
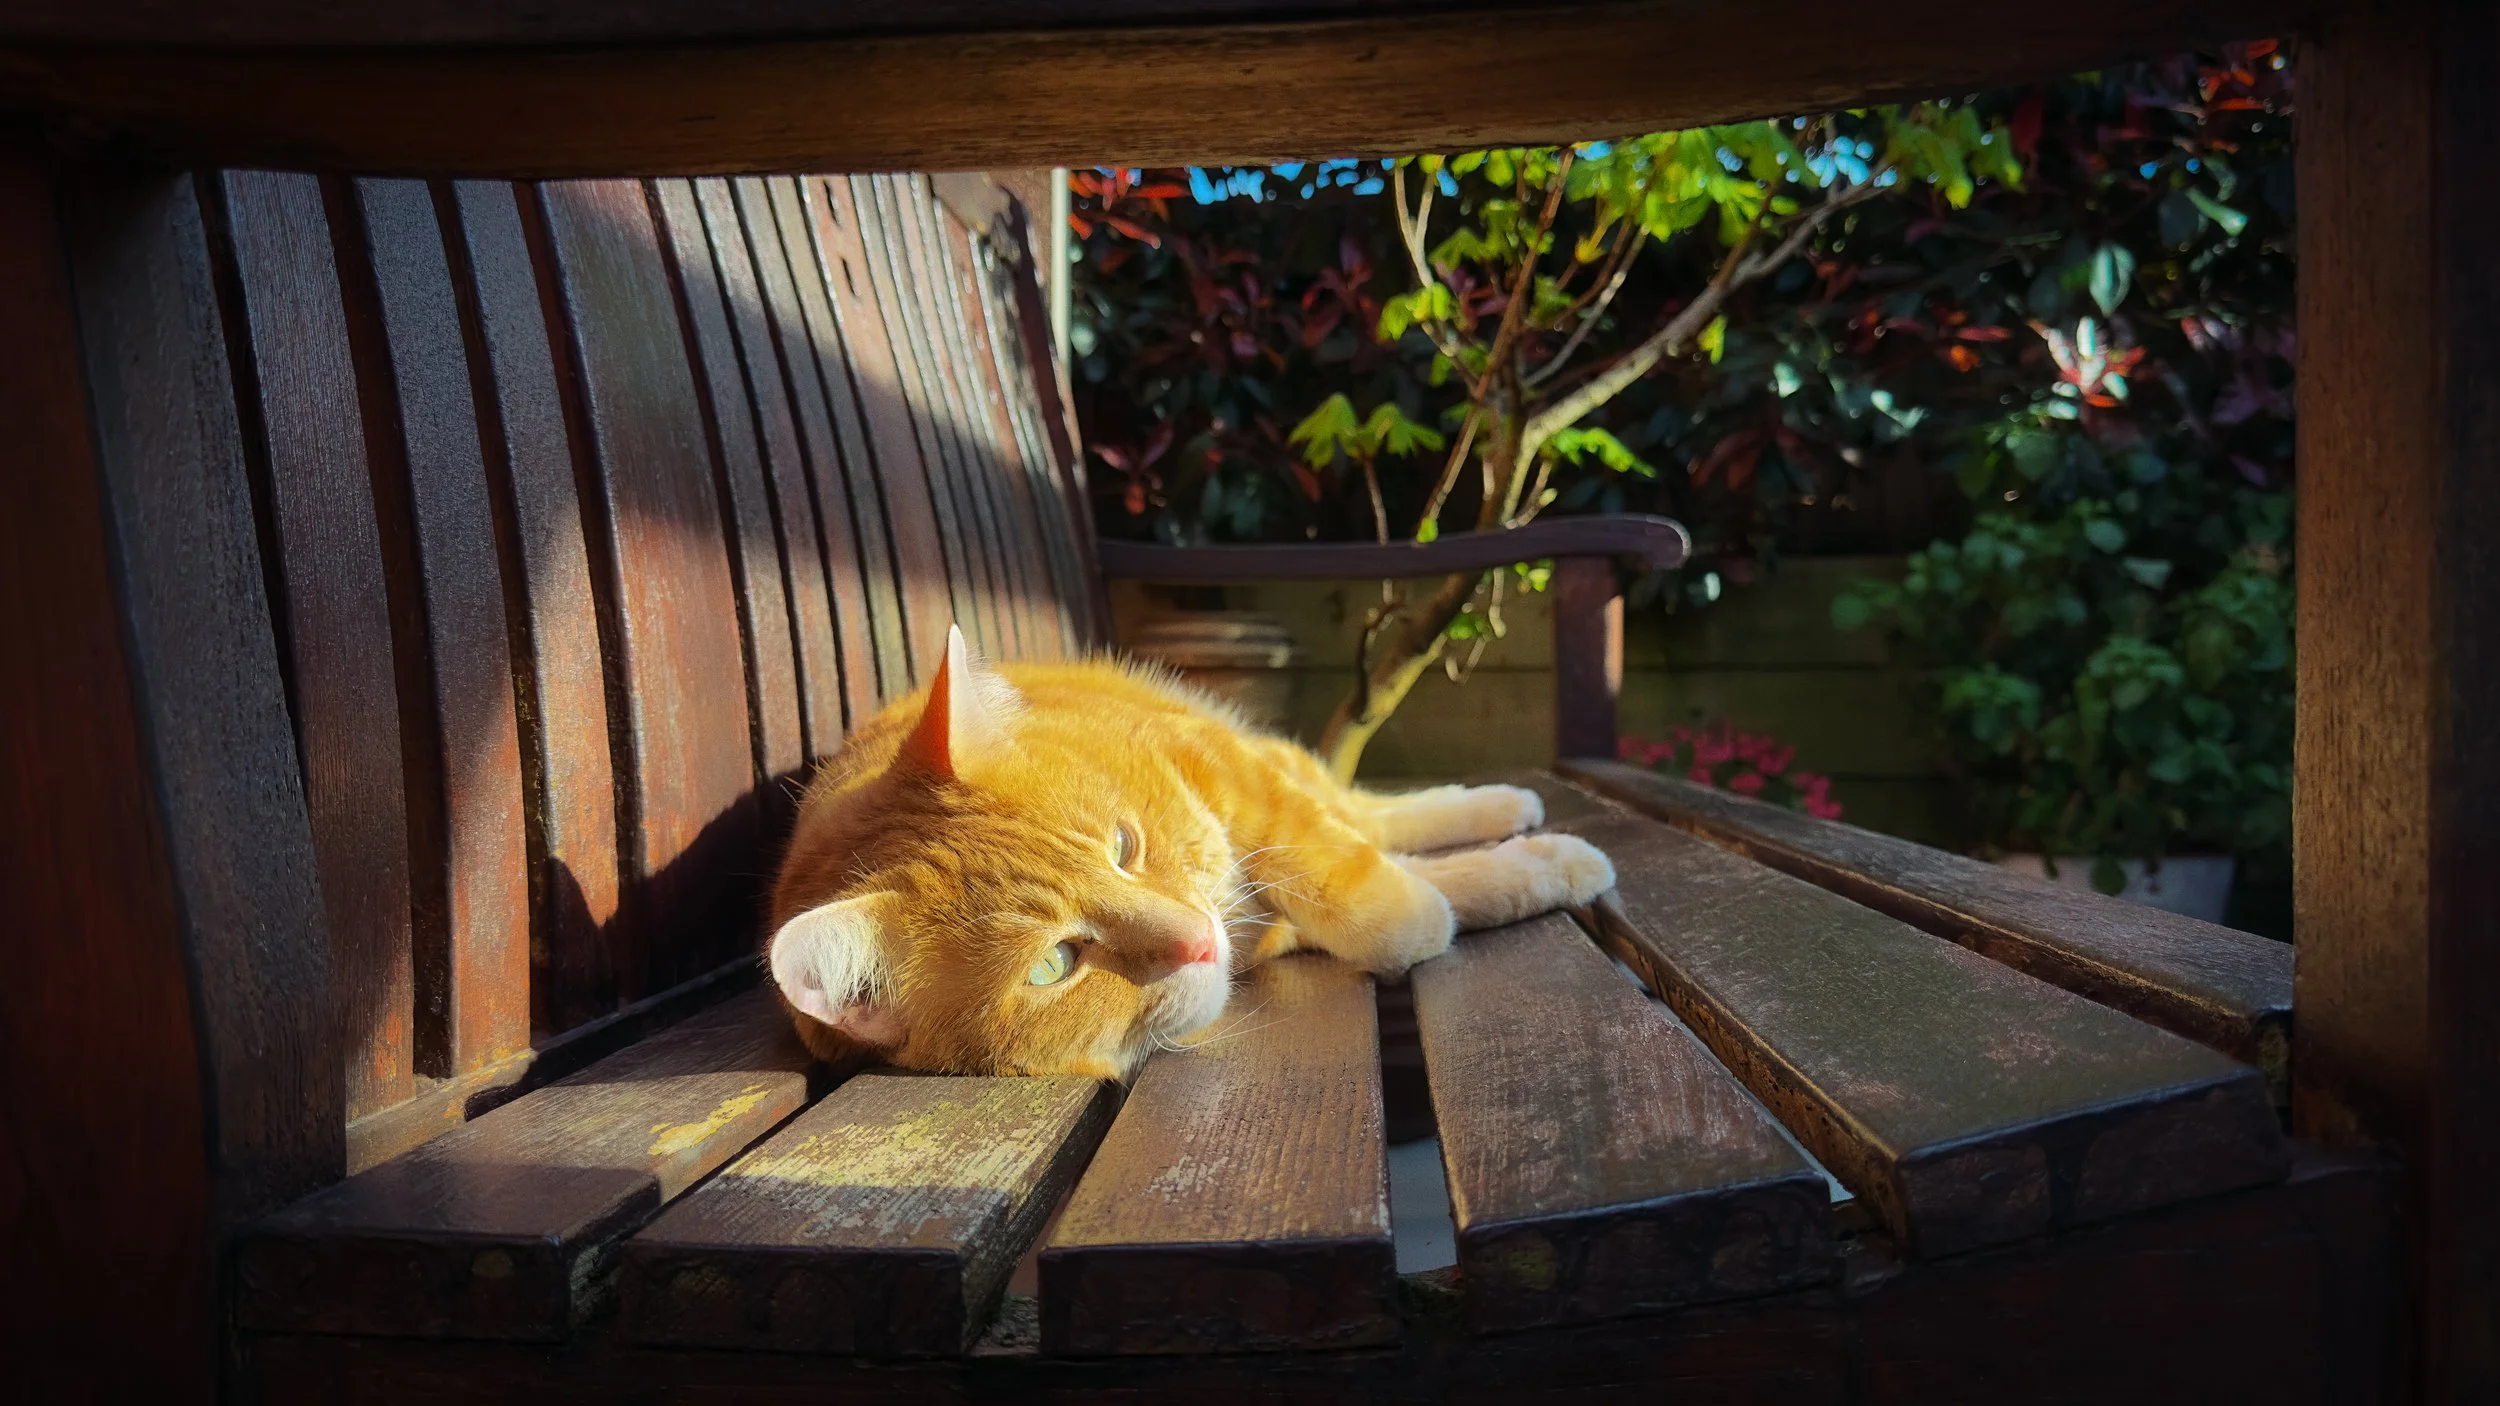
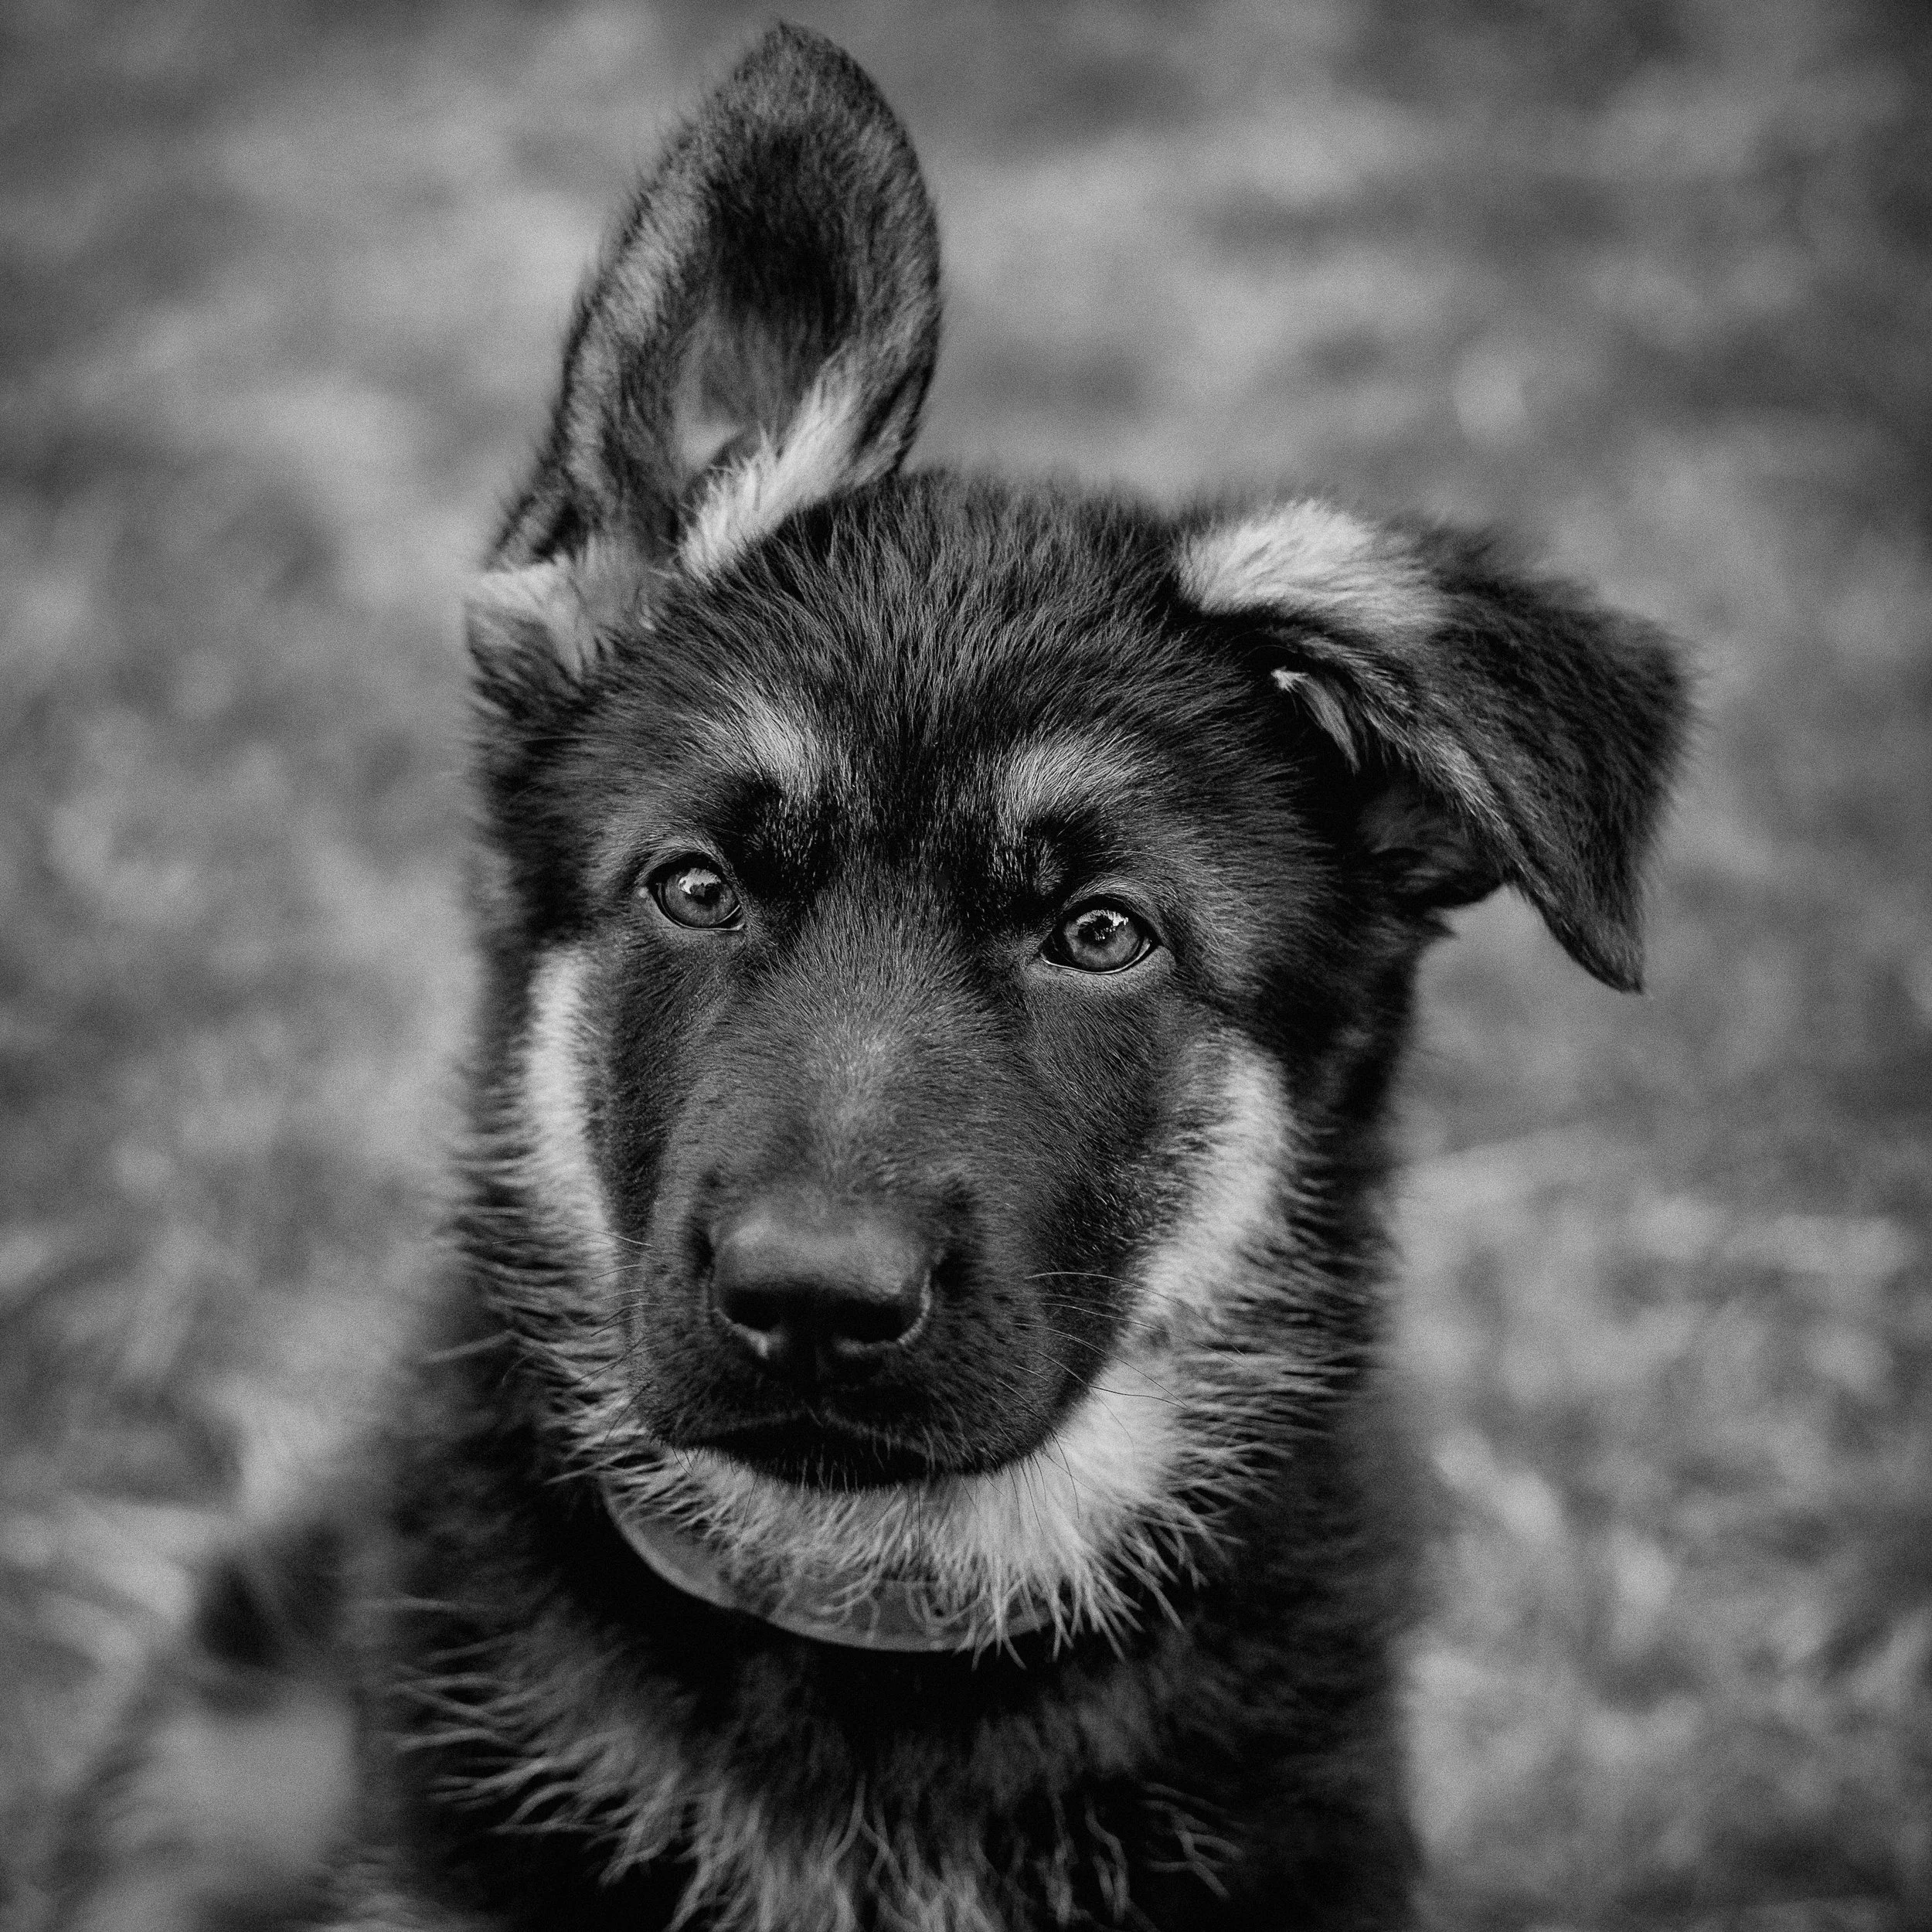
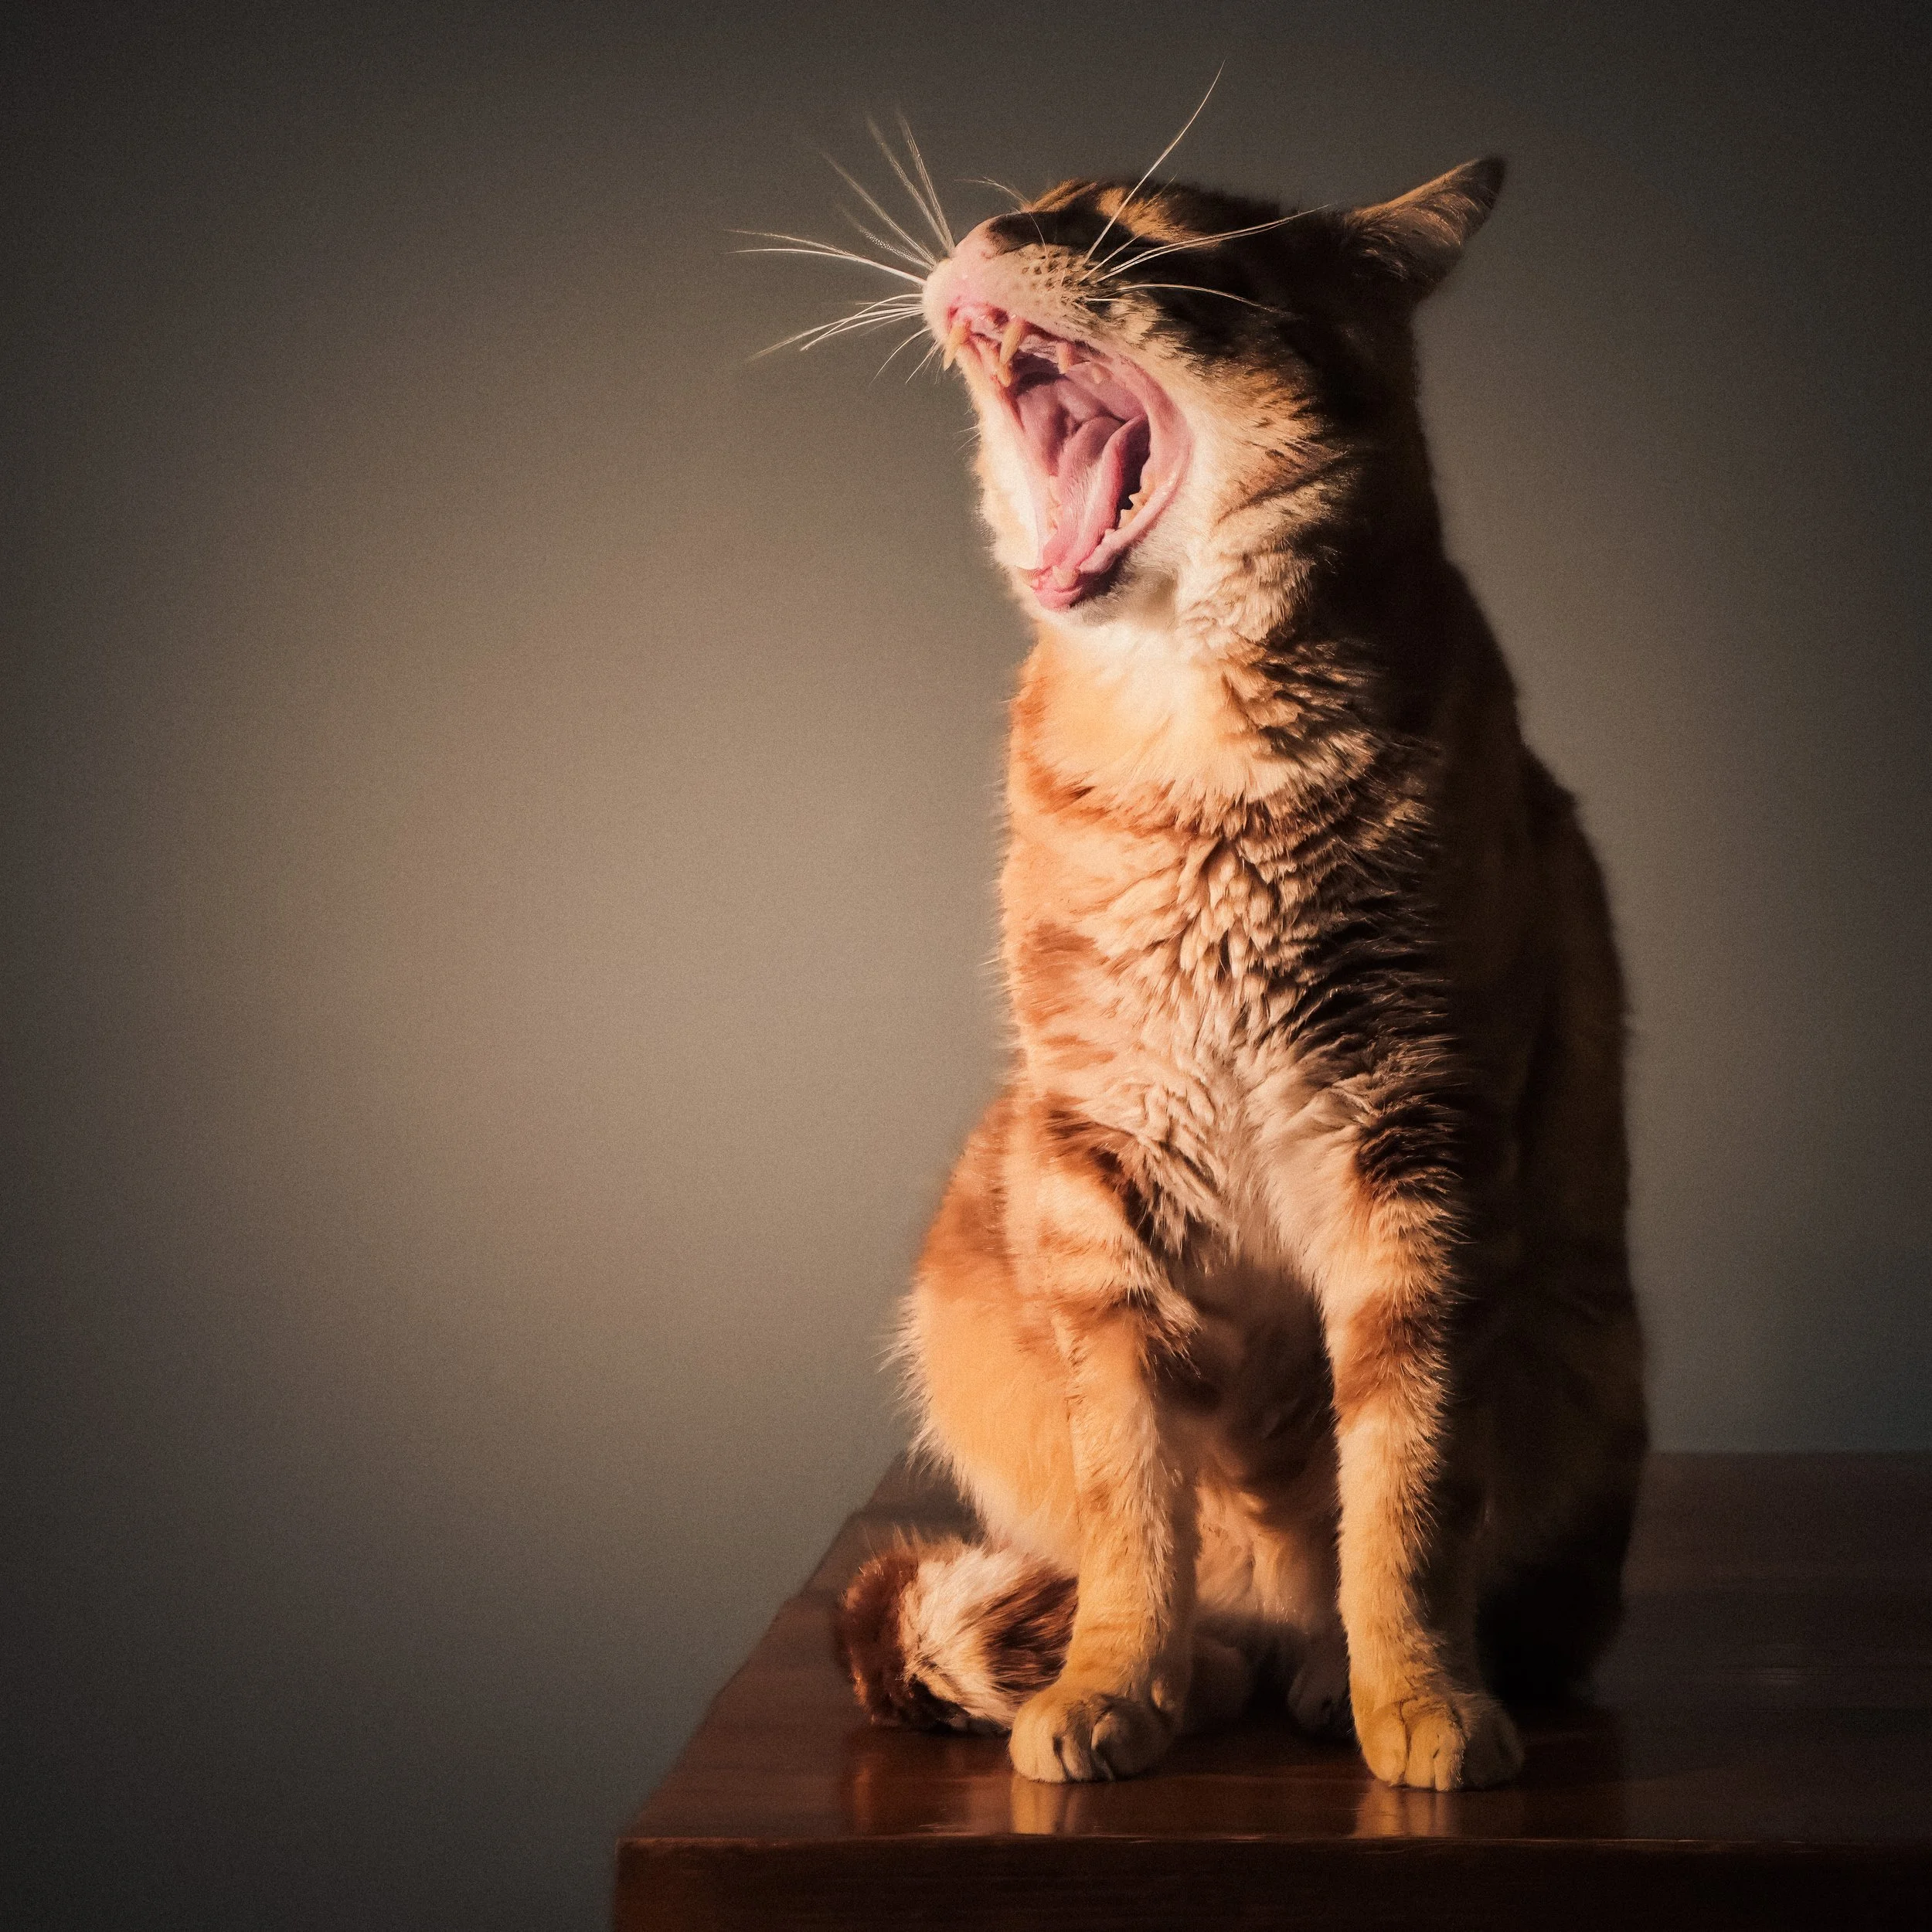
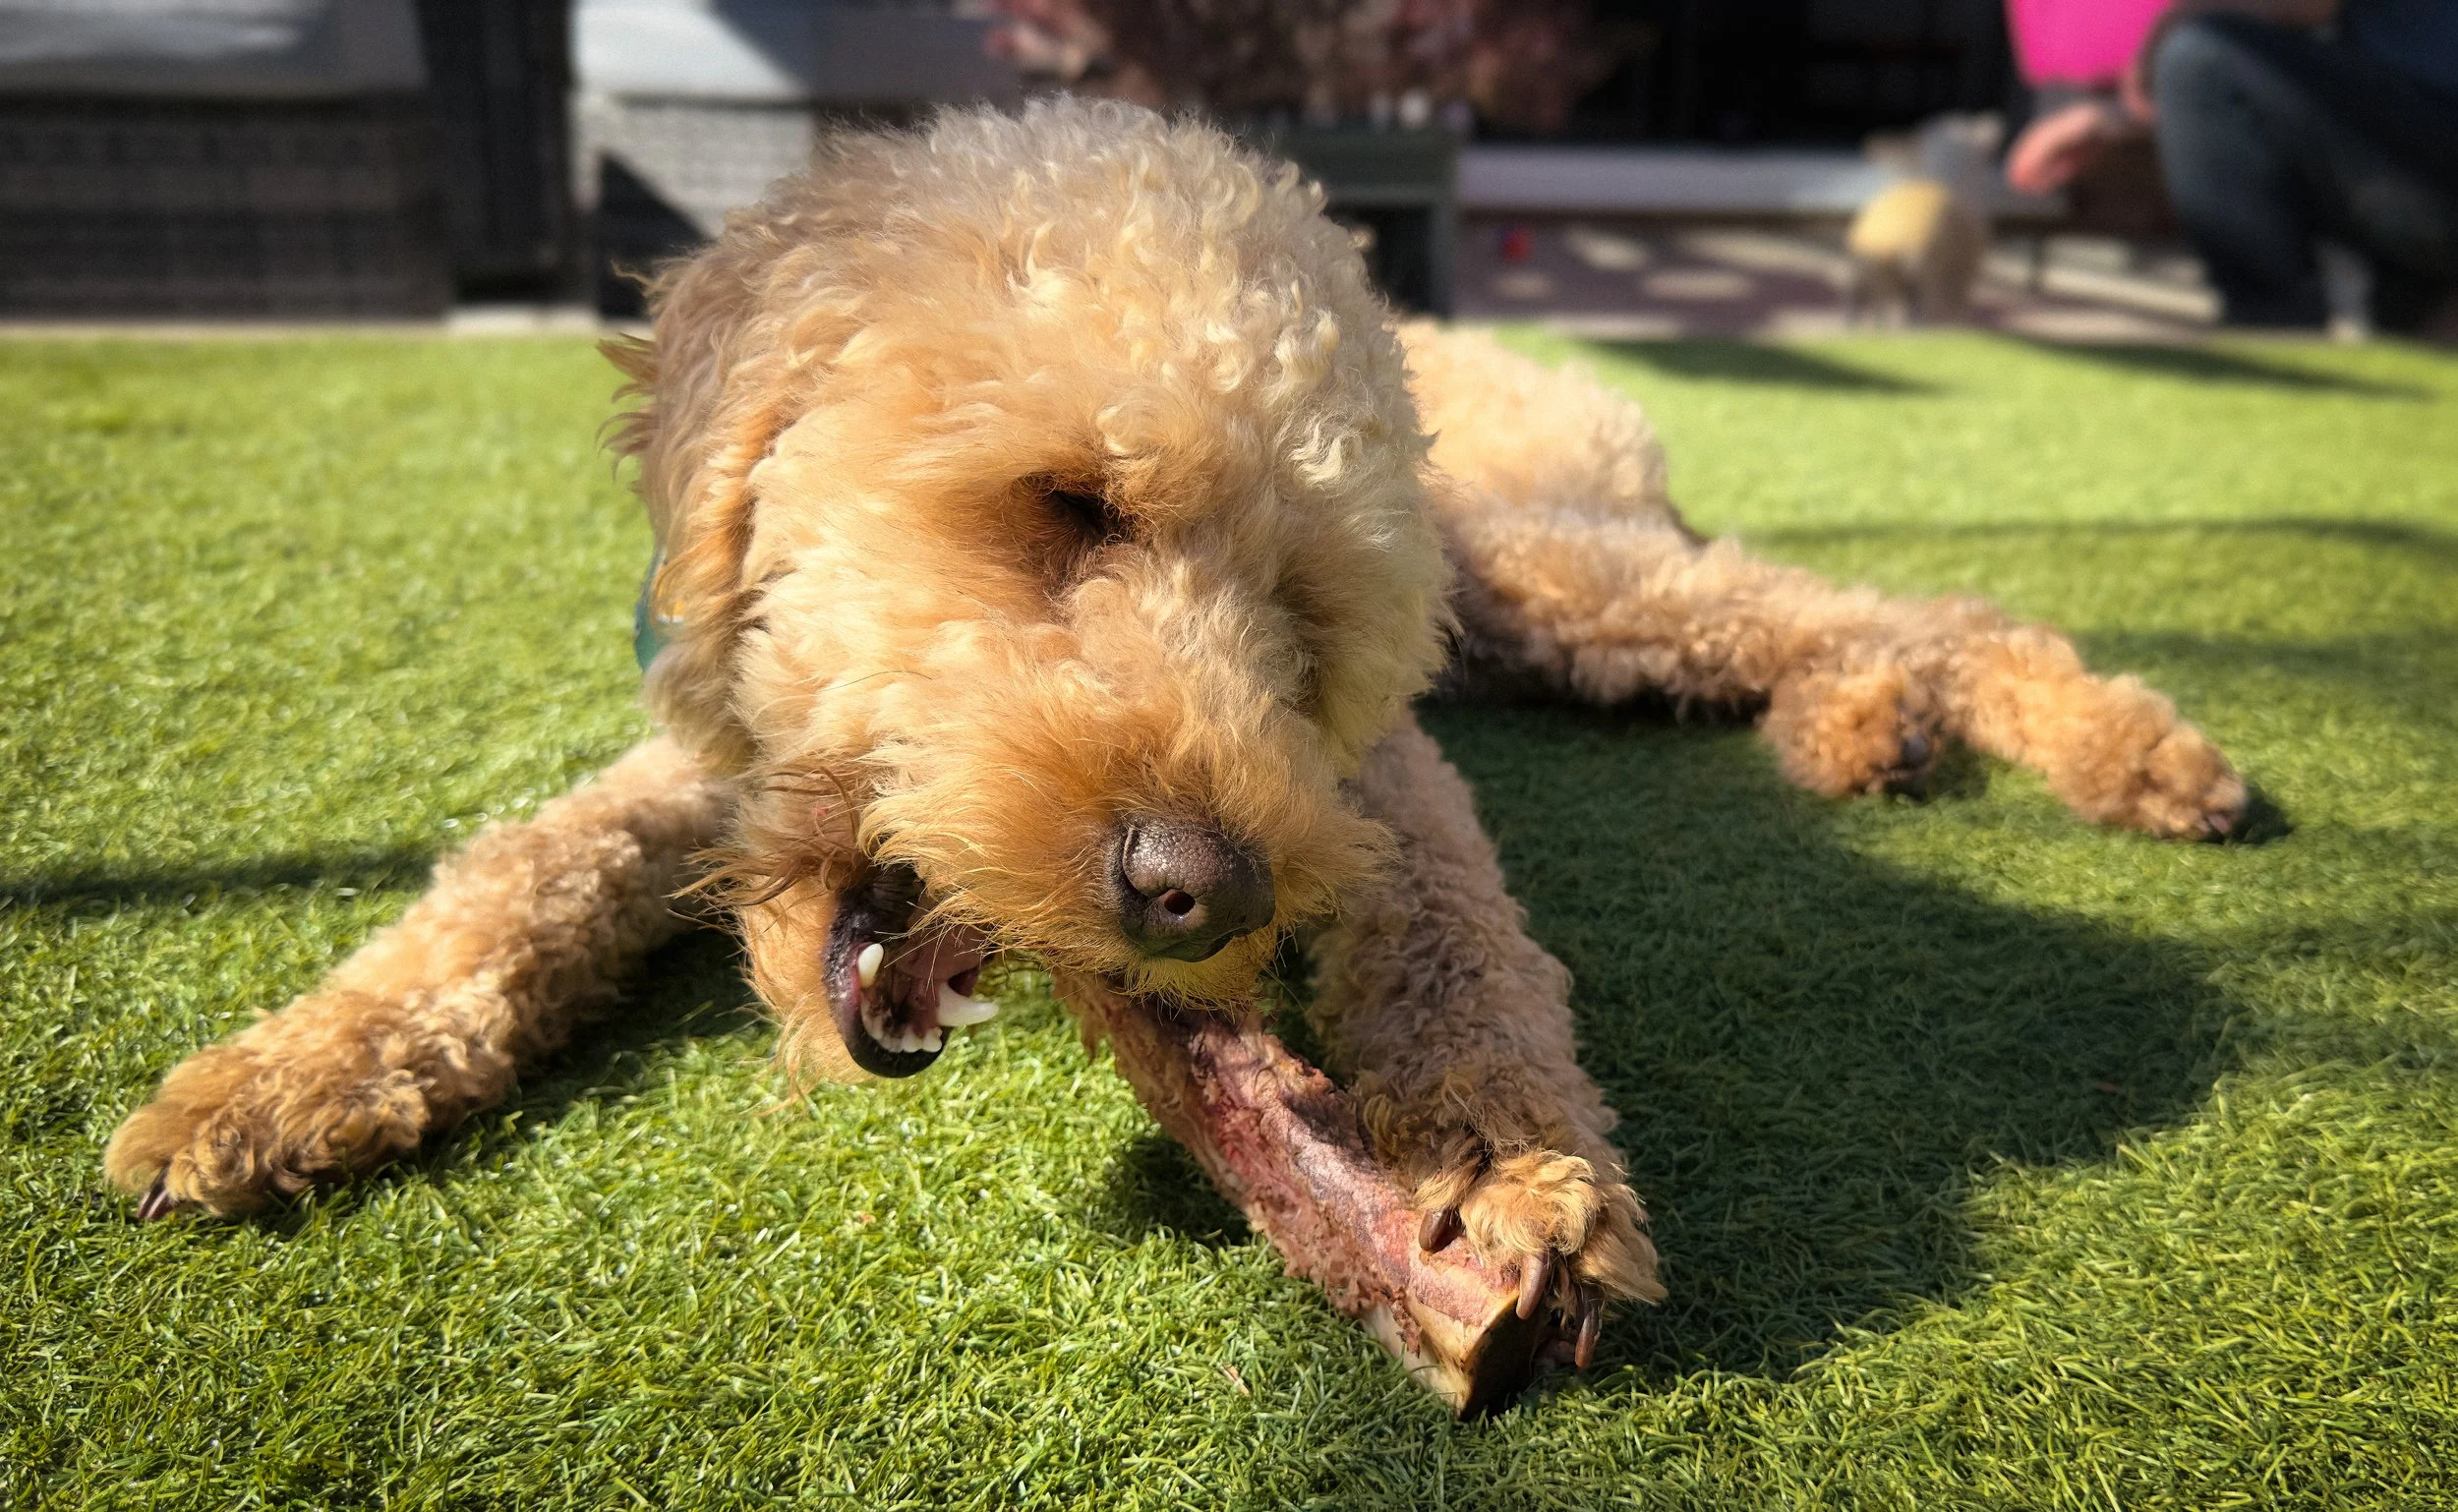
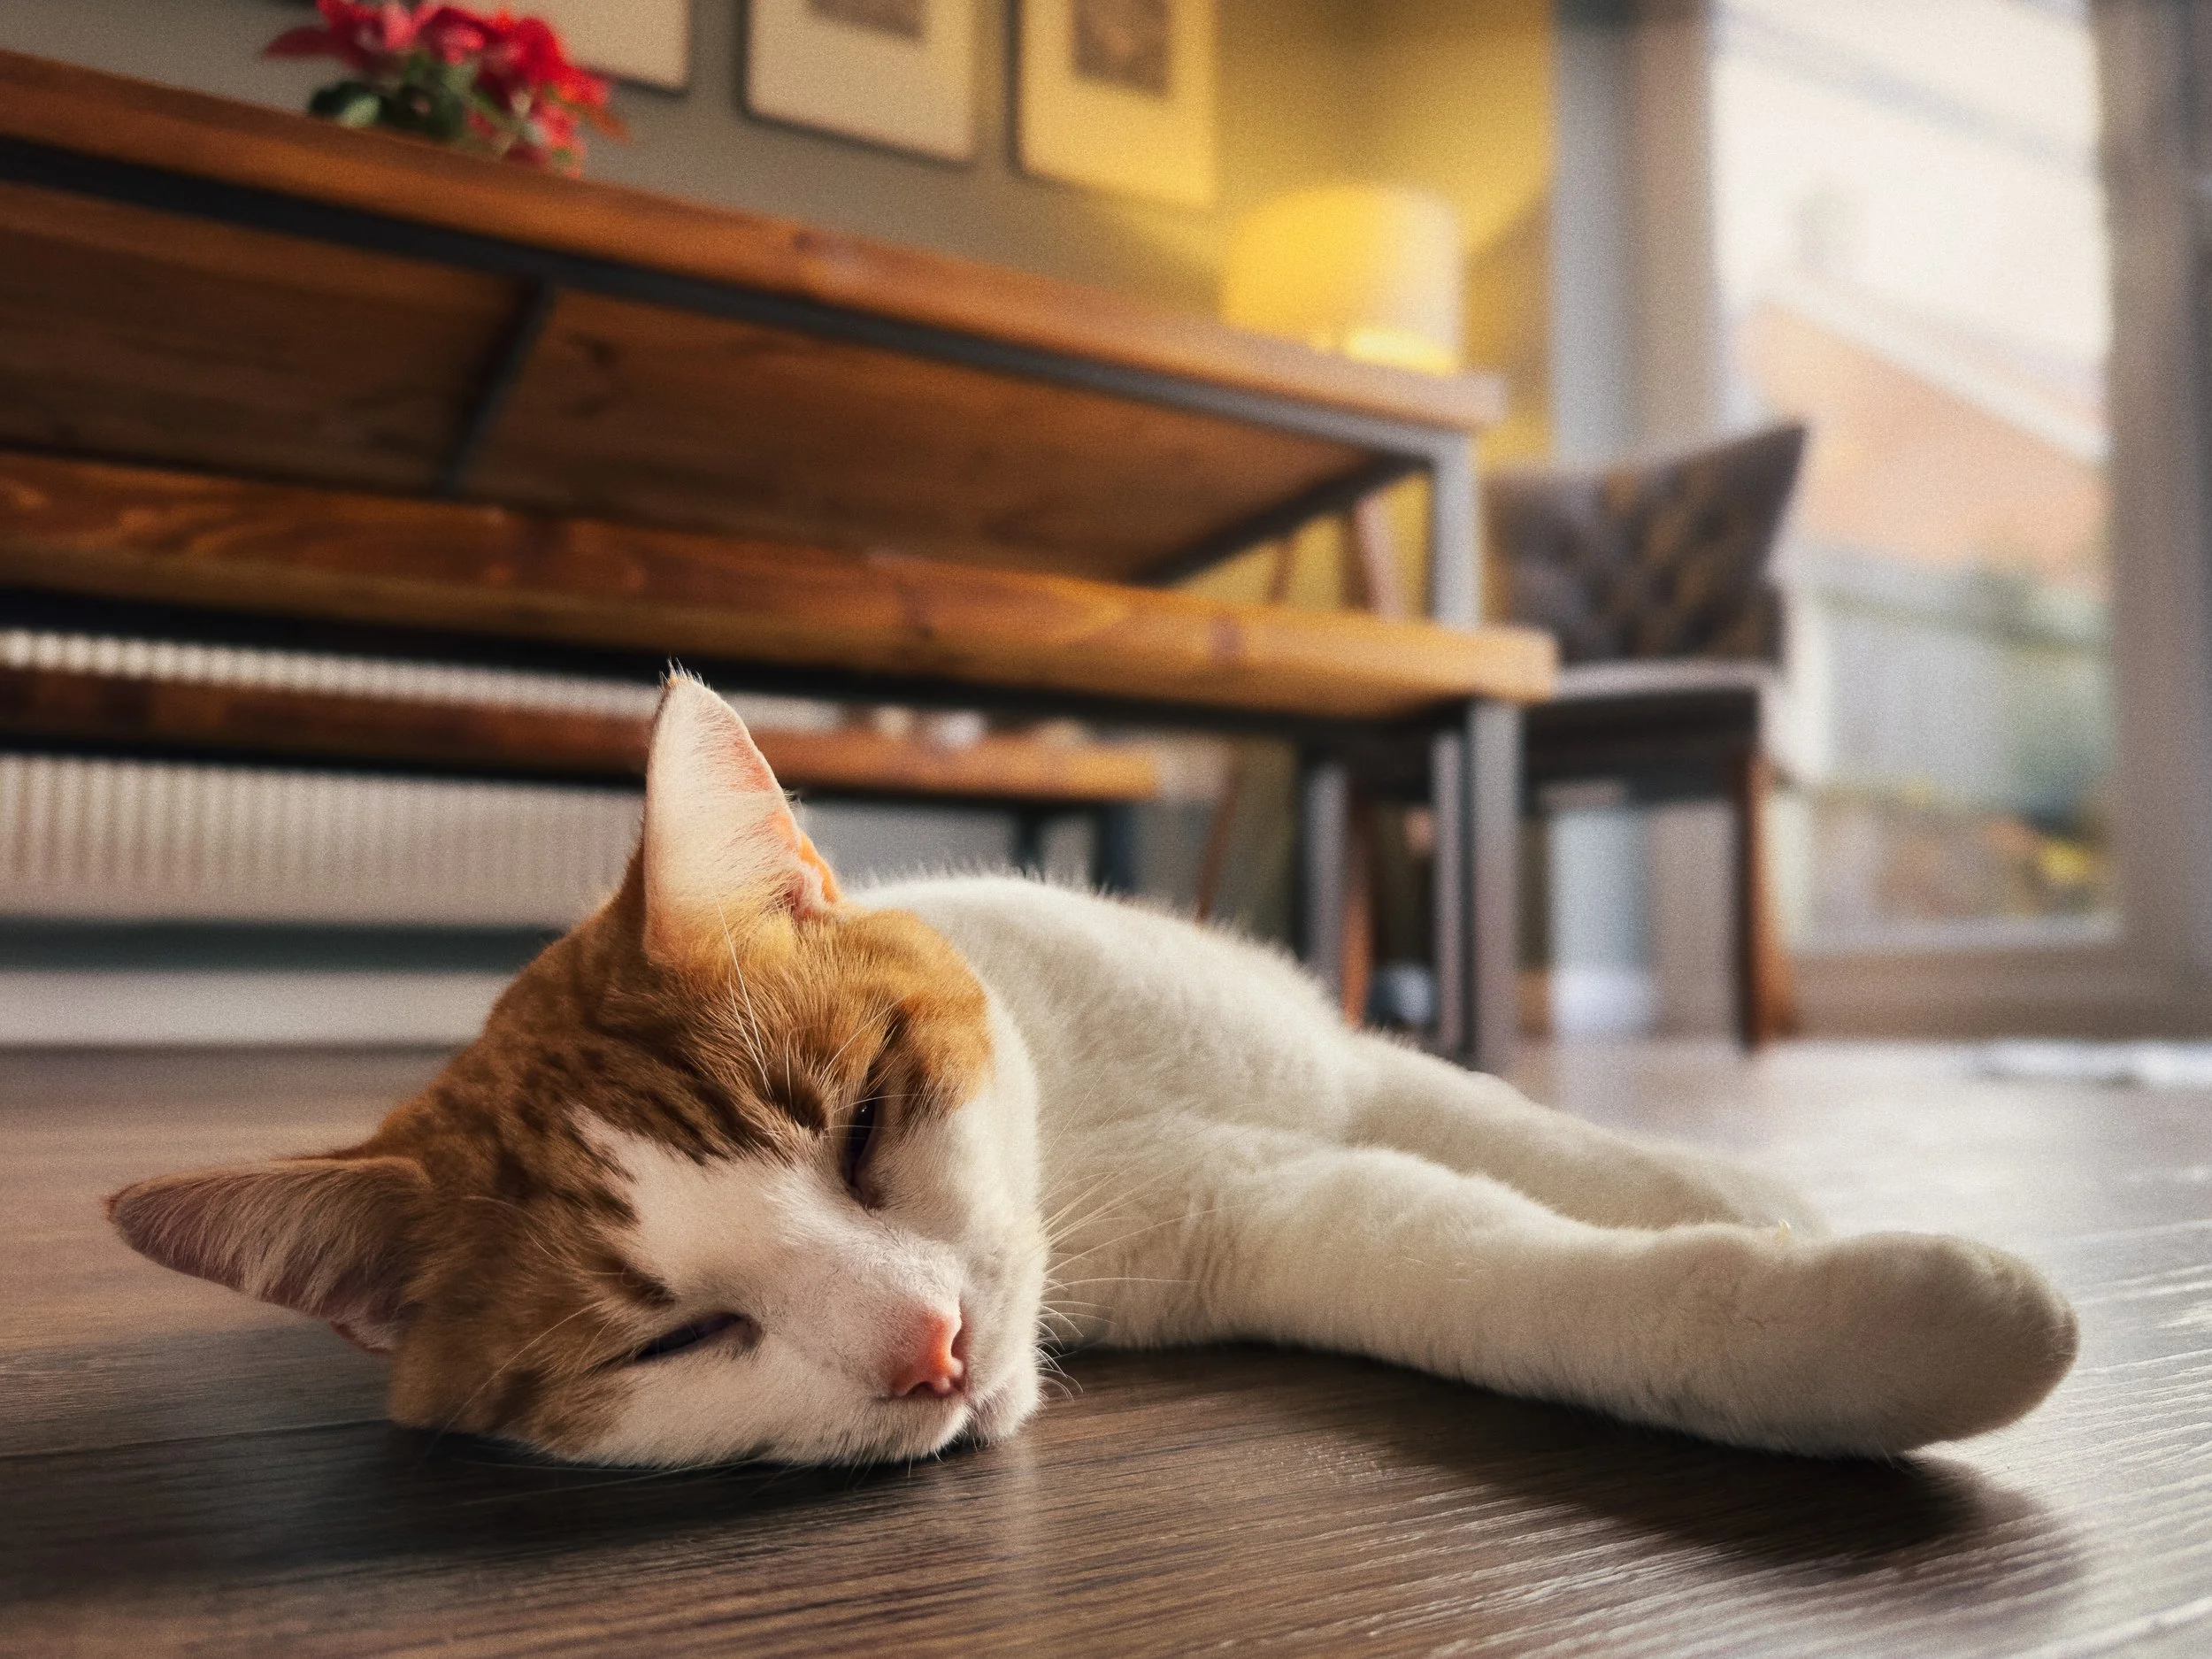
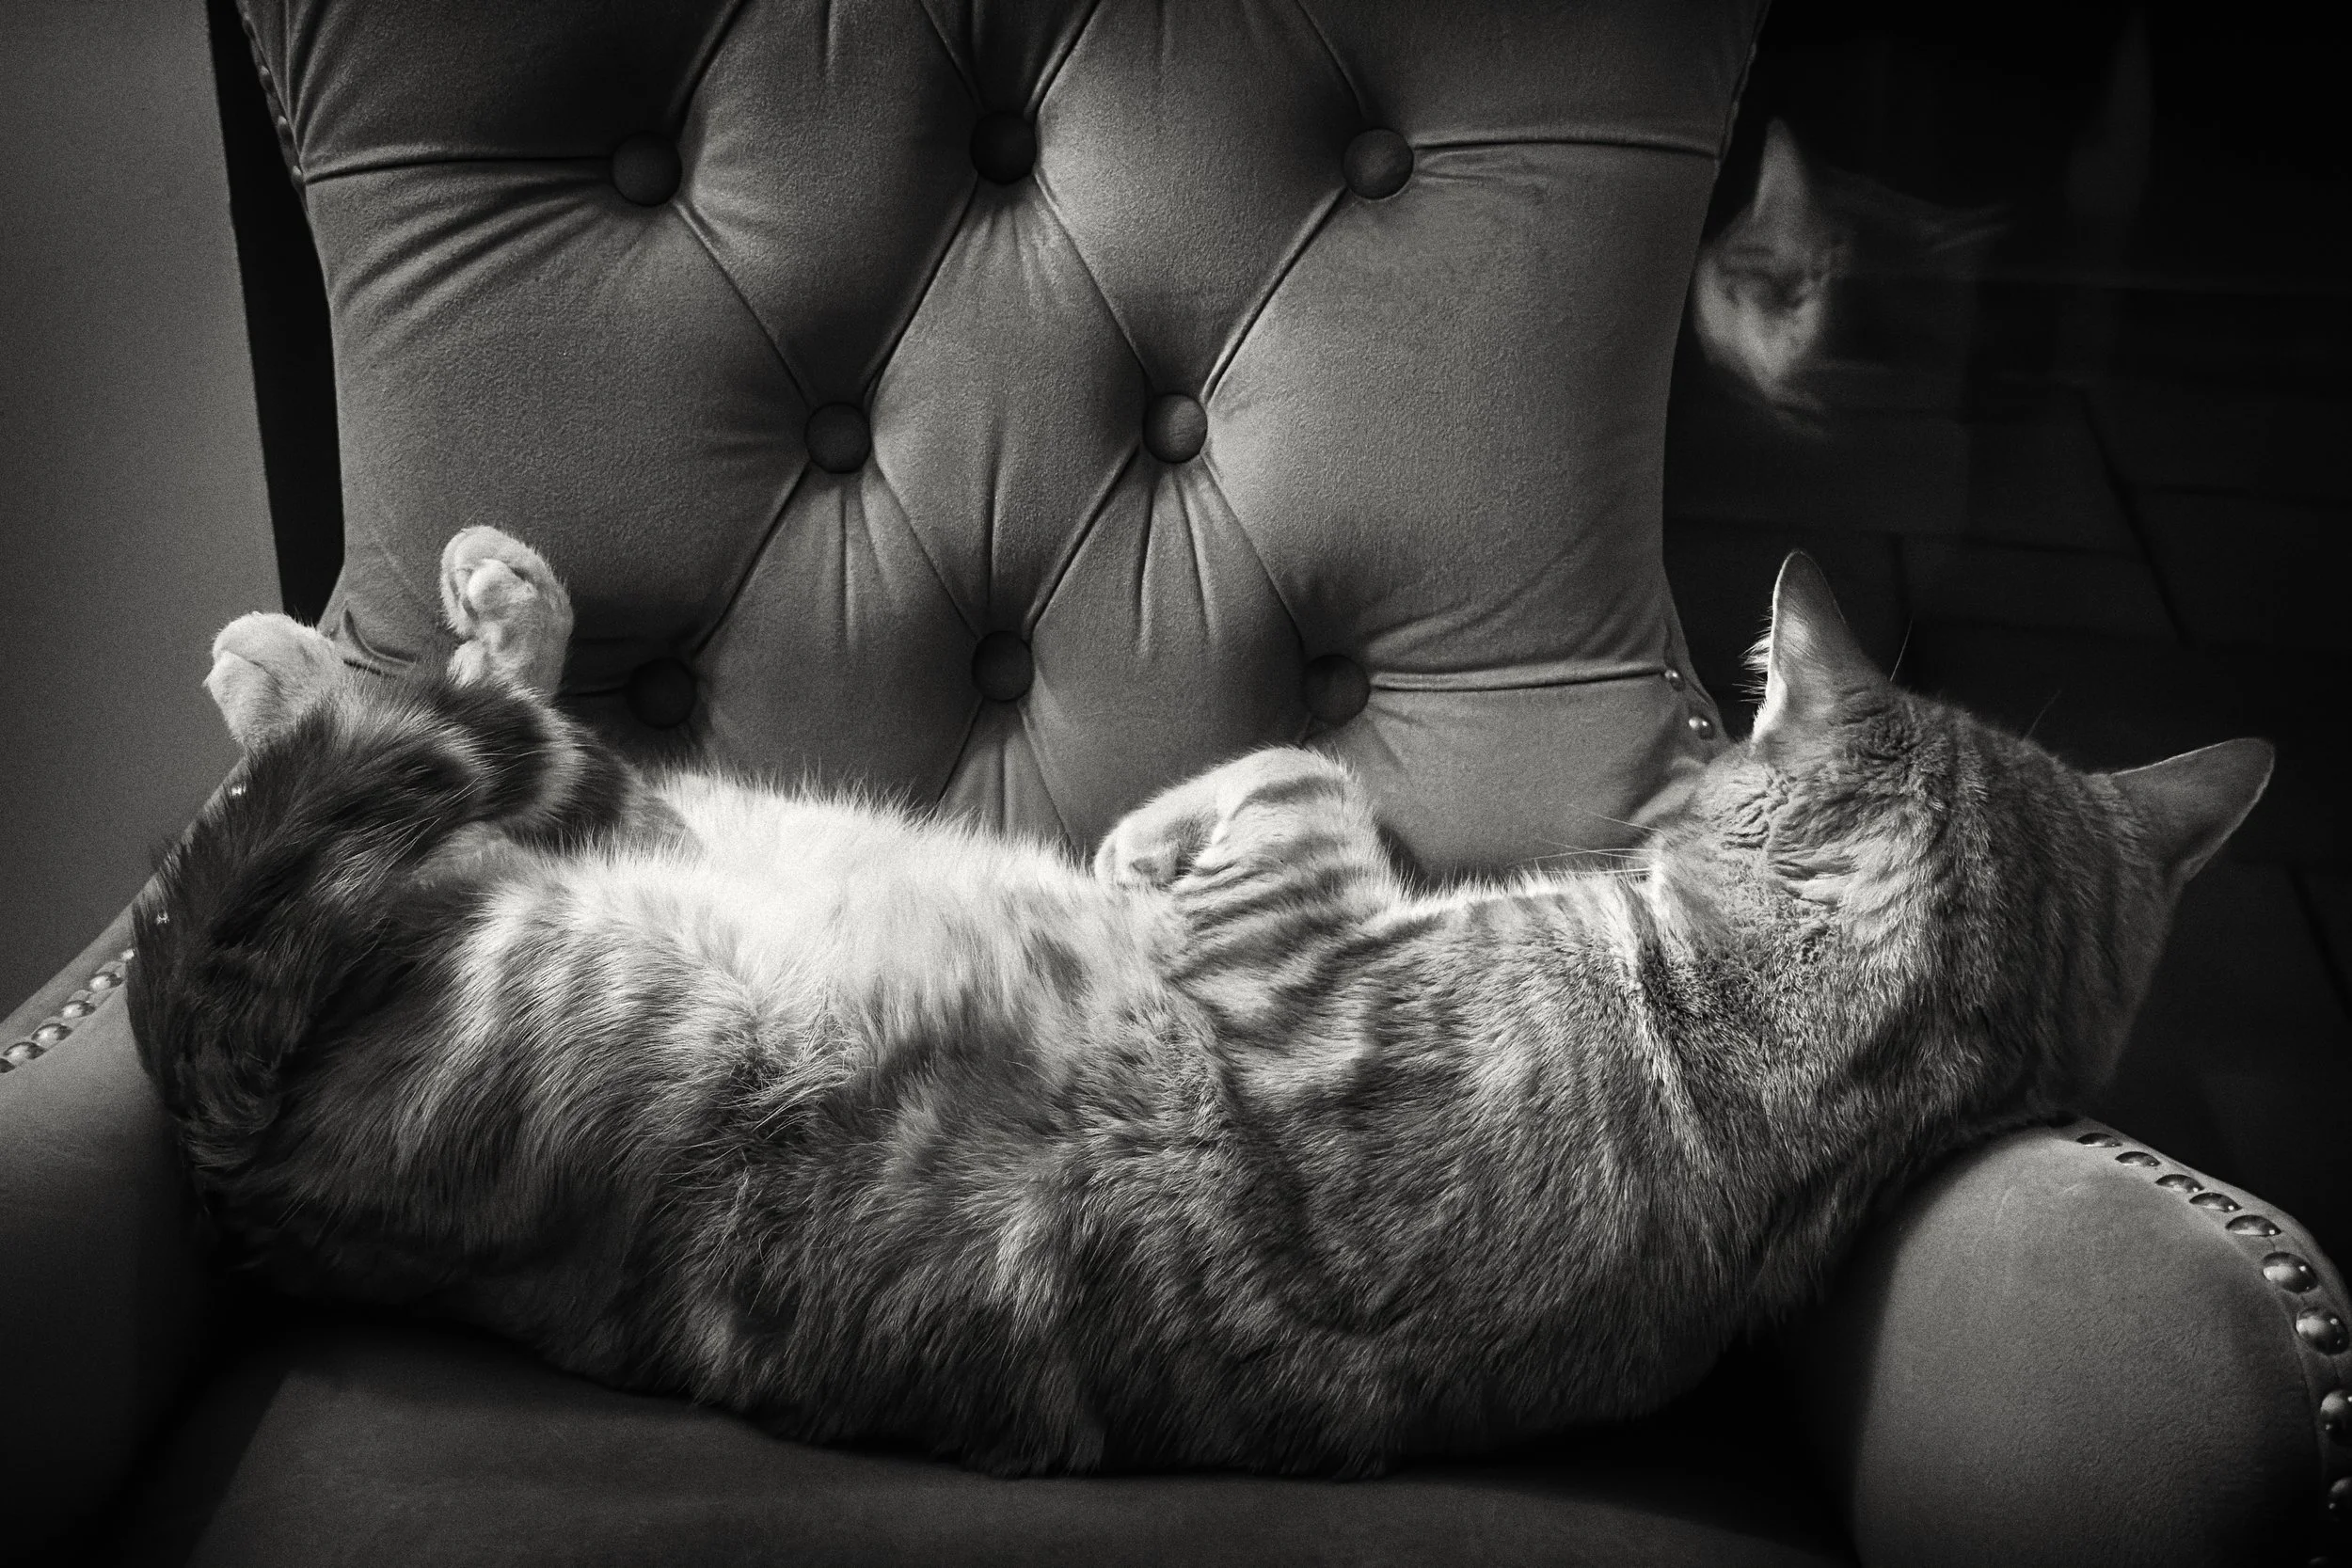
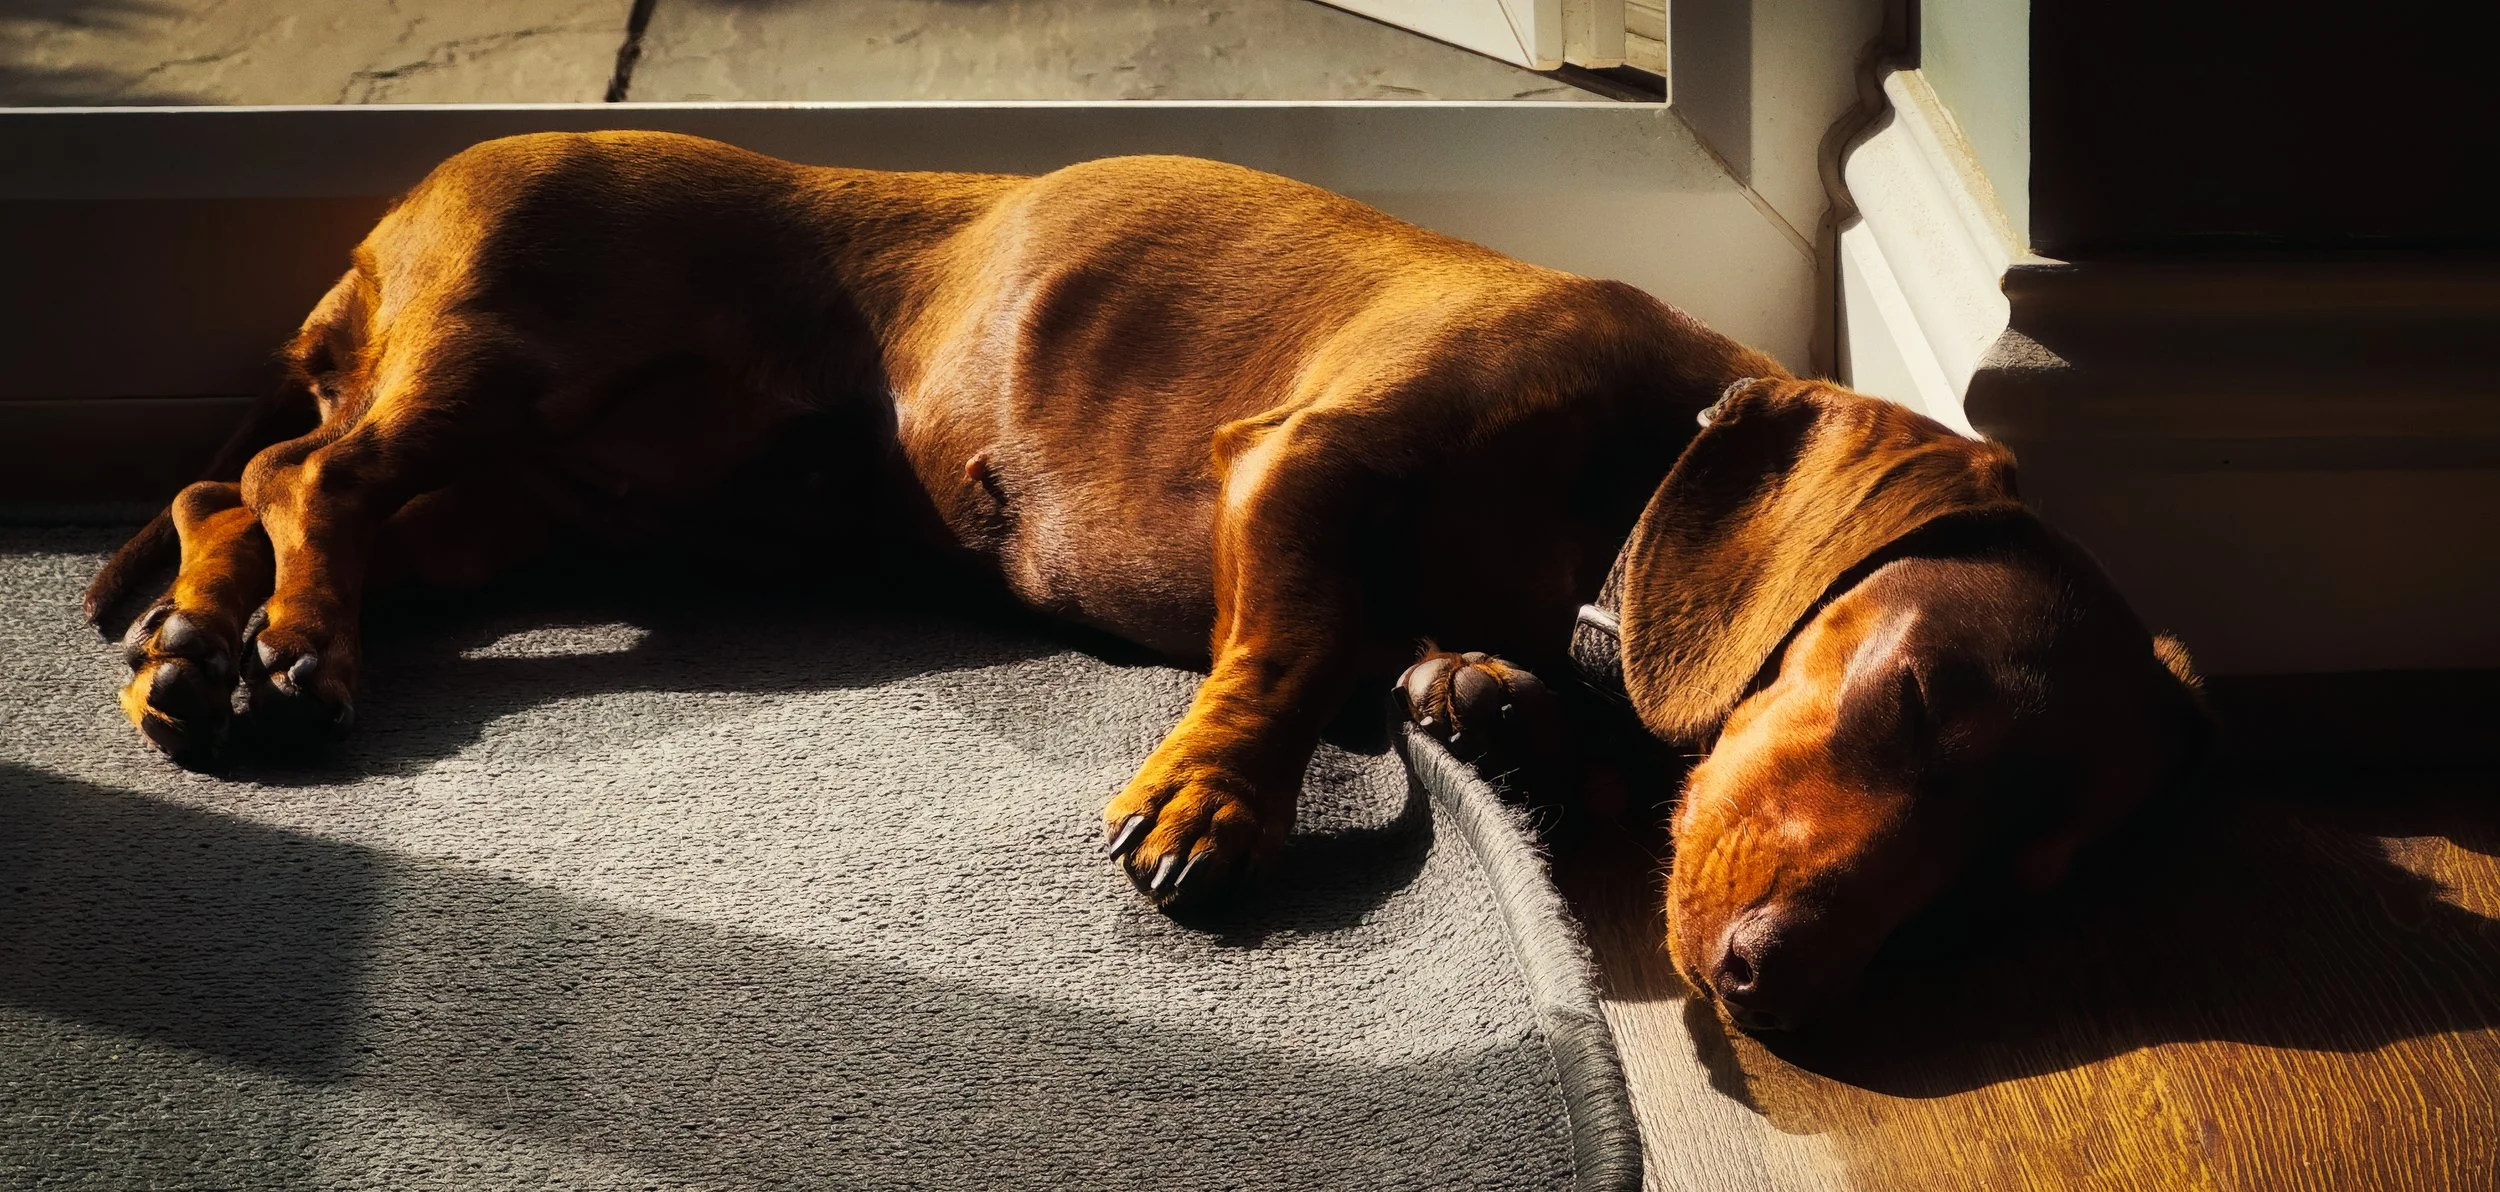
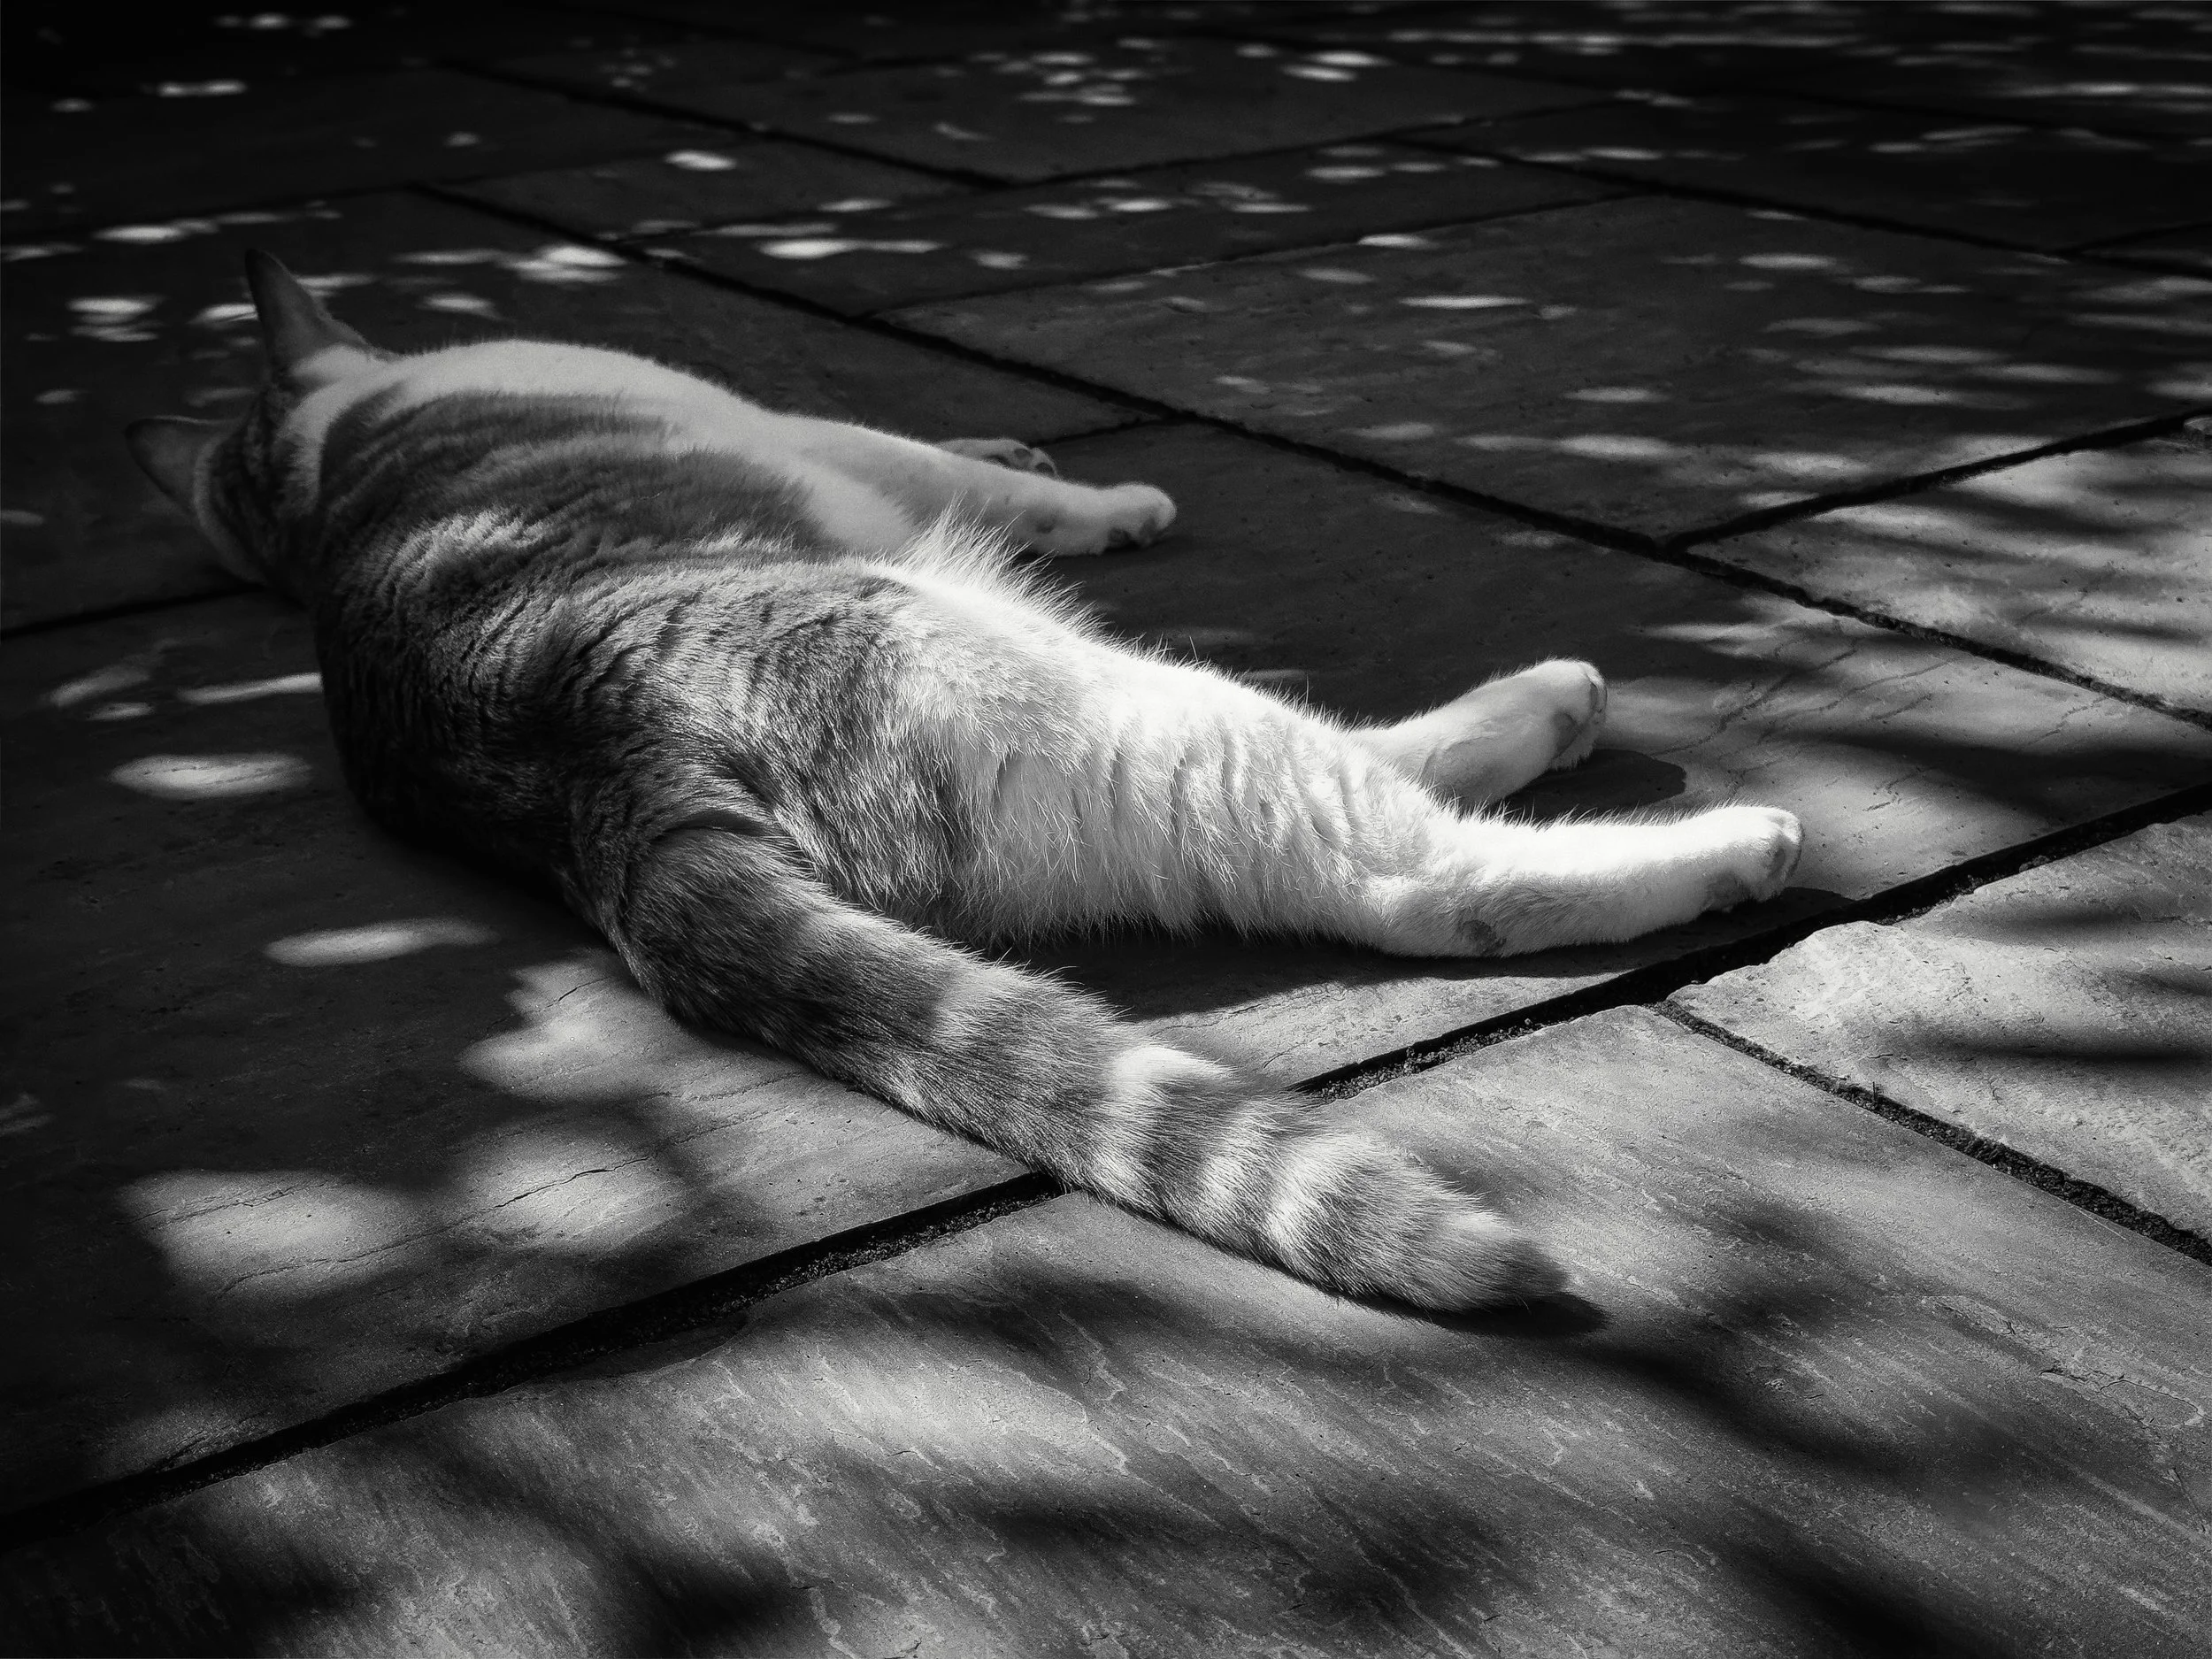
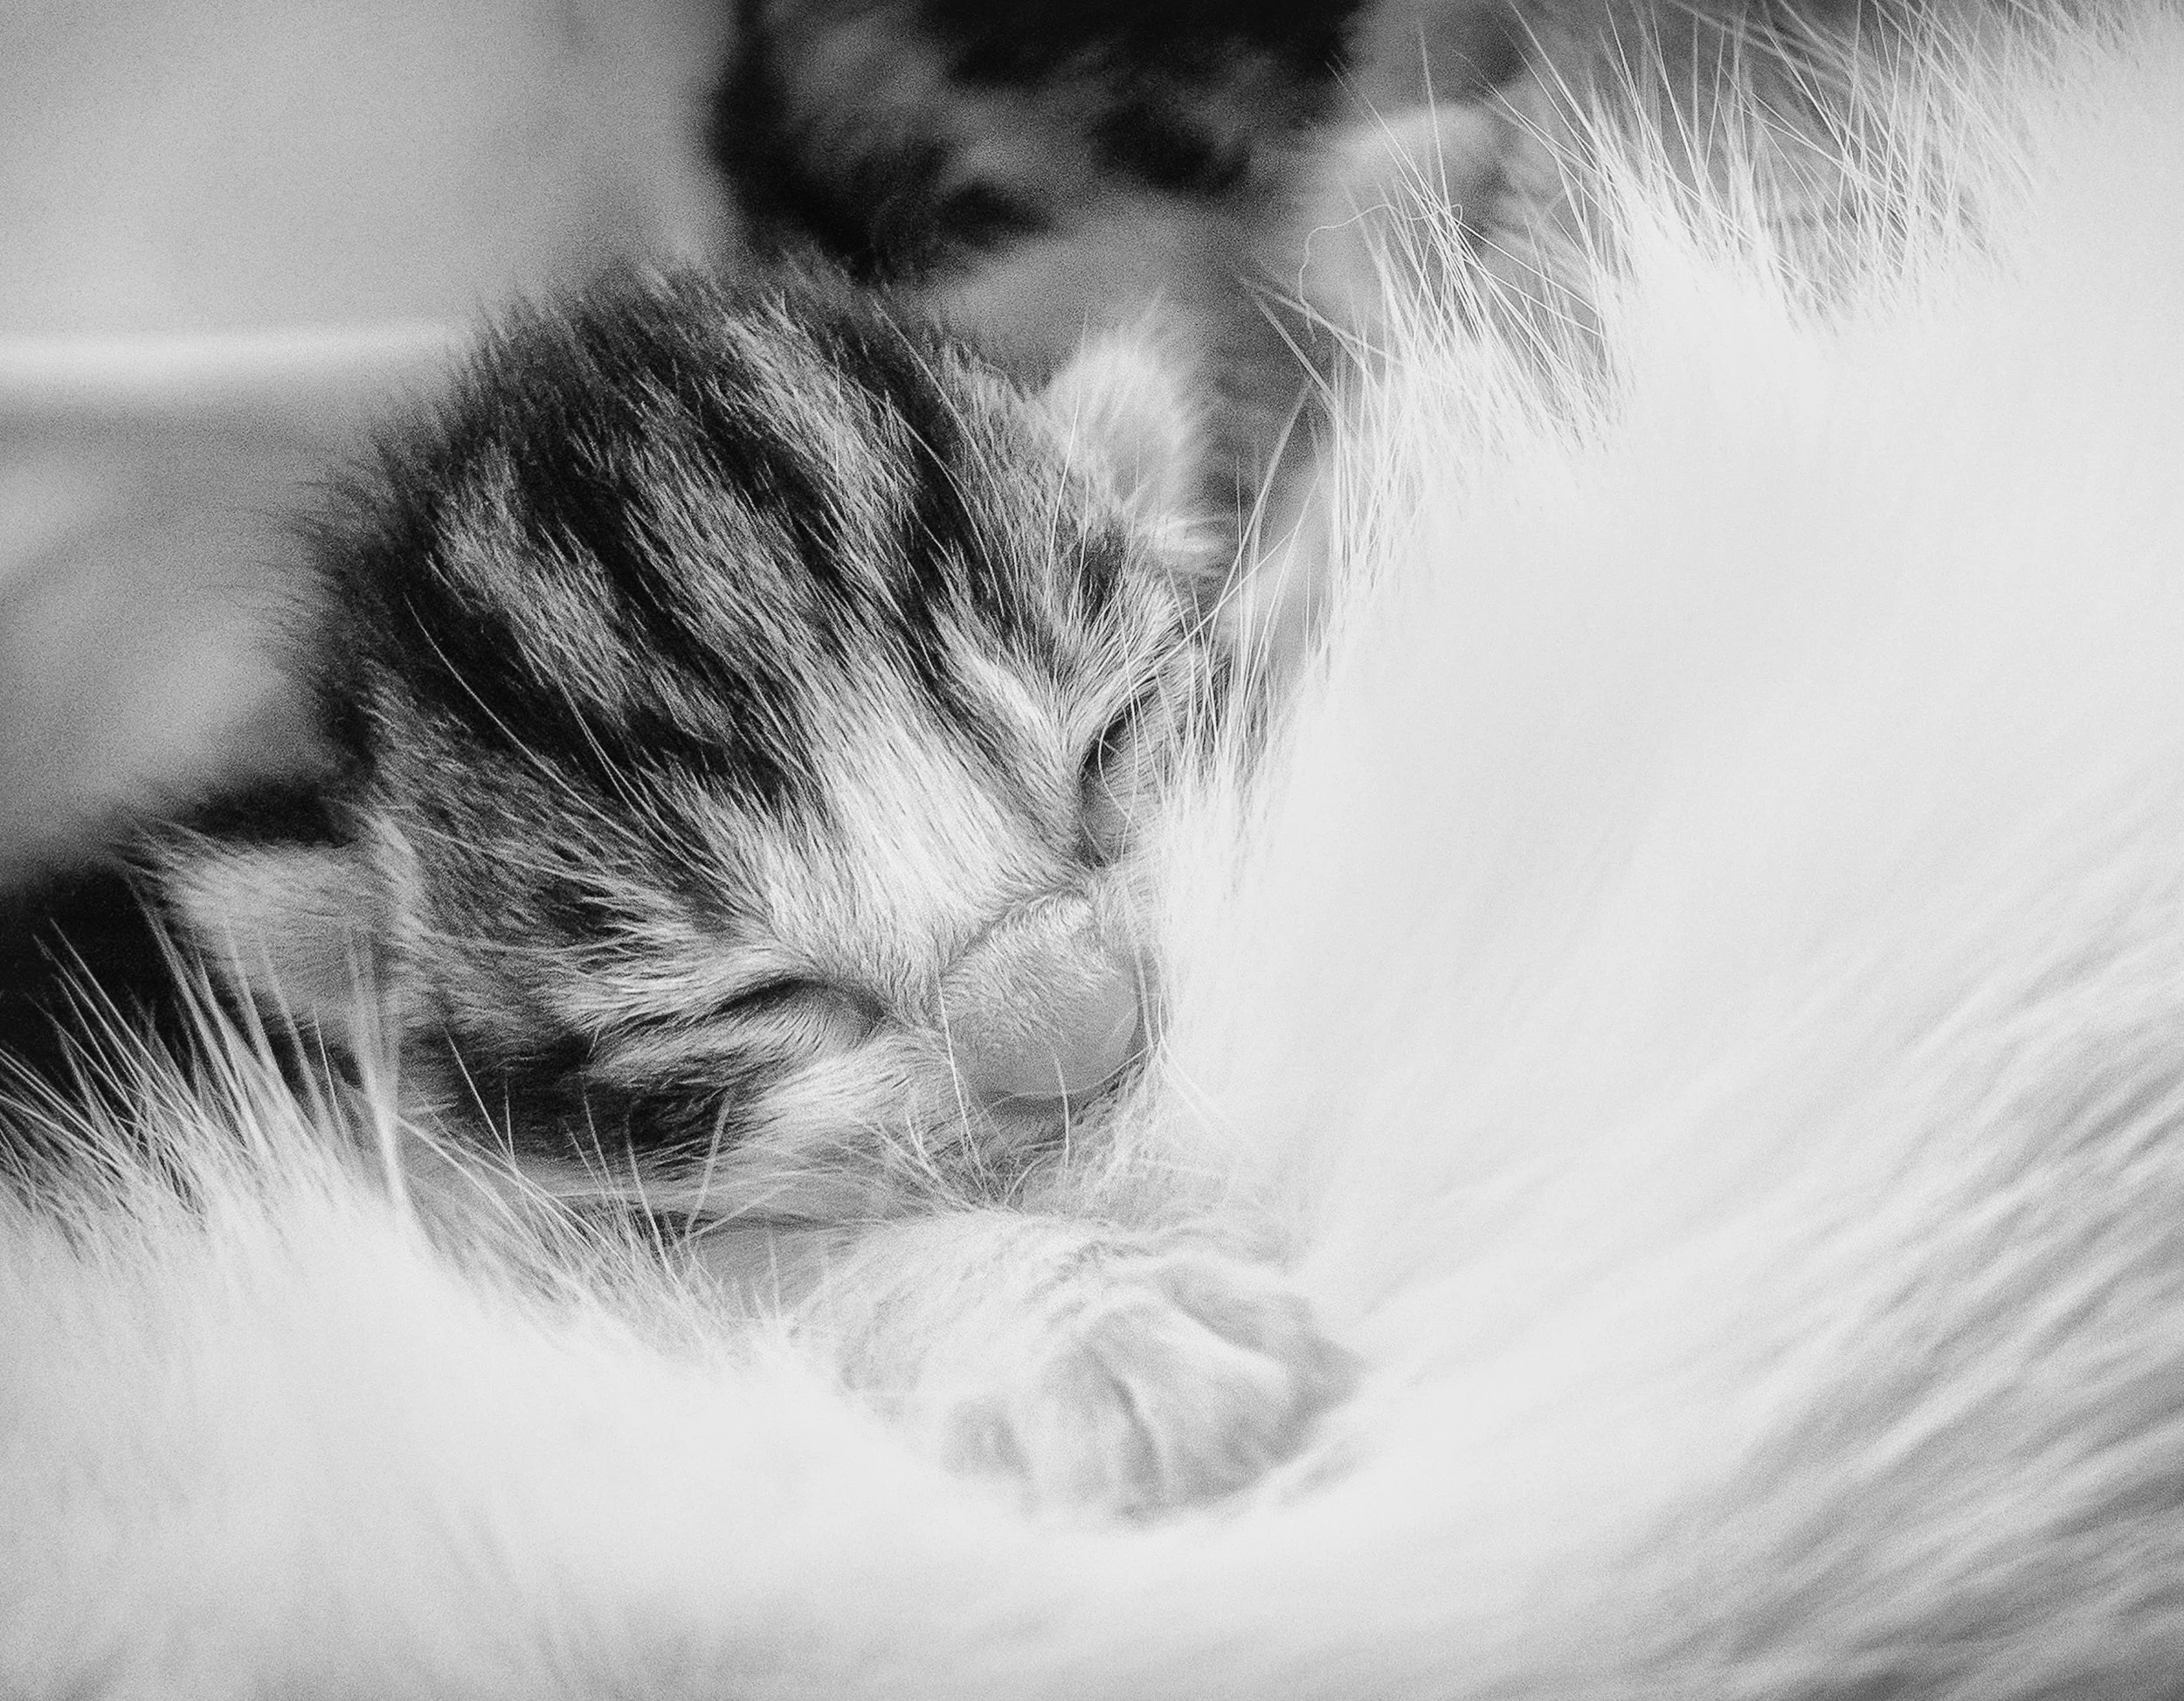
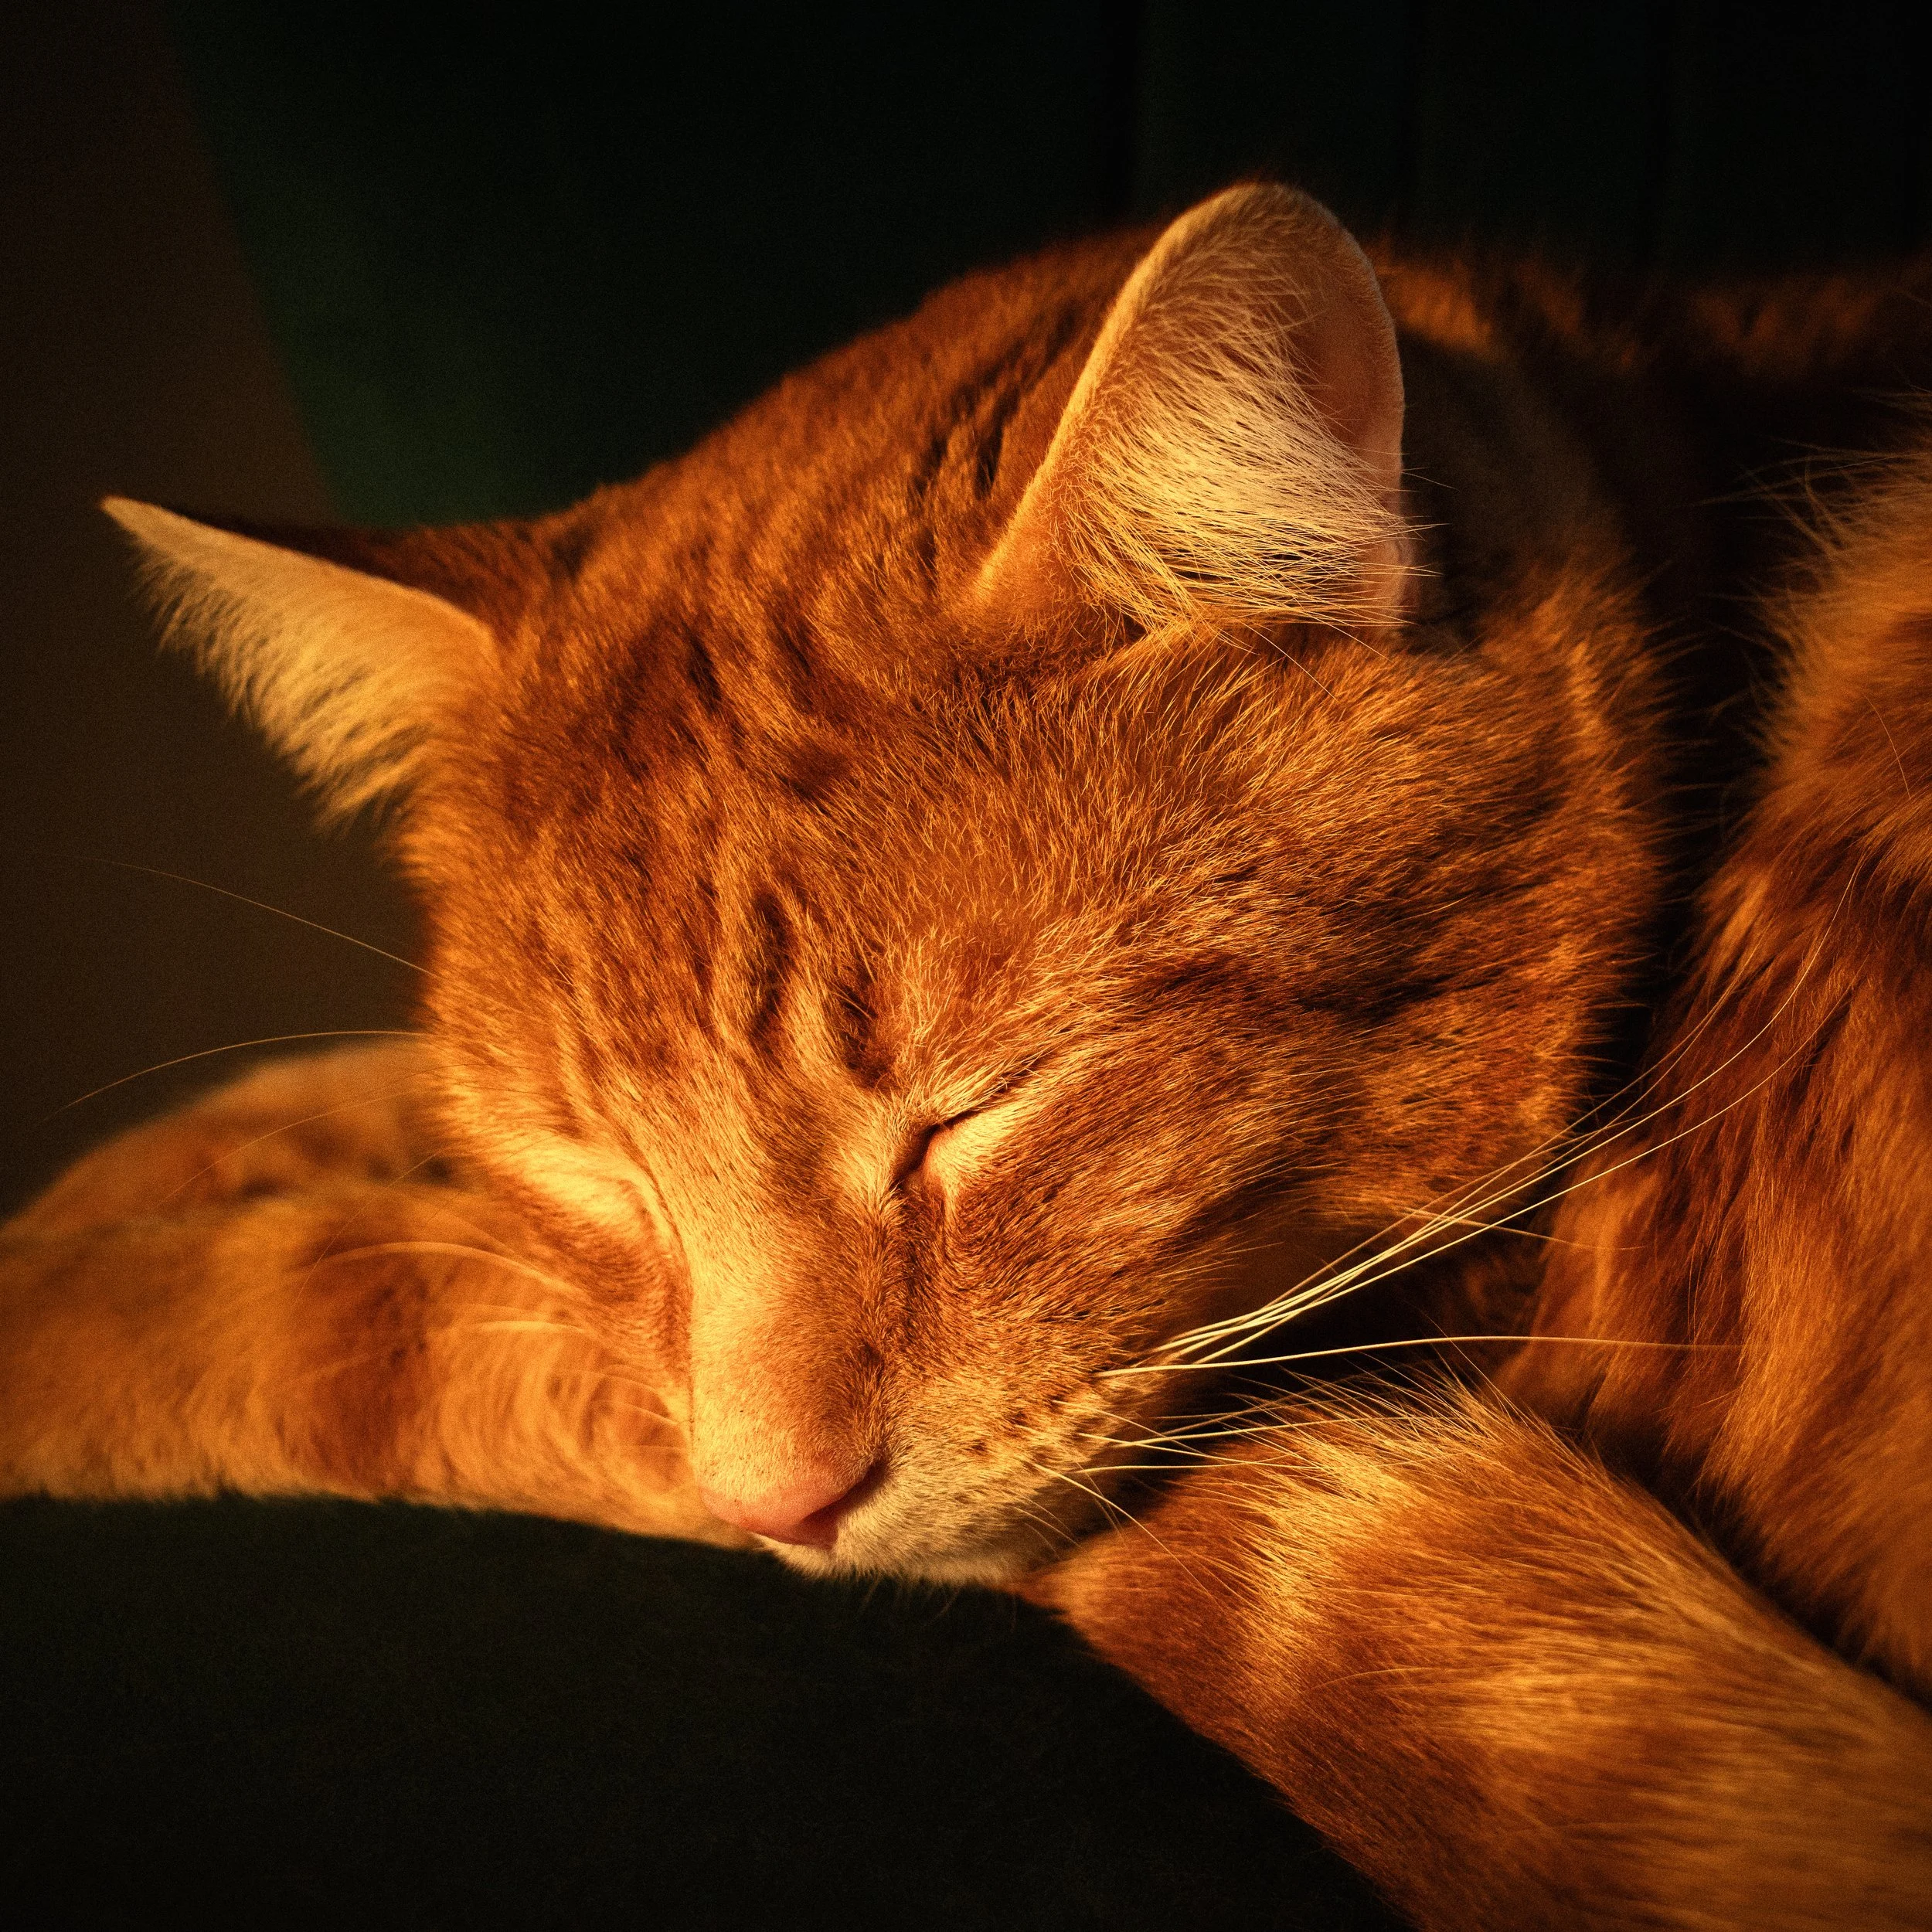
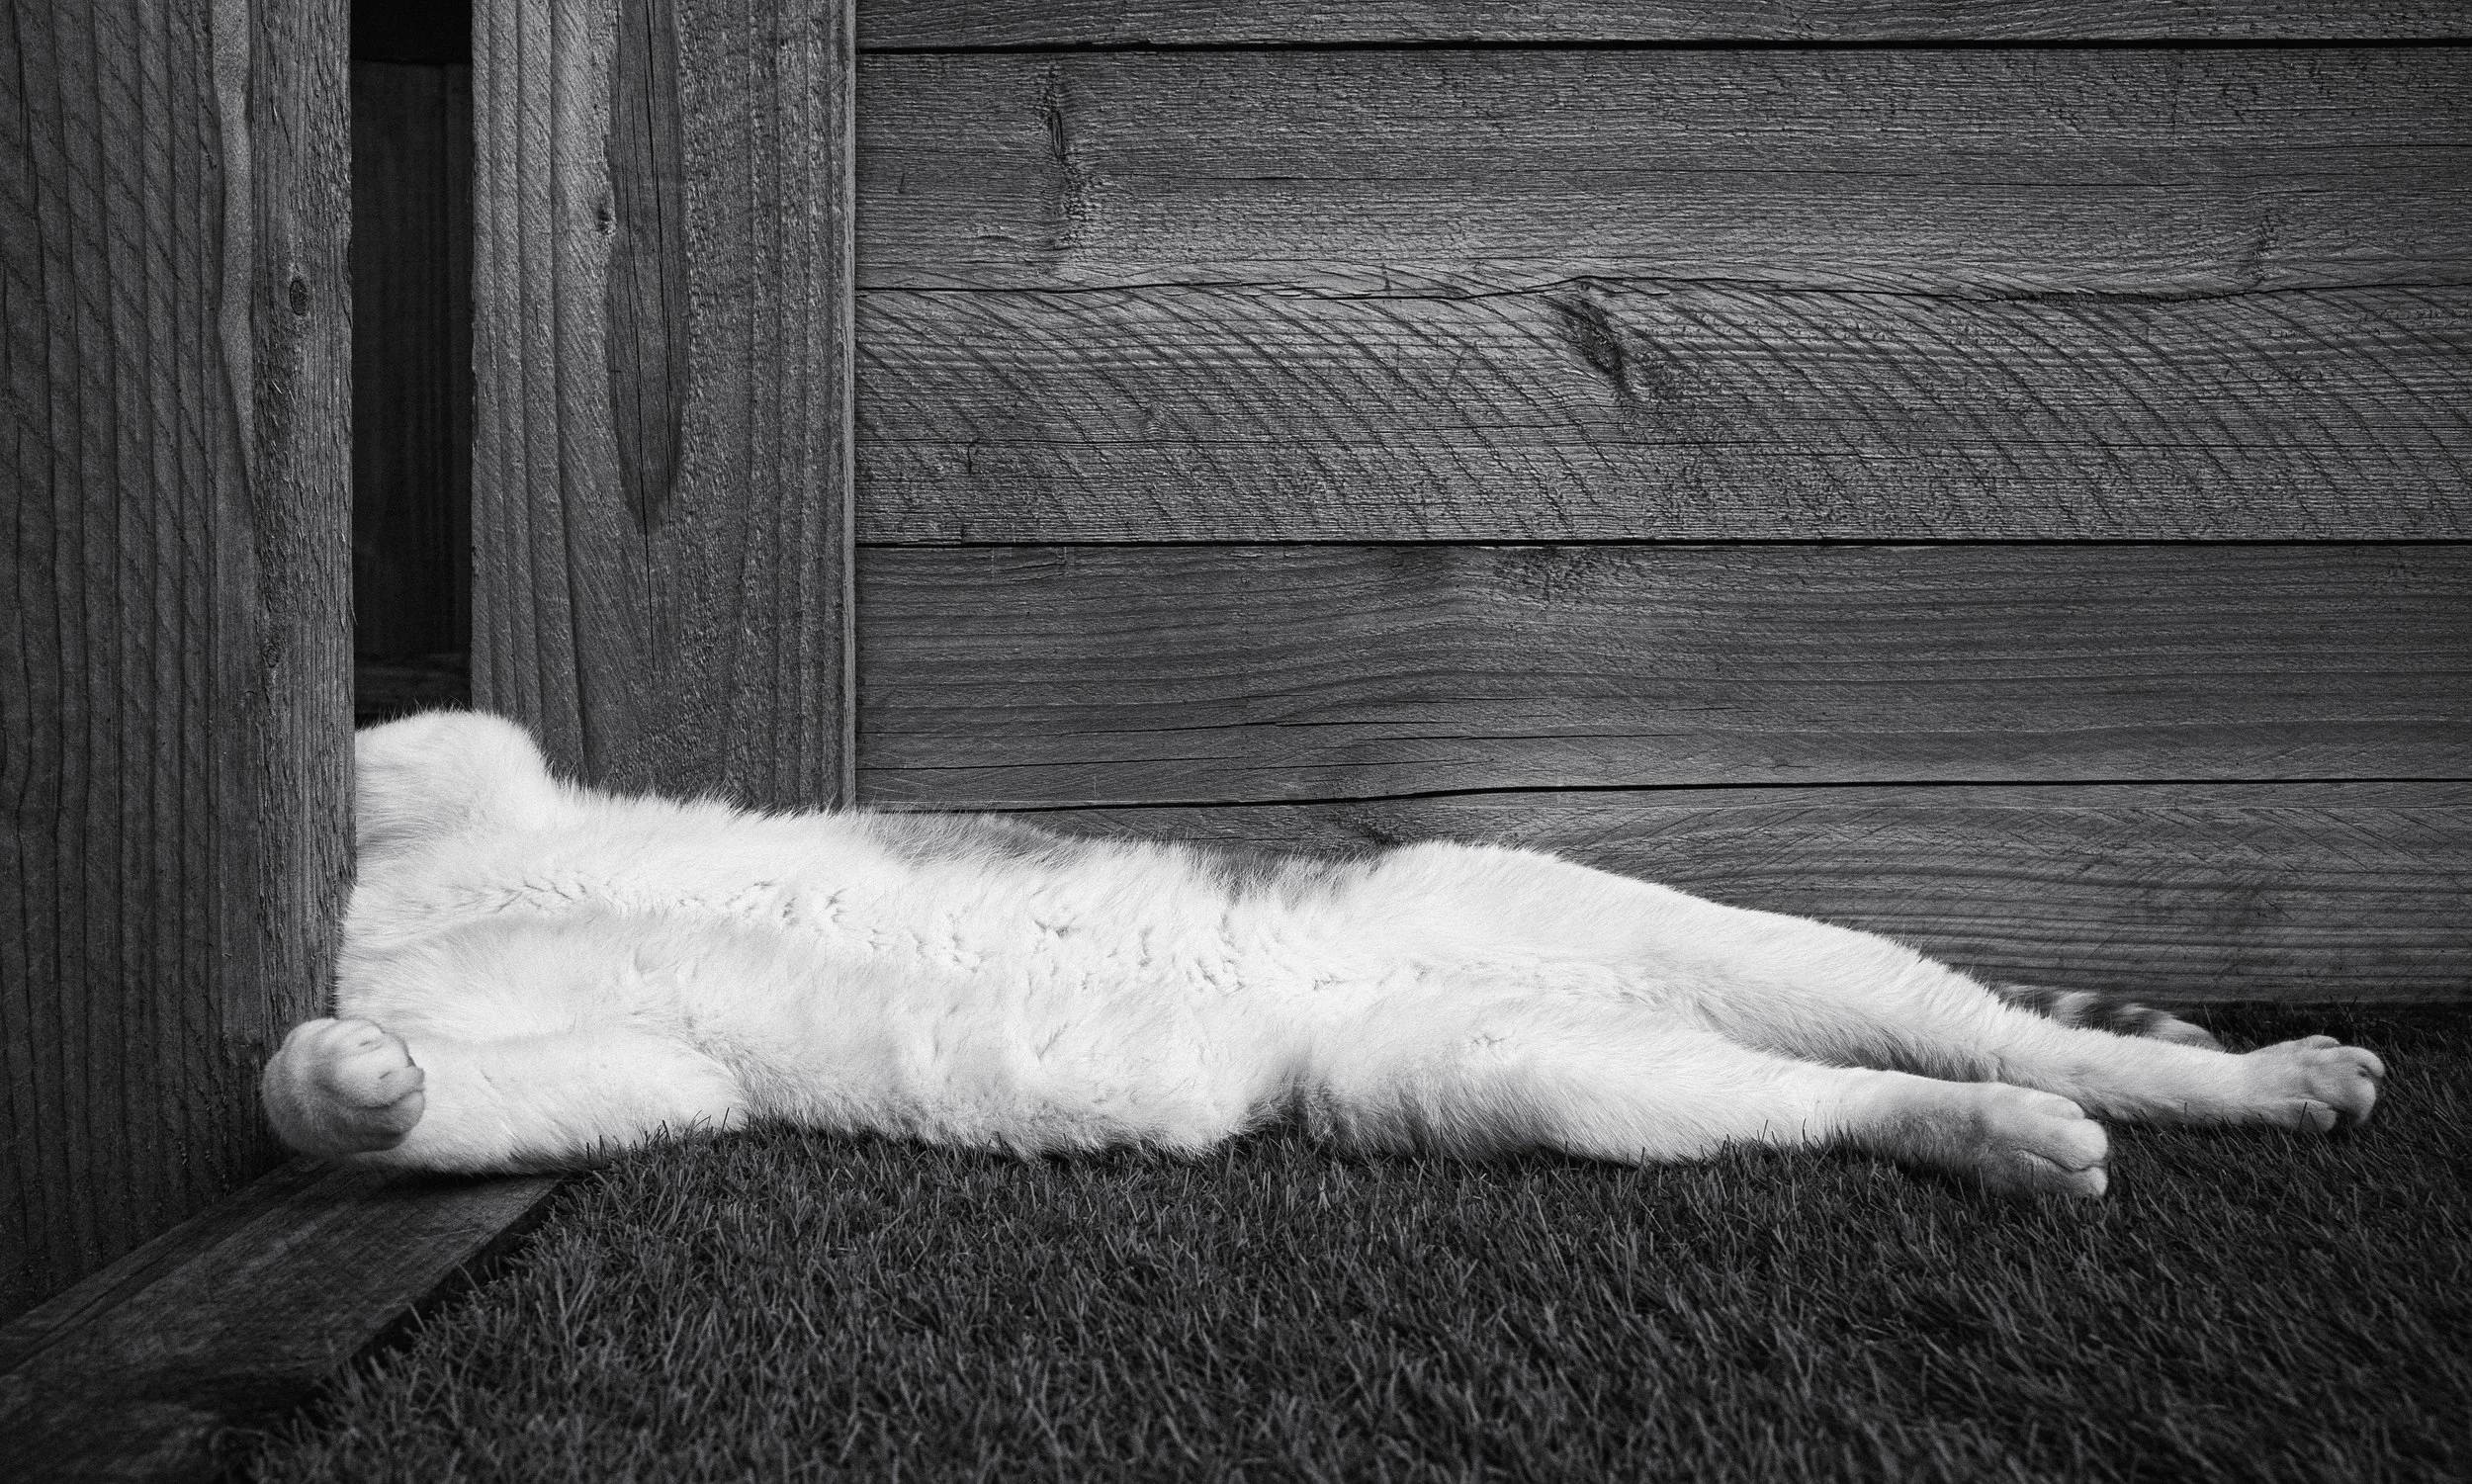
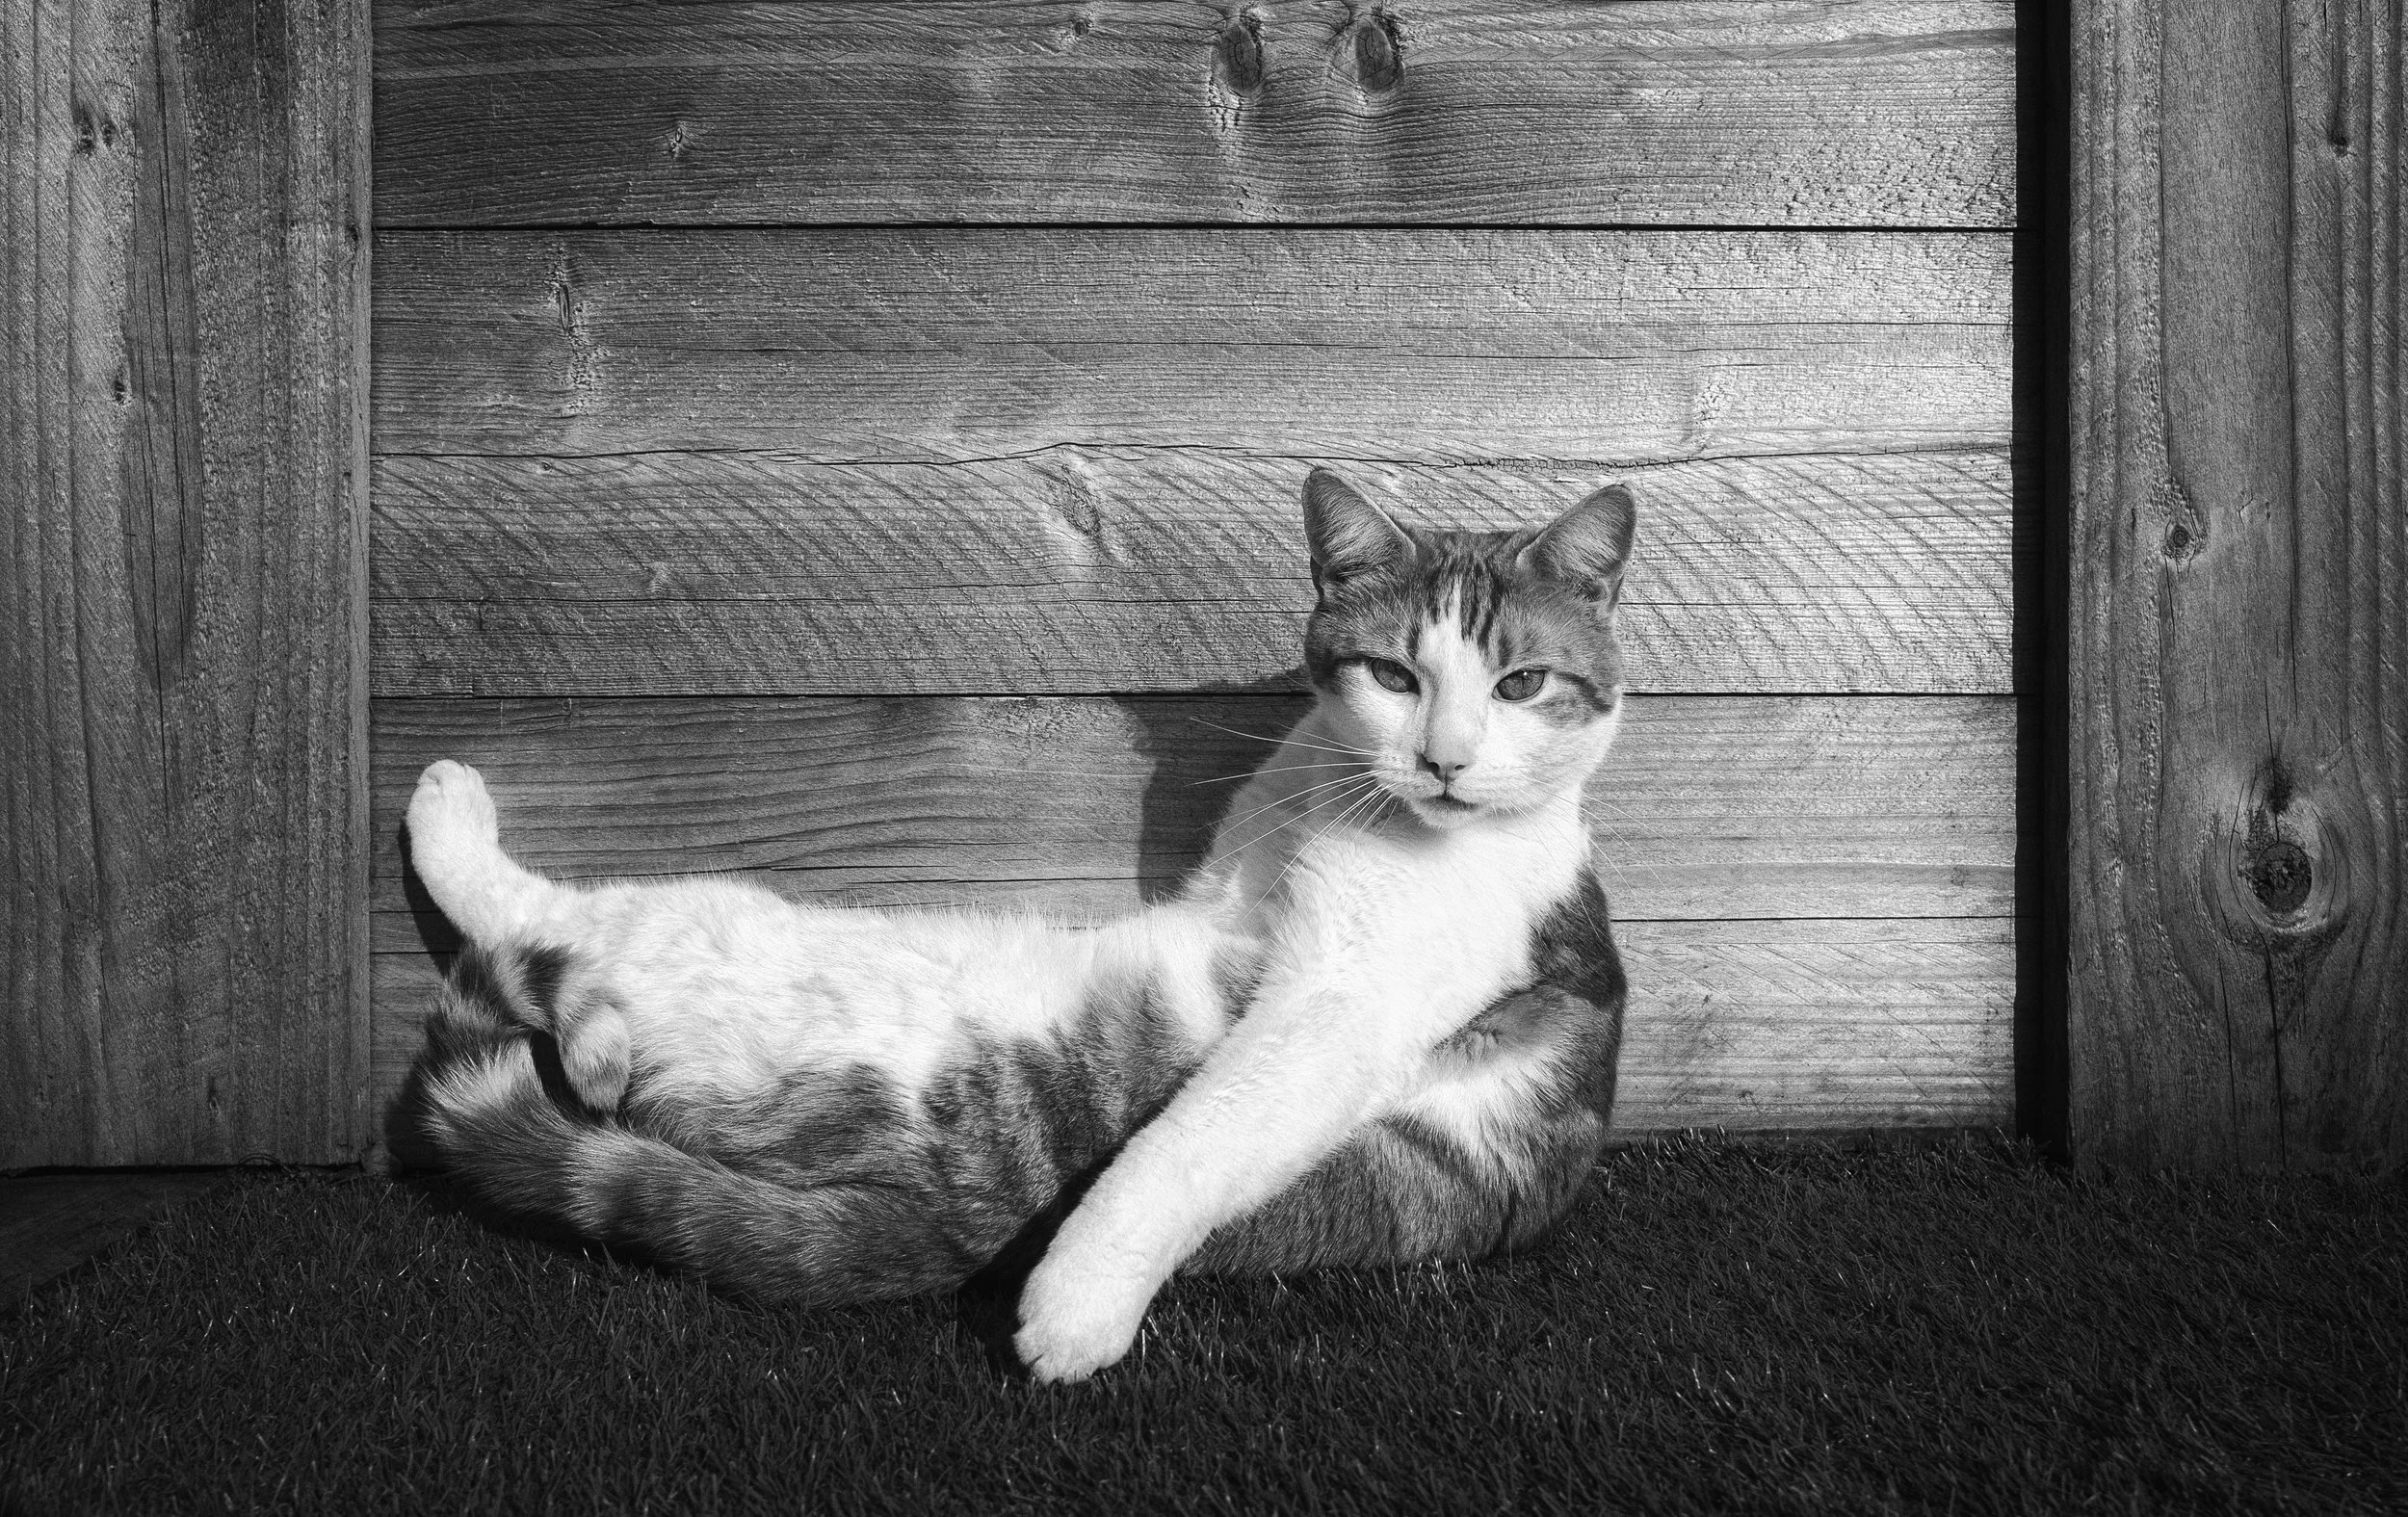
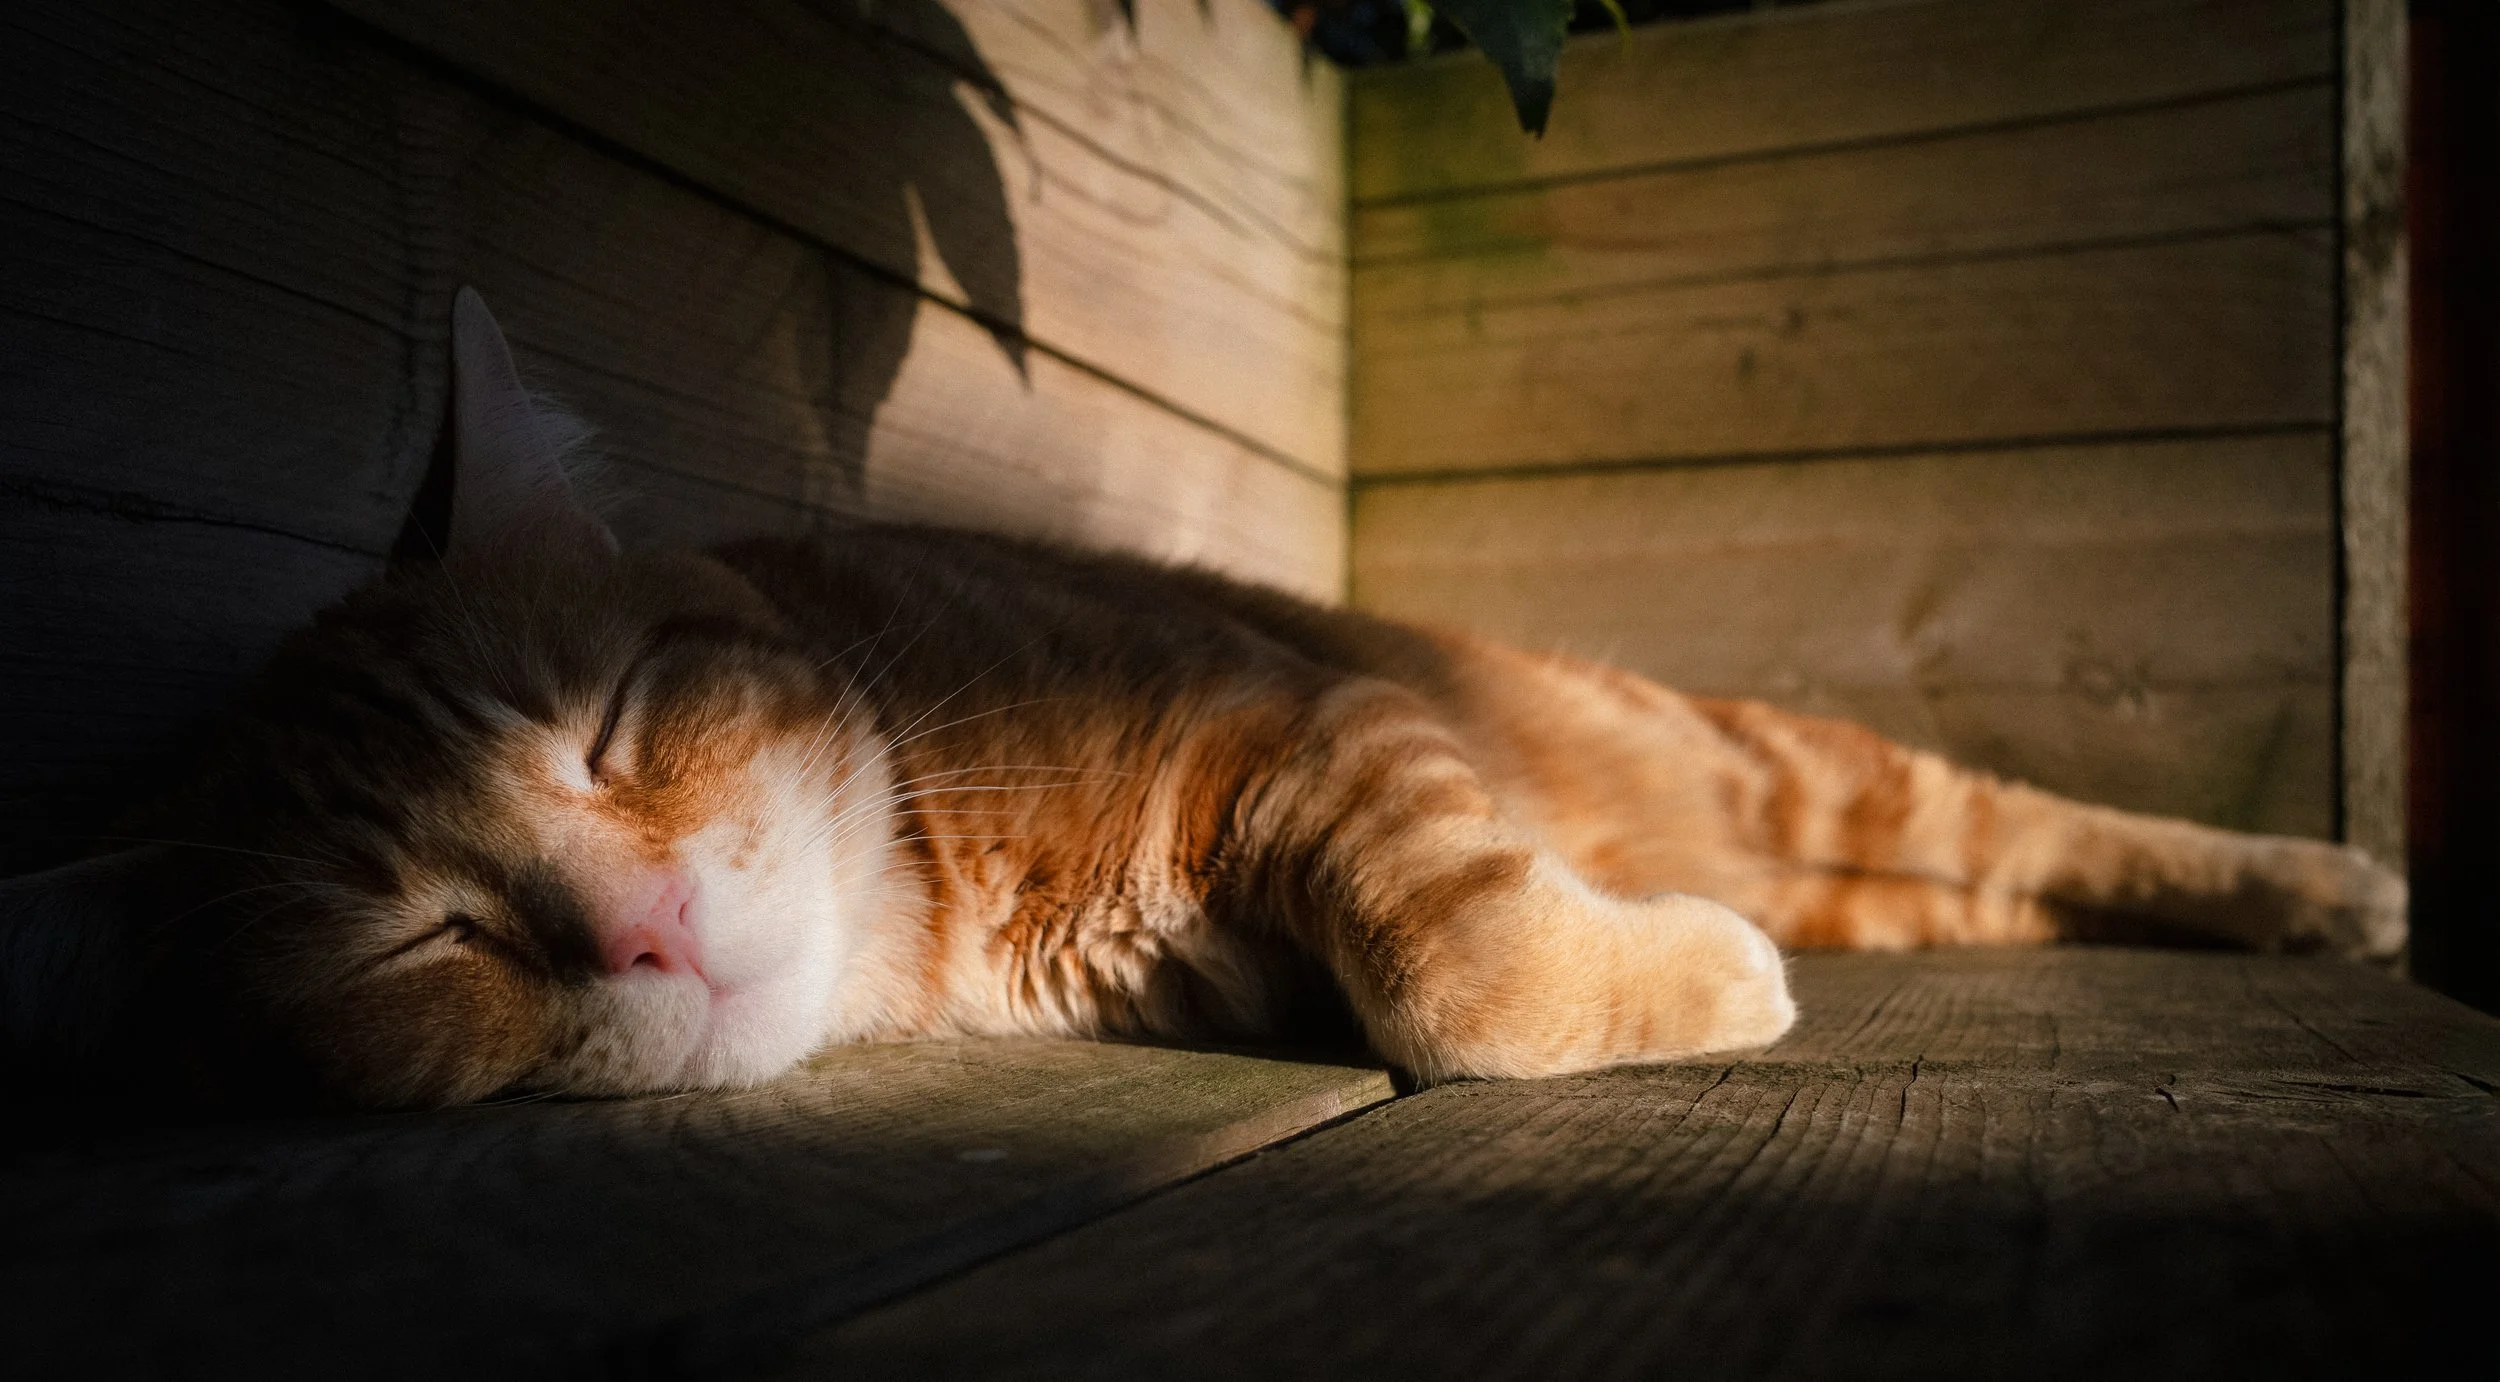
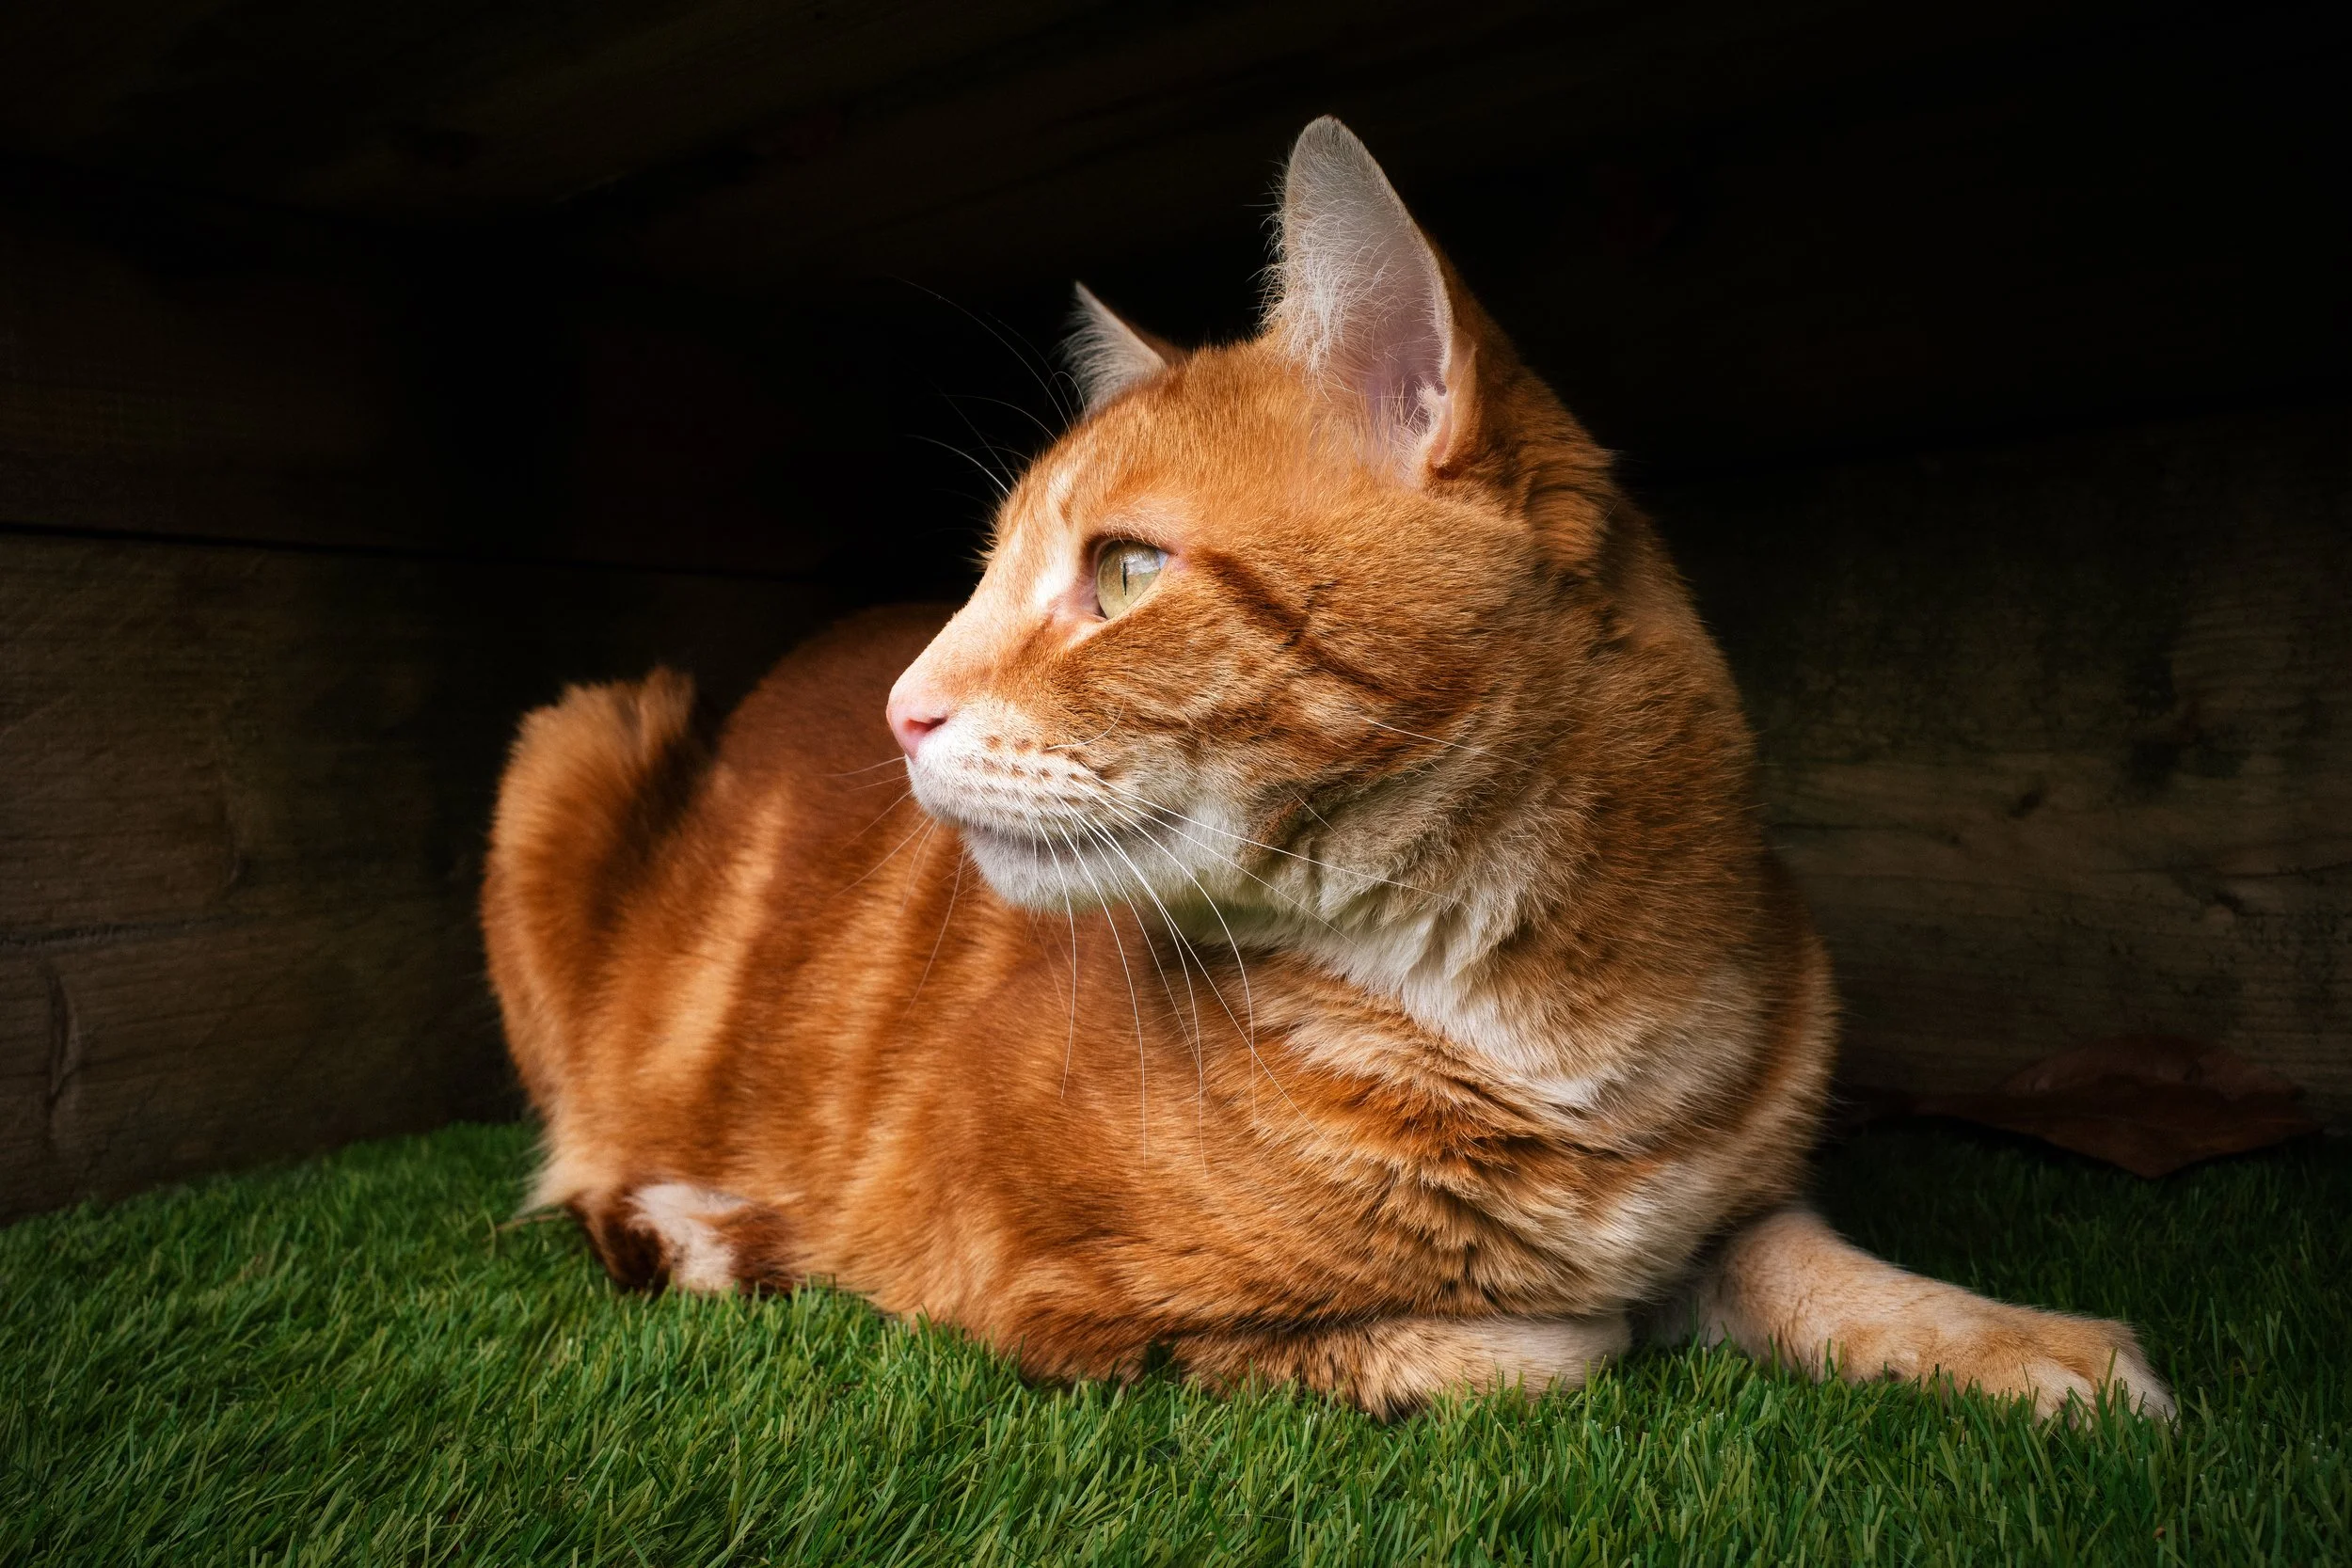
Cats : Specific Guidance
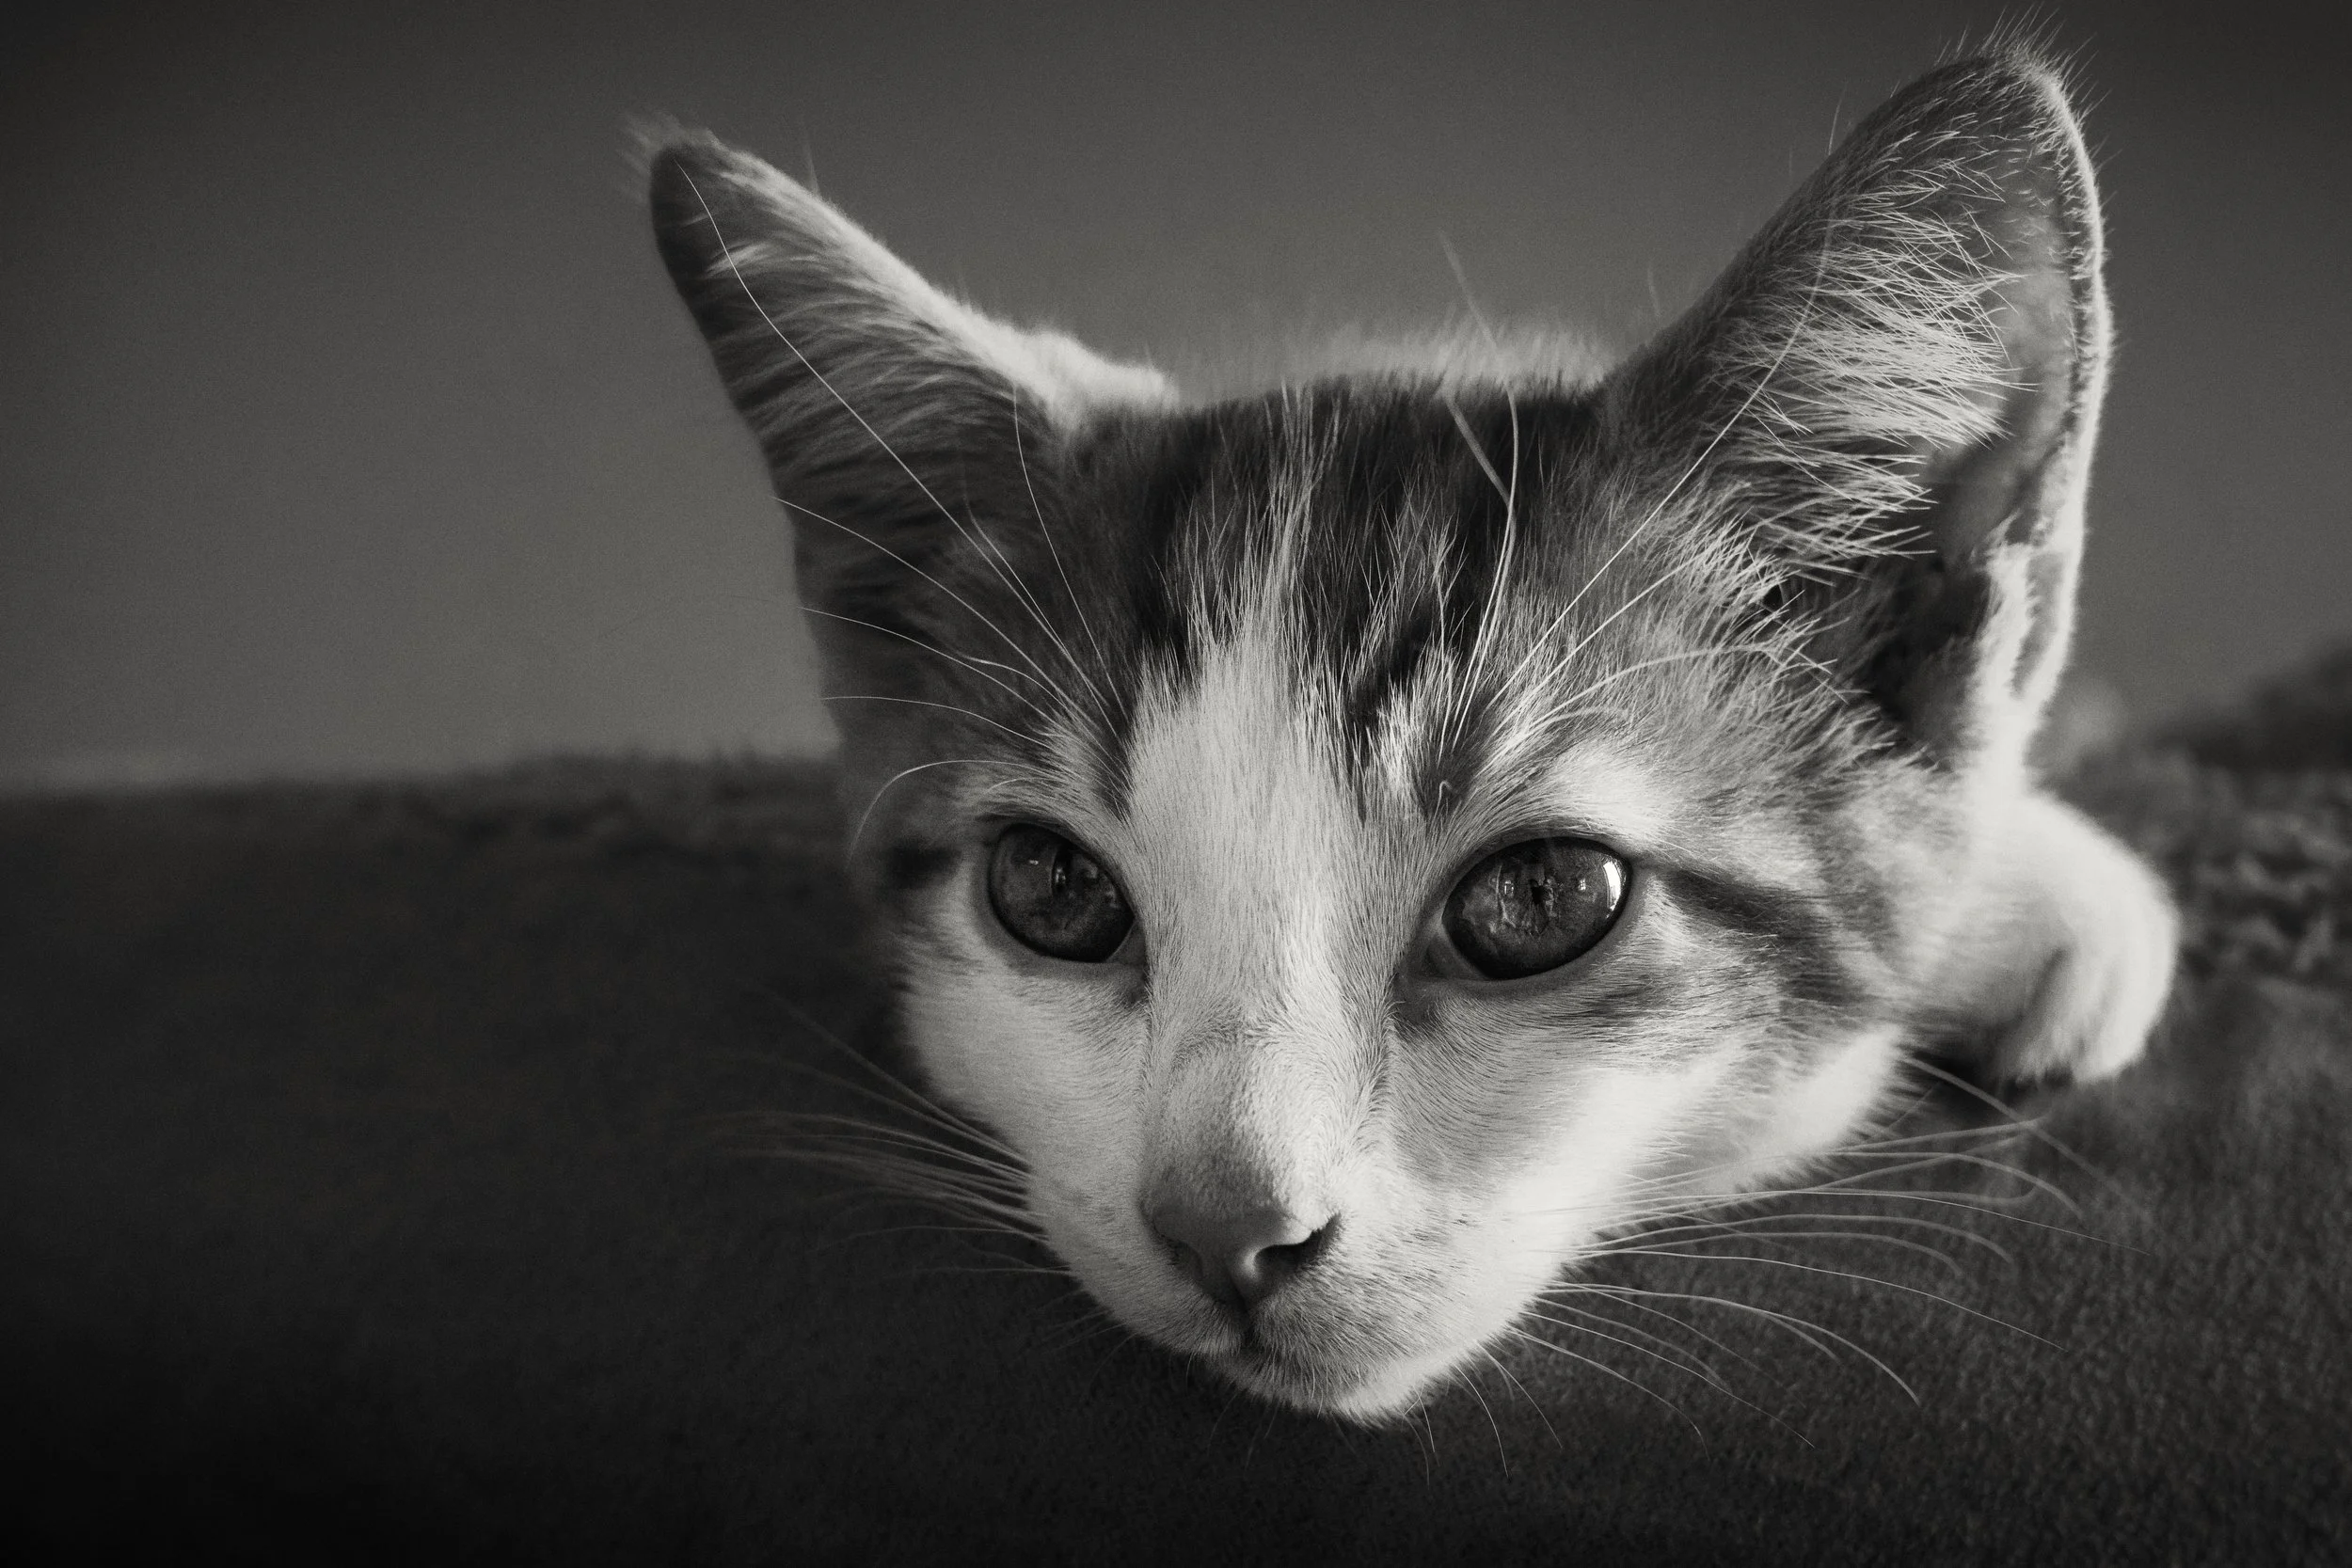
The fundamental difference from dogs, and the thing that defines every practical aspect of photographing cats, is this: cats cannot be directed. Full stop. A cat that decides it has had enough of the session will simply leave, and no persuasion — including particularly excellent treats — will reliably reverse that decision. The only useful response to this reality is to work with it rather than against it: to observe rather than direct, to wait rather than pursue, and to accept that the session is over when the cat says so.
The patience game is the core technique of cat photography, and it is less a technique than a disposition. The best cat photographs are taken by photographers who have positioned themselves comfortably near the cat and simply waited. The cat will, eventually, do something interesting — clean its face, stretch, open its eyes wide at something only it can perceive, or arrange itself in a patch of light in a way that would take a studio photographer an hour to replicate. If you are ready with the camera, you will get the shot. If you approach the cat with visible intent, you will get a photograph of a cat looking at you with the mild suspicion of someone who suspects they are about to be given a worming tablet.
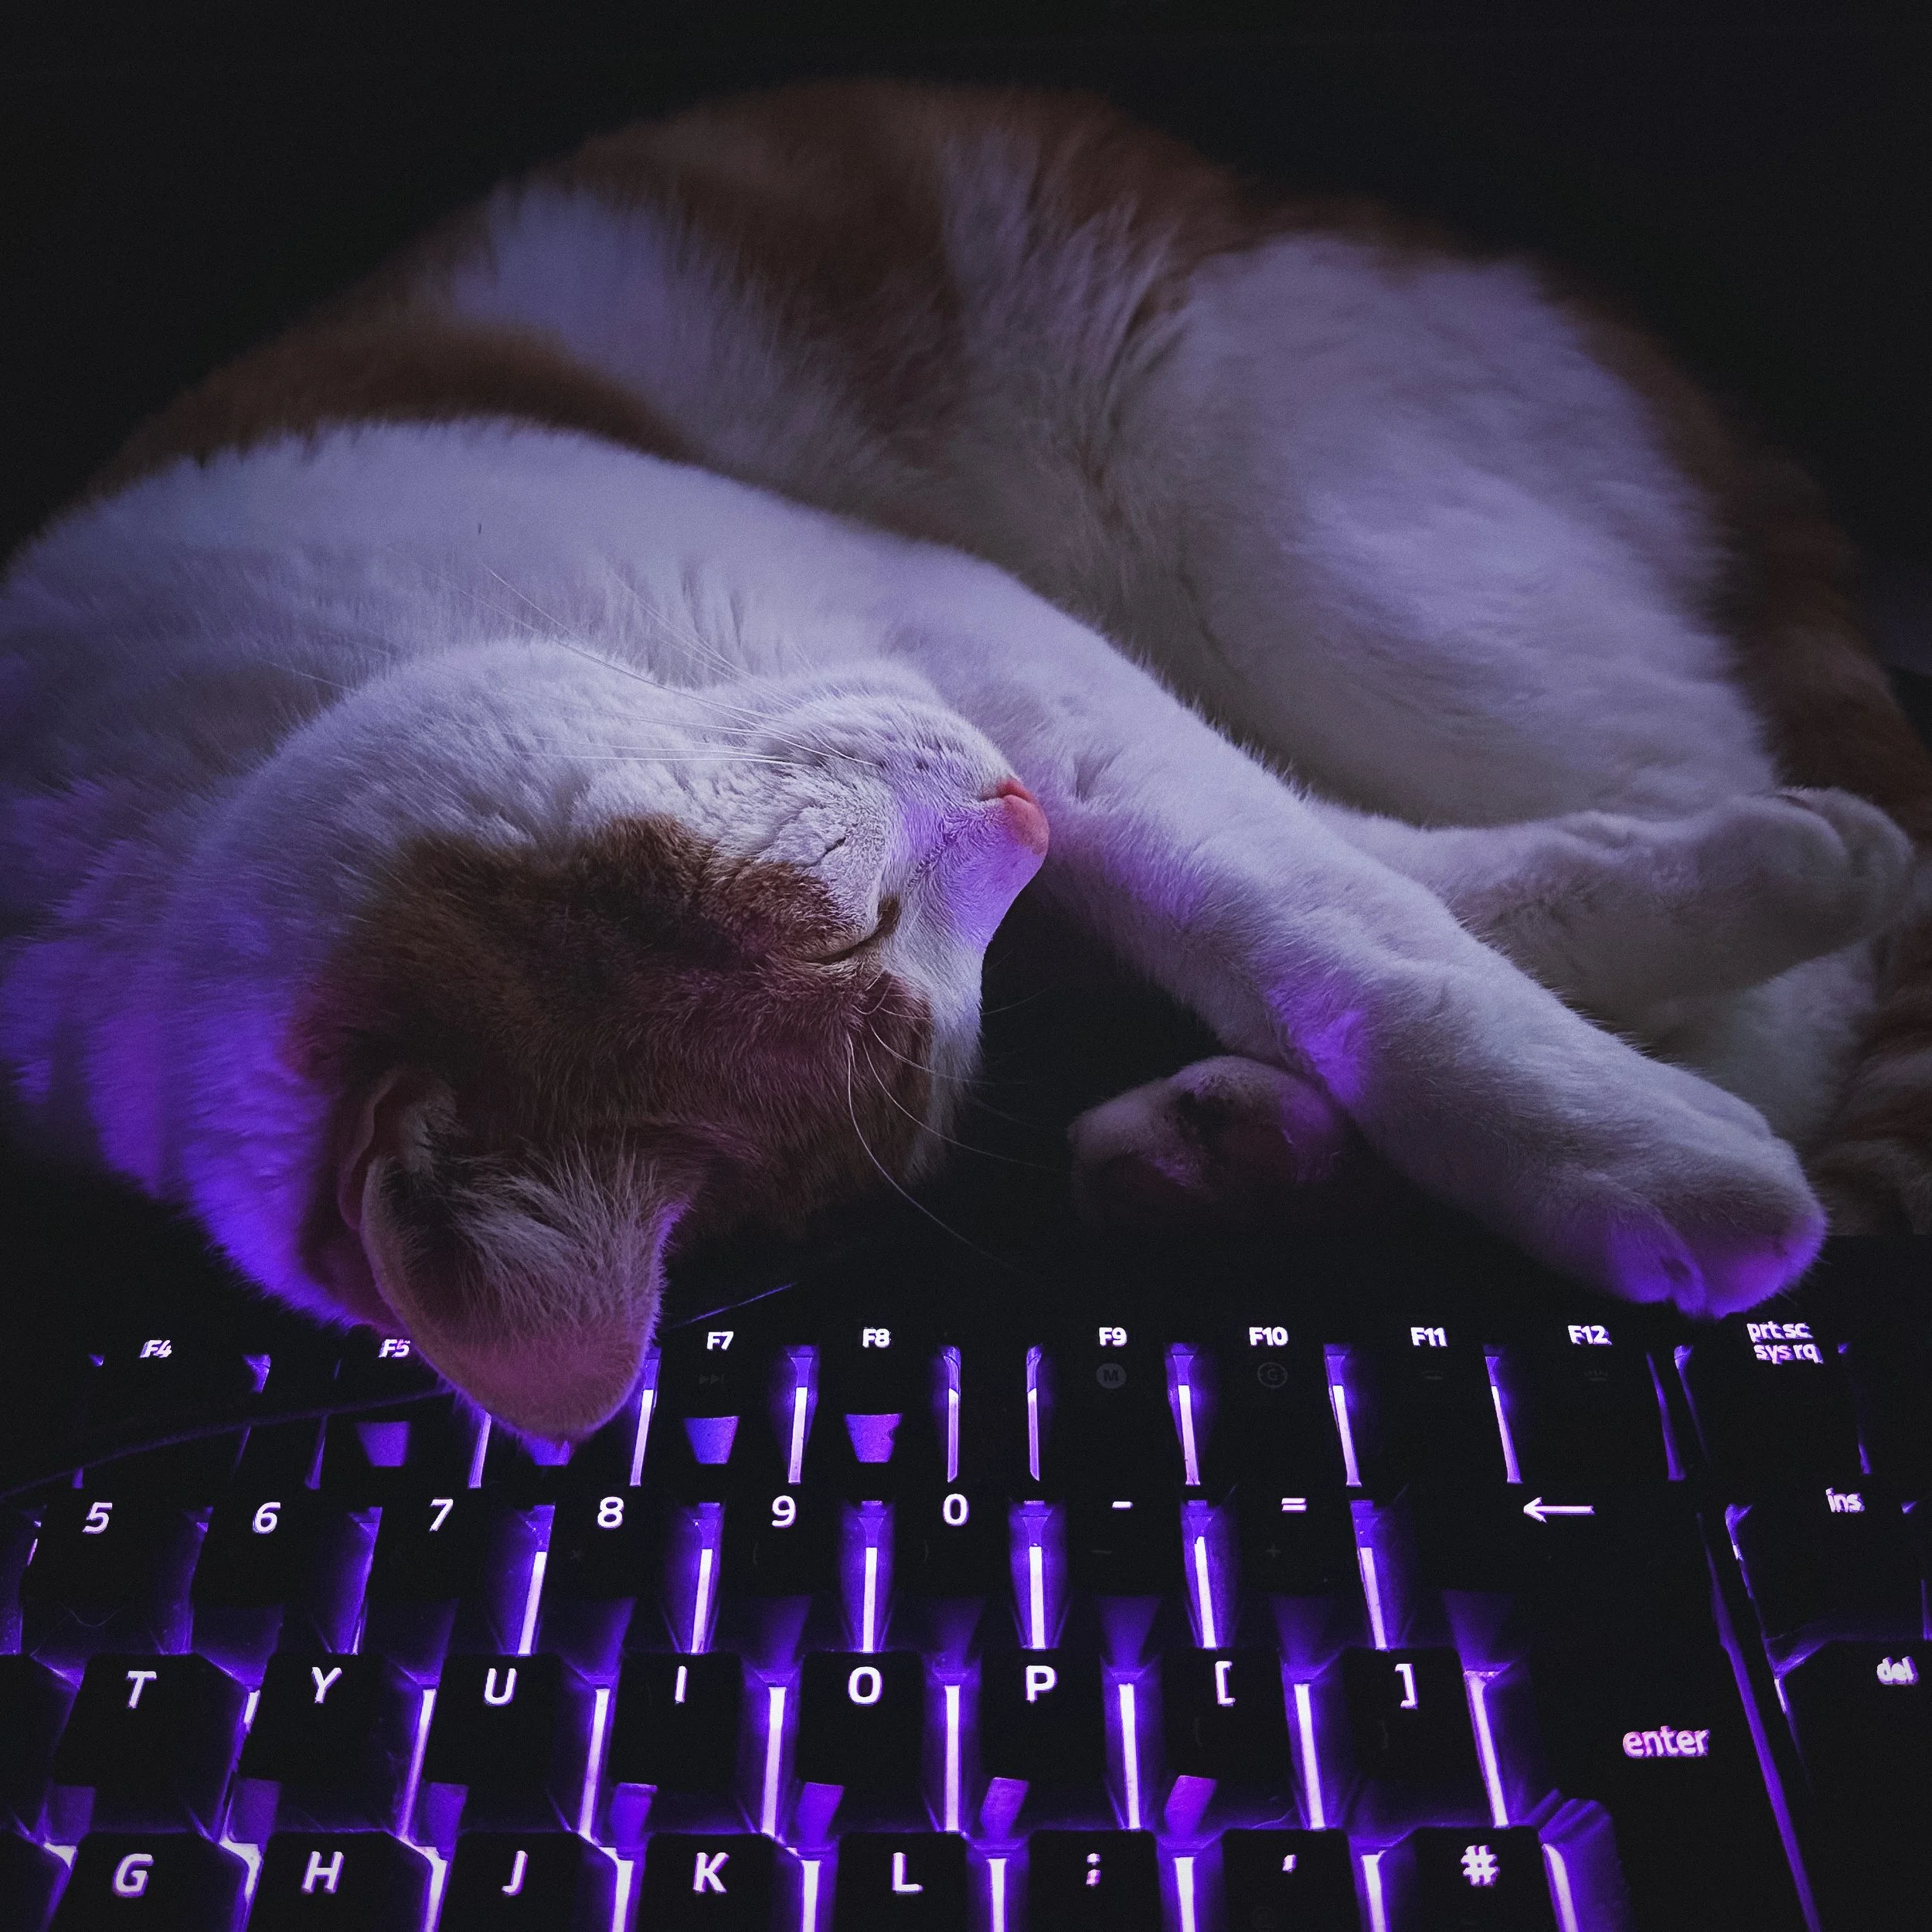
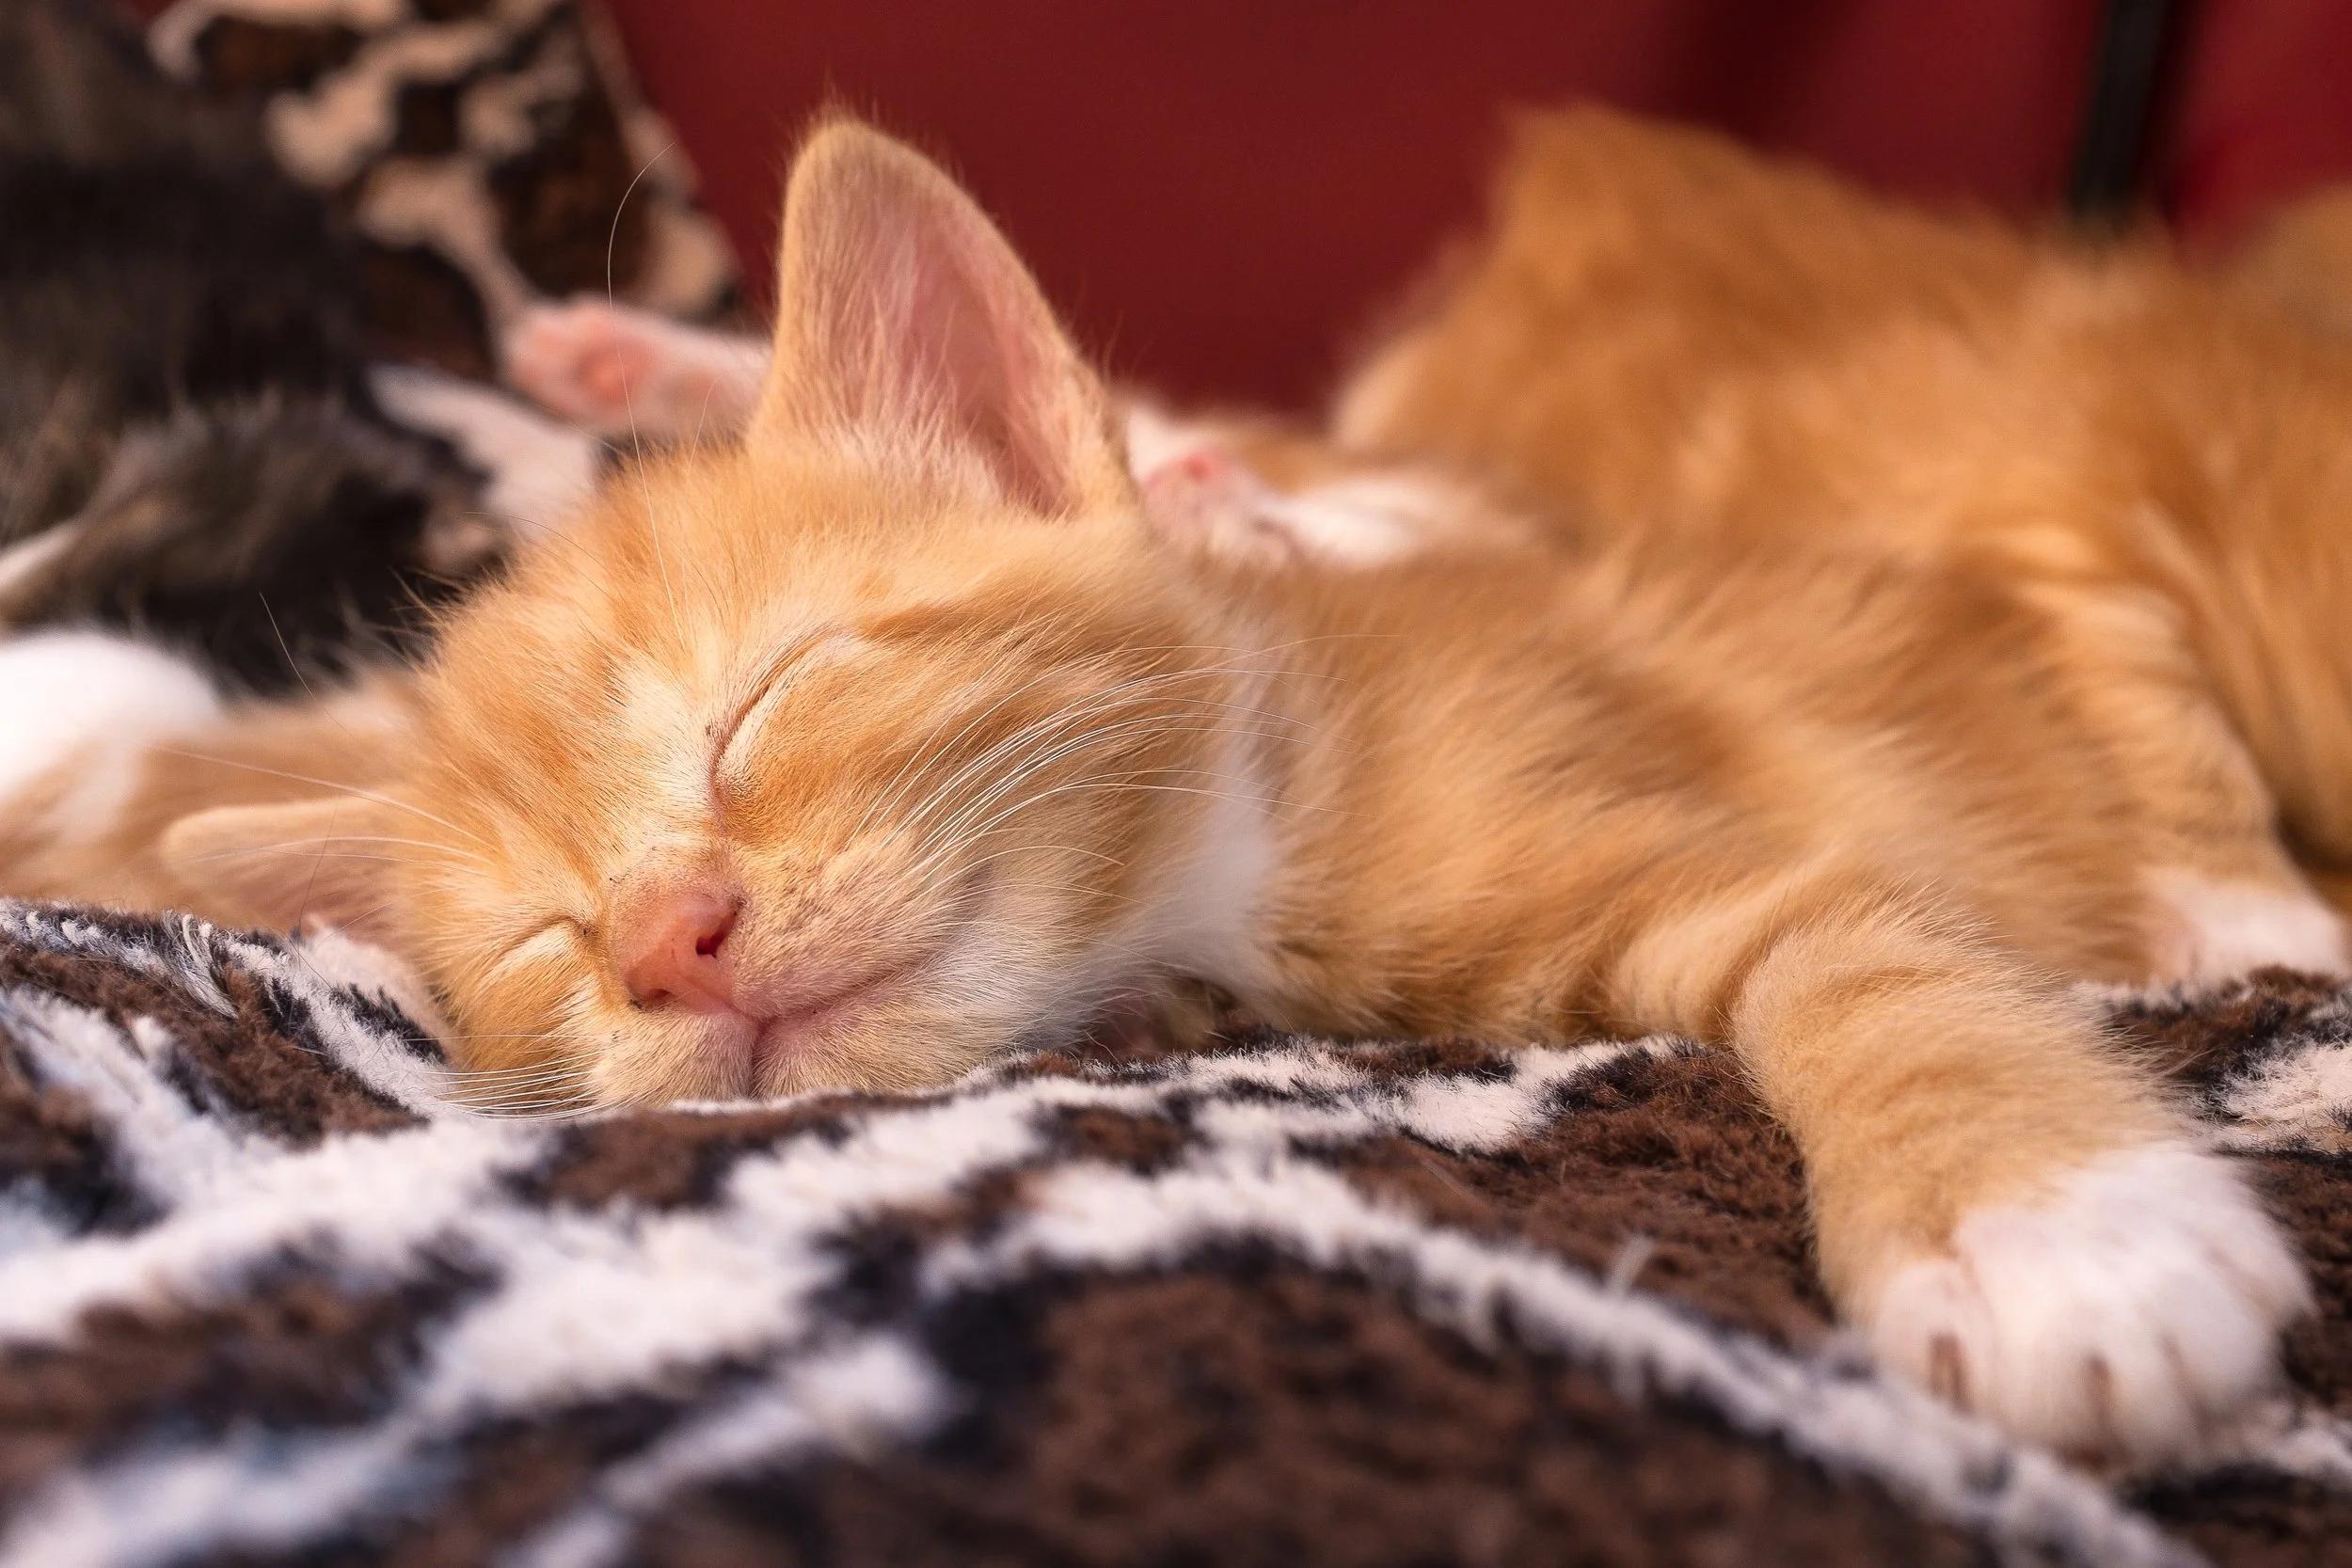
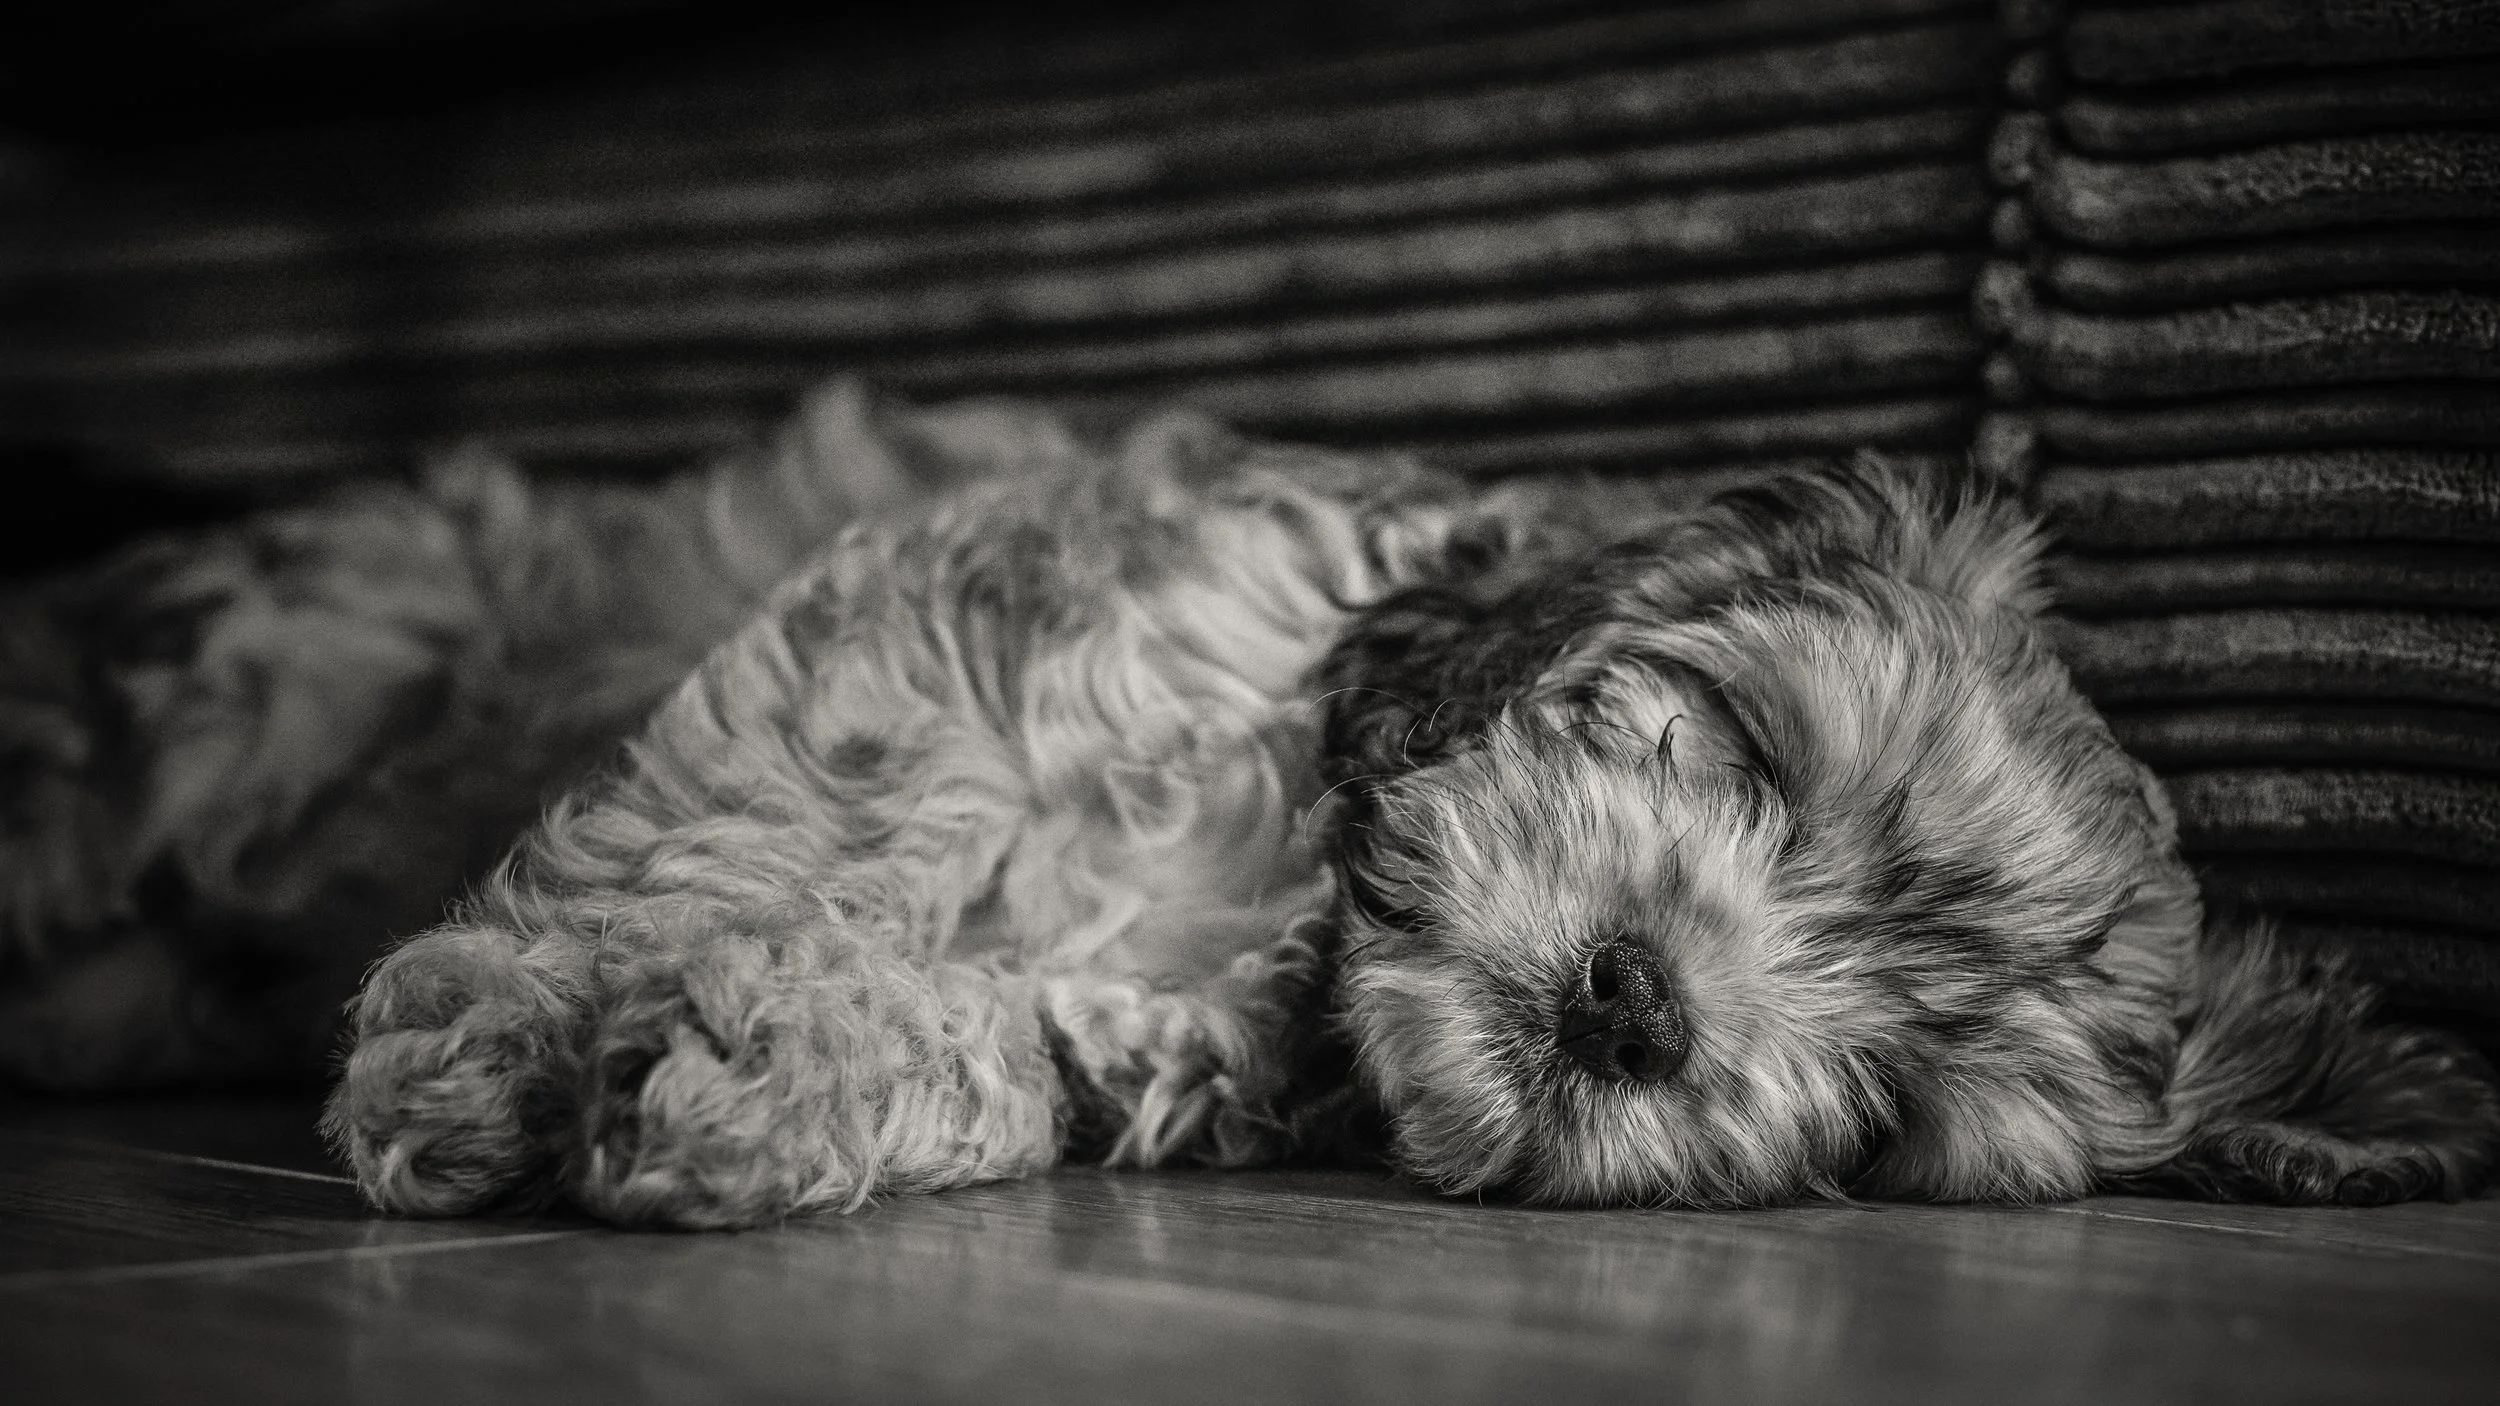
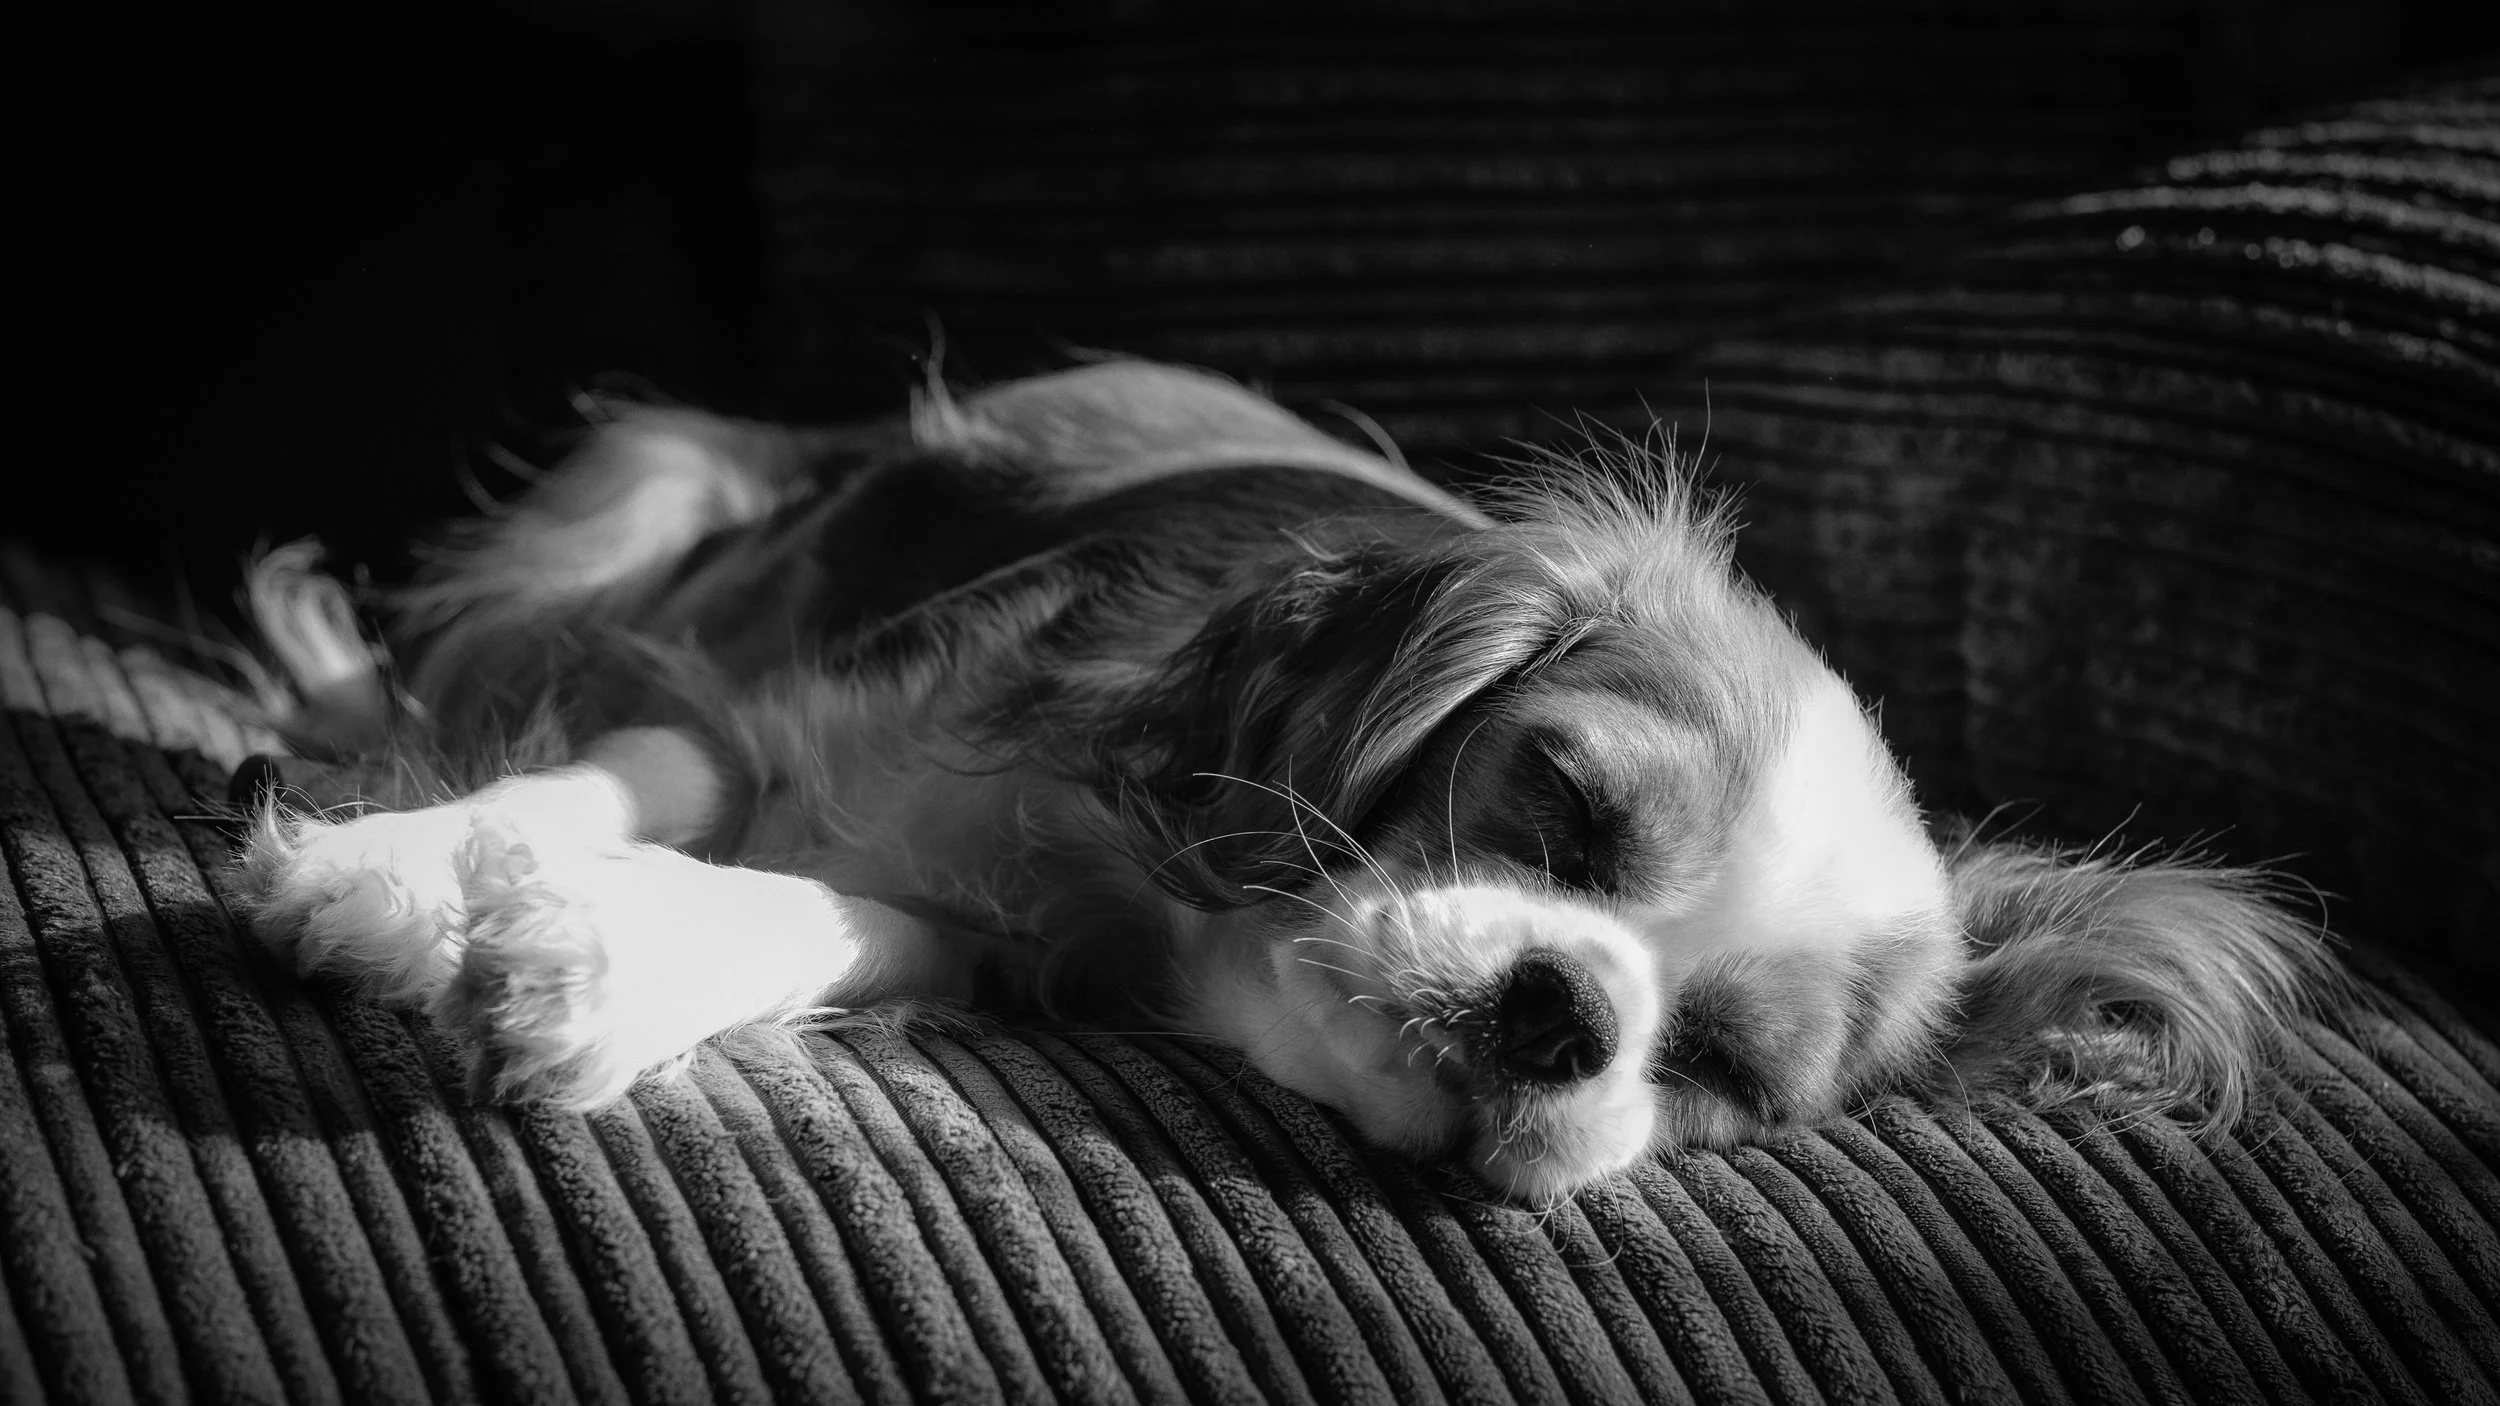
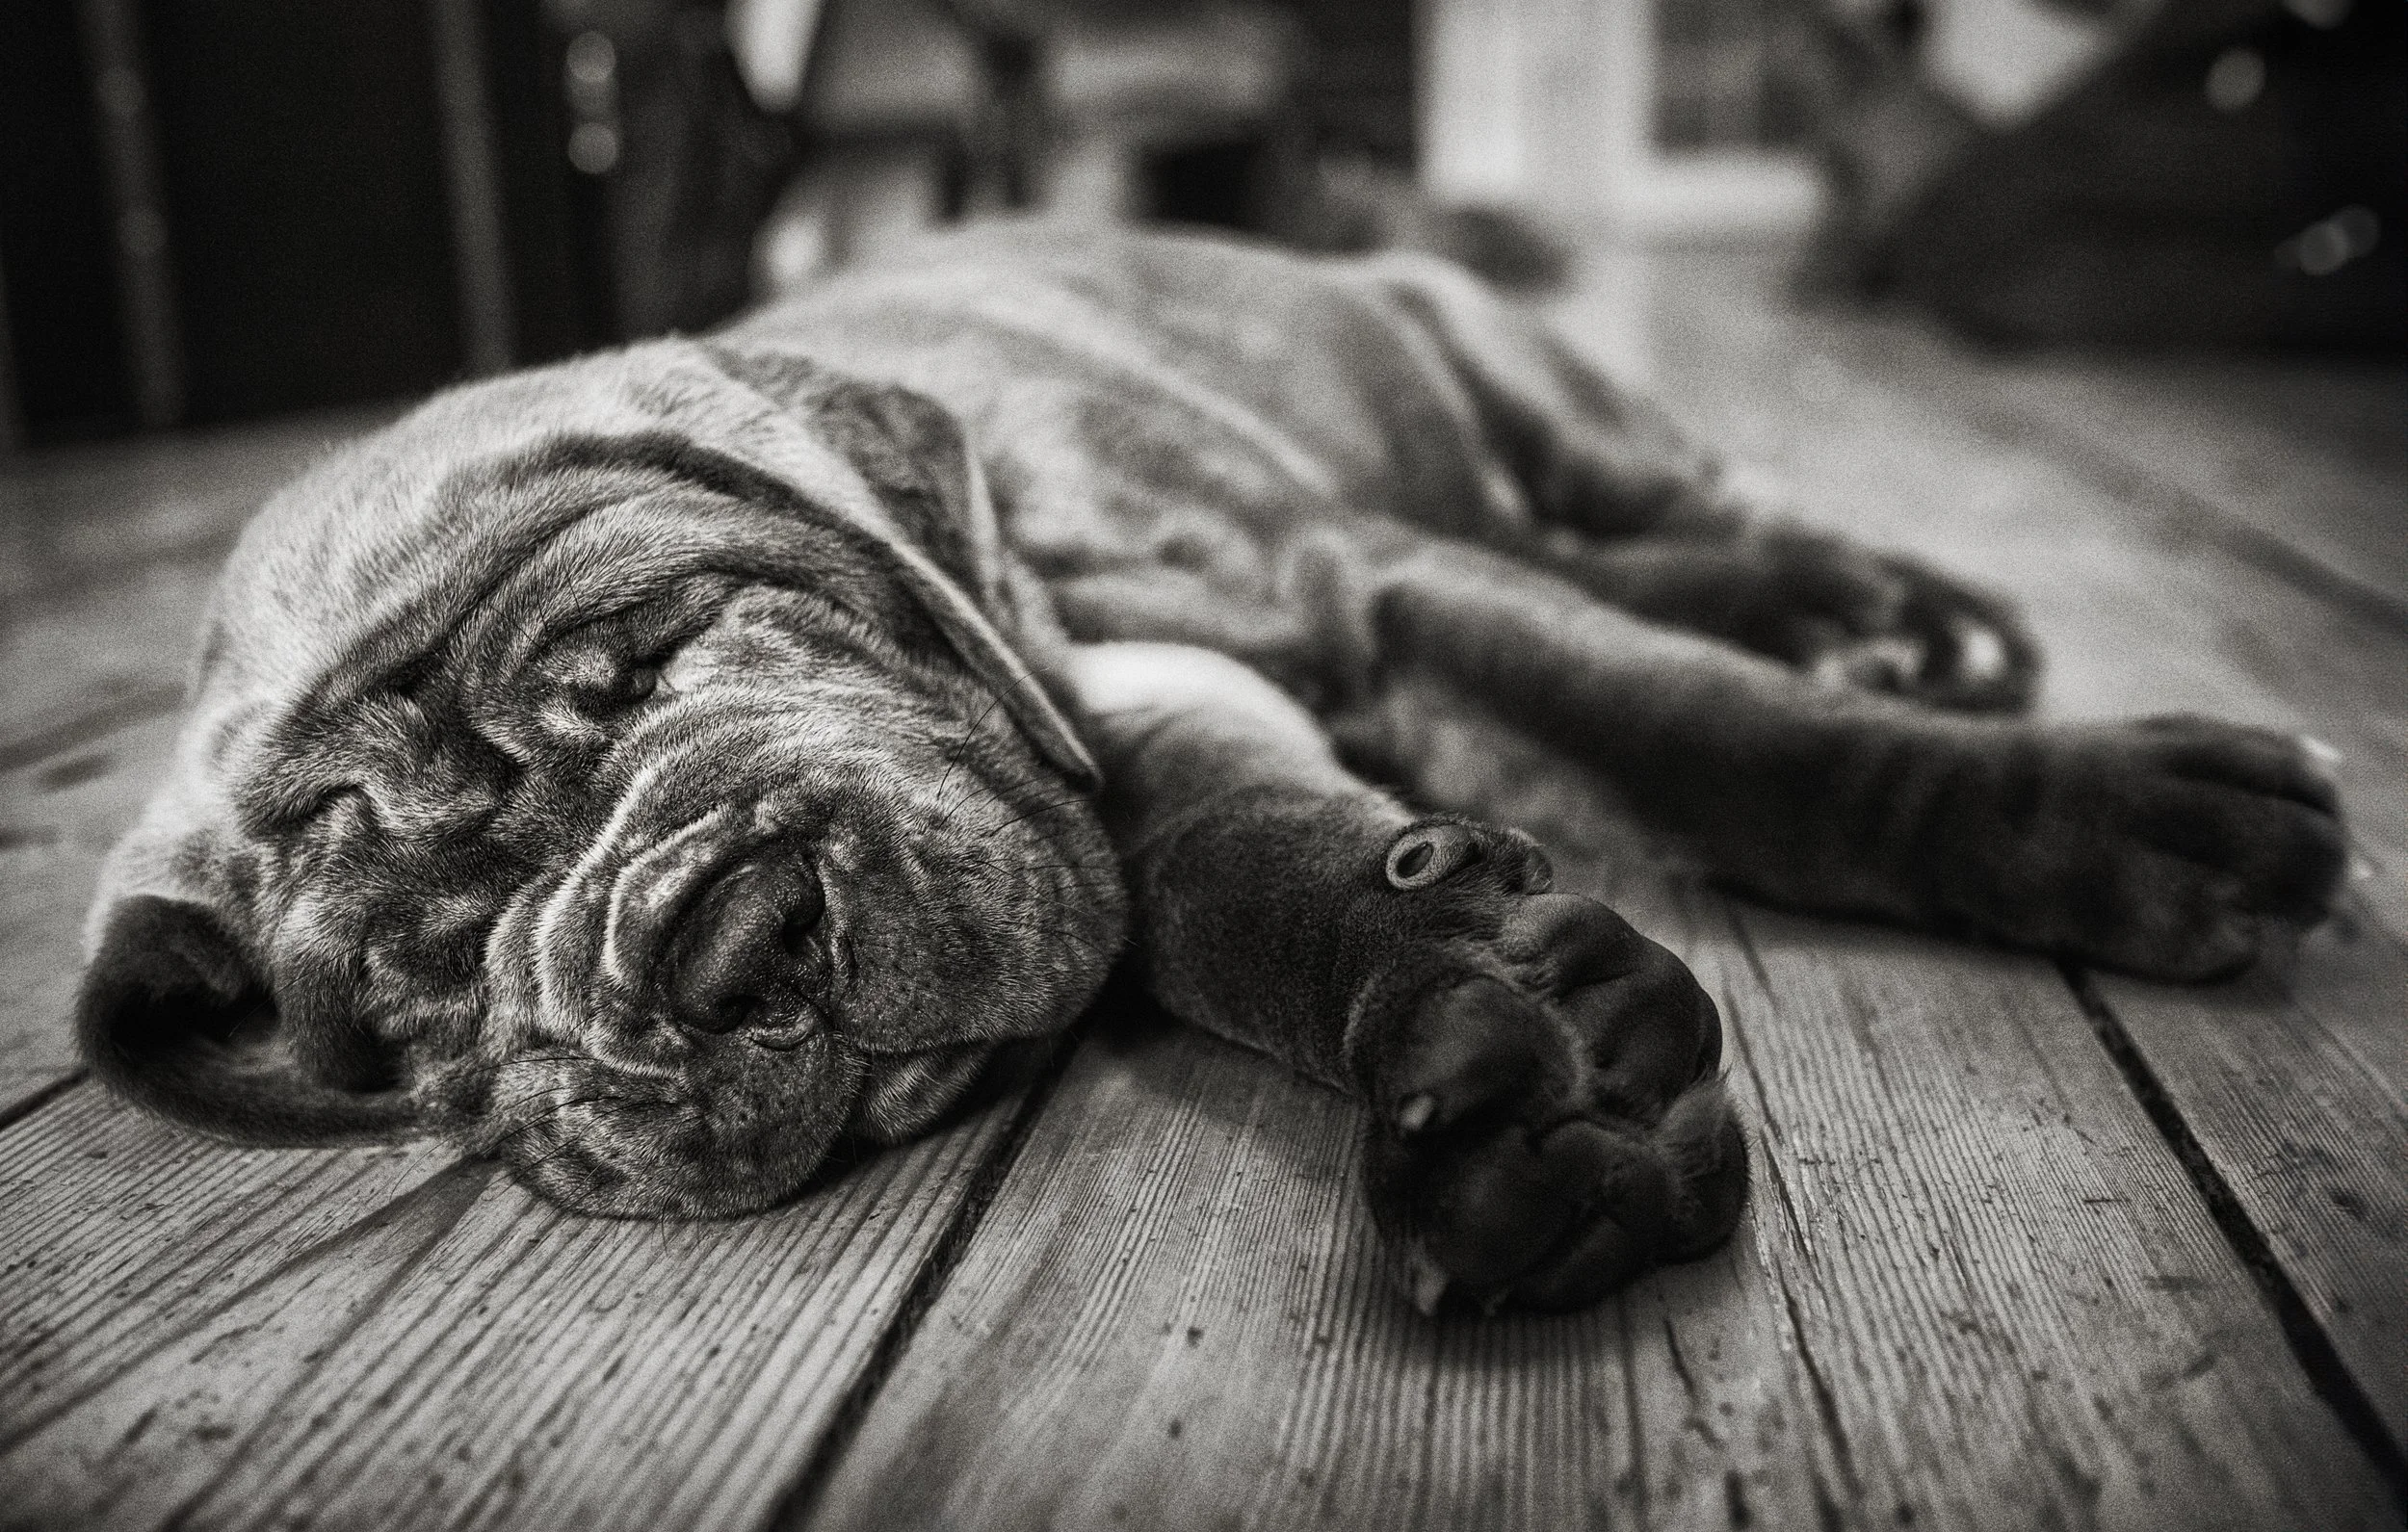
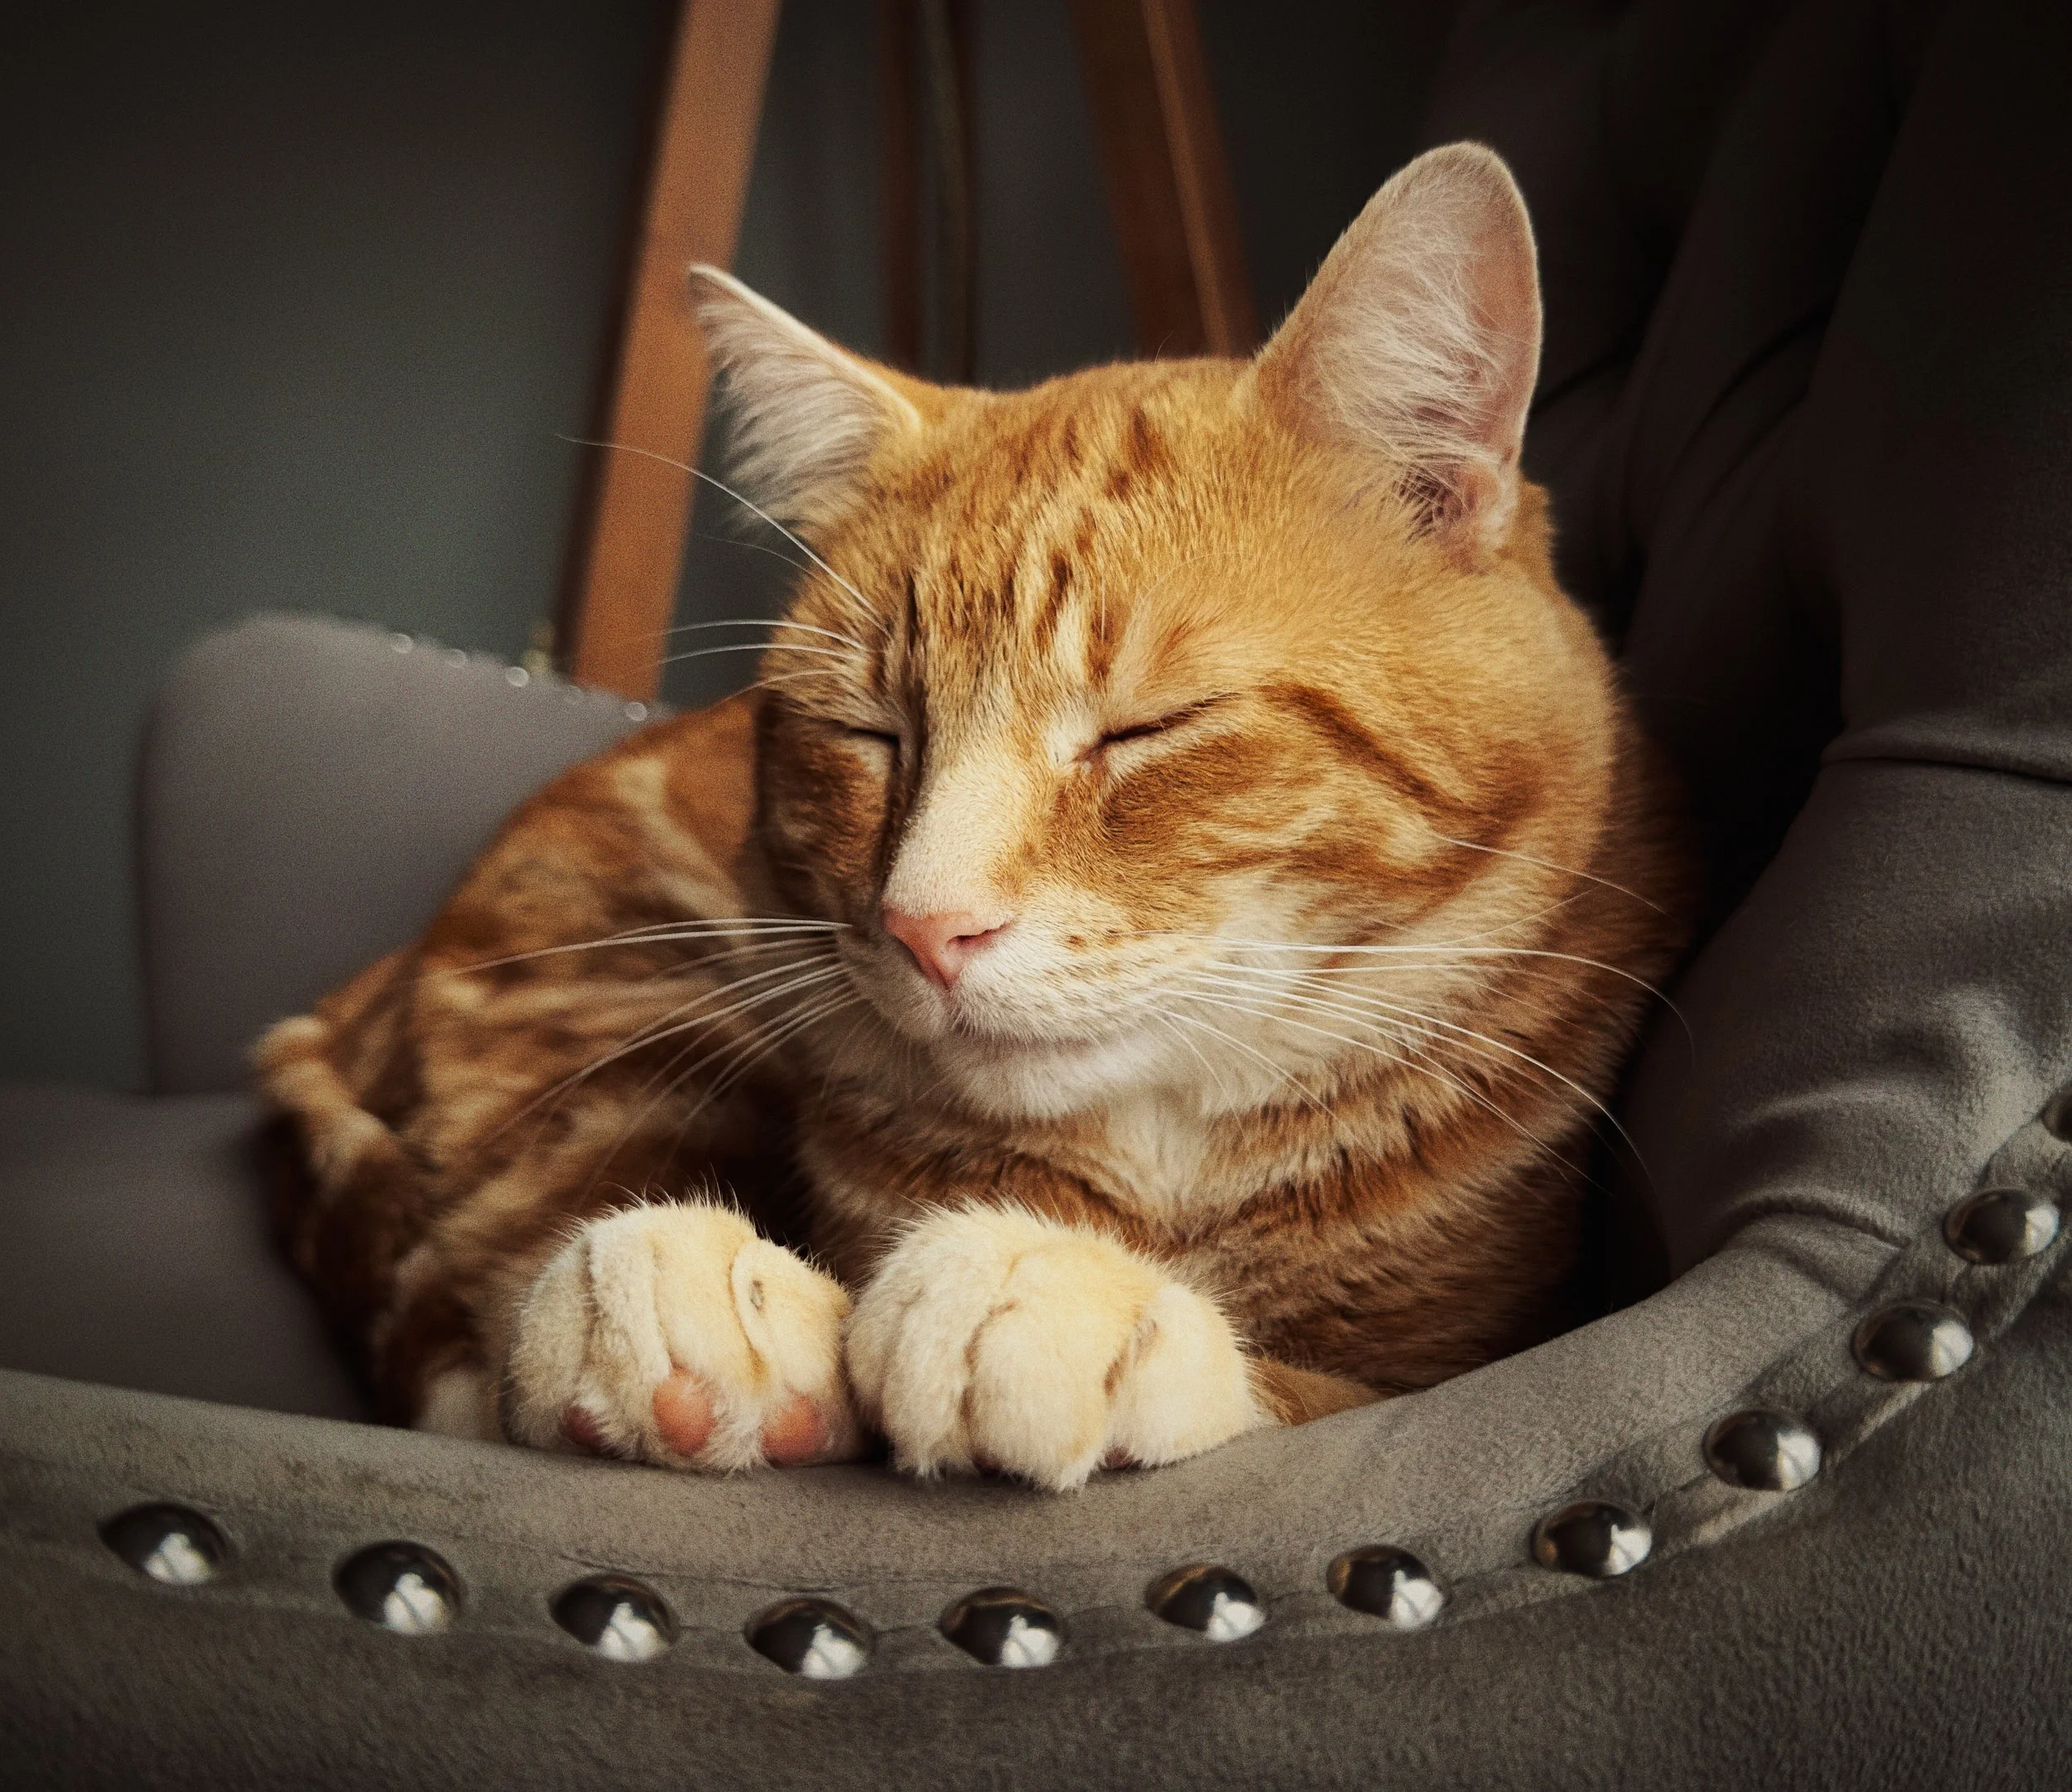
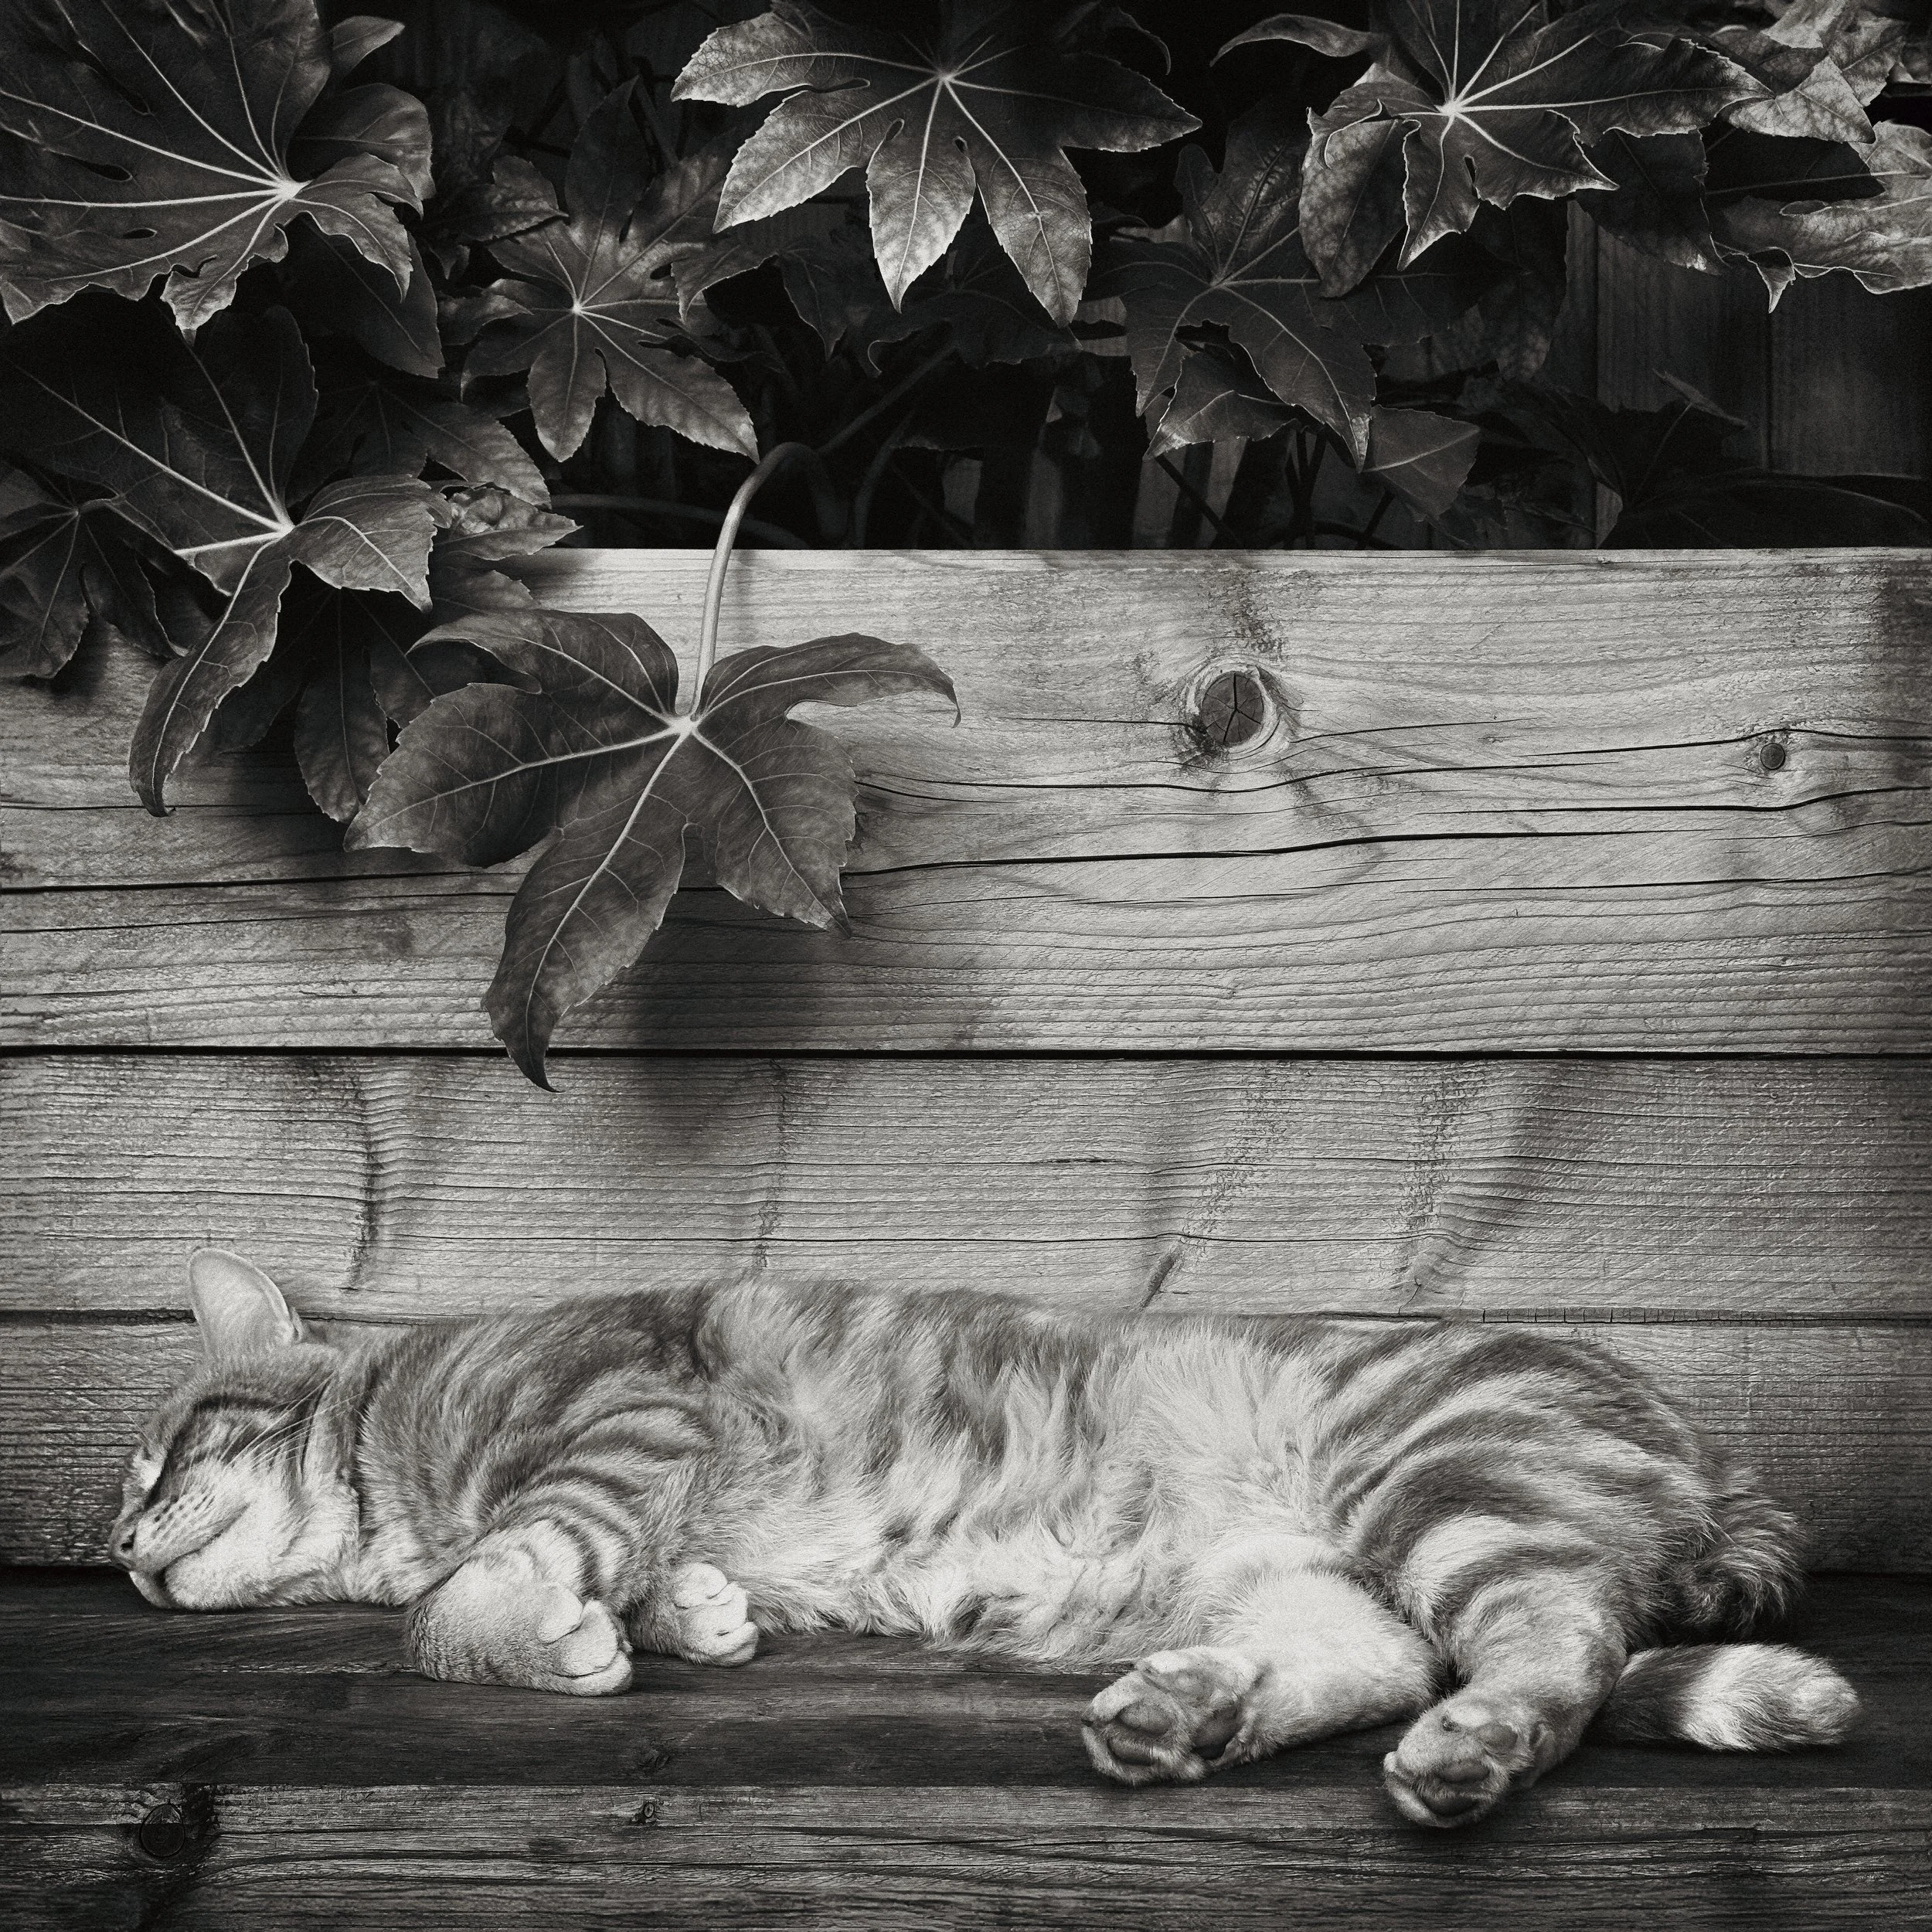
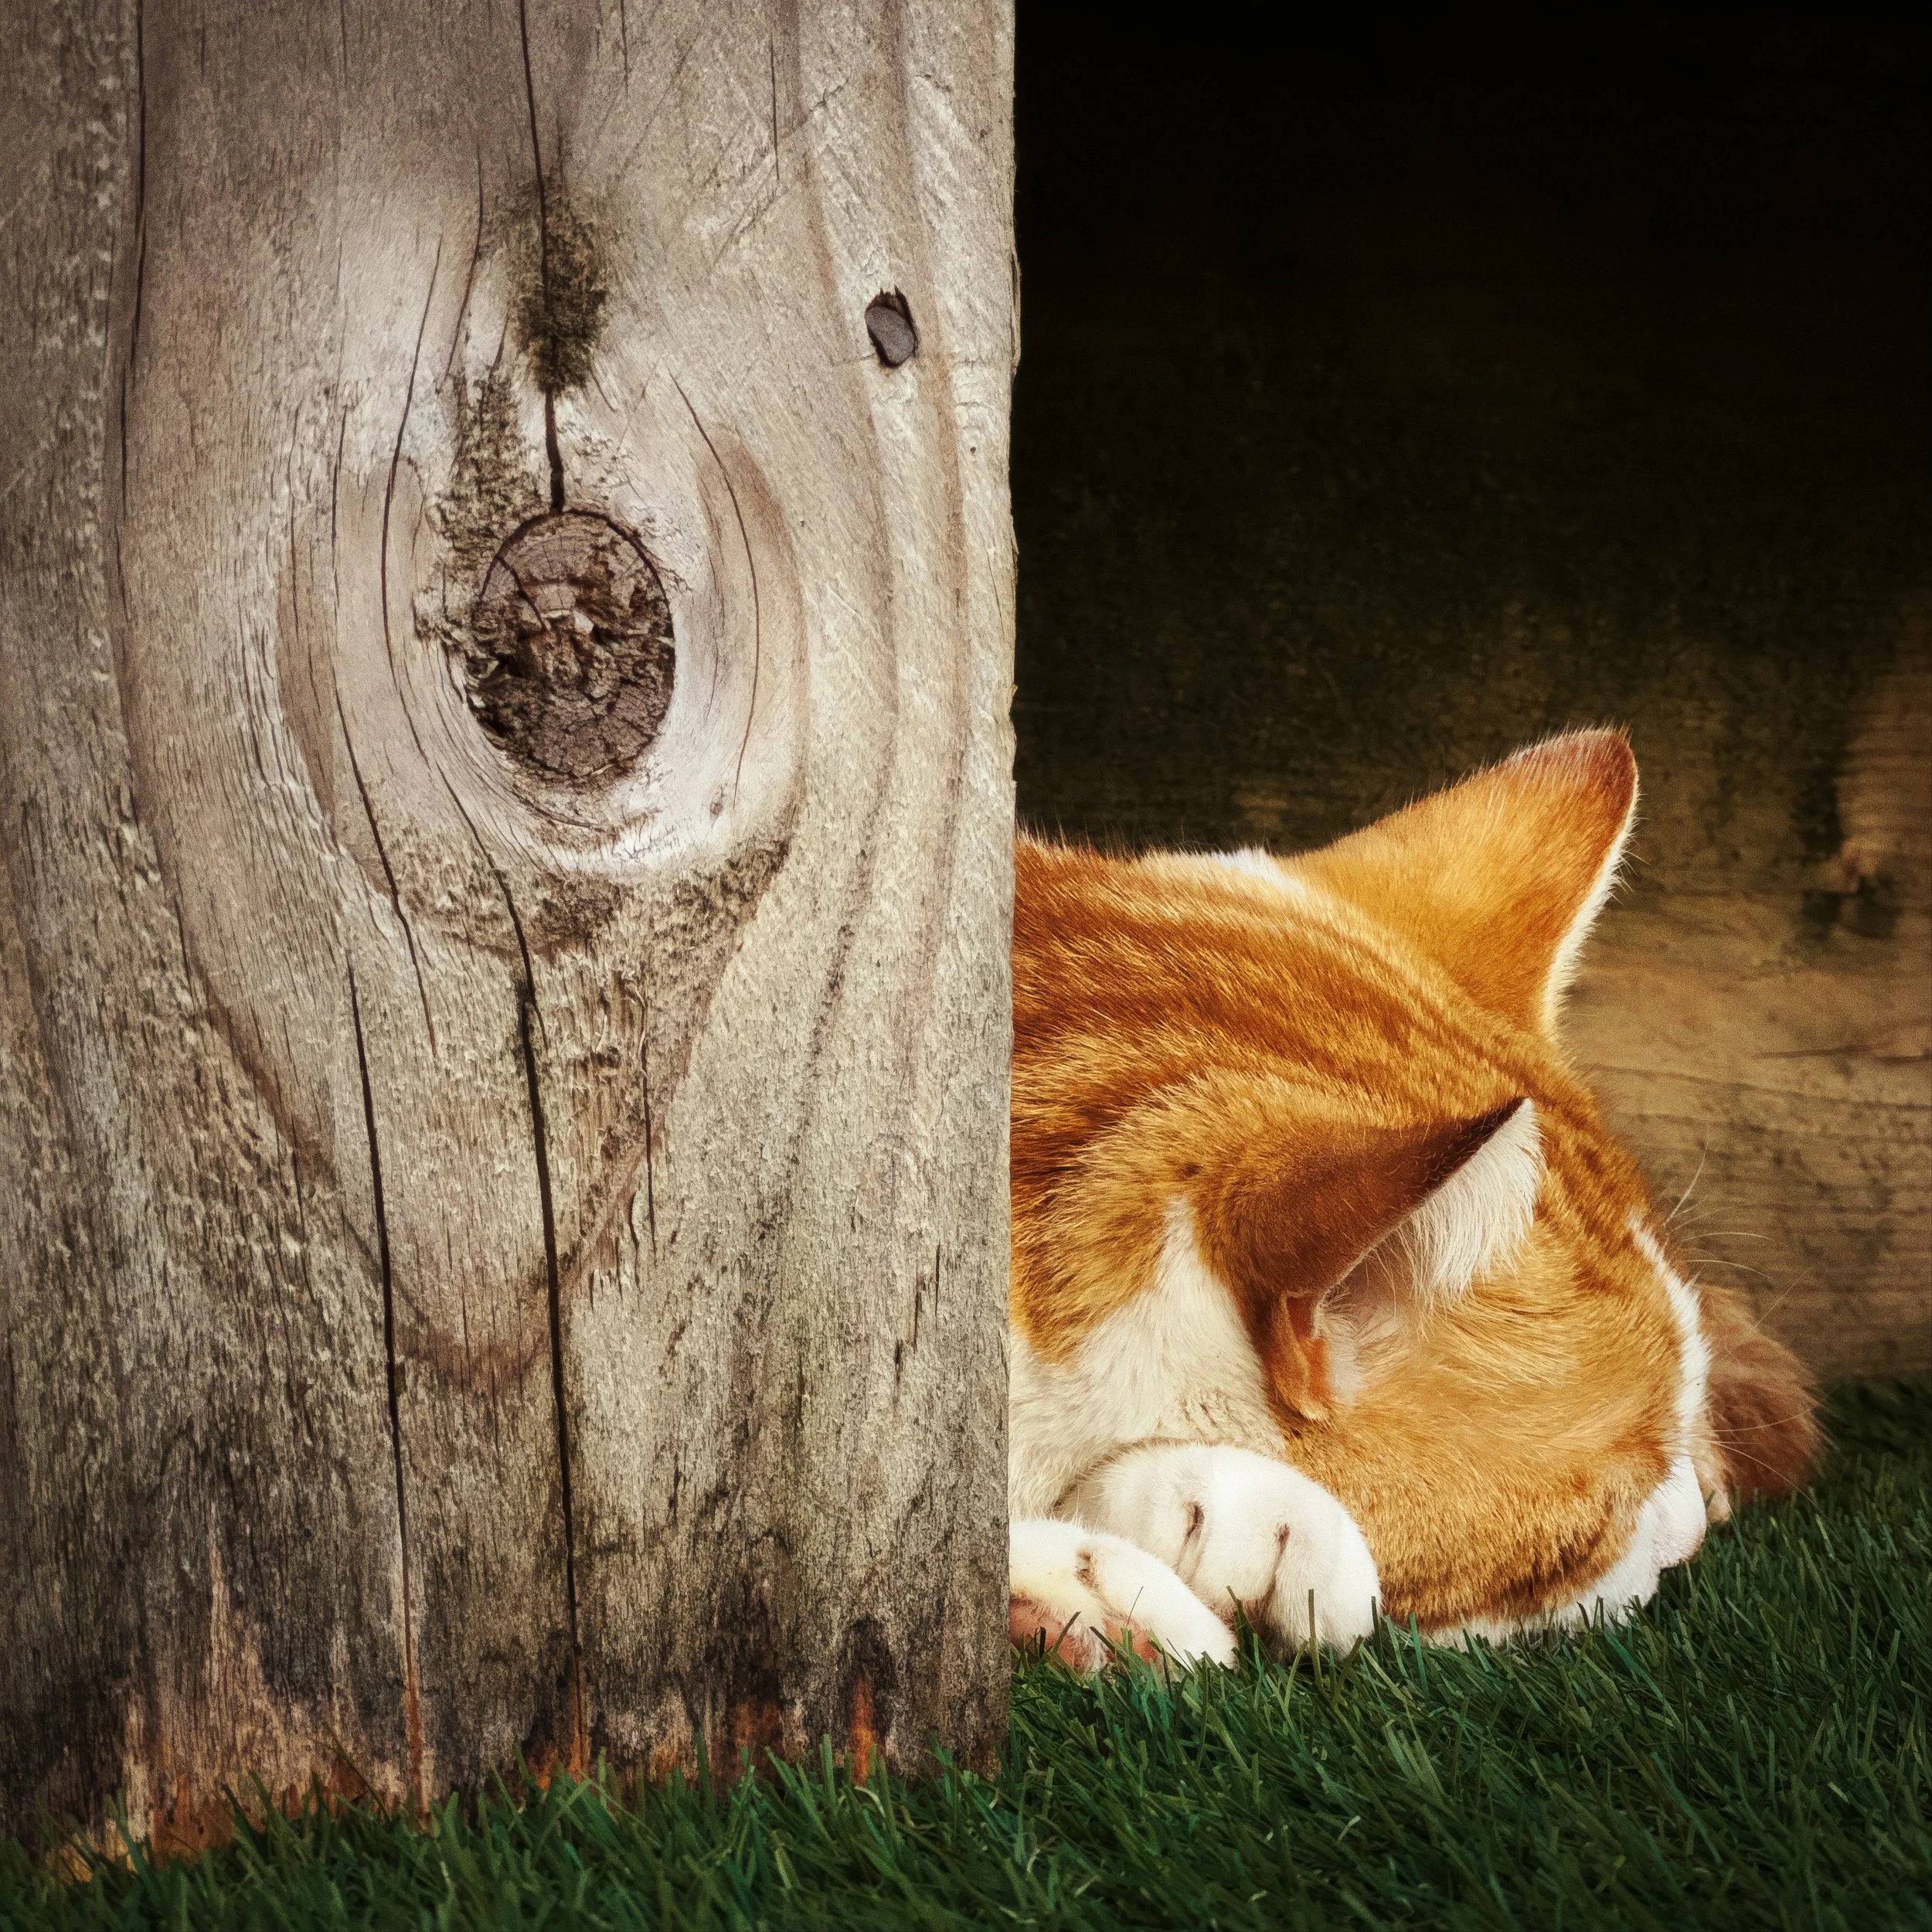
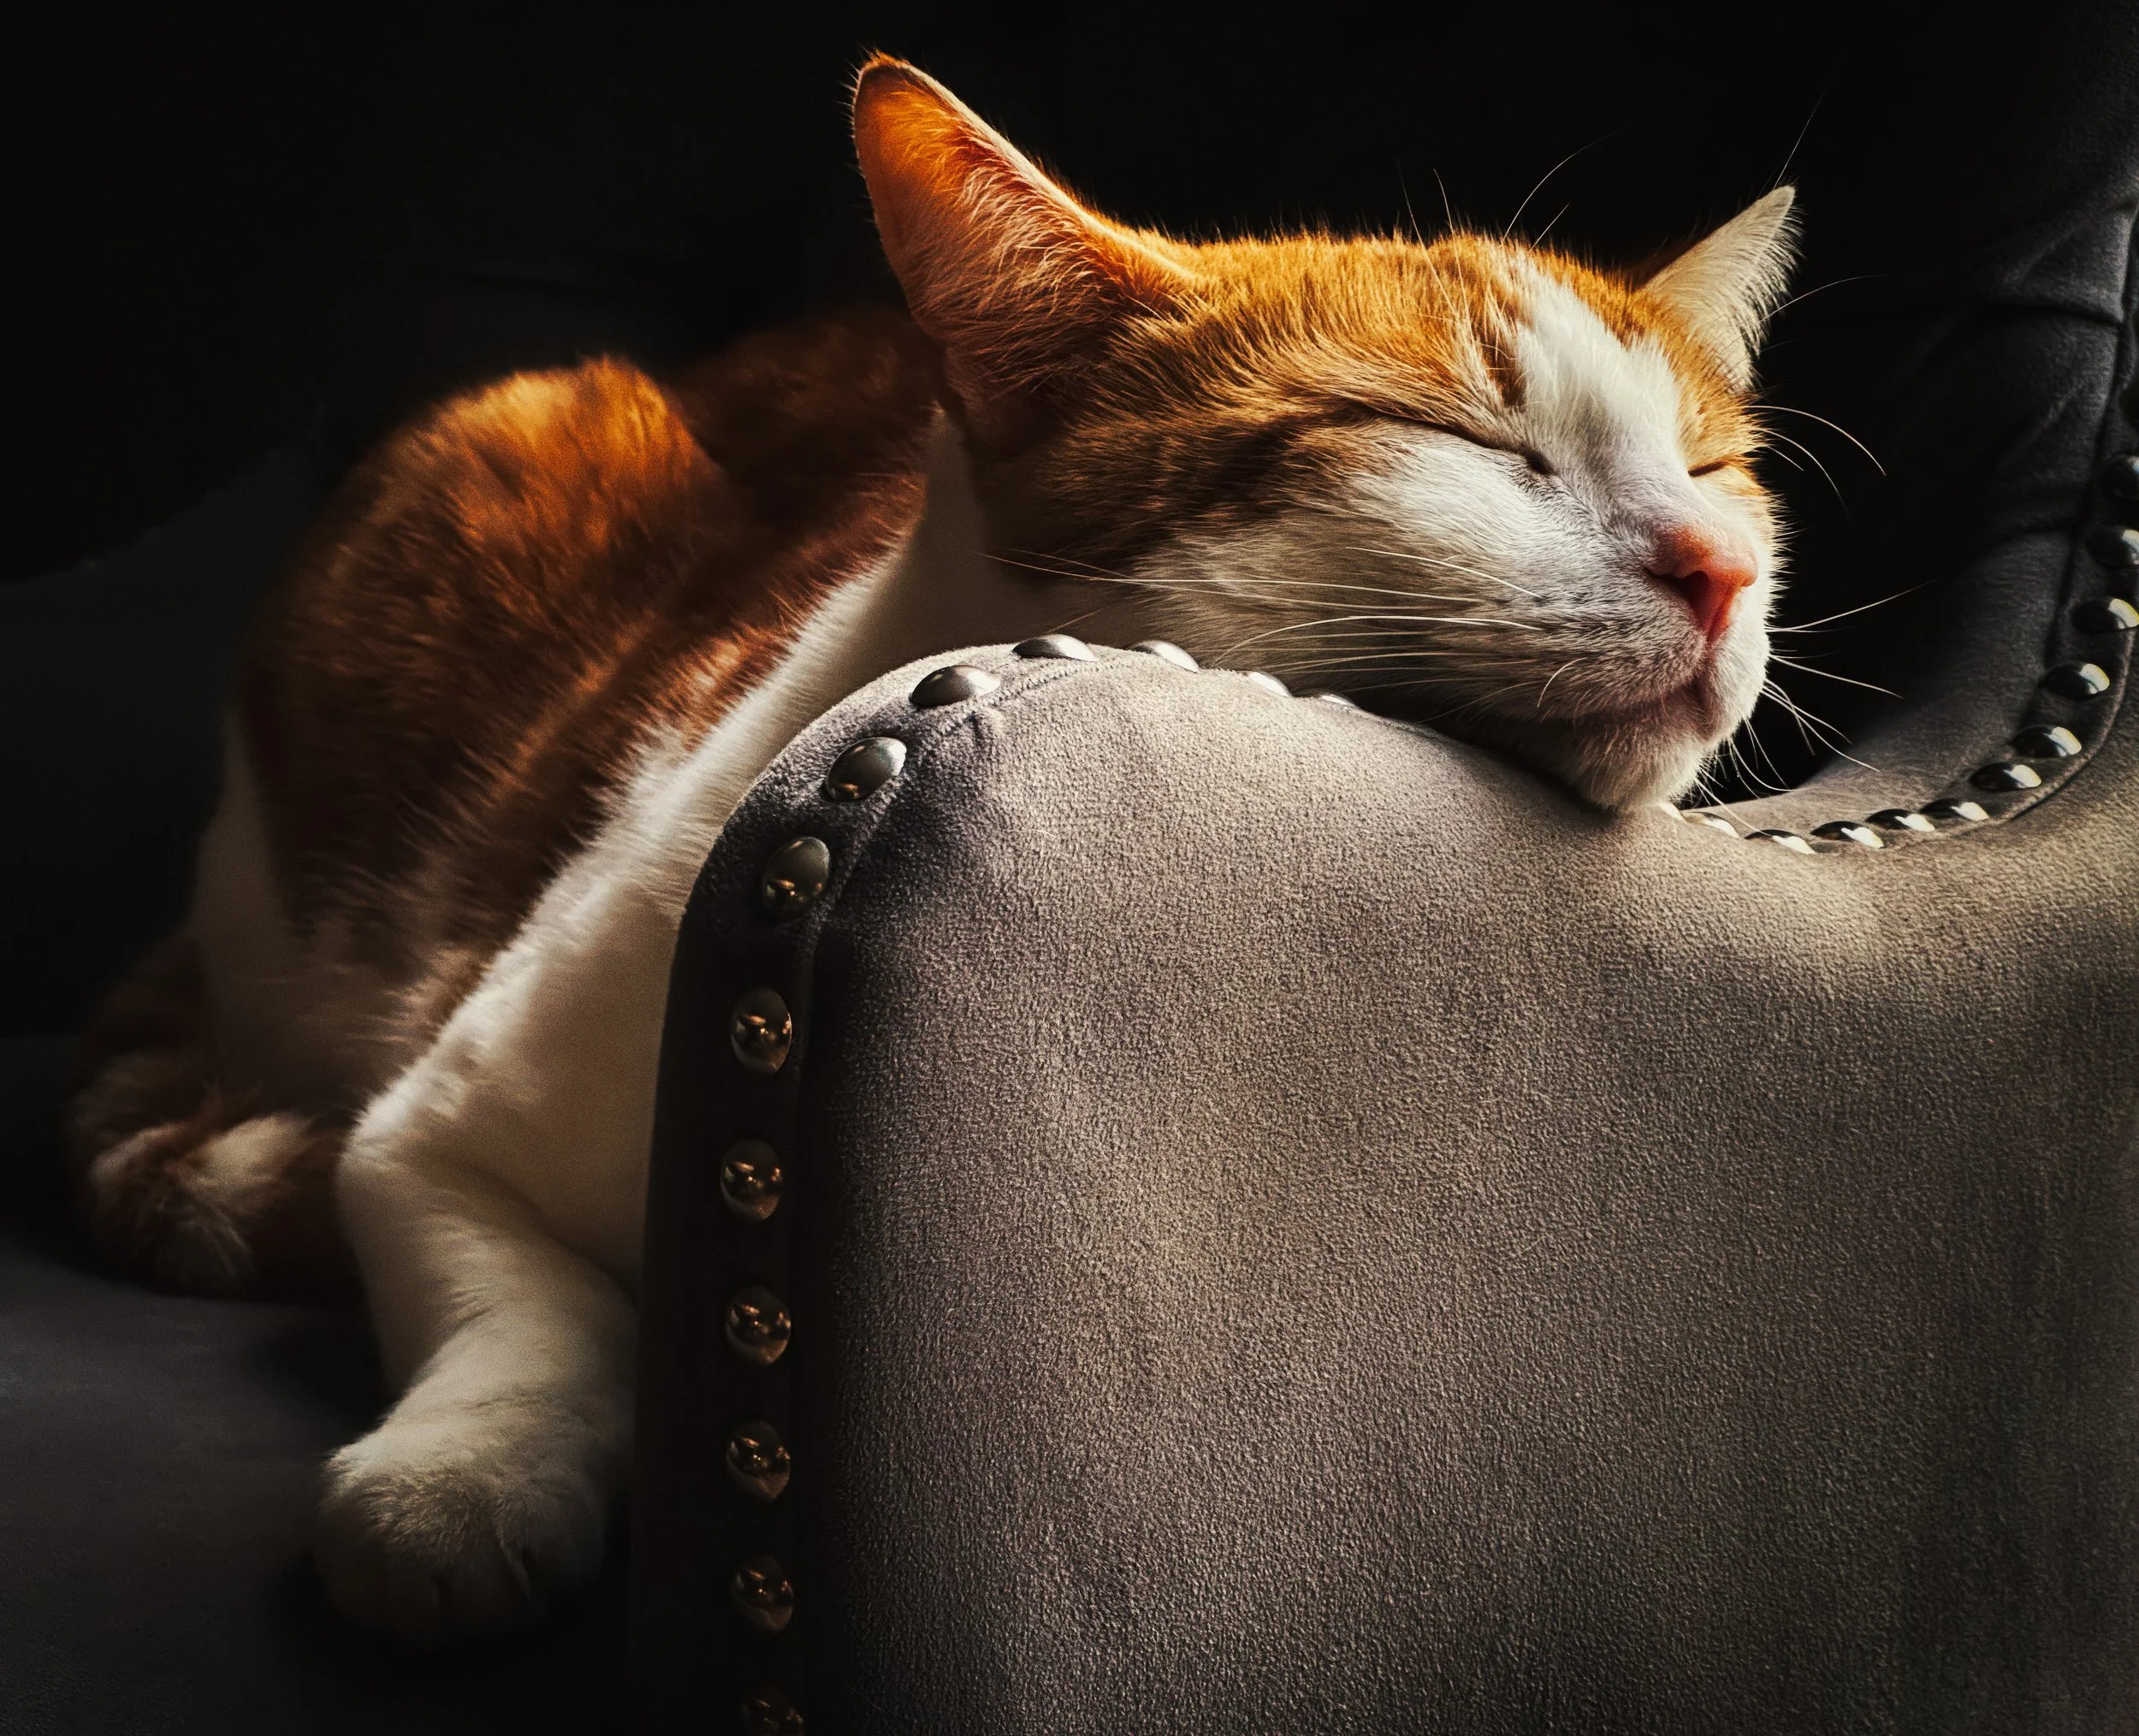
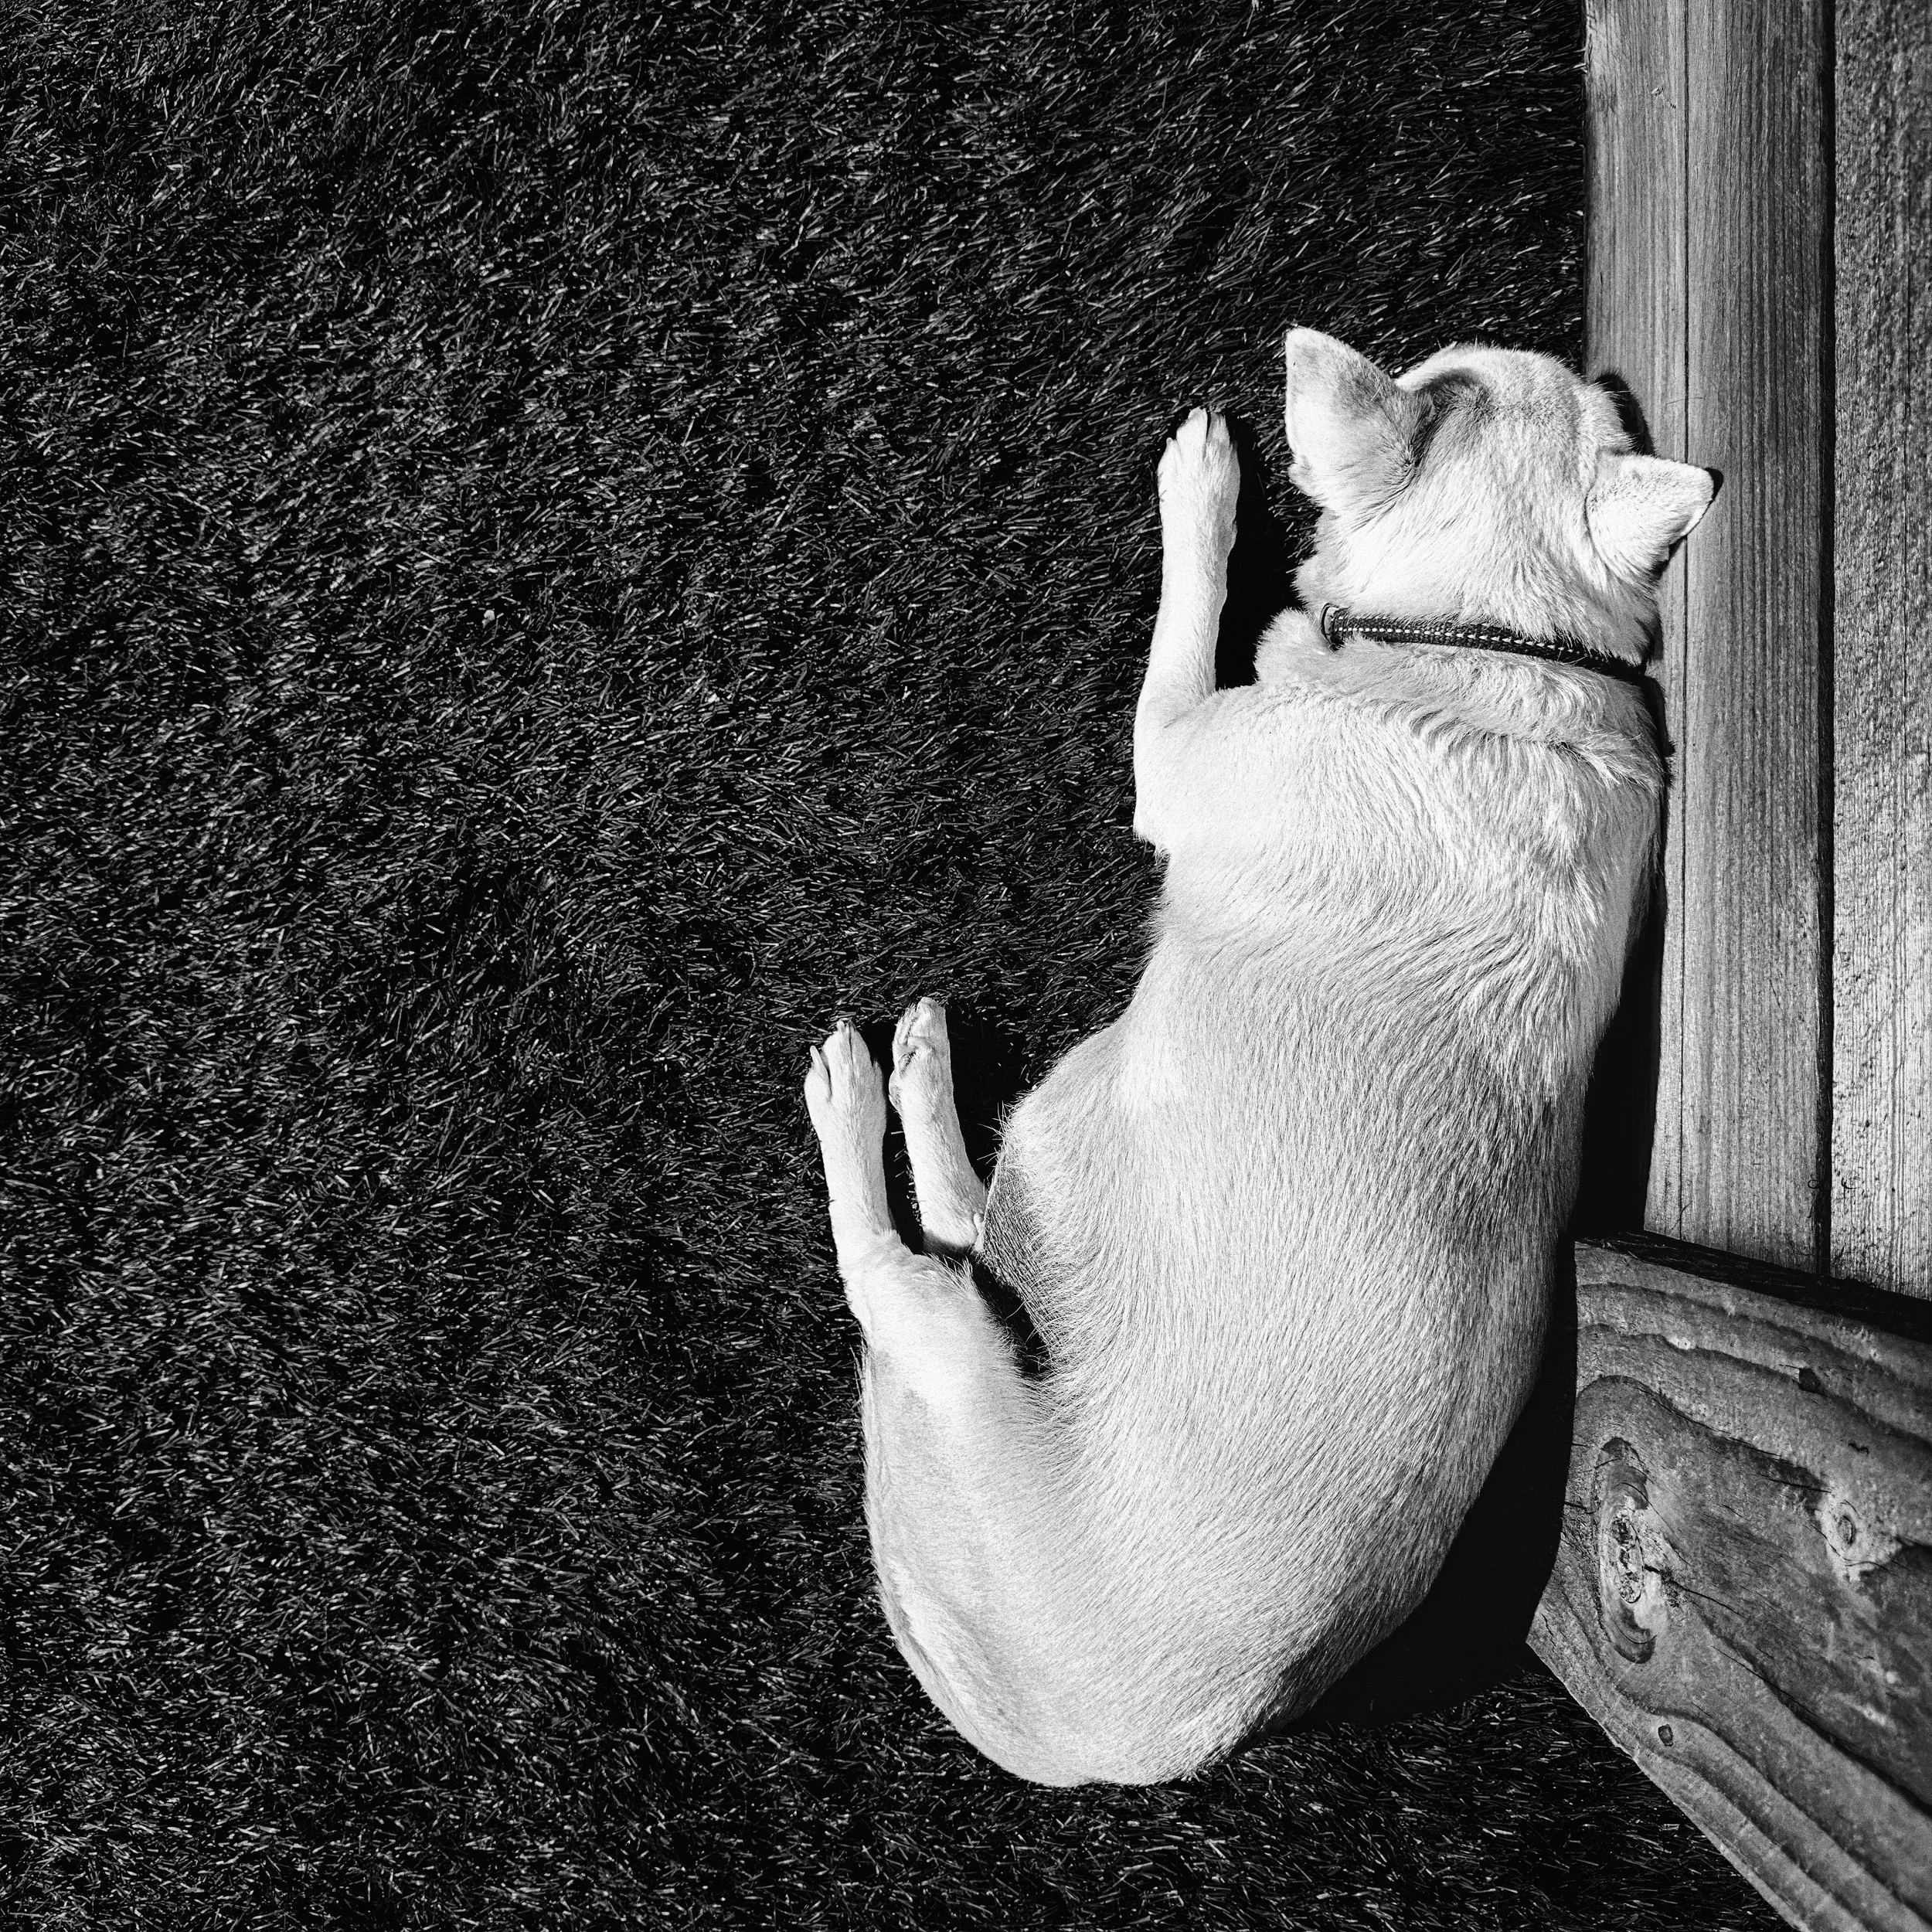
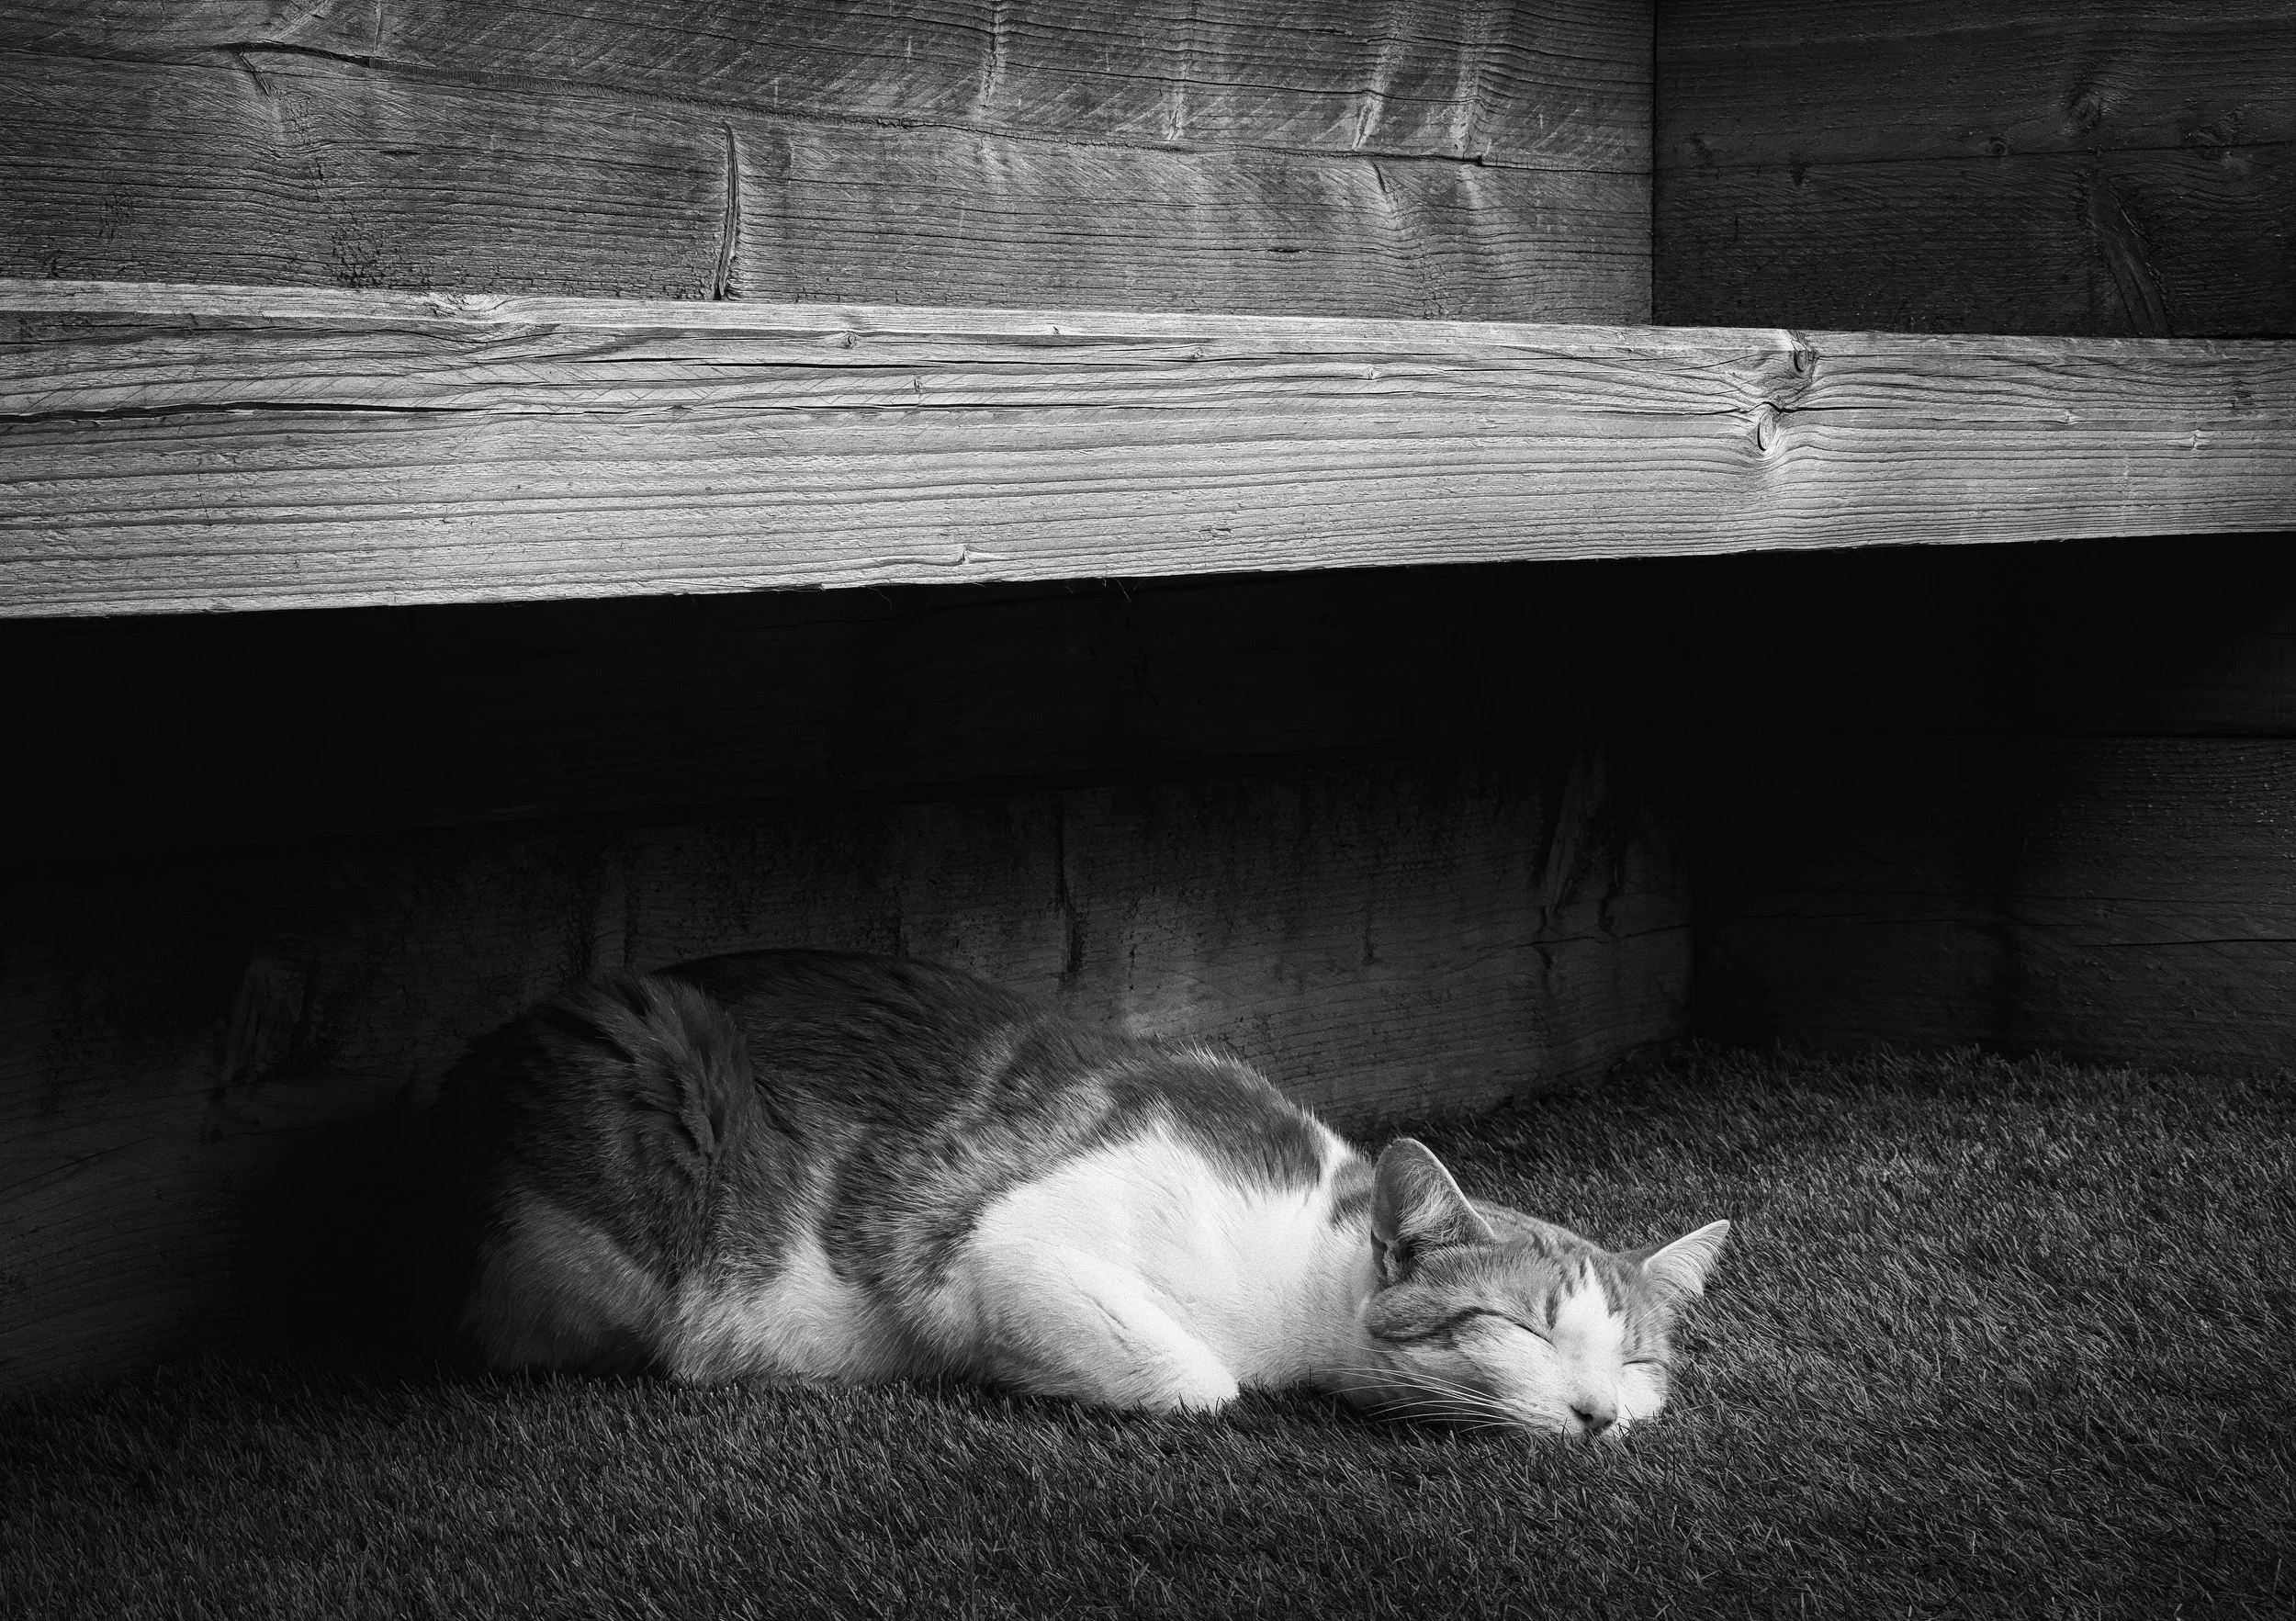
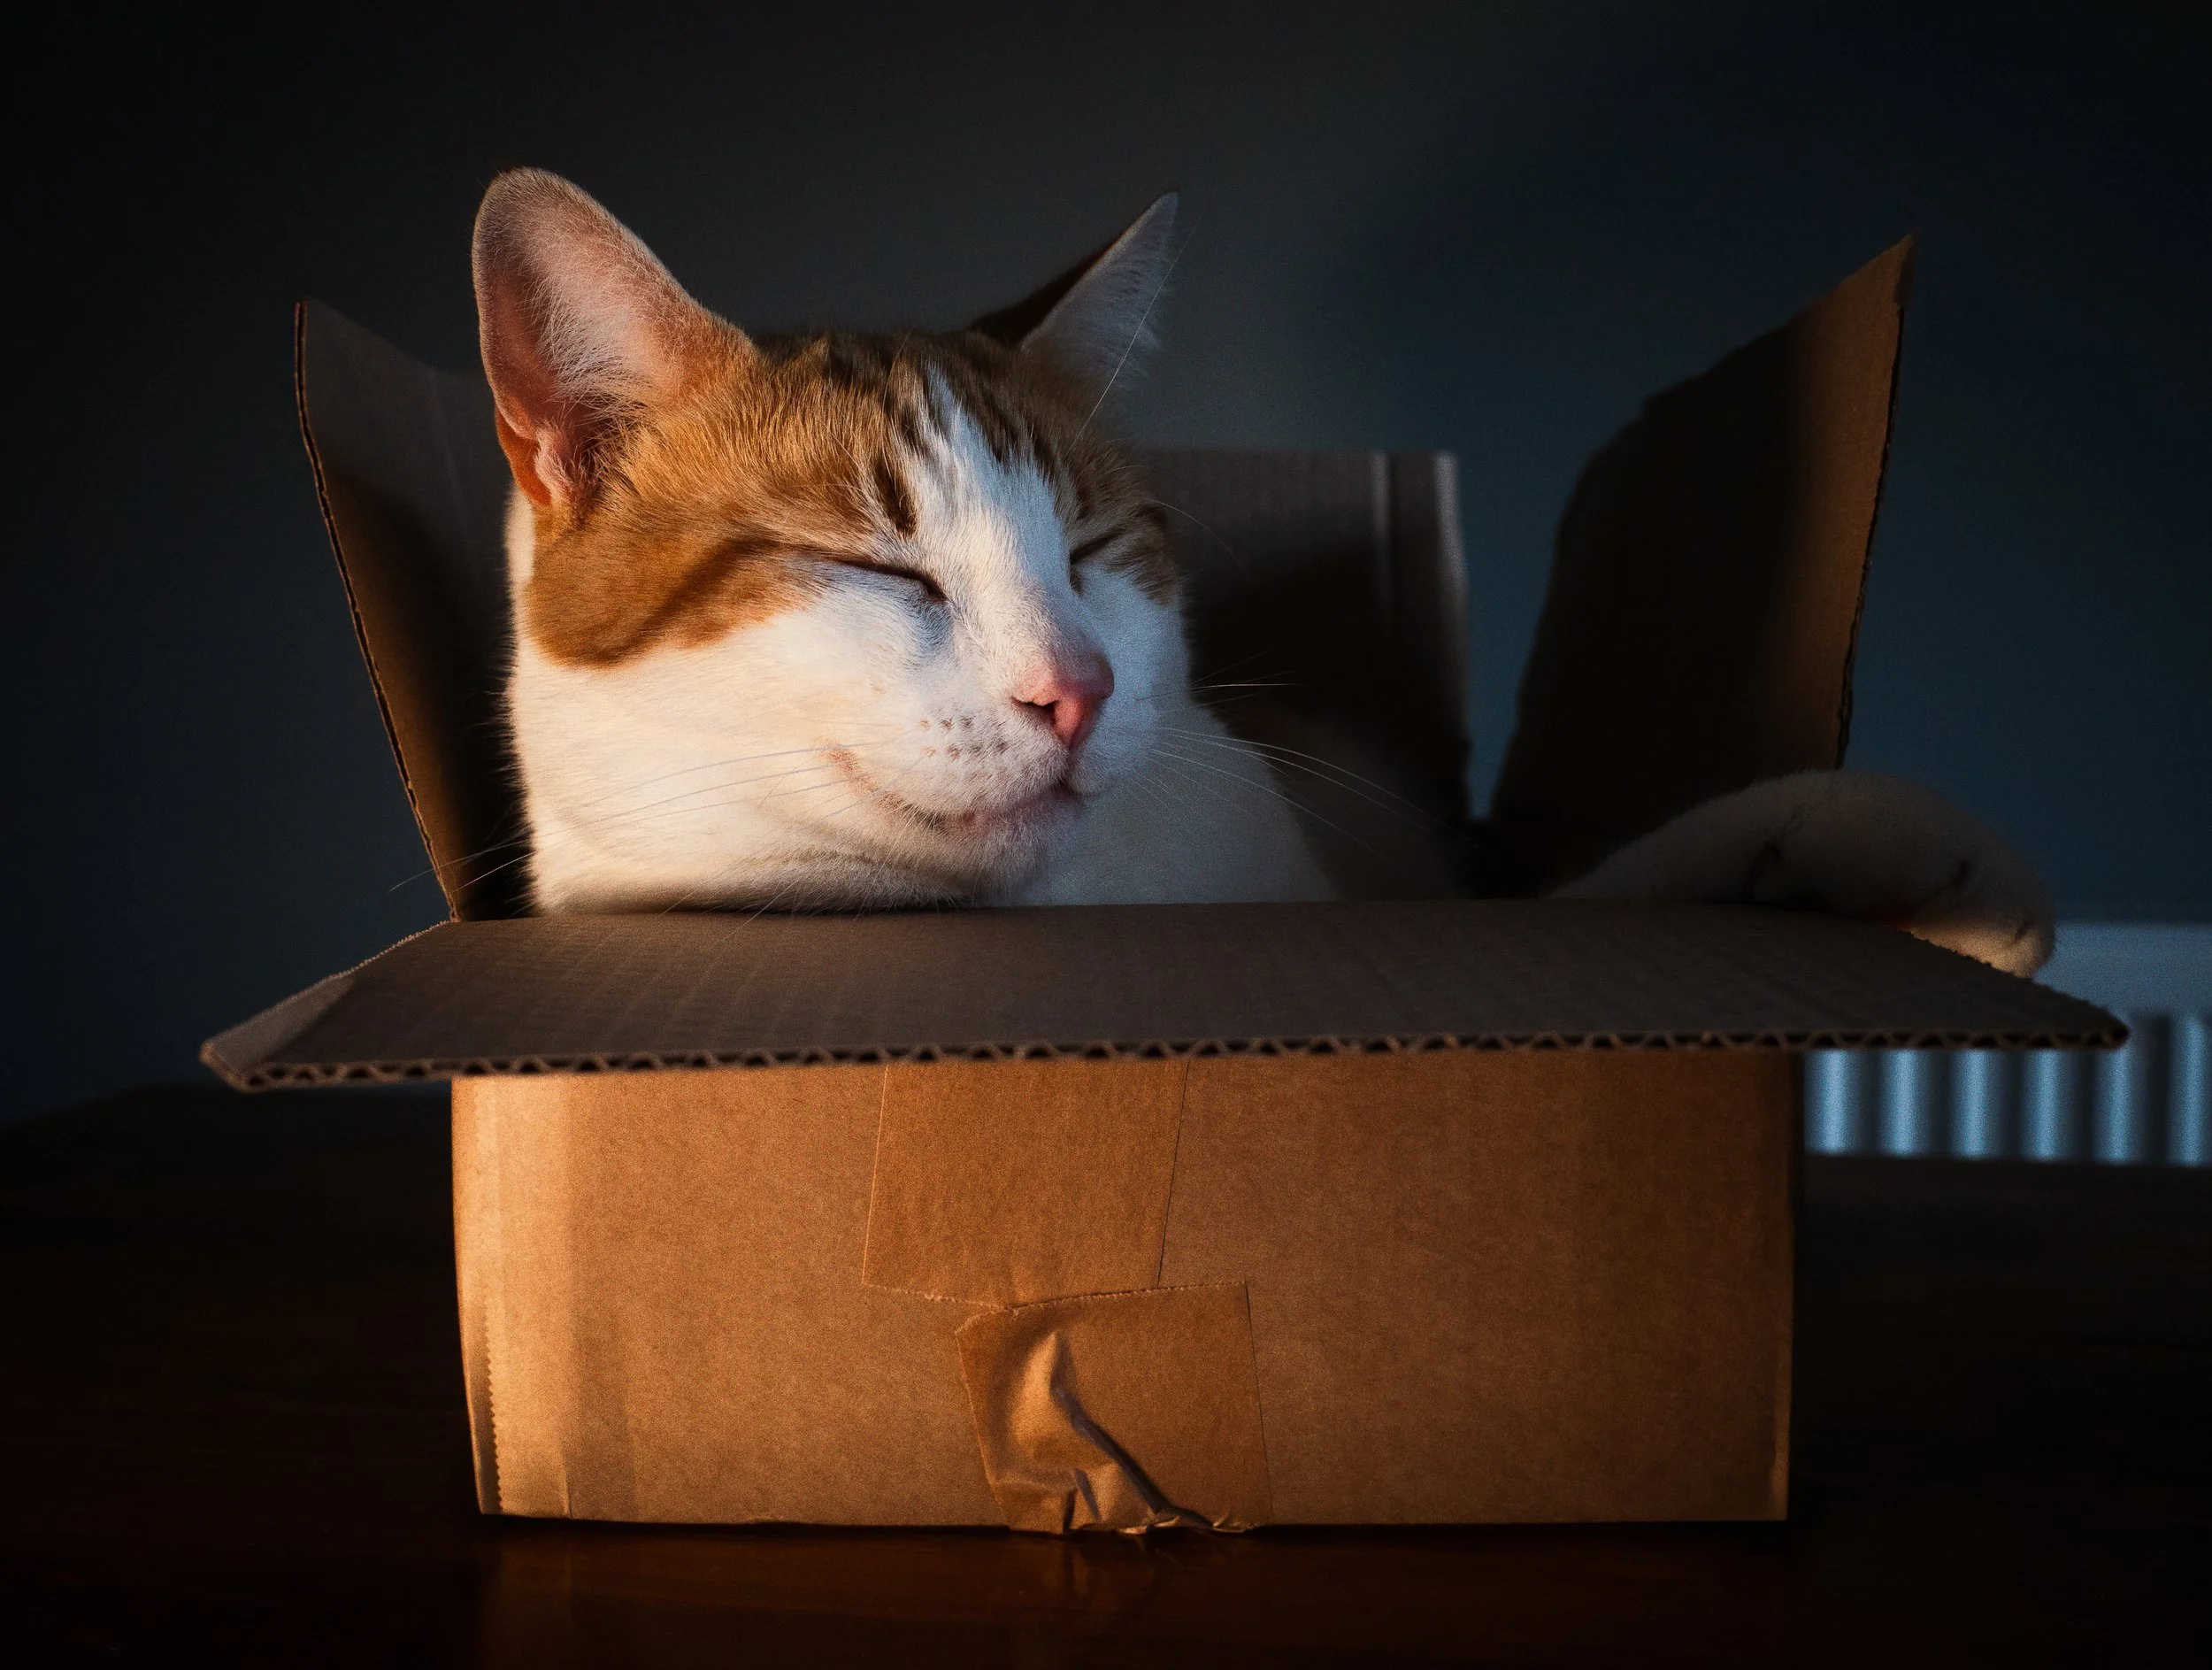
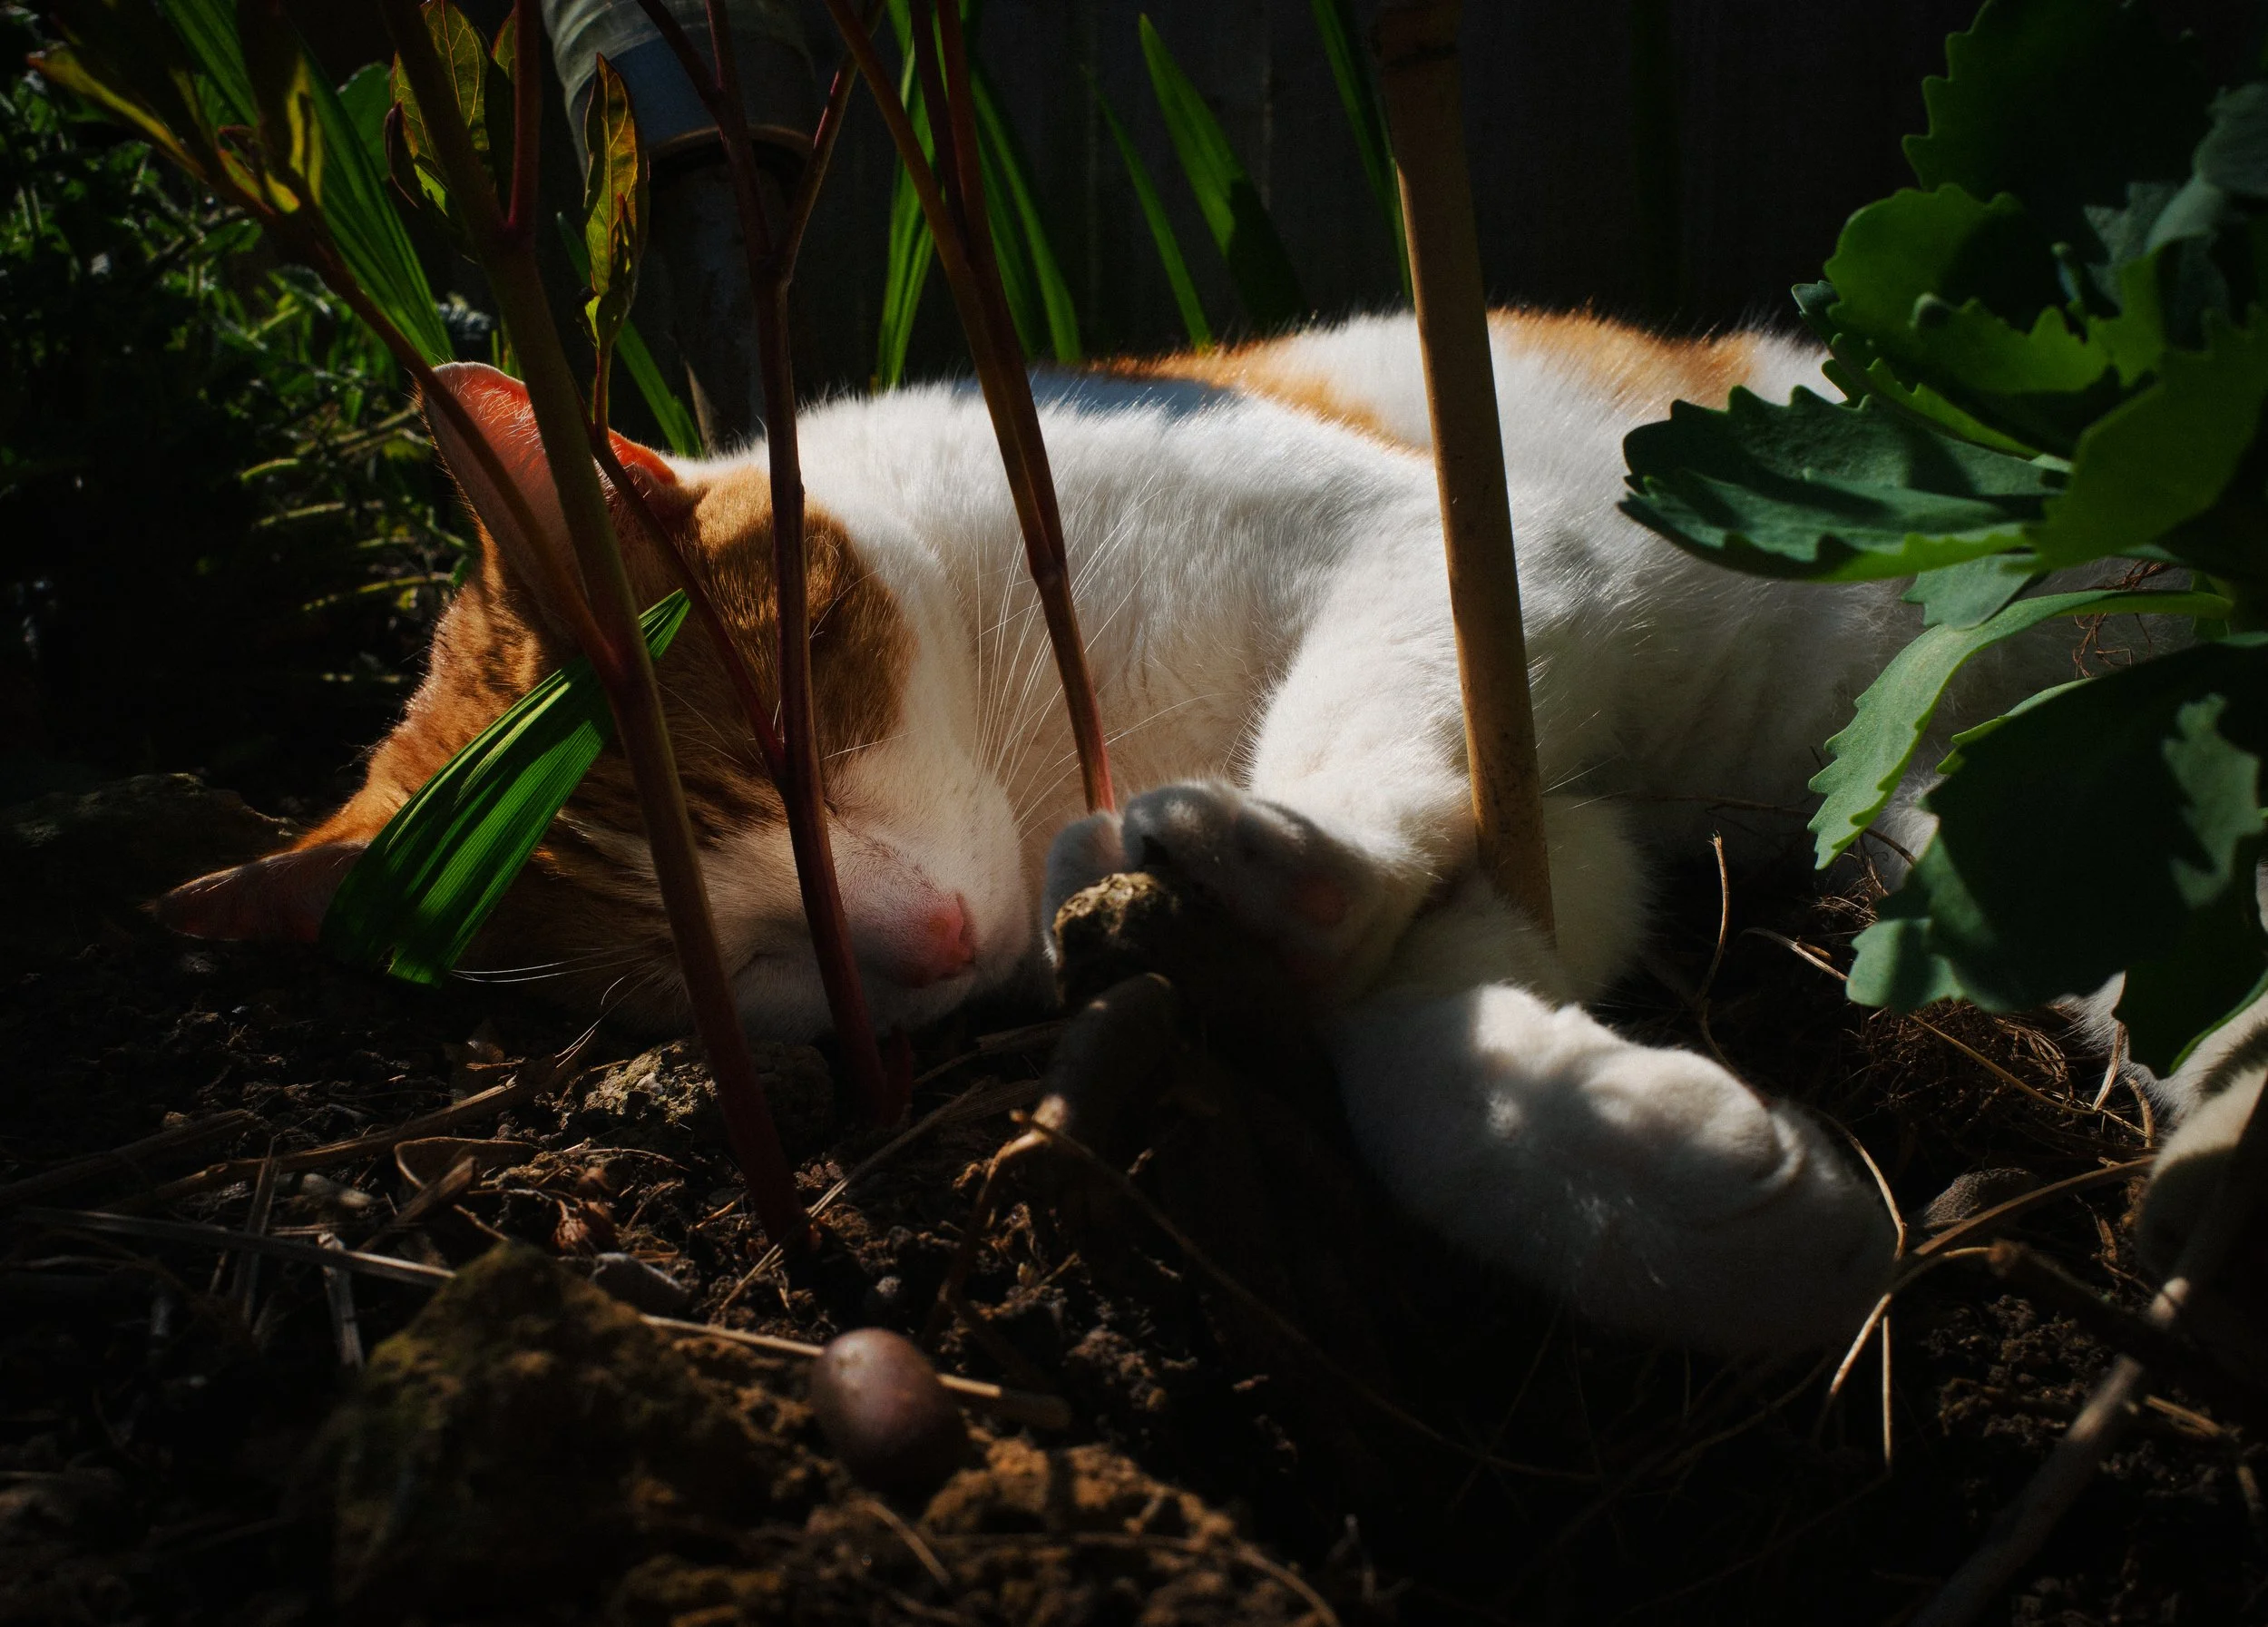
The sleeping cat problem: sleeping cats are easy to photograph and rarely produce interesting images. The deeply asleep cat is a technically unchallenging subject that looks, in most photographs, like a cat deeply asleep. The moment of waking — eyes still half-closed, body loose and warm, not yet oriented to the waking world — is more interesting. So is the moment just before sleep, when the eyes are softening and the blinks are lengthening. So is any moment of active engagement that precedes or follows sleep. The sleeping cat is a trap for the impatient photographer.
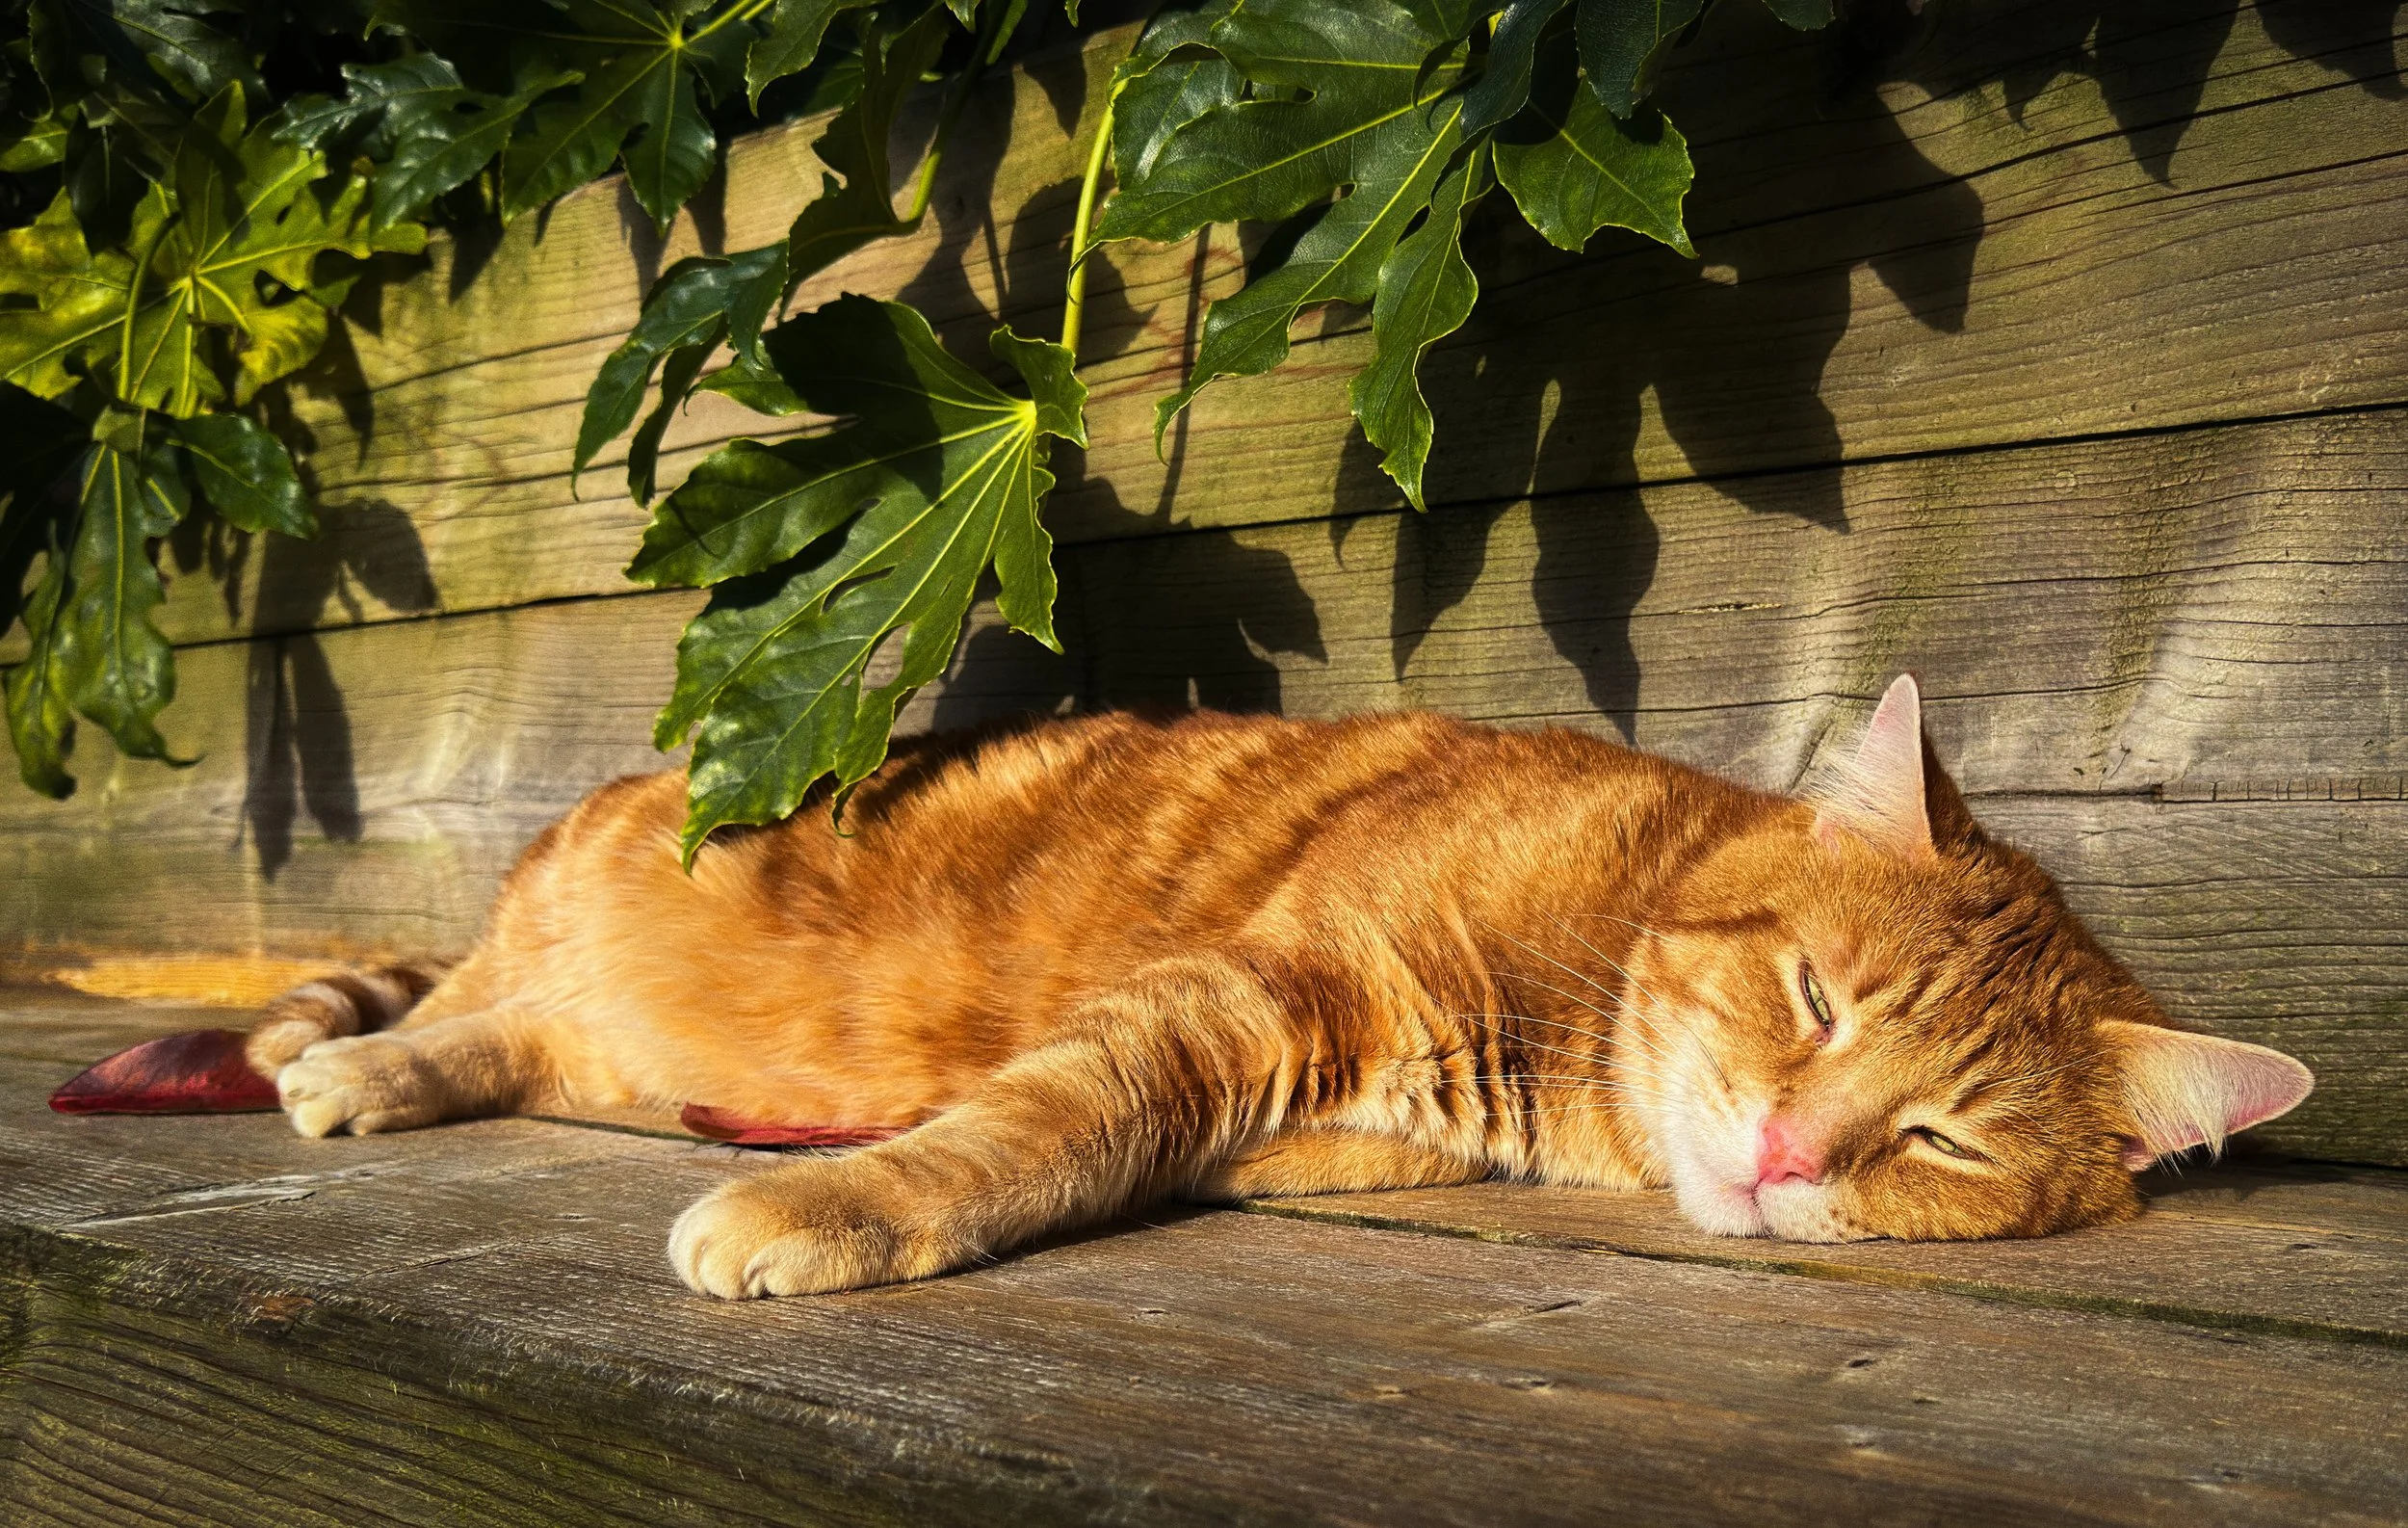
Window light and cats: cats seek warm, bright spots with the consistency of compass needles seeking north. A cat on a window sill in morning light is a portrait opportunity that requires very little organisation on your part: the light is directional and flattering, the cat is relaxed, the background is a bright, clean window that separates the subject from the world behind it. Get to their level, focus on the near eye, and wait. The expression will arrive.
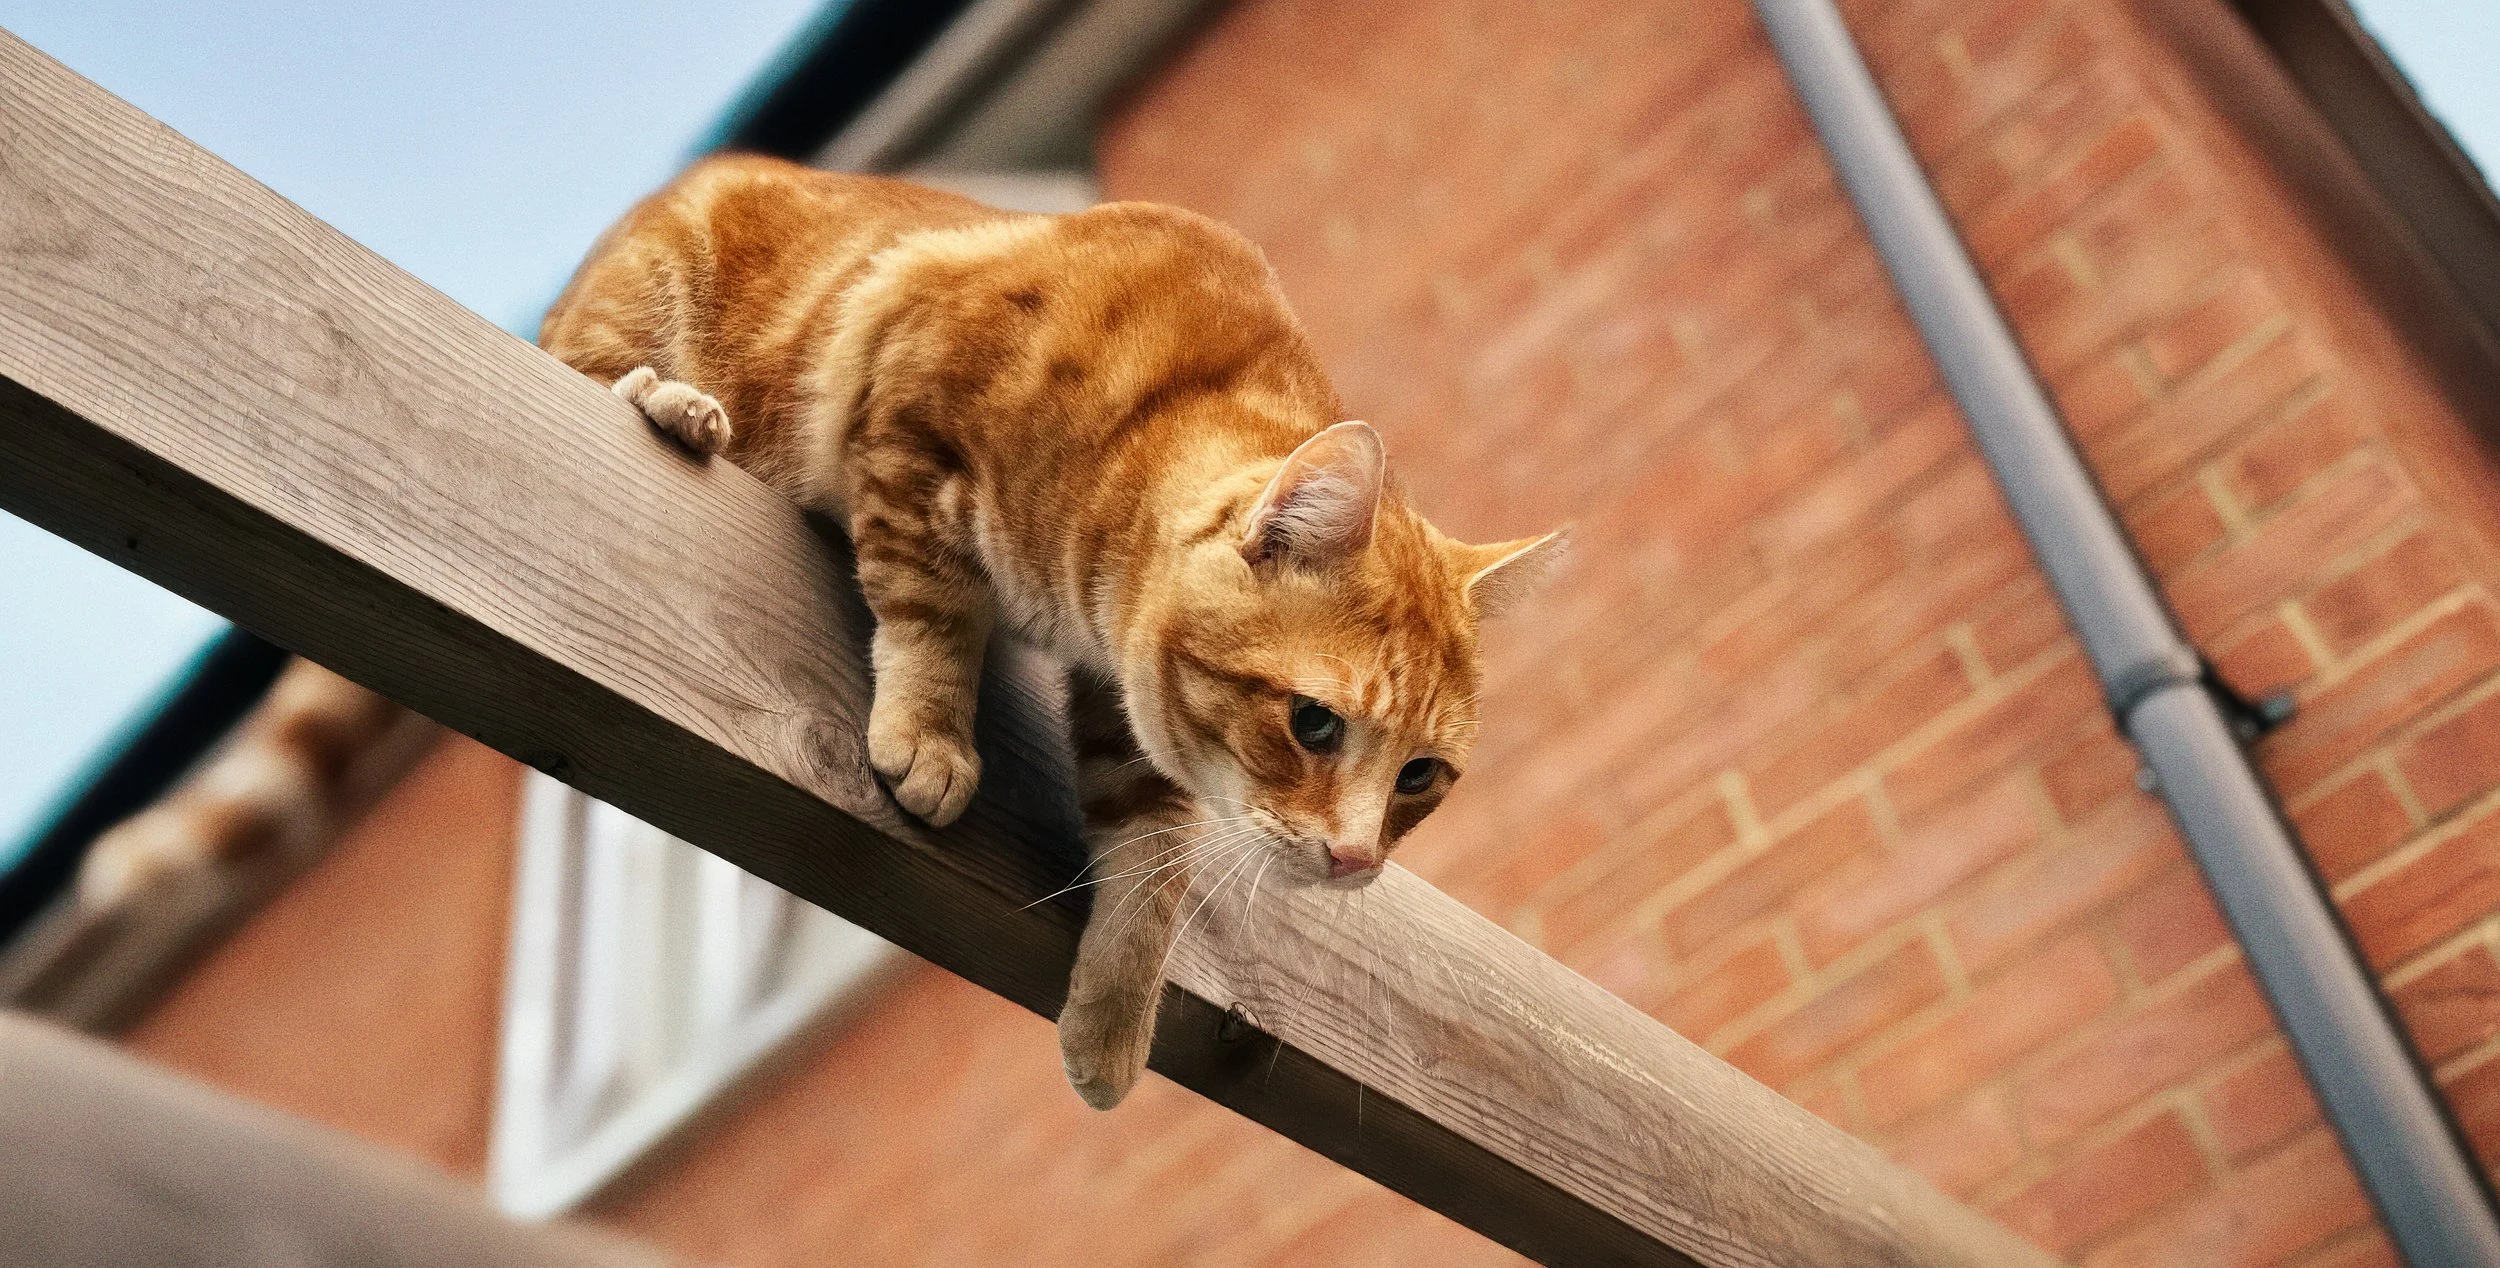
Cats in motion are more demanding than dogs in the same state. Cats are faster over short distances, change direction without warning, and tend to move in three dimensions — along surfaces and up and down furniture — in ways that make pre-focusing difficult. Play behaviour is the best opportunity: a cat pursuing a feather wand or a piece of string is entirely committed and gives you moments of peak extension and focus that still photography handles beautifully. Burst mode; anticipate the direction; be ready to miss the first three attempts and catch the fourth.
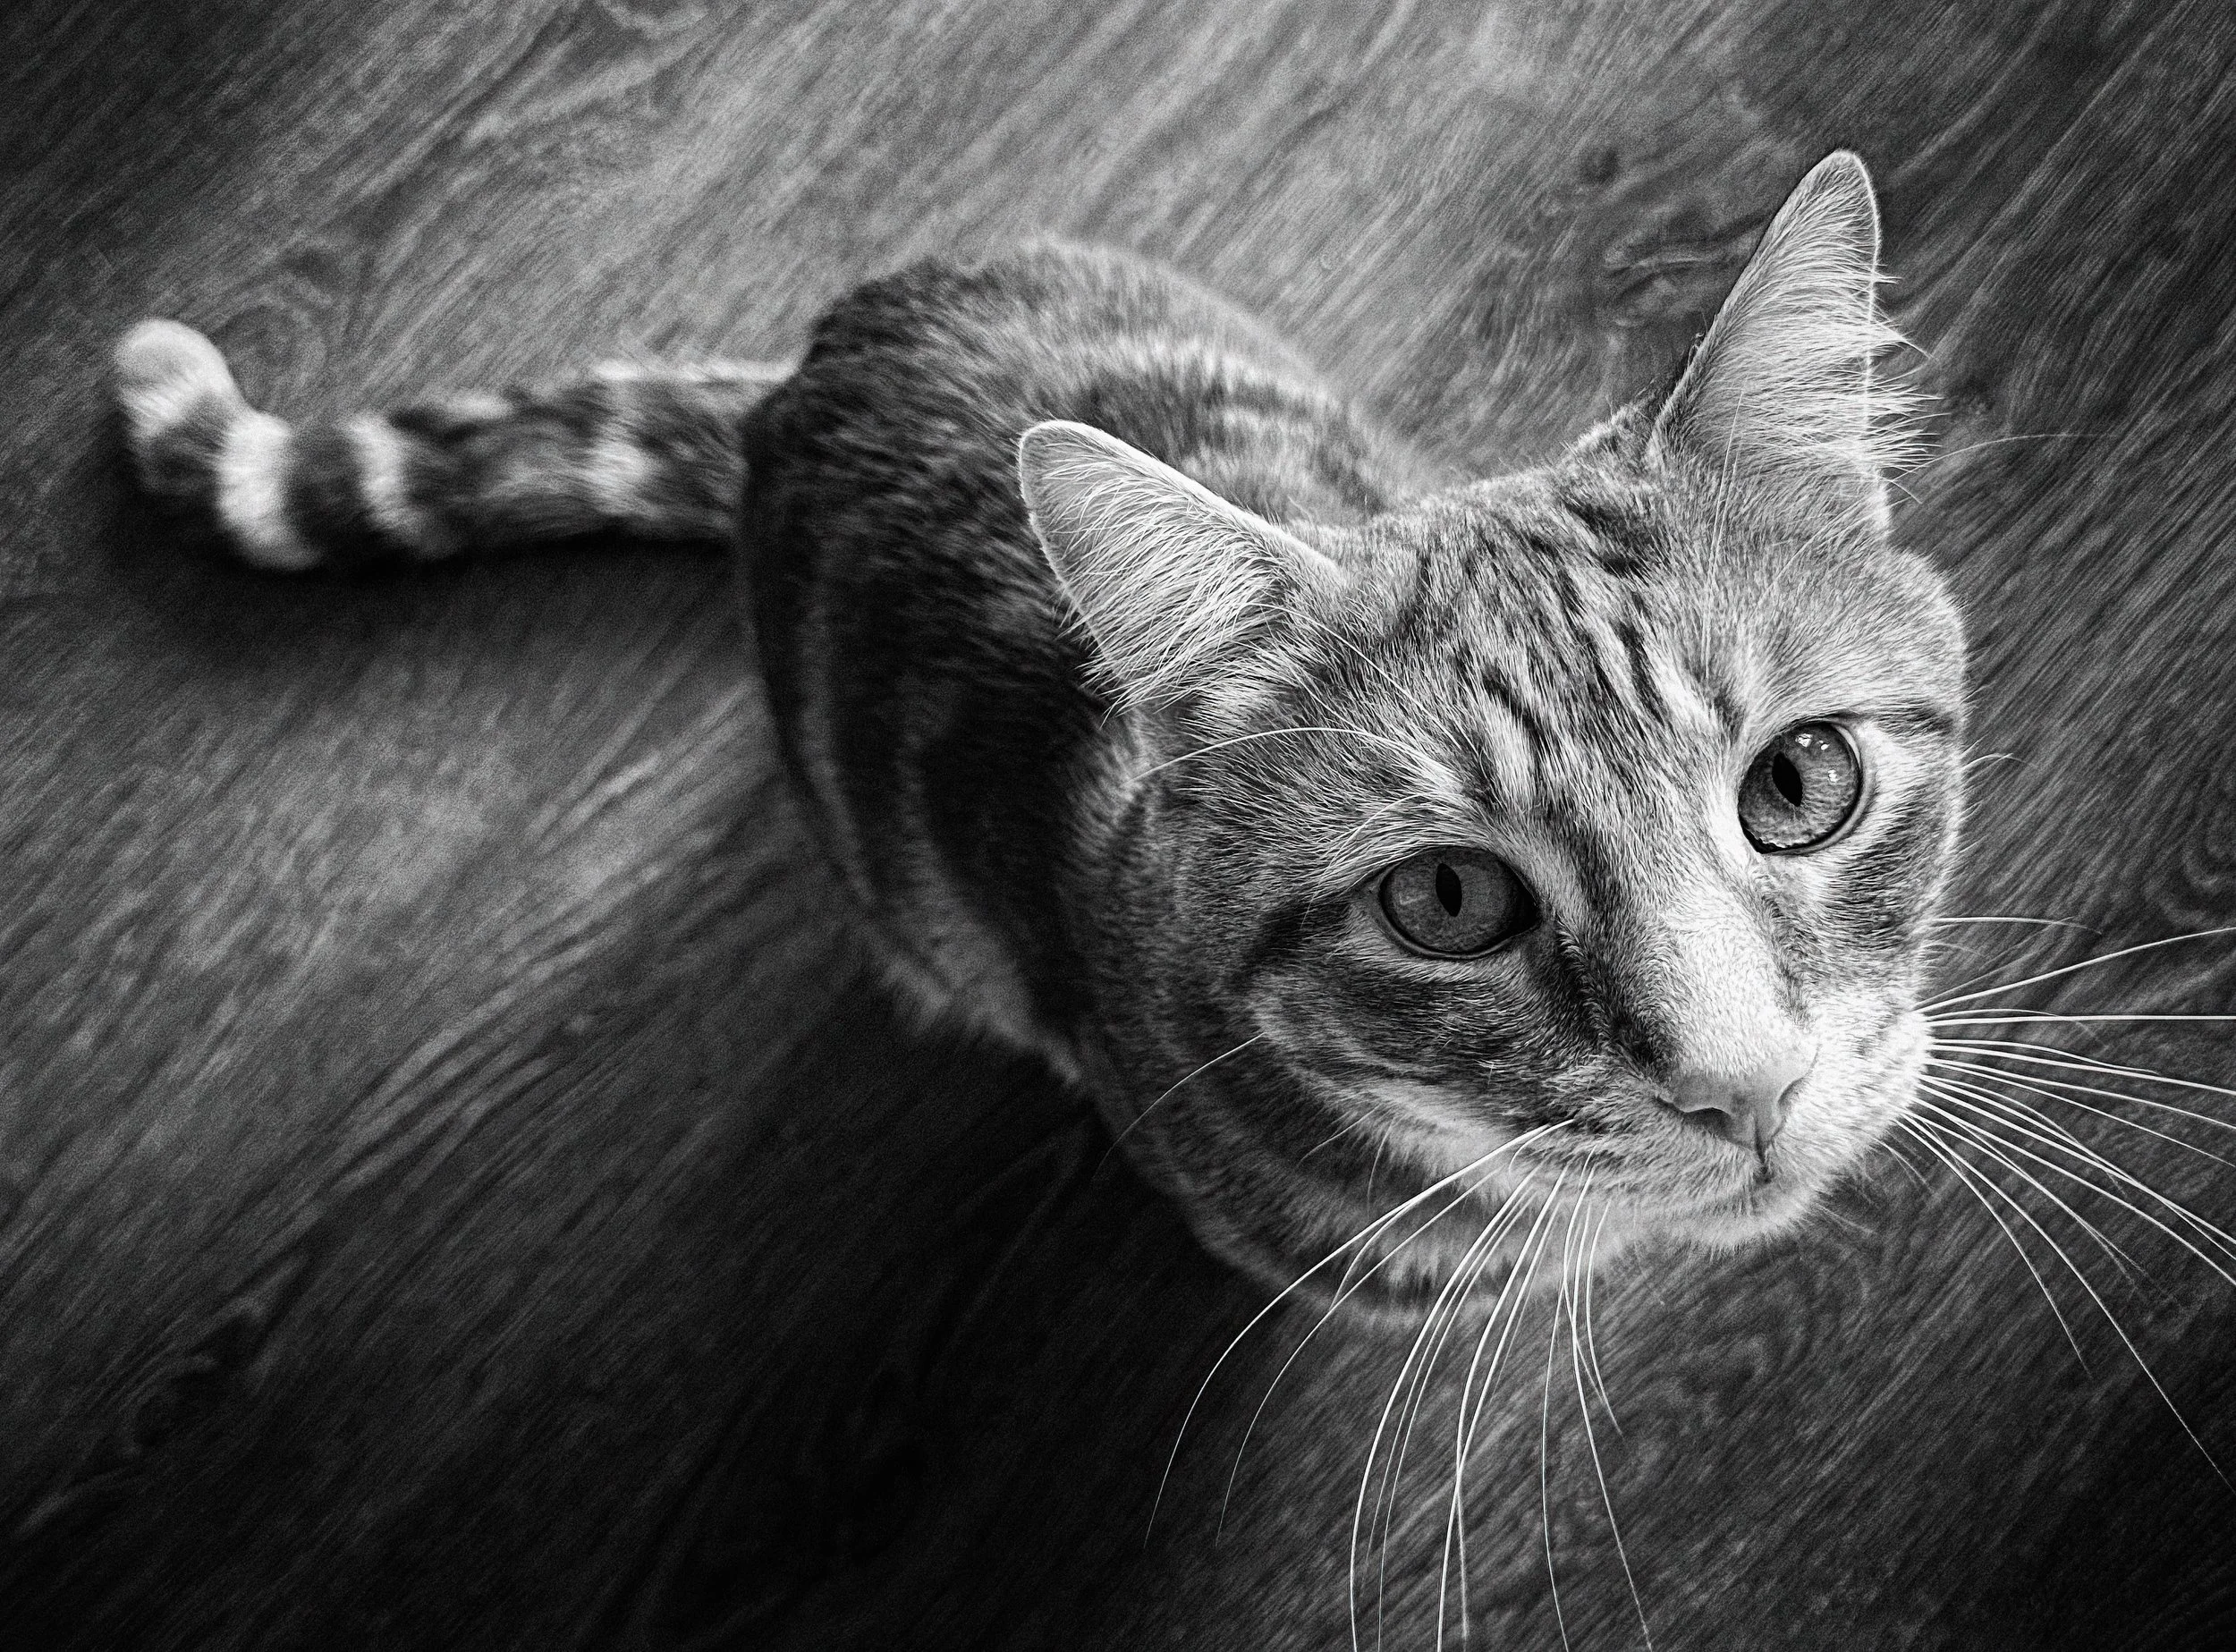
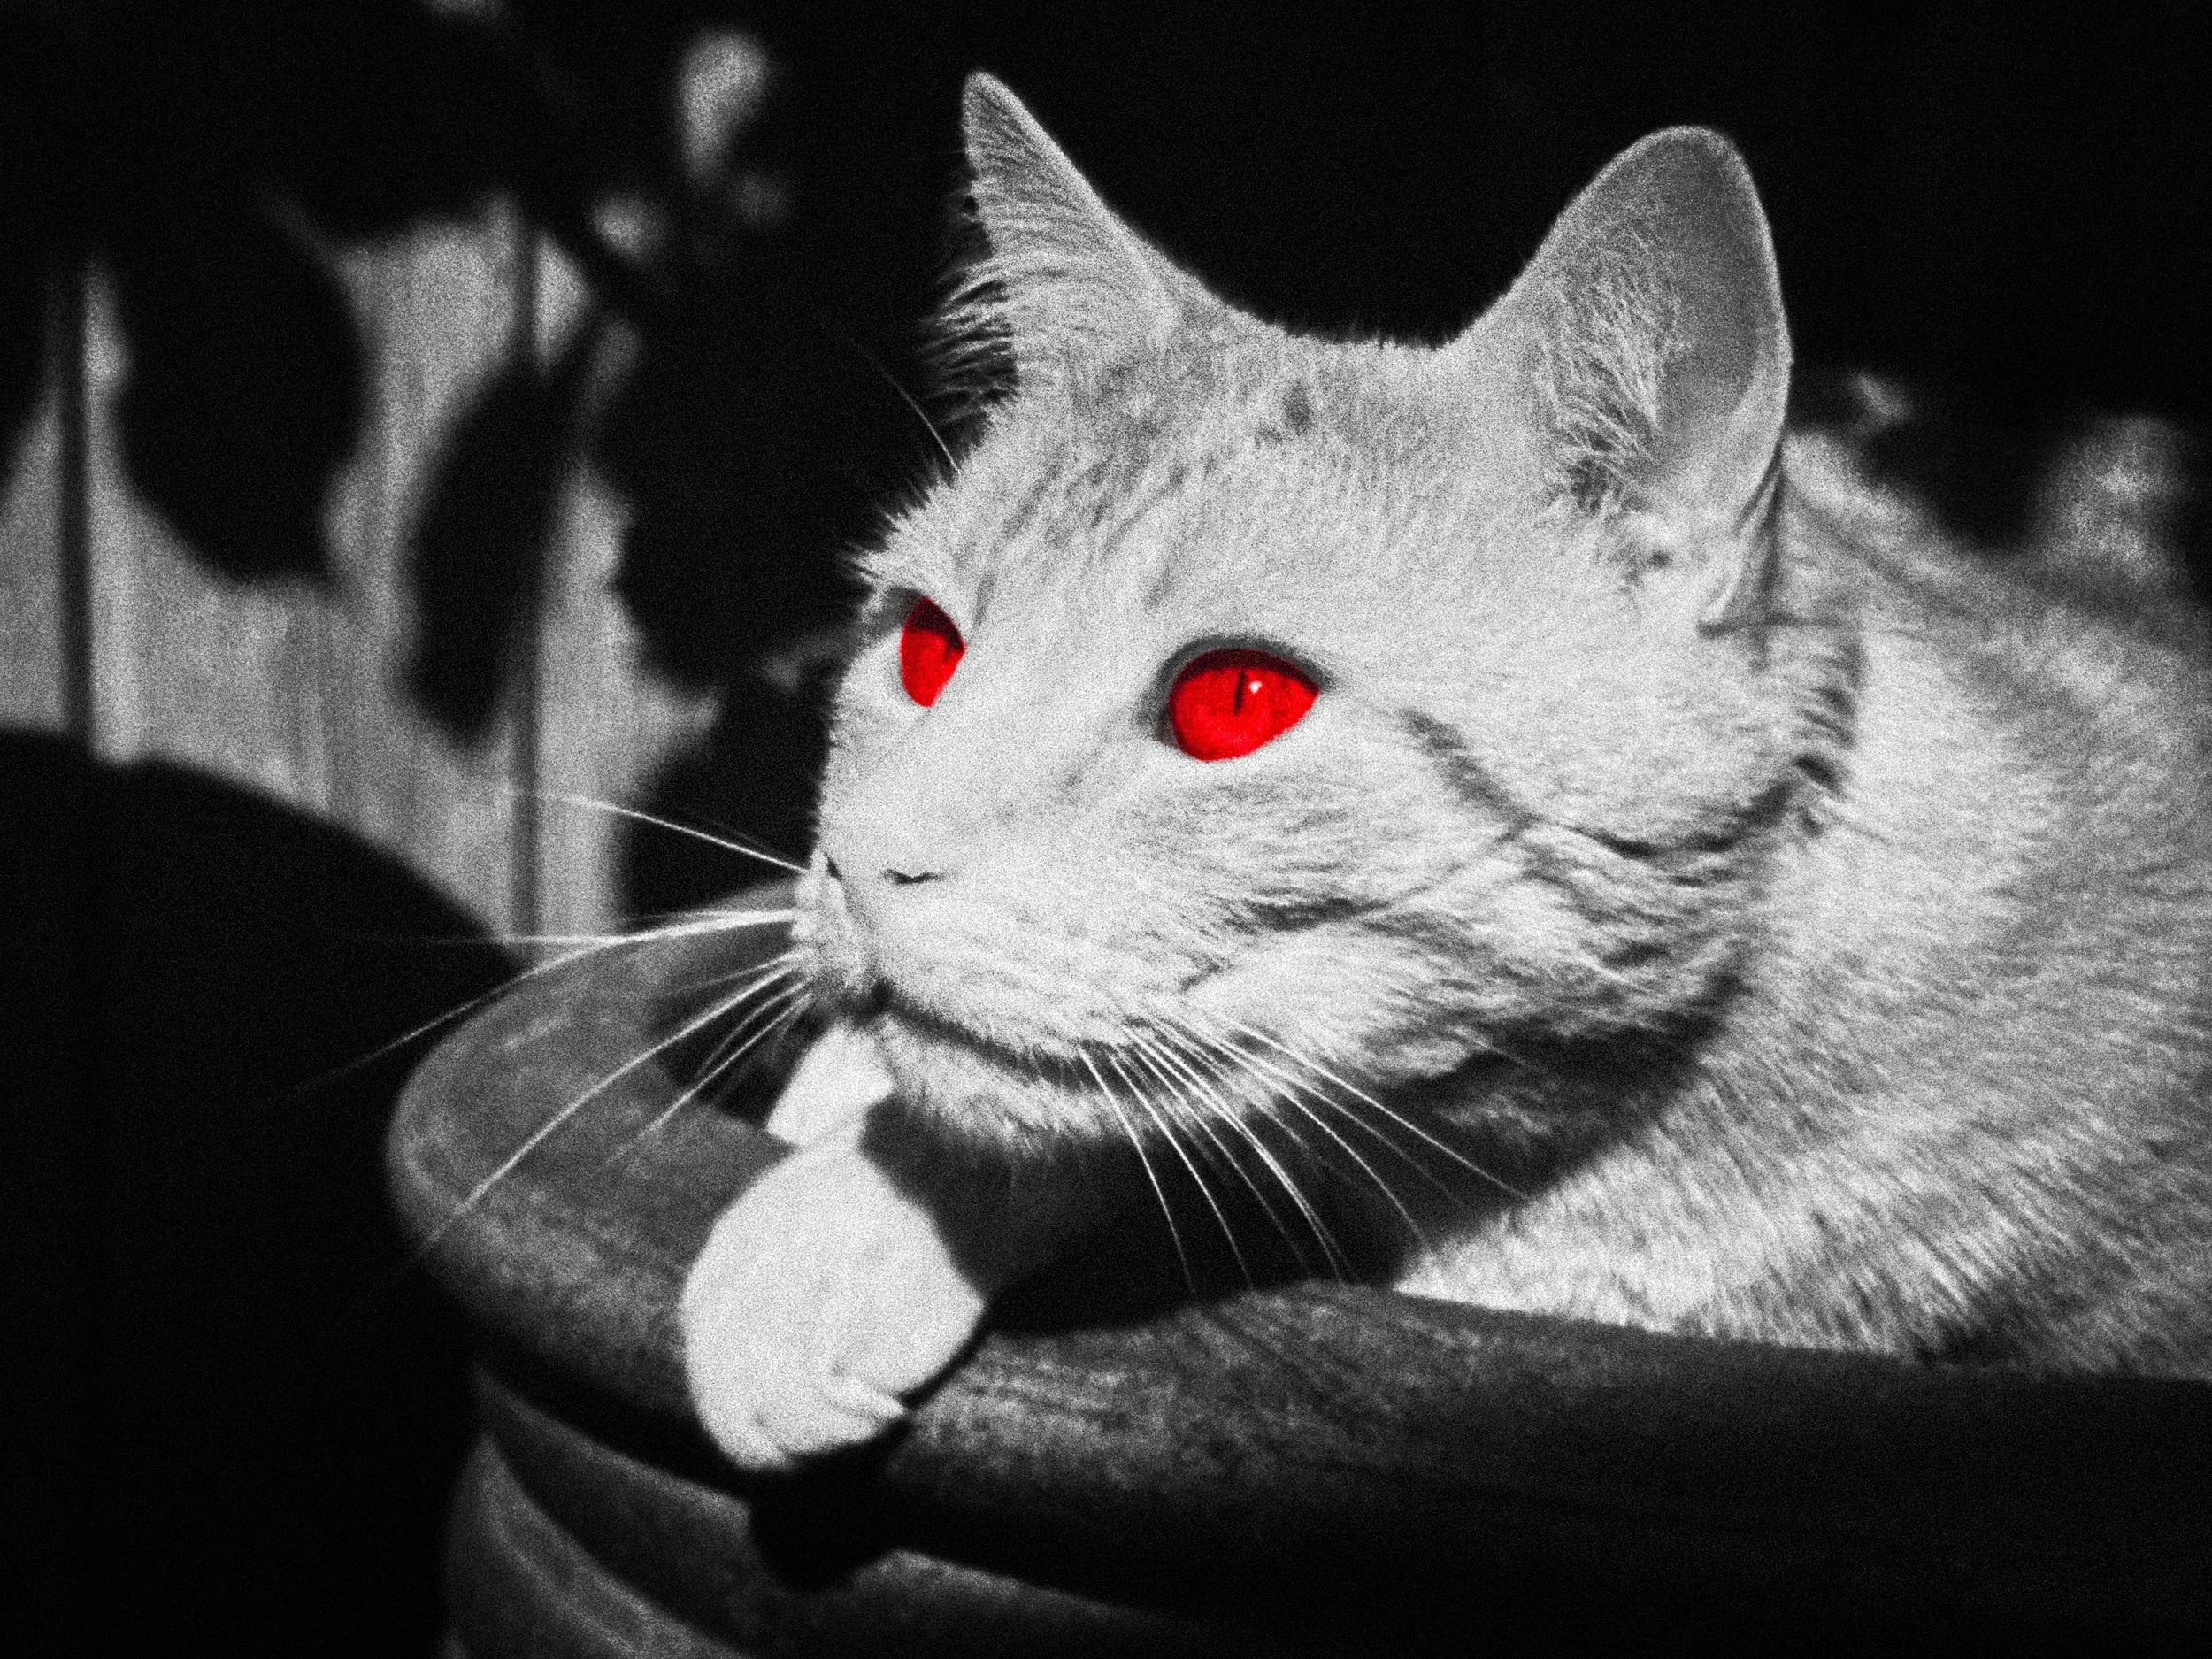
Cat eye photography is a rewarding specialist subject in its own right. The detail in a cat's iris — the vertical slit pupil in bright light, the extraordinary complexity of colour and pattern in the surrounding iris, the fine texture of the surface — is extraordinary at close range. Use macro mode or tap-to-focus with the camera close to the cat's face. A cooperative and curious cat will sometimes approach the lens itself to investigate it, which makes close-focus work considerably easier and occasionally produces a perspective that is both technically sharp and quietly alarming.
Rabbits, Guinea Pigs & Rodents
The scale challenge is the first and most persistent issue with photographing small animals. A guinea pig photographed at a normal camera-to-subject distance occupies roughly four per cent of the frame and is surrounded by an enormous amount of context — cage bars, bedding, the middle section of a human holding it — that adds nothing and takes everything.
Get close. Use macro mode, the 2x telephoto from a shorter working distance, or simply move until the animal fills a satisfying proportion of the frame. The ambition is the same as any portrait: to show the subject, not the environment the subject happens to be in.
Speed is a genuine technical challenge with hamsters and gerbils in particular. These animals move quickly, change direction constantly, and have a habit of being interesting precisely when they are in mid-transit between two places.
Burst mode is essential. Try to anticipate where the animal is likely to be in the next half second — at the entrance to a hide, at the feeding point, on the wheel — and pre-focus on that location. A hamster wheel in operation is one of the more technically challenging targets in domestic animal photography, but the results can be extraordinary: the motion blur of the body against the sharpness of the cage behind it, or a moment of peak speed frozen at 1/1000s, conveys something real about the animal.
Rabbits are considerably larger than their rodent relatives and often calmer, which gives you more time to work and a larger subject to work with. The best rabbit photographs tend to be taken outdoors in natural light, where the rabbit is moving and grazing and engaging with its environment. Indoor rabbit portraits benefit significantly from window light and a clean, non-distracting background — a sheet of plain fabric, a smooth wooden floor, a section of garden path. Worth noting: rabbits thump and bolt when startled, and the preparation time for a second attempt after an unexpected noise can be considerable. Move slowly, speak quietly, and let the rabbit settle before you begin.
The eye-level principle applies even more strongly to small animals than it does to dogs and cats. A guinea pig photographed from above looks like a potato that has grown legs. A guinea pig photographed at eye level — genuinely at eye level, with the camera on the same plane as the animal's face — with careful focus on the nearest eye, is a completely different subject: a portrait of a character with a face worth looking at. This may mean getting entirely flat on the floor, or placing the animal on a surface that brings it to a comfortable working height while you bring yourself to its level. Both work.
Backgrounds for small animals need particular attention. Small animals can easily be lost against a busy background — cage furniture, bedding, other animals, the general visual chaos of a domestic environment. A plain surface helps the animal read clearly: a wooden floor, a smooth piece of fabric in a neutral tone, the lawn in a garden. If you are photographing inside a cage and cannot remove the animal, position yourself so that the far side of the cage is as far from the animal as possible, and place your lens as close to the cage bars as you can — the wire will blur out of significance when it is very close to the lens, and the background will blur for the same reason.
Caged & Aviary Birds
The cage problem is the central practical difficulty of bird photography. Bars, wire mesh, perches, food dishes, and cage toys all compete with the bird as a subject, and the compositional result tends to be a photograph of a cage that also contains a bird. Where the bird can be safely photographed during supervised free flight or free time outside the cage, this is always preferable. When shooting through bars or mesh is unavoidable, position the lens as close to the wire as possible — ideally touching it — so that the wire itself is too close to the lens to resolve sharply, and becomes instead a soft wash of grey or metal at the edge of the frame. Focus on the bird; let the cage become suggestion rather than fact.
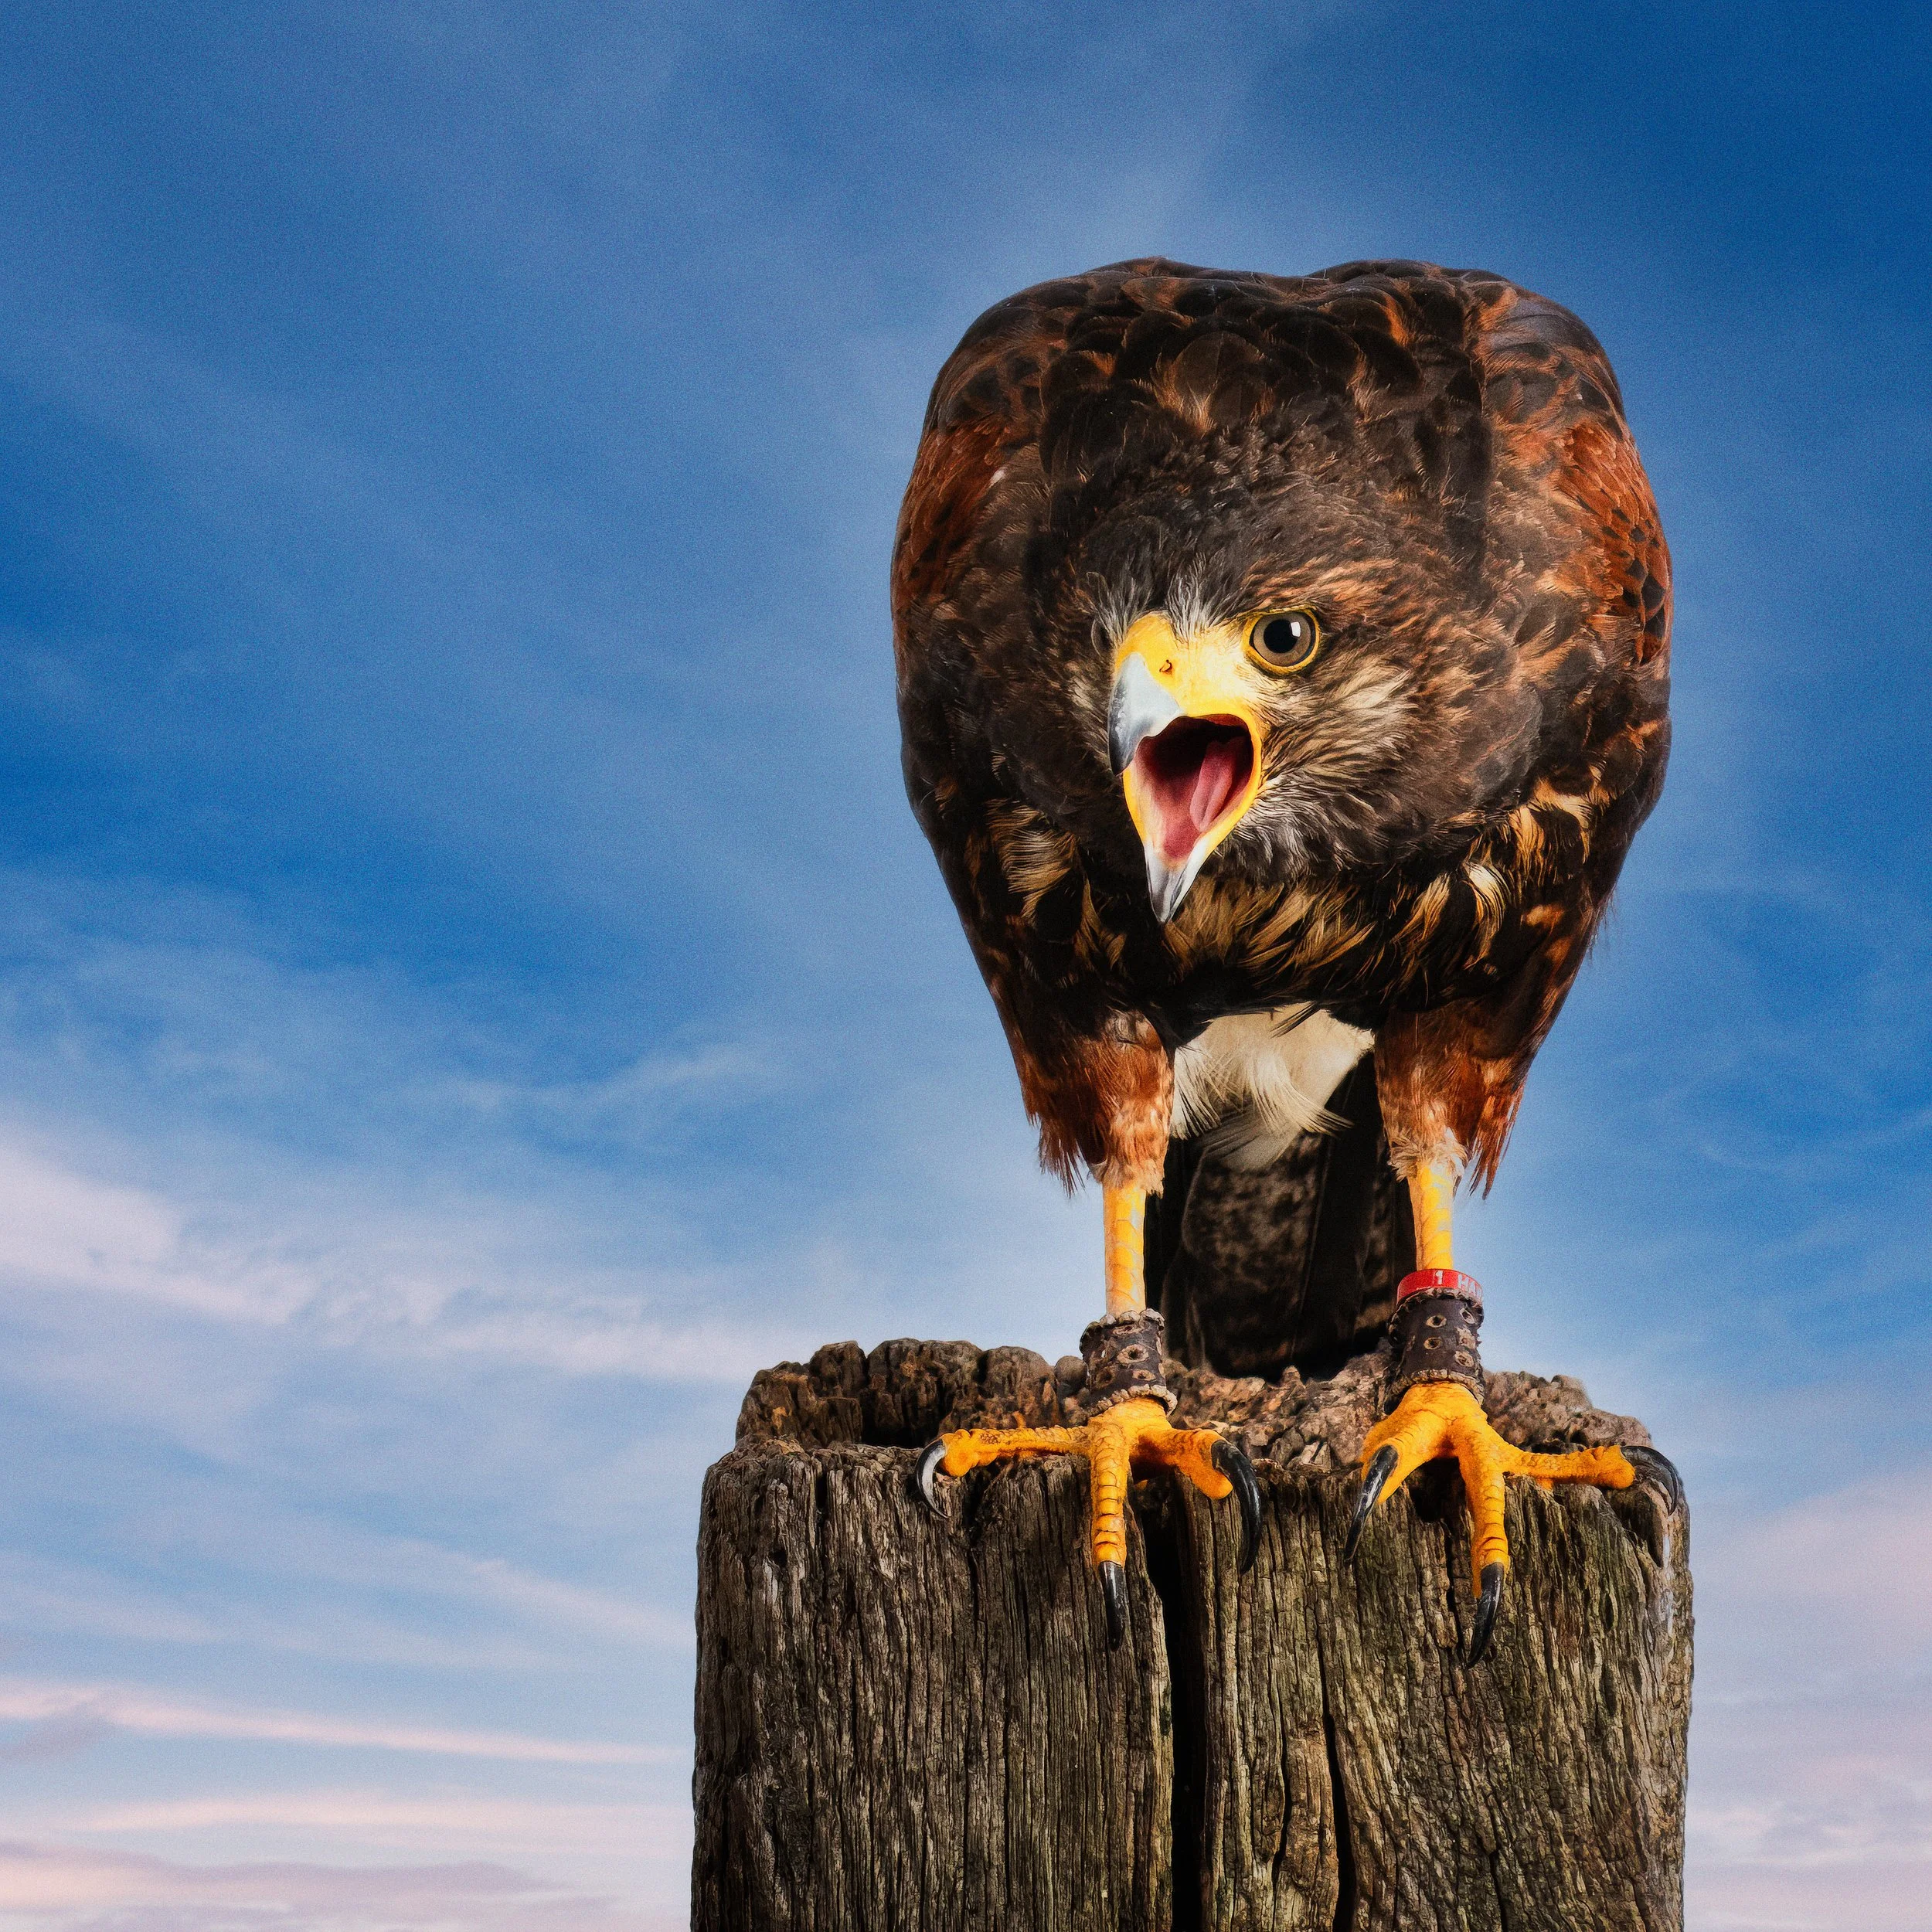
Parrots and larger birds are among the most naturally cooperative of all pet photographic subjects, which is not something that could have been predicted from their general character. They are curious and investigative, and a camera at their level is likely to be approached and examined rather than ignored. Use this: a parrot at close range, head tilted in genuine curiosity, is a superb portrait subject — expressive, detailed, and with an eye that rewards sharp focus. Be alert to the beak in close-up work; a parrot that moves from inspection to interaction can close the distance faster than you expect.
Small cage birds — budgerigars, finches, canaries, and their relatives — are fast-moving, small, and difficult to isolate from cage furniture. The perch moment, when the bird is briefly stationary between movements, is the opportunity. Burst mode; pre-focus on the perch you expect the bird to use; and wait. The moment when a budgerigar is still and alert, facing toward you with both eyes visible, is brief but entirely worth the patience it requires to catch.
Aviary birds benefit from more natural settings that allow more natural behaviour. Larger outdoor aviaries create the opportunity to photograph birds in flight — short flights, but flights nonetheless — and to catch behaviours that cage birds cannot display. Backlighting through aviary mesh or between the elements of a planted aviary creates attractive rim lighting on feathers, particularly on birds with iridescent plumage. The overall effect is considerably more natural and considerably more interesting than the enclosed cage portrait.
Reptiles & Other Cold-Blooded Pets
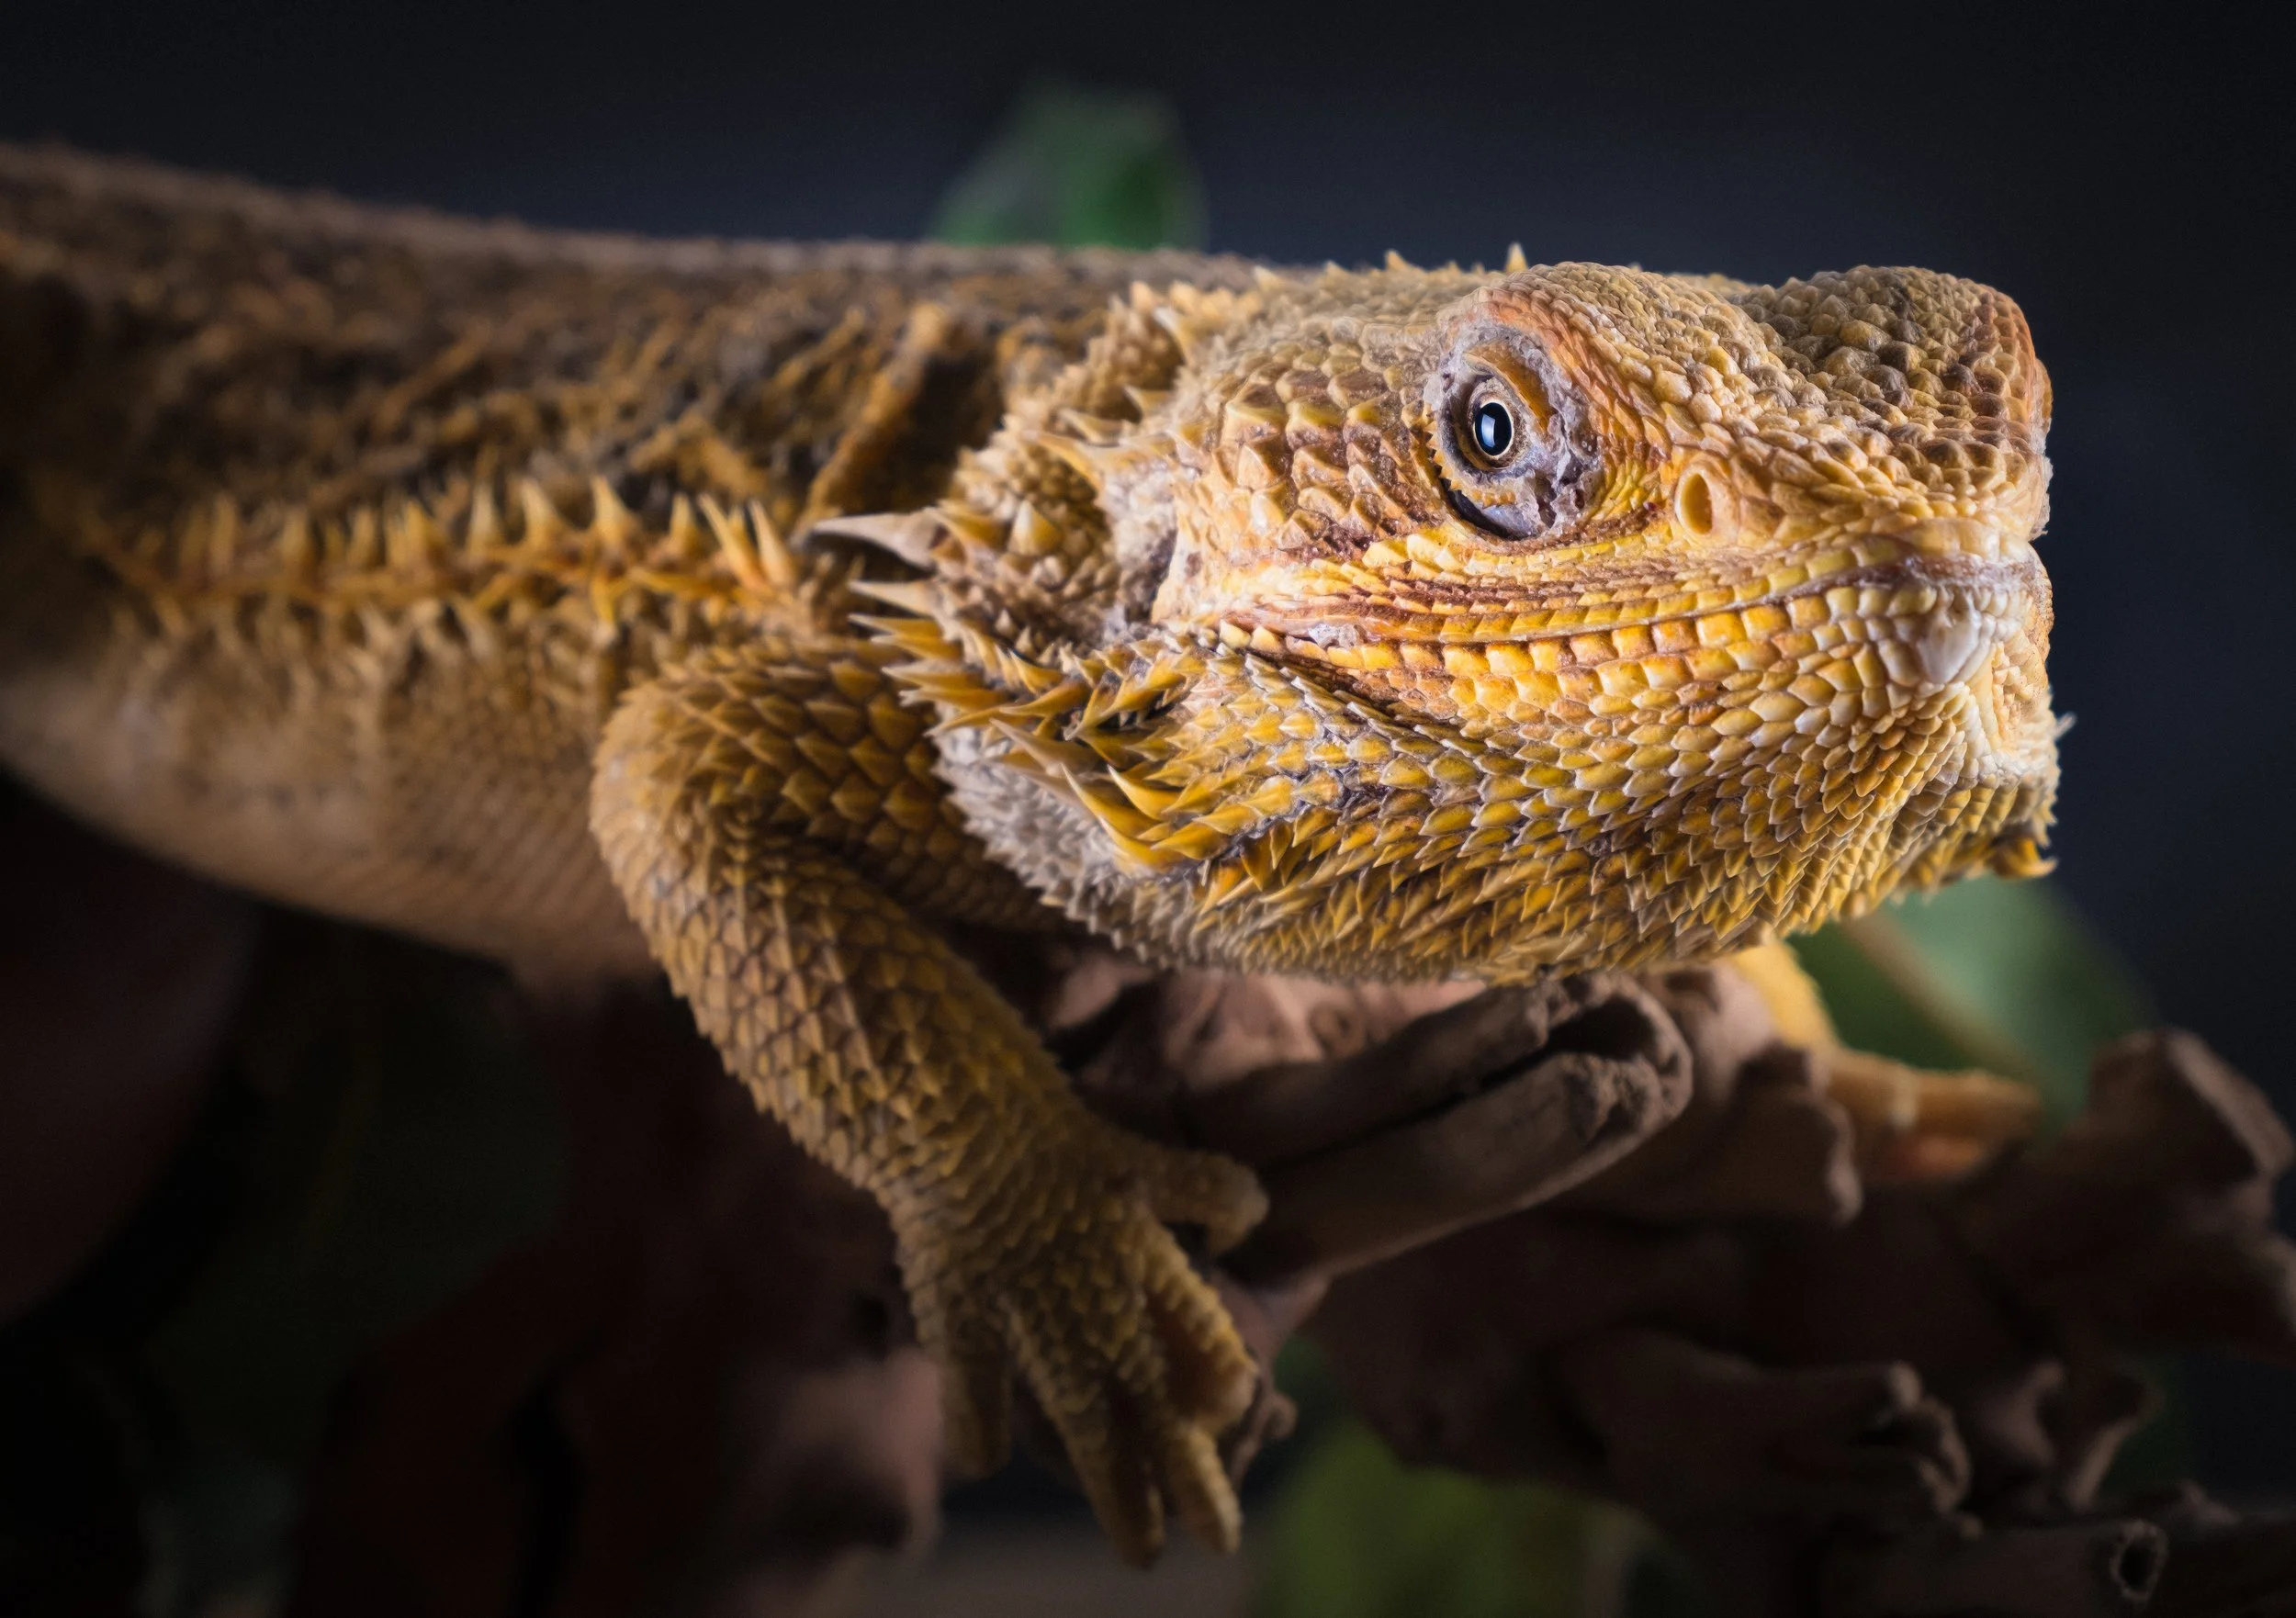
The cold-blooded advantage is this: reptiles are, generally, slow. A bearded dragon sitting on a basking rock is not going anywhere soon, and this gives you time to compose, adjust your light, change your angle, and take as many frames as you need. This is the good news. The less good news is that a bearded dragon sitting on a basking rock is also, photographically, just a bearded dragon sitting on a rock — the stillness that makes reptiles technically approachable also makes them narratively static. The interesting reptile photographs are taken during behaviour: the tongue flick, the dewlap display, the climb, the turn. Patience, again.
Lighting for reptiles rewards specific thought. Snakes, lizards, and geckos have extraordinary scale and texture detail — the overlapping scales of a royal python, the spiny crest of a crested gecko, the complex colour patterning of a bearded dragon — but this texture is only revealed by light that comes from the side. Frontal lighting flattens it entirely. Natural light from a window at approximately 45 degrees to the animal's surface is ideal; the texture appears in relief, the scales cast tiny shadows against each other, and the result is a surface that reads as extraordinary rather than smooth. This is worth the specific positioning it requires.
The eye focus rule applies without exception even to reptiles. A snake portrait should focus on the eye. The iris of a leopard gecko or a crested gecko is often one of the most detailed and visually complex surfaces in domestic animal photography — intricate, backlit, patterned in ways that have no mammalian equivalent. Macro mode focused on a gecko's eye from three or four centimetres is a commitment, but the resulting image justifies it entirely.
Bearded dragons and geckos are interactive in ways that make close-up photography easier than you might expect. They track movement and will often orient toward and investigate interesting objects — including cameras — rather than retreating from them. Hold the phone steady at their eye level, move slowly, and allow the animal to come to the camera rather than pushing the camera at the animal. The result is a natural, relaxed expression rather than a defensive one.
A safety note: handle venomous species and large constrictor snakes according to safe practice, with appropriate assistance if required. Do not prioritise the photograph over the handling protocols that keep both you and the animal safe. A photograph that requires compromising that is not worth taking.
Post-Processing Pet Photographs
The eye is the starting point for editing, as it is for shooting. Sharpness should be concentrated here — use the selective sharpening tools in Lightroom Mobile, Snapseed, or your editing application of choice to apply clarity and detail specifically to the eye area if the overall image needed softer treatment elsewhere. A sharp eye in a slightly soft image reads as intentional; a soft eye in a sharp image reads as a mistake.
Fur and feather detail respond well to the Texture and Clarity sliders available in most current editing applications — they bring out the three-dimensional quality of individual hairs and feathers in a way that global sharpening does not. They also, if pushed more than slightly, produce an over-processed quality that announces itself immediately and unpleasantly. A subtle addition of texture to the main coat area — enough that you can see it when you toggle the effect on and off, but not so much that it is the first thing a viewer notices — is the right amount.
Removing distractions is where the Clone and Heal tools earn their place. A stray lead that crept into the edge of the frame, a food bowl that was just out of view until it wasn't, a collar tag catching the light in an unhelpful way — these are all correctable, and correcting them is worth the time. The viewer's attention should go to the animal, not to the incidental objects surrounding it.
Colour and white balance: fur colours, particularly warm-coated animals — golden retrievers, ginger cats, honey-coloured rabbits — are easy to over-warm in post-processing. The temptation is to push the warmth because it feels flattering, but the result tends to look orange rather than golden. A slightly cooler white balance than you might initially choose often renders dark coats — black and very dark brown dogs in particular — more accurately, revealing the range of tones within what appears to be a single dark colour.
Cropping: tighter is usually better in pet photography. The instinct when reviewing an image is to include more of the animal and more of the context; the right instinct, more often than not, is to include less of both and to bring the eye of the animal closer to the edge of the frame. The conventional portrait crops apply: head and shoulders, or head alone, works for most pet portraits. Dead space above or to the side of the animal's head serves no compositional purpose.
Conversion to black and white is worth considering specifically for strongly patterned animals — tabby cats, dalmatians and other spotted or patched dogs, animals with bold scale or feather patterns — and for any image where the emotional content and the formal qualities of the image are more compelling than the colour information. A black and white conversion also solves, cleanly, the problem of a colour cast in the background that you cannot fix in colour without affecting the animal. Black and white is not a retreat; it is a choice with specific virtues.
Resources
Here’s a great ‘top tips’ video, from Emily Abrahams of Inspawration Photography: “If you want to level up your pet photos, start taking more artistic, meaningful and impactful photos, these five tips are my Go-to advice for anyone with a phone OR a camera! We all want to have thousands of photos of our pets.... but if you want more than a camera roll full of them sleeping in various places across your lounge (no shame, my camera roll looks like that too), then this is the video for you.”
This is a lovely video from Preston dog photographer Cat, of CatsDog Photography: “Take a look behind the scenes and find out what a live dog photography photo session looks like. In this video, I explain my thought process as the shots develop and we explore Haigh Hall with a 4-month-old Golden Retriever puppy, Stitch. Spoiler alert: he is irresistibly cute!”
Here’s a video from Andrew Lanxon with some great ideas for cat photography you can try at home: “In this week's video tutorial I show how easy it is to use flash lighting to take fun, creative portraits of your pet at home. I show how I use a paper backdrop, how I pose my cat and get him into the positions I want, along with how I use my lighting and my camera's aperture and shutter speed settings to take great-looking images. I've genuinely really enjoyed taking these images and they're easily some of my favorite photos of my cat that I've ever taken. They're so easy to do but the results are amazing. If you're struggling to stay creative in the winter months but you've got a pet wandering around, it's time to put them to work!”
Finally, the one and only Alan Schaller, who is chasing street cats around Muscat with his Leica: “I've been photographing cats for years and I love them as subjects despite them being very tricky to work with! On this adventure in Oman, you will learn some of the techniques and concepts that I use to get the shots of our feline friends. Enjoy! A huge thank you to Omar Al-Zidjali (Instagram - @omaralzidjali) for showing me around!”
Give it a Try!
1. The floor session: Choose your pet's most relaxed time of day — mid-morning for a cat, post-walk for a dog, mid-afternoon for most small animals. Get completely down to their level, on the floor and flat if necessary. Spend twenty minutes shooting without attempting to direct the animal at all: no squeaky toys, no commands, no attempts to arrange the animal in a particular position. Simply be present at their level with the camera ready. At the end, compare these images with photographs taken from standing height. The difference in perspective, in intimacy, and in the sense of connection between the viewer and the subject will be apparent immediately.
2. The window-light portrait: Position your pet near the largest window in your home during the morning, when the light is at a useful angle. Shoot from their eye level. Allow the session to extend long enough to observe how the quality of the light changes as cloud cover varies — the difference between direct window light with sharp shadows and the softer, more even light on an overcast day is significant, and neither is universally better; they produce different moods and suit different subjects. A cat with dramatic features may suit the directional light; a pale or pastel animal often looks better in the softer overcast version.
3. The action burst: If you have a dog, take them to an open space with a ball or toy and use burst mode exclusively for ten minutes — no single-frame shooting at all. At the end, review the results carefully and honestly: which frames work, and why? Pay attention to whether the successful frames are those with the sharpest focus, the most extreme moment of action, the best expression, or the strongest relationship between the dog and the object. The answers will be different for each dog and each sequence. The process of reviewing a burst session critically is itself an education in what makes an action photograph succeed, and the lesson is not always what you expect.