
Exposure & Dynamic Range
It’s All About Light…
A photograph is made by focusing light onto a light-sensitive surface—a digital sensor or a piece of film—which records the light and forms an image. For the image to look how we want, we must let in the right amount of light. This is what is meant by the correct exposure.
The good news is that modern smartphones offer impressive capabilities for controlling how light is captured, though they work differently from traditional cameras. This week, we will explore the essentials of exposure and dynamic range, with a little bit of historical context, art theory, and practical tips to help you develop your photographic skills.
The Fundamentals of Exposure
There are three ways we control how much light we let in:
Aperture – the size of the hole
Shutter Speed – how long we open it
ISO – how sensitive the sensor is to light
The exposure triangle is at the heart of photography. It combines these three essential elements: aperture, shutter speed, and ISO. They work together to determine how your camera sensor captures light. The skill is in adjusting them to suit the subject and how you want the image to look.
Aperture: Controlling Light and Depth
The aperture is a hole which lets light into the camera. In a traditional camera, the size is controlled by a ring of metal blades called the diaphragm. For historical reasons, the size of the aperture is measured in f-numbers (also known as f-stops).
The aperture on smartphones is typically fixed, though premium models now sometimes offer variable apertures or computational simulations of different aperture effects. The iPhone 15 Pro, for example, features an f/1.8 aperture on its main camera, which is relatively wide and ideal for low-light photography.
Confusingly, the bigger the hole, the smaller the number!
For example, f/1.8 is a wide aperture, a big hole to let in lots of light. On the other hand, f/16 is a narrow aperture, a small hole that lets much less light reach the sensor. The aperture also controls the depth of field in the image, which is the distance between the nearest and furthest objects that will be in focus.
A wide aperture lets in more light and creates a shallower depth of field, producing the pleasing background blur that some photographers call bokeh. This is useful for separating the subject in focus from a distracting background. Phones achieve a similar result in portrait mode by making a depth map of the scene and using software to blur parts of the image.
A narrower aperture admits less light but keeps more of the scene in focus. Tiny apertures keep most of the image sharp from foreground to background, which is traditionally helpful for landscape photography.
Shutter Speed: Freezing or Flowing Time
The shutter speed is the time the sensor is exposed to light. The longer the shutter is open, the more light reaches the sensor. Most smartphones have shutter speeds ranging from as fast as 1/10,000 second to long exposures of 30 seconds.
In traditional cameras, this was controlled by mechanical shutter curtains or blades that swept across the sensor in a tiny fraction of a second. Modern smartphones use electronic shutters instead of mechanical shutters. Instead of physical components, smartphone cameras rely on algorithms to control exposure time and capture images. Electronic shutters allow for faster frame rates compared to mechanical shutters. Because there are no physical moving parts, they operate silently. When taking a photo, the familiar ‘click’ sound is just an audio effect that can be disabled.
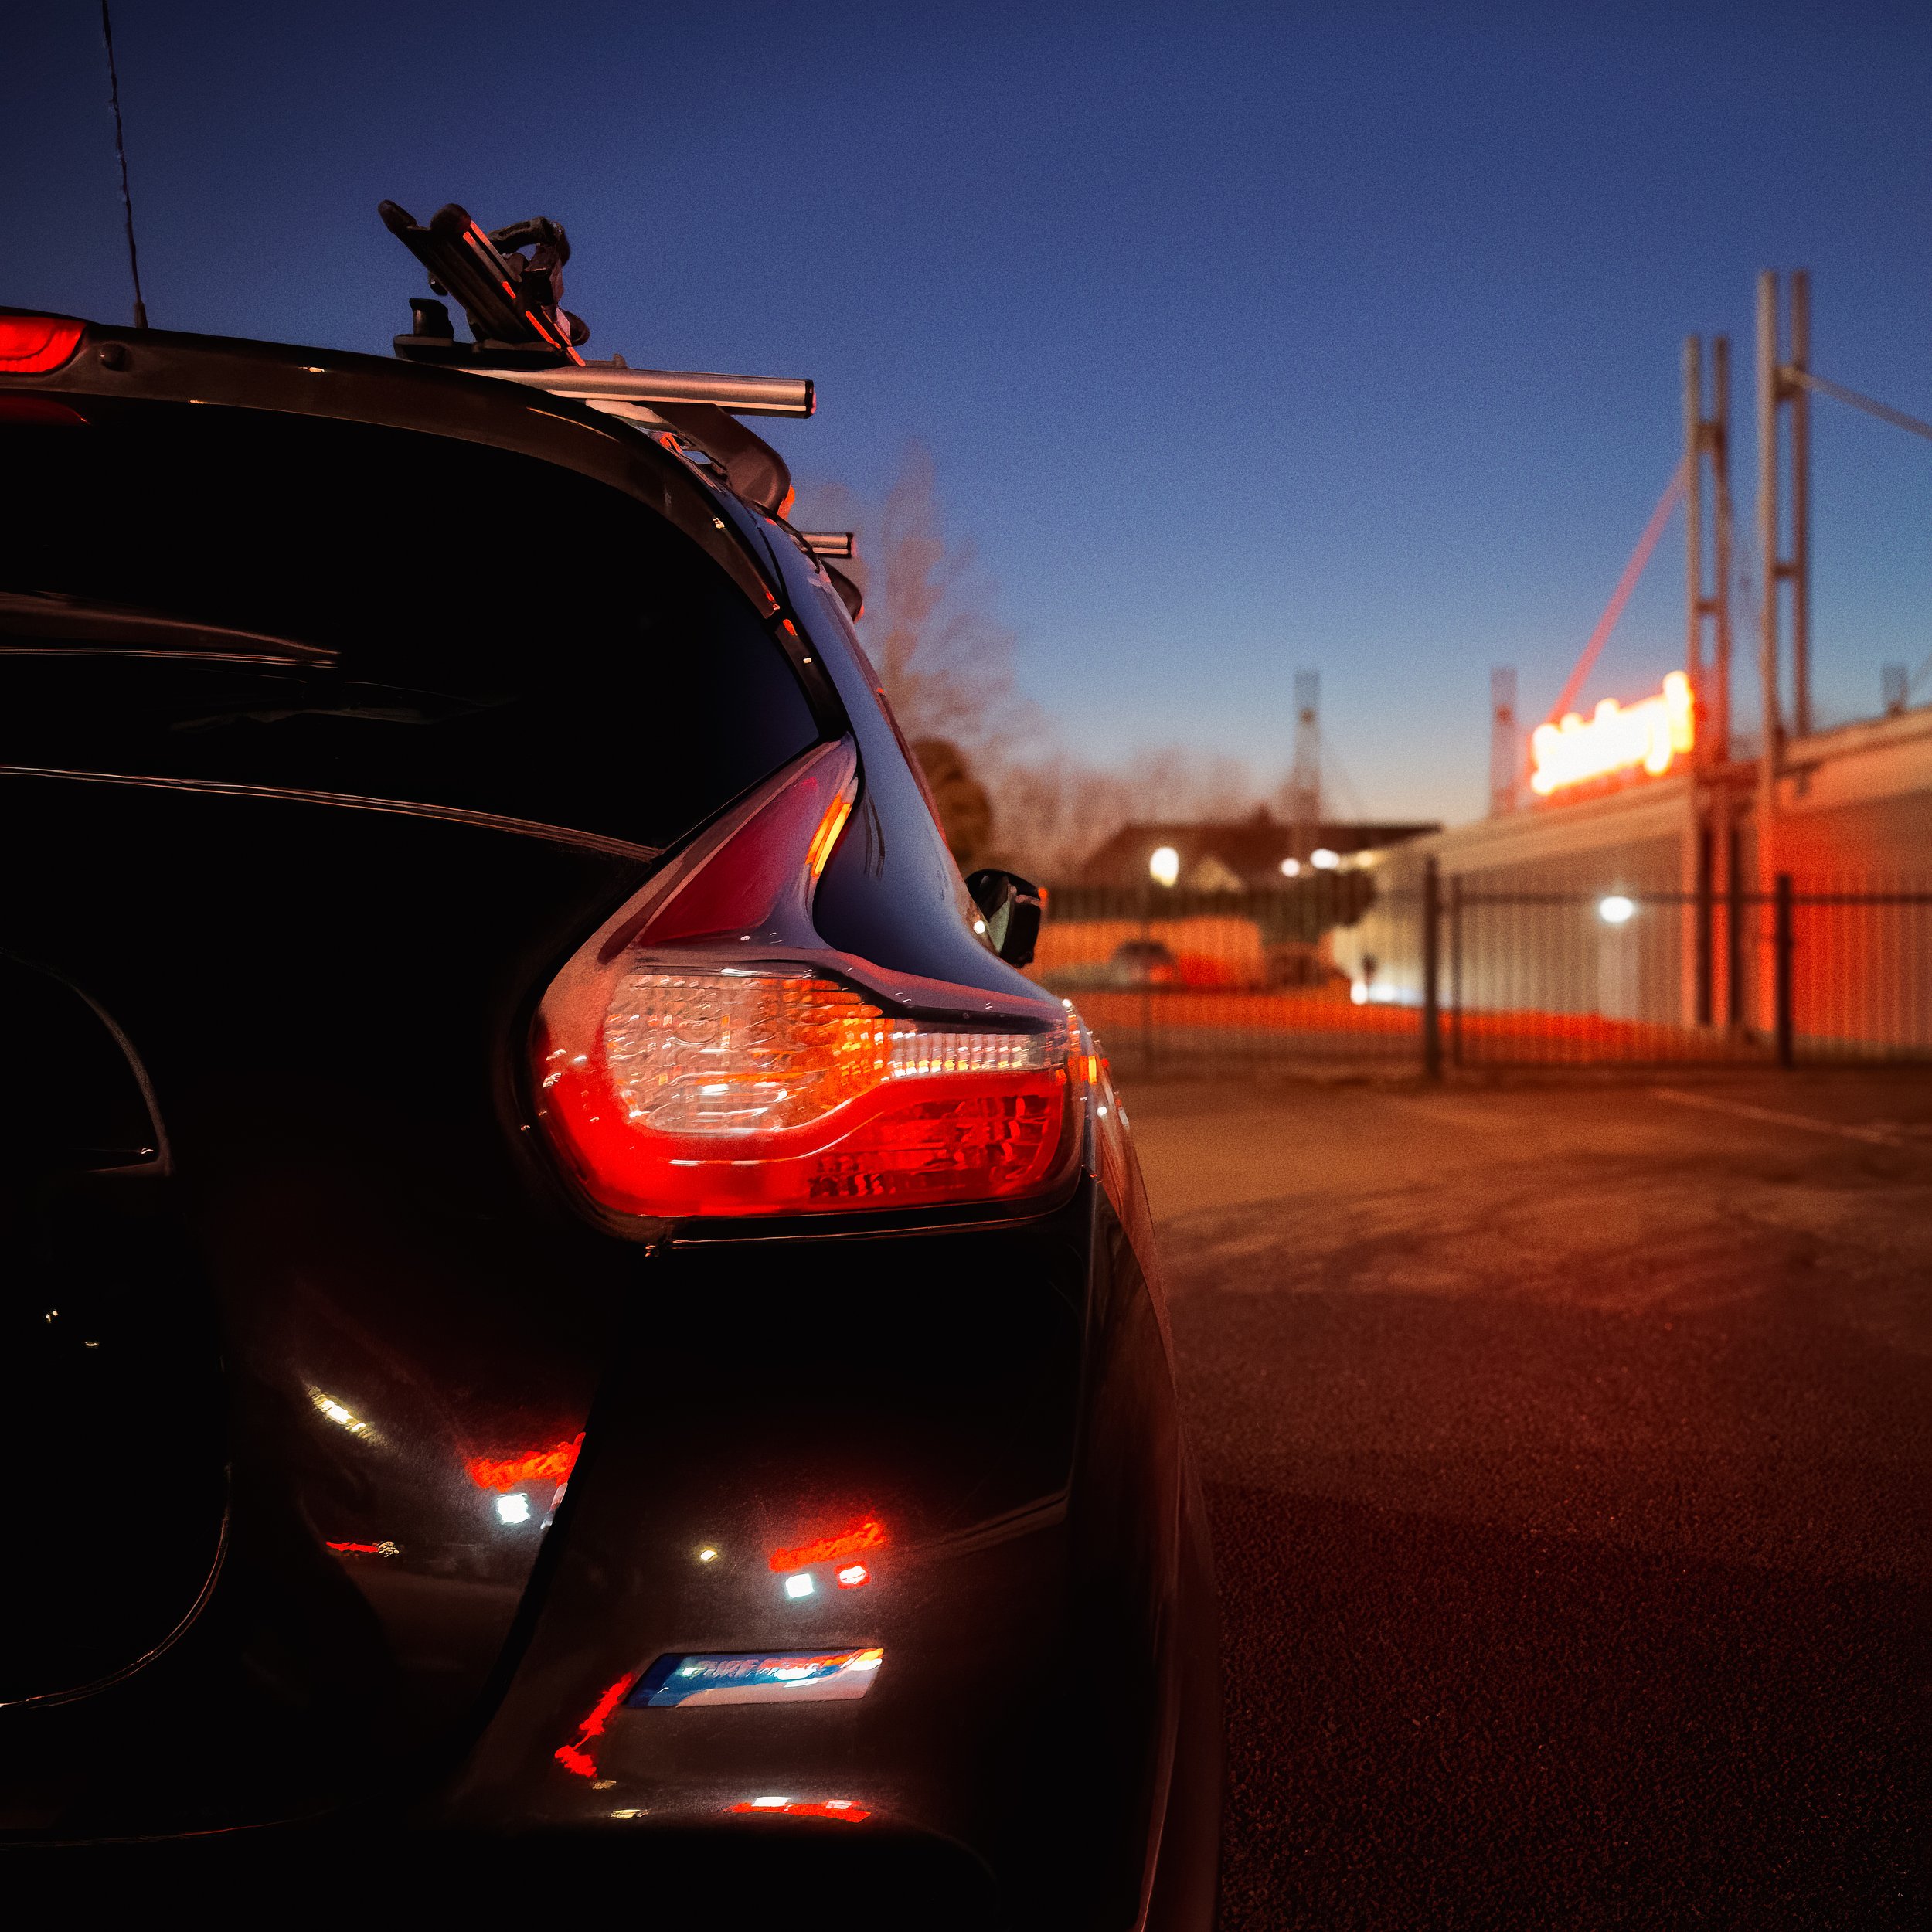
The shutter speed also controls how movement appears in the image. This can be the movement of the subject (such as a vehicle, wildlife, or person) or the movement of the camera, which is known as camera shake.
Fast shutter speeds (about 1/250 sec or shorter) freeze motion and keep moving subjects sharp, which is great for sports photography or avoiding camera shake. The faster the movement, the higher the shutter speed you need.
Slower shutter speeds (about 1/15 sec or longer) allow movement to register as a blur—a beautiful artistic effect, but you may need a tripod. Deliberate motion blur can help portray movement in an image, but it requires care to get only the blur you want!
Most smartphone camera apps offer some control over shutter speed through ‘Night’ or ‘Pro’ modes, but there are many good third-party camera apps that give excellent manual control of all the exposure settings and access to longer exposures. When shooting handheld with a smartphone, it's generally best to maintain a shutter speed of at least 1/60 second to avoid camera shake unless your device has excellent optical image stabilisation.
ISO: Sensitivity and Noise
ISO measures how sensitive your camera's sensor is to light. A lower ISO (e.g. 64 to 200) produces cleaner images but requires more light. Higher ISO settings (e.g. 800 or above) allow you to shoot in darker conditions but introduce digital noise or grain. Modern smartphones employ sophisticated noise reduction algorithms, but the principle remains: use the lowest ISO possible for the conditions to achieve the best image quality.
A bit of trivia: according to the International Organization for Standardization, the abbreviation for their name is ISO. On their website, they explain that you should pronounce the acronym as a word, eye-soh and that the abbreviation and its pronunciation are based on the Greek root word for equal: isos.
Is All Noise Bad? Sometimes, noise can give an image a grainy effect, which can be attractive, especially for black-and-white photos. Added noise can sometimes improve sharpness and enhance an image that needs enlargement. Generally, shooting at the lowest ISO conditions will allow is better. But don’t be afraid to increase the ISO when needed—usually, a sharp, grainy image is better than a smooth one with blur from camera shake.
Balancing All Three…
Aperture, shutter speed, and ISO together determine the exposure. However, each affects the look of the image in other essential ways, which allows us to take artistic control of our images. If we change one value, we must also change the others to maintain the correct exposure.
The key to mastering exposure is understanding that these three elements are interconnected. If you adjust one corner of the exposure triangle, you typically need to modify at least one other element to maintain the same exposure level. For instance, if you're shooting in bright daylight and want to create motion blur with a slow shutter speed, you'll need to compensate with a narrower aperture or lower ISO to avoid overexposure.


A Brief History of Exposure in Photography
The concept of exposure has evolved dramatically since photography's earliest days. In the 1820s, Nicéphore Niépce created the world's first permanent photograph, but it required at least eight hours of exposure time. This extreme exposure duration made photography impractical for most subjects.
Louis Daguerre's breakthrough with the daguerreotype in 1839 reduced exposure times to minutes rather than hours, making portrait photography viable for the first time. When Daguerre demonstrated his technique to the French Academy of Sciences, William Henry Fox Talbot was simultaneously developing his paper-based calotype process in England, offering a different approach to capturing and reproducing images.
Throughout the 19th century, photographers worked with relatively insensitive materials, requiring careful exposure calculations and often cumbersome equipment. The introduction of dry plate technology in the 1870s and later film stocks gradually improved light sensitivity and convenience.
The digital revolution transformed exposure control, providing instant feedback and greater flexibility. Today's smartphones use computational photography—combining multiple exposures, artificial intelligence, and advanced software processing—to achieve results that early photographers could only dream of, often with just a tap of the screen.
The Art Theory of Exposure
Beyond the technical considerations, exposure choices have profound artistic implications. In photography, as in all visual arts, the interplay of light and shadow creates mood, draws attention, and conveys meaning.
Subject and Style Through Exposure: The choice of subject is fundamental to photography as an art form, and exposure decisions can dramatically alter how that subject is perceived. Underexposed images with dominant shadows can create mystery or melancholy, while bright, overexposed scenes might convey optimism or ethereality.
Finding your personal style involves experimenting with different exposure techniques. Some photographers prefer high-contrast images with deep blacks and bright highlights, while others seek a more balanced exposure with detailed shadows and subtle highlights. These stylistic choices become part of your photographic voice.
Exposure as Emotional Expression: Consider how exposure affects the emotional impact of your images. Dark, moody exposures with significant shadows can create tension or introspection, while bright, airy exposures typically convey lightness, joy, or openness. The relationship between exposure and emotion isn't arbitrary; it connects to our innate psychological responses to light and darkness.
Practical Advice for Smartphone Photographers
Despite their compact size, modern smartphones offer remarkable tools for controlling exposure. While these often differ from those used on more traditional cameras, they are just as effective. Here are some practical tips to improve your exposure skills:
Use Exposure Compensation: Most smartphone camera apps allow you to adjust exposure before taking a shot. Look for the +/- symbol or a sun icon, then drag up or down to brighten or darken your image. This simple control can dramatically improve your photos in challenging lighting.
Tap to Focus and Expose: When you tap on a subject in your smartphone viewfinder, you're not just focusing but also setting the exposure point. For more control, tap on different areas to see how it affects the overall exposure, then decide which looks best for your creative vision.
Lock Exposure and Focus (AE/AF Lock): On most smartphones, you can tap and hold on a point to lock both focus and exposure. This is invaluable when recomposing your shot, especially in scenes with varying brightness levels. After locking, you can typically slide your finger up or down to fine-tune exposure.
Use HDR Mode Thoughtfully: While automatic HDR works well in many situations, consider when to enable or disable it manually. HDR excels at balancing high-contrast scenes but might make artistic low-key or high-key images look flat and uninteresting.
Shoot in RAW Format: Many smartphones now support RAW photography through their native camera apps or third-party options like ProCamera or Adobe Lightroom. RAW files contain more information about the scene and offer greater flexibility for adjusting exposure in post-processing.
Expose for the Highlights: Set your exposure for the brightest part of any scene. While you can more often recover shadow details during editing, blown highlights typically can't be rescued. This approach is particularly important when photographing scenes with bright skies or reflective surfaces.
Learn Basic Editing Skills: Apps like Snapseed, Lightroom Mobile, or even your phone's built-in editor allow you to adjust exposure after taking the photo. Learning to use tools like brightness, contrast, highlights, and shadows will give you greater control over your final images.
Dynamic Range: From Shadows to Highlights
Dynamic range is the span between the darkest and brightest parts of an image. It refers to the range of light intensities from the darkest shadows to the brightest highlights that a camera sensor can capture. Dynamic range measures how well a camera can handle scenes with both very bright and very dark elements without losing detail in either. A camera with a high dynamic range can record more information in shadows and highlights, resulting in more realistic and vibrant images. It is significant for landscape photography or scenes with strong contrasts.
Dynamic range is typically measured in stops (remember f-stops?). Each stop represents a doubling or halving of light. The human eye has a remarkable dynamic range of around 20 stops or more, allowing us to see details in bright highlights and dark shadows simultaneously. Cameras have a much more limited dynamic range, usually between 10 and 15 stops. Therefore, photographers must choose which parts of the range to capture, and careful exposure techniques are necessary to capture scenes effectively.
Blown Highlights and Crushed Shadows
When parts of an image are so bright that they are recorded as pure white with no detail, photographers call these blown highlights. The opposite problem occurs in very dark areas that appear as pure black with no visible detail, known as crushed shadows.
Both issues represent information that's been lost and typically can't be recovered in editing, even when shooting in RAW format. This is why understanding and controlling exposure is so critical—once details are lost to extreme highlights or shadows, no amount of editing can bring them back.
However, not all blown highlights or crushed shadows are problematic. Sometimes, they serve artistic purposes. For instance, when photographing a sunrise, the sun itself will naturally appear as a blown highlight, which is acceptable and expected. Similarly, silhouetting a subject against a bright background deliberately creates crushed shadows for dramatic effect.
High Dynamic Range (HDR) Photography
To overcome the limitations of camera sensors, photographers developed High Dynamic Range techniques. Modern smartphones automatically employ HDR by capturing multiple images at different exposure levels and blending them to retain details in both highlights and shadows. This computational approach helps smartphones produce well-balanced photos even in challenging lighting conditions with high contrast. Conventional wisdom advises that a photo with good exposure will have no blown highlights or crushed shadows, with all the tones within the camera's dynamic range. While this is generally good advice, artistic exceptions abound, and understanding when to break this rule is part of developing your photographic style.
Famous Photographers and Iconic Images
Understanding how master photographers have used exposure creatively can inspire your own practice. Here are some notable examples:
Ansel Adams, renowned for his breathtaking black-and-white landscapes of the American West, developed the Zone System with Fred Archer—a method for achieving precise exposure control. This systematic approach divides the tonal range from pure black to pure white into 11 zones, helping photographers visualise how different exposures will translate in the final print. Adams' meticulous attention to exposure and tonal range produced images with remarkable depth and clarity, like his famous "Moonrise, Hernandez, New Mexico" (1941), demonstrating masterful balance between a bright moon and a detailed foreground.
German photographer Andreas Gursky is known for his large-format colour photographs, often featuring a high vantage point. His technical precision and careful exposure control allow him to create images with extraordinary detail across vast scenes. Works like "Rhine II" (1999) and "99 Cent" (1999) showcase his ability to manage complex lighting scenarios while maintaining consistent exposure throughout massive prints.
Antonio Mora creates striking work through double exposure techniques that blend portraits with natural elements. His work demonstrates how creative exposure techniques can produce evocative, dreamlike images that "trigger intense emotion". By carefully controlling exposure in both original images, Mora achieves seamless blends that challenge our perception.
Smartphone Masters: The smartphone photography movement has produced its own masters of exposure. Photographers like Dina Alfasi, Eric Mueller, and Kael Rebick have demonstrated that understanding exposure principles, even within the constraints of smartphone cameras, can yield exceptional results.


Give it a try!
Mastering exposure and dynamic range opens up new creative possibilities in smartphone photography. While the technical aspects may seem challenging at first, regular practice and experimentation will help these concepts become second nature. Remember that rules are meant to be understood—and often broken—as you develop your unique photographic vision.
Modern smartphones have democratised photography, placing powerful exposure tools in our pockets. By understanding the exposure triangle, appreciating dynamic range limitations, and learning from masters past and present, you can elevate your photography from casual snapshots to compelling visual stories.
Resources
Here’s a very useful video from Emil Pakarklis of the iPhone Photography School which covers a lot of the basics of exposure and dynamic range. He’s demonstrating this on an iPhone, obviously, but I’m including an Android guid in the tutorial as well. The basic principles apply to all smartphones, anyway, so both videos are worth a watch.
This video, by Loïc Bellemare-Alford, gives a comprehensive walkthrough guide to the Android camera app. He’s using a Google Pixel 4a but this should be useful for any Android phone.
And finally, a bonus third video this week, from Chris Pieta, with a great 12-minute summary on smartphone photography that covers the basics of exposure, composition and simple editing in the camera app.
This week’s assignments…
Your brief for this week’s daily photos is to practice using the exposure controls in your phone’s camera app, so that you become fluent in using them. In particular, tapping and swiping on the screen to select which part of the scene to expose for, and adjust the exposure to fine tune the brightness of your image.
Let’s see photographs that demonstrate you challenging your exposure skills. For example, a portrait taken against a bright background so you need to make sure the phone exposes for your subject. Or, experiment with movement in your images—either freezing action or adding some intentional motion blur for dramatic effect. Try making photographs that are deliberately low-key (not in the Gen-Z sense, but meaning an image where darker tones predominate) or bright and high-key.