How to Shoot Panoramas
The standard rectangular photograph is, when you think about it, a somewhat arbitrary shape. Its proportions descend from the dimensions of glass plates and, later, the 35mm film frame — not from anything intrinsic to human vision, and certainly not from any thoughtful consideration of how we actually experience being somewhere. Stand at the edge of a moorland, or look out across a harbour at first light, and the scene that matters to you extends sideways, not upward. The horizon is the thing. The sky above and the ground below are context; the sweep in either direction is where the experience lives. The standard frame captures a portion of that and leaves the rest to the imagination.
The panoramic format is an attempt to close that gap — to make a photograph that corresponds more closely to the act of standing somewhere and looking. Whether you are shooting with a dedicated film camera, a mirrorless body on a tripod, or the phone currently in your pocket, the impulse is the same: to capture more than the standard frame allows, and to arrange it so the viewer feels something of the experience of being there.
Panorama mode on a smartphone is one of those features that looks entirely effortless in the demonstration and requires rather more care in practice. Press a button, pan smoothly across a scene, lift your finger. Simple enough. But the quality of the result — whether the horizon is level, whether the exposure is consistent, whether the stitching is invisible — depends on a collection of small decisions, most of them made before you press anything. The same is true of stitched panoramas from a dedicated camera. The panoramic format rewards preparation and patience. It also rewards composition that thinks across a wider frame than usual, which is a genuinely different discipline from standard rectangular work. This guide covers the practical side: how to make one, how to think about what goes in it, and how to deal with it once you are back at the desk.
What Is a Panorama?
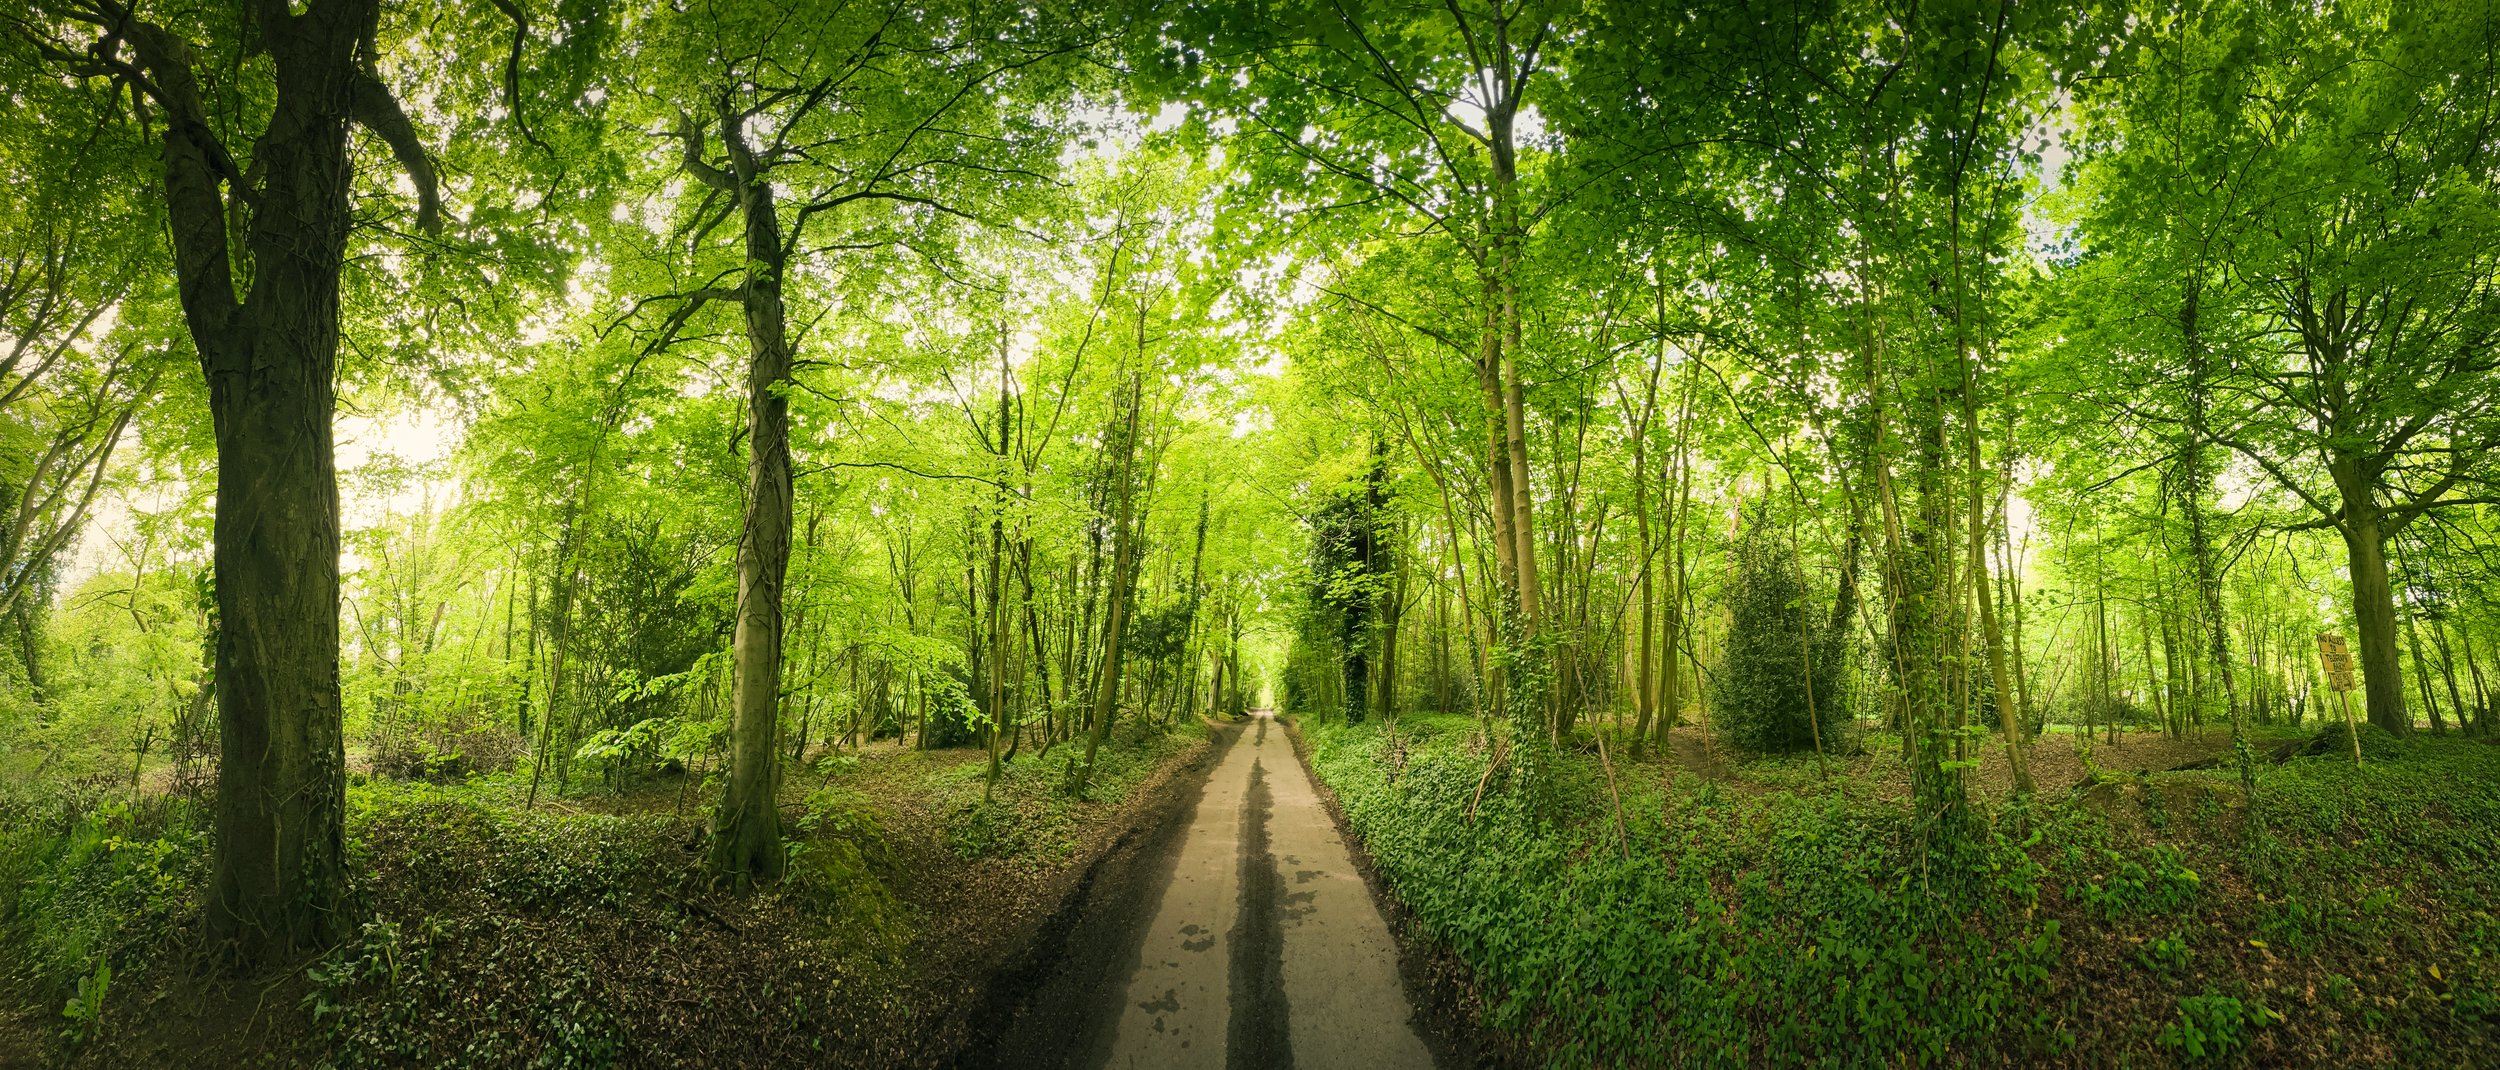
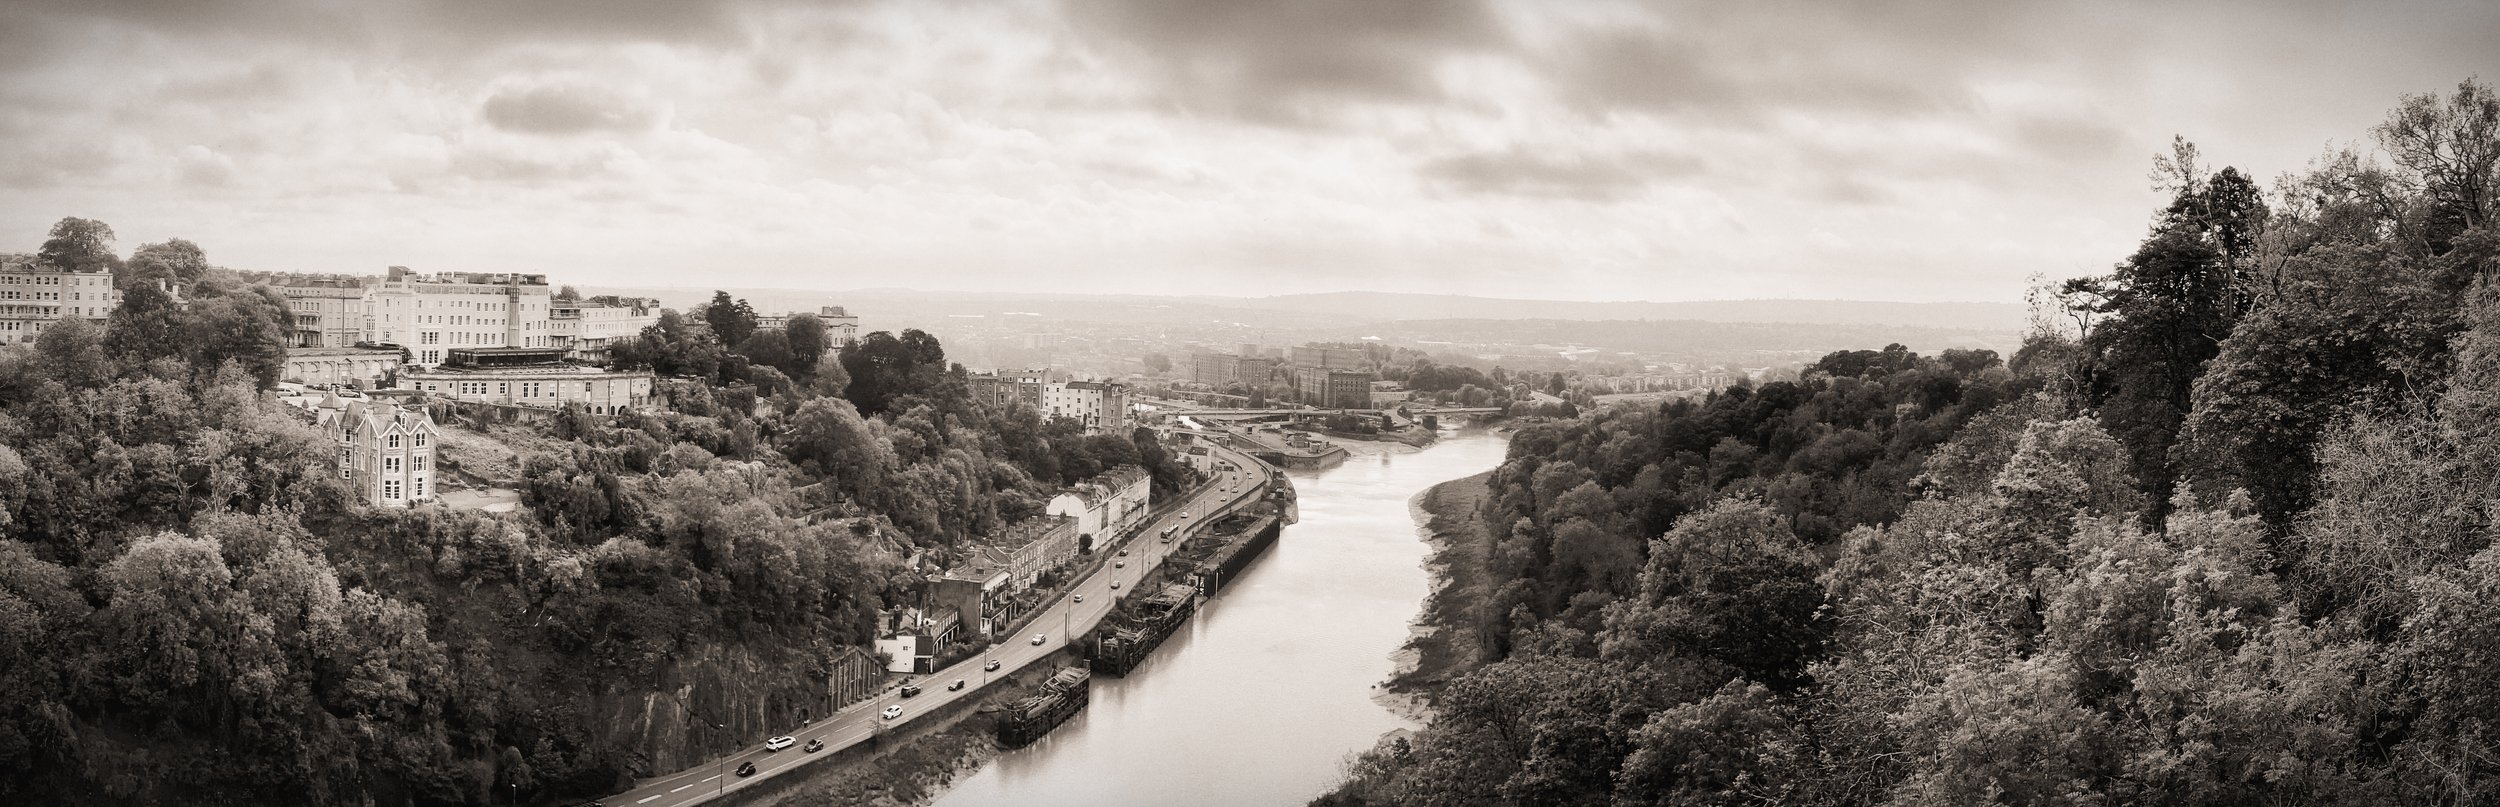
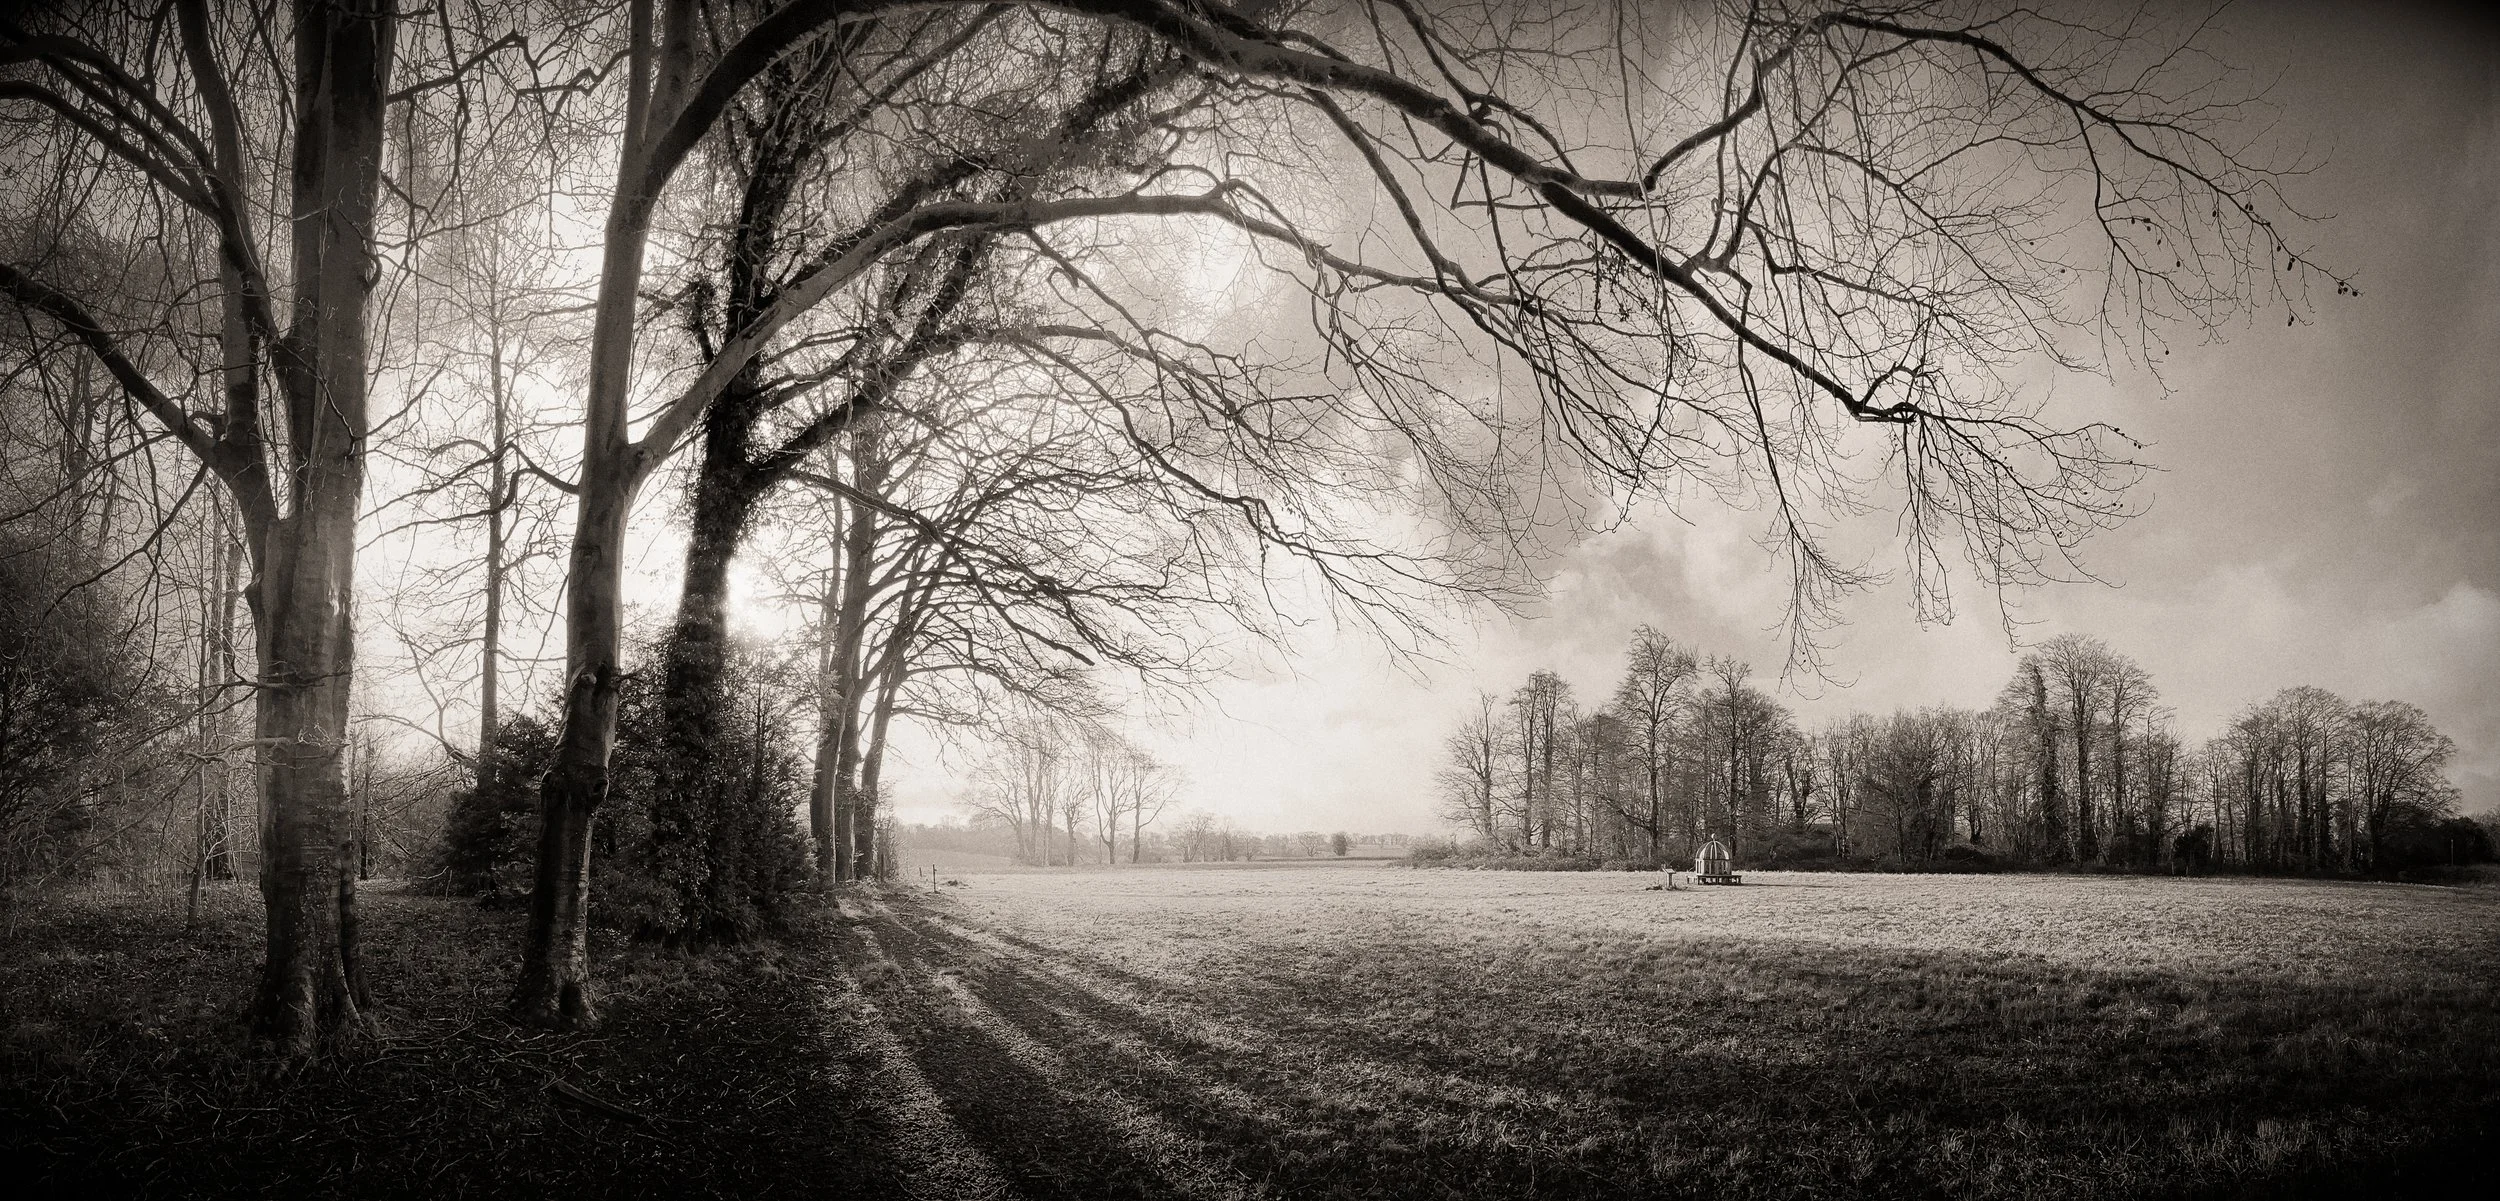
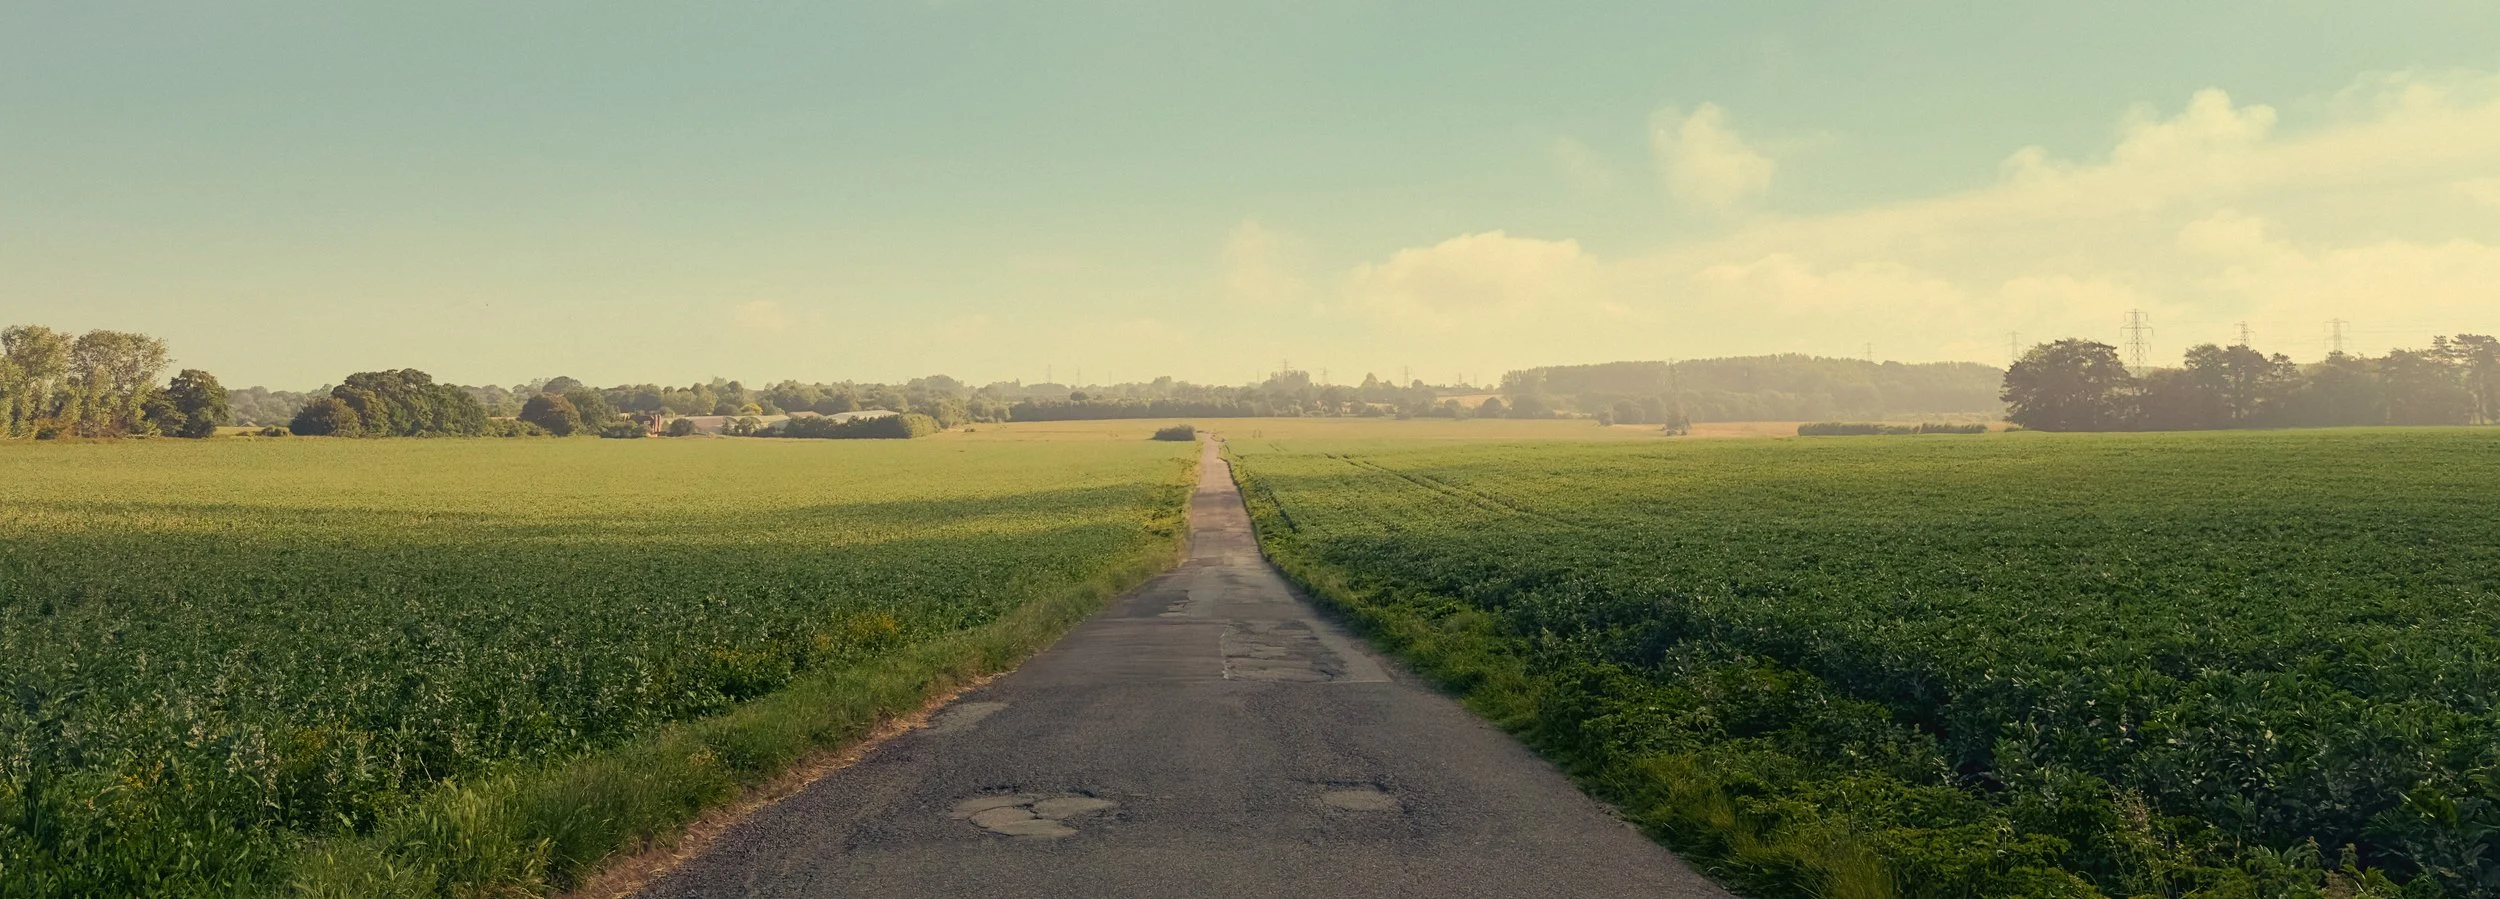
The definition is somewhat informal, but in practical terms a panoramic image is one with an aspect ratio wider than approximately 2:1 — that is, at least twice as wide as it is tall. Below that threshold, you are in normal widescreen territory. Most panoramic photographs fall in the range of 2:1 to 6:1; extreme panoramas can reach considerably further. The exact ratio is less important than the visual effect: the elongated proportions change everything about how the image is read and composed.
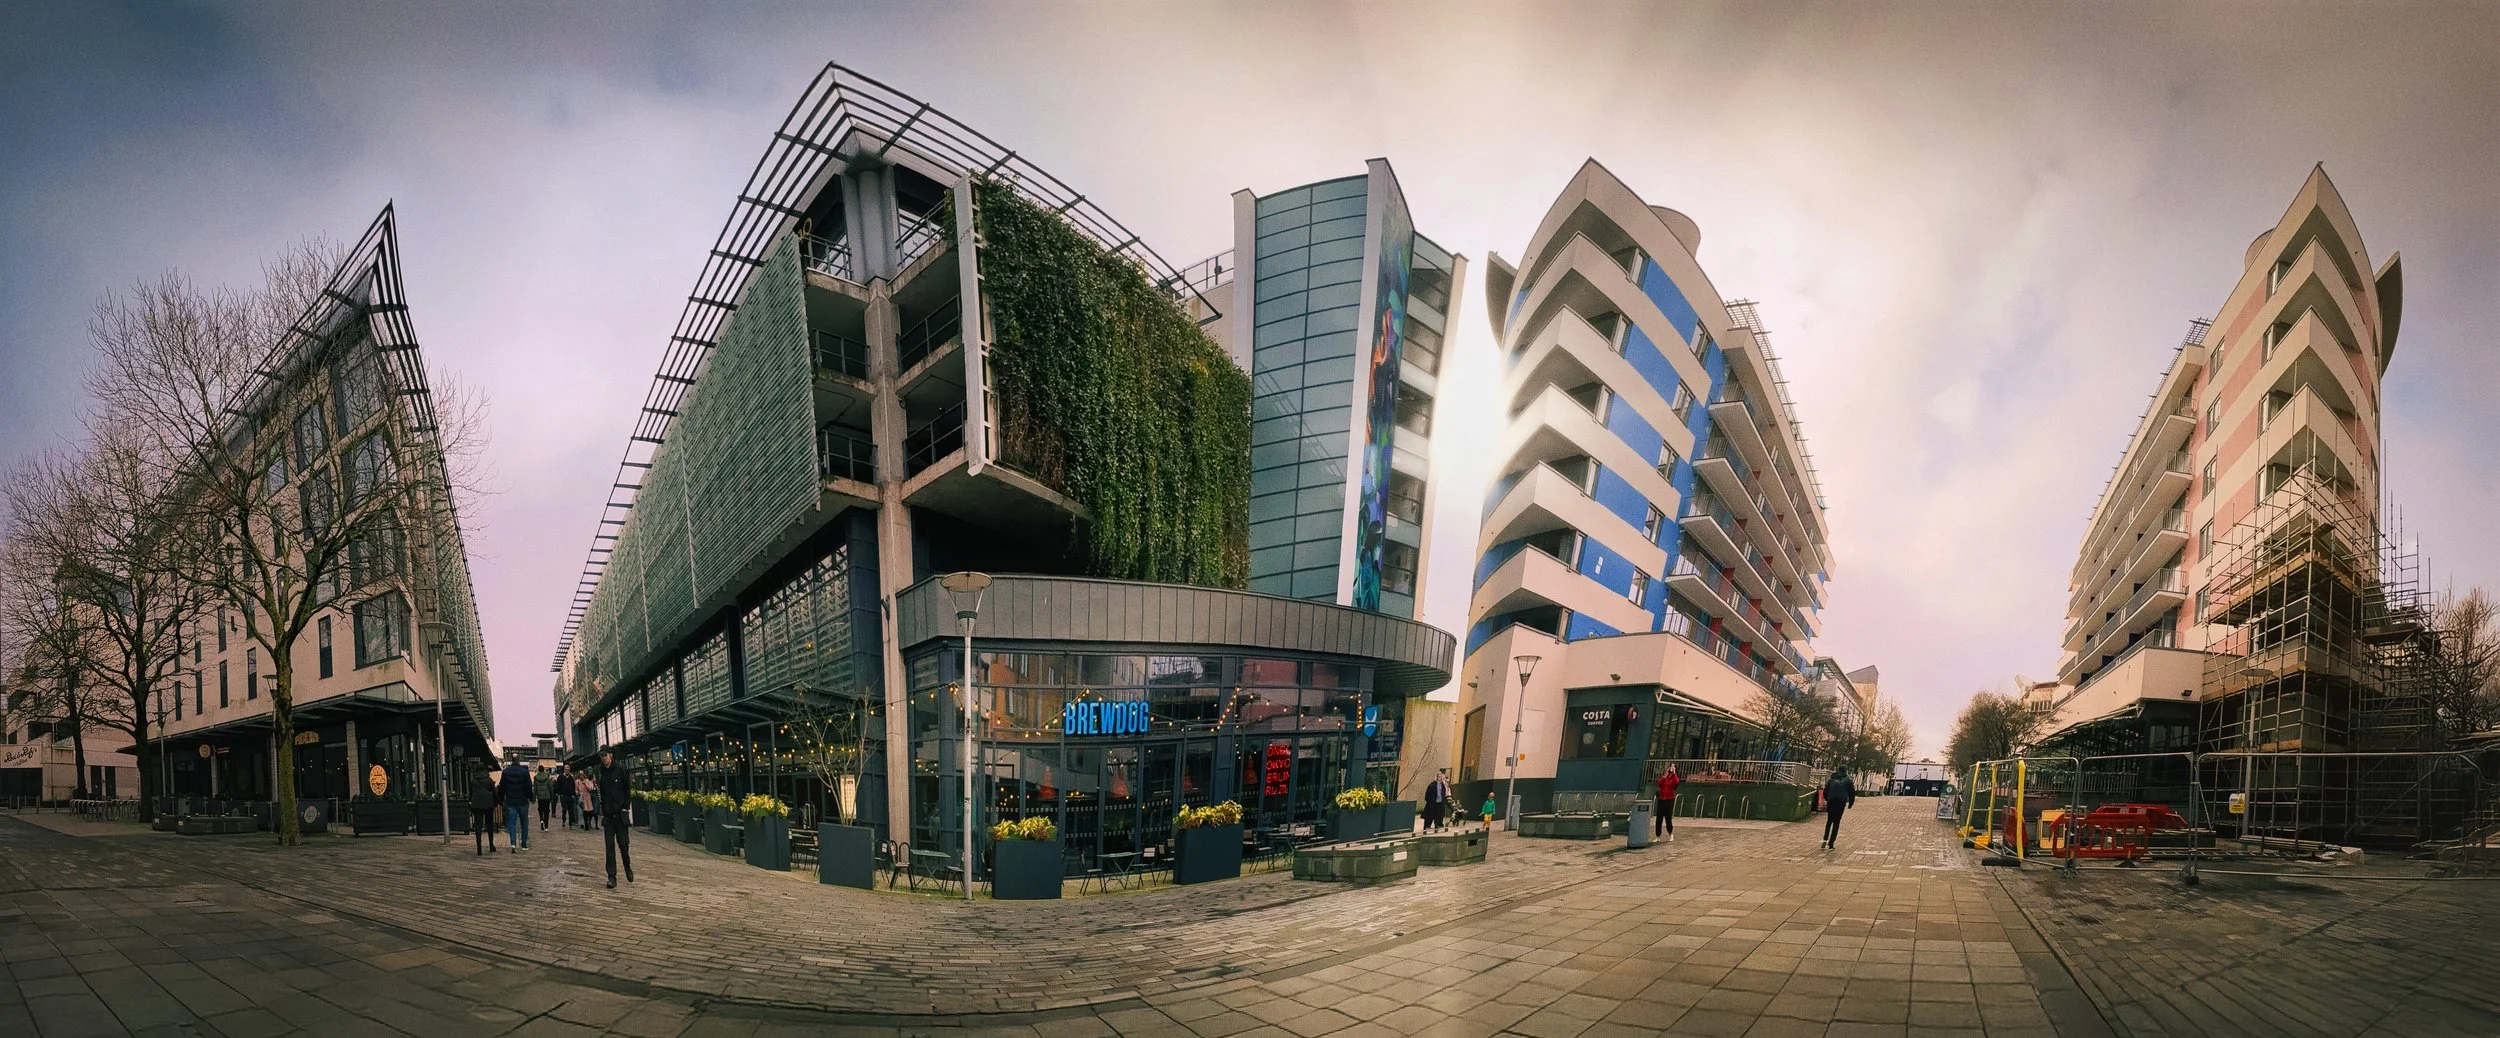
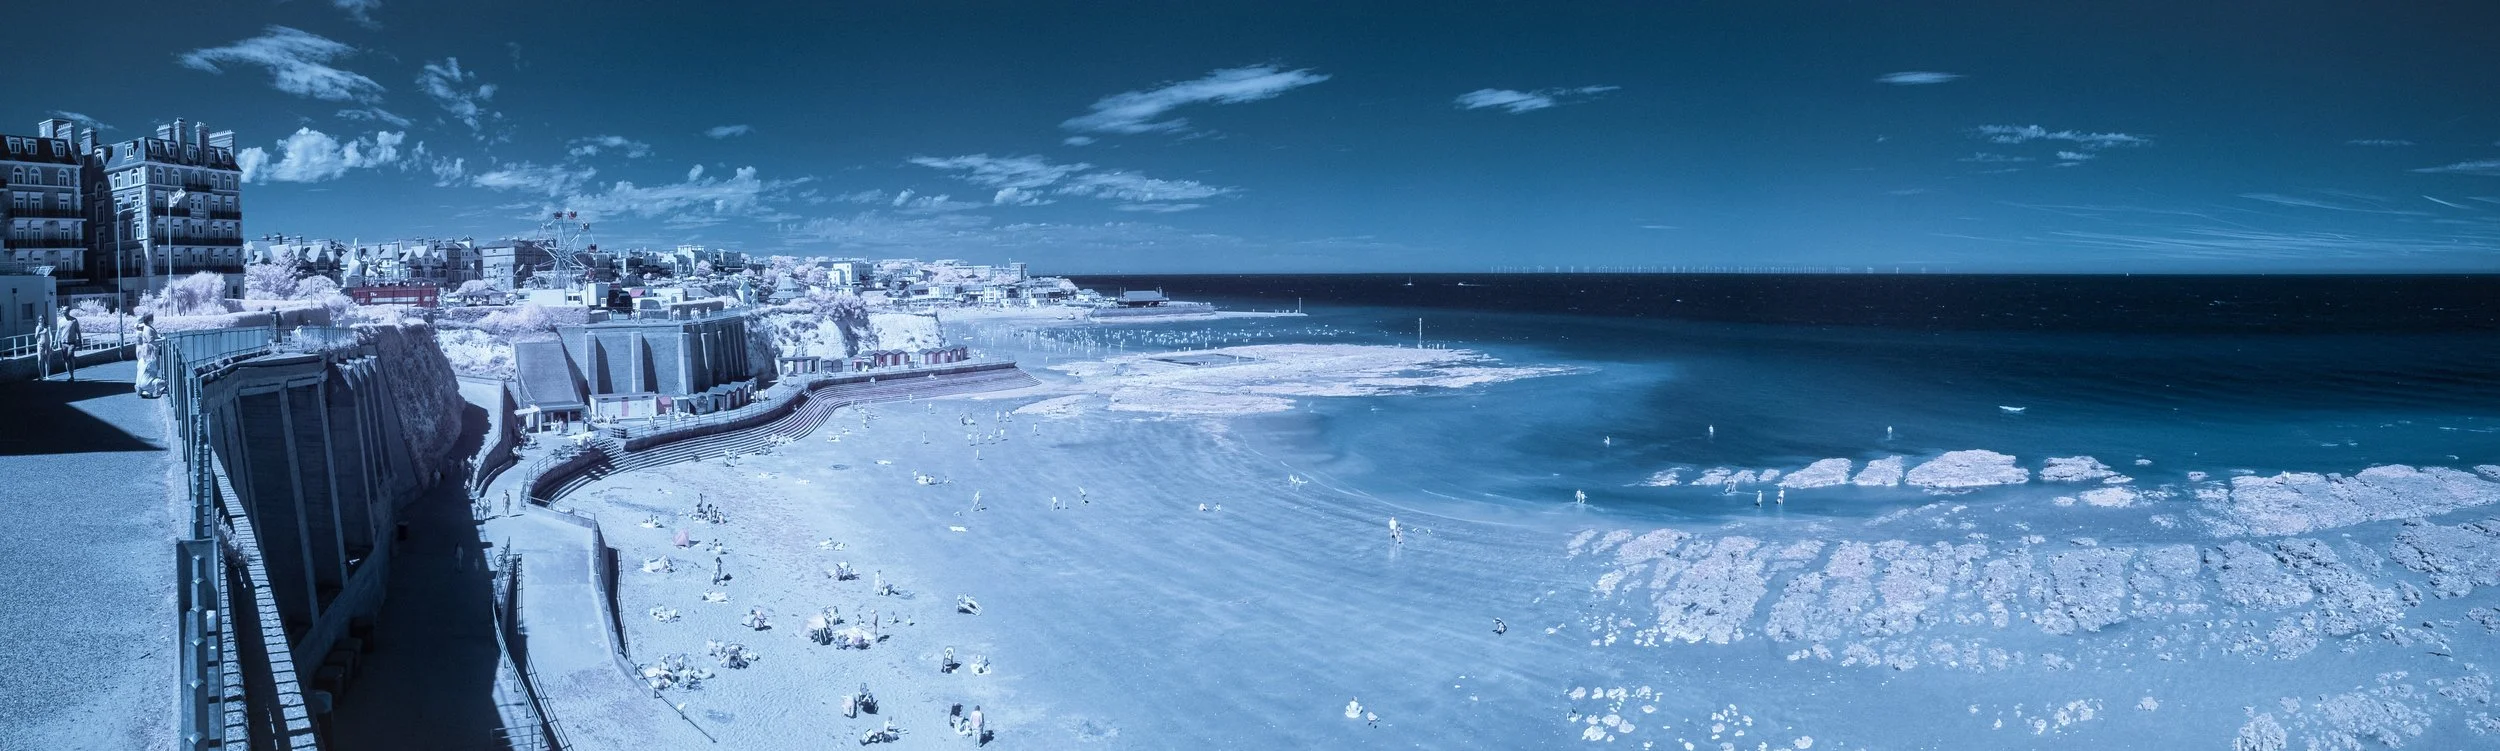
Horizontal panoramas are the classic form. A wide sweep of coastline, mountain range, urban skyline, or architectural interior — the format performs this kind of subject naturally. The proportions raise a specific compositional question immediately: where does the horizon go? In a standard rectangular frame, the rule of thirds suggests placing the horizon a third of the way up or a third of the way down. In a panorama at 4:1 or wider, that horizon decision dominates the entire image in a way it simply does not in a square or standard landscape frame.
A high horizon emphasises foreground texture and detail; a low horizon emphasises sky and gives the sweep a sense of expansiveness. The choice matters more here because there is more horizontal space for it to govern.
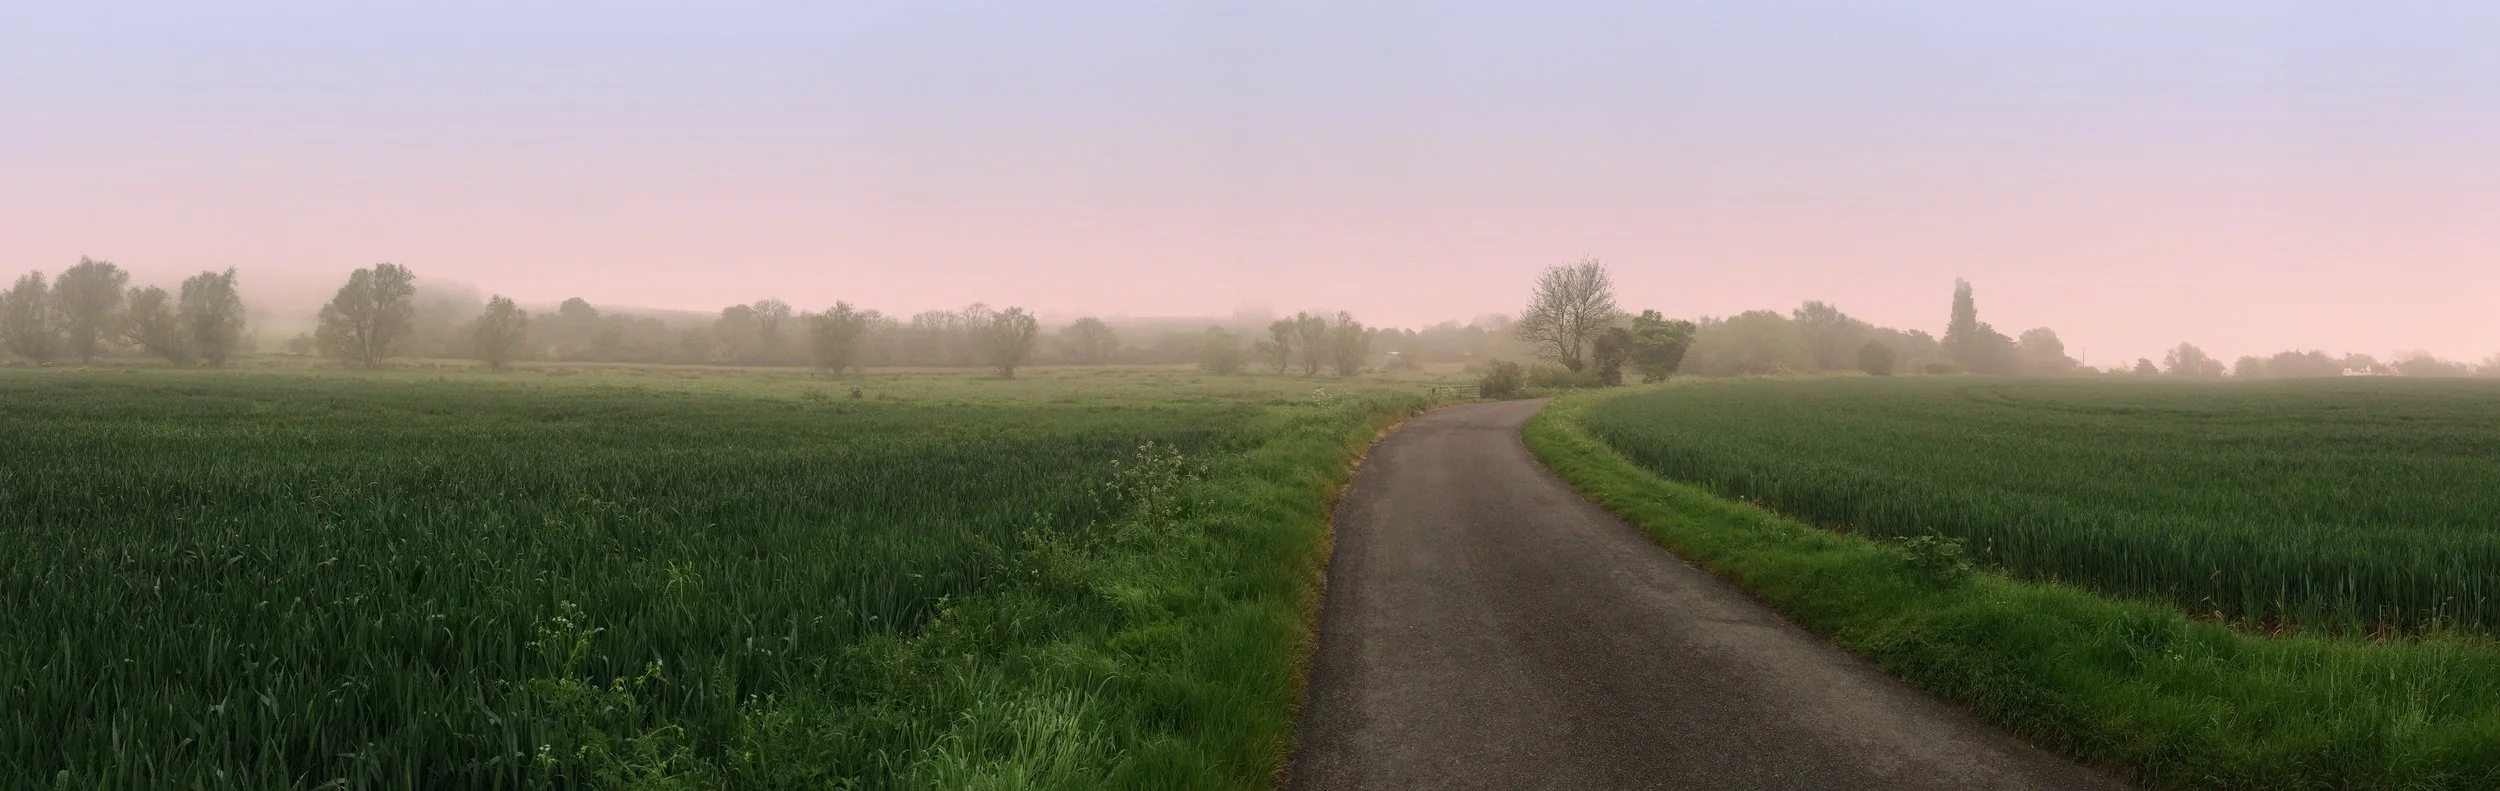
A second challenge unique to the wide format is maintaining interest across the full width when there is no single dominant subject. Standard composition often works by anchoring the eye to one strong element; panoramic composition requires something more distributed — a succession of elements, a strong leading line, or a foreground that runs the whole width.
Vertical panoramas are the underused form, which is a pity, because they can be genuinely startling. The technique is simply to point the camera upward and sweep — the interior of a cathedral nave, the trunk and canopy of an old tree, a waterfall descending a cliff face, the corner of a tall building seen from street level.
The resulting image is tall and narrow rather than wide and narrow, and it reveals a vertical dimension of a subject that a standard portrait shot cannot contain. Most people's instinct when they pick up a phone is to pan sideways; resisting that and panning upward instead produces the kind of photograph that makes people look twice, simply because the proportions are unexpected.
360-degree panoramas are a distinct technique — full-circle images requiring either a dedicated app, a motorised spinning rig, or a fisheye lens and specialist stitching software. They are principally made for interactive viewing rather than as flat prints or screen images, and the technique is different enough from what follows that it is largely outside the scope of this article. Worth knowing about; not the focus here.
As for specific aspect ratios: the classic 6×17cm panoramic film format produces a ratio of roughly 2.8:1. The Cirkut camera, which used a rotating drum of film, was variable — the ratio depended entirely on how far around the photographer swept. Smartphone panorama mode typically produces somewhere between 3:1 and 6:1 depending on the length of the sweep, the device, and the zoom setting — a phone swept across a full 180 degrees in portrait orientation will produce a considerably wider result than a casual sweep of 90 degrees.
Three Ways to Make a Panorama
1. Smartphone Panorama Mode
The mechanism is worth understanding briefly, because it explains both the constraints and the creative possibilities. As you pan, the phone captures a continuous rapid sequence of frames and stitches them together in real time, aligning overlapping regions and blending the seams. The result is a single JPEG — wide, and taken without any effort from you beyond the panning motion. On an iPhone, swipe to Panorama mode from Photo. On Samsung Galaxy devices, tap More and select Panorama.
Hold the phone in portrait orientation, not landscape. This seems counterintuitive — you are making a wide image, so landscape feels natural — but portrait orientation gives you a final image with considerably more vertical resolution. A portrait-orientation panorama captures more of the scene above and below the horizon. Landscape orientation makes a thin, wide strip.
Pan slowly and steadily. Rushing creates stitching errors — the software cannot keep up with rapidly changing frame positions, and the seams show. A smooth, even speed matters more than a fast one. Think of it as a deliberate movement rather than a quick sweep.
Keep the phone level throughout. The on-screen guide arrow must stay on the line. Any dip or rise in the phone's angle during the pan will appear in the final image as a gentle wave in the horizon — a wavy horizon is the most common and most conspicuous panorama failure, and it is caused entirely by not keeping the phone flat. Practise the movement before you start the exposure.
Lock exposure and white balance before you begin. On iOS, tap and hold on a mid-tone area in the scene — a neutral area of sky or a mid-grey surface — until the AE/AF Lock banner appears. On Android, the process varies by device but is usually a long-press. Once you begin panning, the exposure must not change. If the phone is set to auto-exposure and it adjusts mid-sweep, the resulting image will show obvious banding at each point where the exposure shifted — a sudden step in brightness that no amount of post-processing will remove cleanly. Lock it first.
Avoid moving subjects — or use them deliberately. A person or vehicle that moves during the sweep will appear twice (if they moved in the same direction as the pan), appear fractured (if they moved across the pan direction), or disappear entirely (if they moved away). These artefacts can be a problem or an opportunity, depending on where they appear and what you are trying to do. A figure fractured across the middle of an otherwise clean architectural panorama is a problem. A car stretched into an elongated, Dalí-esque smear across a street scene can be genuinely interesting, if that is what you intended.
Respect the distance minimum. Panorama mode becomes unreliable with subjects closer than about 3–4 metres. Objects this close shift position dramatically between frames — the parallax problem — and cannot be stitched cleanly. Close foreground objects will ghost, fracture, or refuse to align. Keep the main subject at a comfortable distance and treat the format as one that suits middle and far distances.
The creative misuse. The "cloning trick" — having a person move ahead of your panning motion so that they appear twice in the same image — is a well-established piece of smartphone photography amusement, but it is also a genuinely interesting creative technique. A figure who appears at the left side and again at the right side of the same panorama creates a dislocated, slightly surreal effect. Explore it deliberately rather than stumbling across it by accident.
2. Manual Stitching
Manual stitching is the approach that gives you the most control and, done properly, the best image quality. The process: shoot a sequence of overlapping frames with a dedicated camera (or a phone with the panorama mode bypassed), then combine them in software. The stitching software — Lightroom's Merge to Panorama, Photoshop's Photomerge, PTGui, or Microsoft ICE — finds matching points between adjacent frames and aligns them into a single image.
Overlap: 30–50%. Each frame should overlap the previous one by roughly a third to a half. Less than 30% and the stitching software struggles to find enough matching points between frames, particularly in areas of uniform tone such as clear sky or calm water. More than 50% and you are shooting more frames than necessary. The 30–50% range is reliable.
Lock everything before you begin. Set the camera to manual exposure mode and decide on your exposure for the scene. Set a fixed ISO, a fixed shutter speed, a fixed aperture, and a fixed white balance. Set focus manually — autofocus between frames will introduce slight focus variations that may not matter individually but can create inconsistencies at the join points. All frames must be shot with identical settings. If you allow the camera to adjust exposure automatically between frames, the joins will be visible as tonal shifts in the final stitch, particularly in areas of sky or smooth tone.
The tripod advantage. Shooting from a tripod allows you to rotate the camera around a fixed point, maintain a consistent horizon, and be deliberate about your overlap. It is not strictly necessary for casual panoramas — a handheld sequence of overlapping frames works perfectly well for landscape panoramas where the horizon is distant and there is no close foreground — but for precise architectural work, interior panoramas, or any scene where the stitching must be seamless, a tripod is the sensible approach. Use a ball head with a pan-lock, or a dedicated panoramic head.
Parallax is the problem you most need to understand. As you rotate the camera to the next frame, near and far objects shift their apparent positions relative to one another — objects closer to the camera appear to move more than objects further away. This relative shift is parallax, and it is what causes ghosting and stitching failures around foreground subjects. A fence post three metres from the camera appears to jump between frames; the hillside a kilometre behind it barely moves. The stitching software cannot reconcile these conflicting positions, and the result is a ghost — a blurred or doubled version of the post at the join.
The solution to parallax, for scenes with close foreground subjects, is to rotate the camera around its nodal point (sometimes called the entrance pupil, or the no-parallax point) rather than around the centre of the tripod head. The nodal point is the optical point within the lens through which light rays converge — rotate around this point and the relative position of near and far objects does not change between frames.
For landscapes with distant horizons, this generally does not matter; for architectural interiors with walls and furniture at varying distances, it matters considerably. A nodal rail or a dedicated panoramic head allows you to position the camera so that the nodal point is directly over the tripod pivot. For casual work, the easier solution is simply to ensure no important subject is very close to the camera.
Software options: Lightroom's Merge to Panorama is the simplest workflow and the best integrated if you shoot RAW — select all the frames in the grid view, right-click, and choose Merge to Panorama. The result is a DNG file that retains the dynamic range of the original RAW captures. Photoshop's Photomerge is more flexible and handles difficult stitches — scenes with extreme overlap variation or problematic parallax — better than Lightroom.
PTGui is the professional option: it handles extreme cases, fisheye lens panoramas, and multi-row panoramas that the simpler tools refuse; it is the right choice for serious architectural and specialist work. Microsoft ICE is free and runs on Windows; it is basic but capable.
3. In-Camera Panorama Features
Many modern dedicated cameras have built-in sweep panorama modes that work on the same principle as smartphones: pan the camera and the firmware stitches frames in real time. Sony's sweep panorama mode is the best known and has been present on Sony cameras for well over a decade. Fujifilm and Olympus/OM System offer similar features.
The advantages over smartphone panorama mode are real: a dedicated camera sensor is larger, producing higher resolution per frame and better dynamic range. Some cameras can output a stitched RAW file from an in-camera panorama, though this is more the exception than the rule. The limitations are the same as with smartphone mode — the same parallax constraints apply, and close foreground objects will cause stitching failures.
The Fujifilm GFX system and similar medium-format digital cameras are increasingly used for a distinct stitching technique: shooting multiple frames with a tilt-shift lens and assembling them into a high-resolution panorama with minimal distortion.
This is a specialist approach — it requires a tilt-shift or perspective-control lens, careful planning, and more involved post-processing — but the results in terms of resolution and geometric accuracy are exceptional. Worth knowing about for those who want to pursue architectural or large-print panoramic work seriously.
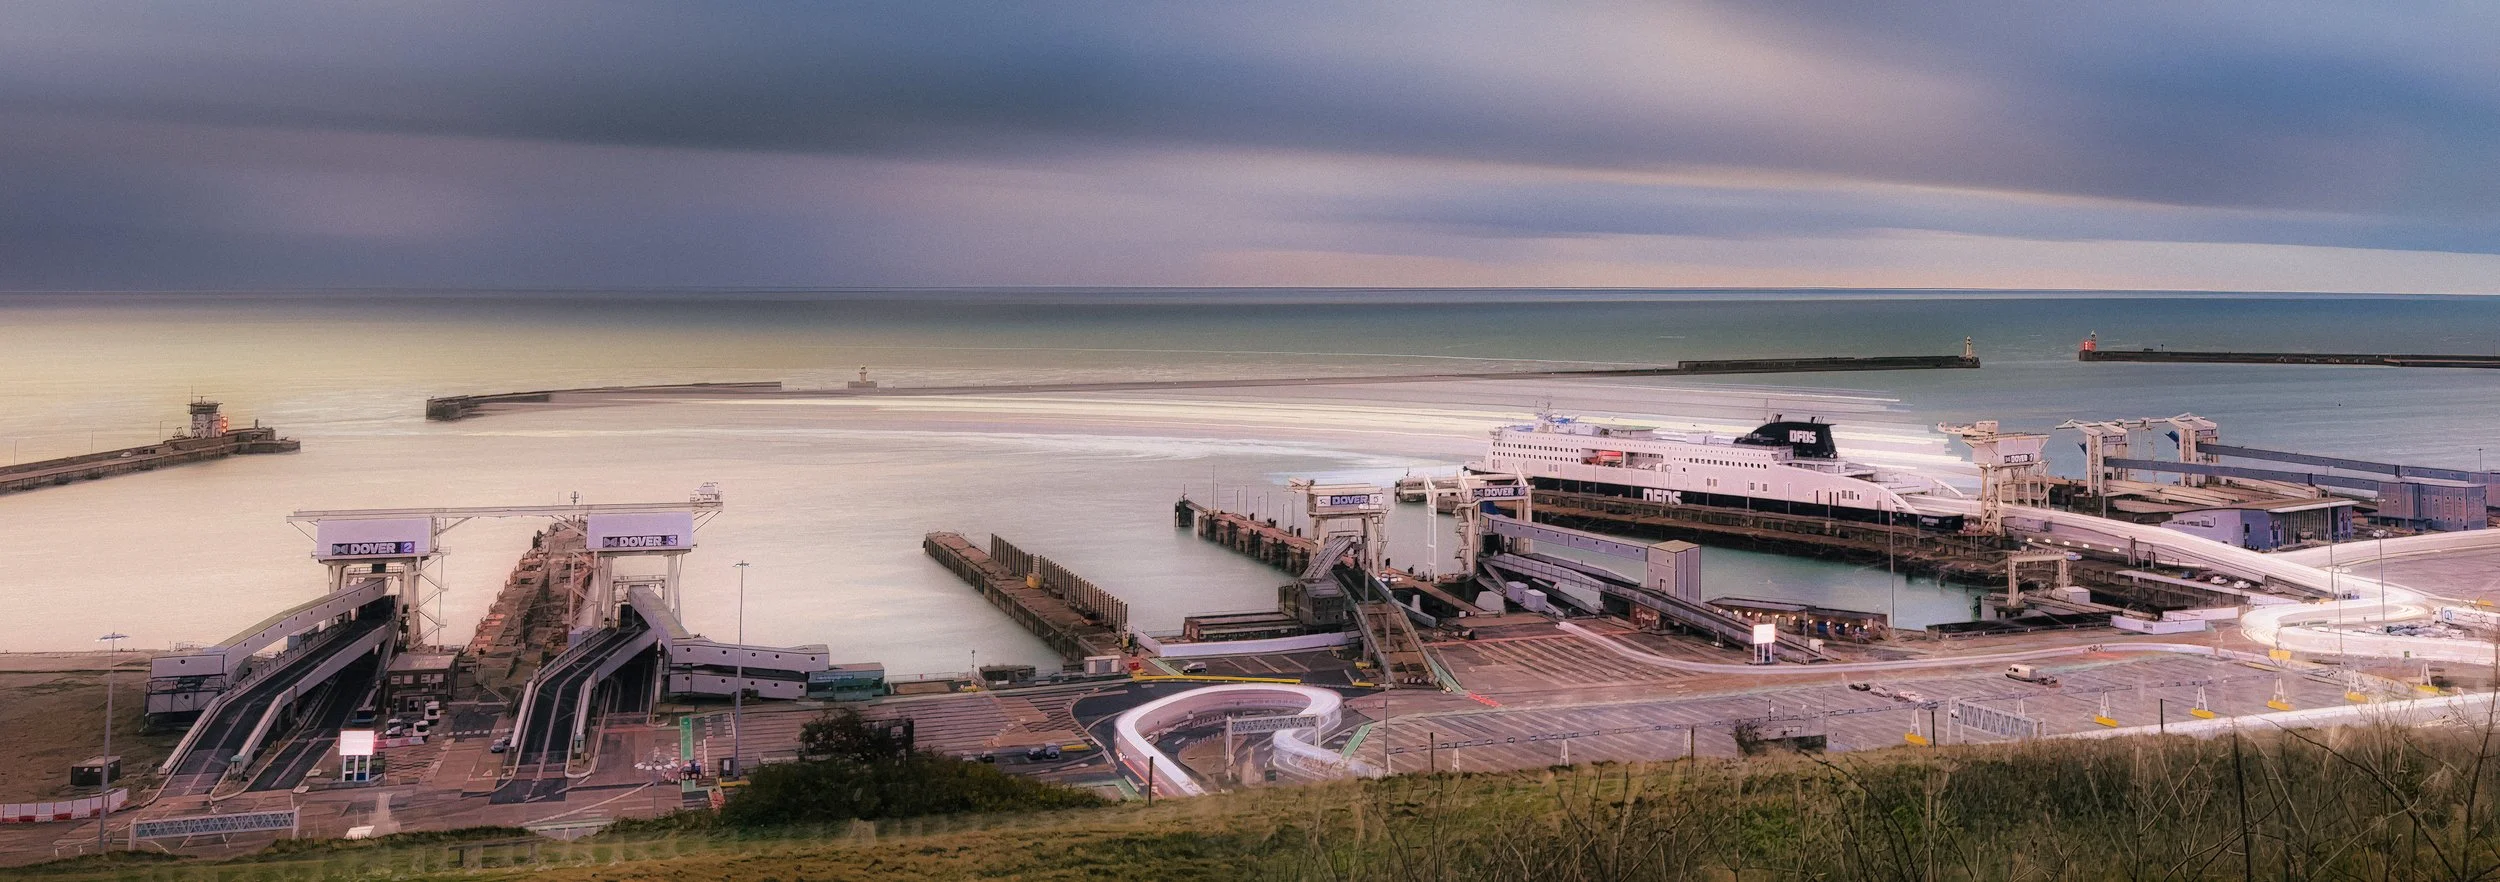
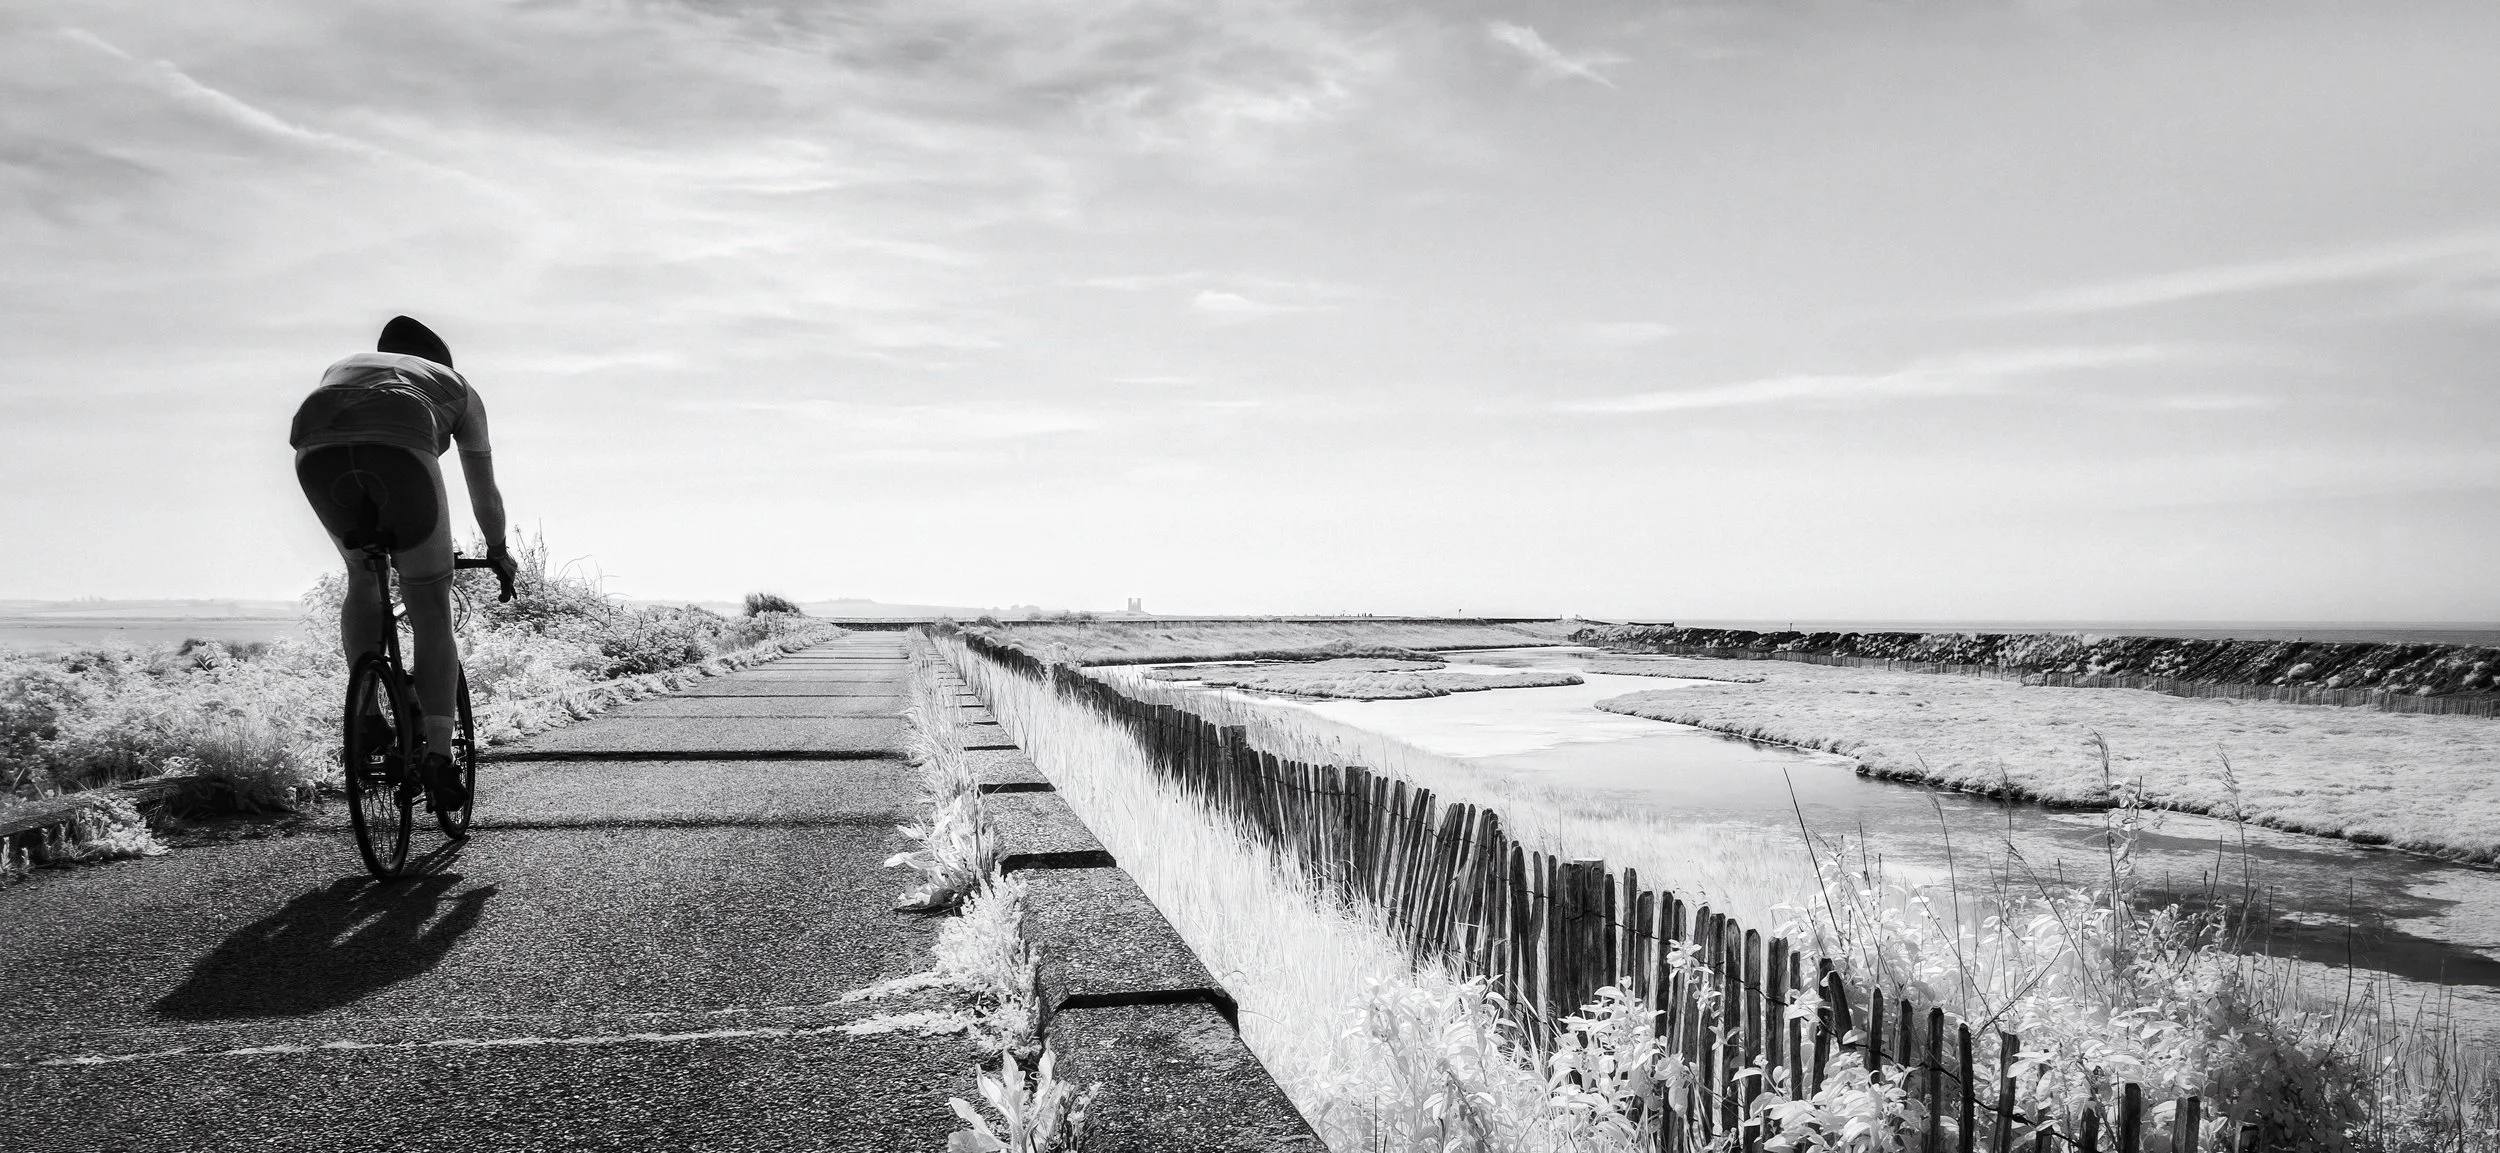
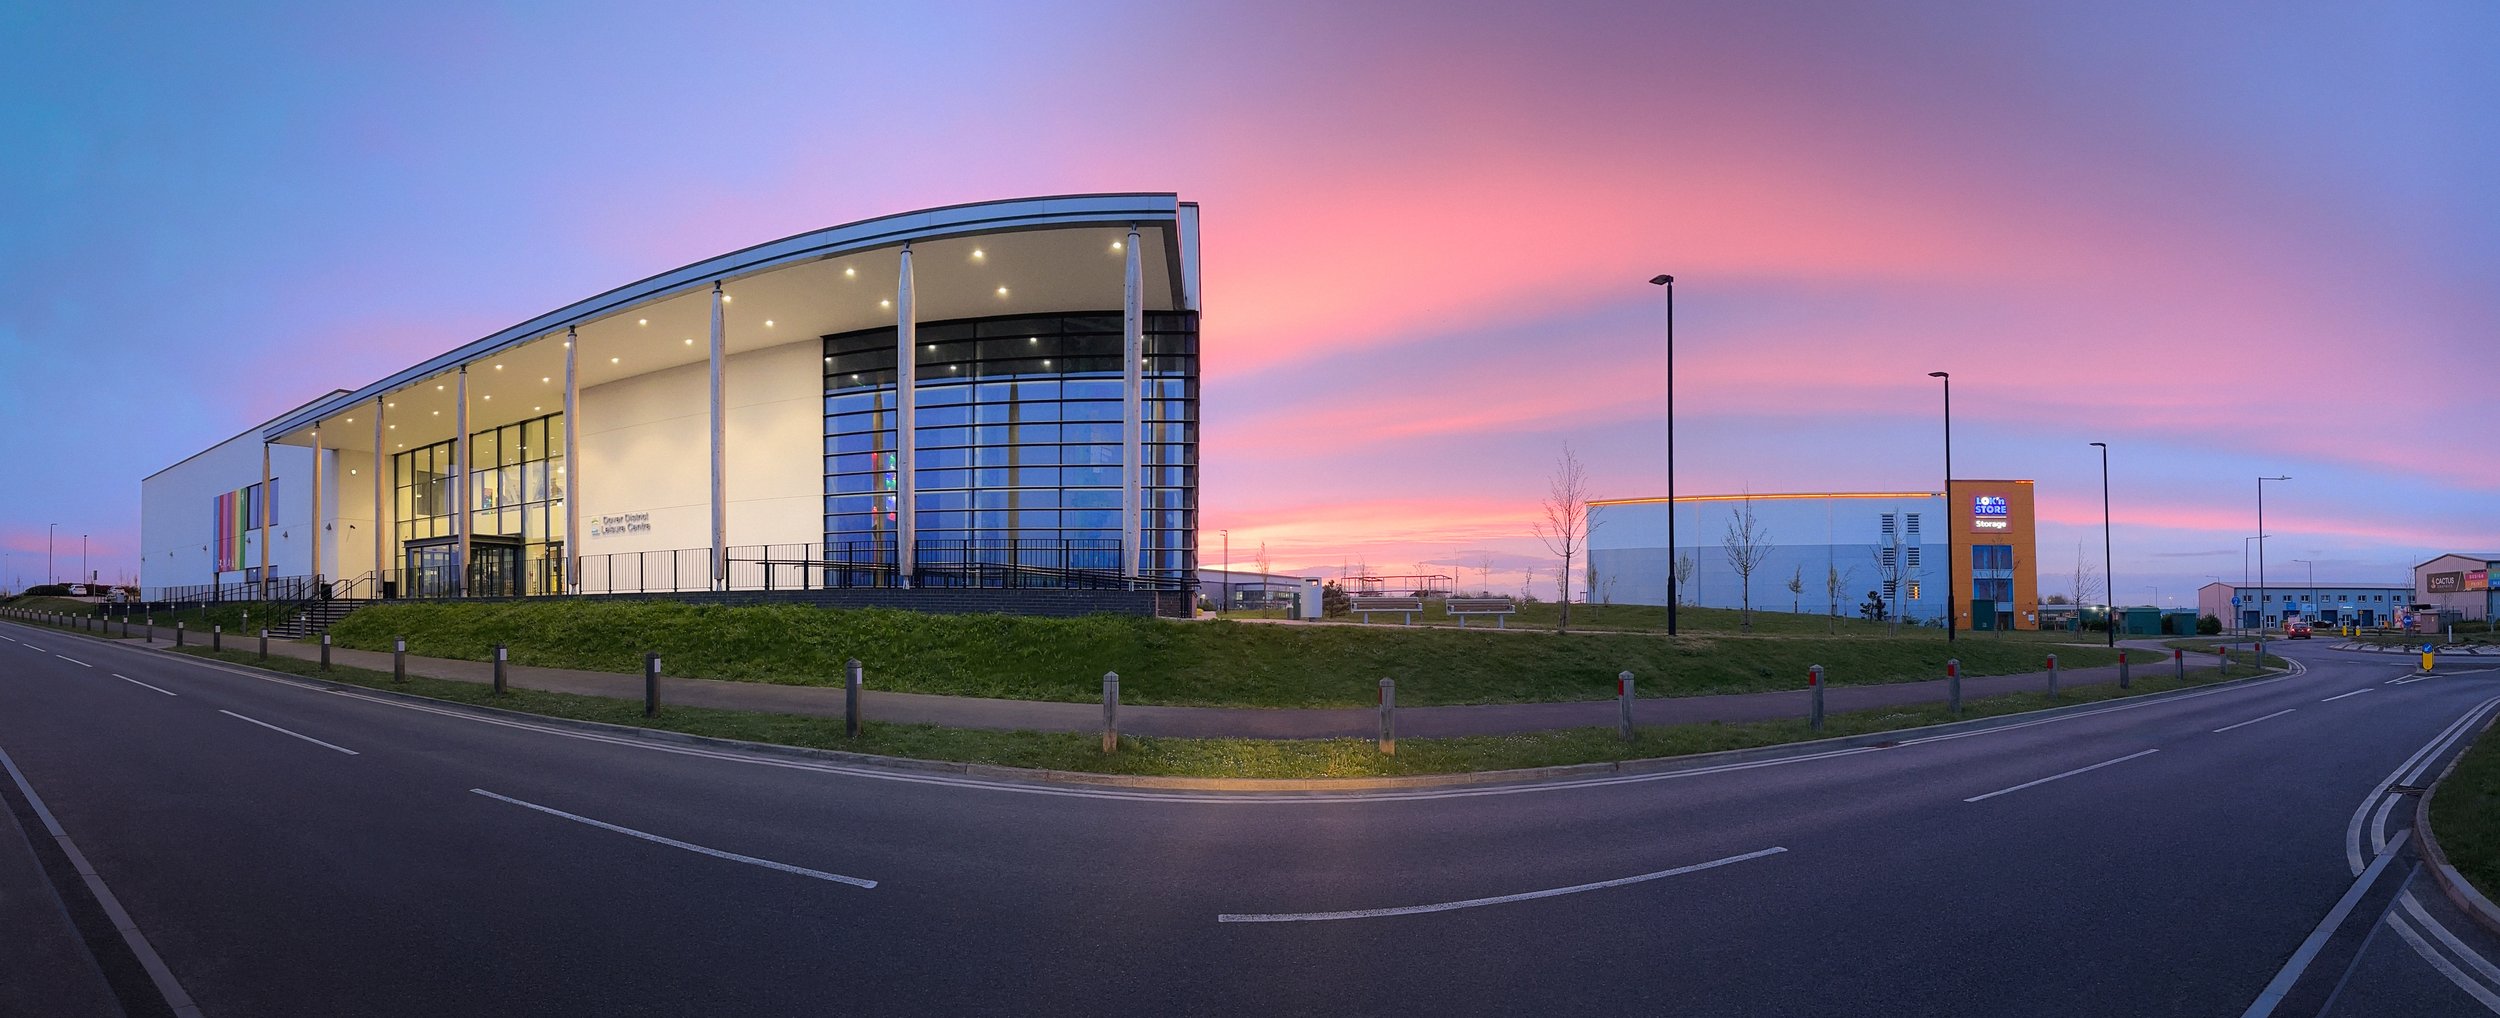
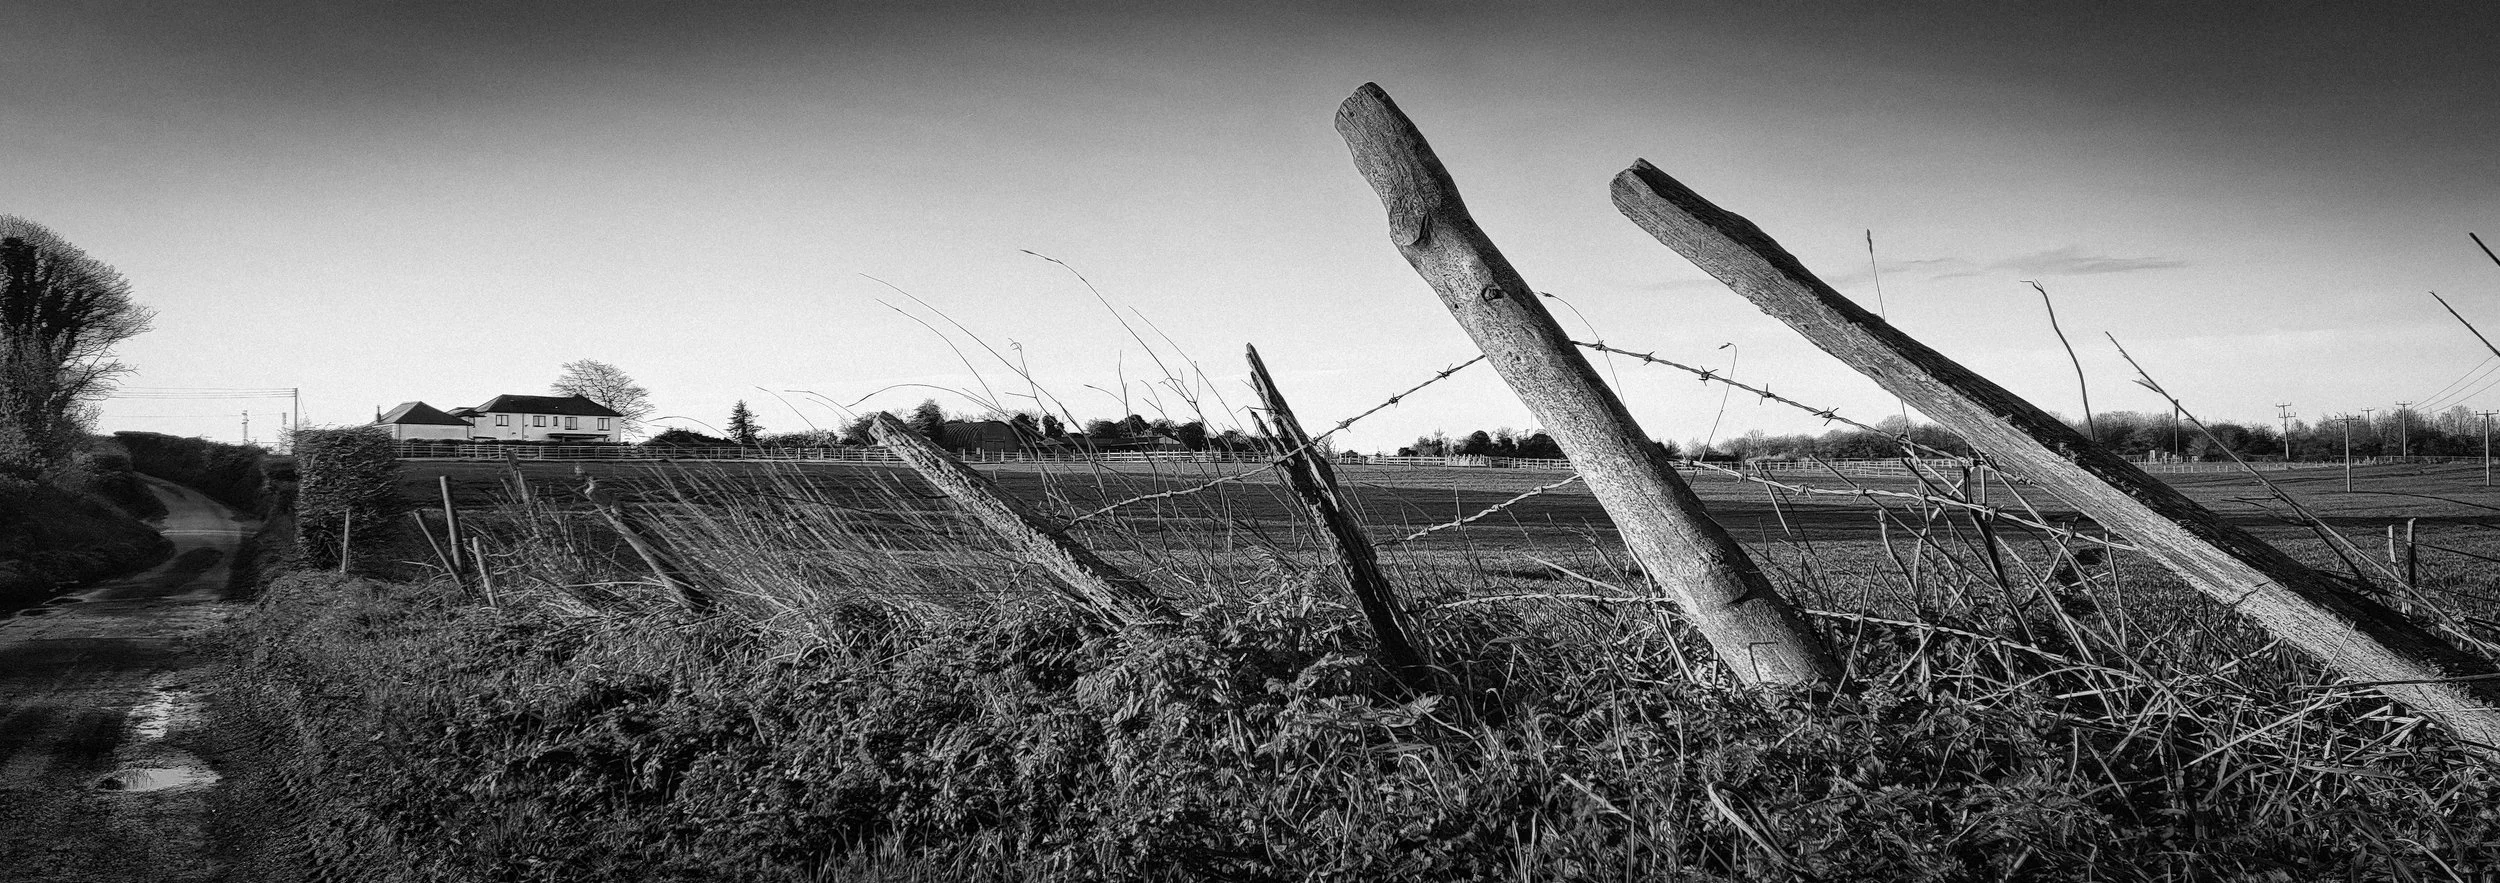
Tripods, Heads & Filters
Tripod. Not strictly essential for casual panoramas — many perfectly good stitched panoramas are made handheld — but very useful for keeping the horizon level and maintaining consistent framing across frames. For multi-row panoramas (where you shoot several horizontal rows and stitch them together into a wider, taller image) a tripod is effectively necessary.
A ball head with a separate pan-lock is preferable to a fluid head for panoramic work: the pan-lock allows you to rotate the camera smoothly in the horizontal plane whilst keeping the tilt locked in place. A proper fluid head is designed for video and tends to have either too much or too little resistance for still panoramic rotation.
Panoramic head and nodal rail. A panoramic head mounts on the tripod and allows you to rotate the camera precisely around its nodal point. A nodal rail is an adjustable sliding plate that moves the camera body forward or back to align the lens's nodal point over the pivot. These are specialist accessories and not necessary for landscape panoramas with distant horizons, but for interior architectural work — particularly where you are shooting in a room with walls close on either side — they make the difference between a clean stitch and an unusable one.
Filters. Here is where panoramic work diverges from standard photography in a way that catches people out. Graduated neutral density filters — the kind you use to balance a bright sky against a darker landscape — become problematic in stitched panoramas if the horizon changes position across the frame, because the gradient will fall in a different place relative to the scene in each frame.
The result is an obvious tonal inconsistency across the stitched image. The practical approach is to not use them for panoramic shooting and to handle the sky-to-landscape exposure balance in post-processing, where a graduated mask can be applied to the full stitched image in one operation.
Circular polarisers are even more problematic on wide panoramas. A polariser's effect varies with the angle of the sun: it is strongest at 90 degrees to the light source and absent when pointing directly toward or away from the sun. On a standard wide-angle frame, this variation is manageable.
On a panorama that sweeps 120 degrees, the polarisation effect changes dramatically across the frame — the sky darkens unevenly, the reflections on water shift, and the whole image looks inconsistent. Avoid polarisers for stitched panoramas and correct glare and tone in post.
Smartphone accessories. A small tabletop tripod — the kind that costs very little and fits in a jacket pocket — makes handheld smartphone panoramas considerably easier, especially in low light or at slow panning speeds. A phone grip or handheld stabiliser also helps with the smooth, level movement that panorama mode requires. These are modest investments for a meaningfully better keeper rate.
Composition for Panoramas
Composing a panorama is genuinely different from composing a standard rectangular image. The rules of thumb you use for normal photographs still apply, but they apply differently, and there are additional considerations that simply do not exist in the standard format.
The horizon. In a horizontal panorama, the horizon position is the single most important compositional decision.
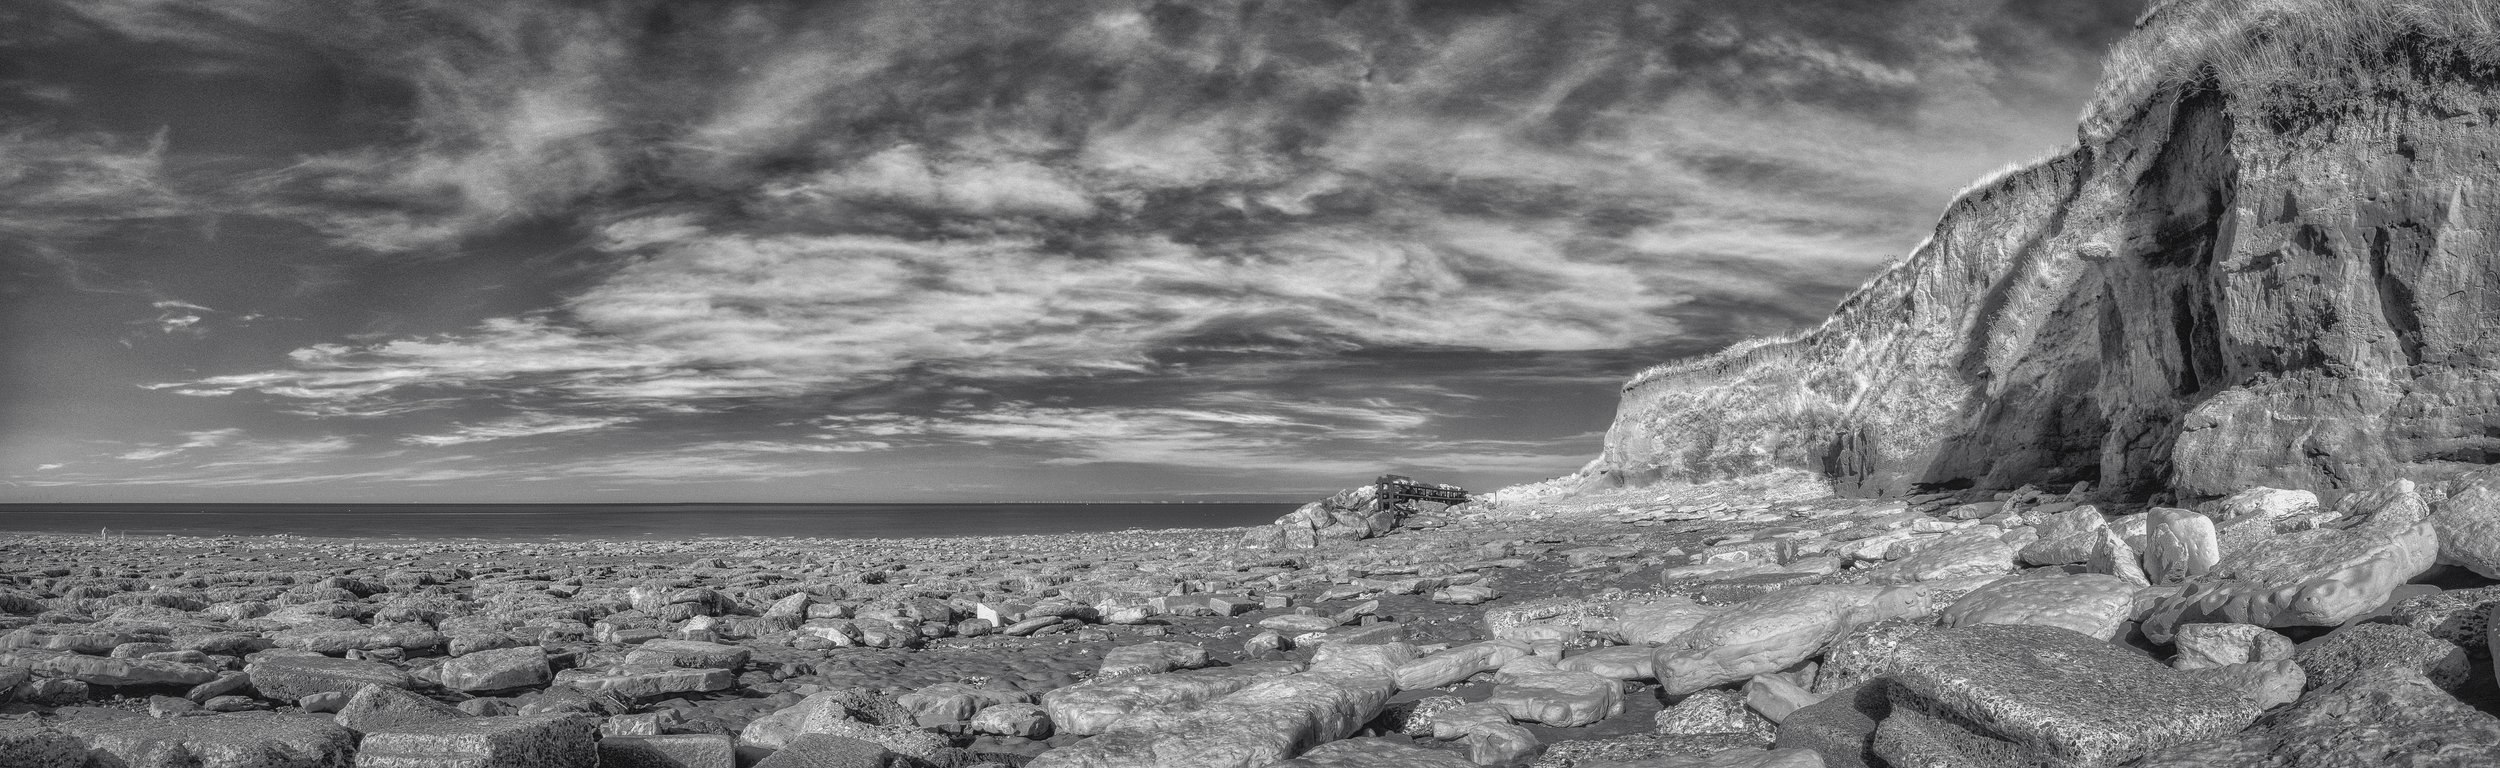
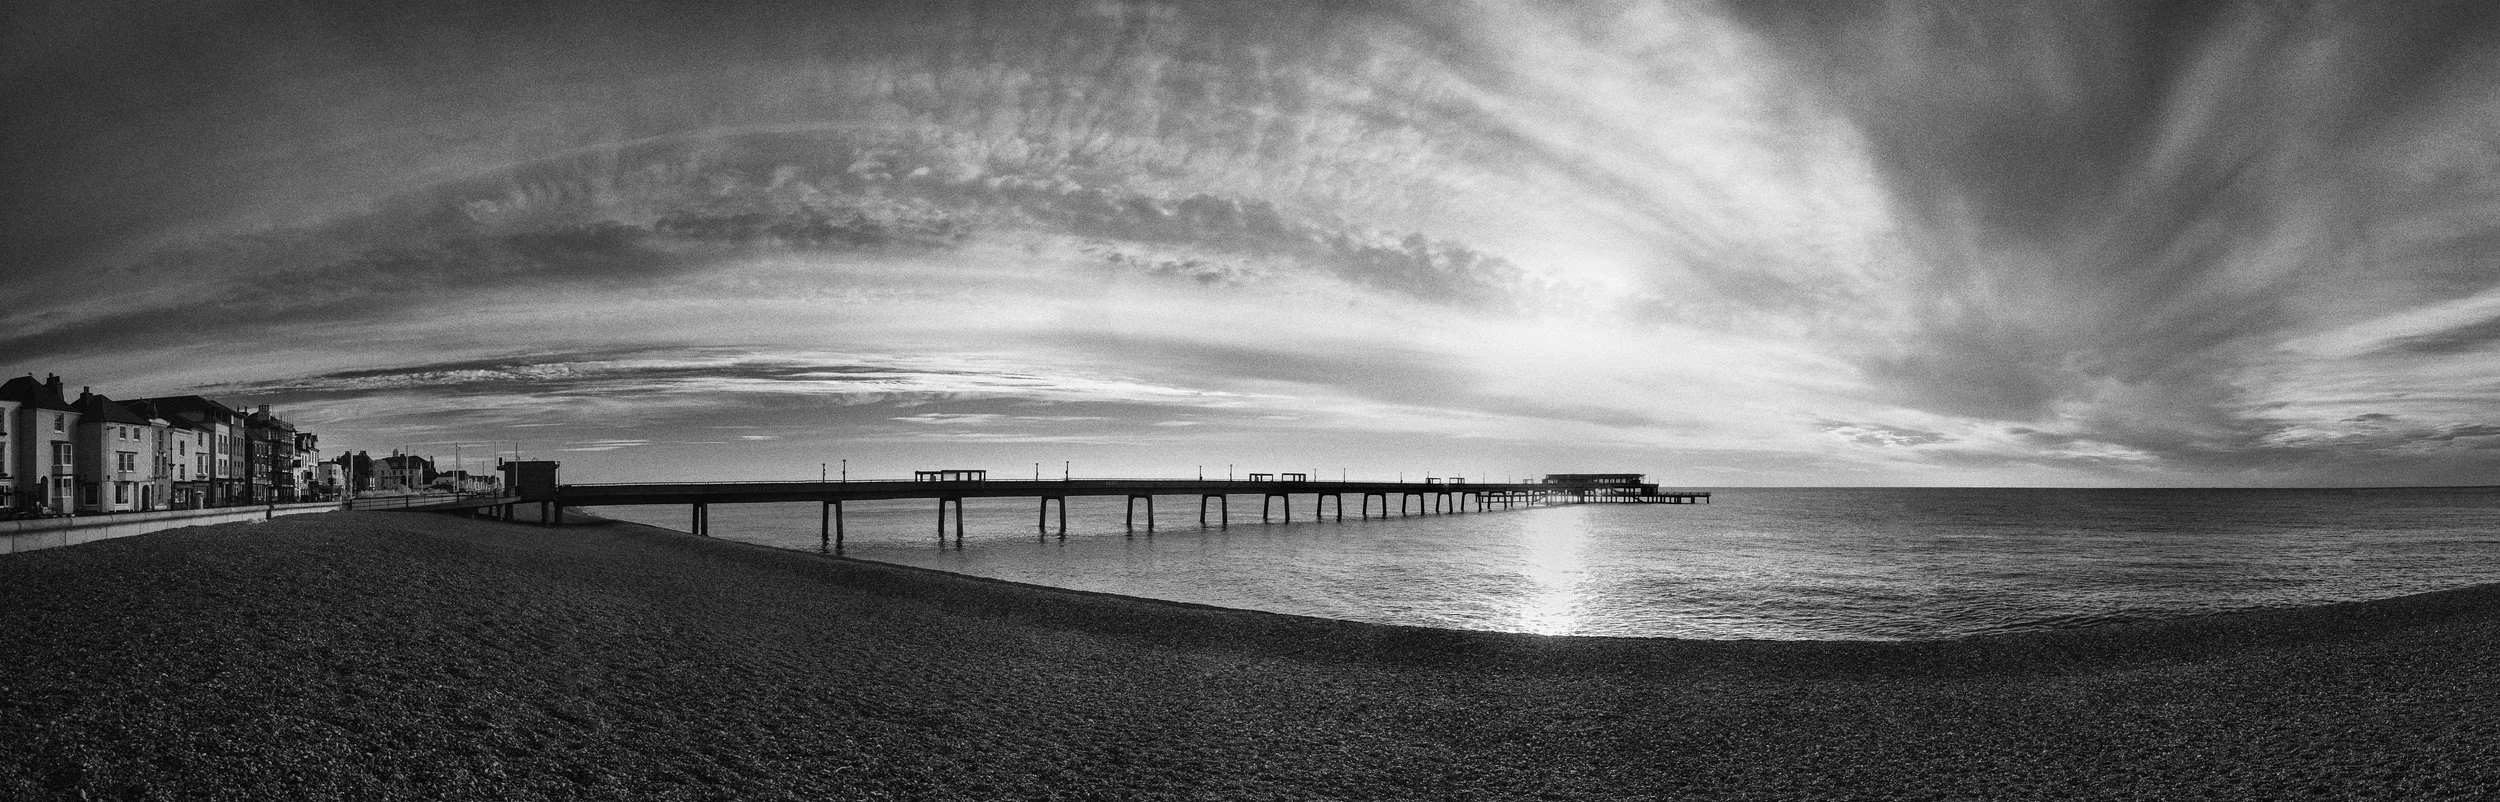
Place it high — in the upper third, or even higher — and the image emphasises foreground texture: grass, rock, sand, water surface, cobblestones. The viewer's eye is pulled across the bottom of the frame by whatever is in that foreground.
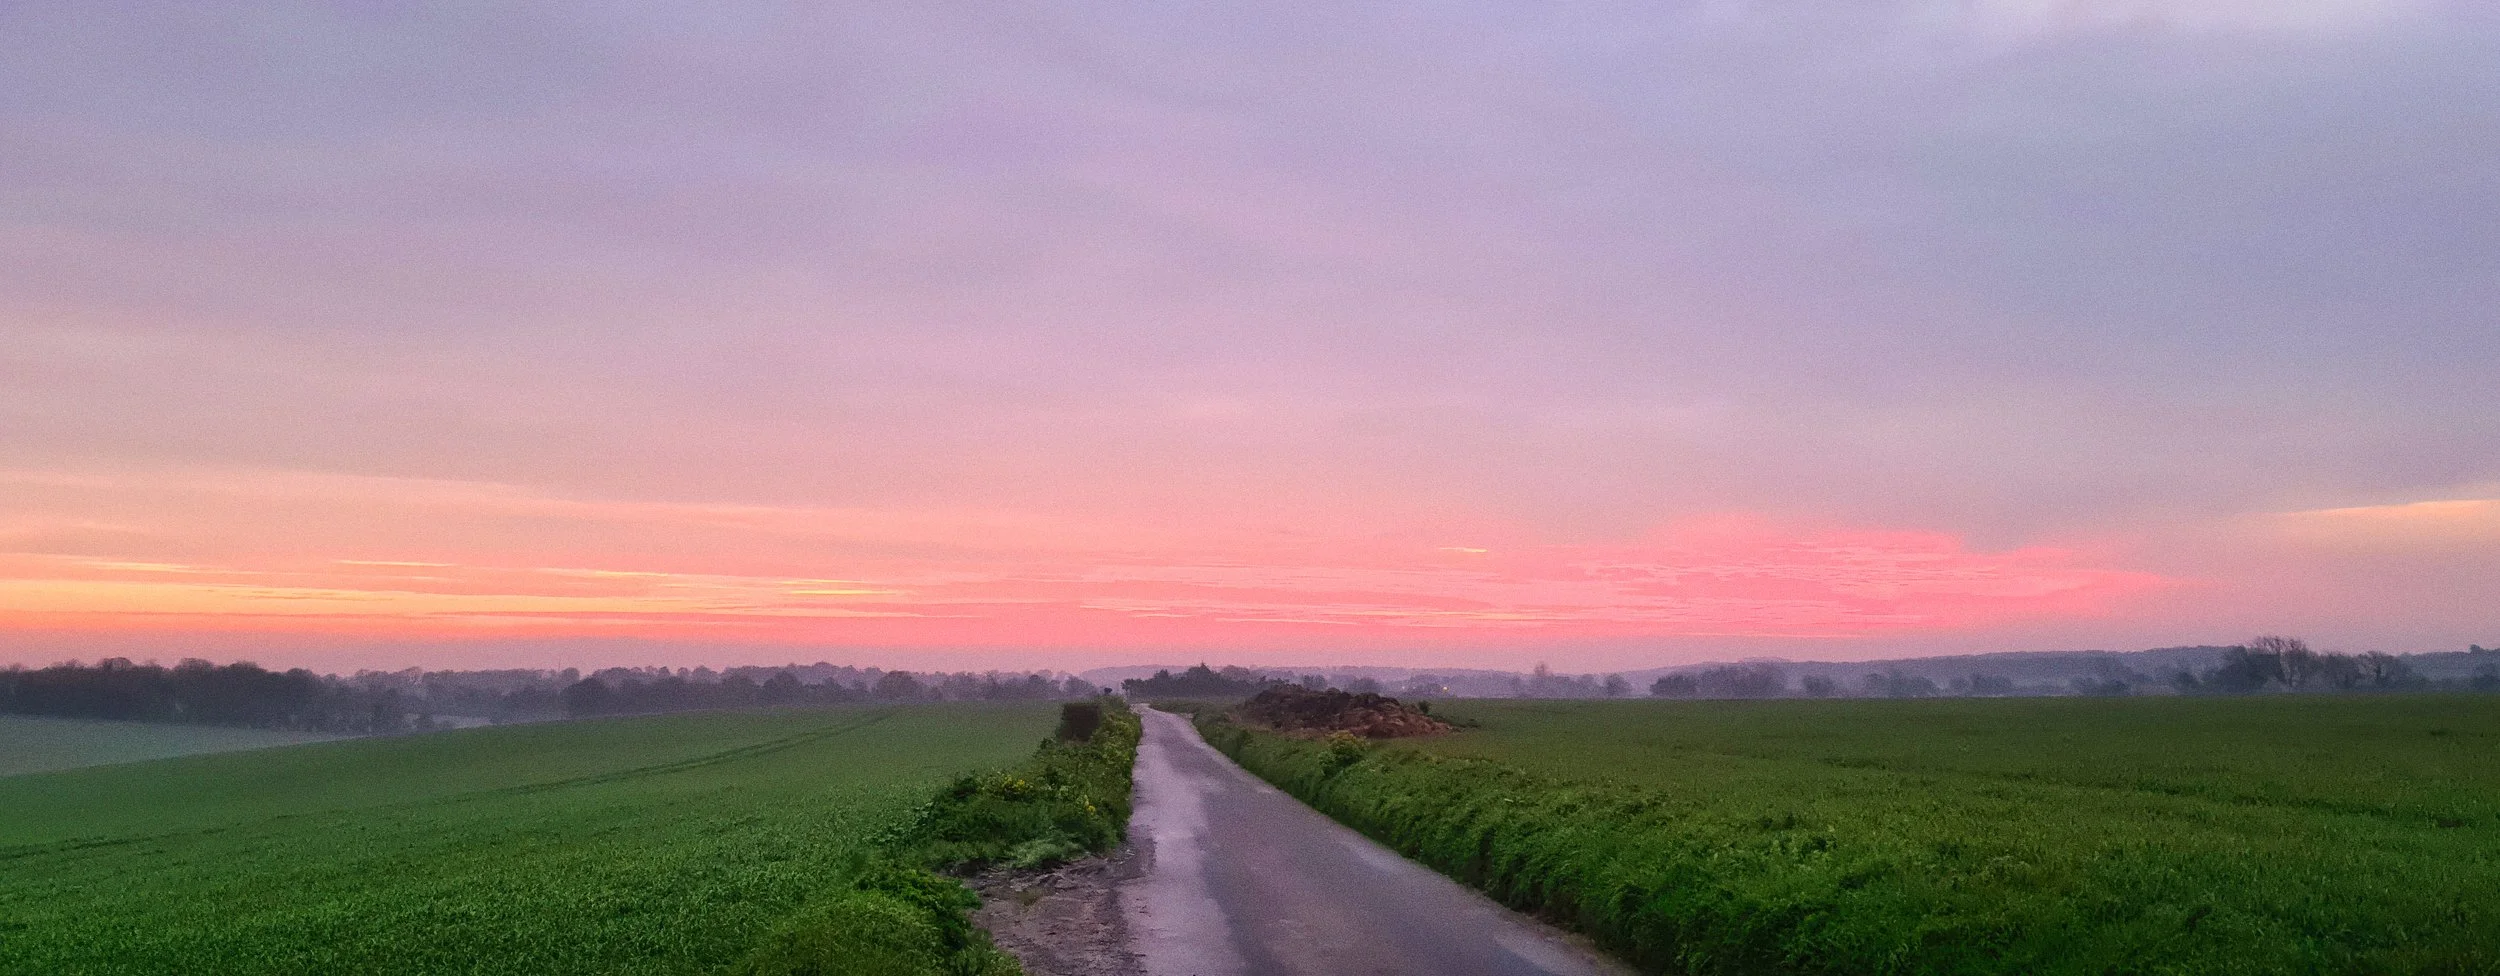
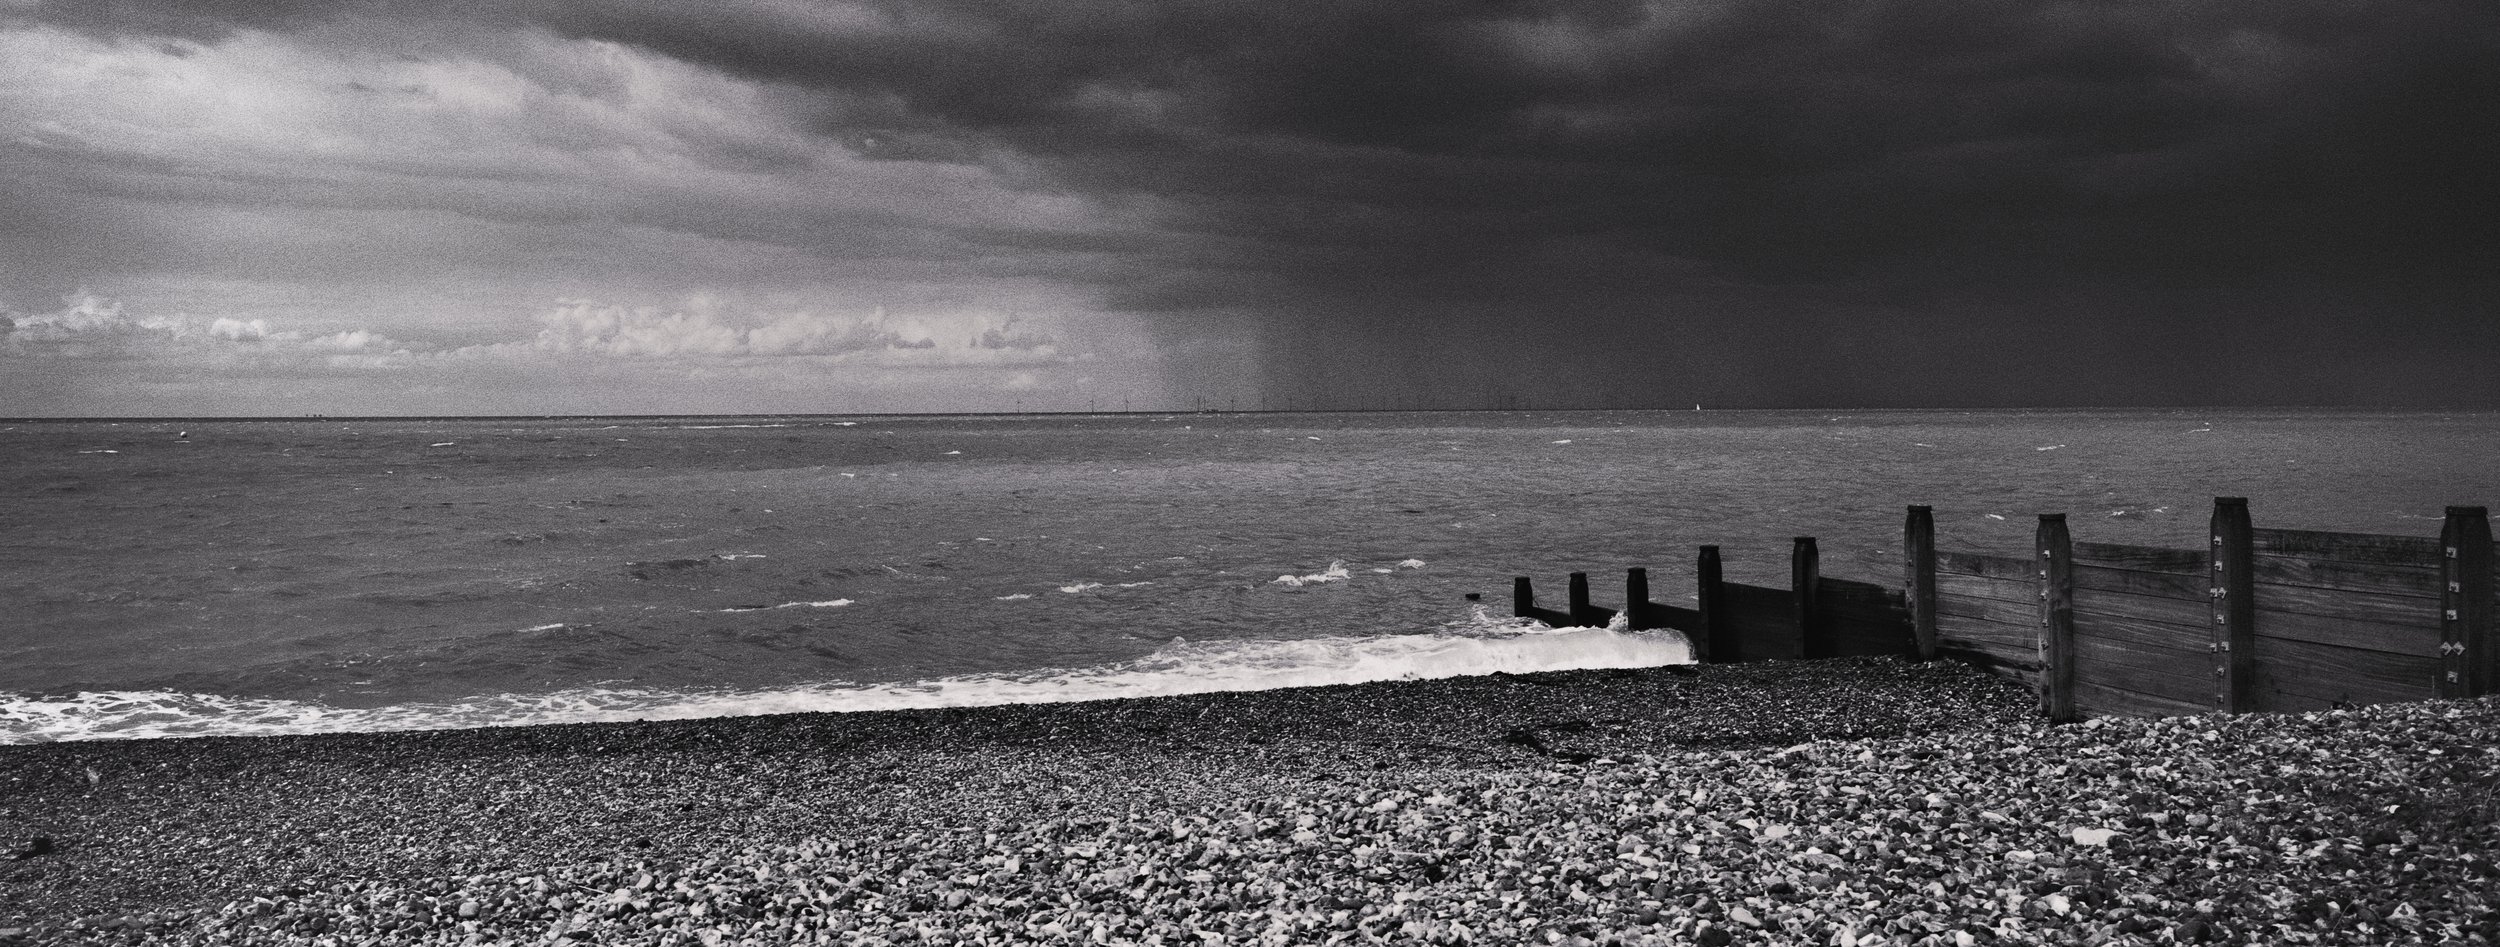
Place it low — in the lower third or below — and the emphasis shifts entirely to the sky; the panoramic sweep feels open and expansive. A mid-horizon divides the frame equally and usually works only when both sky and foreground are equally interesting, which is rarer than you might think.
The rule of thirds applies here, but its effect is more dramatic than in a standard frame. A horizon in the lower third of a 4:1 panorama gives you roughly 75% of the image as sky — a vastly different visual proportion than a lower-third horizon in a 3:2 frame. Think in terms of the actual area you are allocating, not just the rule of thumb.
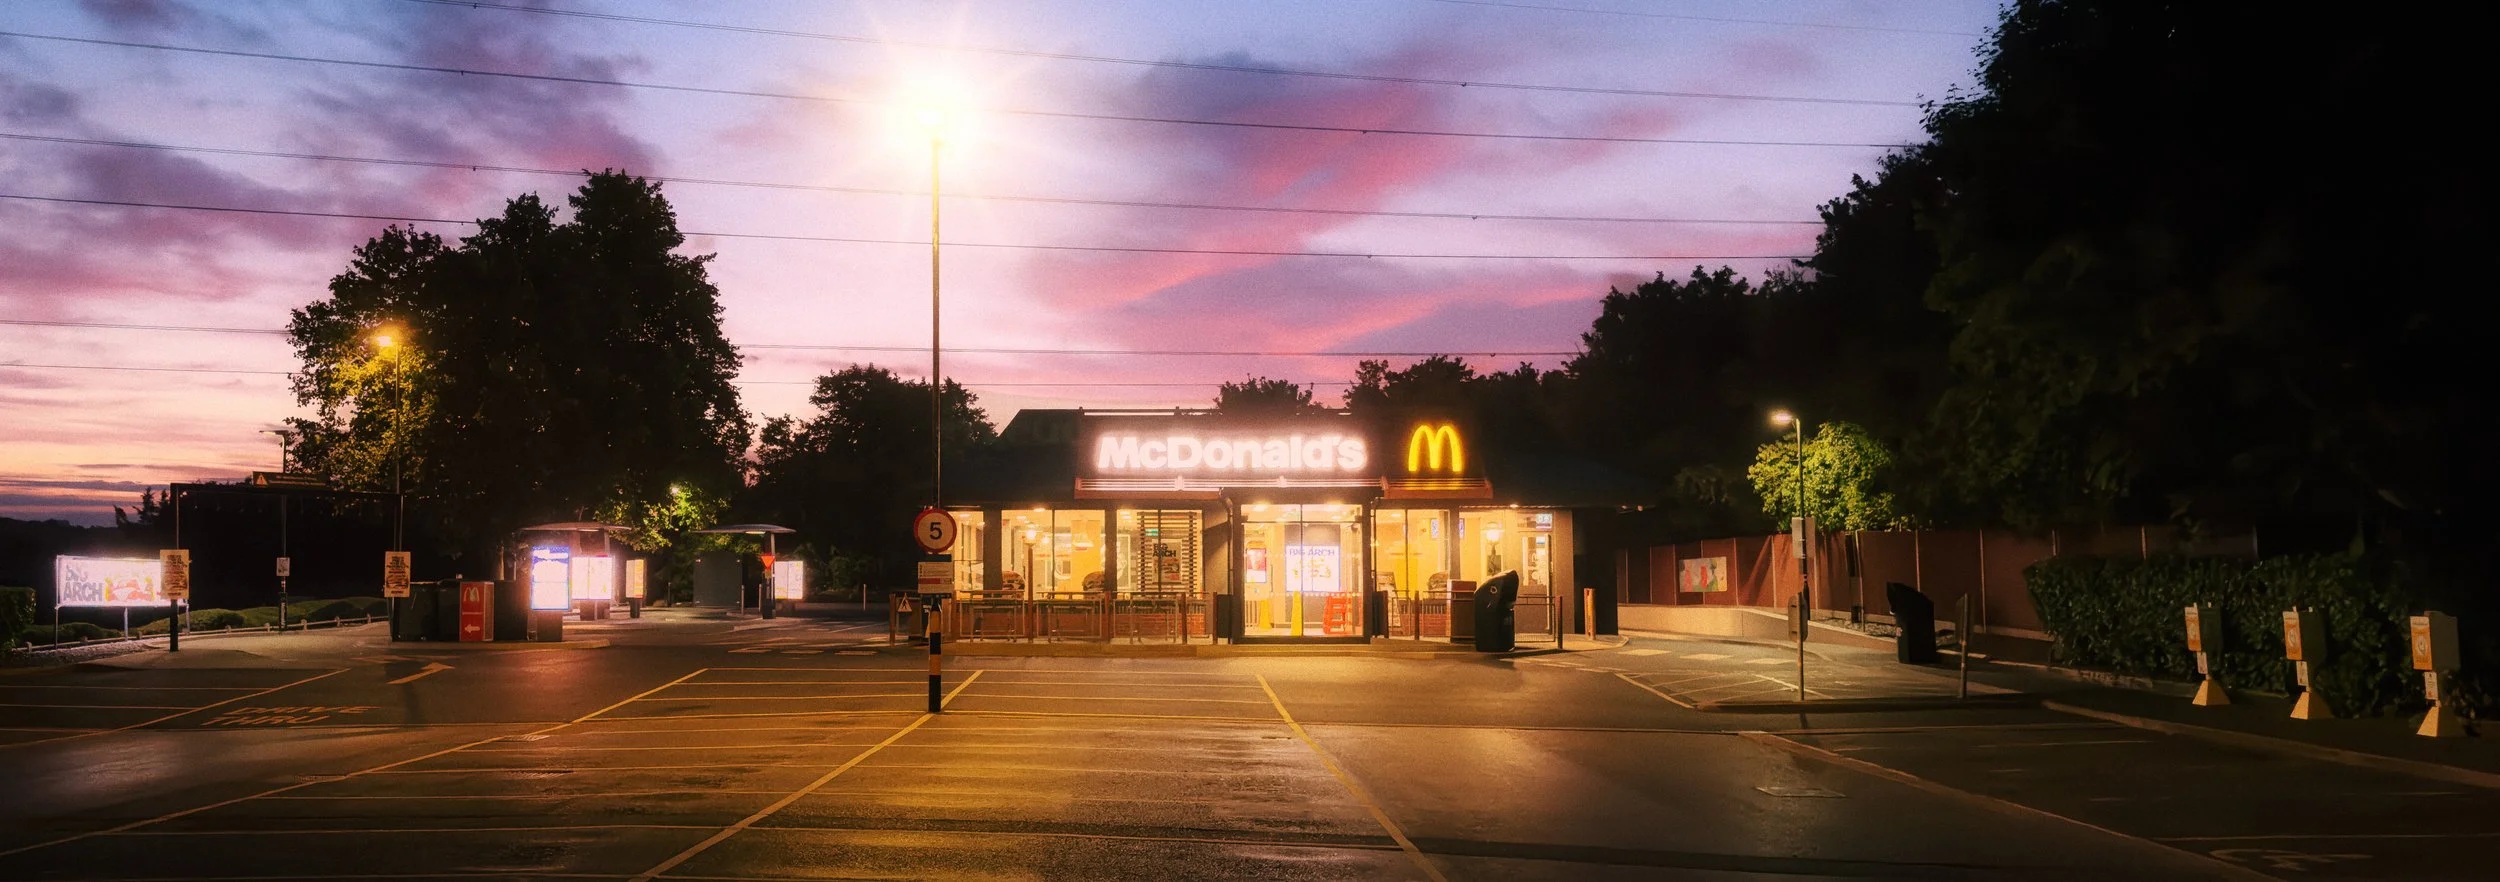
Entry and exit points. The viewer's eye enters a wide panorama from one side and travels across it. What is at the left edge and the right edge matters enormously. A strong visual anchor on one side — a tree, a building, a figure, a cliff face — and a sense of resolution or arrival on the other creates a satisfying panoramic image. An image that simply begins and ends arbitrarily, cutting off mid-sky at both edges, leaves the eye with nowhere to settle. Think of it as the opening and closing bars of a piece of music: the image should begin somewhere and conclude somewhere, even if both somewhere are relatively quiet.
Interest distribution. Standard rectangular composition often works by placing one dominant subject within the frame and using the remaining space as context. Panoramic composition requires you to think about what holds the viewer's attention across the full width.
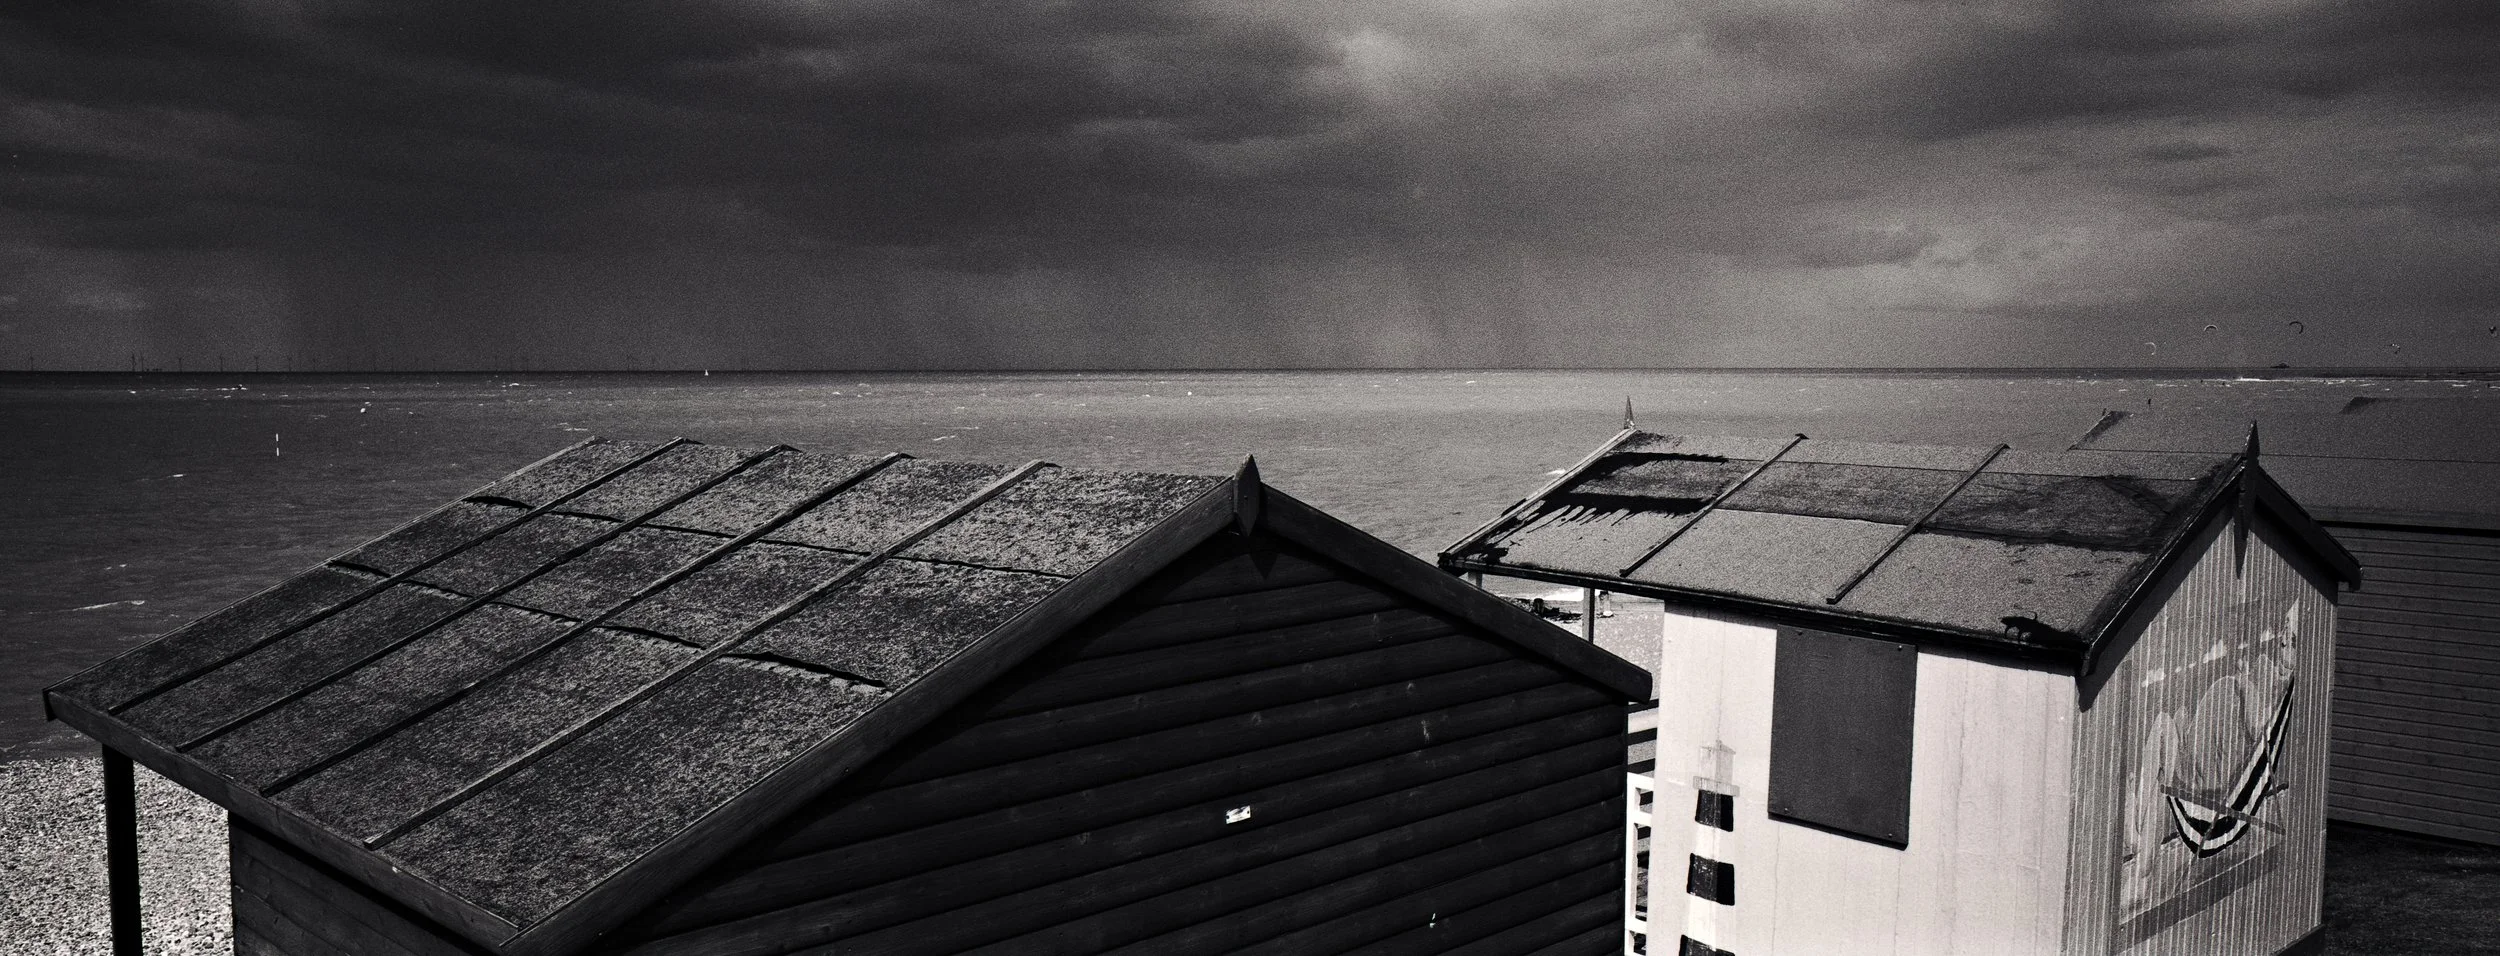
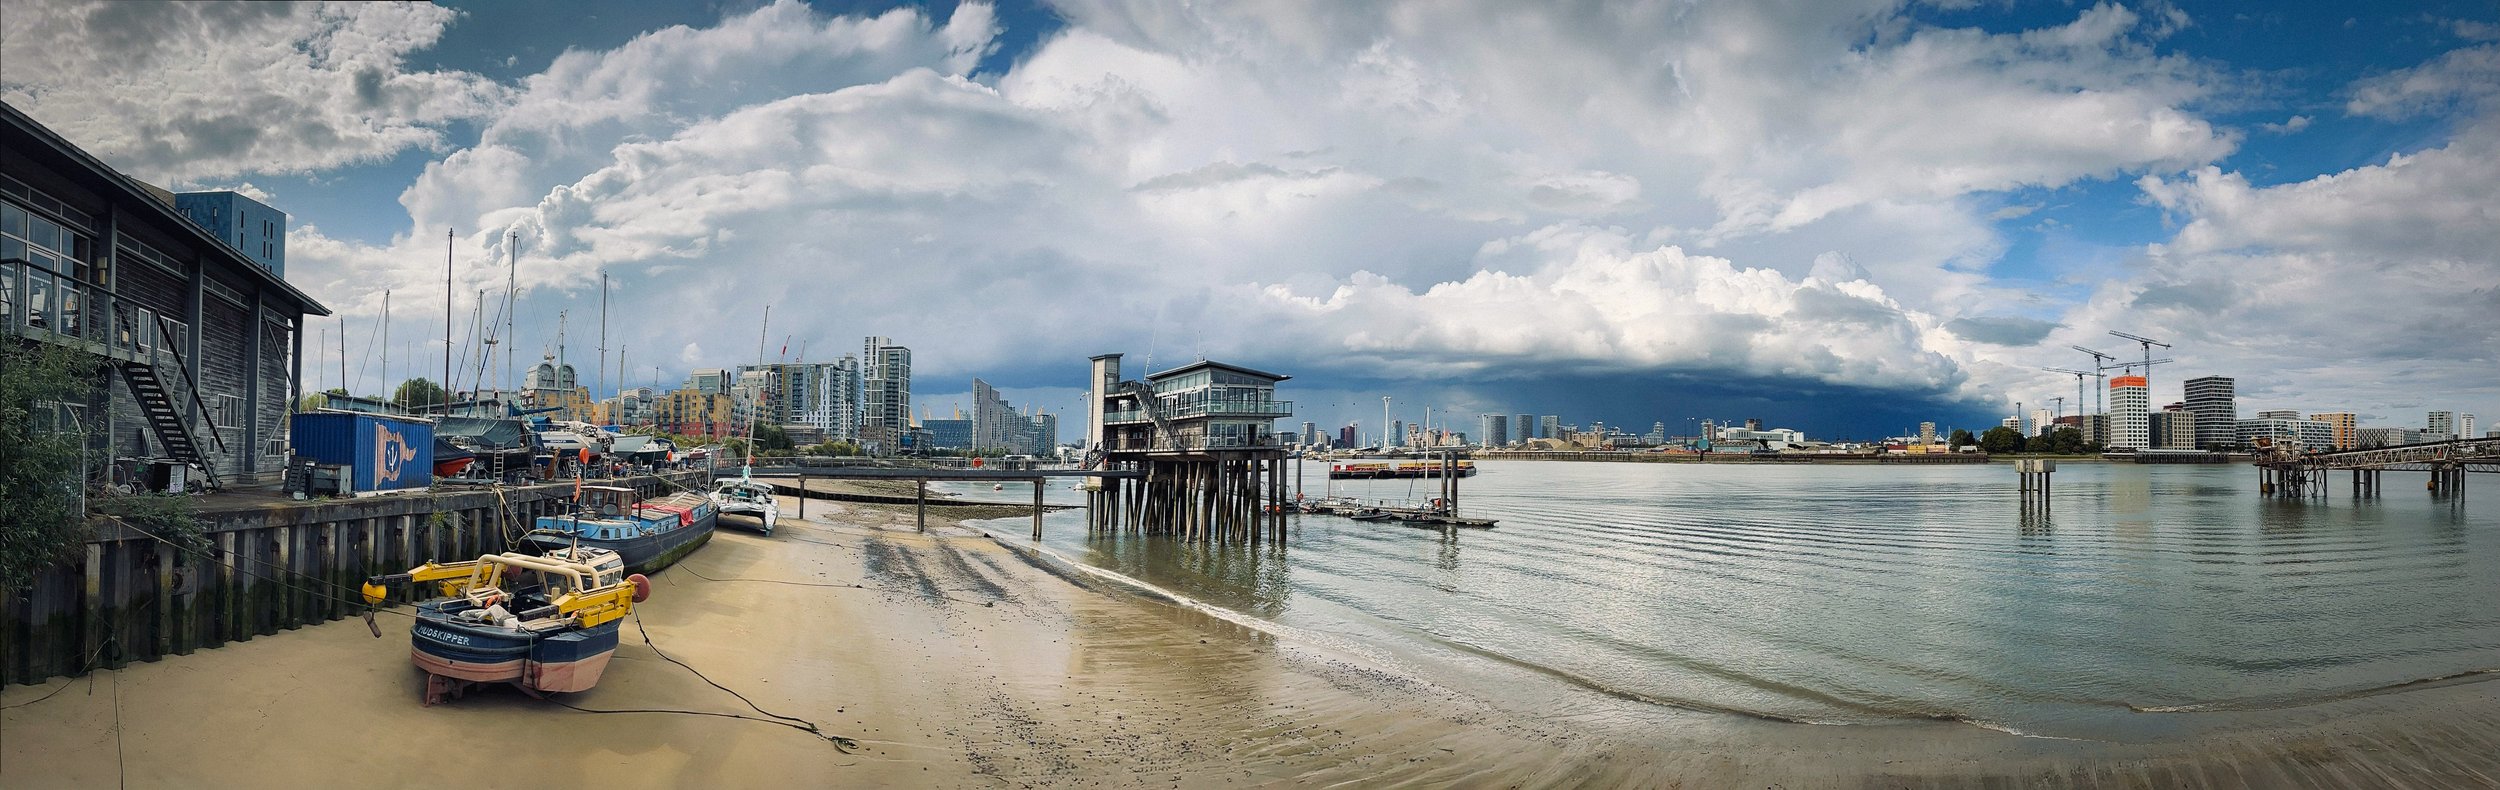
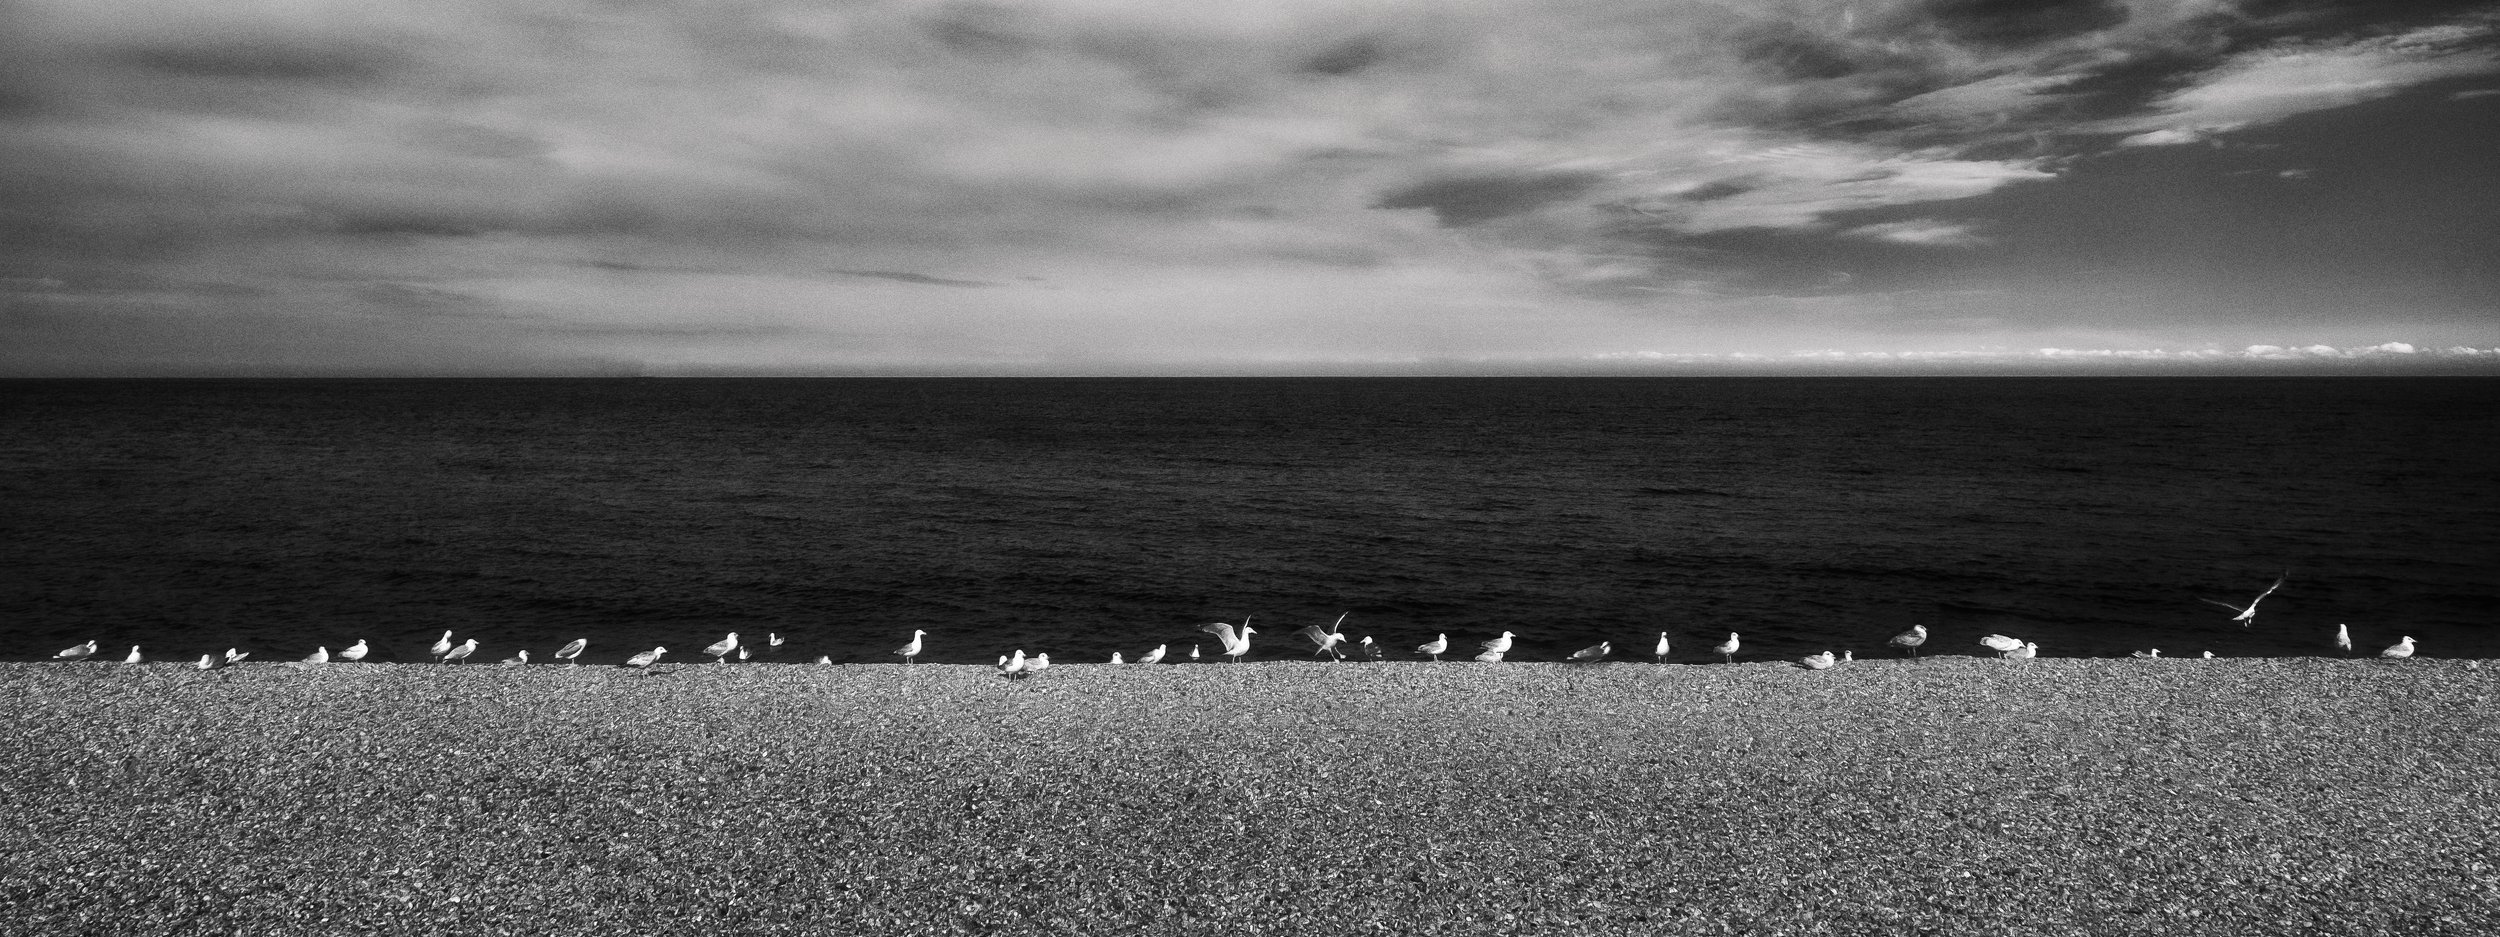
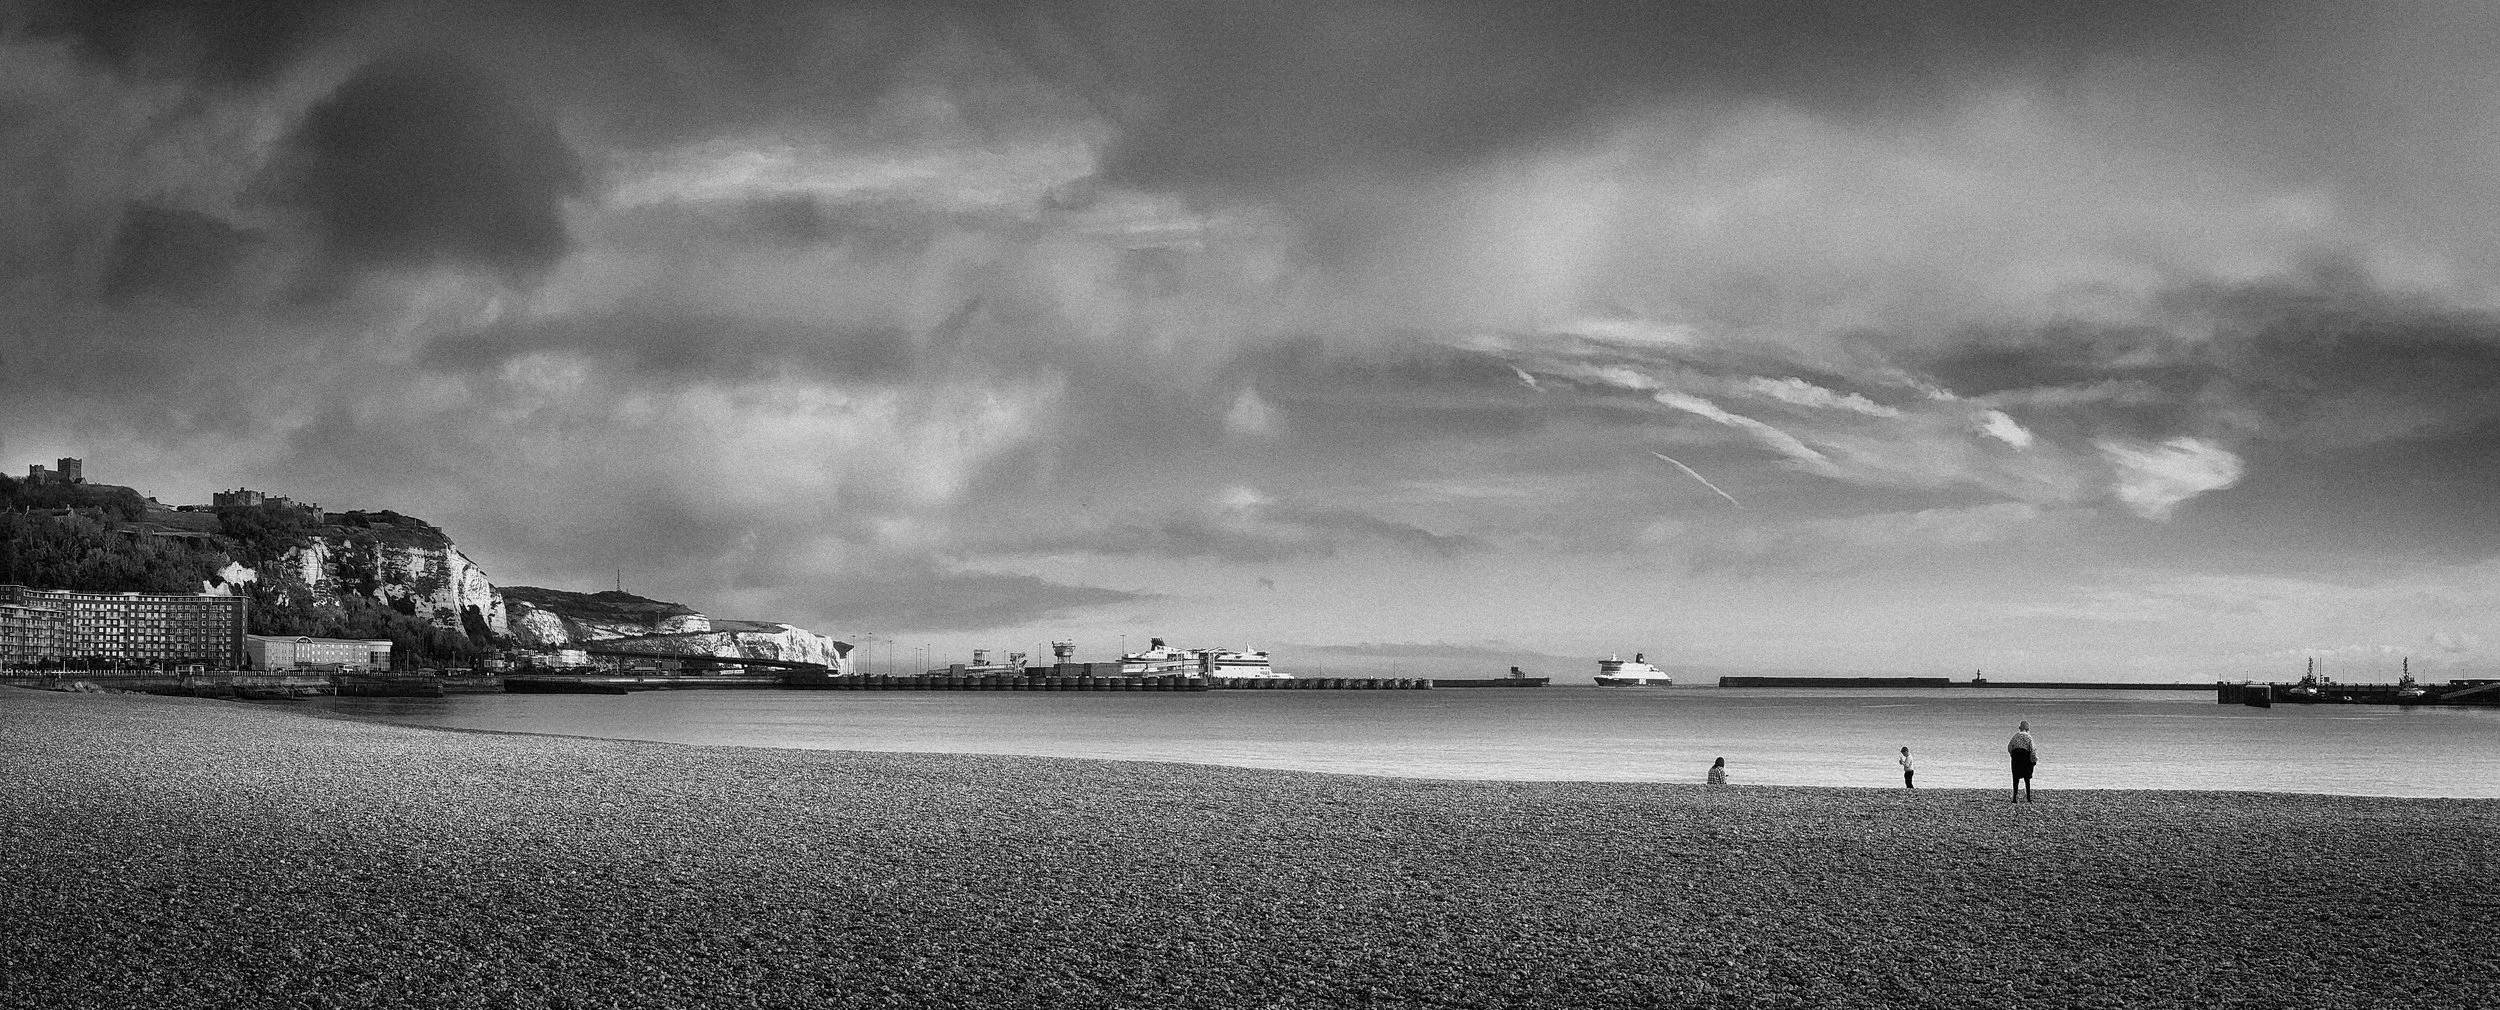
Effective approaches include: a strong foreground texture or leading line that runs the full width; a series of elements distributed at varying distances and positions across the frame; a repeating pattern (a colonnade, a row of beach huts, a line of market stalls) that creates rhythm; or, conversely, a single distant subject centred in a wide, largely empty expanse — which works differently but can work very well. In that last case, the emptiness is itself the subject, and the panoramic format gives it room to breathe.
Vertical panoramas. The composition challenge here is reversed: what leads the eye upward? A strong base — a floor, a water surface, a patch of ground — anchors the image at the bottom and gives the vertical sweep somewhere to begin. A clear vertical subject — a tree trunk, a building facade, a waterfall, a figure looking upward — provides the movement.
The vertical panorama often works best when there is a genuine payoff at the top of the frame: the spread of a tree's canopy, the vaulted ceiling of a cathedral, the summit of a tower. If the image simply fades into undifferentiated sky or ceiling, the sweep has nowhere to arrive.
The parallax problem and composition. This is not just a technical consideration — it has compositional implications. When planning a stitched panorama, avoid placing important subjects very close to the camera. Close foreground subjects will cause stitching problems and may not render cleanly in the final image.
This is a constraint that shapes where you stand and how you frame the shot: moving further back from an interesting foreground element is sometimes the right compositional decision for a stitched panorama, even if it would not be for a single-frame photograph.
The empty panorama. Some of the most powerful wide landscapes contain almost nothing — a thin line of horizon separating a vast sky from a thin strip of land or sea. The panoramic format suits this kind of image particularly well because the emptiness has room to exist without feeling like a compositional failure. In a standard frame, a nearly empty landscape can feel underpopulated; in a panorama, it can feel genuinely immense. Resist the temptation to fill the frame. Empty space is doing compositional work.
Practical Applications in Detail
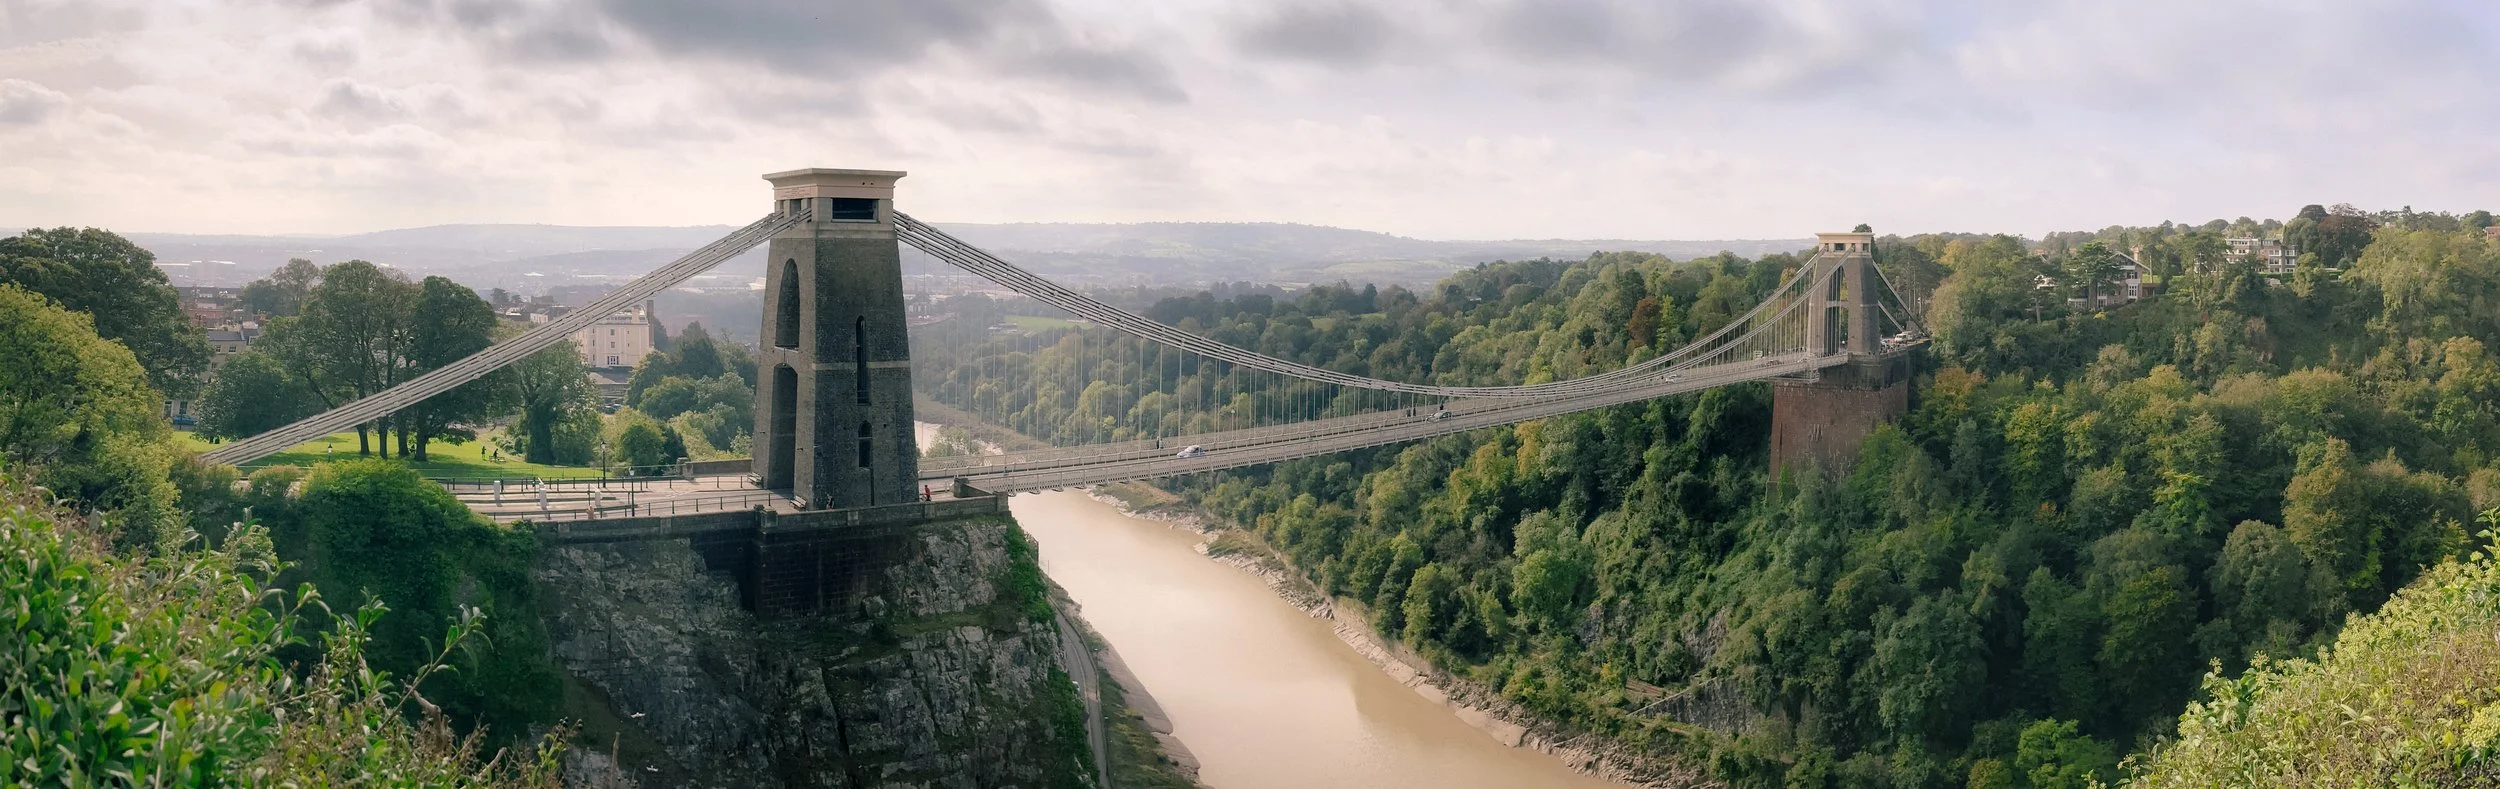
Landscape. The natural home of the panoramic format — but not every landscape benefits from it. The key is finding a scene where the interest genuinely extends across the full width of the frame: a mountain range where the peaks are distributed across the horizon, a wide river valley, a coastal headland with cliffs running in both directions, an urban skyline.
Forcing a panoramic crop onto a standard landscape — shooting a normal scene and then cropping to a thin horizontal strip — rarely works, because the underlying composition was not designed for those proportions. The better approach is to identify subjects that reward the wide sweep, and then compose specifically for it.
Architecture and interiors. Interiors are one of the most rewarding and least exploited panoramic subjects. A wide interior of a long corridor, a colonnaded hall, or a library shot in portrait orientation and swept upward reveals the full height of a space in a way no standard frame can. A nave shot horizontally captures the full length from west door to east window.
The challenge here is parallax: in an interior, near objects — pews, pillars, furniture — are unavoidably close, and careful technique is required. A nodal head or at least a tripod placed centrally in the space, with the camera well back from the nearest foreground elements, will produce a cleaner stitch.
Street photography. The elongated format captures the full width of a street scene or market — a sense of the whole environment rather than a single incident within it. The risk of moving subjects creating artefacts is higher than in any other application, and the decision of whether to treat these as problems to avoid or opportunities to exploit is a genuine creative choice.
A fractured taxi cab in an otherwise clean image of a Parisian boulevard is probably a problem. Multiple overlapping pedestrians creating a crowd of ghost figures on a busy market street might be deliberately interesting.
Events and group photography. The panoramic format has a long association with large-group photographs — the classic school photograph, the regimental portrait, the conference group shot. This is the application for which the Cirkut camera was most widely used: its rotating drum of film could capture a group of several hundred people in a single sweep.
The same logic applies today: when the group is too wide for a standard frame, sweep across it. The technical requirement is that everyone must remain still for the duration of the sweep, which is its own challenge.
360-degree virtual panoramas. Worth a brief mention as a distinct application. Full-circle panoramas made for interactive viewing — Google Street View style, where the viewer can look in any direction — use different techniques and different software, and the result is not a flat print but an interactive experience.
The technique involves shooting in multiple rows with significant overlap, stitching into a spherical projection, and publishing in a format that allows navigation. This is largely outside the scope of this article, but it is a serious and growing field with applications in architecture, real estate, and journalism.
Common Problems & Solutions
Wavy horizon. Caused by tilting the phone or camera during the sweep — any dip or rise in the angle becomes a gentle wave in the horizon line. Practise the panning movement before exposing: rehearse keeping the phone or camera level throughout the full arc. Enable the grid overlay on your phone and use the horizon guide line as a reference. On a tripod, ensure the head is level before you begin.
Stitching seams visible. Usually one of three causes: exposure shift between frames (lock exposure before starting, and use manual mode); insufficient overlap (increase to 40% or above, and shoot more frames); or subjects moving between frames (shoot in lower-traffic conditions, or plan to correct in post). Check the seams against the sky first — that is where they are most obvious.
Ghosting around close subjects. Parallax. The practical solutions are: move further from the foreground subject so it is no longer close enough to cause significant parallax shift; use a tripod with a nodal rail and ensure you are rotating around the lens's nodal point; or, if neither is possible, accept that close foreground subjects will be problematic and compose to avoid them.
Banding in the sky. Visible steps in brightness across the sky are caused by exposure variation between frames — almost always the result of shooting with auto-exposure or auto-white balance active. The fix is to lock exposure and white balance before beginning the sweep. In post, if banding is mild, a graduated mask across the sky with a brightness adjustment can reduce it, but it cannot remove it entirely. The solution is in the capture.
Distorted architecture. Straight lines bending at the edges — particularly vertical lines curving outward or inward — are inherent in some stitching projection methods, particularly spherical and cylindrical projection applied to wide panoramas. Lightroom's Transform panel and the Geometry correction tools can help; the Perspective projection option in Merge to Panorama reduces this at the cost of other edge distortions. Shooting with a slightly longer focal length — 35mm or 50mm equivalent rather than an ultra-wide — reduces distortion throughout and often produces cleaner stitches.
Moving subjects in stitched panoramas. The approach depends on what the moving subject is doing. For a person walking through the scene: if you are shooting a sequence of overlapping frames from a tripod, shoot several frames of each position and choose the frame in which the person is either absent or in a clean, well-positioned part of the frame. If you cannot avoid the person entirely, and their position in the stitch creates an obvious artefact, Content-Aware Fill in Photoshop can sometimes remove them. Alternatively, embrace the artefact: a figure caught in mid-stride at the join between two frames, partially present in both, creates a deliberately fragmented, time-based effect.
Editing Panoramas
Lightroom's Merge to Panorama. Select all the frames in the grid view, right-click, and choose Photo Merge > Panorama. Lightroom will offer three projection options:
Spherical maps the images as if projected onto the inside of a sphere. This works well for panoramas covering a wide horizontal angle — 120 degrees or more — and for multi-row panoramas. It handles extreme angles without the severe edge distortion of Perspective projection.
Cylindrical maps the images onto a cylinder. This is generally the best choice for standard horizontal panoramas — particularly landscapes — as it keeps the horizon relatively straight and handles moderate angles cleanly.
Perspective treats the panorama as if it were a single very wide-angle image. This keeps straight lines straight, which is valuable for architectural work, but it introduces significant stretching at the edges of wide panoramas. Use it for panoramas covering 90 degrees or less; avoid it for wider sweeps.
The Auto Crop option trims the irregular edges of the stitched result to a clean rectangle. Fill Edges (where available) attempts to extend the image to fill the irregular areas using content-aware technology — useful but inconsistent; check the edges carefully before relying on it.
The curved horizon. Spherical and cylindrical projection can produce a slightly curved horizon on wide panoramas — a gentle bow in what should be a straight line. The Perspective option eliminates the curve but introduces edge distortion.
Which matters more depends on the specific image: a seascape with a clearly straight horizon where the curve is obvious needs the Perspective projection (or manual correction in the Transform panel); an interior panorama where there is no straight reference line probably does not. The Transform panel's Vertical and Horizontal sliders in Lightroom can help nudge a mildly curved horizon straight.
Cropping. Almost every stitched panorama will need cropping after the merge, because the edges of a stitched sequence rarely form a perfect rectangle. Allow for this when shooting: give yourself extra headroom above and below the intended composition so that cropping to a clean rectangle does not remove anything important. The standard post-stitch workflow is: merge in Lightroom, crop to a clean rectangle with the intended aspect ratio, then proceed with normal tonal and colour adjustments.
Exposure and colour. Treat the stitched panorama exactly as you would treat any single RAW file. Adjust exposure, highlights, shadows, whites, blacks, and white balance normally. Colour grading applies in the same way. The advantage of merging RAW files in Lightroom is that the resulting DNG retains the full dynamic range of the original captures, giving you the same headroom you would have working with a single well-exposed RAW.
Selective adjustments. A graduated filter darkening the sky relative to the landscape is often needed in the finished panorama — the same sky-to-land balance problem that exists in a standard landscape exists here, and the panoramic width does not change it. Lightroom's Masking panel handles the full width of the stitched image normally. A Linear Gradient or a Sky mask works across the entire panorama. Be aware that the sky at the left and right edges of a very wide panorama may differ in tone from the centre — particularly if you were shooting near sunrise or sunset — and a simple gradient may not be enough; multiple local adjustments may be needed.
Content-Aware Fill in Photoshop. For filling the irregular edges that remain after stitching and cropping, Photoshop's Content-Aware Fill is the most effective tool. It works well on sky, on water, and on relatively simple, repeating textures. It struggles with complex structured content — buildings, faces, text — where its filled area is obviously synthetic. If the irregular edges fall over sky or open water, use it without hesitation. If they fall over complex foreground content, the cleaner approach is often to crop slightly more aggressively.
Print considerations. Panoramic prints are physically long. A 3:1 panorama printed at A3 is 420mm × 140mm — a narrow horizontal strip that displays very differently from a standard A3 print. Most online and high-street print labs offer panoramic print sizes, but it is worth checking the available options before finalising your crop.
Common panoramic print lengths are 60cm, 90cm, and 120cm; at 90cm a 3:1 panorama is 90cm × 30cm, which is a dramatic display format. For home printing, a roll-paper printer is preferable to a cut-sheet printer for panoramic output, as standard A3 and A4 sheets constrain the available length. Canvas panoramic prints are a popular display format and suit the wide format well.
Resources
Here’s an interesting video from Emil Pakarklis, on location at the beautiful Gauja National Park in Latvia: “The iPhone Pano mode is an amazing camera feature that lets you capture stunning ultra-wide images… It’s great to use whenever your scene doesn’t fit into a standard photo. This could be a beautiful landscape scenery, a large architectural building or any scene that’s big and impressive. Watch this video to find out how to capture breathtaking panoramic photos.”
Here’s a fantastic video from Nick Carver, the 4th in his series on shooting panoramas with a 6x17 large format film camera. However, this final episode looks at the composition of panoramic images rather than the technical side and the gear, and provides valuable insights no matter what you are shooting with. Nick’s own description of the video is funny and worth reading: “Hey, fun fact: if you watch this entire 4-part series back-to-back it’s like watching a Chia Pet grow. What can I say? I’m growing my hair out and letting the beard fill in. Really embracing that “homeless guy” vibe. Anyway, onto photography. Yes, this is the final part of my 4-part video series all about 6x17 photography. This time we’re talking about the artistic stuff. You know, the intangible stuff, the completely subjective stuff, the stuff that has no definite right or wrong and is perpetually debatable. Those are the topics I like to tackle because there’s no chance any viewer will find fault in what I’m saying. No chance. So get ready, ladies and gentlemen, because I’m about to cure the entire world of artistic uncertainty. I have all the answers on what it takes to create a great panoramic composition. And I’m sharing all of those answers in this 21-minute video. I’m just playin’ guys. Just some 6x17 goofin’. Despite all the “rule of thirds” crop overlays and “golden ratios” and that swirly line drawing thing they overlay on famous artworks to show how the artist used math to create a perfect composition…despite all that, I know composition is subjective and it’s not an exact science. Beauty is in the eye of the beholder, to each his own, etc etc. But I thought you might like to hear my take on it anyway.”
In this video, Thomas Heaton is out on the coast with Big Bertha shooting panoramics: “Today I take out my Fujifilm GX617 panoramic film camera with some Kodak Portra 160 and Fuji Velvia 50. I have not had much luck with this camera in the past, but today I finally feel like this camera and I are starting to get along. We shoot some beautiful sunrise photography at my local beach and try our best to avoid any people getting in the frame... and it is a big frame!”
Finally, Adam Karnacz of First Man Photography gives an excellent guide to shooting panoramas: “Today we’re going wide, to see the bigger picture as I share my ultimate guide to panorama photography.”
Give it a Try!
Exercise 1: The horizon. Find a clear, wide view — a stretch of coast, an open moorland, a rooftop with a city skyline. Shoot the same panorama three times: once with the horizon placed in the upper third of the frame, once at the midpoint, and once in the lower third. Do not adjust anything else between shots. Compare the three results and note how profoundly the horizon position changes the sense of space, weight, and emphasis in the image. This is the single most useful panoramic composition exercise you can do.
Exercise 2: The portrait-orientation panorama. Take your phone and find a subject with genuine vertical extent — a large tree, the corner of a tall building seen from close range, the interior of a room with an interesting ceiling. Activate panorama mode, rotate the phone to the landscape position (which will become the base of your upward sweep), and pan upward. Notice what the vertical sweep reveals that a standard portrait shot of the same subject would not, and notice how the format changes your relationship to the subject.
Exercise 3: The manual stitch. Find a wide scene with a clear horizon at a reasonable distance. Set your camera or phone to manual exposure. Shoot a sequence of five overlapping frames, turning the camera roughly 15–20 degrees between each and ensuring approximately a third of each frame overlaps with the next. Import the sequence into Lightroom and use Photo Merge > Panorama to stitch them. Then shoot the same scene again using the phone's panorama mode. Compare the two results: the quality, the distortion, the smoothness of the tonal transitions, and the flexibility you have in post-processing. The comparison is instructive.