How to Shoot Reflections
The world is full of mirrors. Not the bathroom kind — the accidental kind. Puddles after rain. The long flank of a glass office building. A canal going nowhere in particular on a grey Tuesday. Most people walk past these surfaces without registering them, which is entirely understandable, because most people are not carrying a camera and quietly losing their minds over the inverted sky in a puddle outside a chip shop. Once you start noticing reflective surfaces, though, you cannot stop. They are absolutely everywhere, and they are doing something genuinely interesting: showing you the world twice, slightly differently each time.
The appeal of reflection photography is not merely decorative. A reflection does not simply repeat what is already in the frame — it complicates it. It adds depth to a flat surface. It introduces a second point of interest, a secondary world running parallel to the primary one, and it invites the viewer to read the relationship between the two.
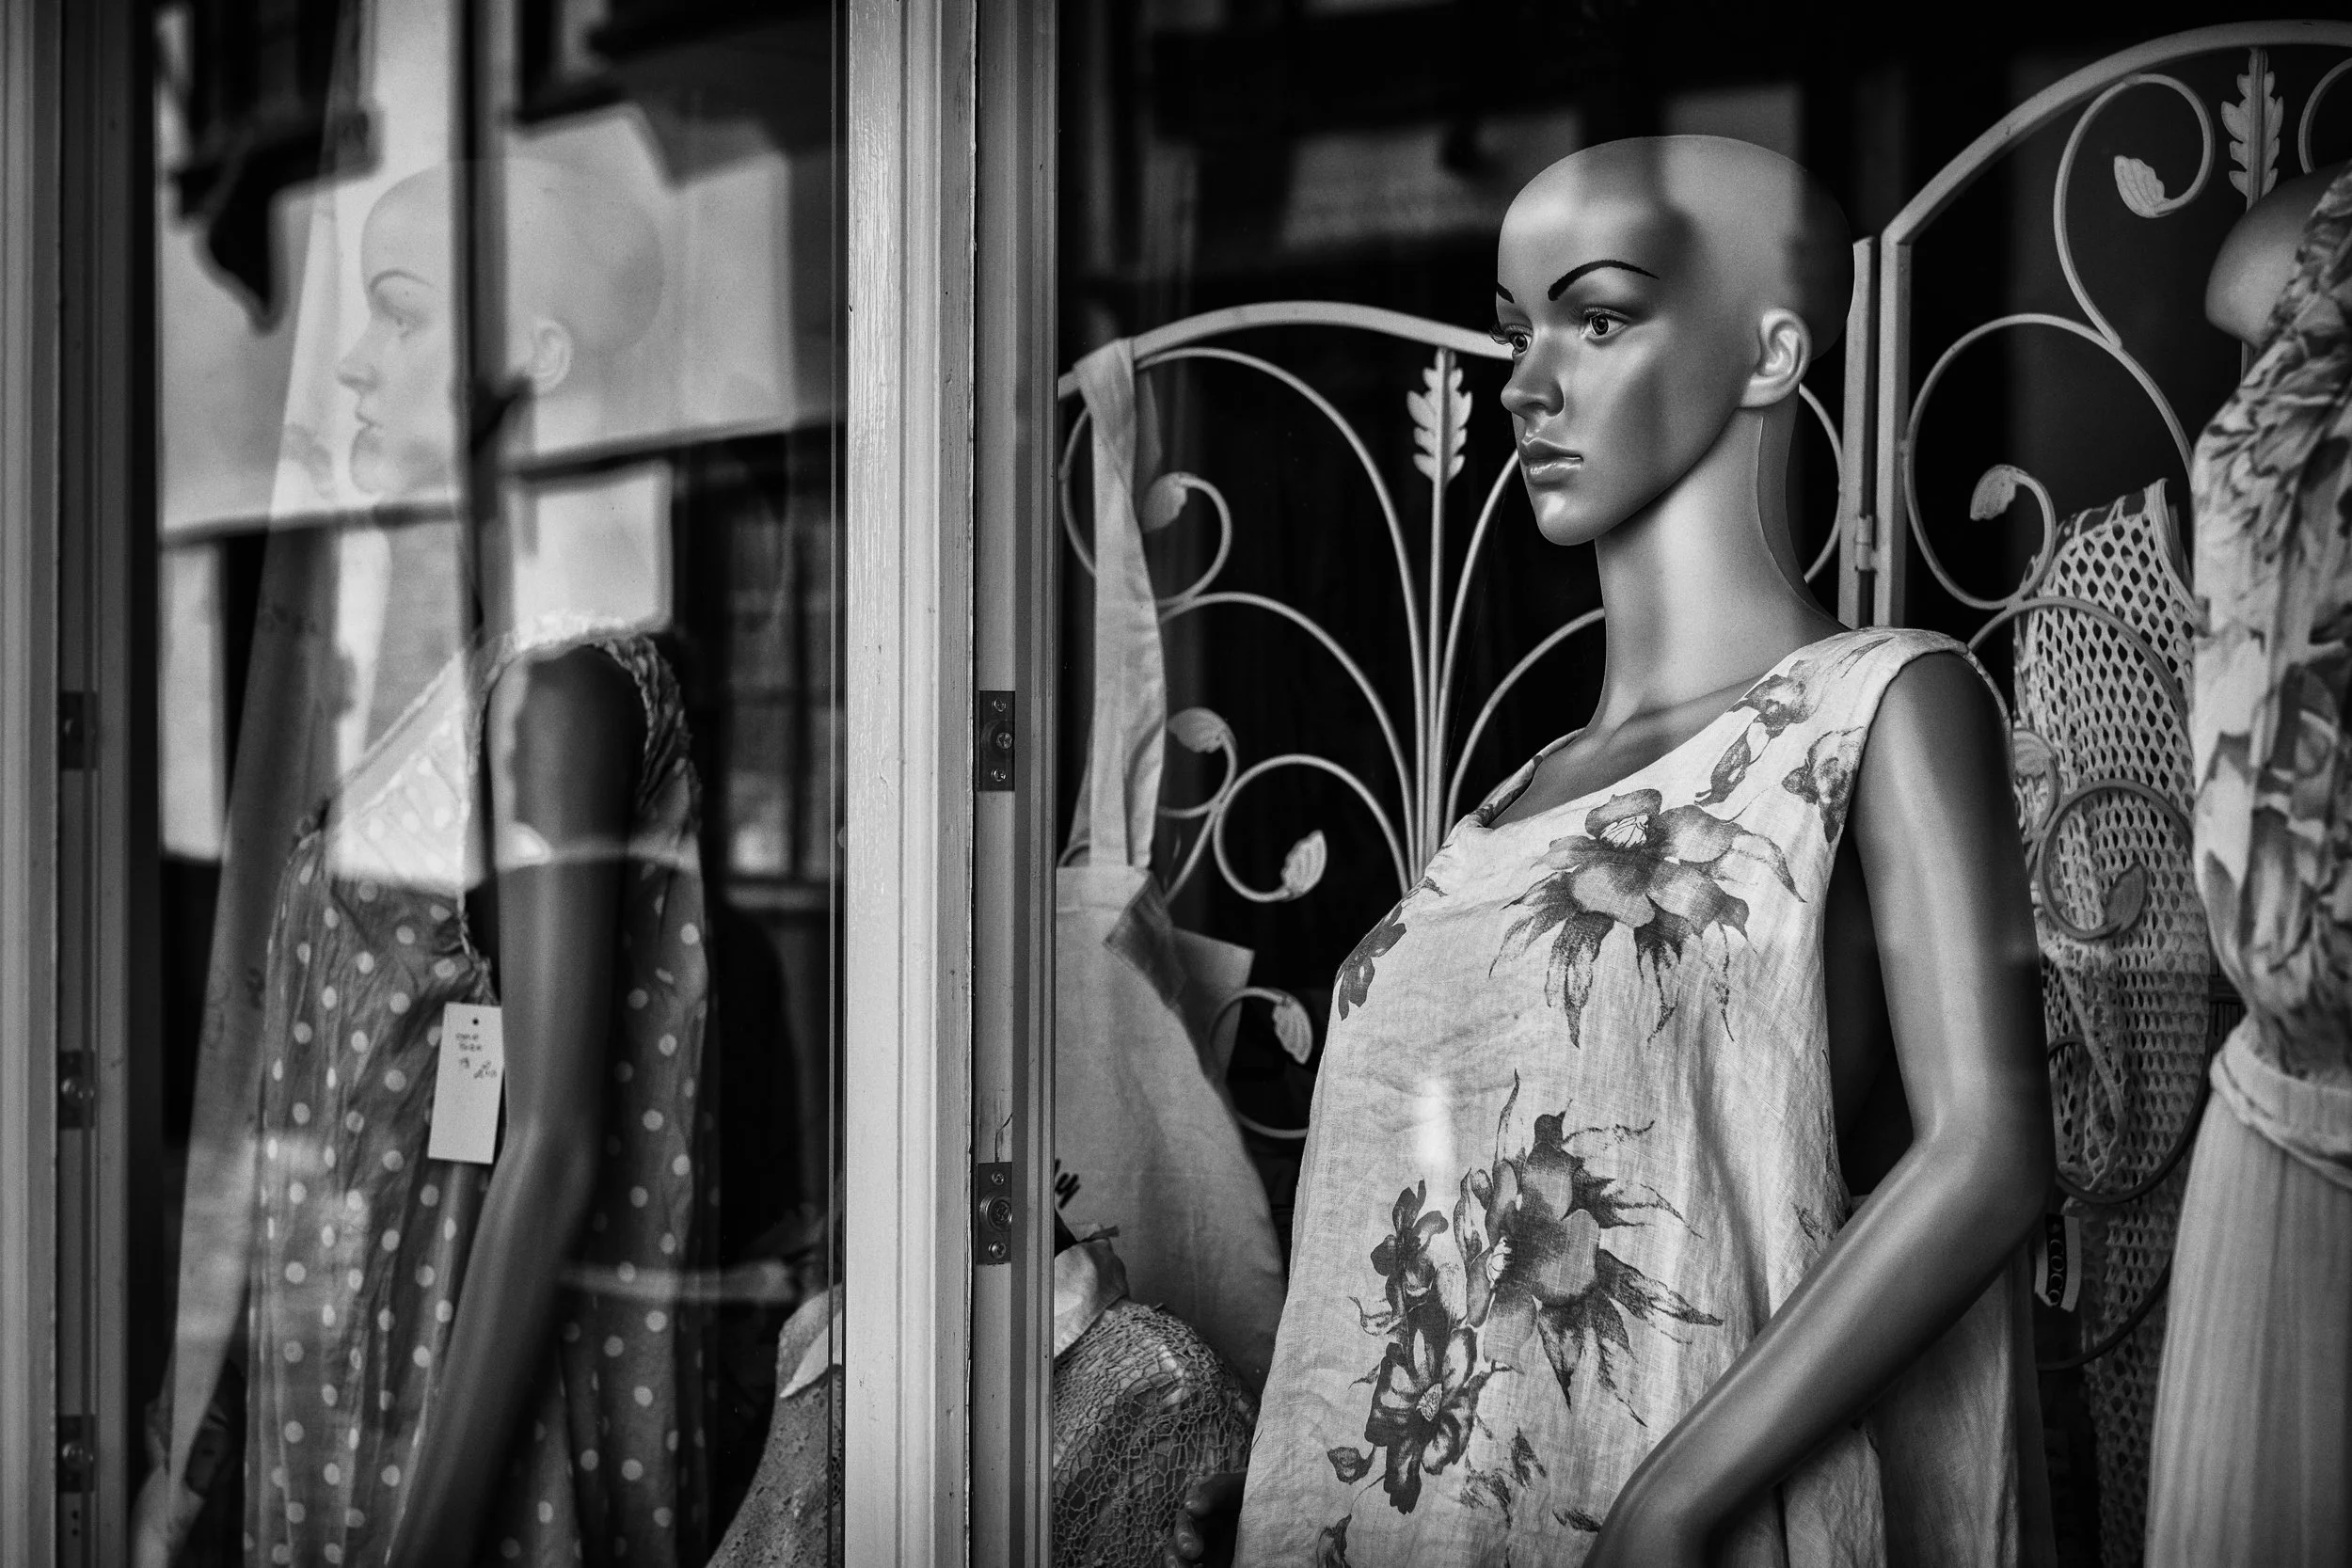
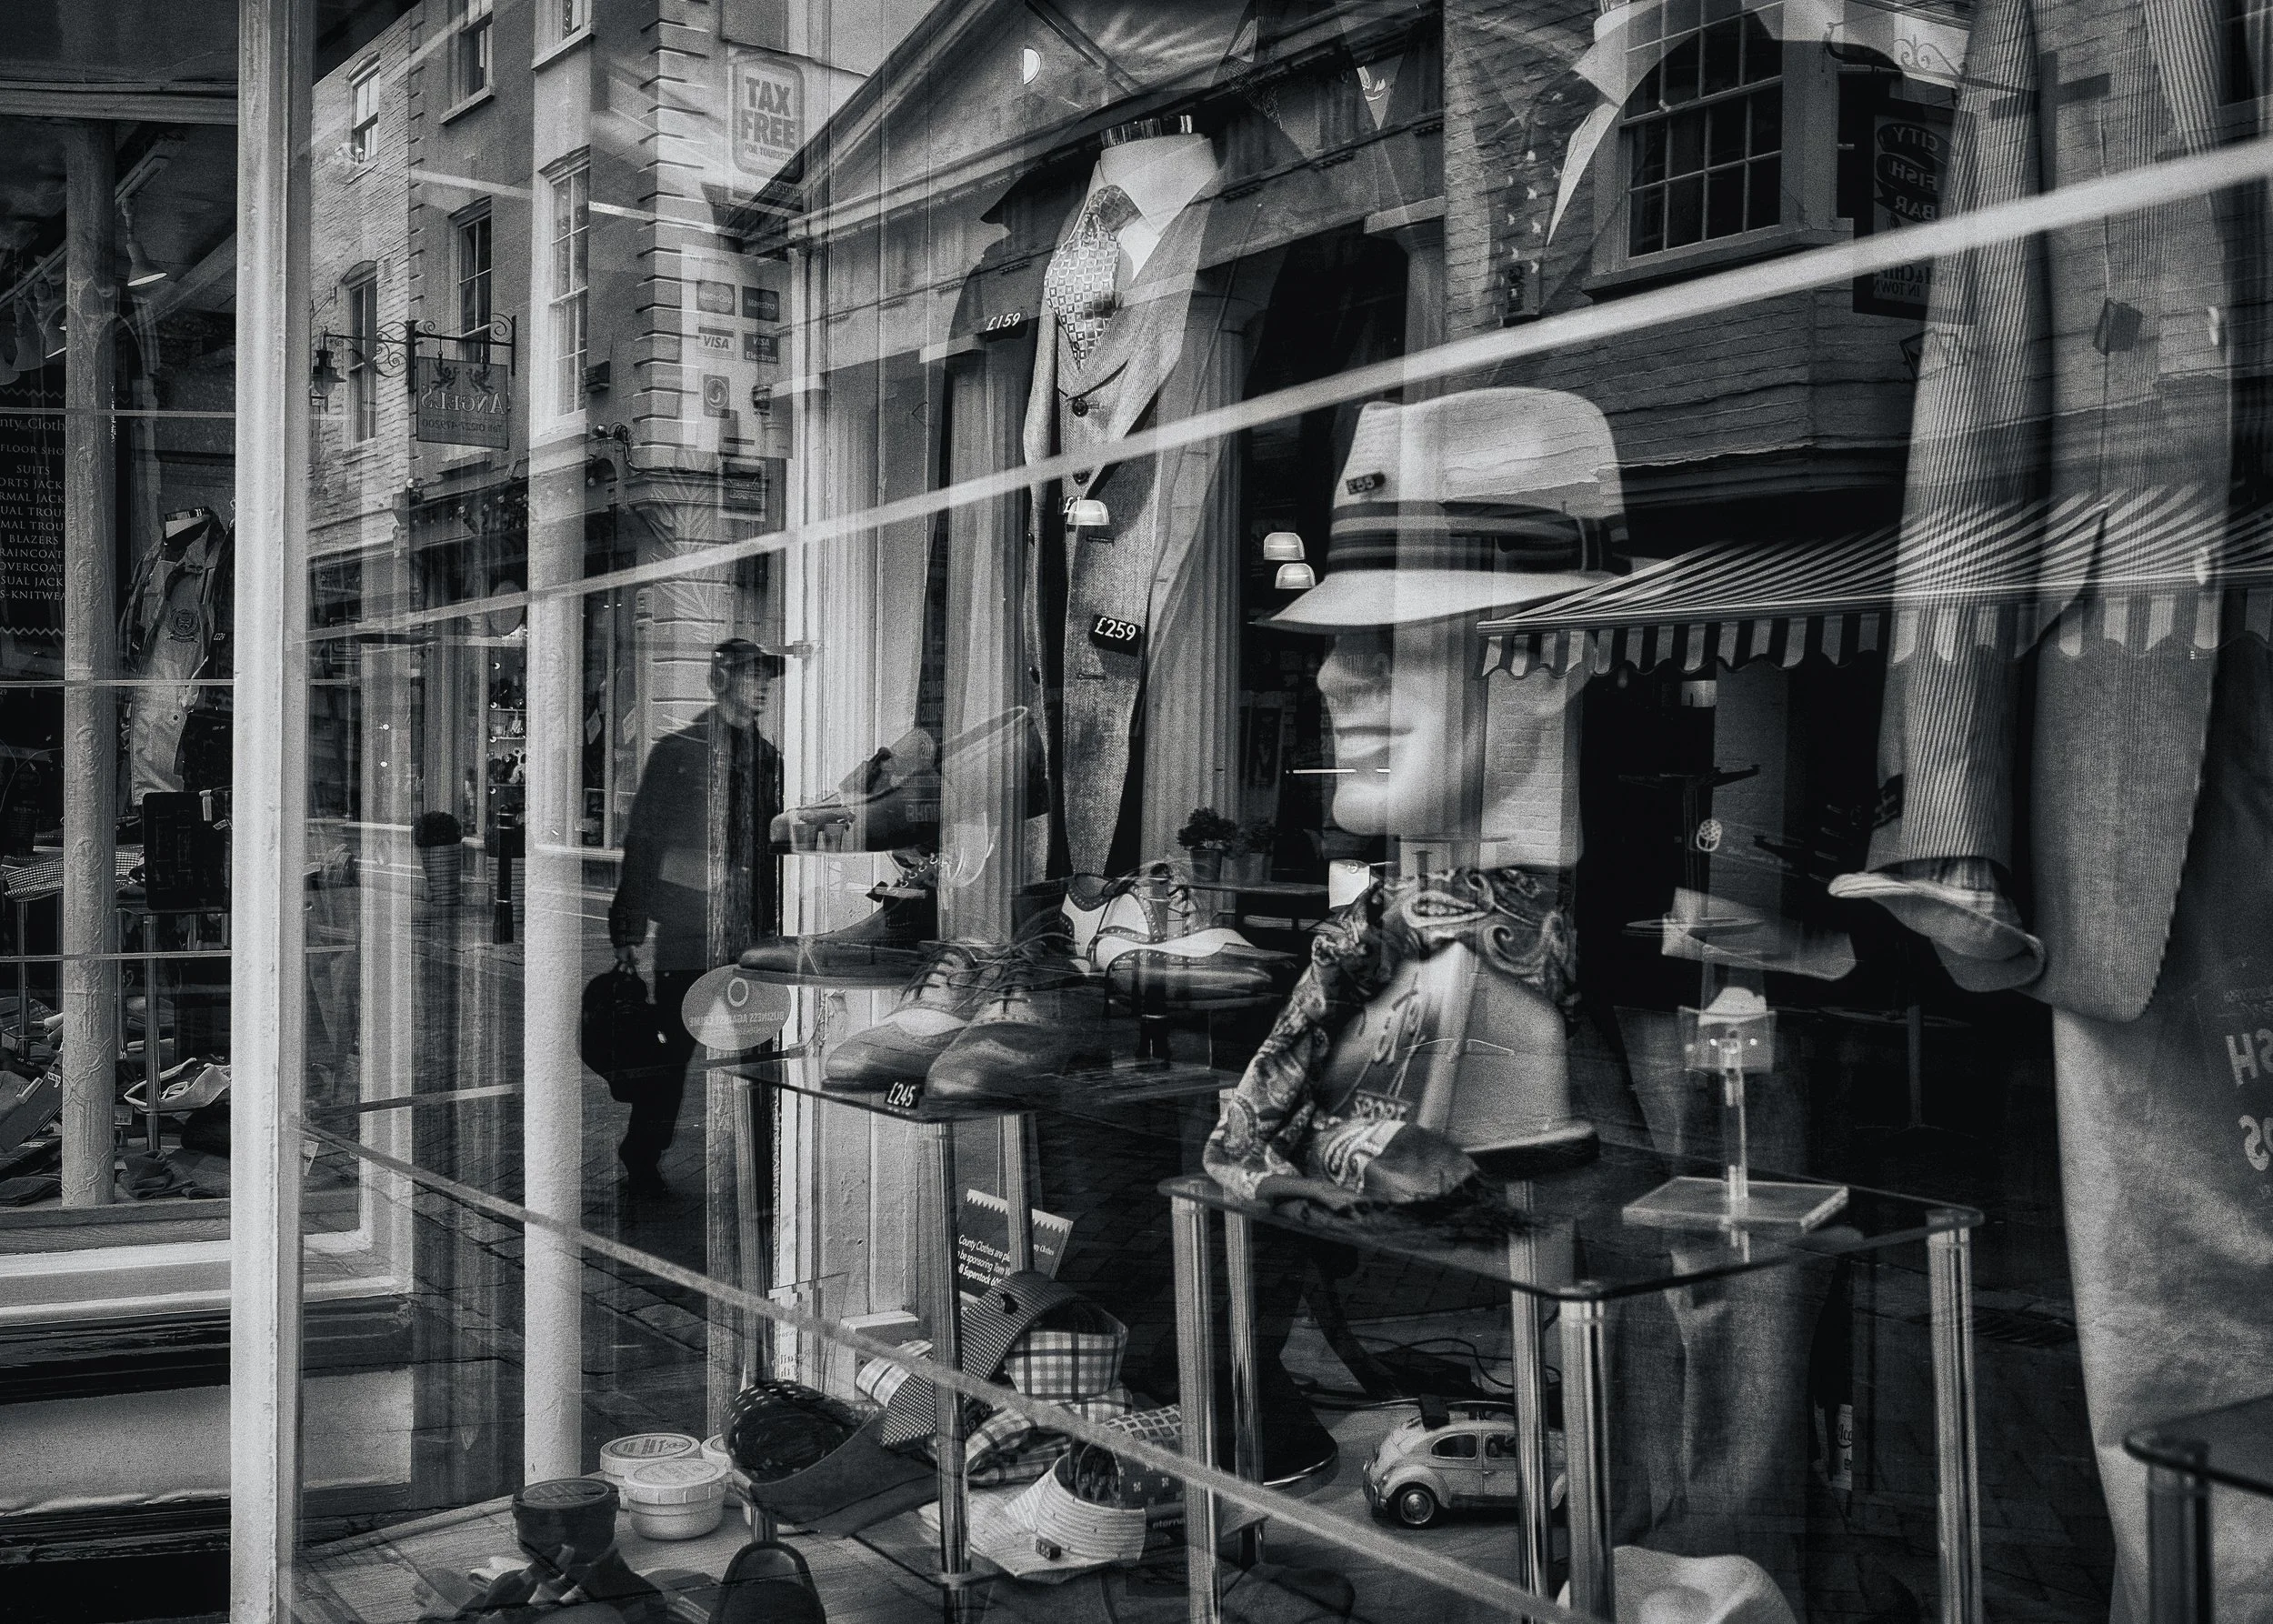
A mundane shopfront becomes intriguing when you can see both the window display and the reflected street behind you occupying the same rectangle of glass. A canal in a post-industrial city becomes something else entirely when the water is still enough to double the sky. The reflection transforms the ordinary because it forces a rereading — and that, really, is what photography is for.
This guide covers the practical matter of how to find reflections, how to approach them technically, and how to make images that use the reflected world to say something the un-reflected world could not quite manage. No expensive kit required. A working camera, an eye for surfaces, and a willingness to crouch in a puddle will take you further than any lens.
Training Your Eye to Find Reflections
The first skill is noticing. This sounds trivially obvious, but developing a reflective-surface awareness takes a little deliberate practice before it becomes automatic.
A useful taxonomy of surfaces:
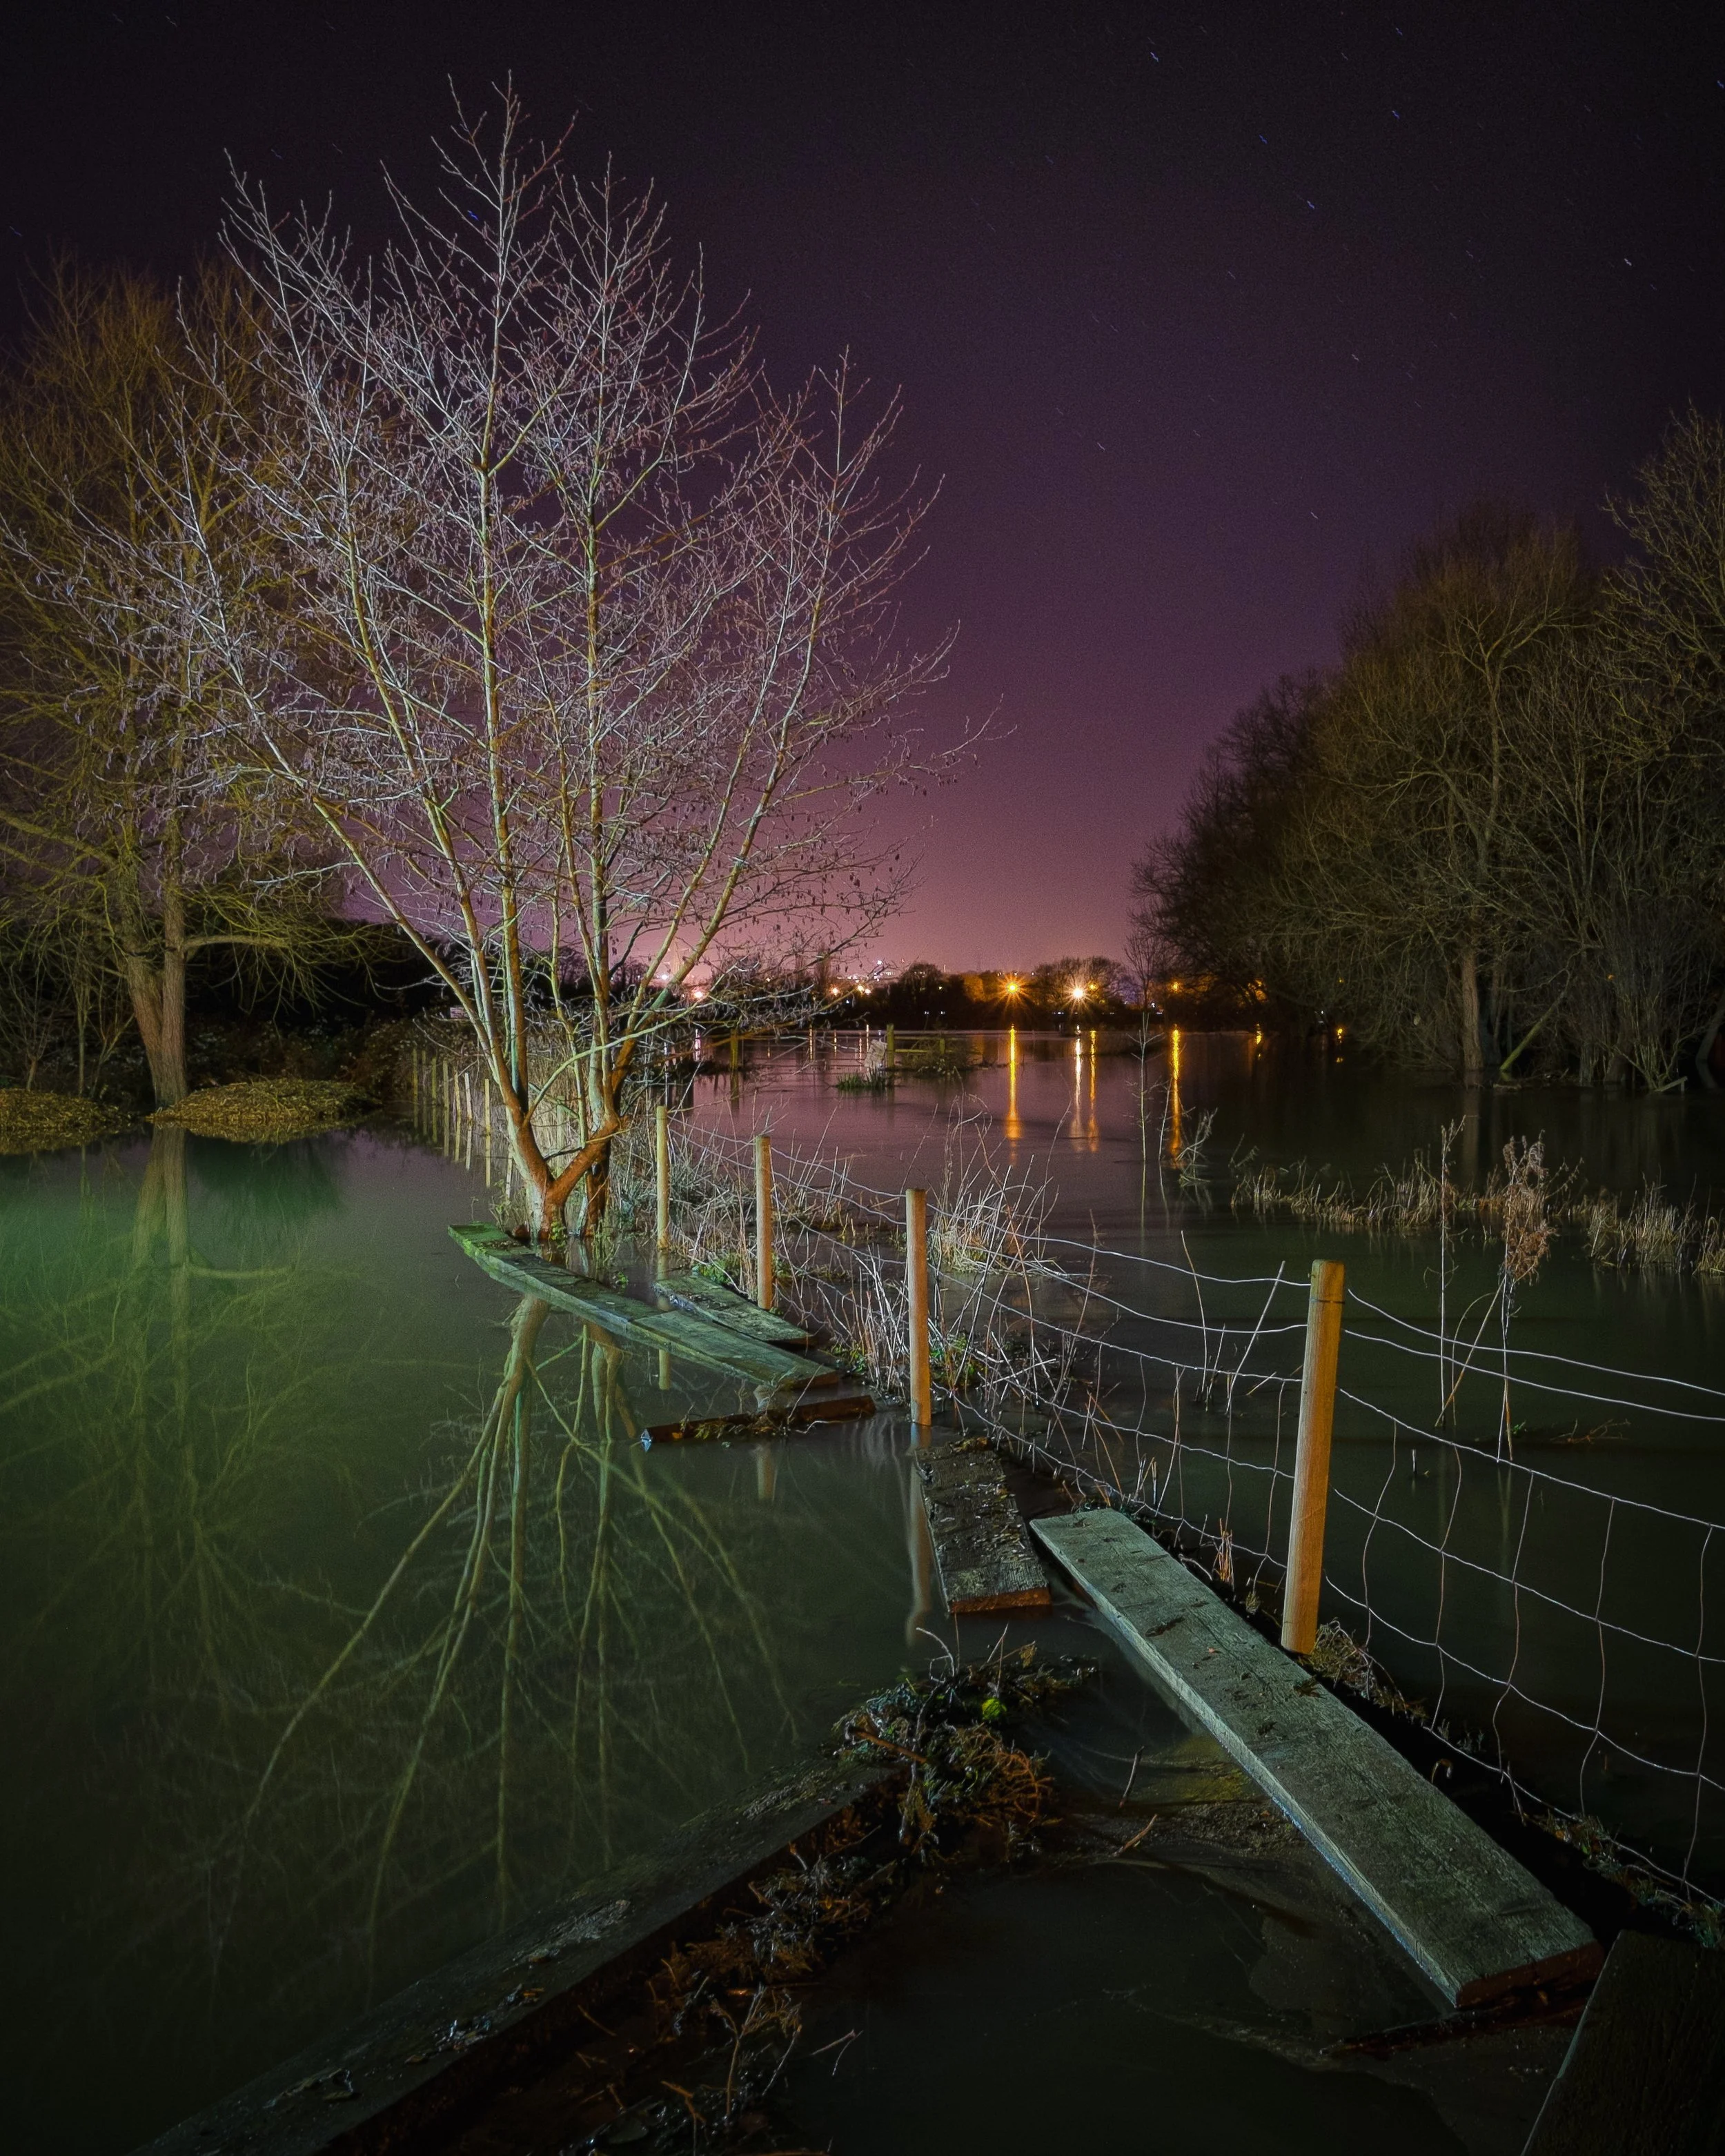
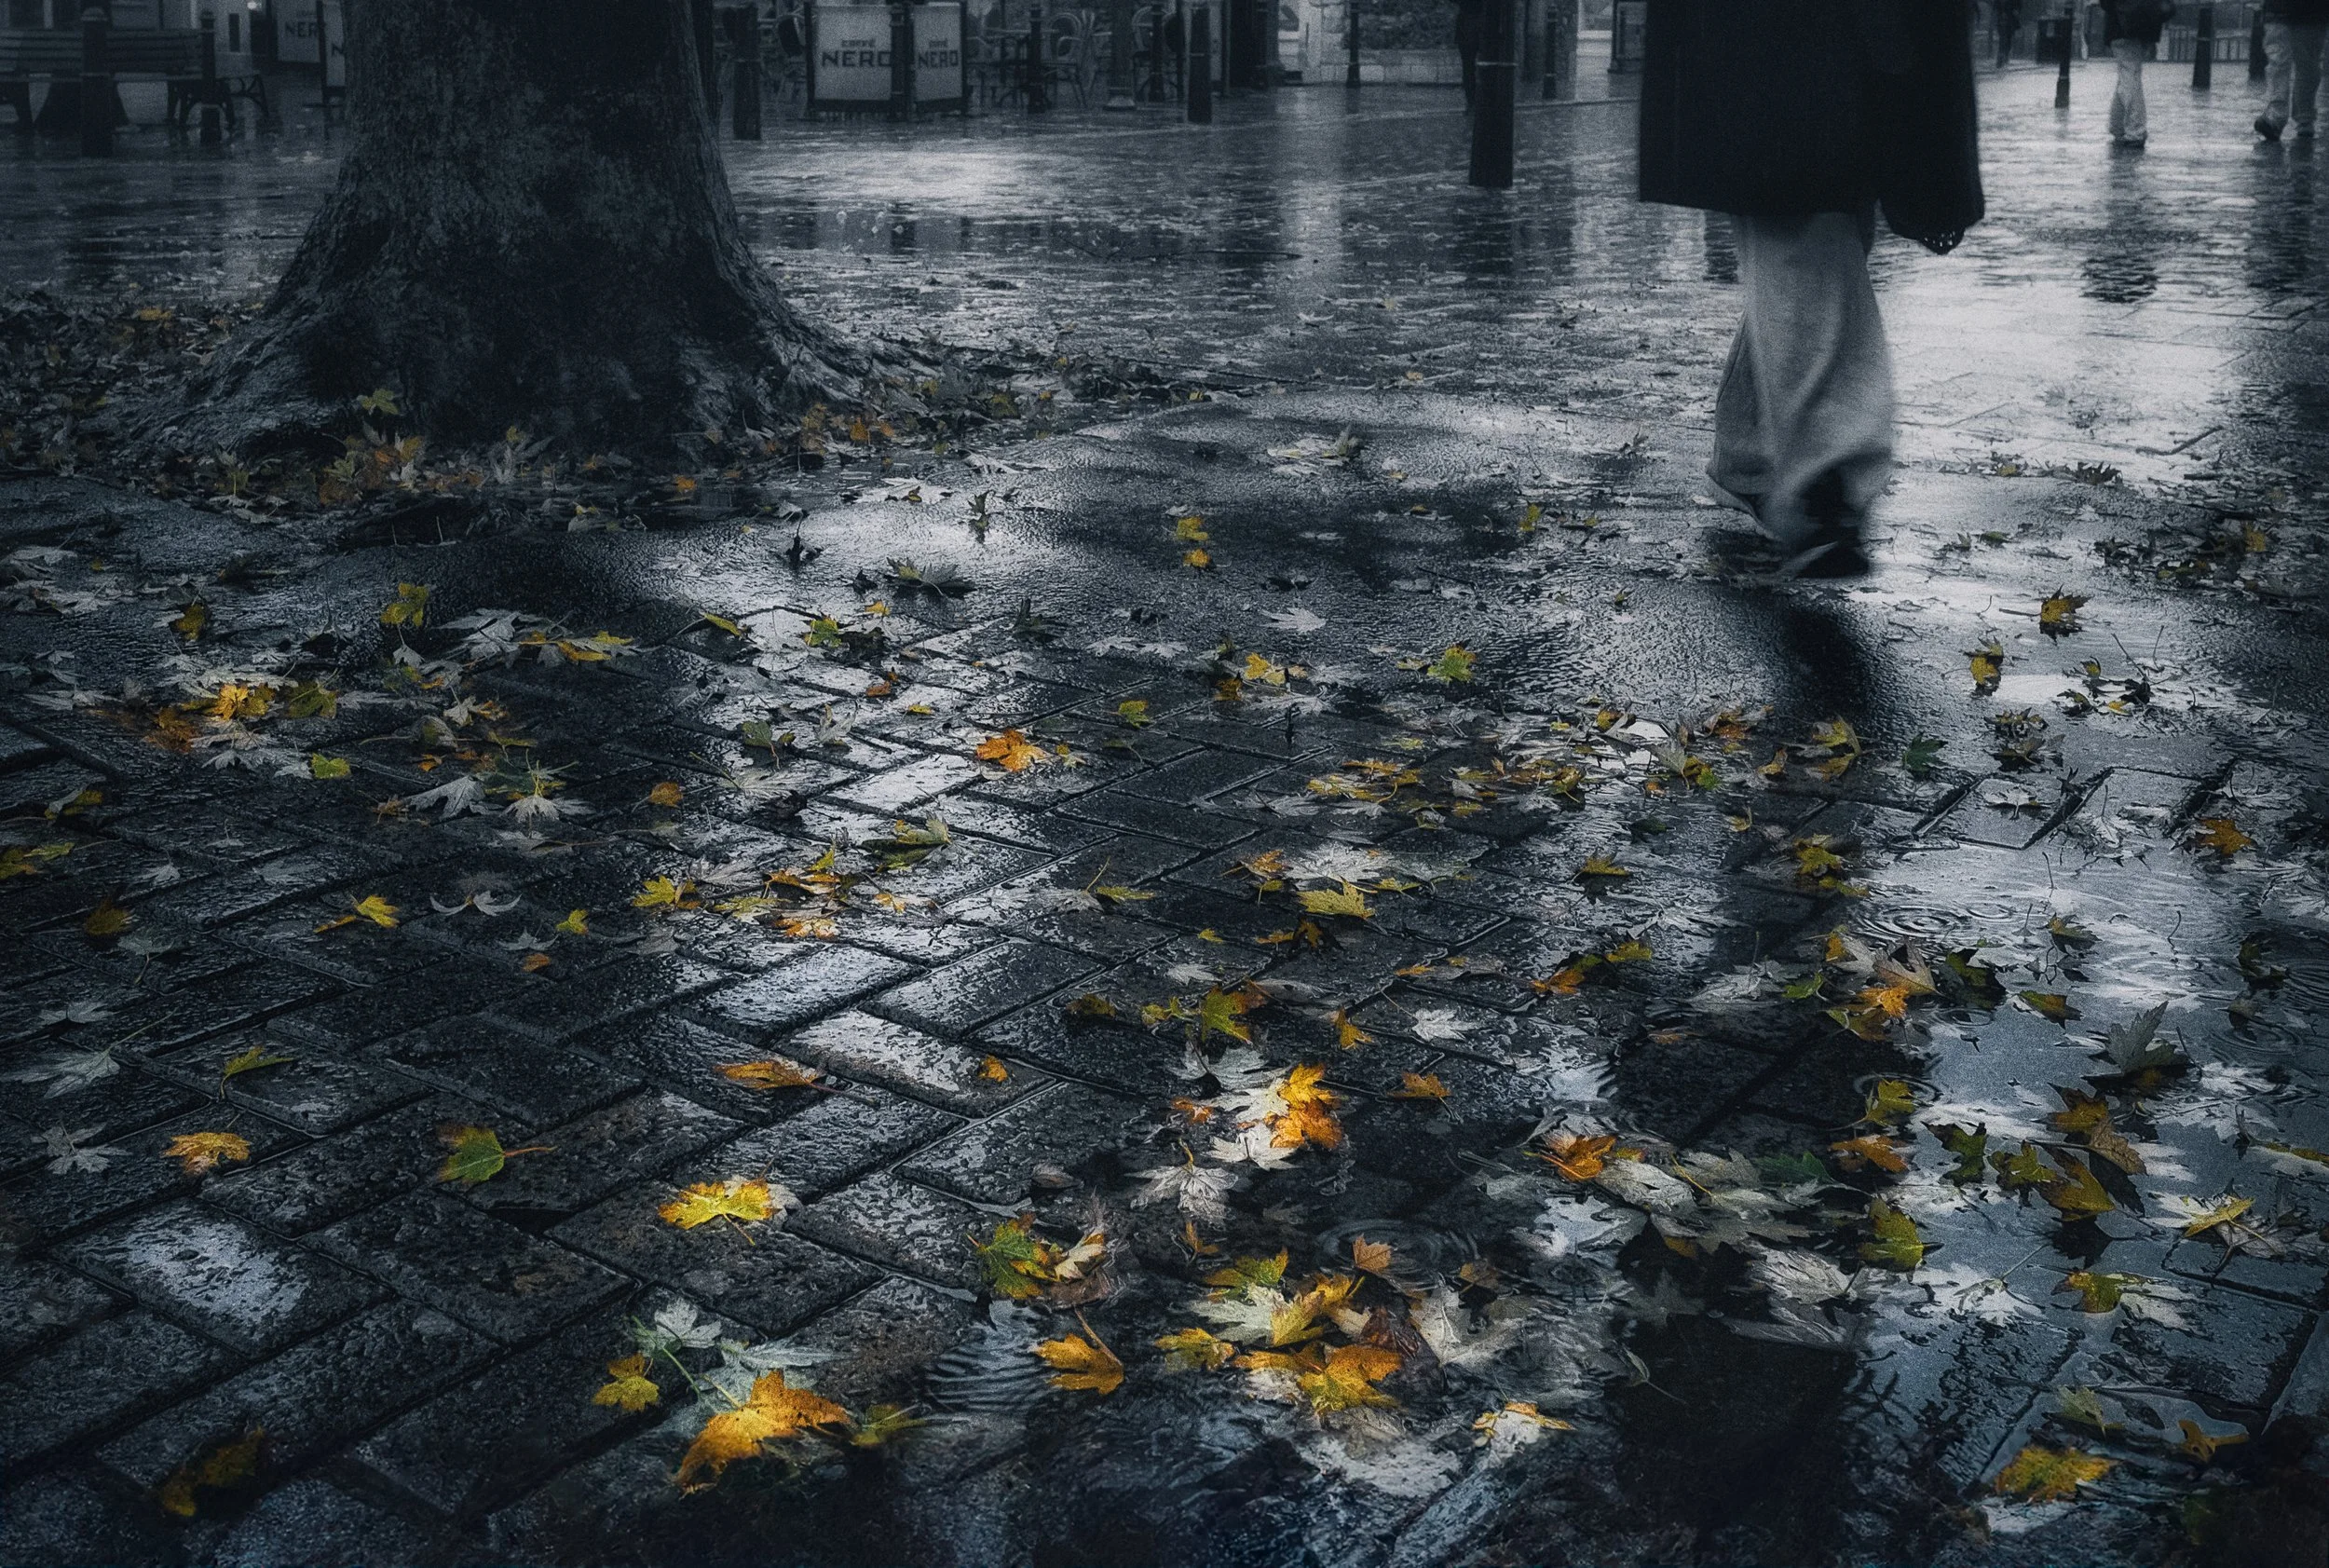
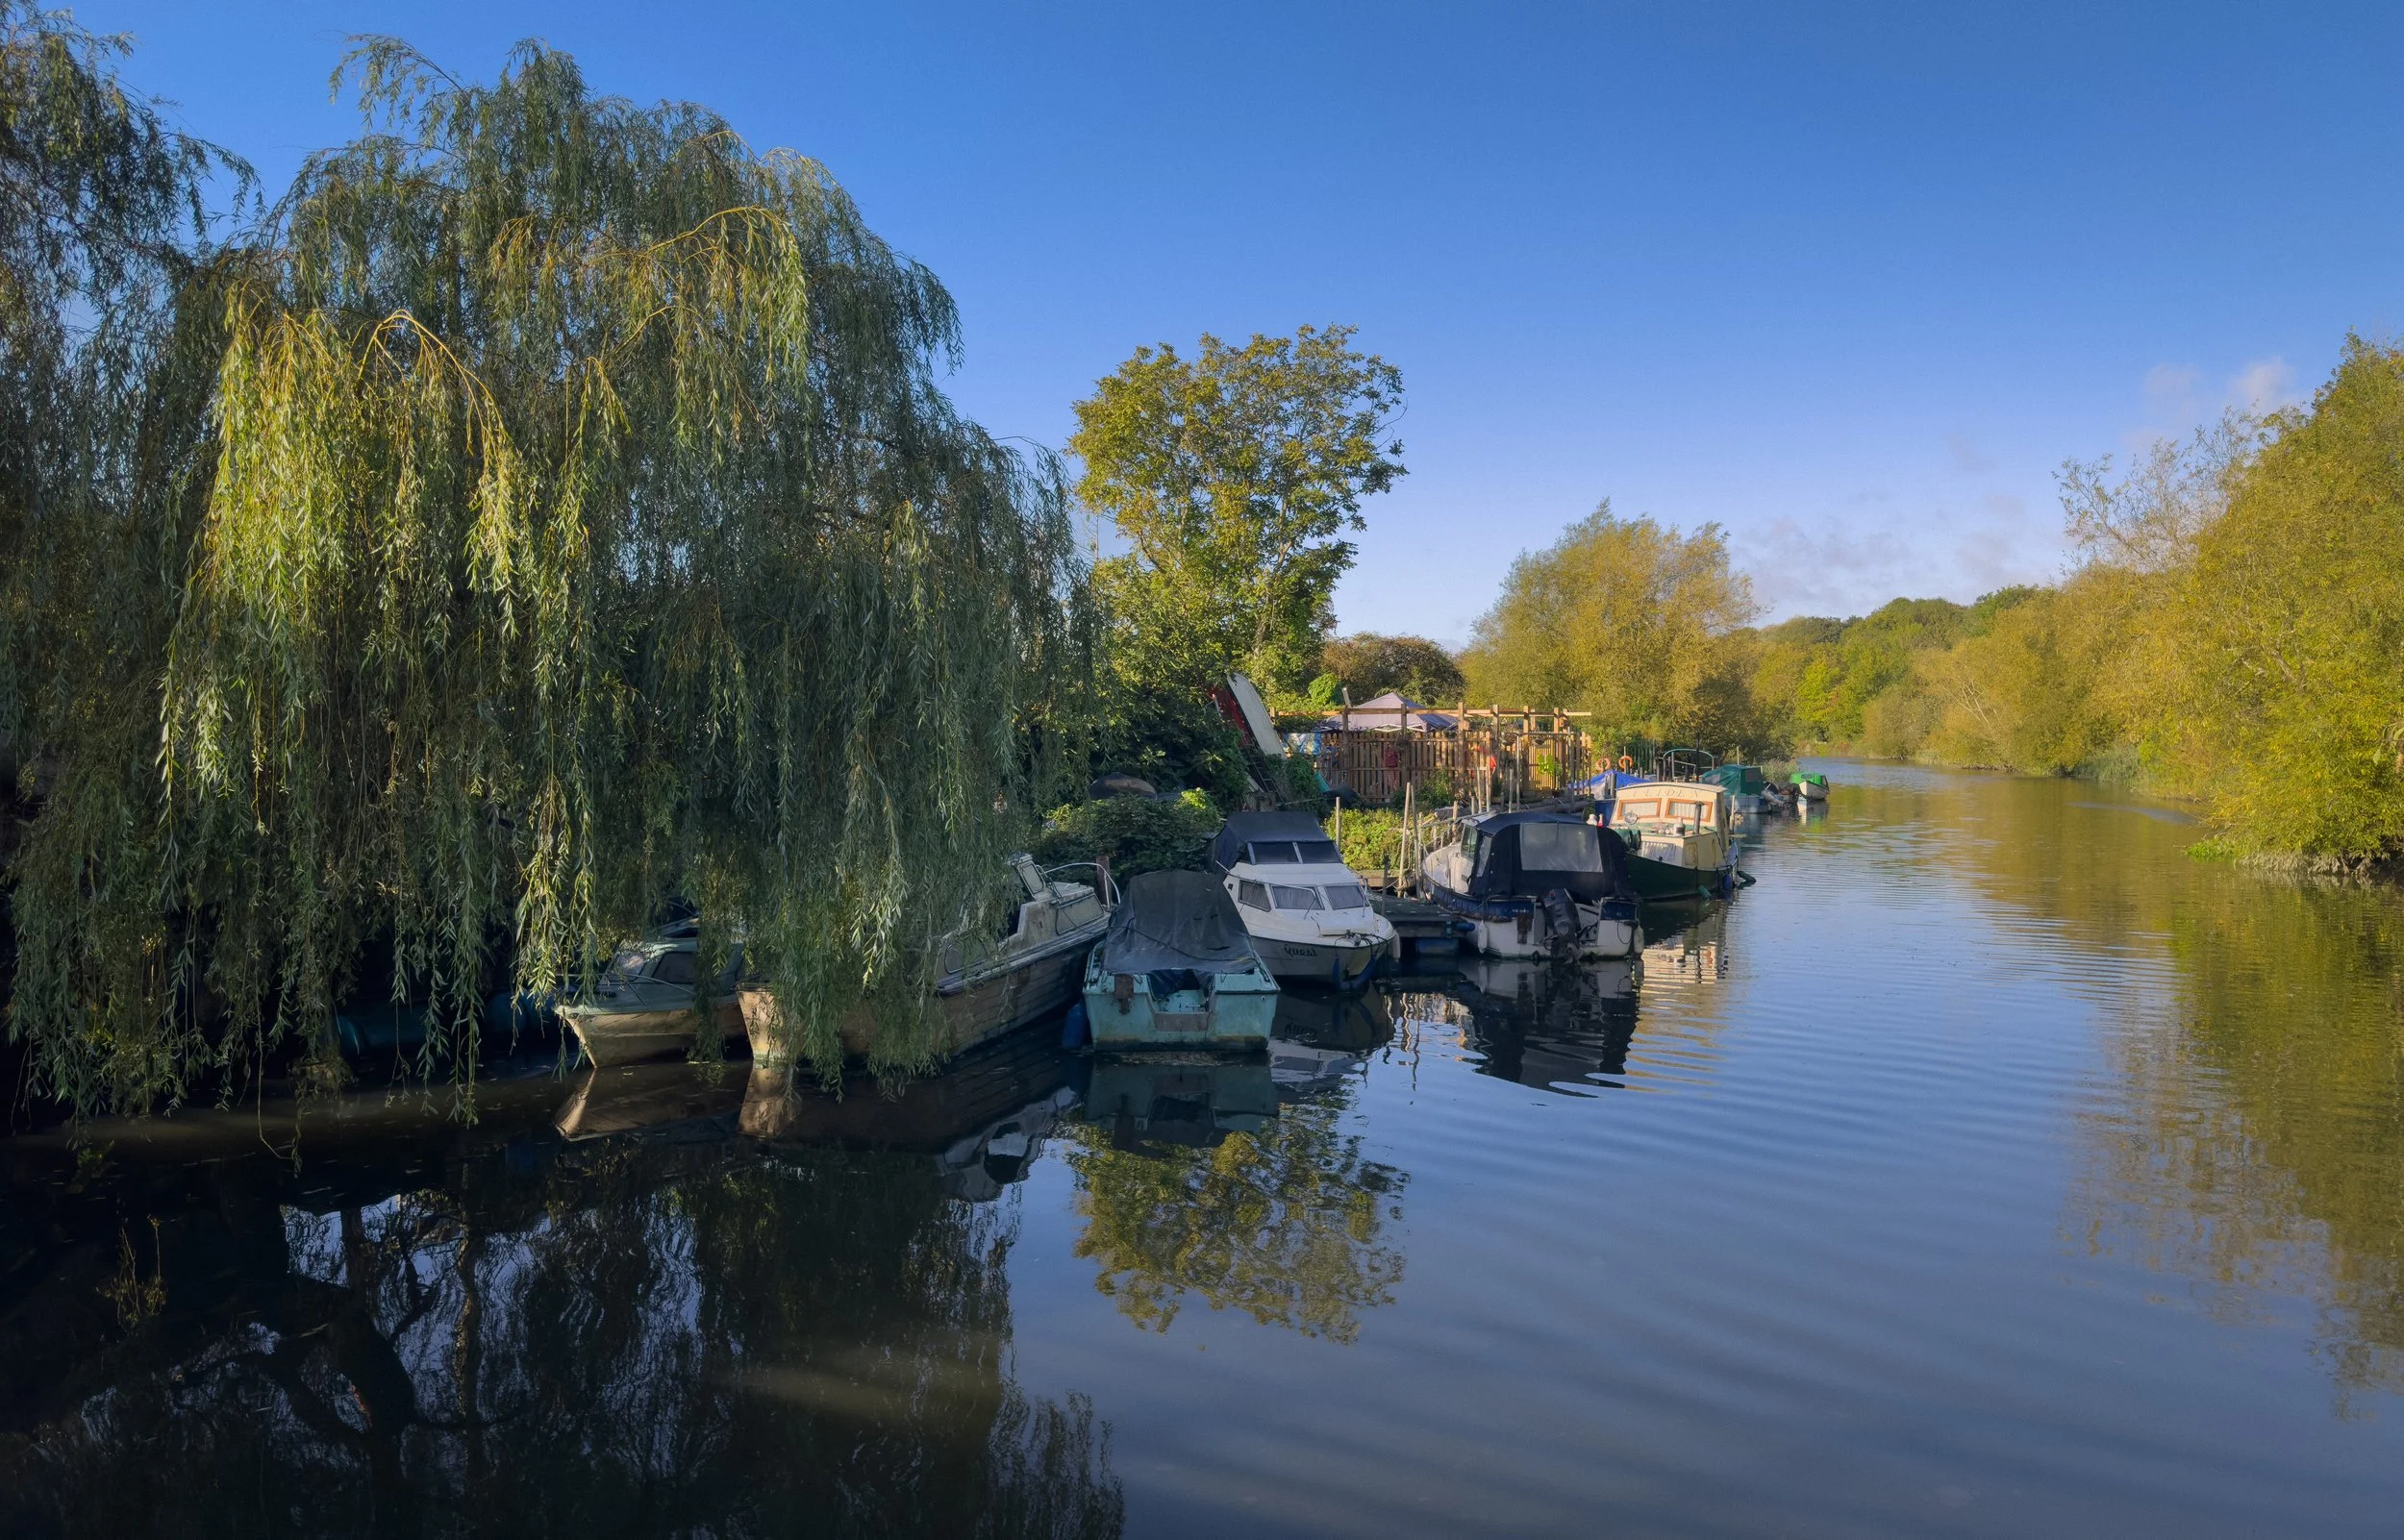
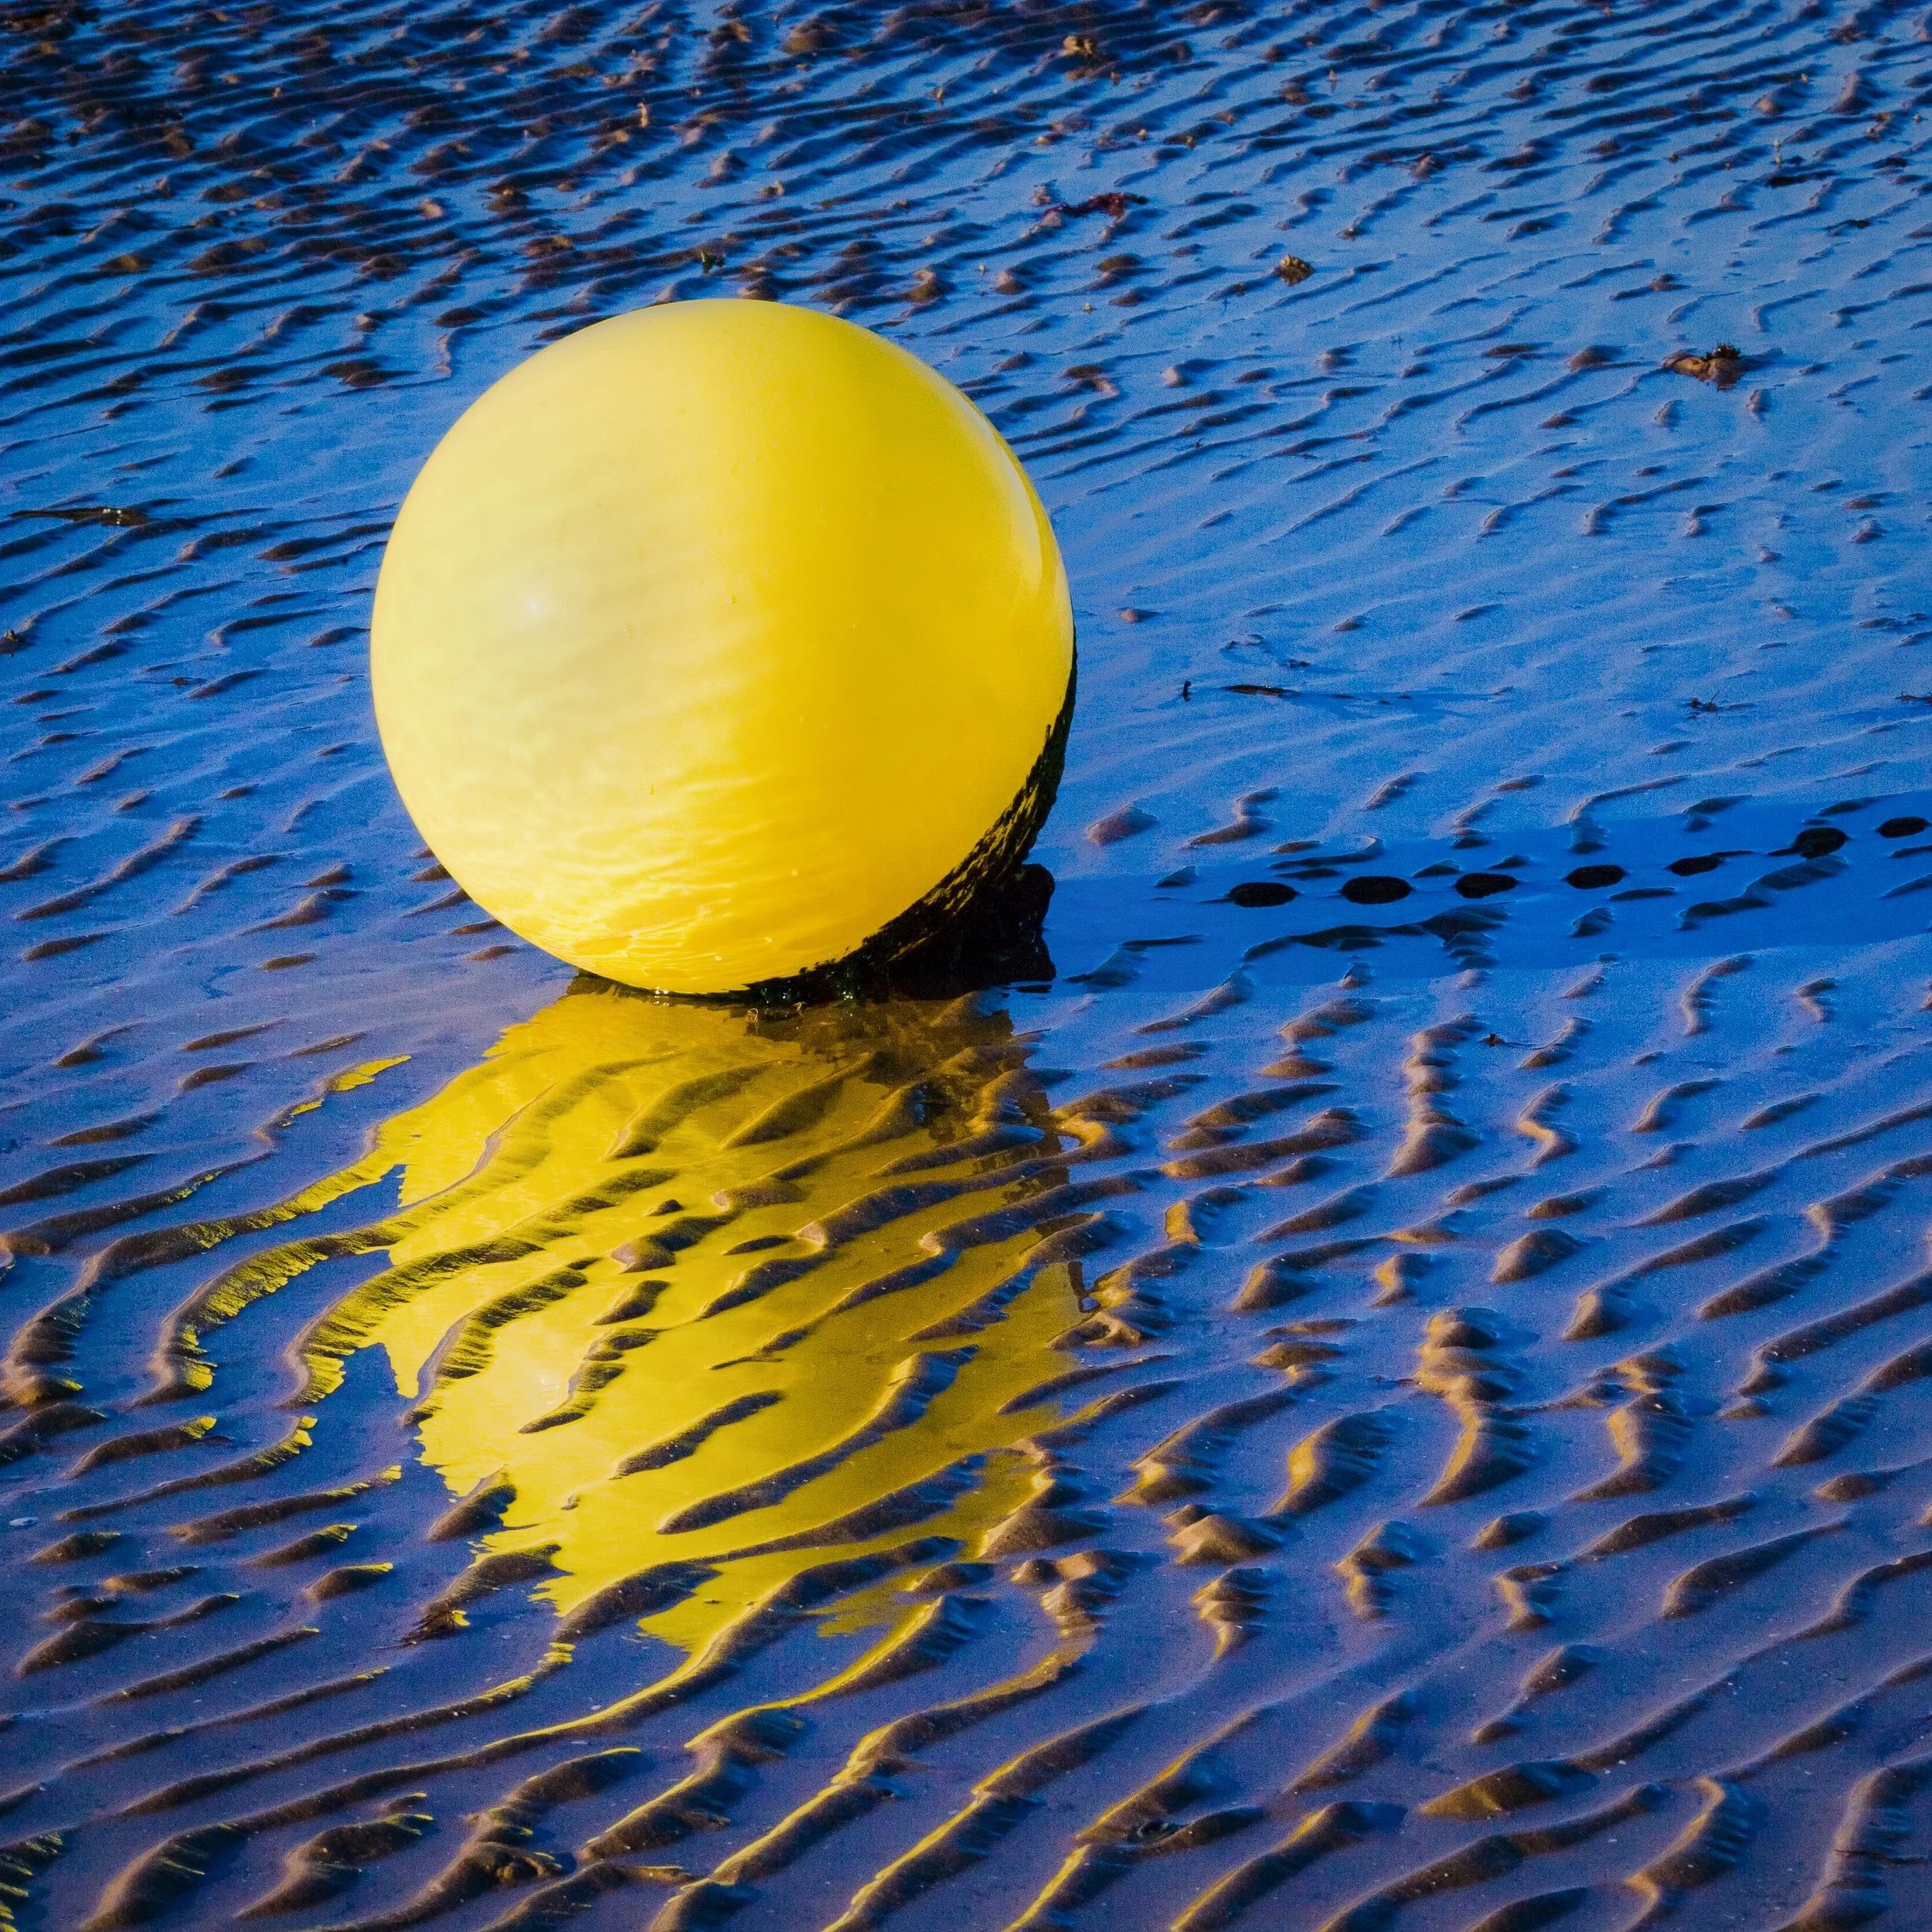
Water — the most versatile and the most rewarding. Still water gives you a near-perfect mirror; moving water gives you abstraction, blur, and painterly surface textures. Lakes and canals at dawn (before wind disturbs the surface) are the classic still-water opportunity. Rivers offer rhythm. Puddles are, genuinely, the underrated hero of reflection photography — they are everywhere, they are temporary, and they catch the sky at your feet in a way that consistently surprises people who see the resulting photograph.
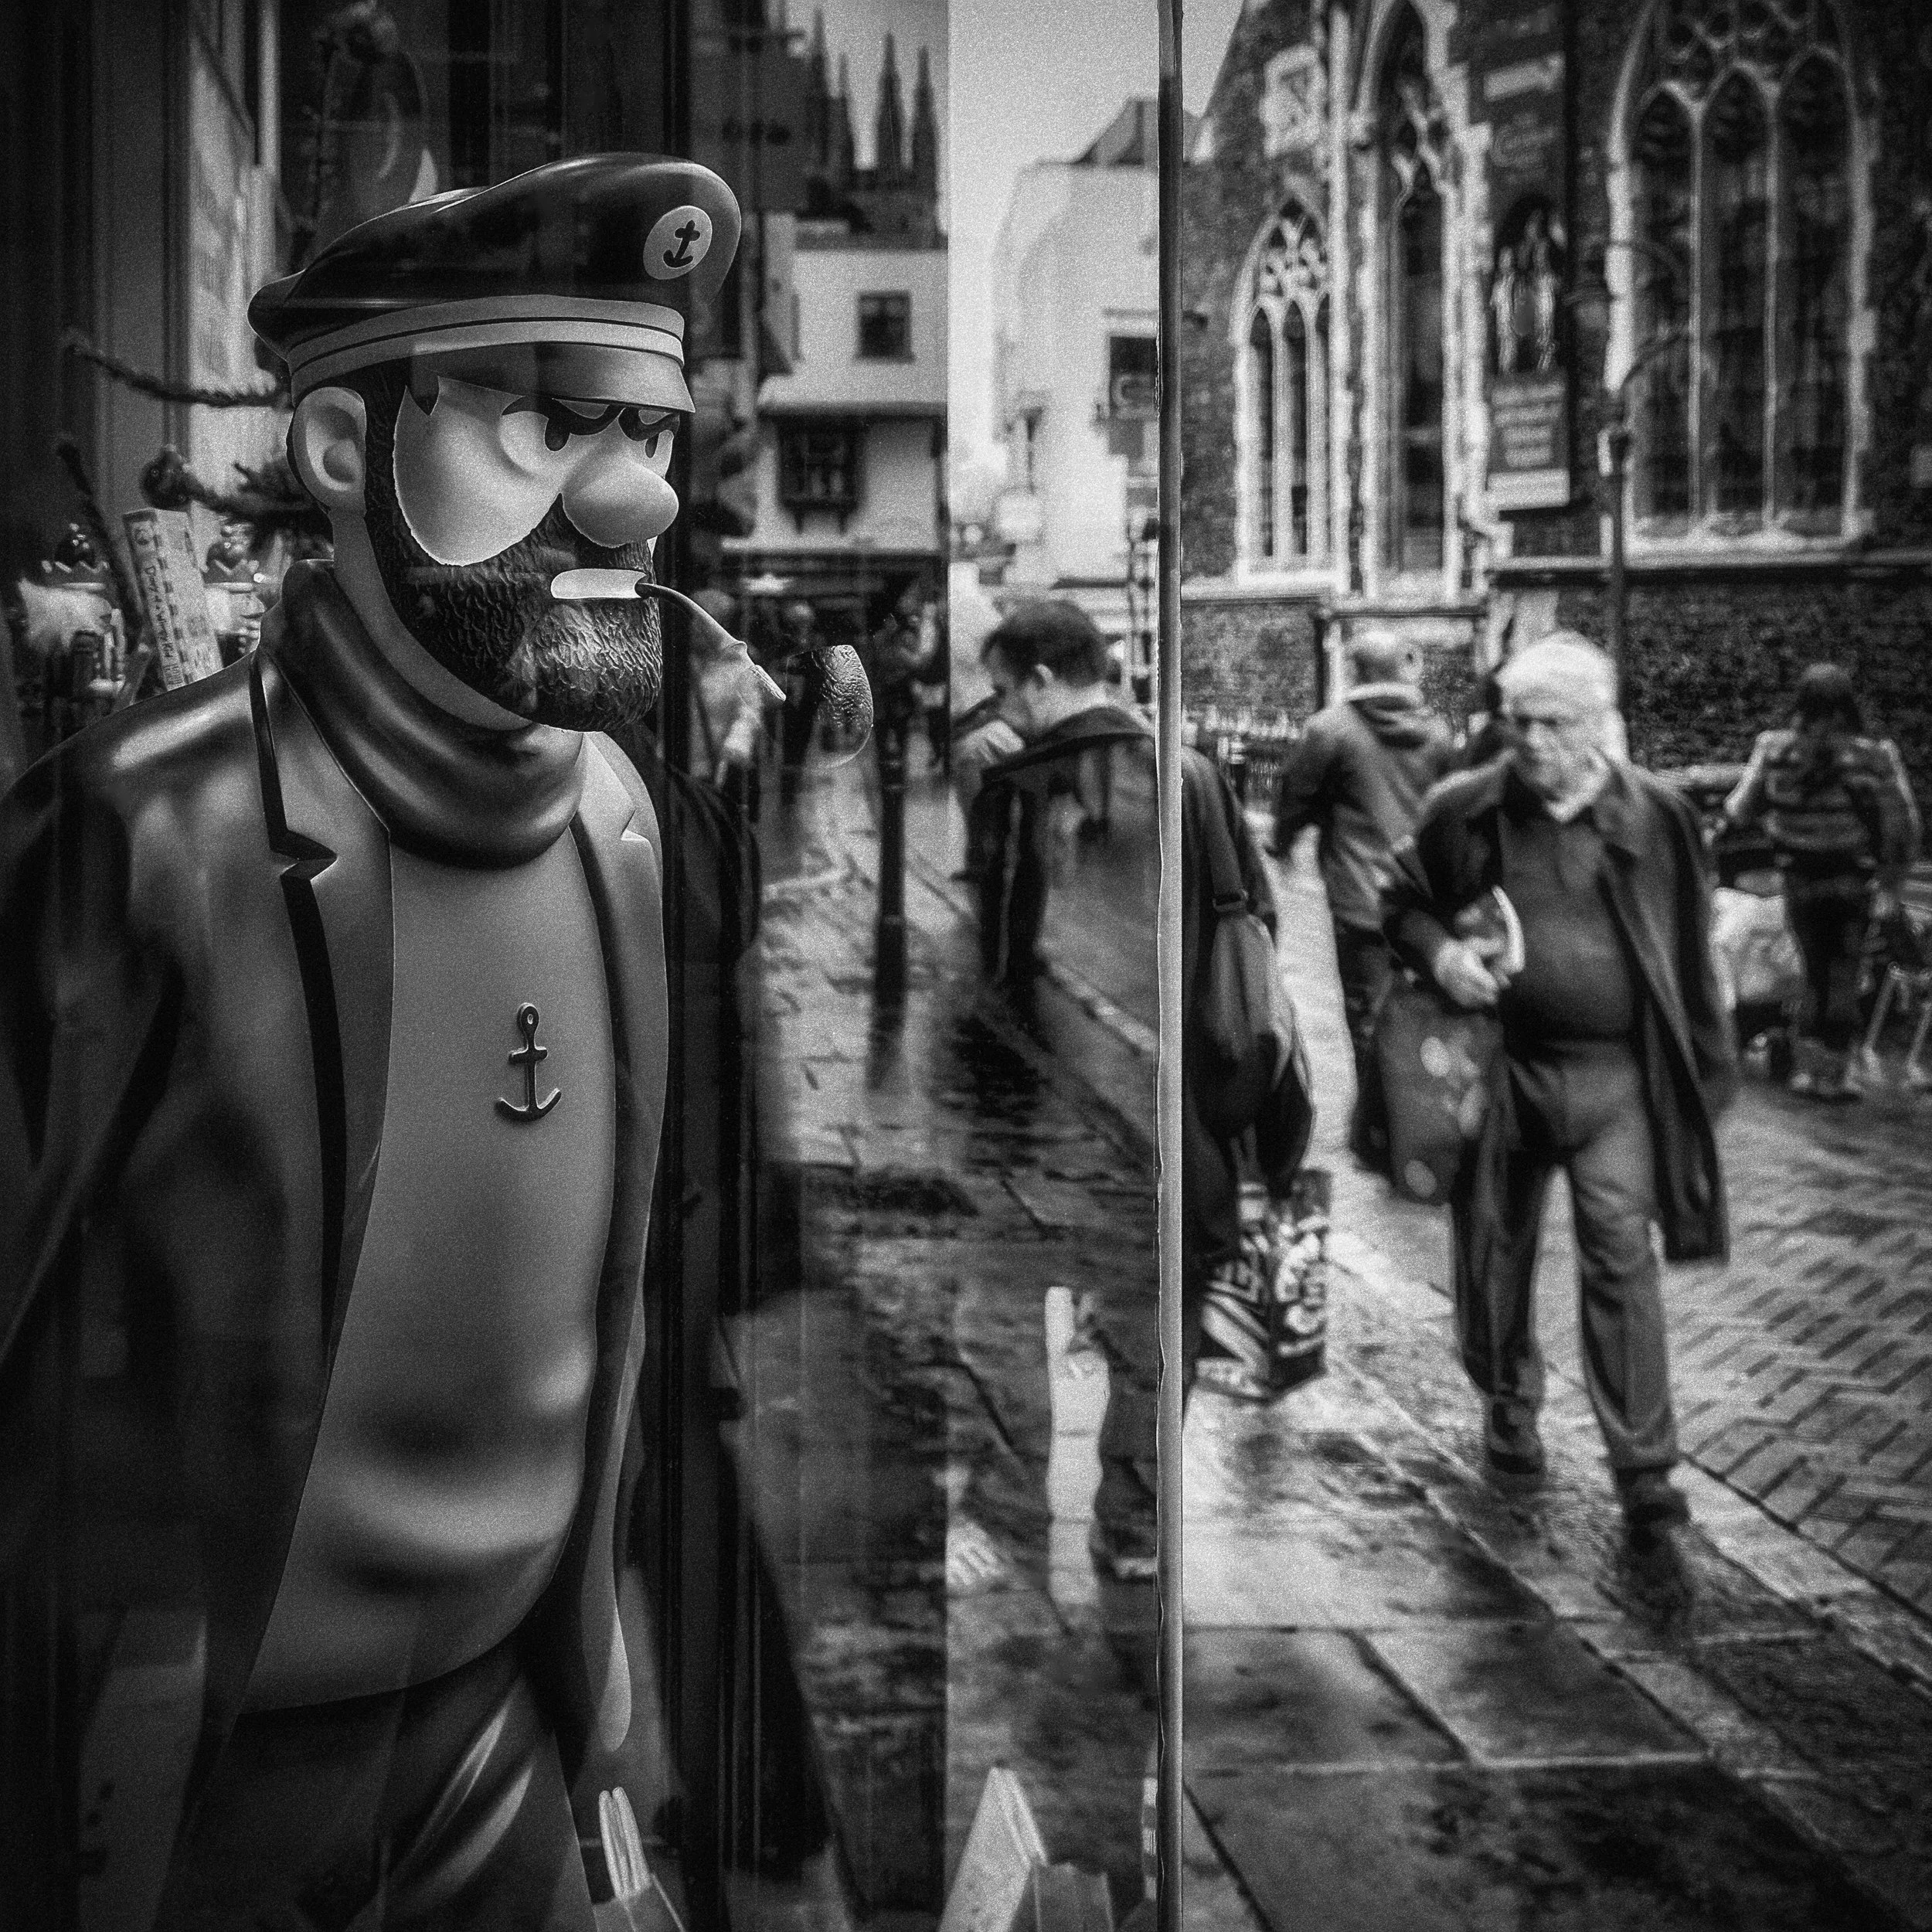
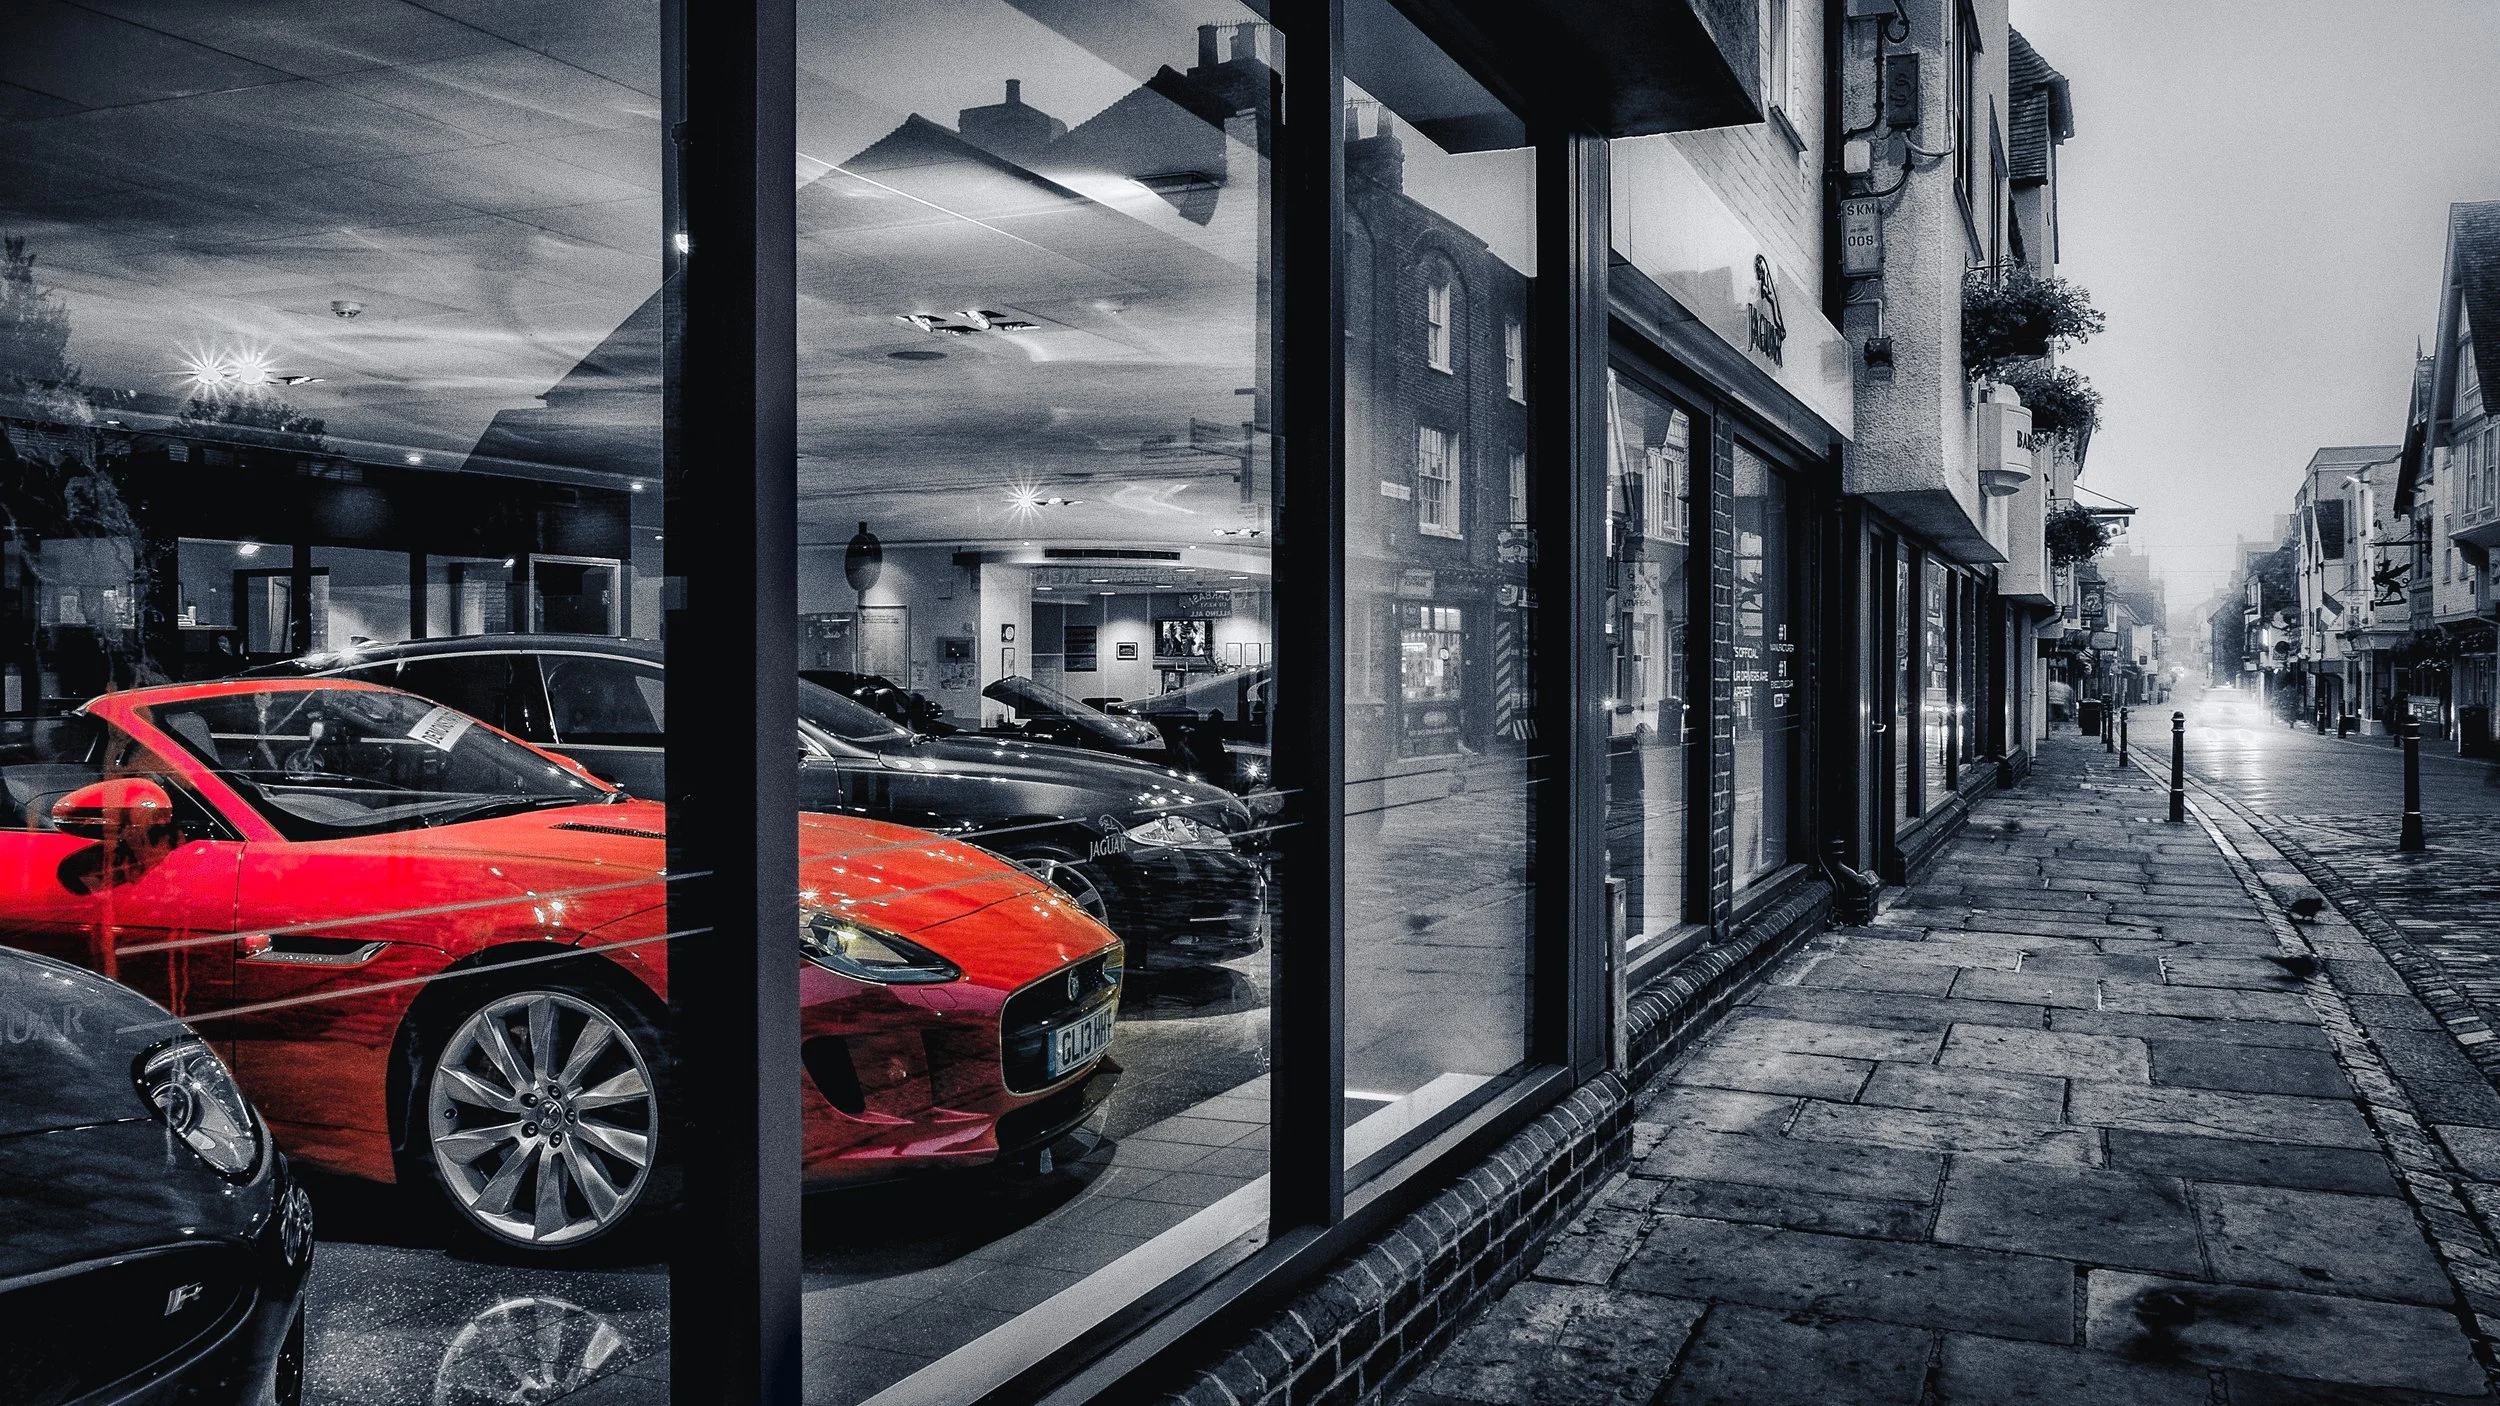
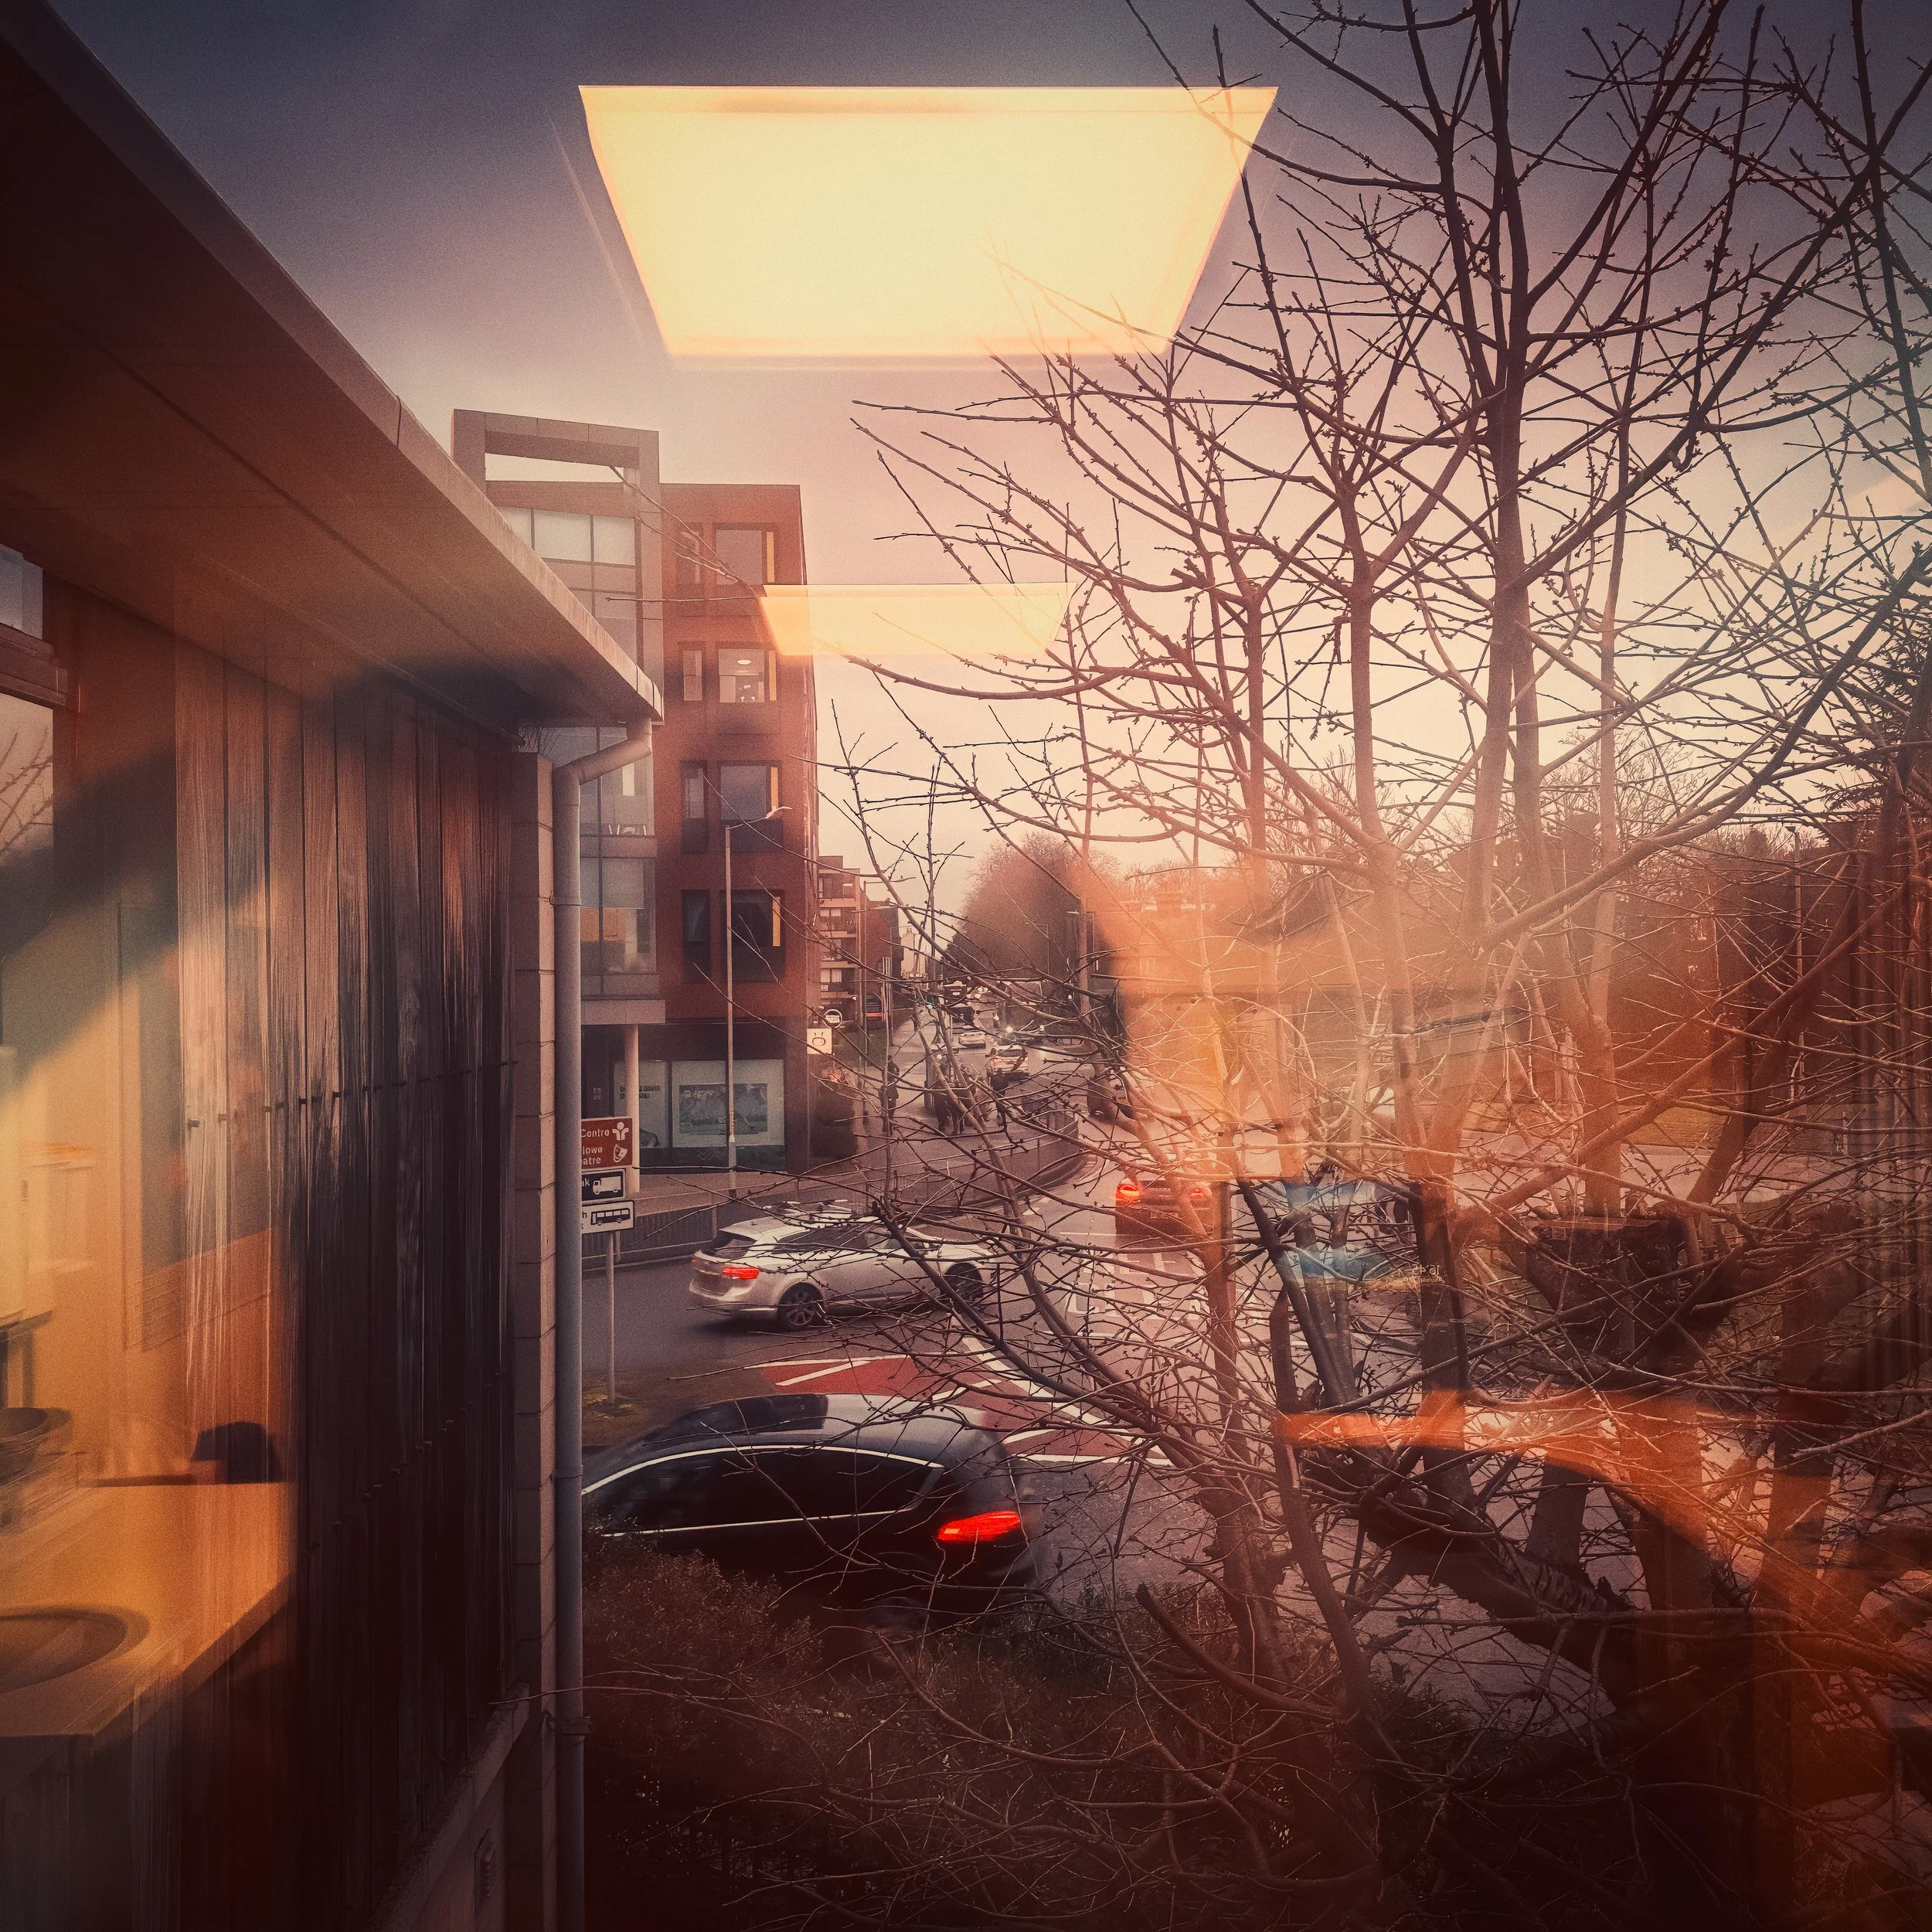
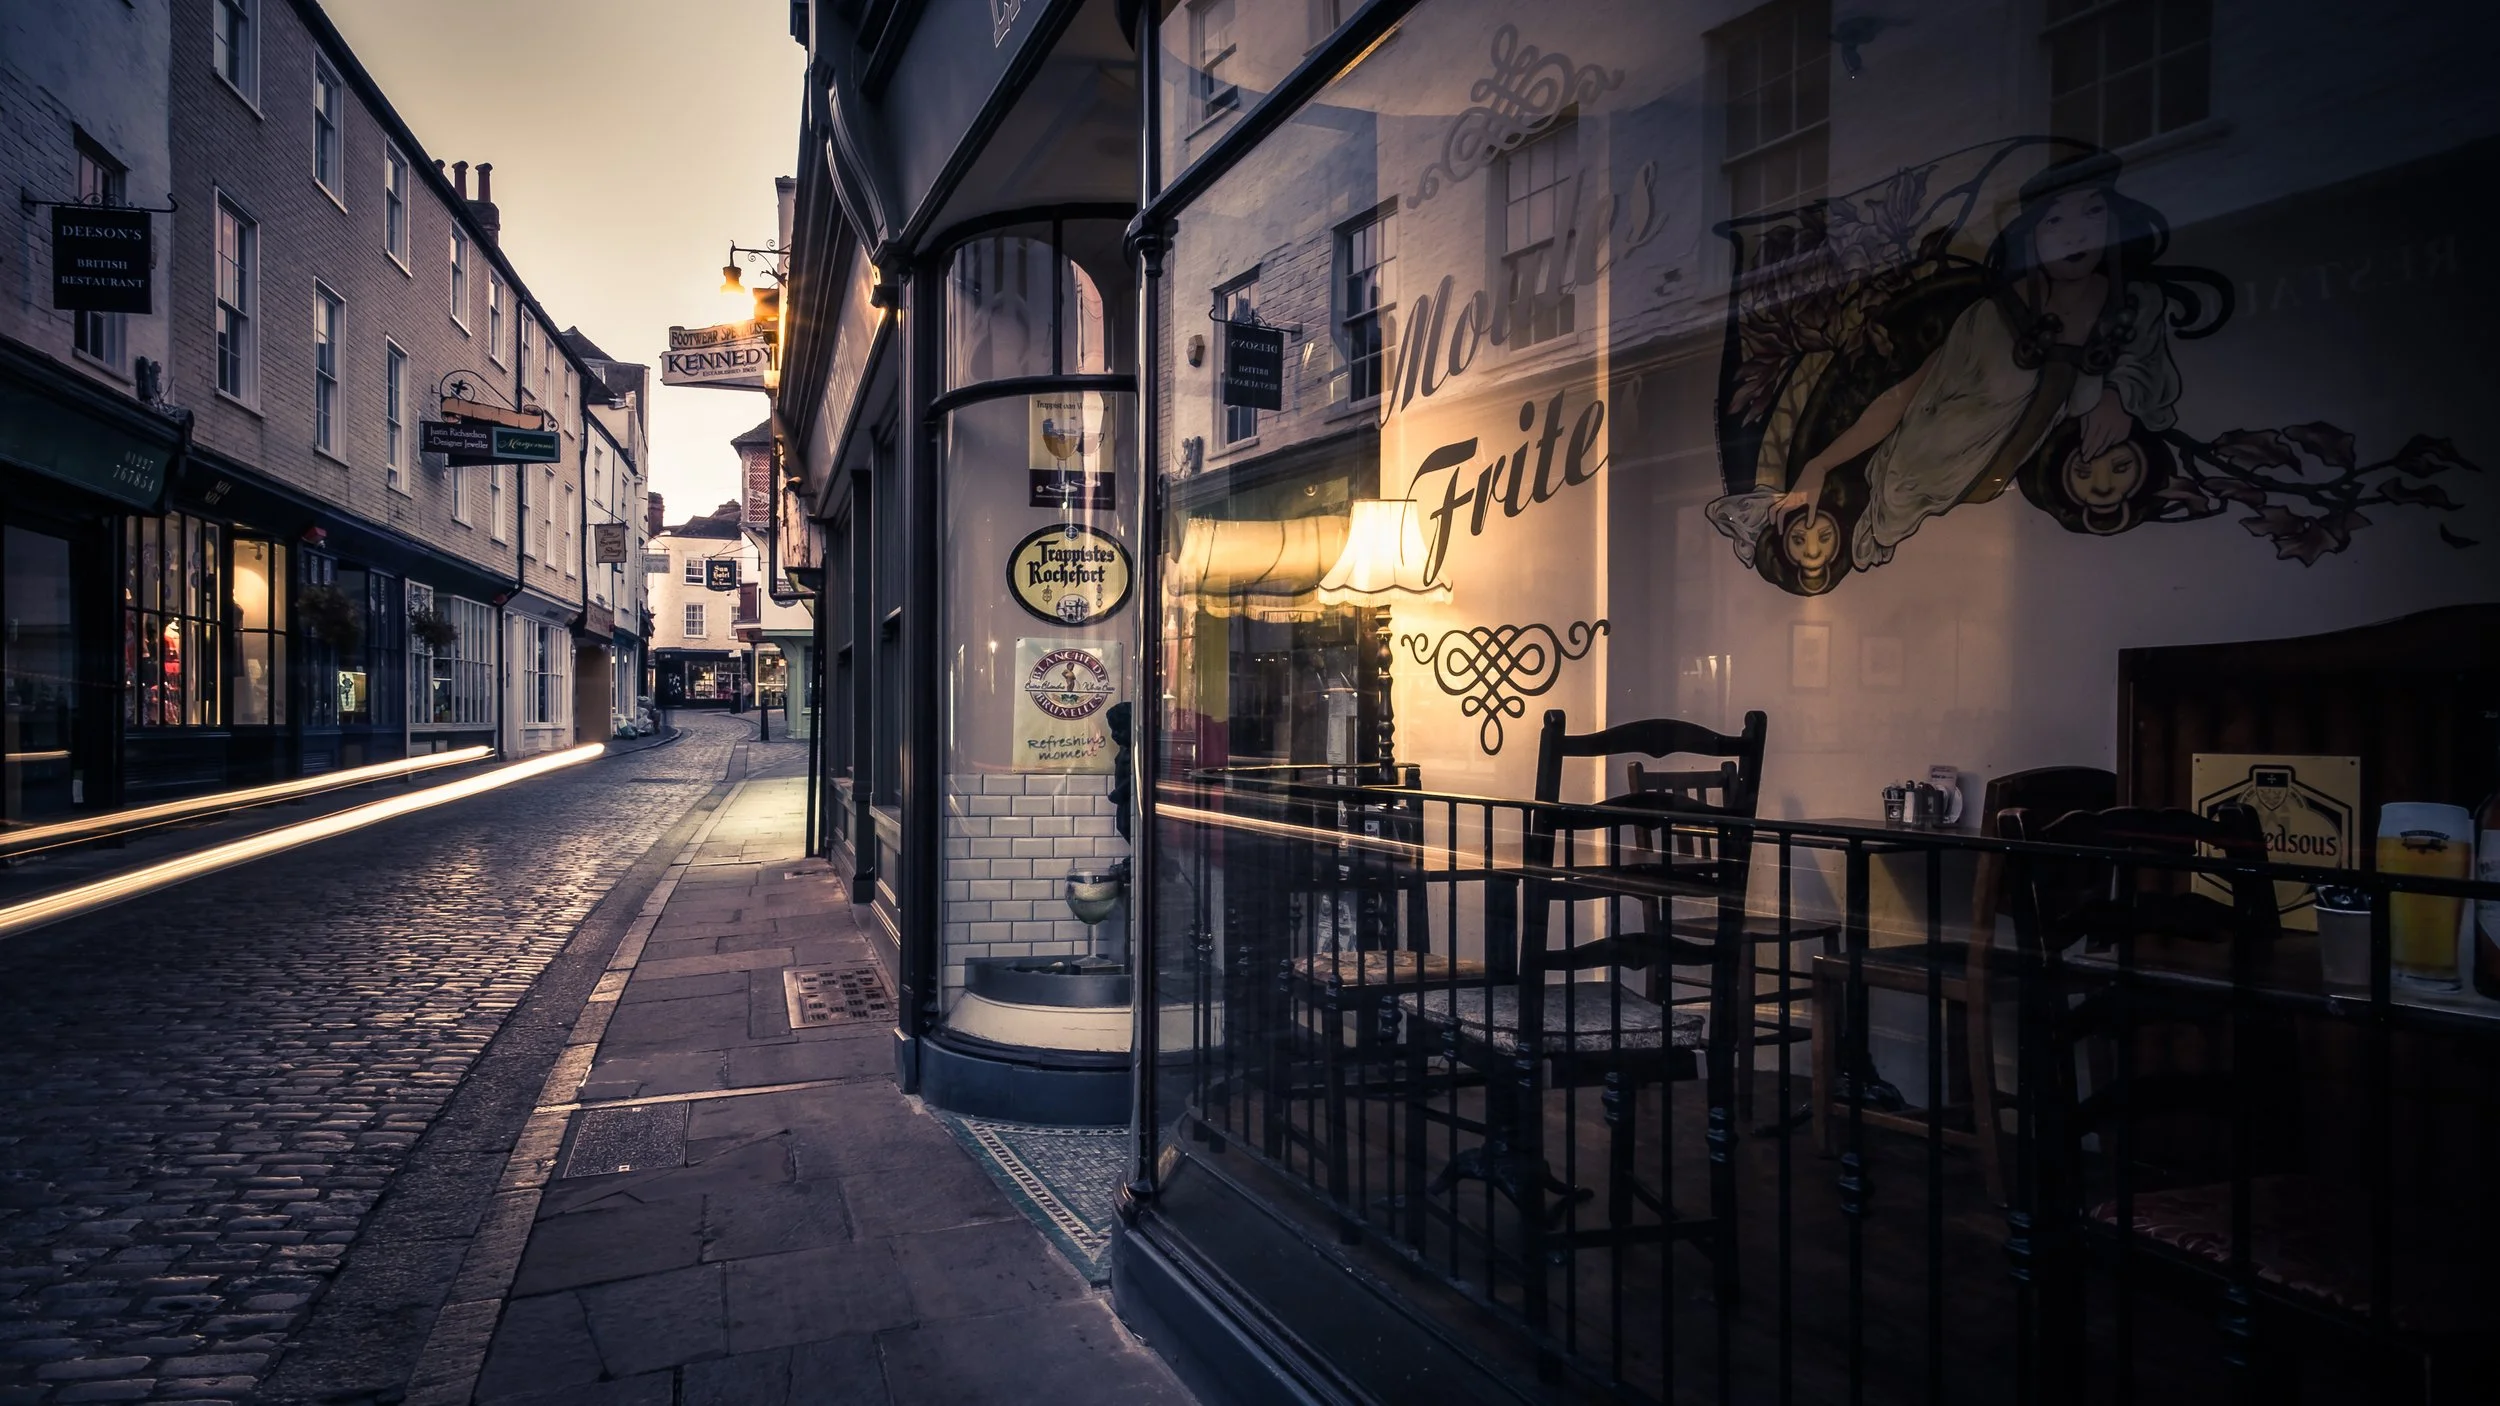
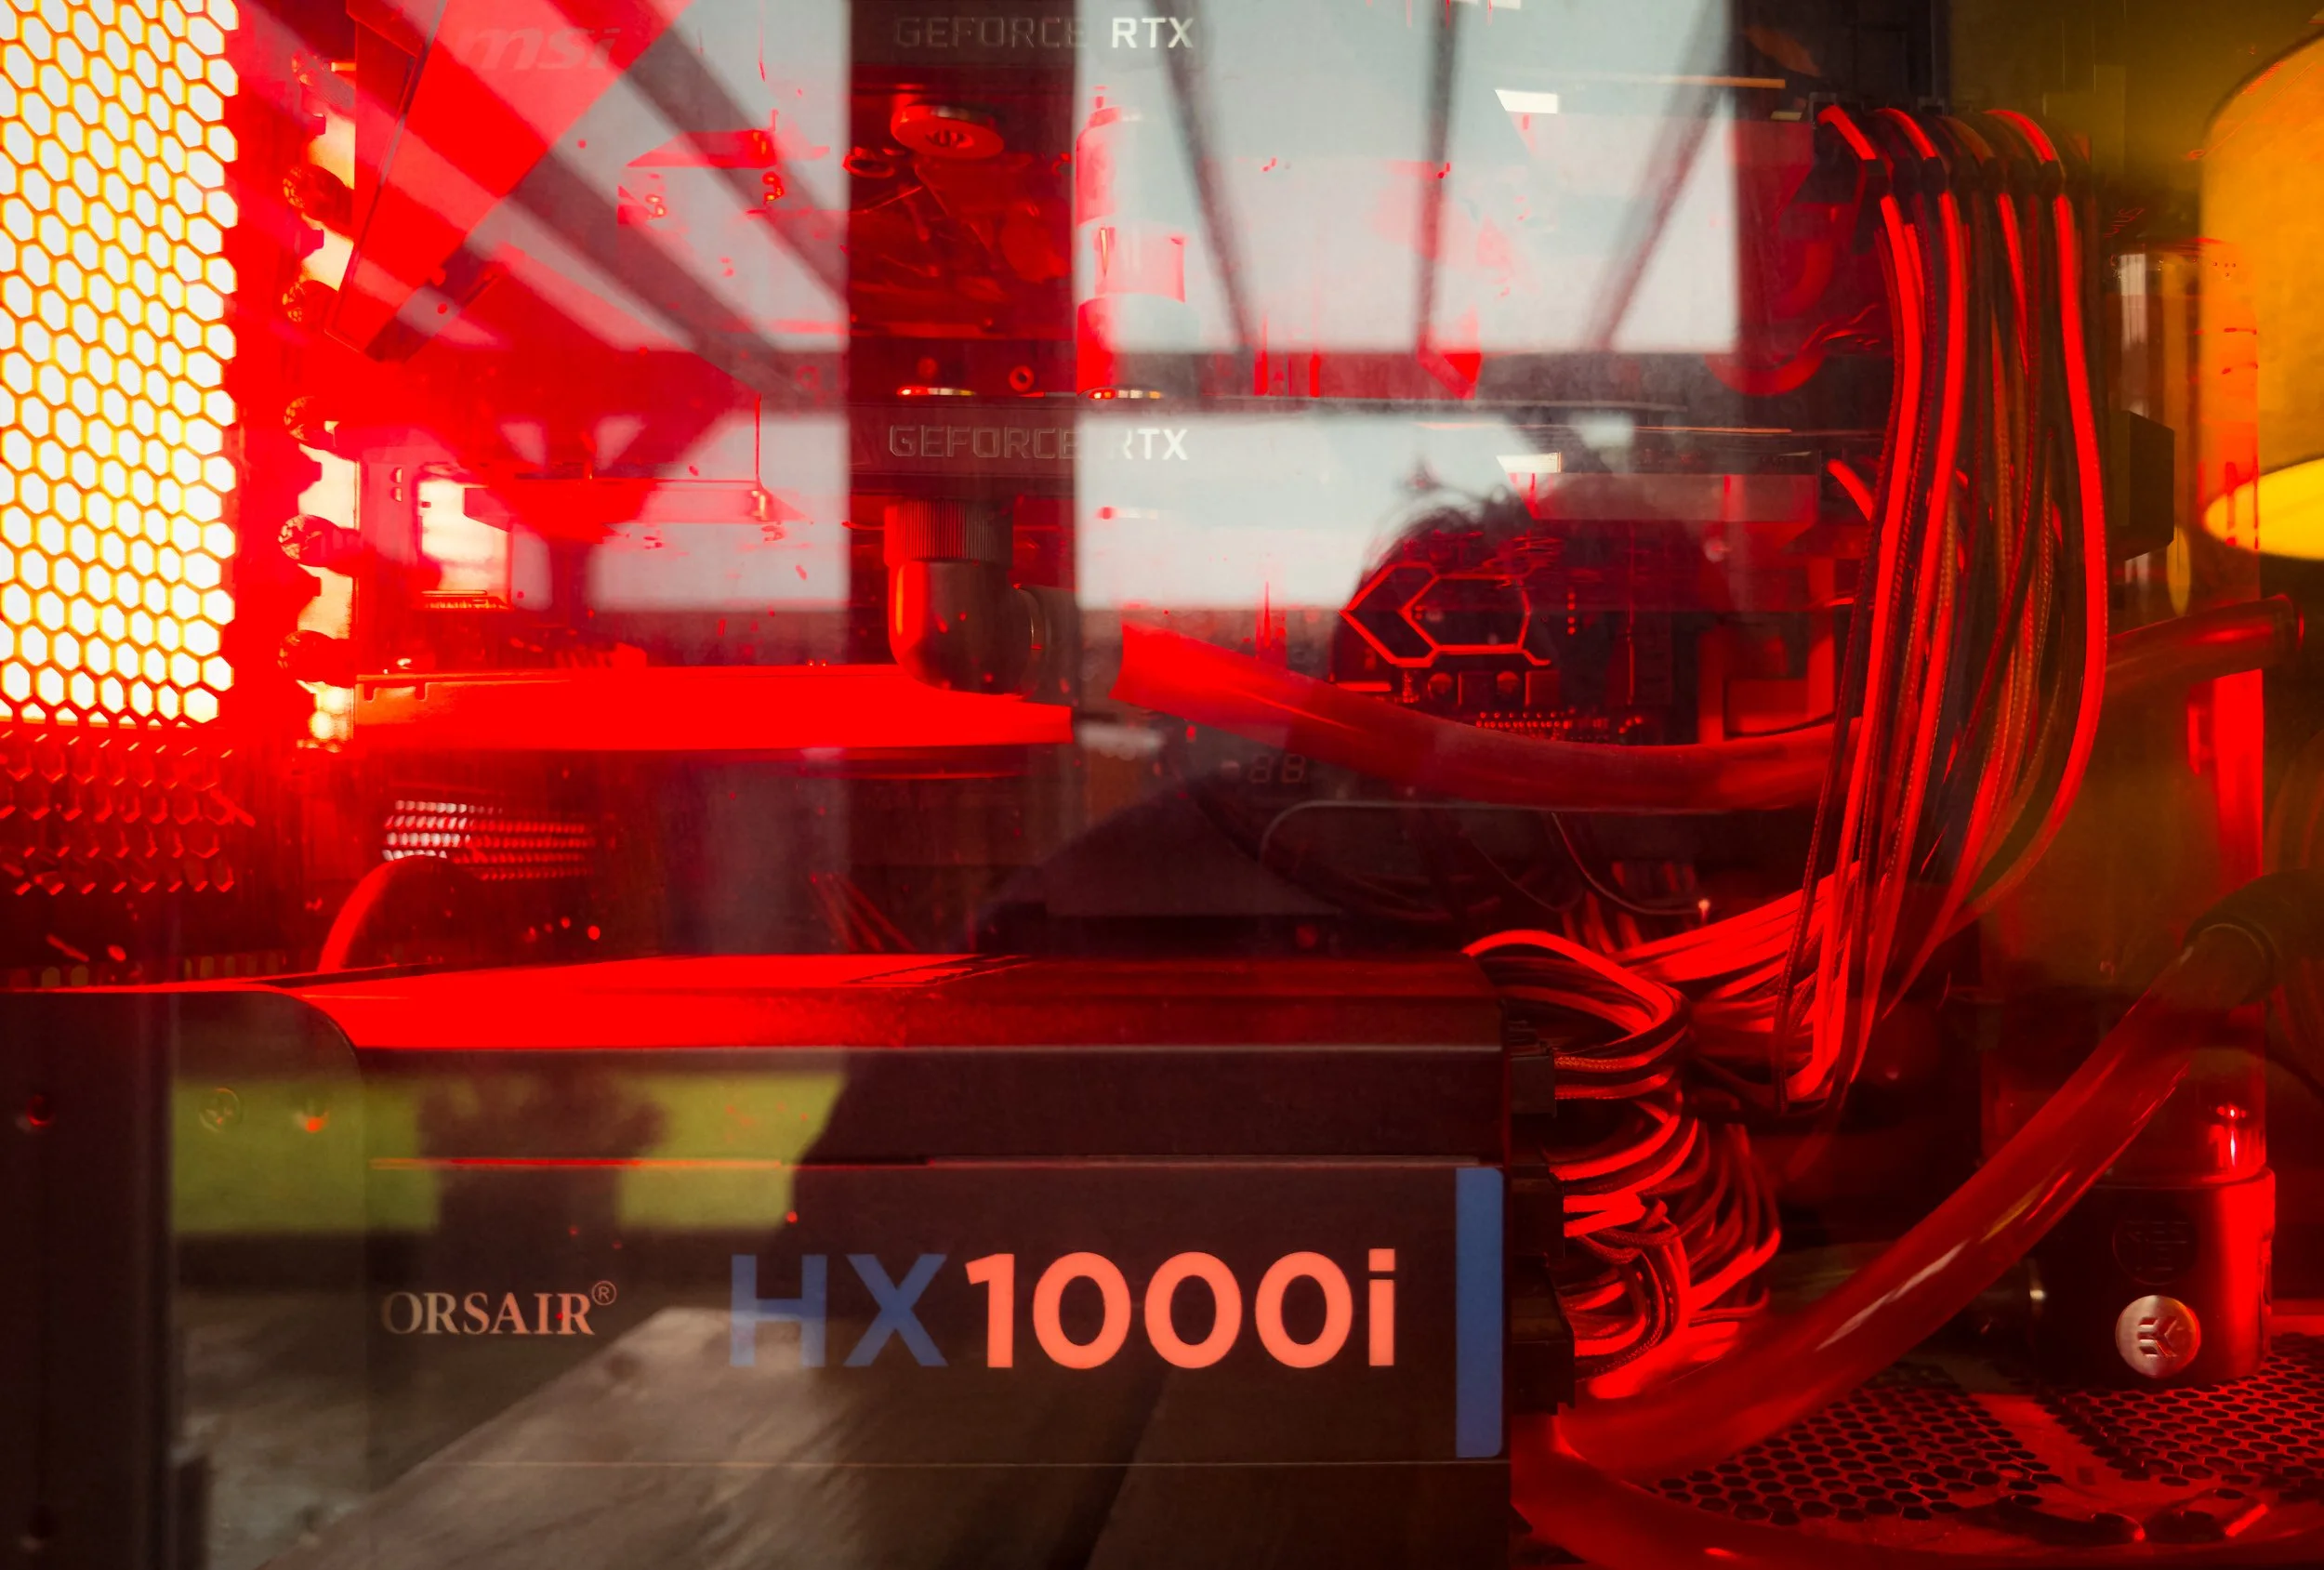
Glass — buildings, shop windows, car windows, glass doors, phone boxes. Glass has an additional trick water does not: it lets you see through it simultaneously. A glass surface gives you a layered image — what is reflected in it from behind you, and what is visible through it in front of you — both present in the same plane. This layering is one of the richest compositional tools in the genre.
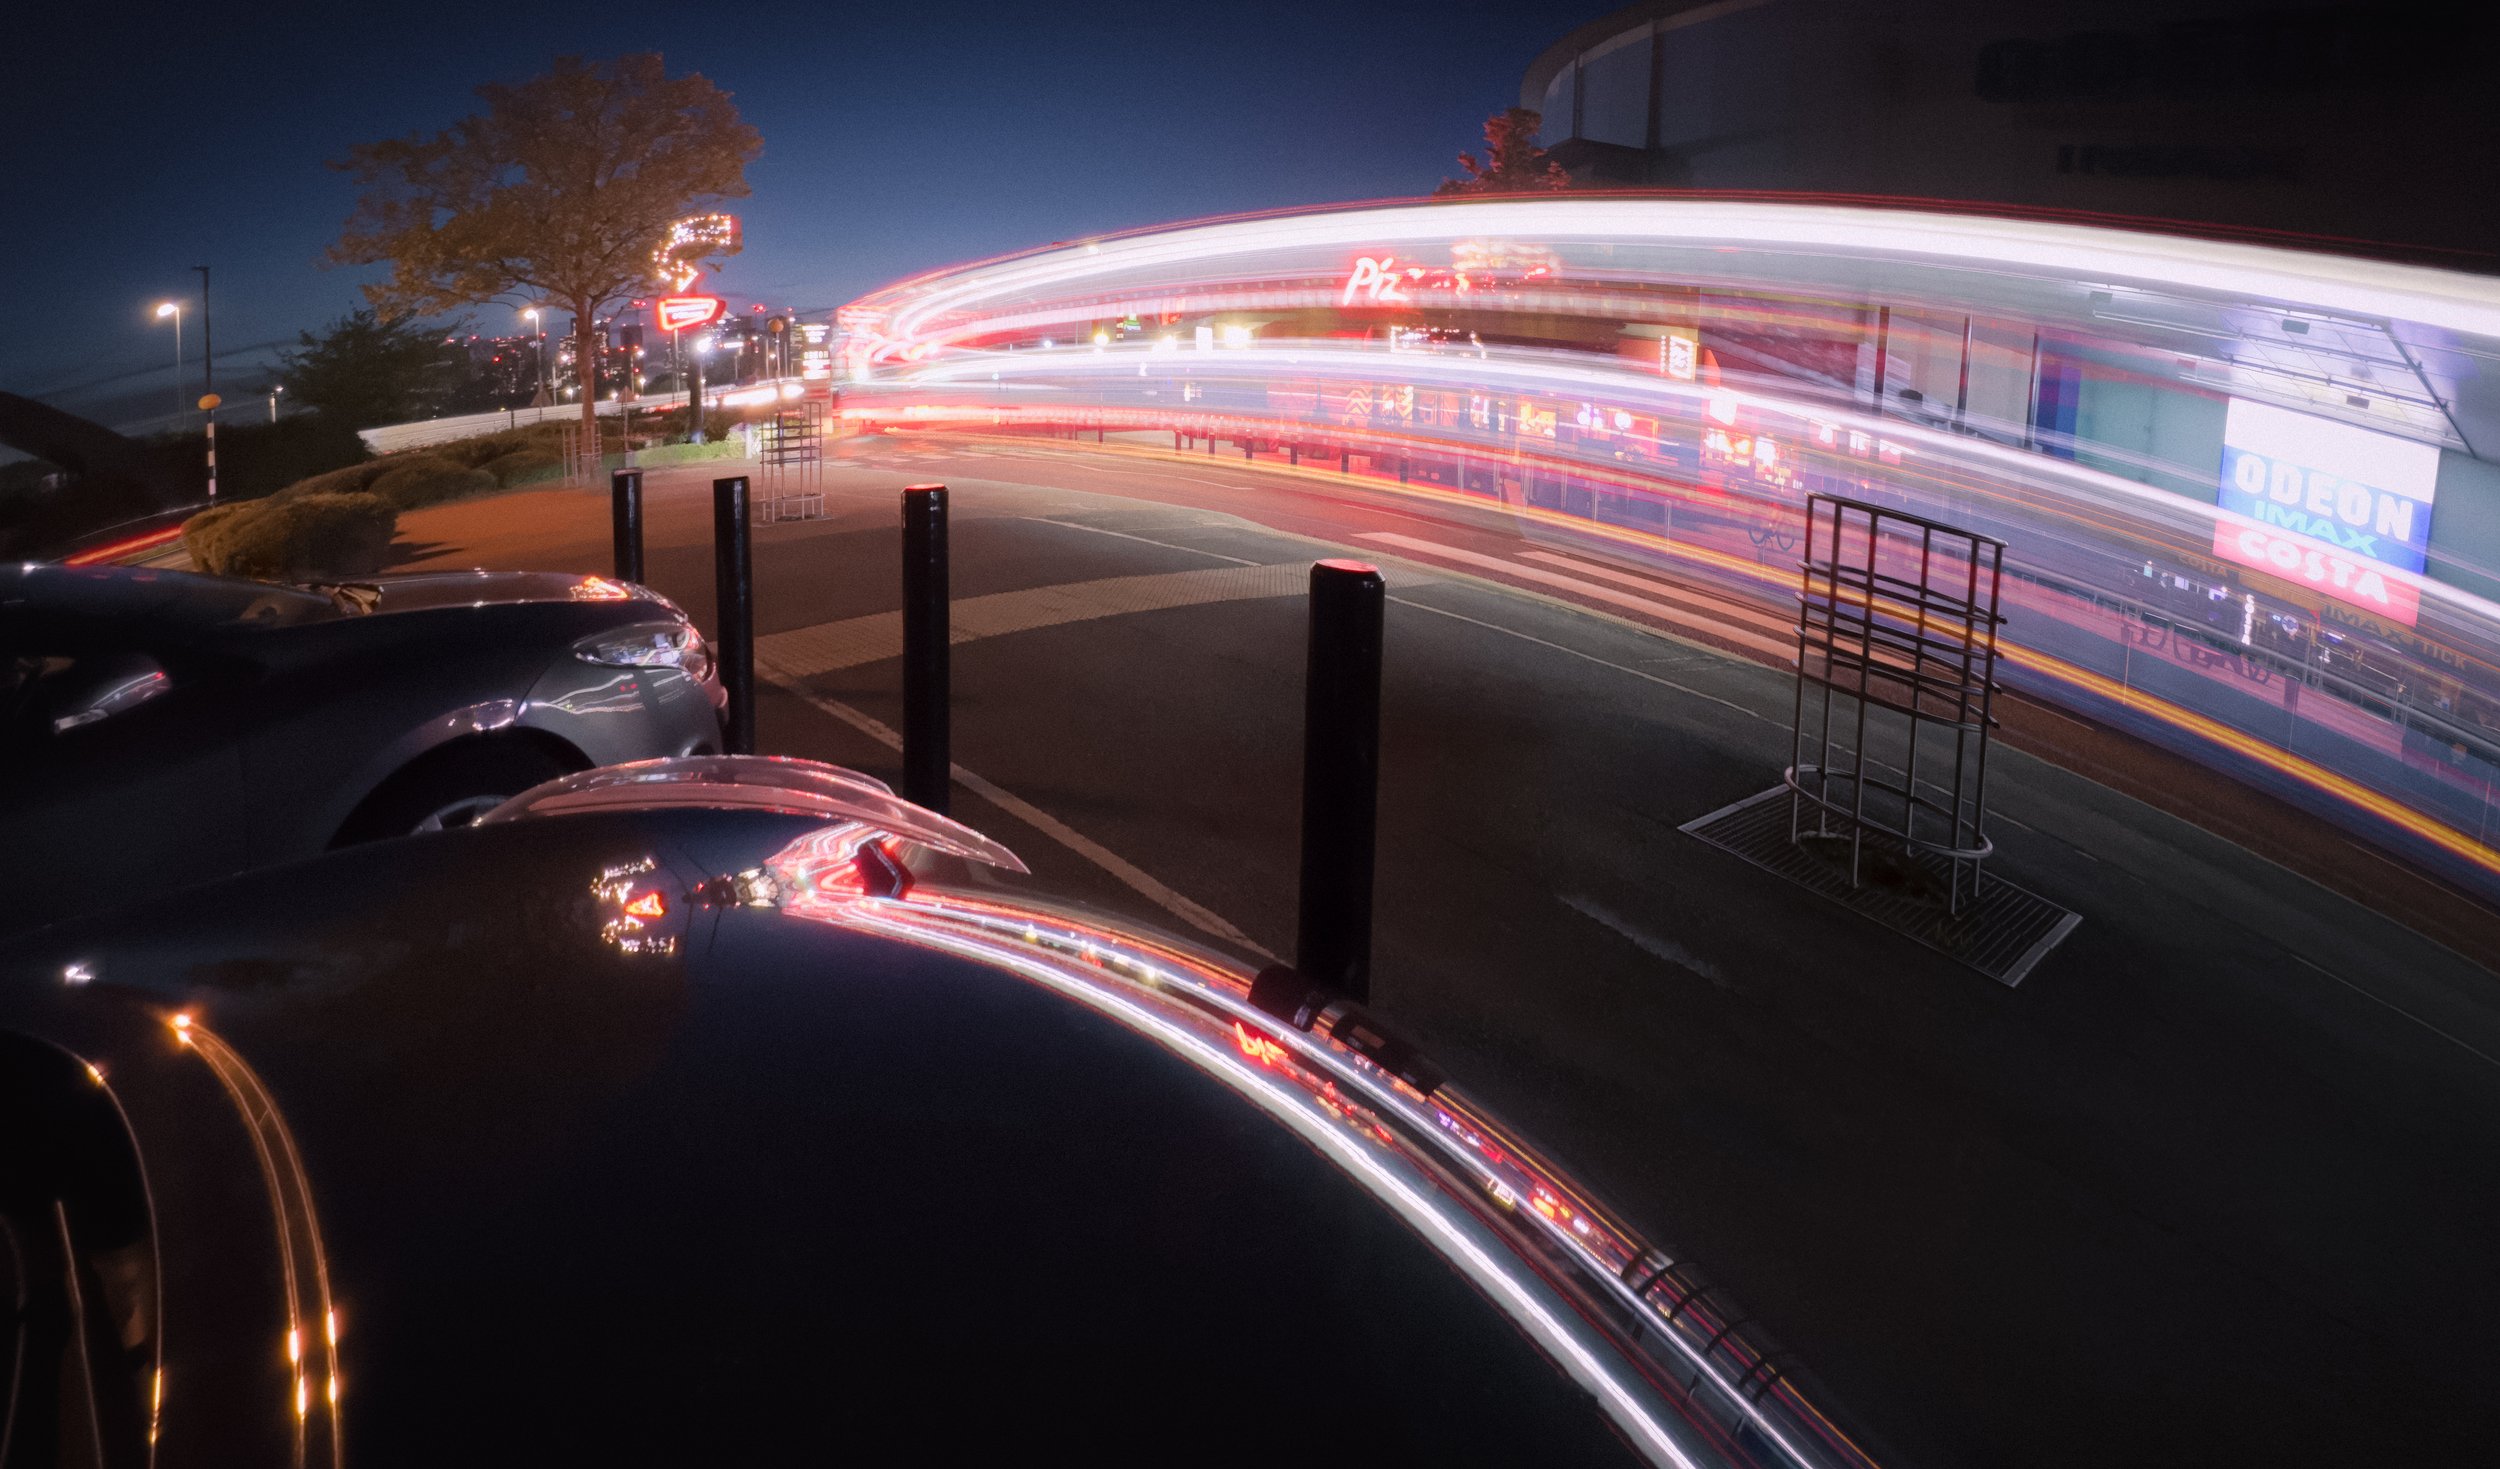
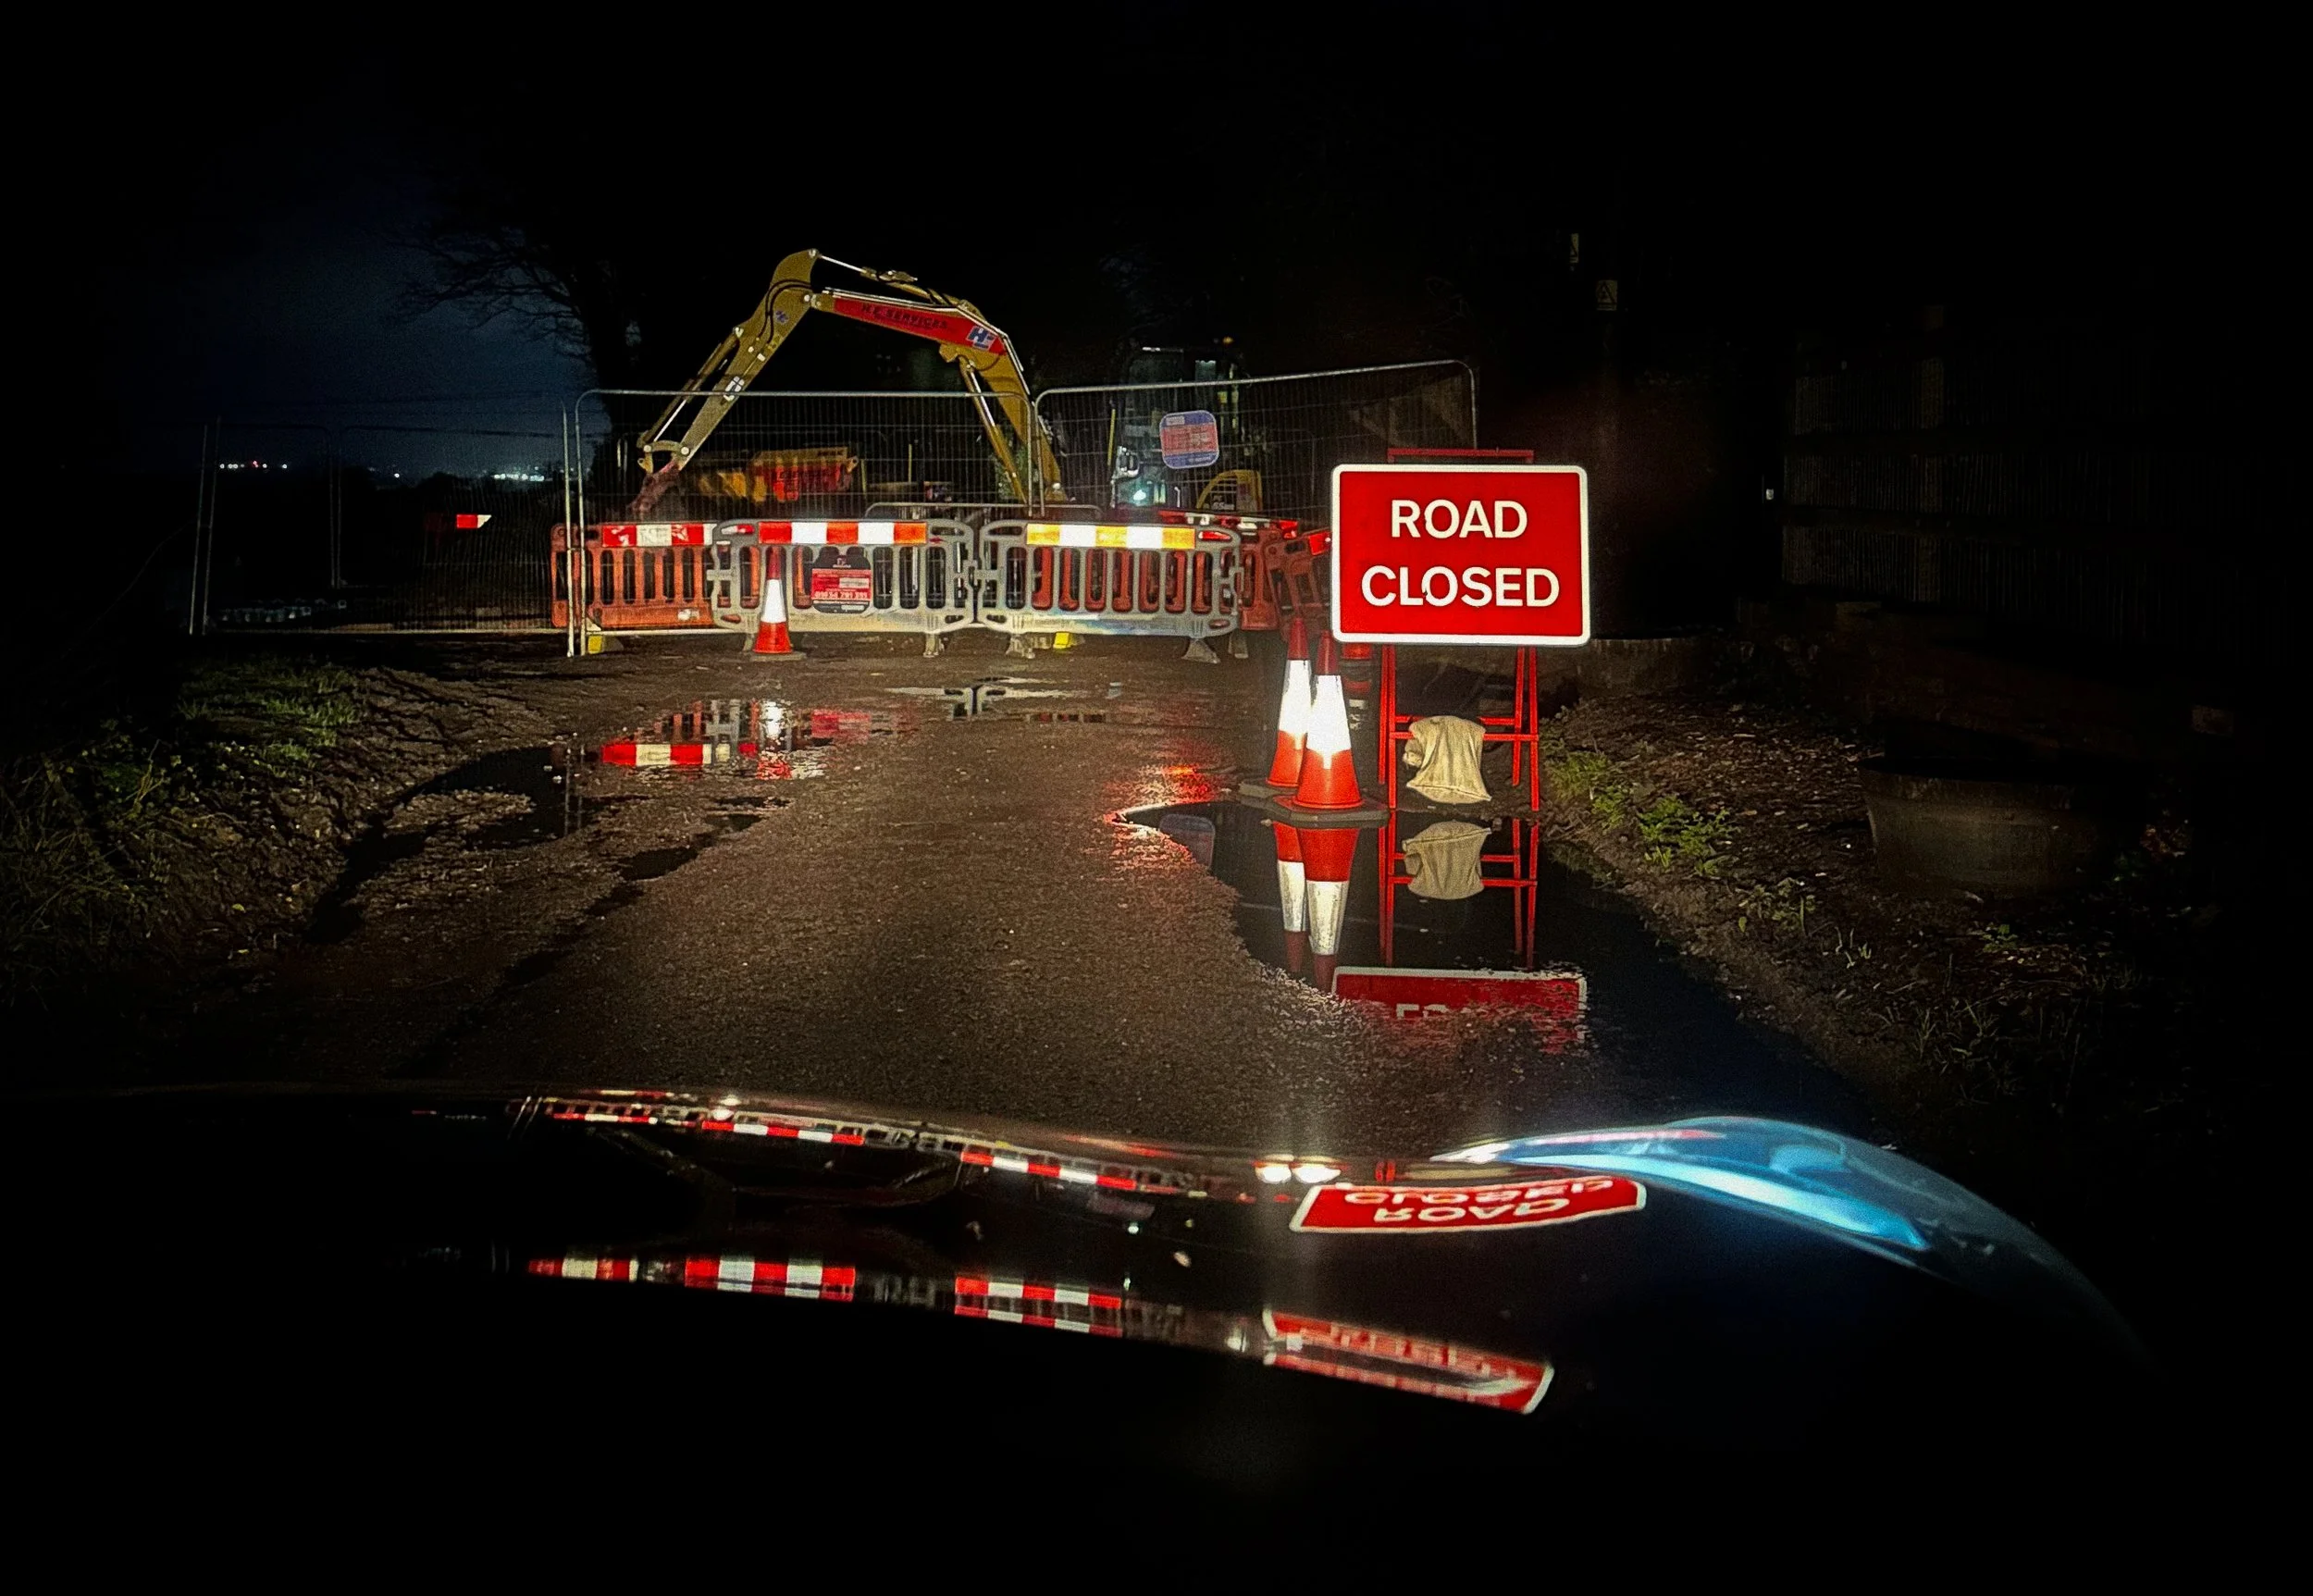
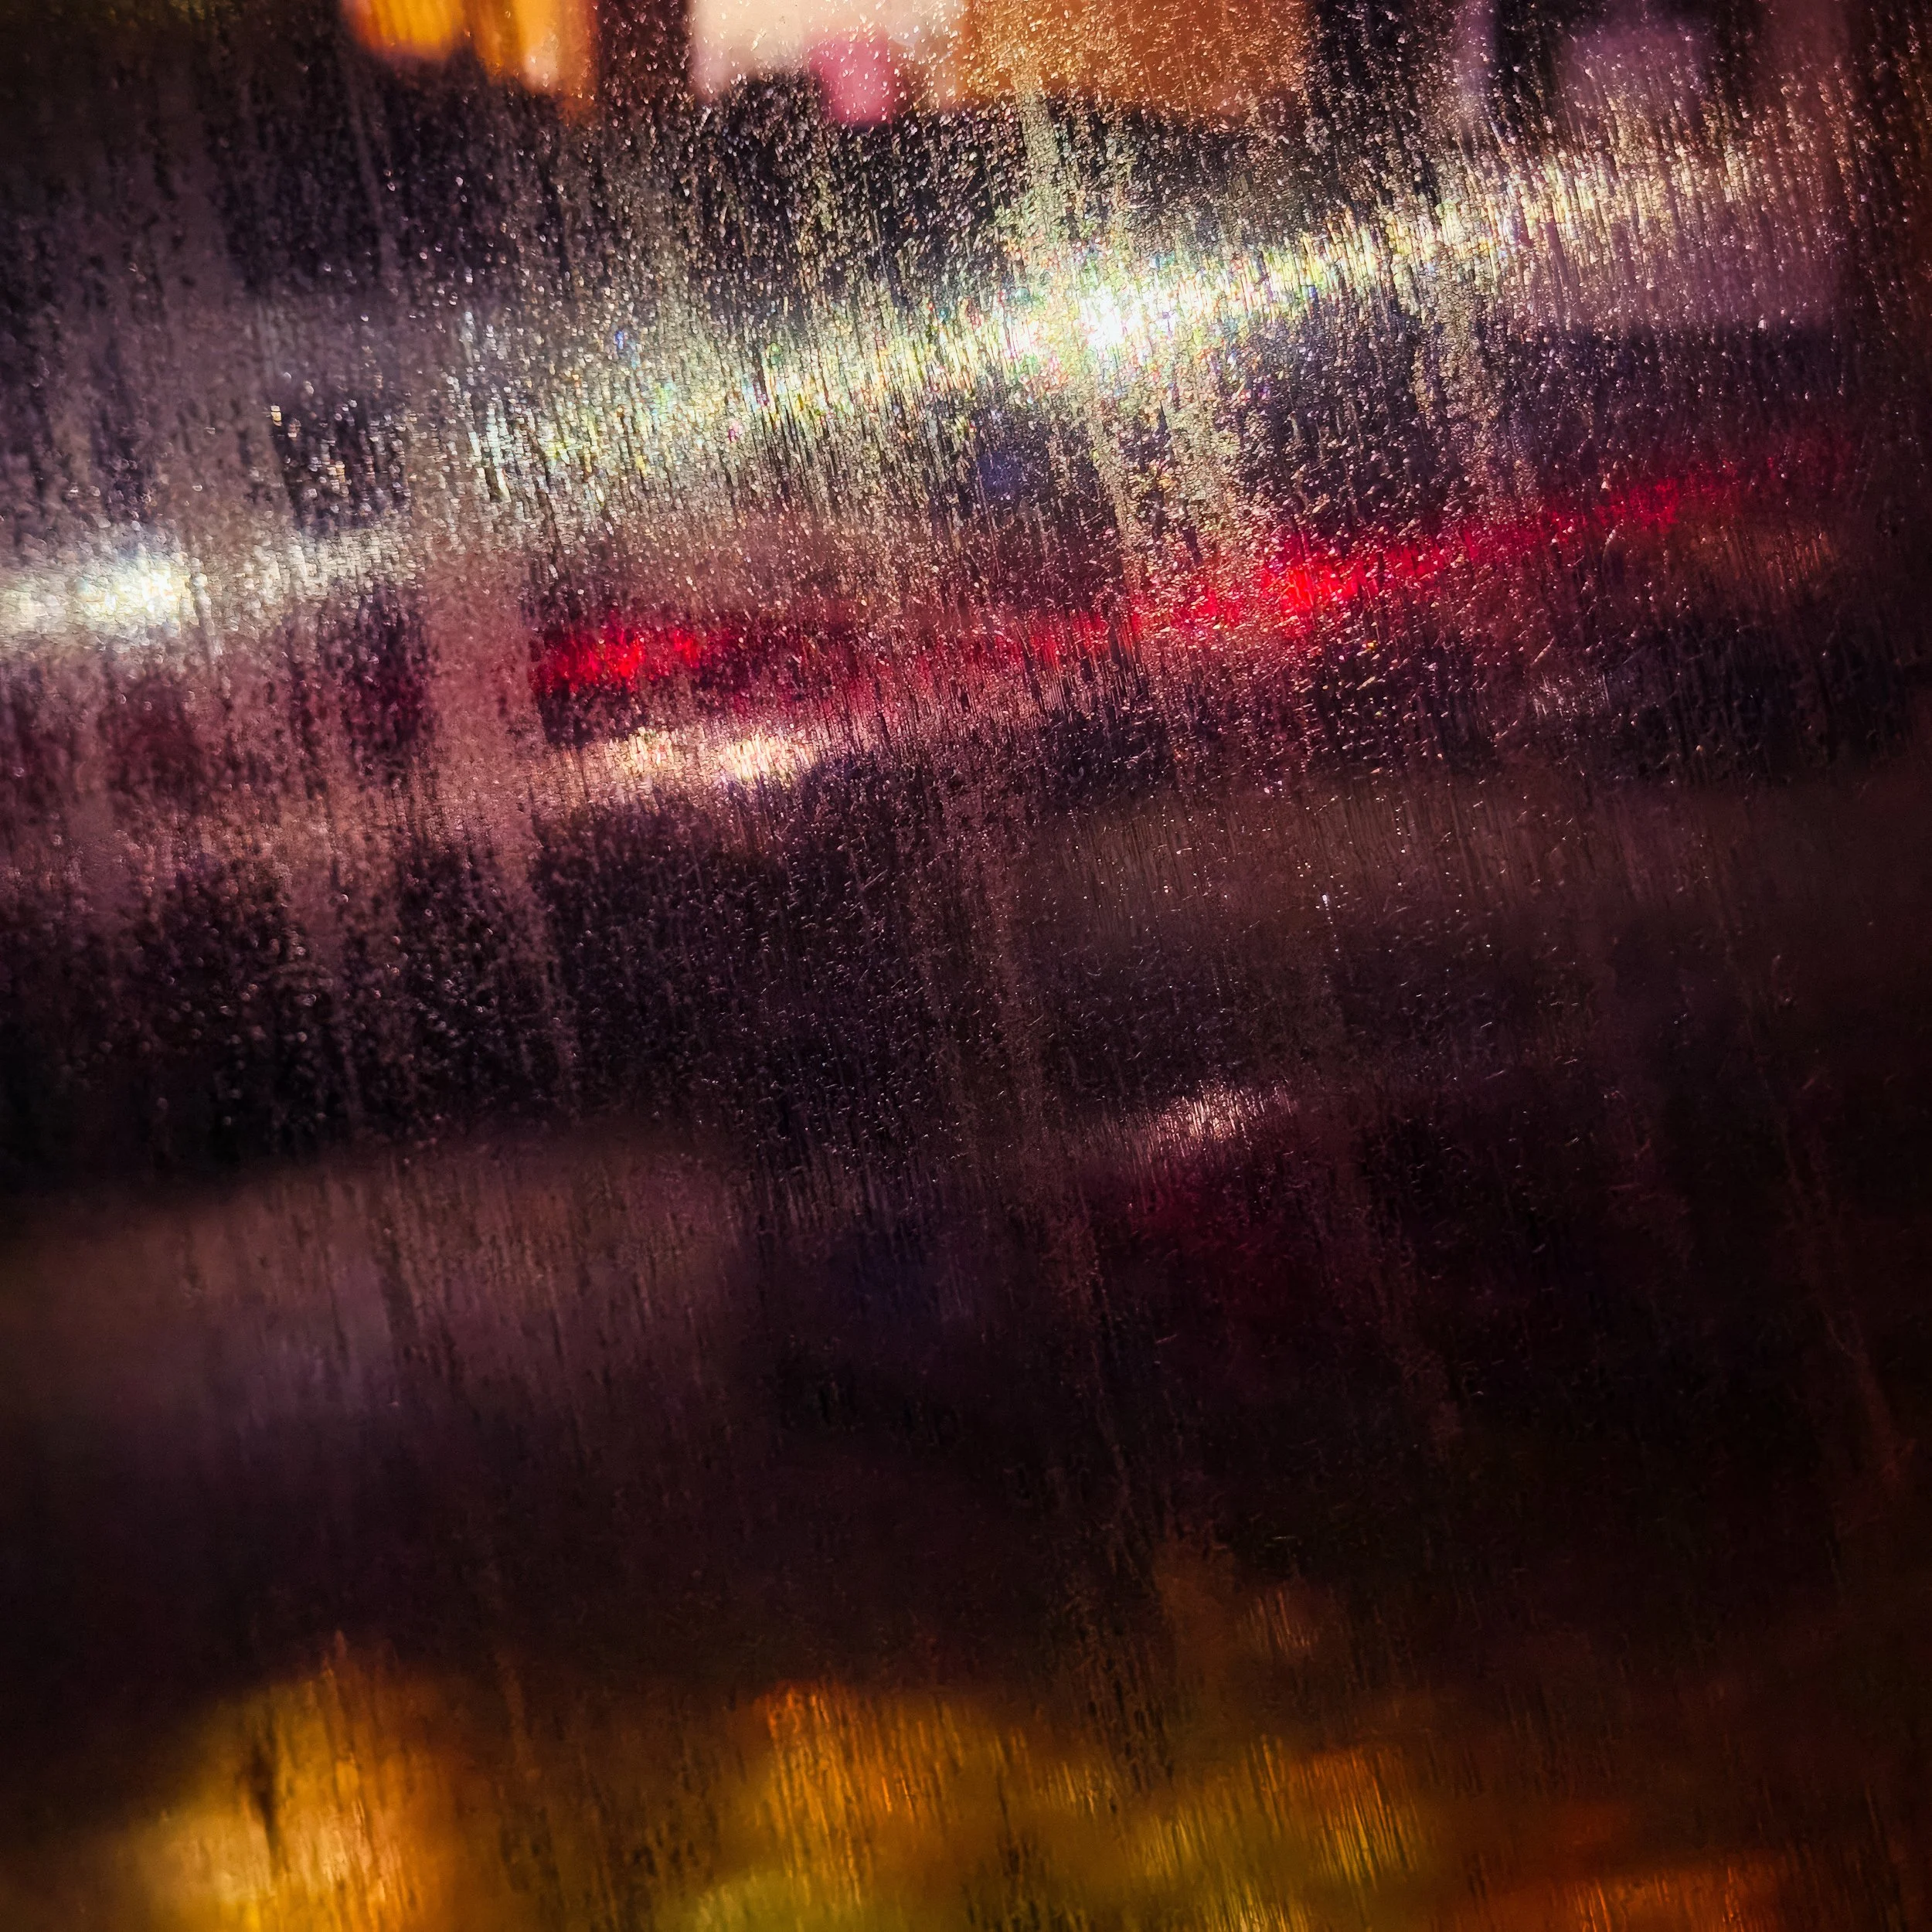
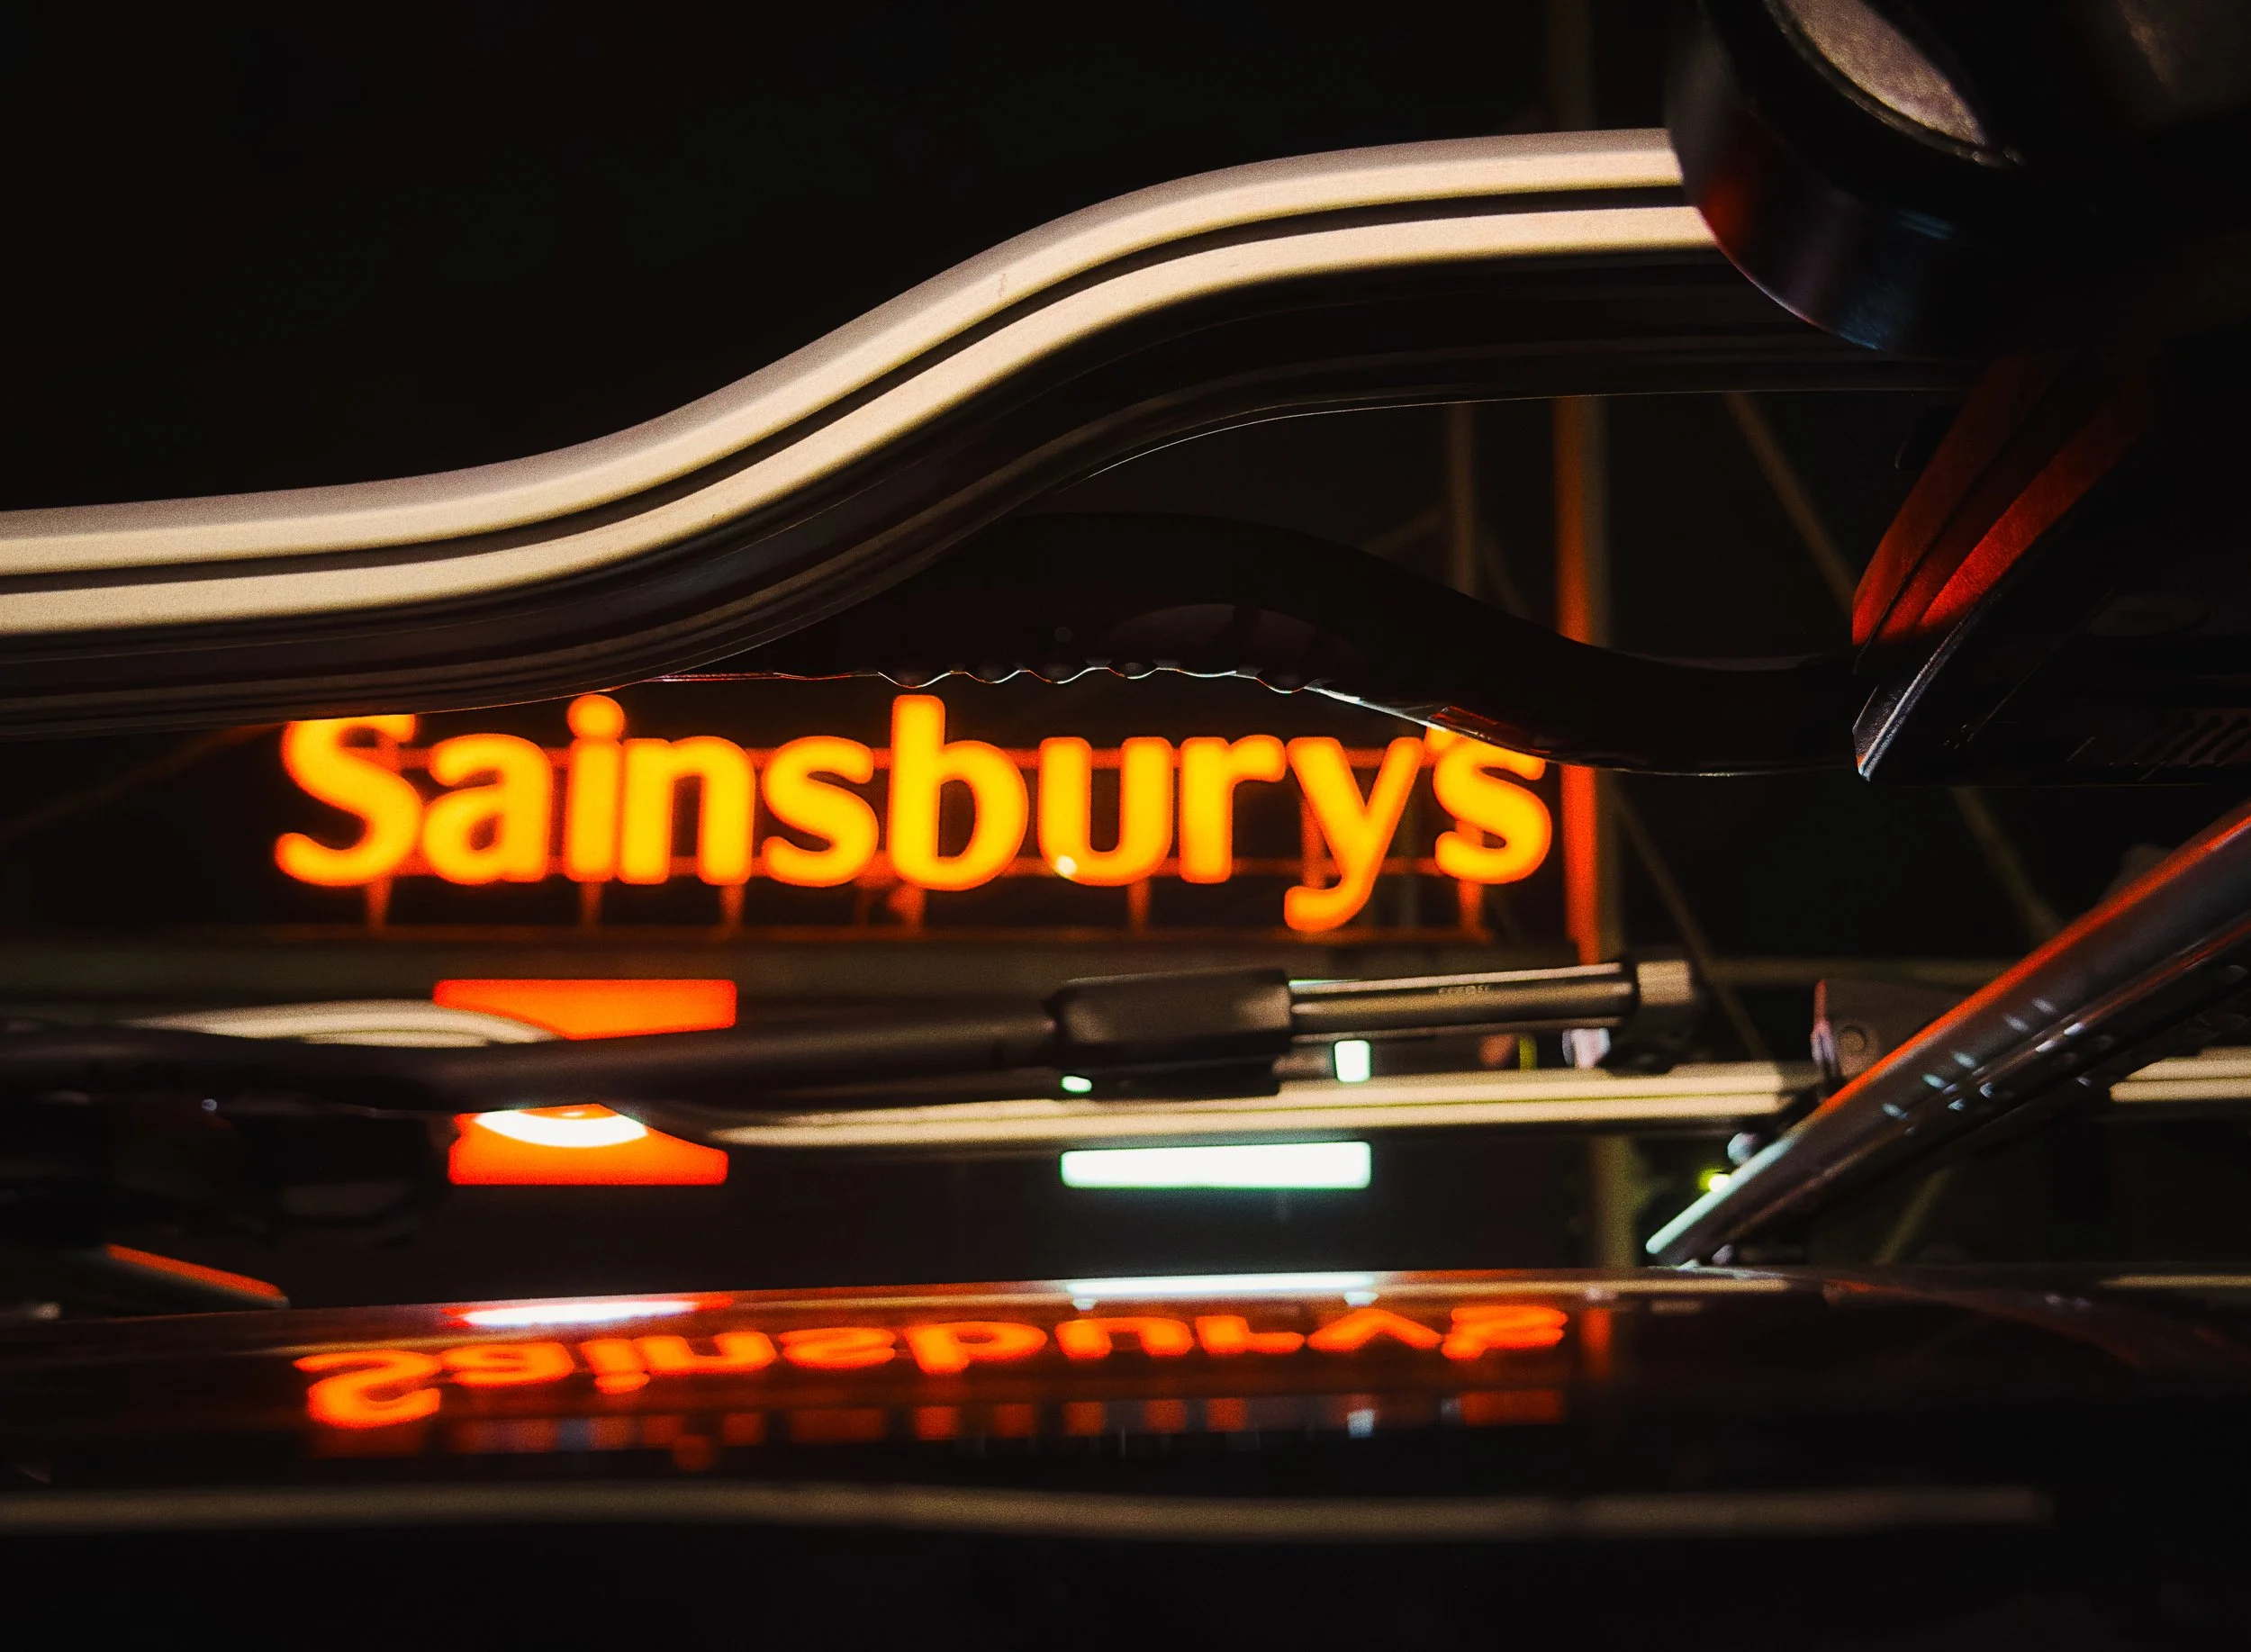
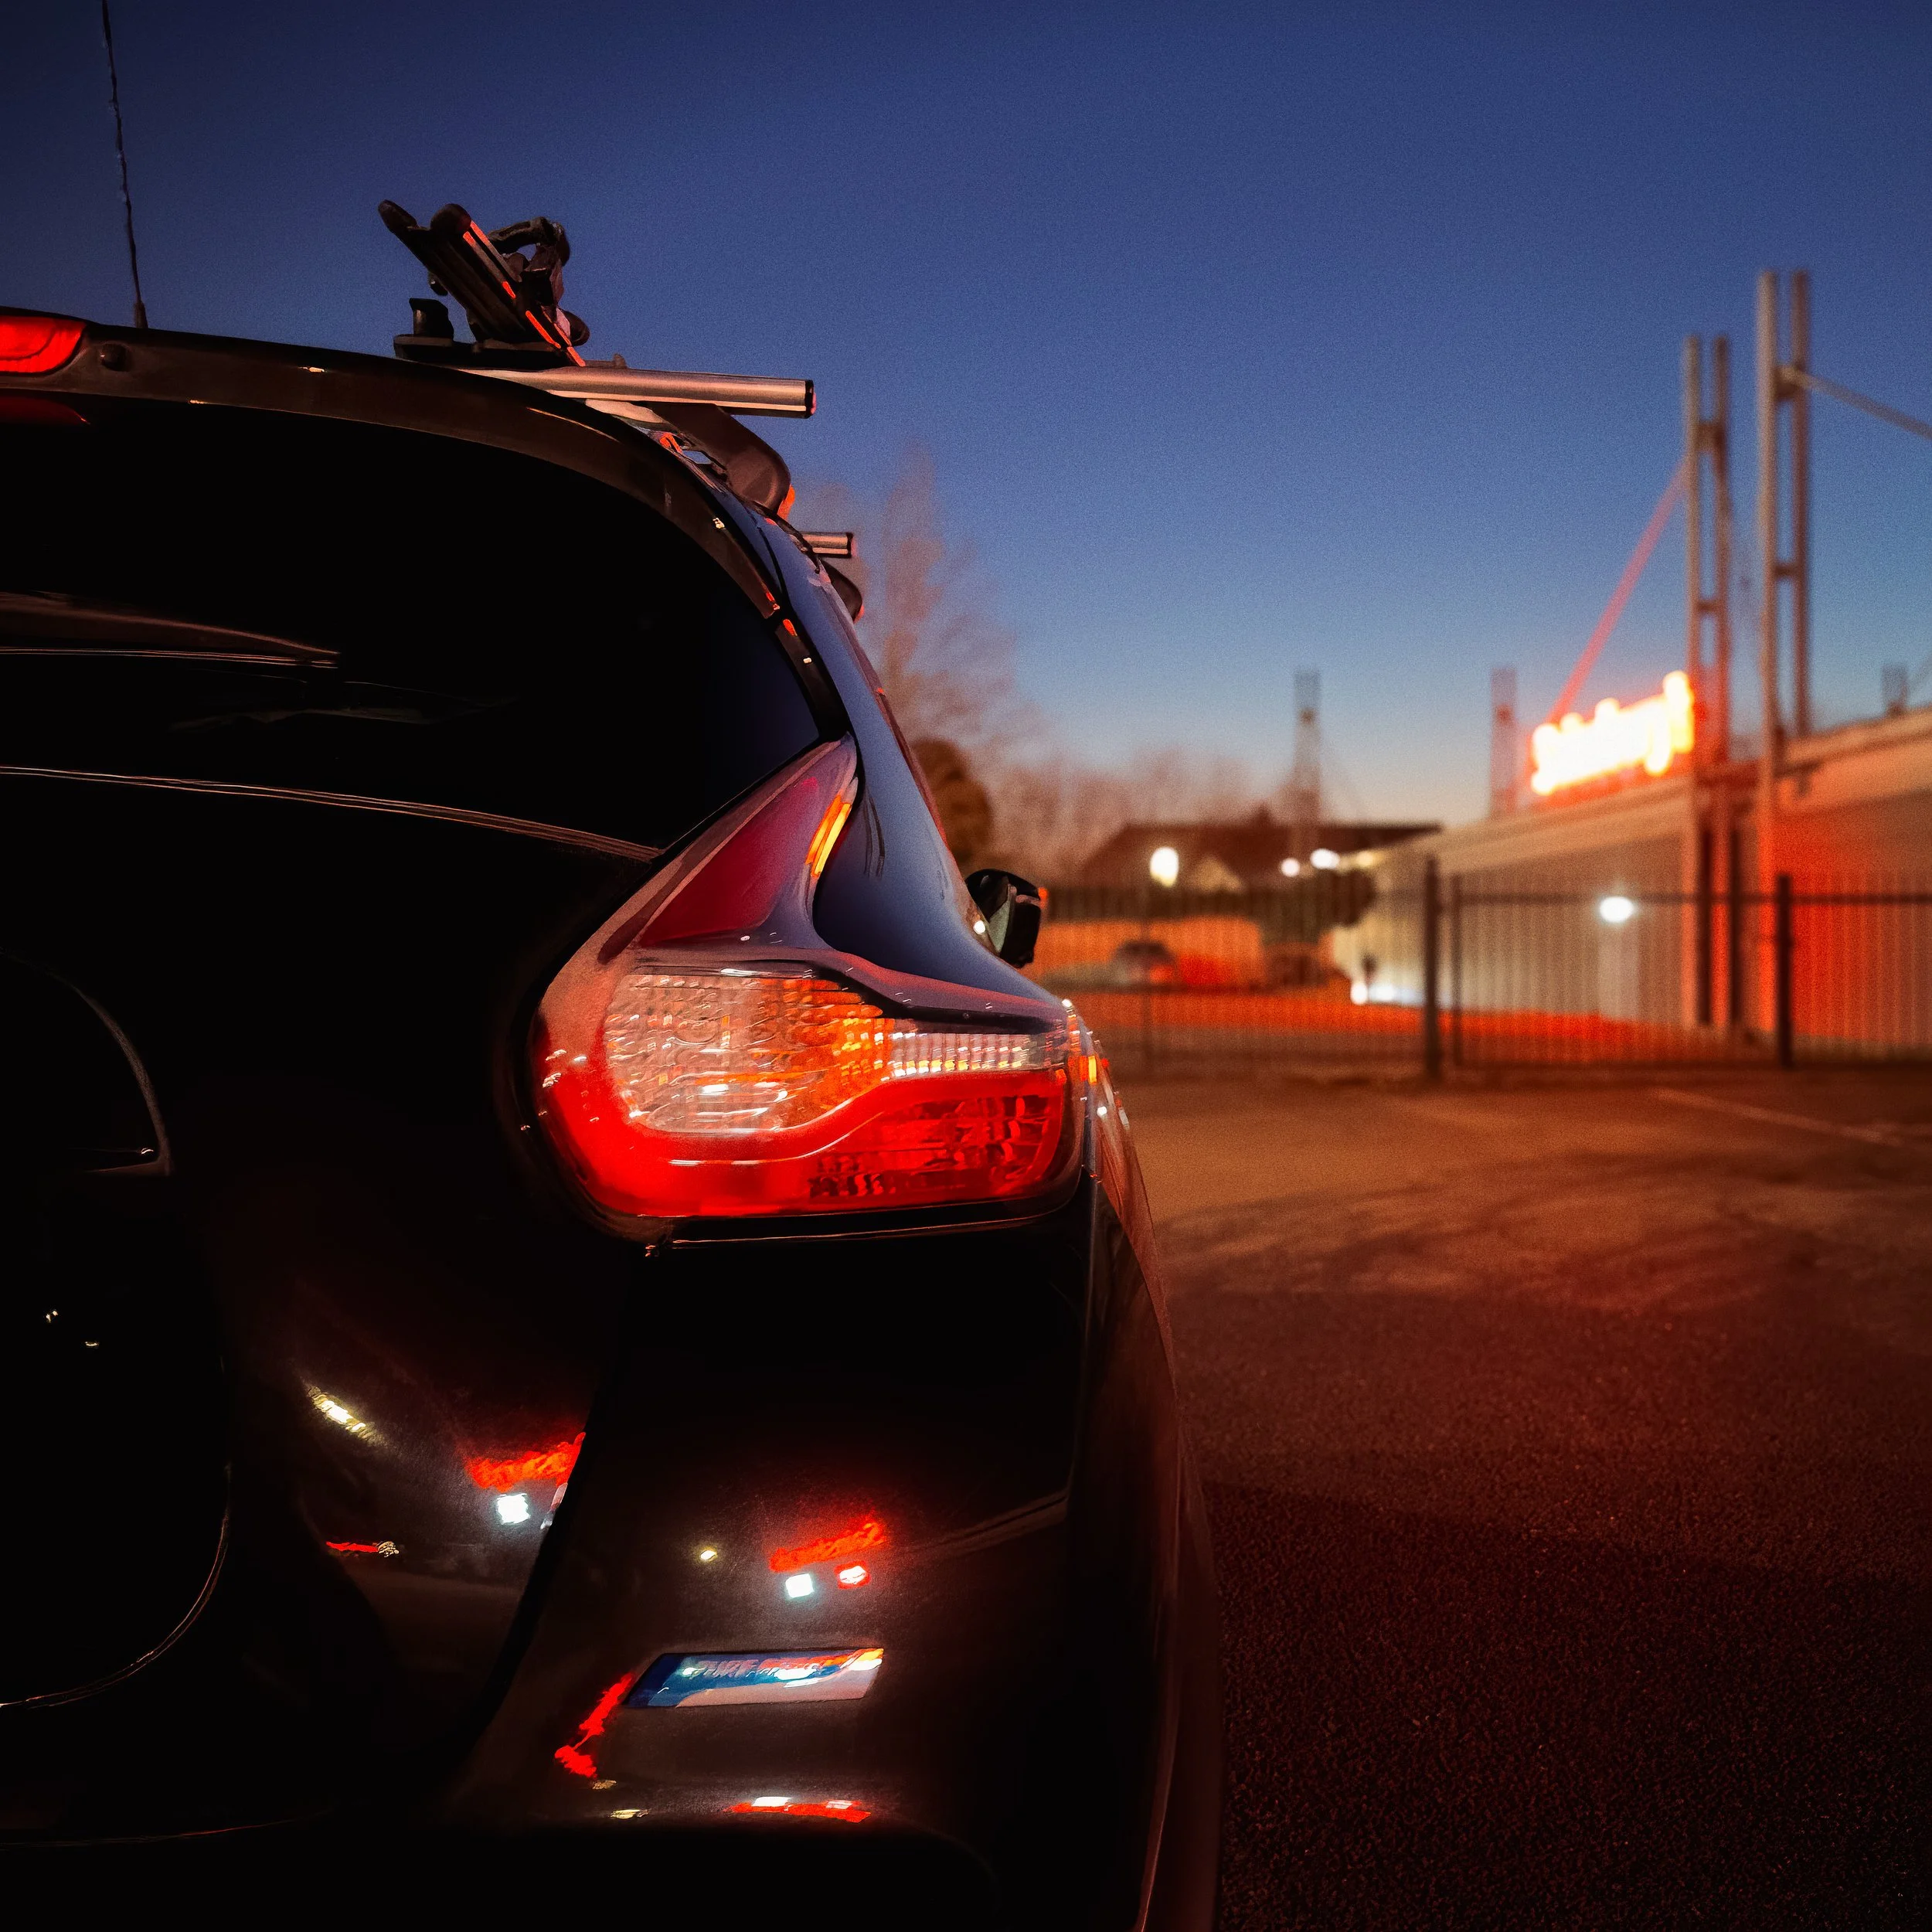
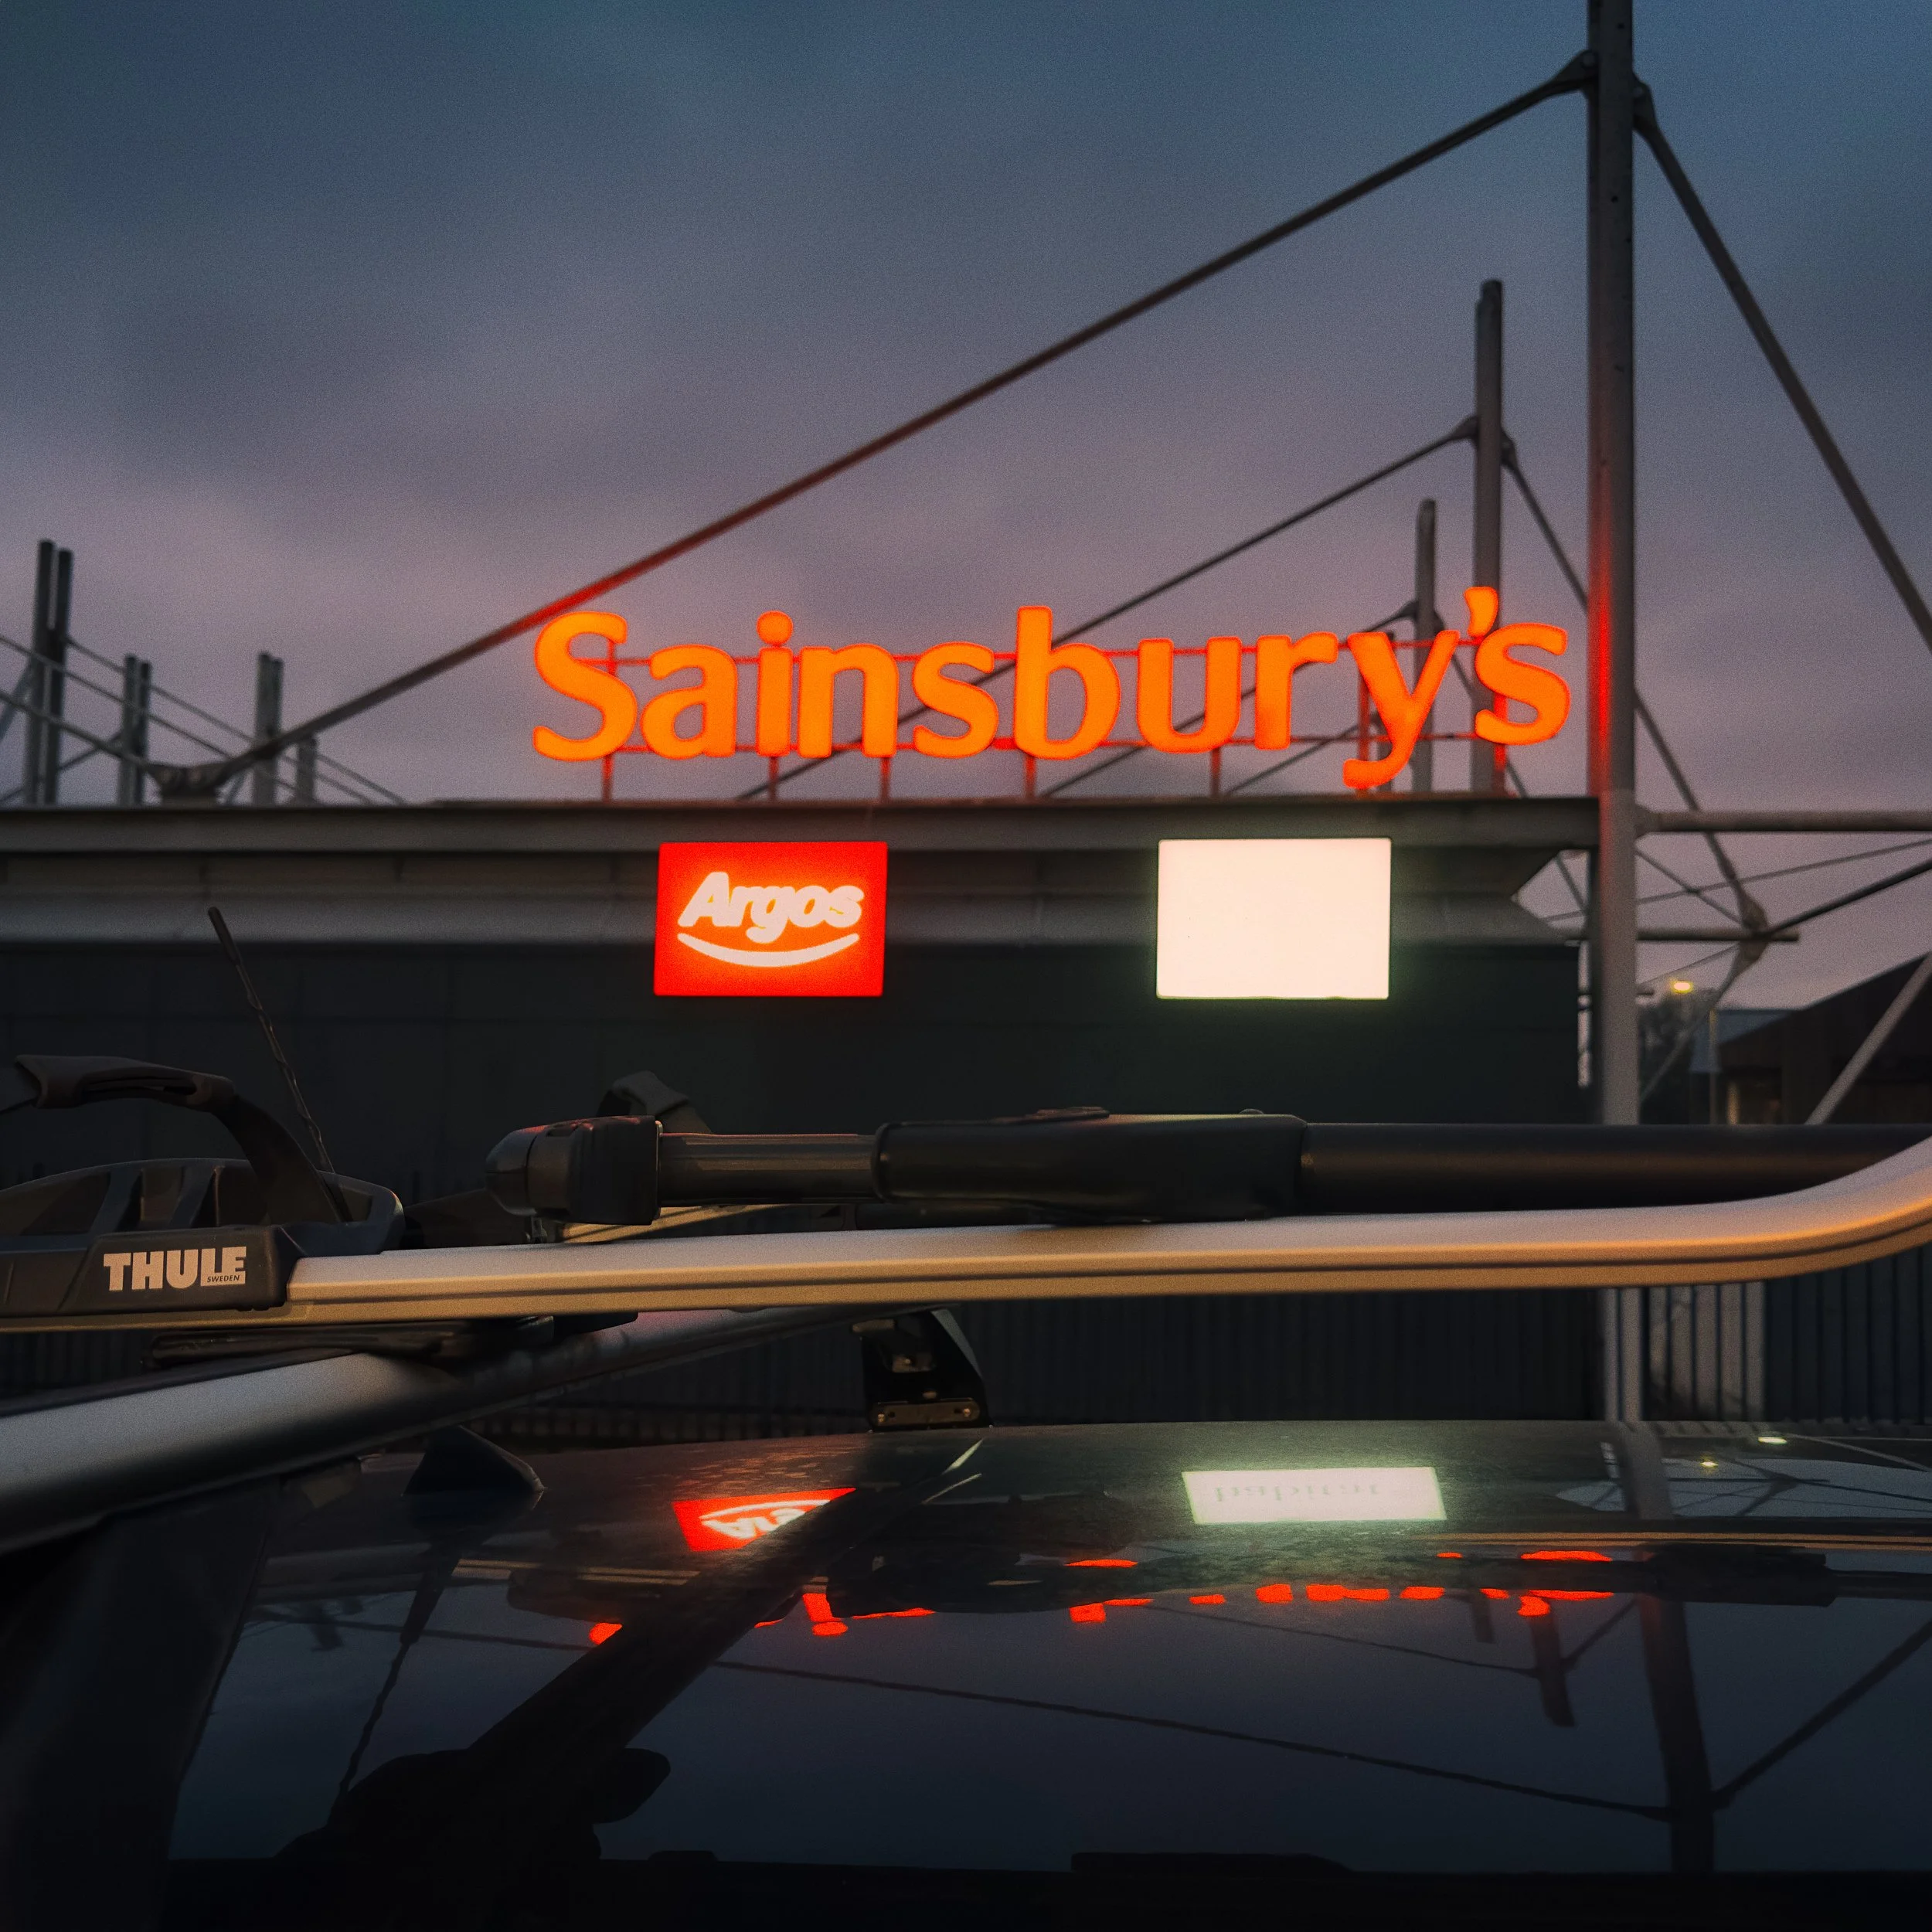
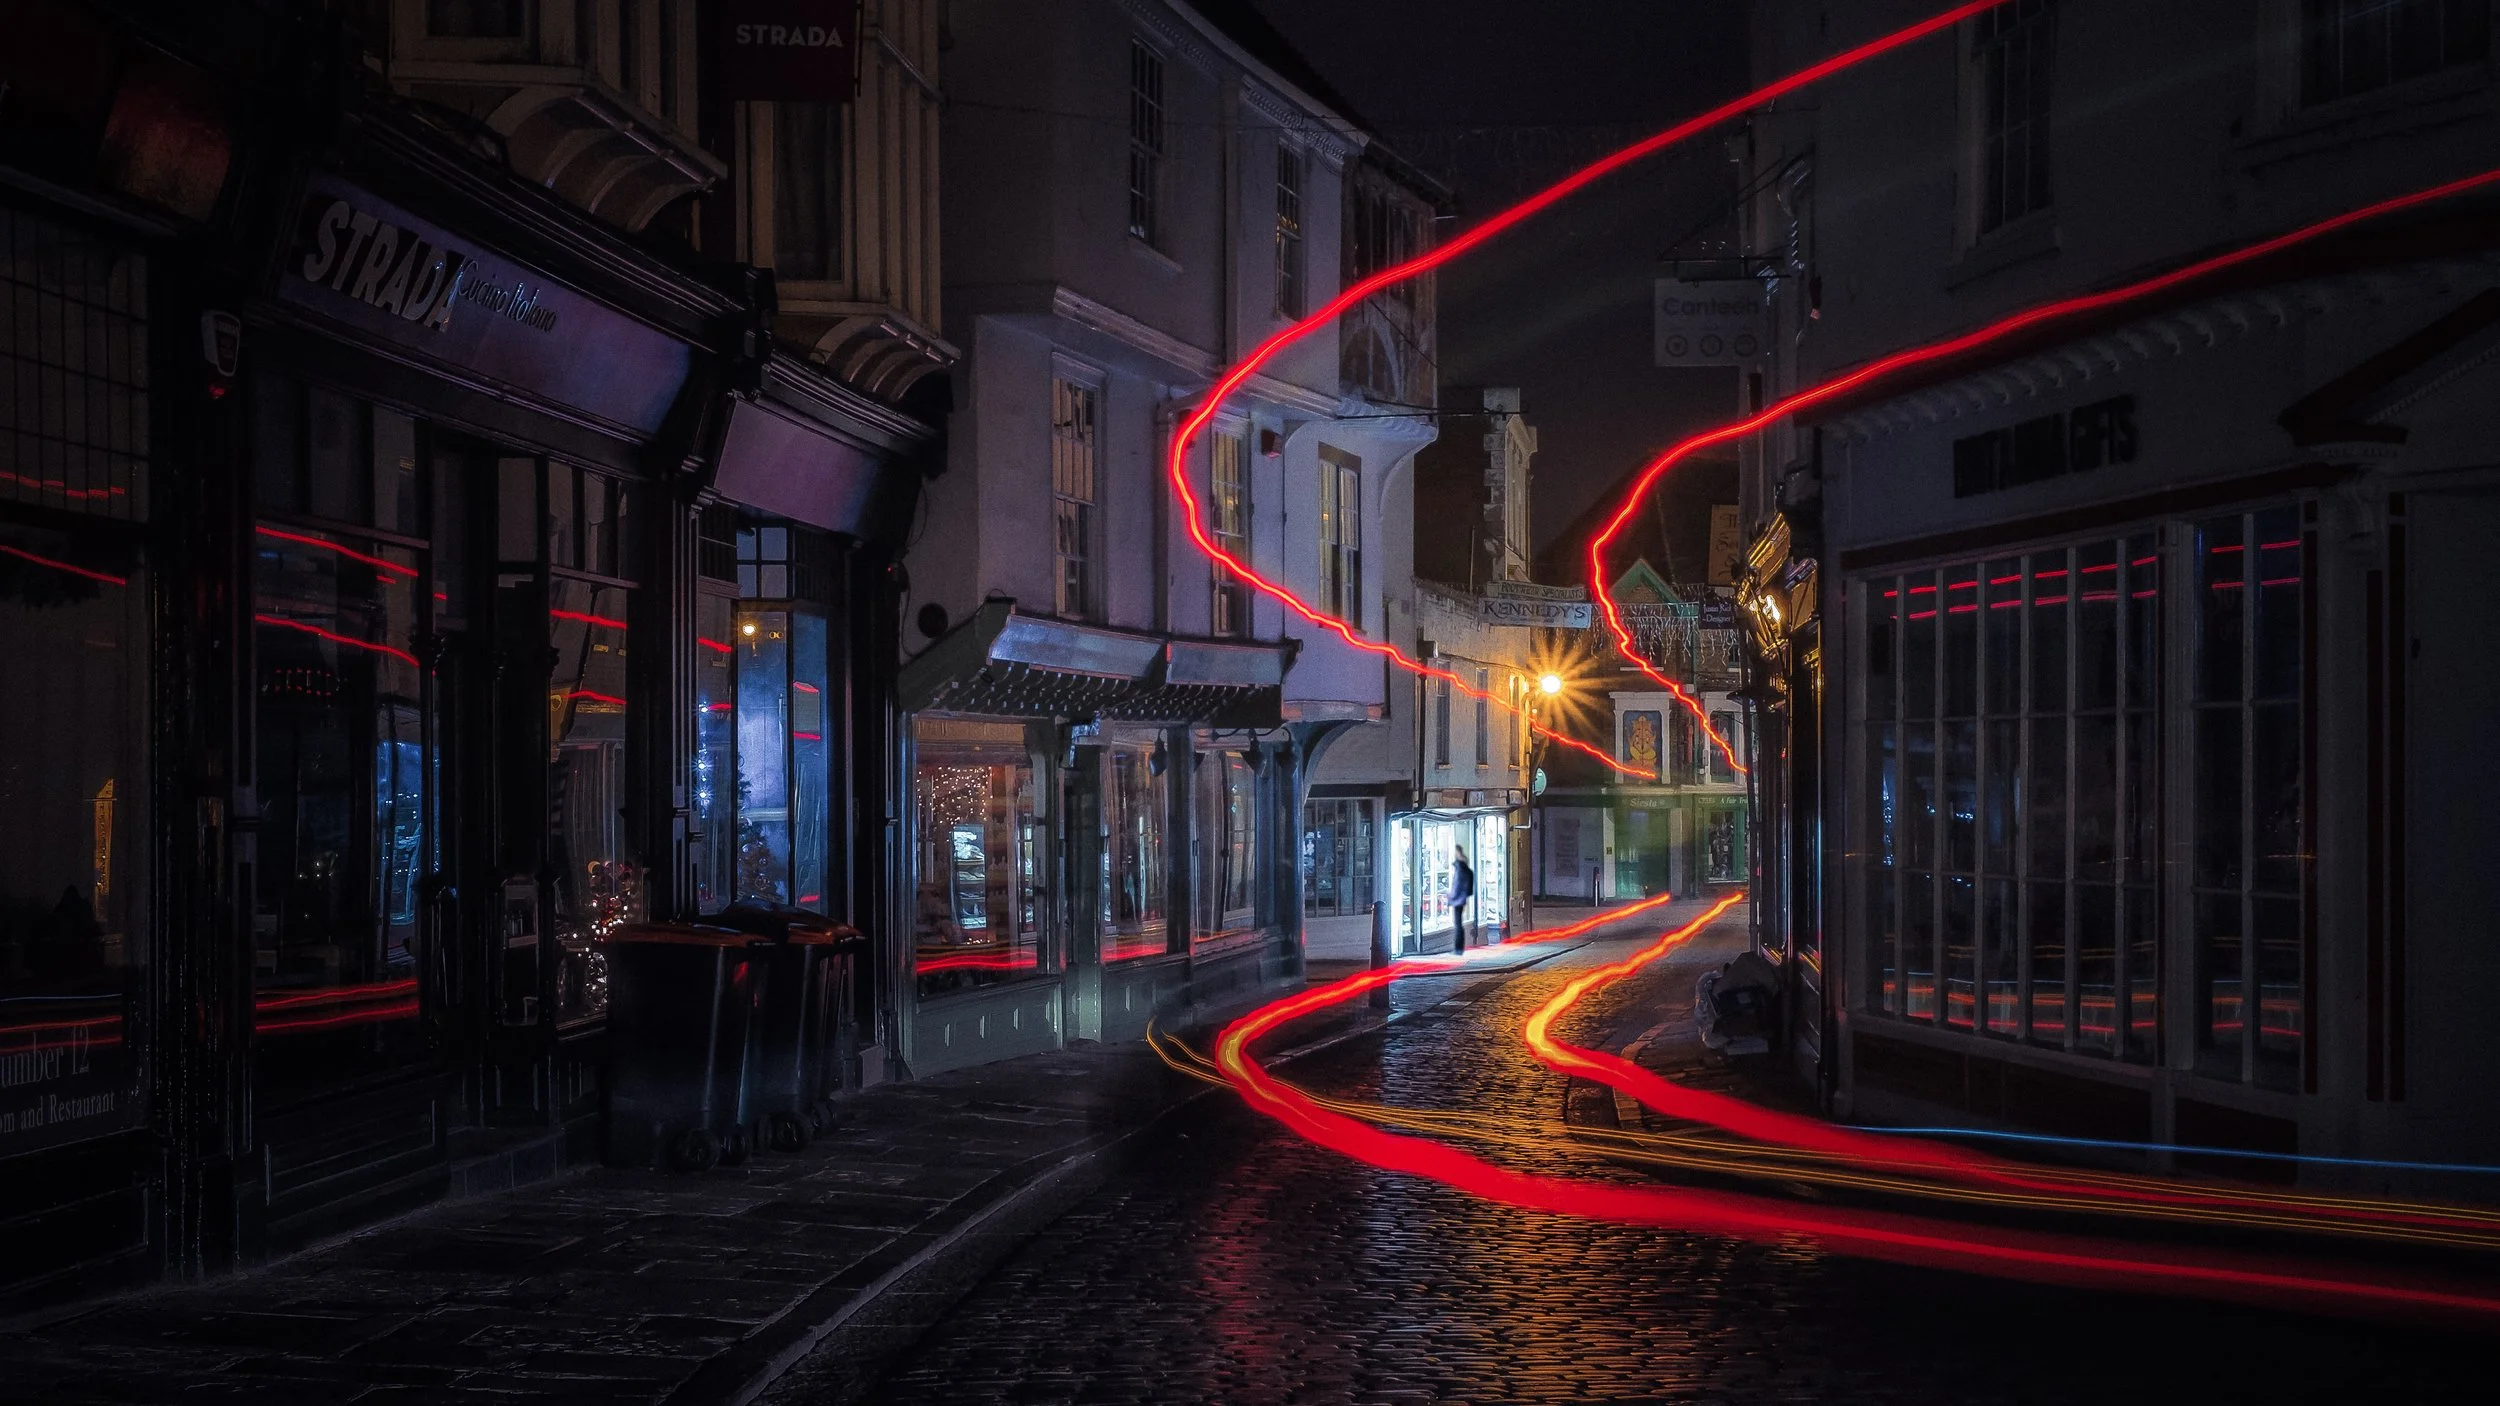
Wet tarmac — the road surface after rain turns the street into a long, low mirror. The reflections are not crisp (you get impressionistic smears of light, colour, and movement), but for urban night photography, wet tarmac is extraordinary. The reflection of a neon sign on a wet road is one of the most effortlessly atmospheric images you can make.
Polished stone — marble floors, granite walls, highly polished paving. Hotels are oddly excellent for this. So are modern civic spaces with stone floors, where the ceiling is reflected back at you from the ground.
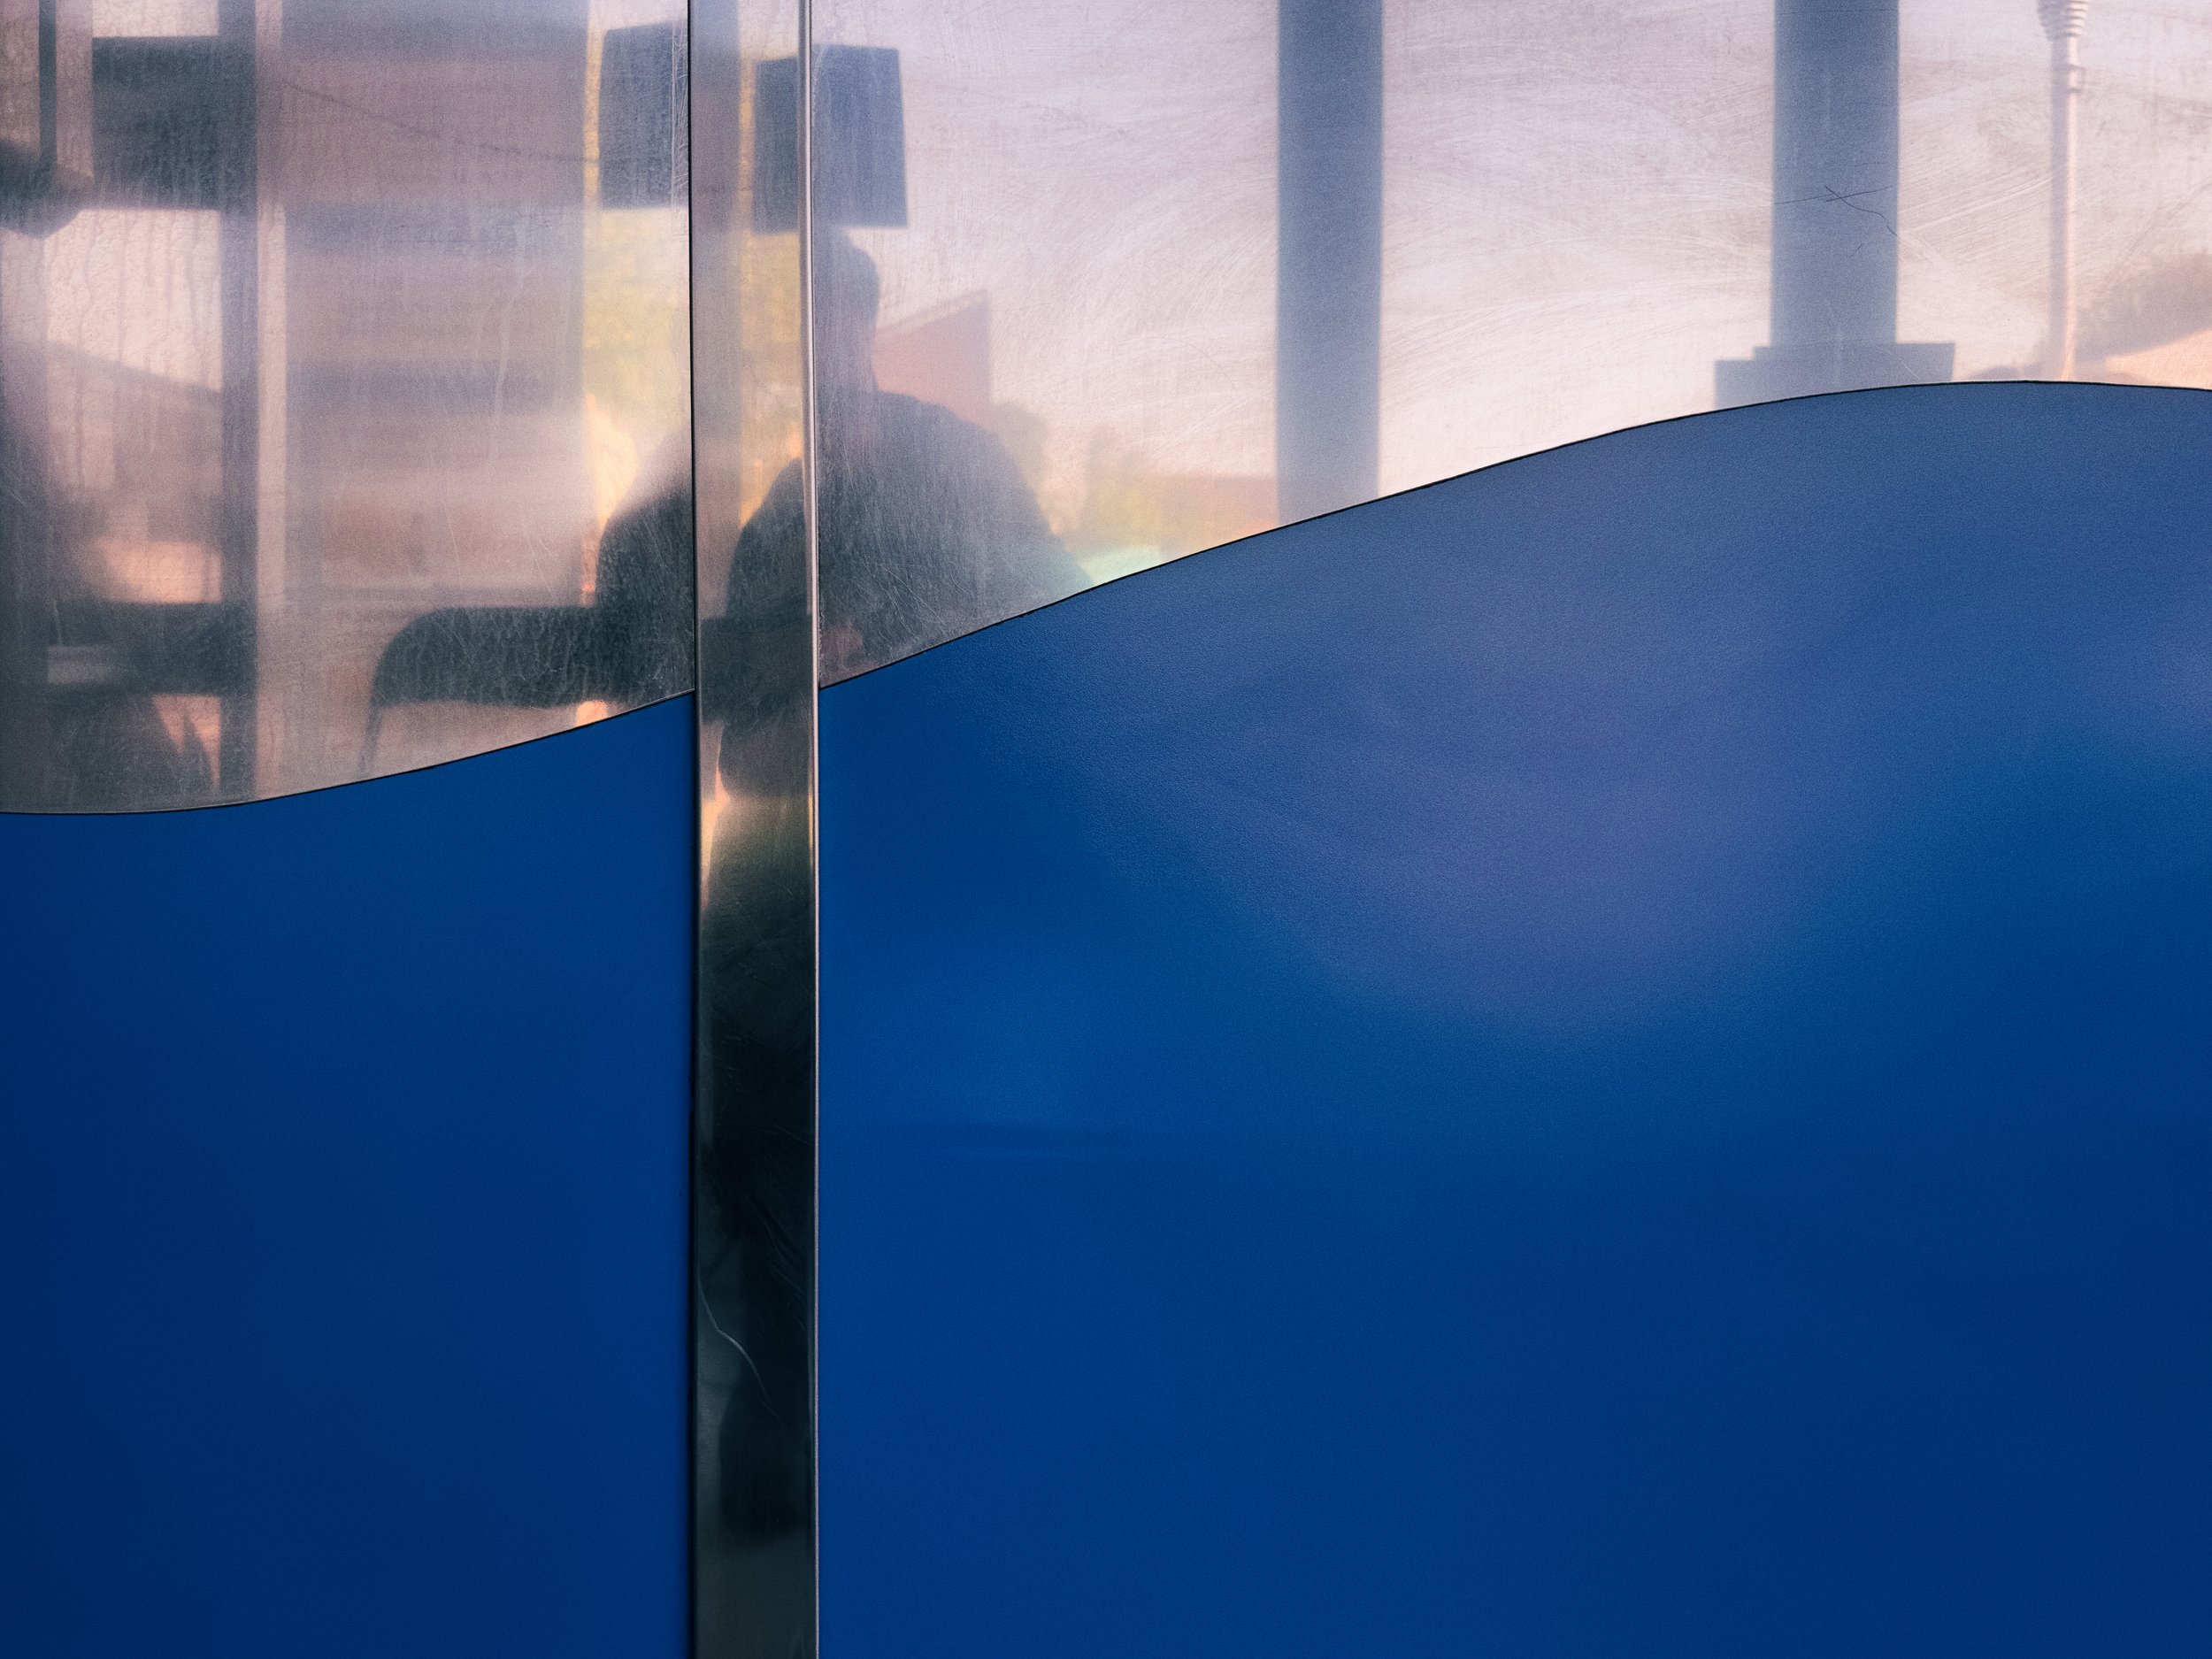
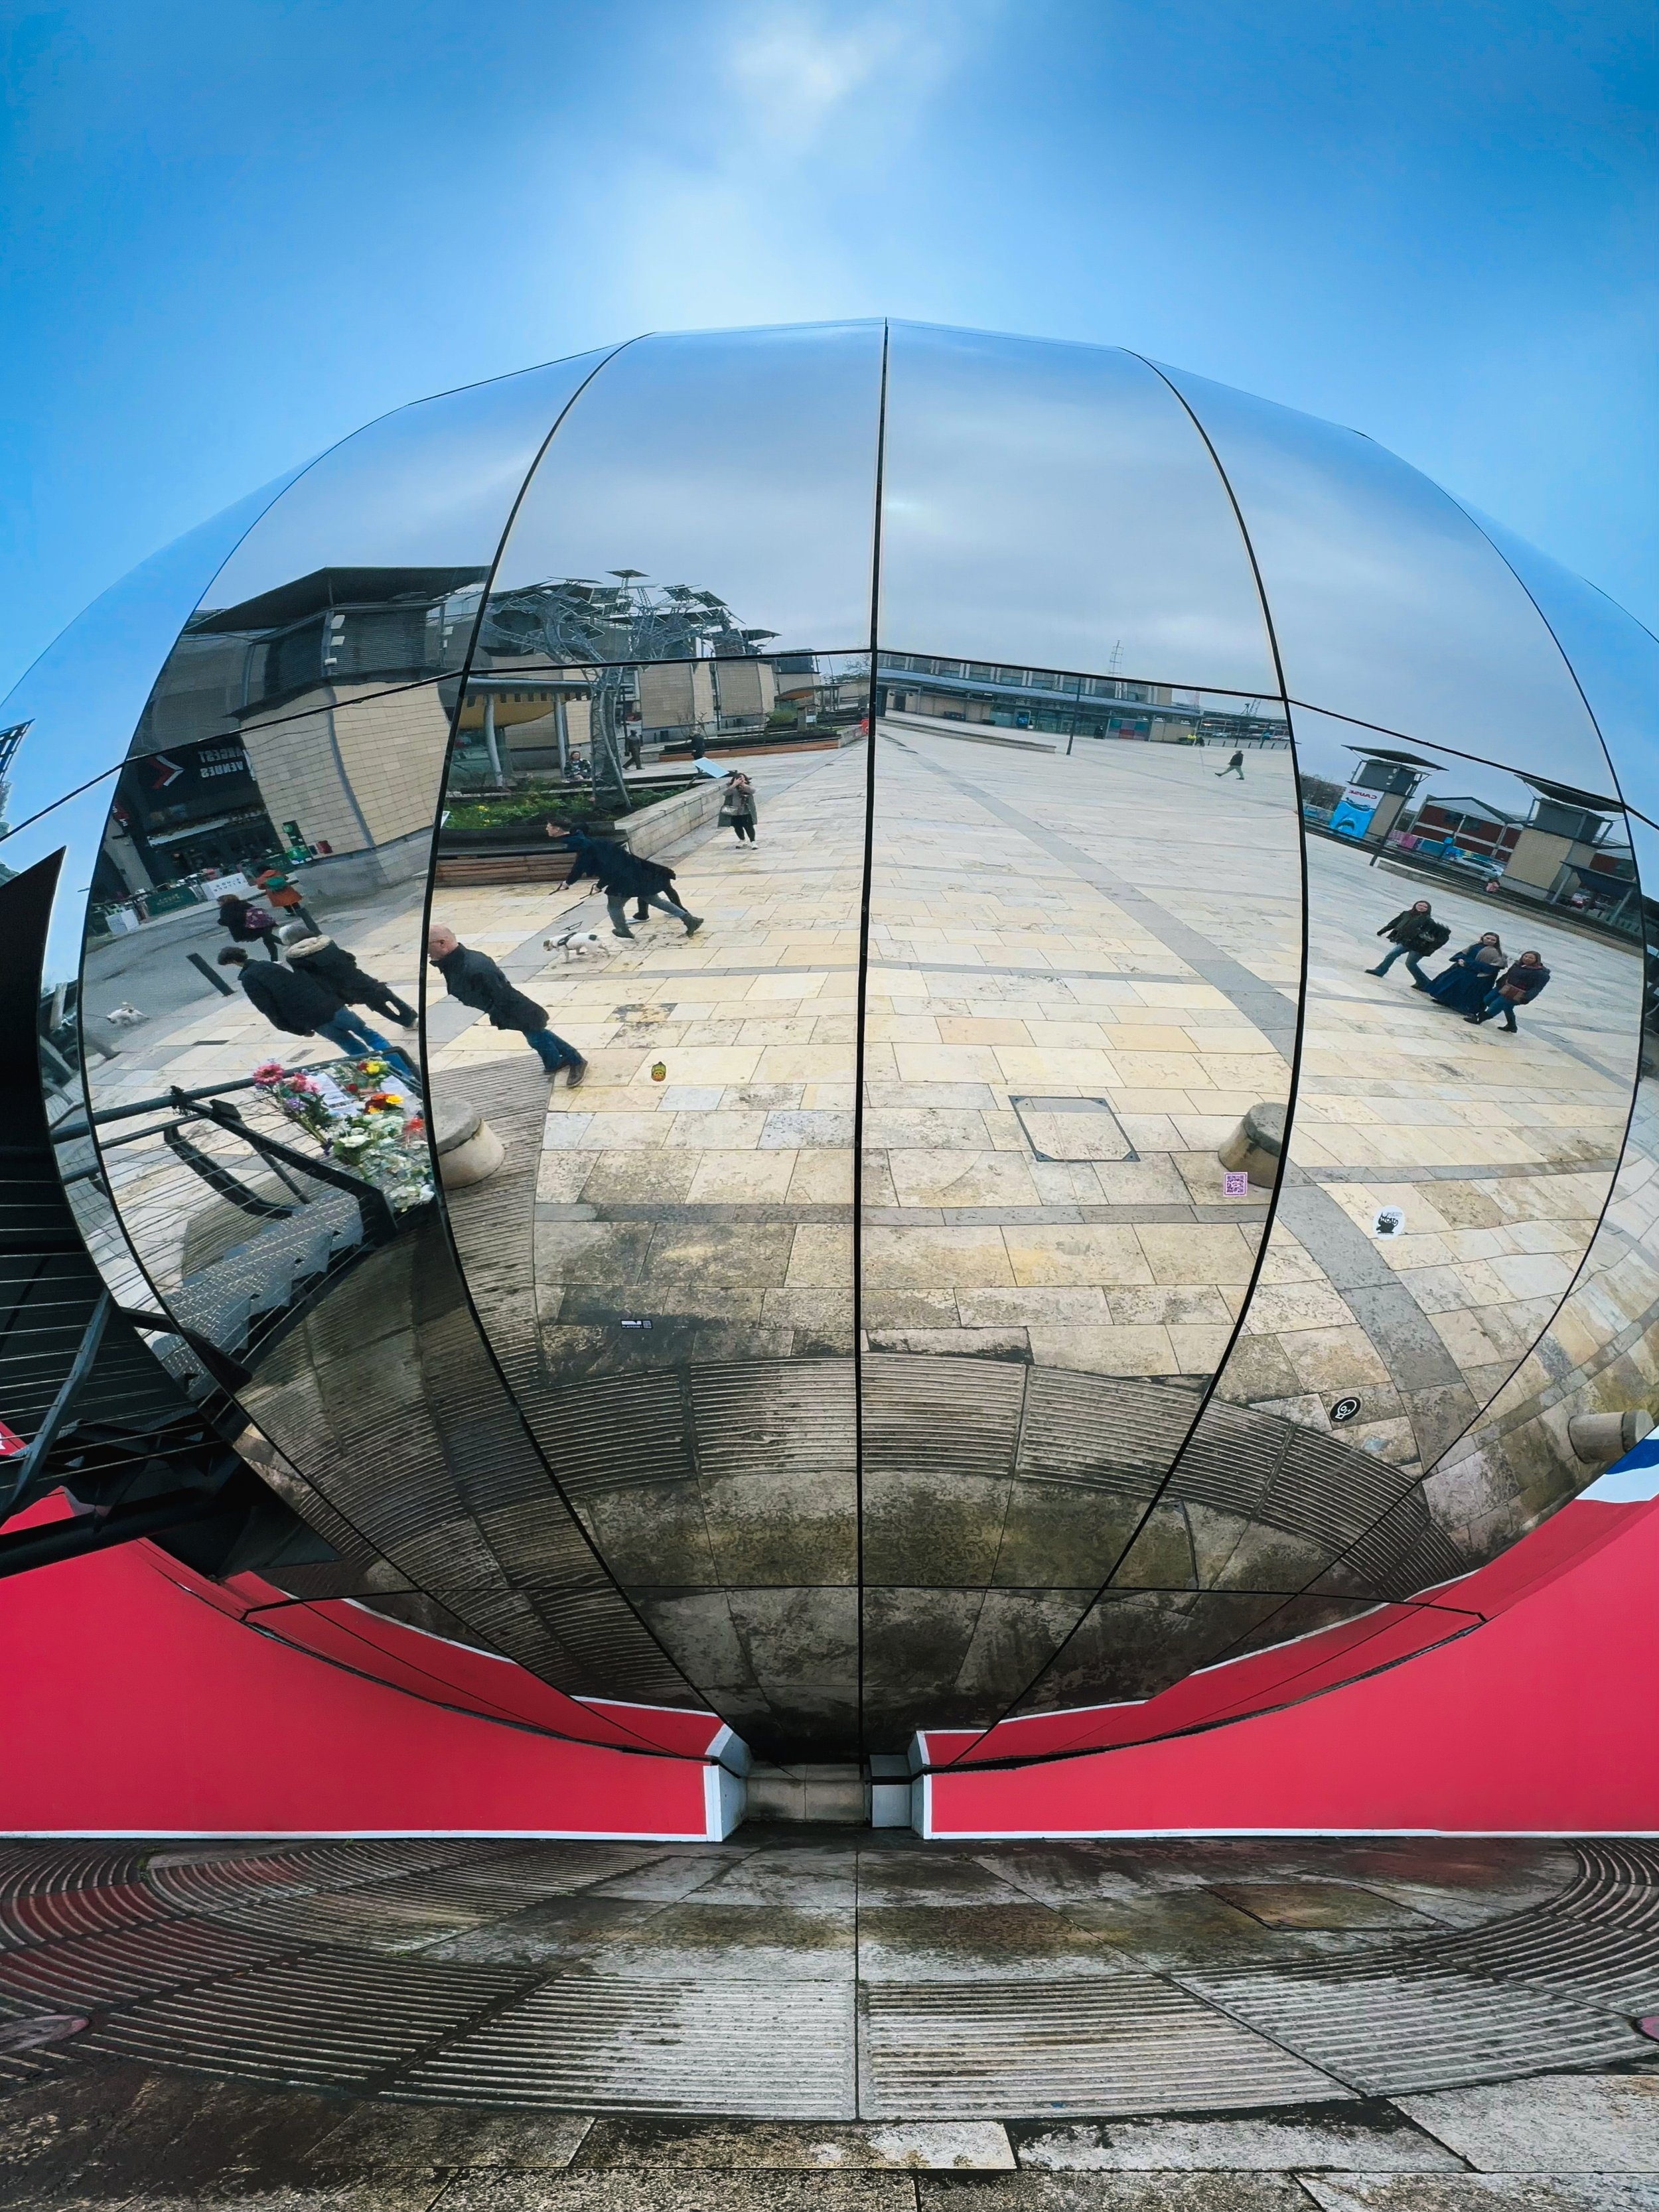
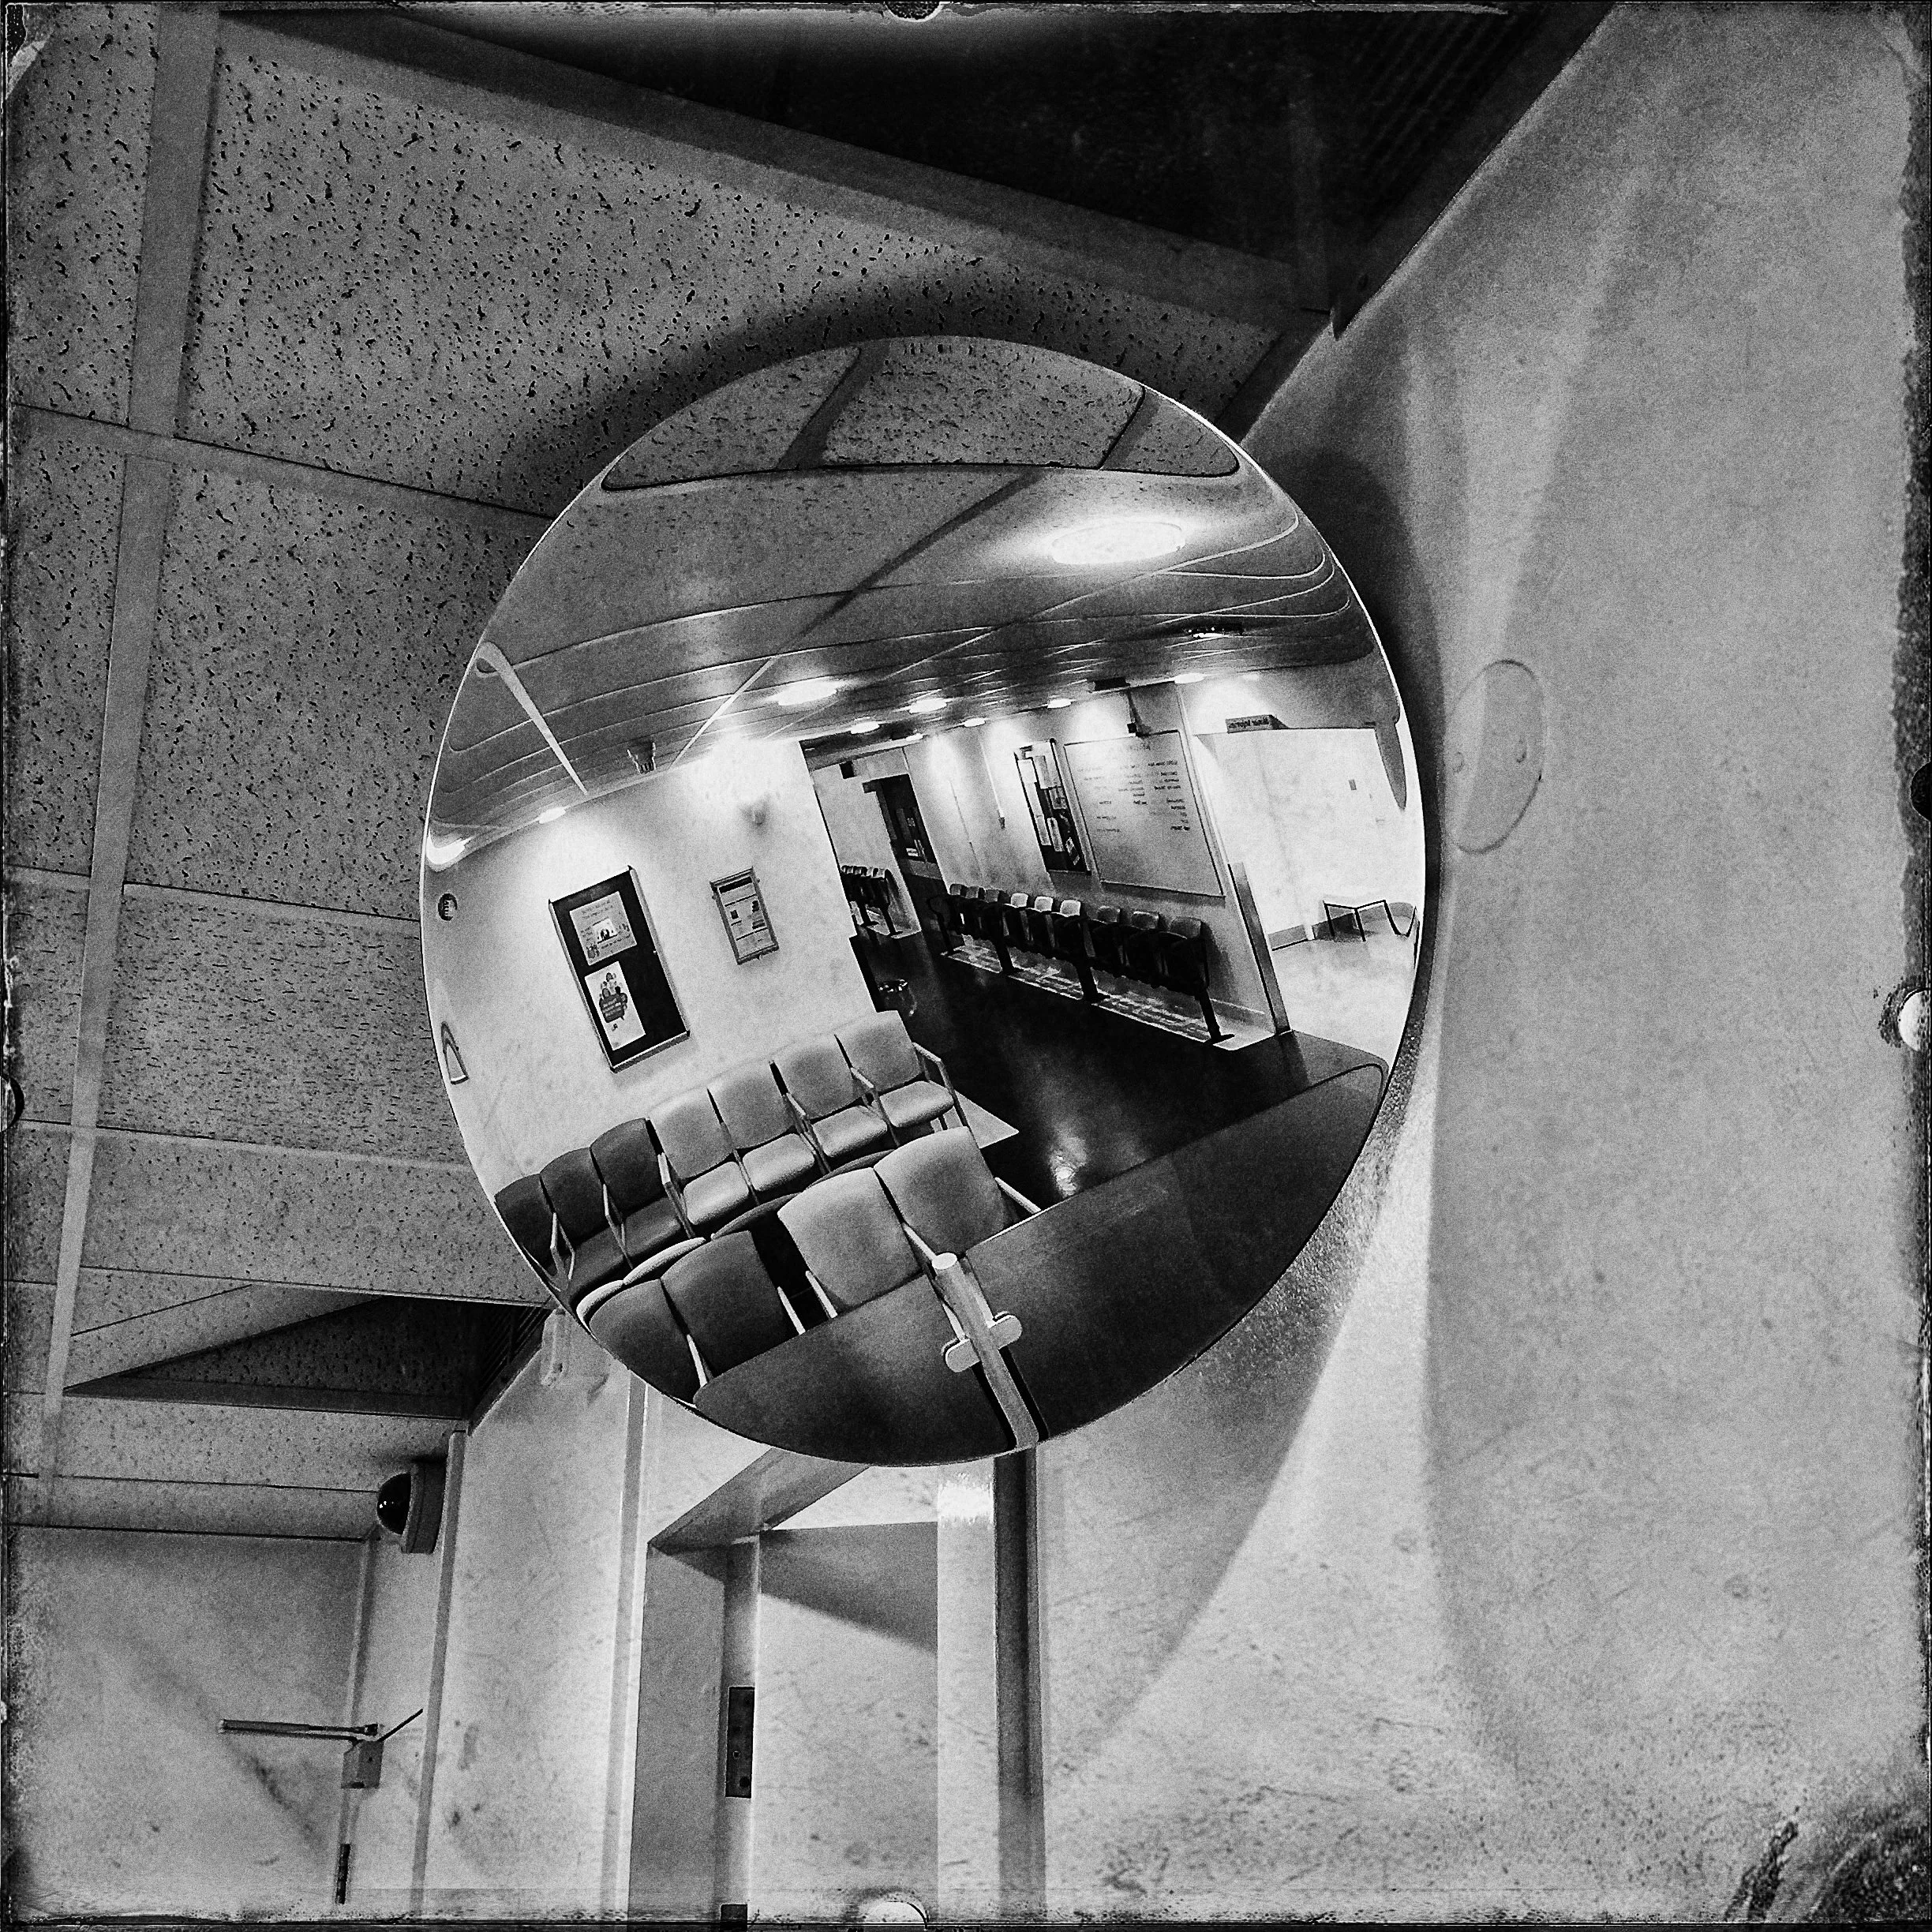
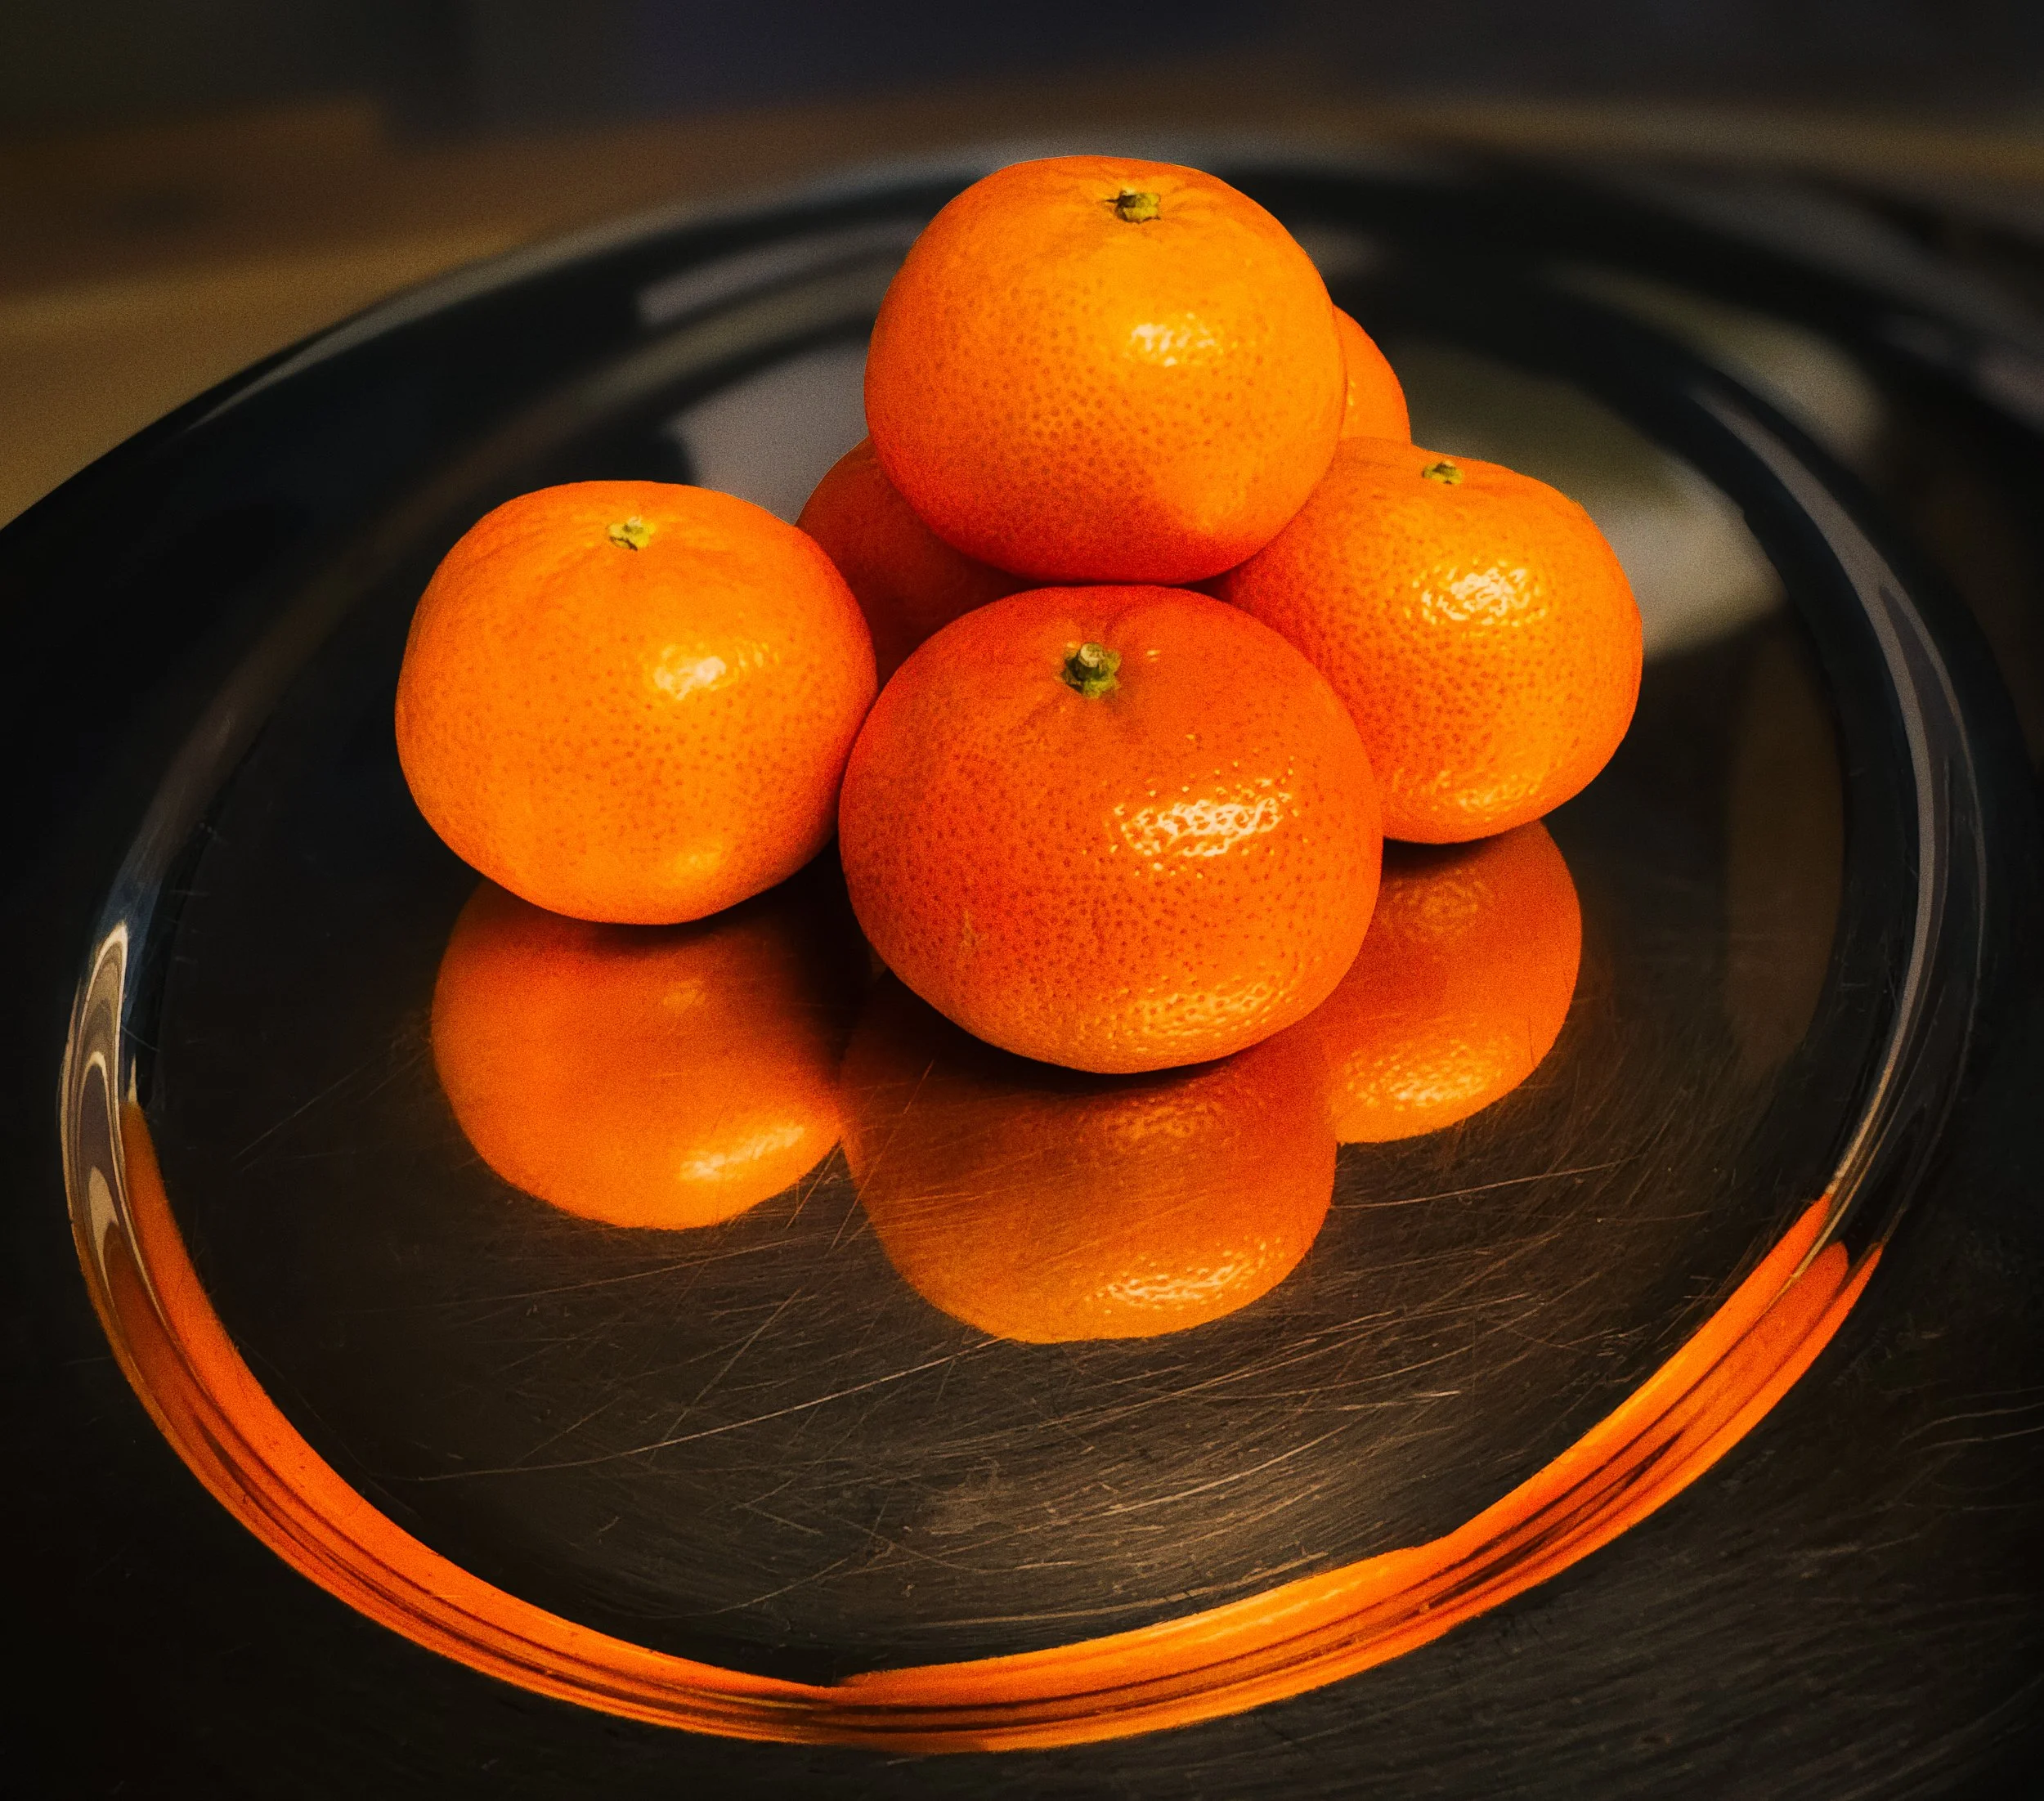
Metal — curved metal surfaces (hub caps, the backs of spoons, the side of a flask) give distorted, fish-eye-style reflections. Flat polished metal gives something closer to a mirror. The distortion in curved surfaces is a creative tool in its own right.
The critical thing to internalise: a reflective surface is only interesting photographically if two conditions are met. First, there has to be something worth reflecting — a good sky, an interesting building, a person, a light source. Second, there has to be something in the composition beyond the reflection itself — context, a foreground element, the relationship between the reflected world and the real one. A puddle reflecting a blank grey sky is just a wet road. A puddle reflecting the lit windows of a Victorian pub, with someone's shoes at the edge of the frame, is a photograph.
Rain is a reflection photographer's best friend. Carry your camera on wet days. The hour after rain stops is often the best of all — surfaces are wet, the sky is clearing, and the light starts coming through with that slightly heightened quality overcast days occasionally produce.
Water Reflections
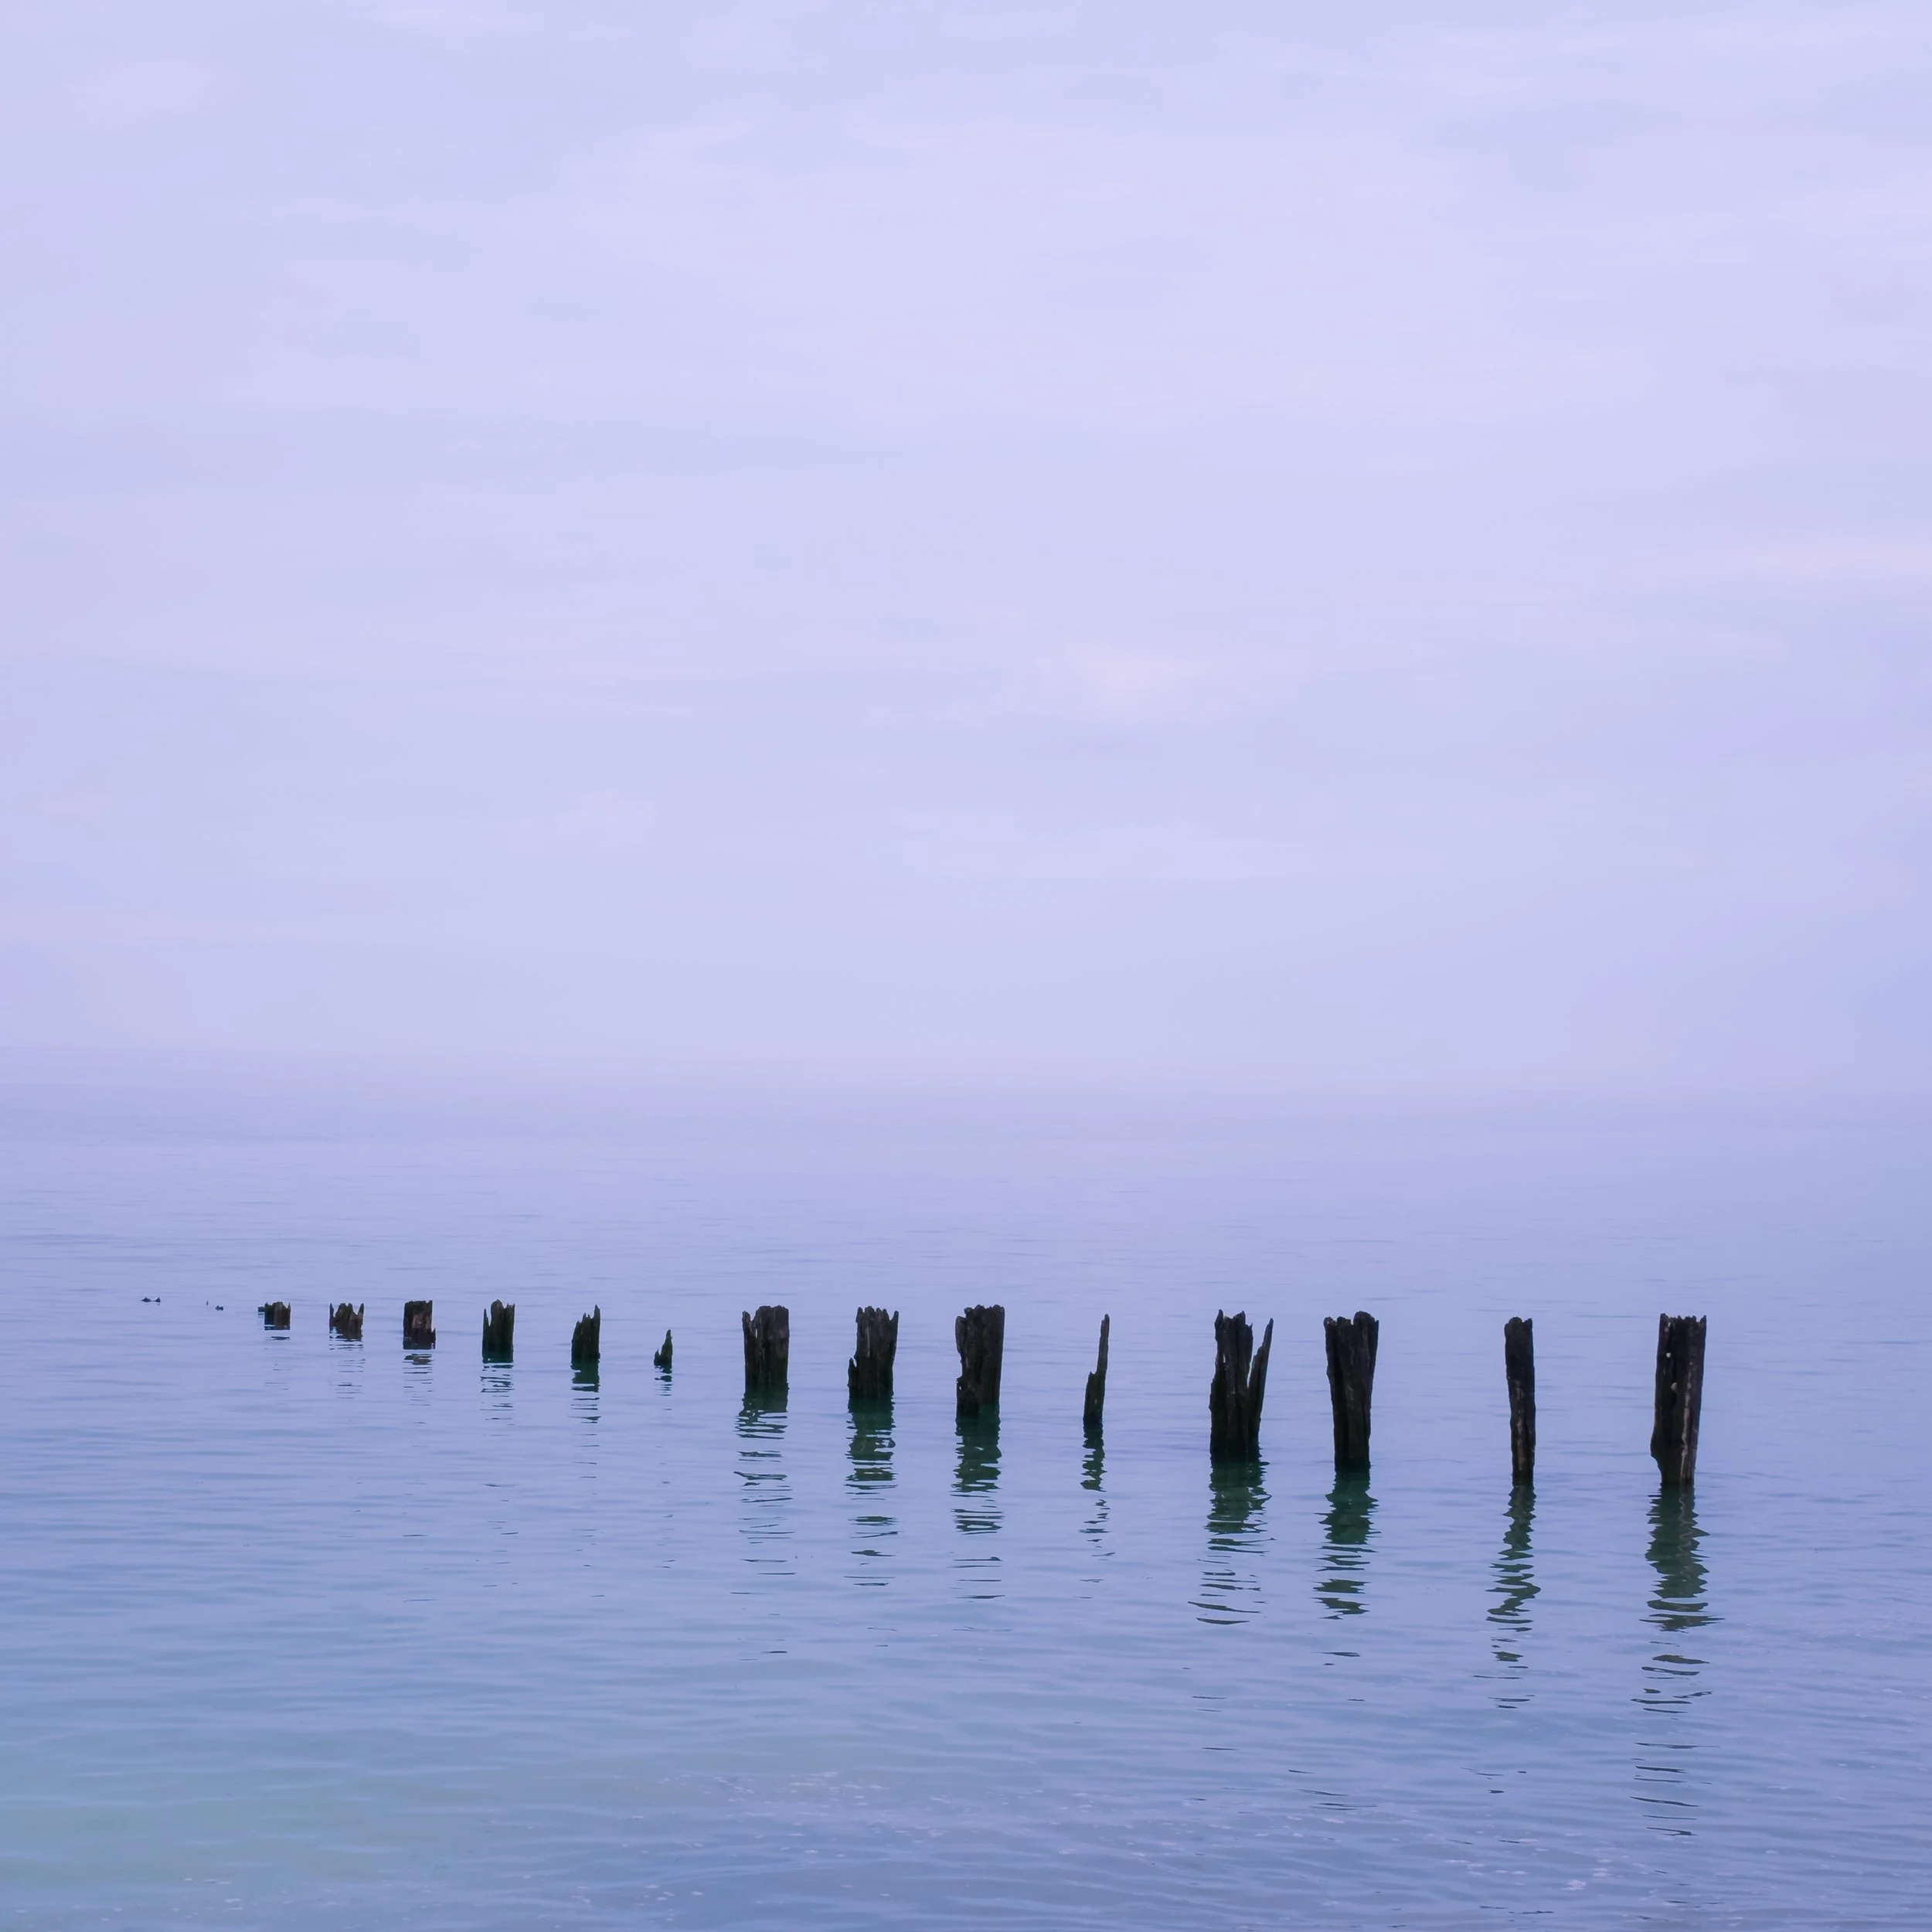
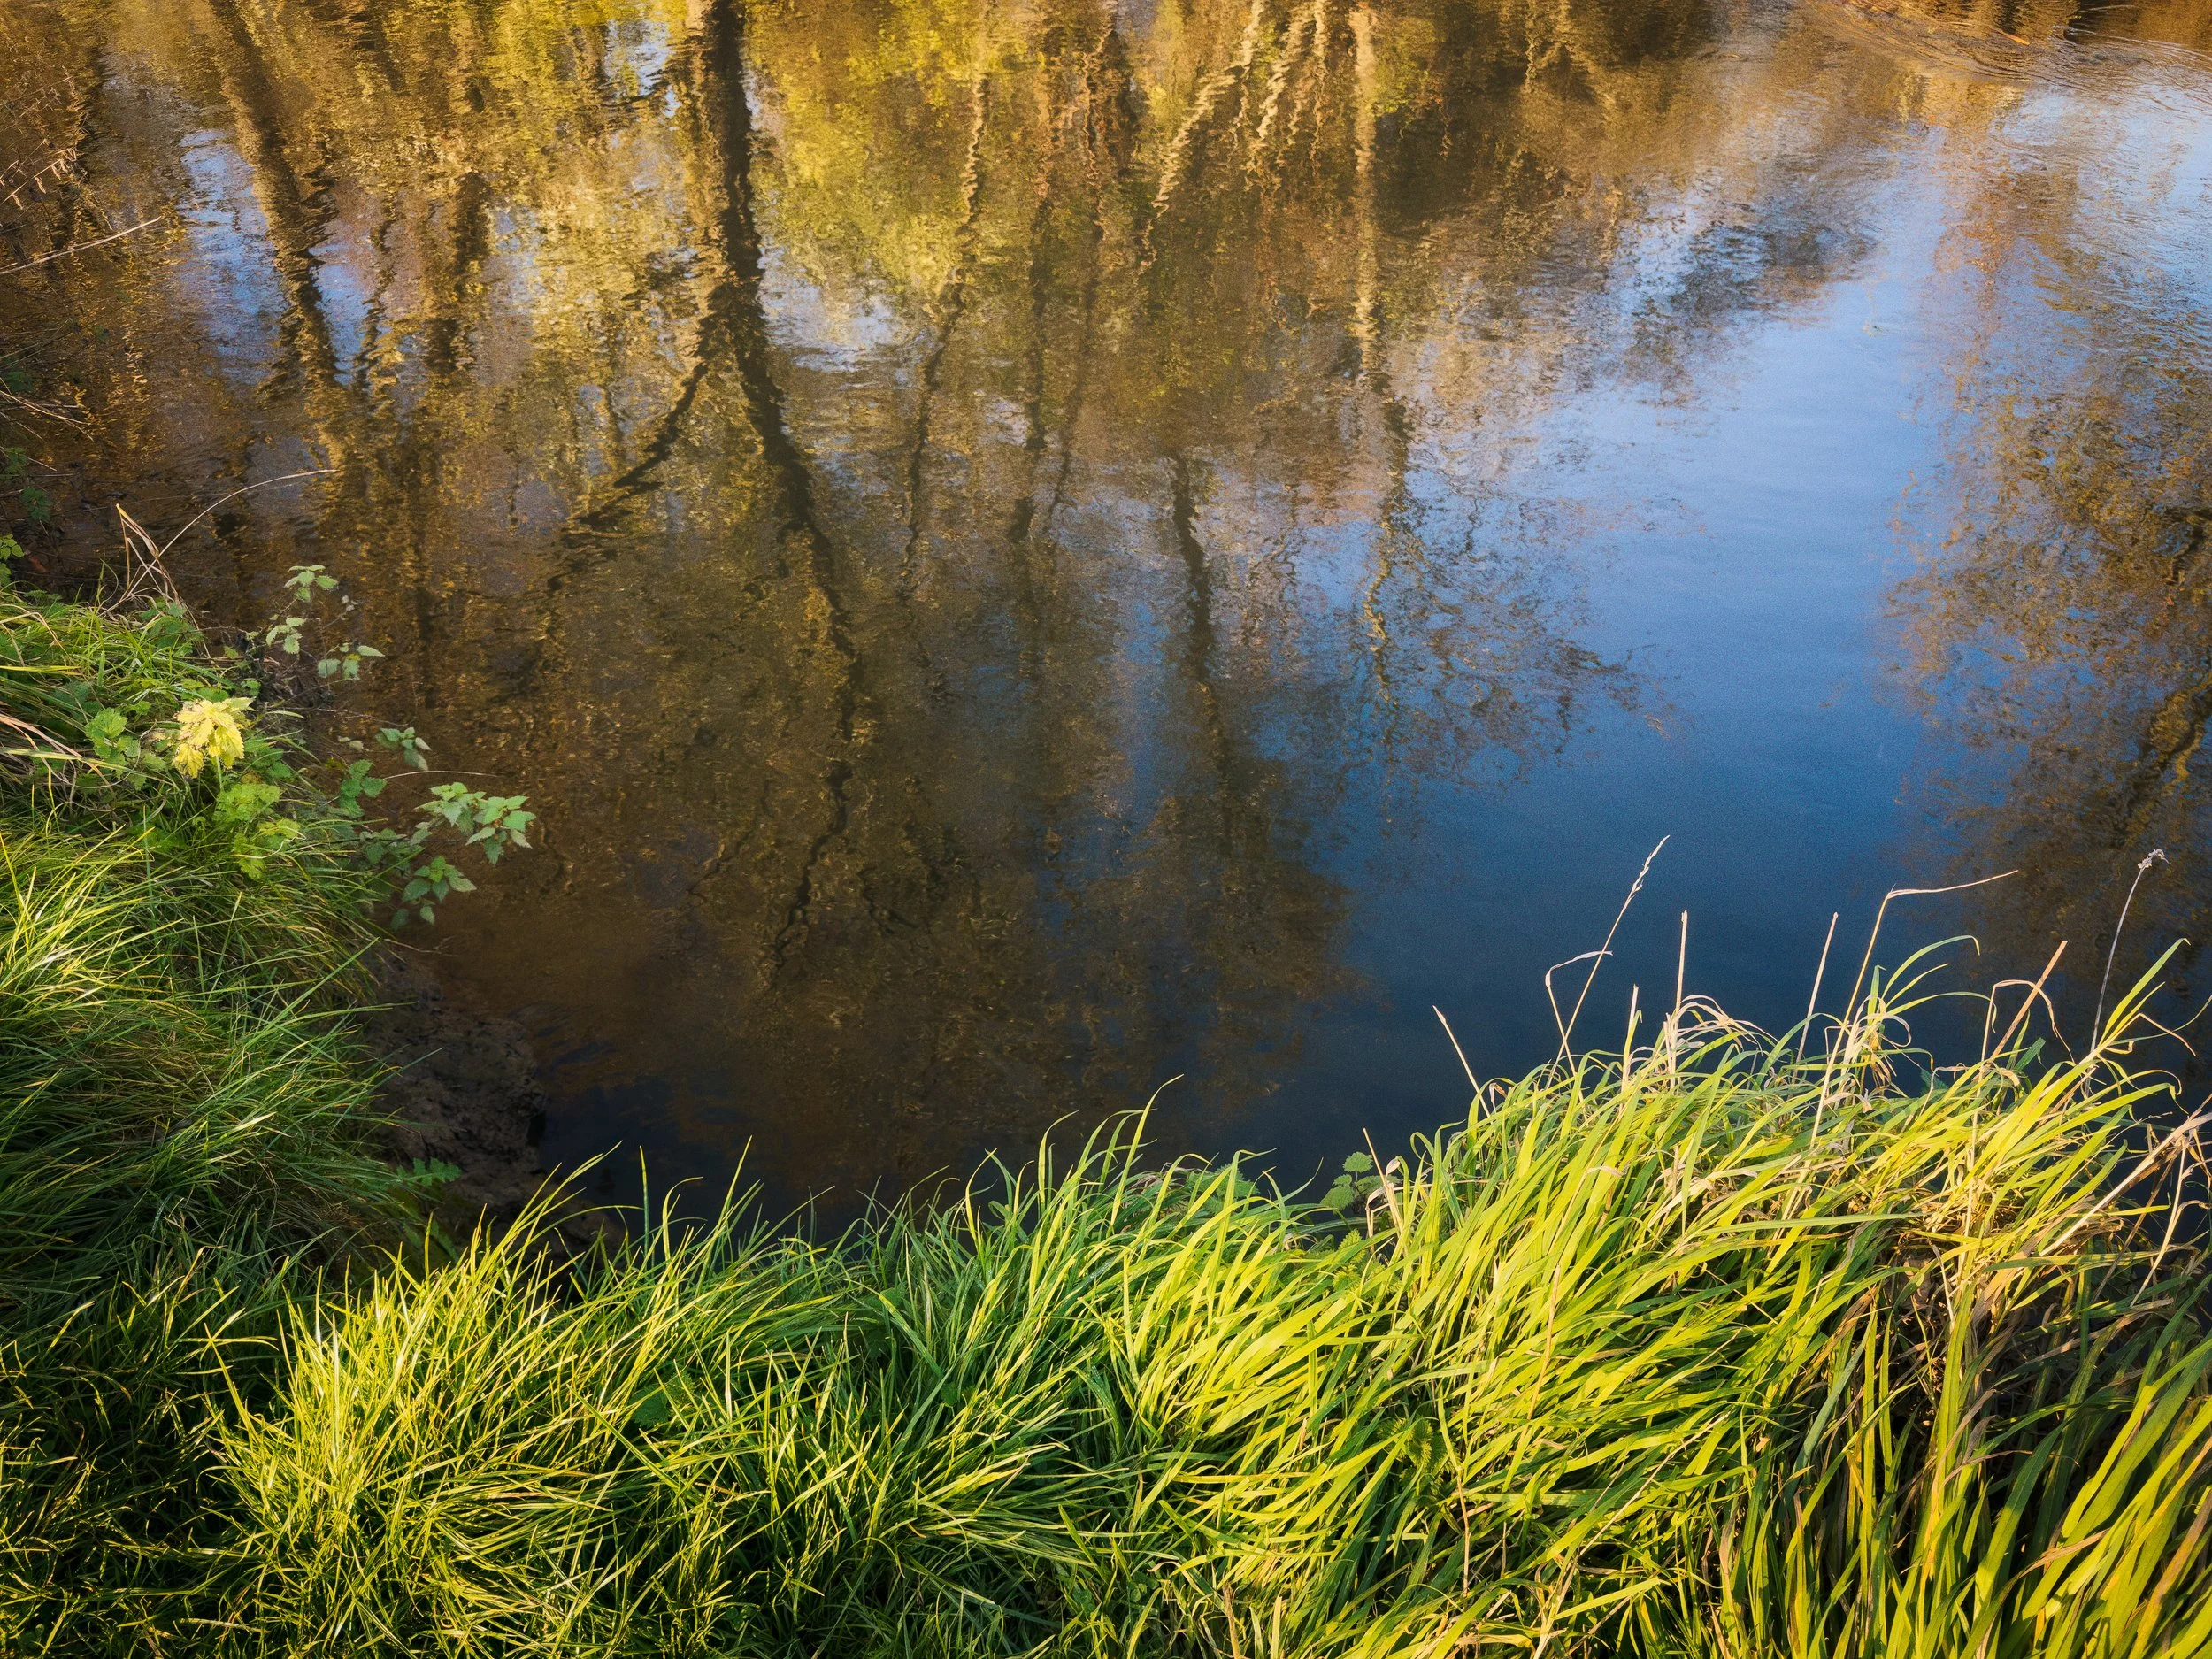
Still water is the straightforward case: get to a lake, canal, or large puddle when the surface is undisturbed, and the reflection will essentially present itself. The more interesting decisions are compositional and technical.
Getting low is the most important adjustment you can make. A puddle shot from standing height shows you a puddle. A puddle shot from ten centimetres above the ground shows you a puddle that contains the reflected world at a proportion worth looking at. This is not metaphor — it is simple geometry. The lower your camera, the more of the reflection fills your frame, and the less you see of the surrounding wet ground. Phones are actually excellent for this because you can use the screen to compose without pressing your face to the pavement, which is appreciated in busy streets.
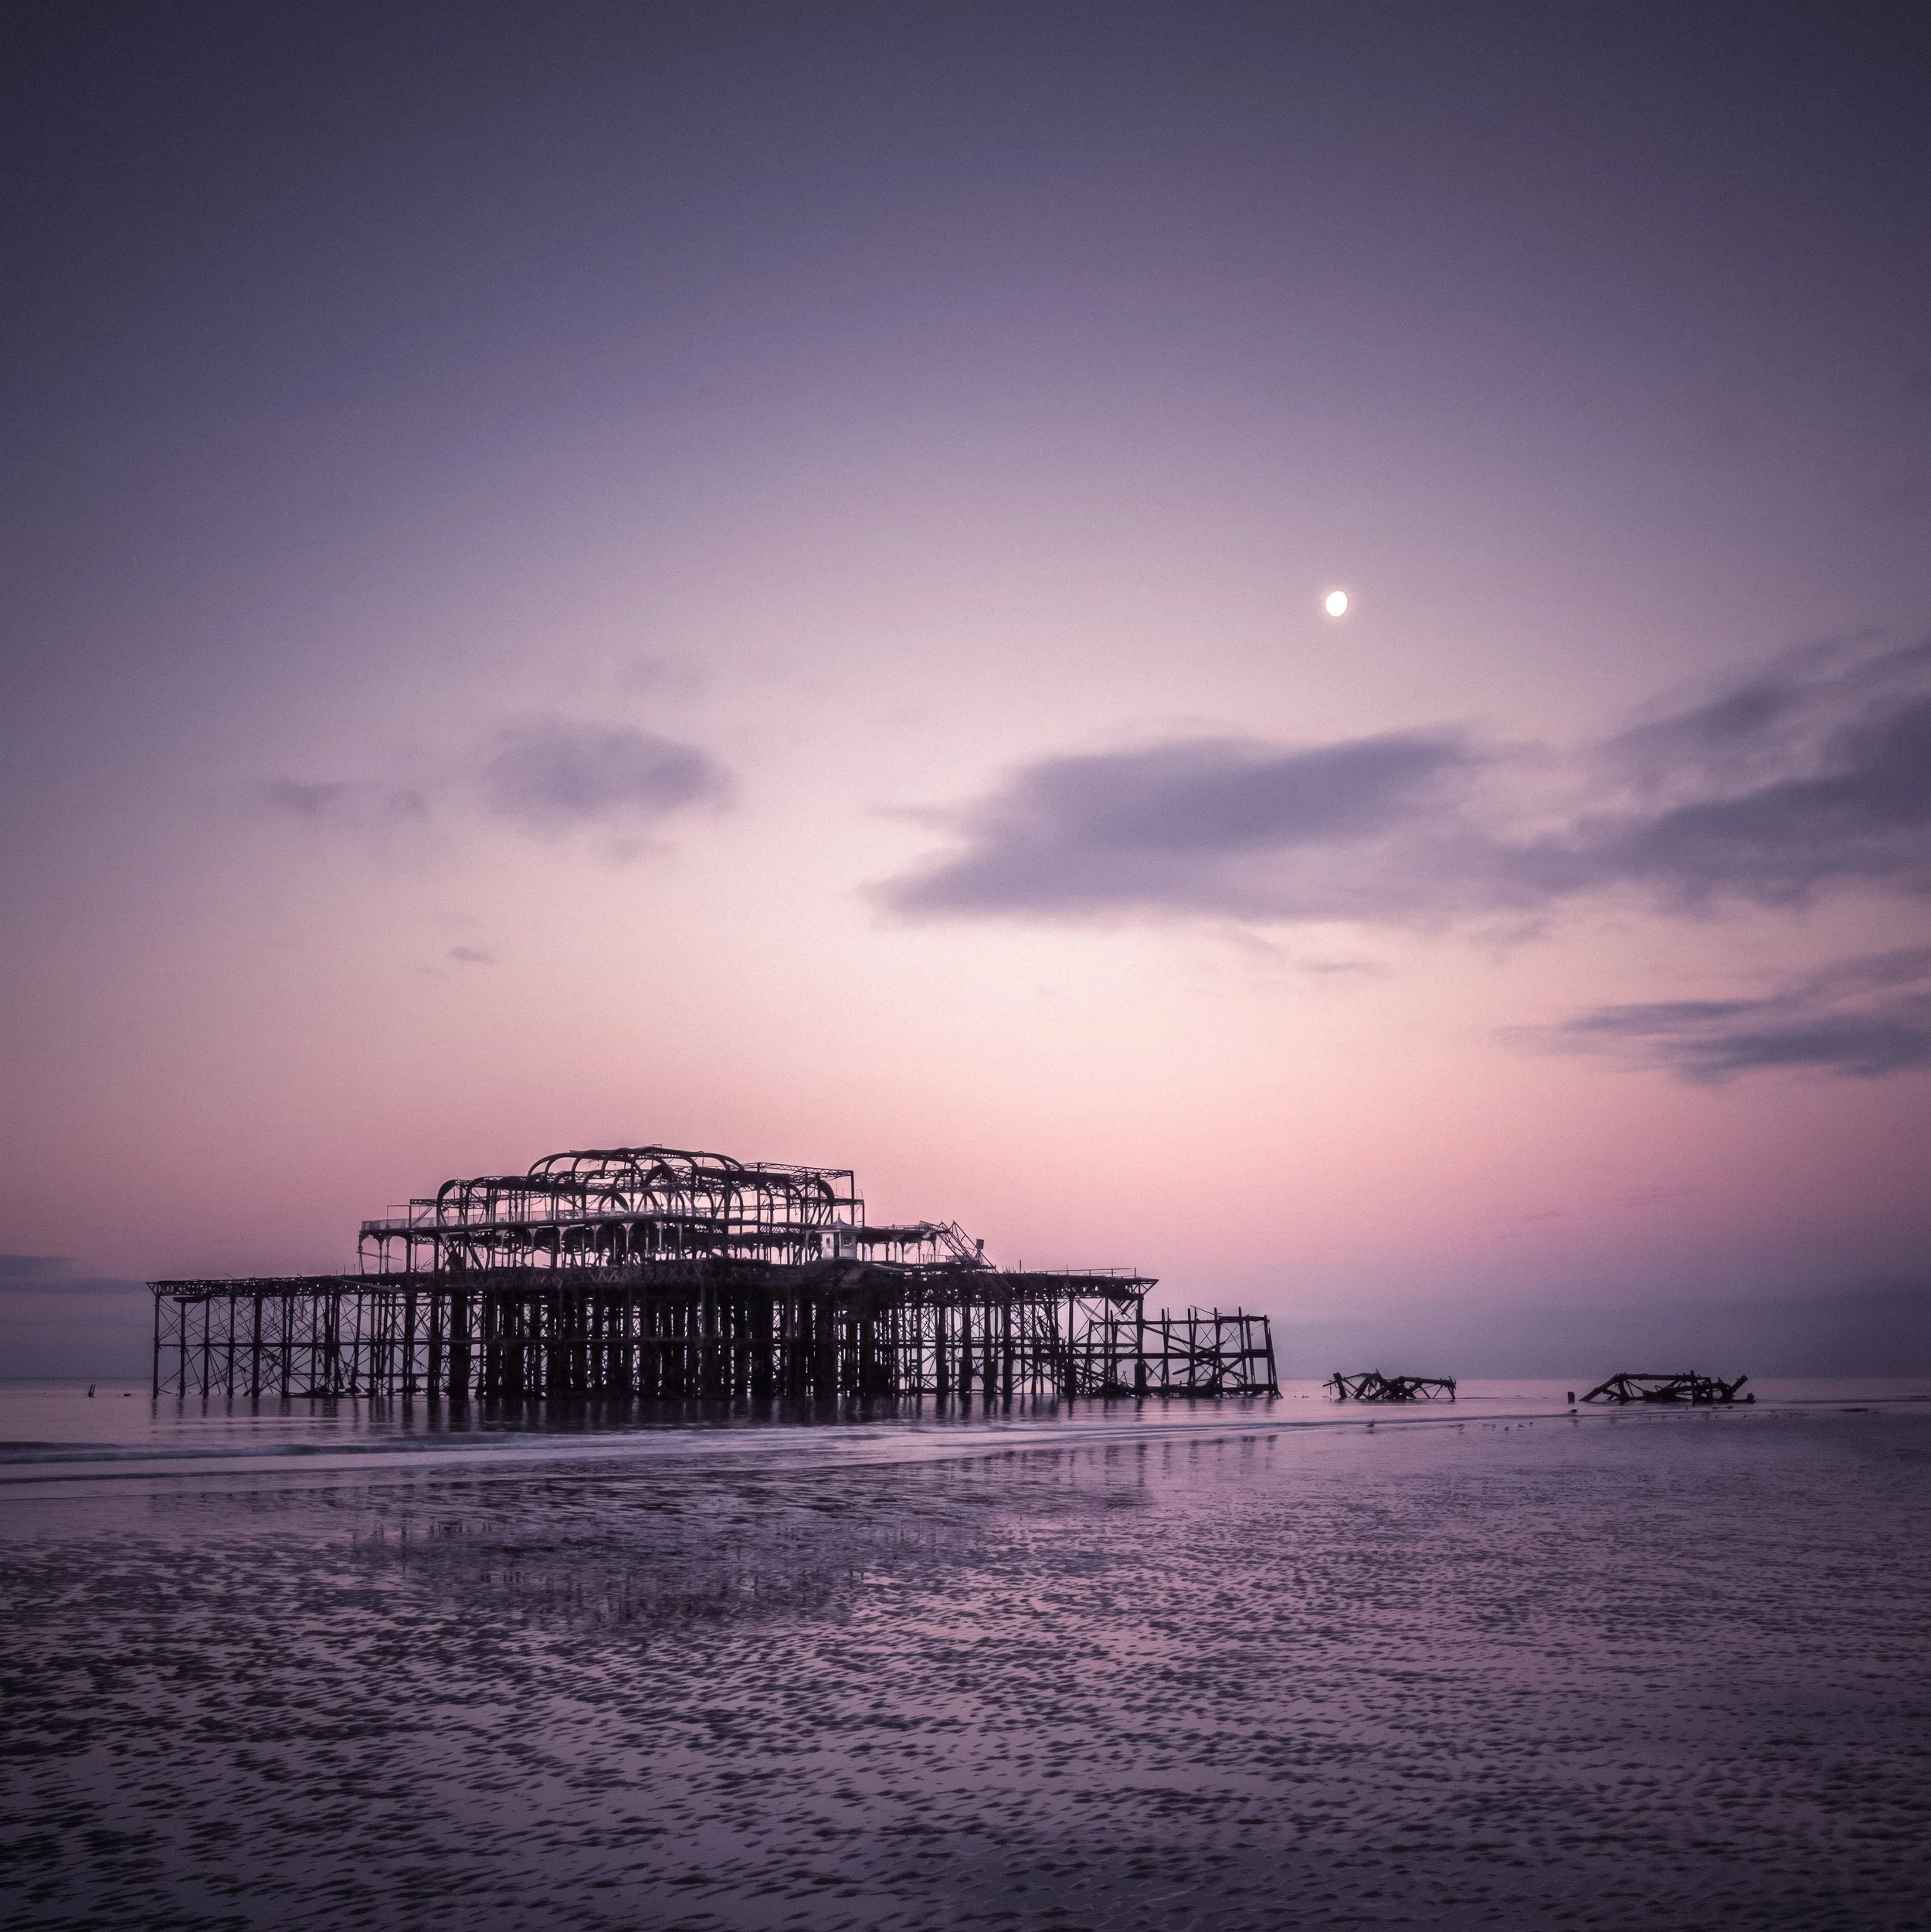
Shutter speed is your primary variable with moving water. Fast shutter speeds (1/500s or above) freeze the surface, capturing individual ripple shapes as a still pattern. This is often beautiful but sometimes restless-looking. Slower shutter speeds (anything from 1/30s through several seconds) smooth the water surface, absorbing ripple detail and giving you a silky, blurred surface that reads as calm and abstract.
For very long exposures (multiple seconds), moving water effectively disappears and becomes a smooth, almost metallic plane. None of these is correct — they produce different images for different purposes, and it is worth trying both at the same location.
Wind is the enemy of still-water reflection and the friend of moving-water abstraction. Dawn is reliably calmer than midday. If you want a mirror-perfect reflection in a lake, get there early and check the forecast for wind.
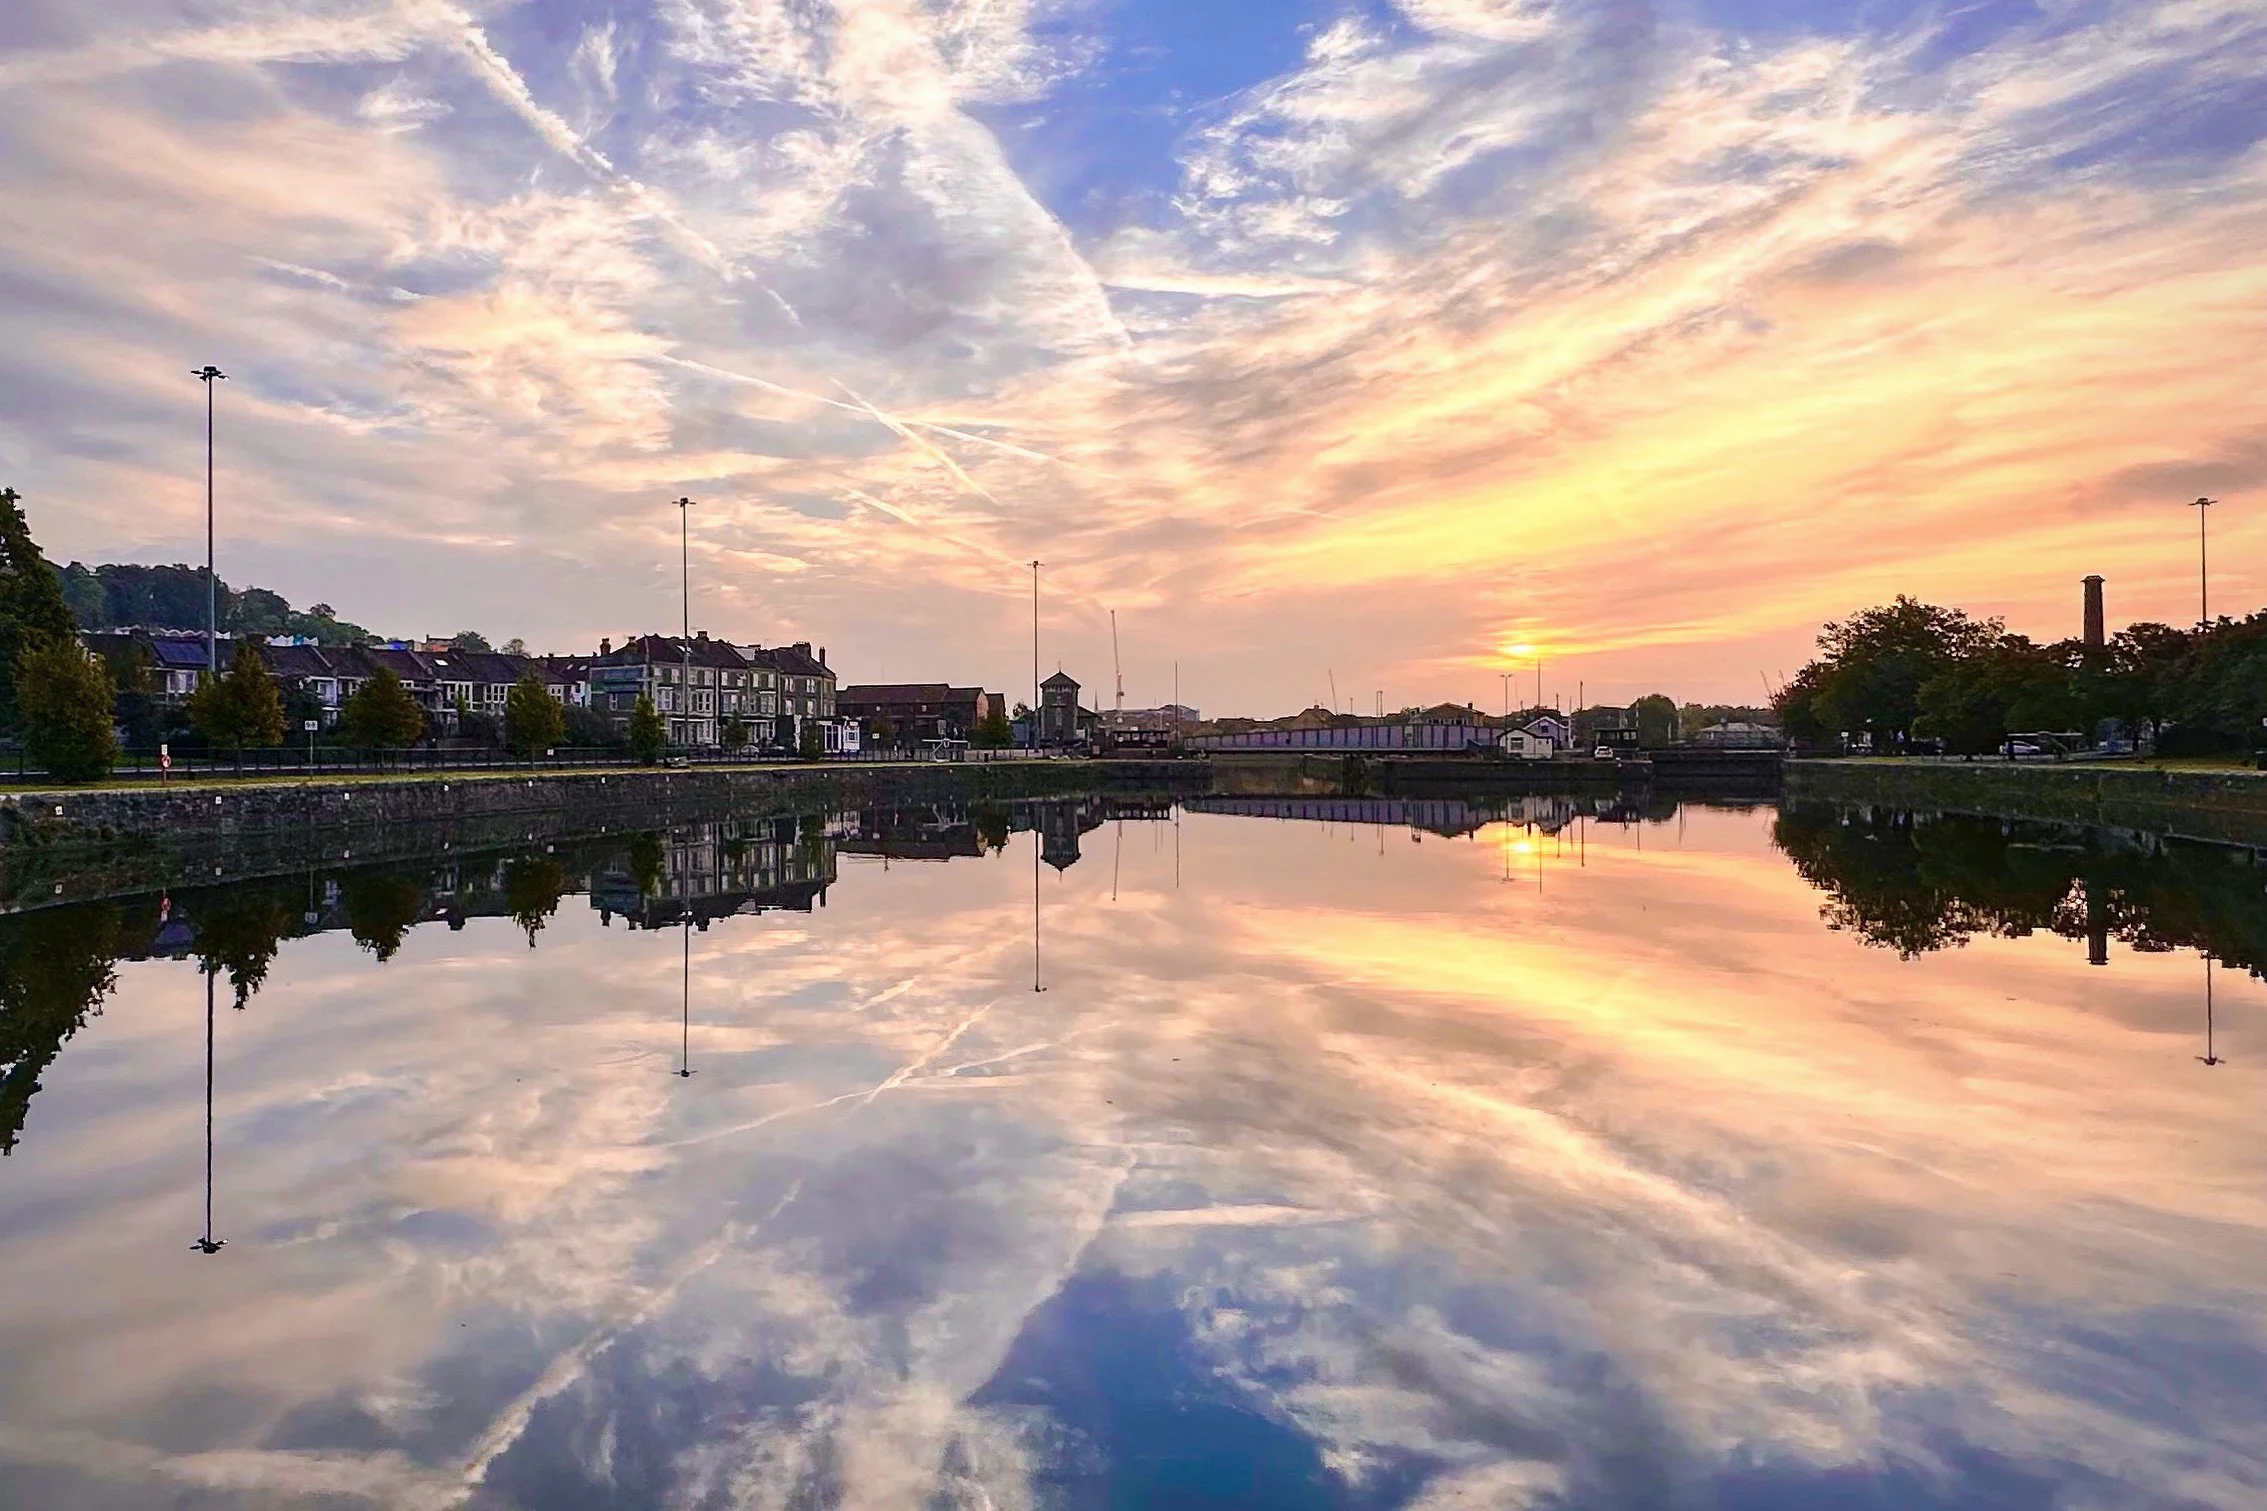
The horizon question is a genuine compositional decision. A reflection-and-reality composition naturally invites you to centre the horizon — to give equal weight to the real scene above and its reflection below. This produces the classic symmetrical reflection image, which is satisfying and occasionally magnificent, but also a little expected.
Deliberately breaking the symmetry — shifting the horizon up or down so that one world dominates — changes the feeling considerably. More reflection than reality often reads as dreamlike or slightly disorienting. More reality than reflection grounds the image and uses the reflection as a supporting element rather than the point. Neither is wrong. Both are worth trying.
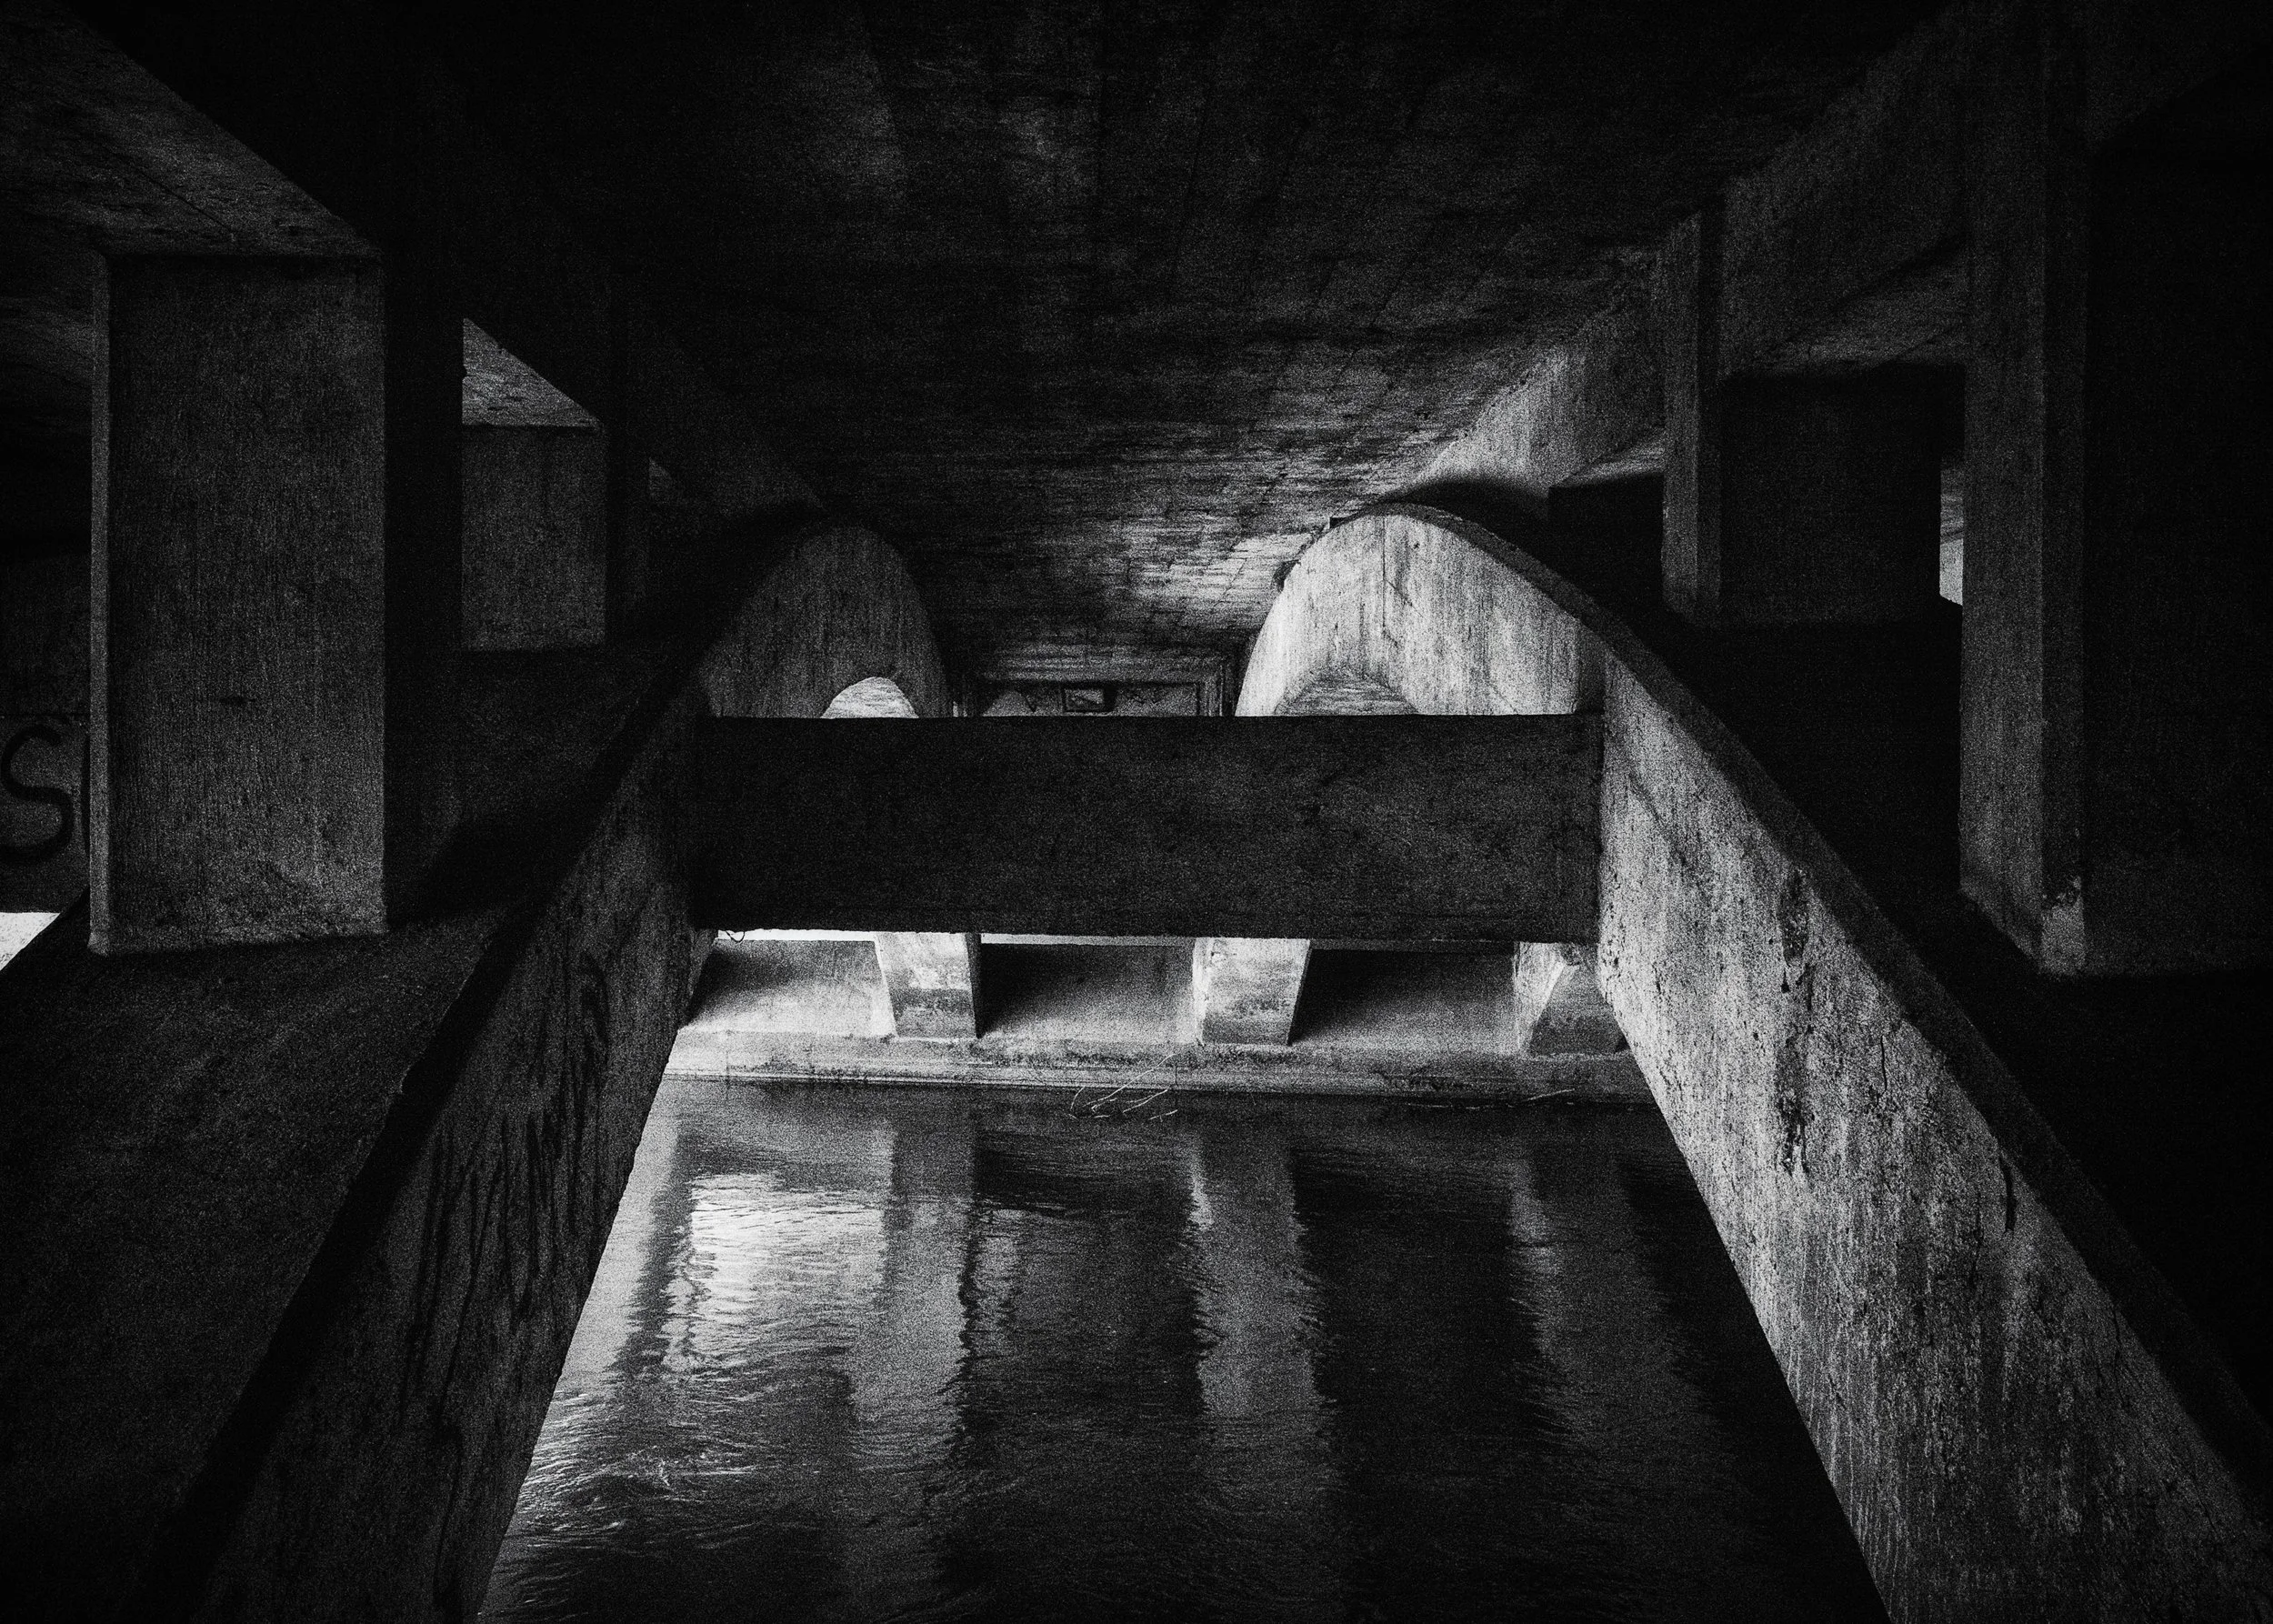
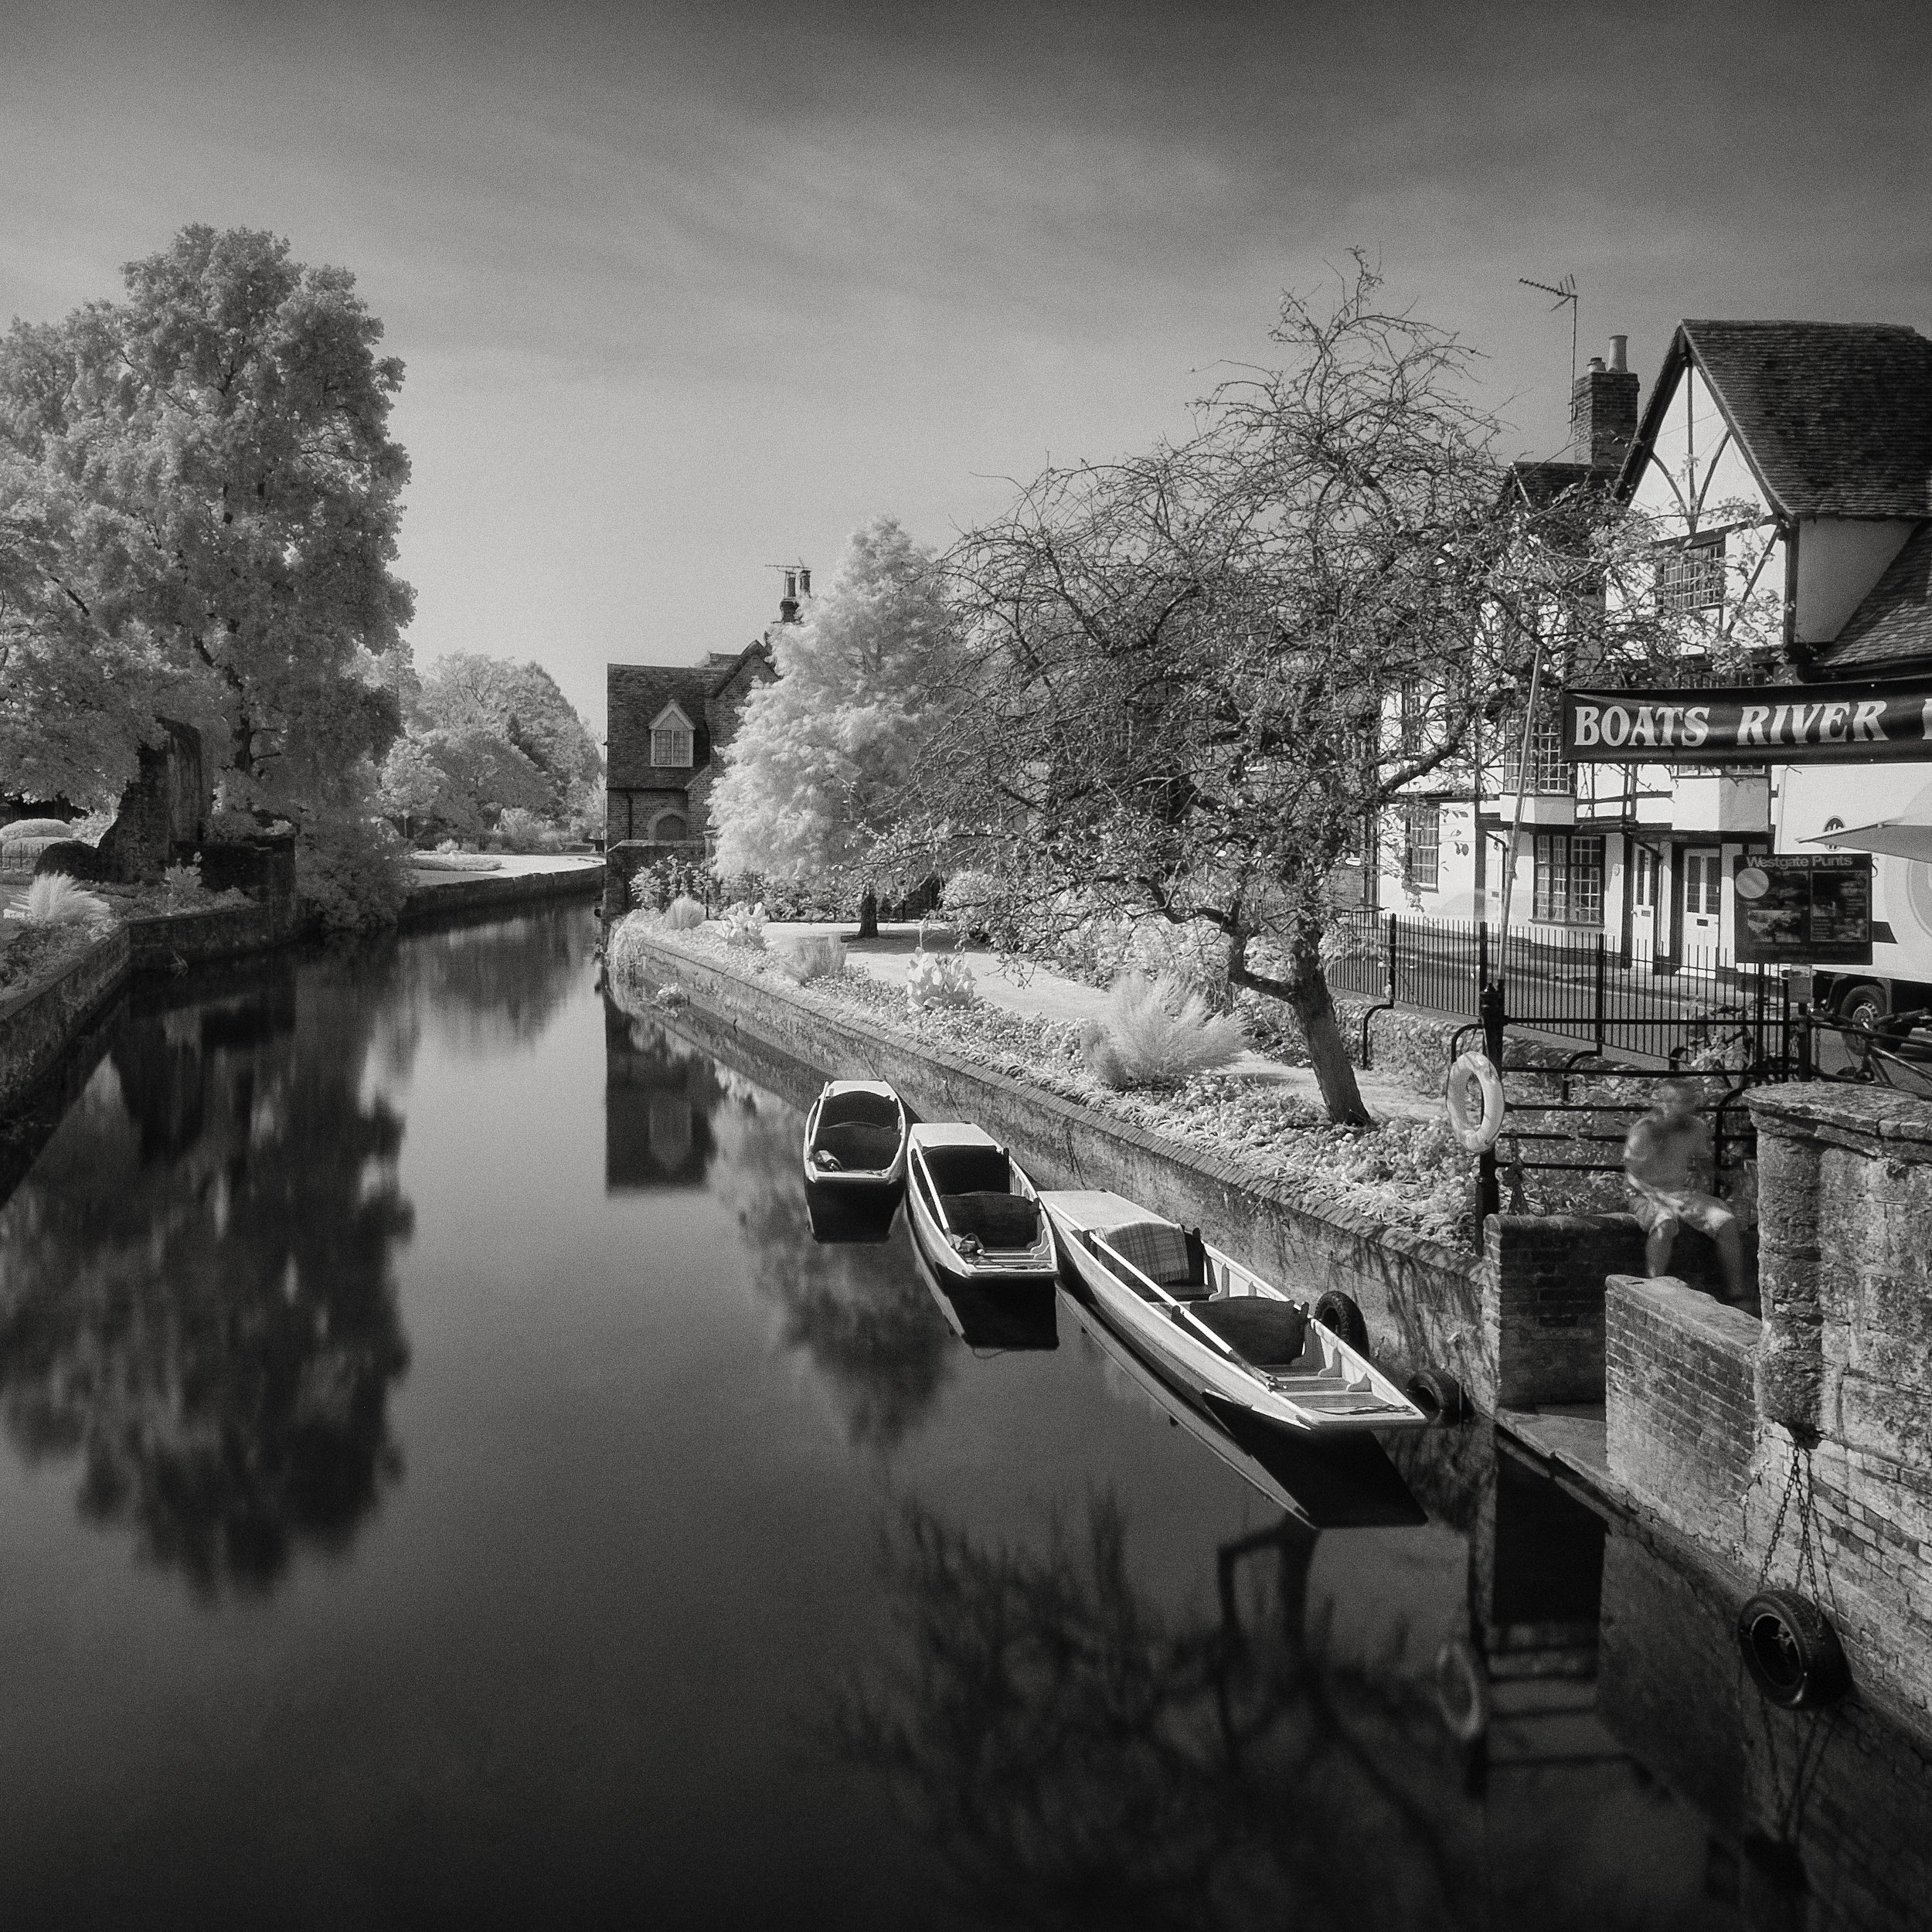
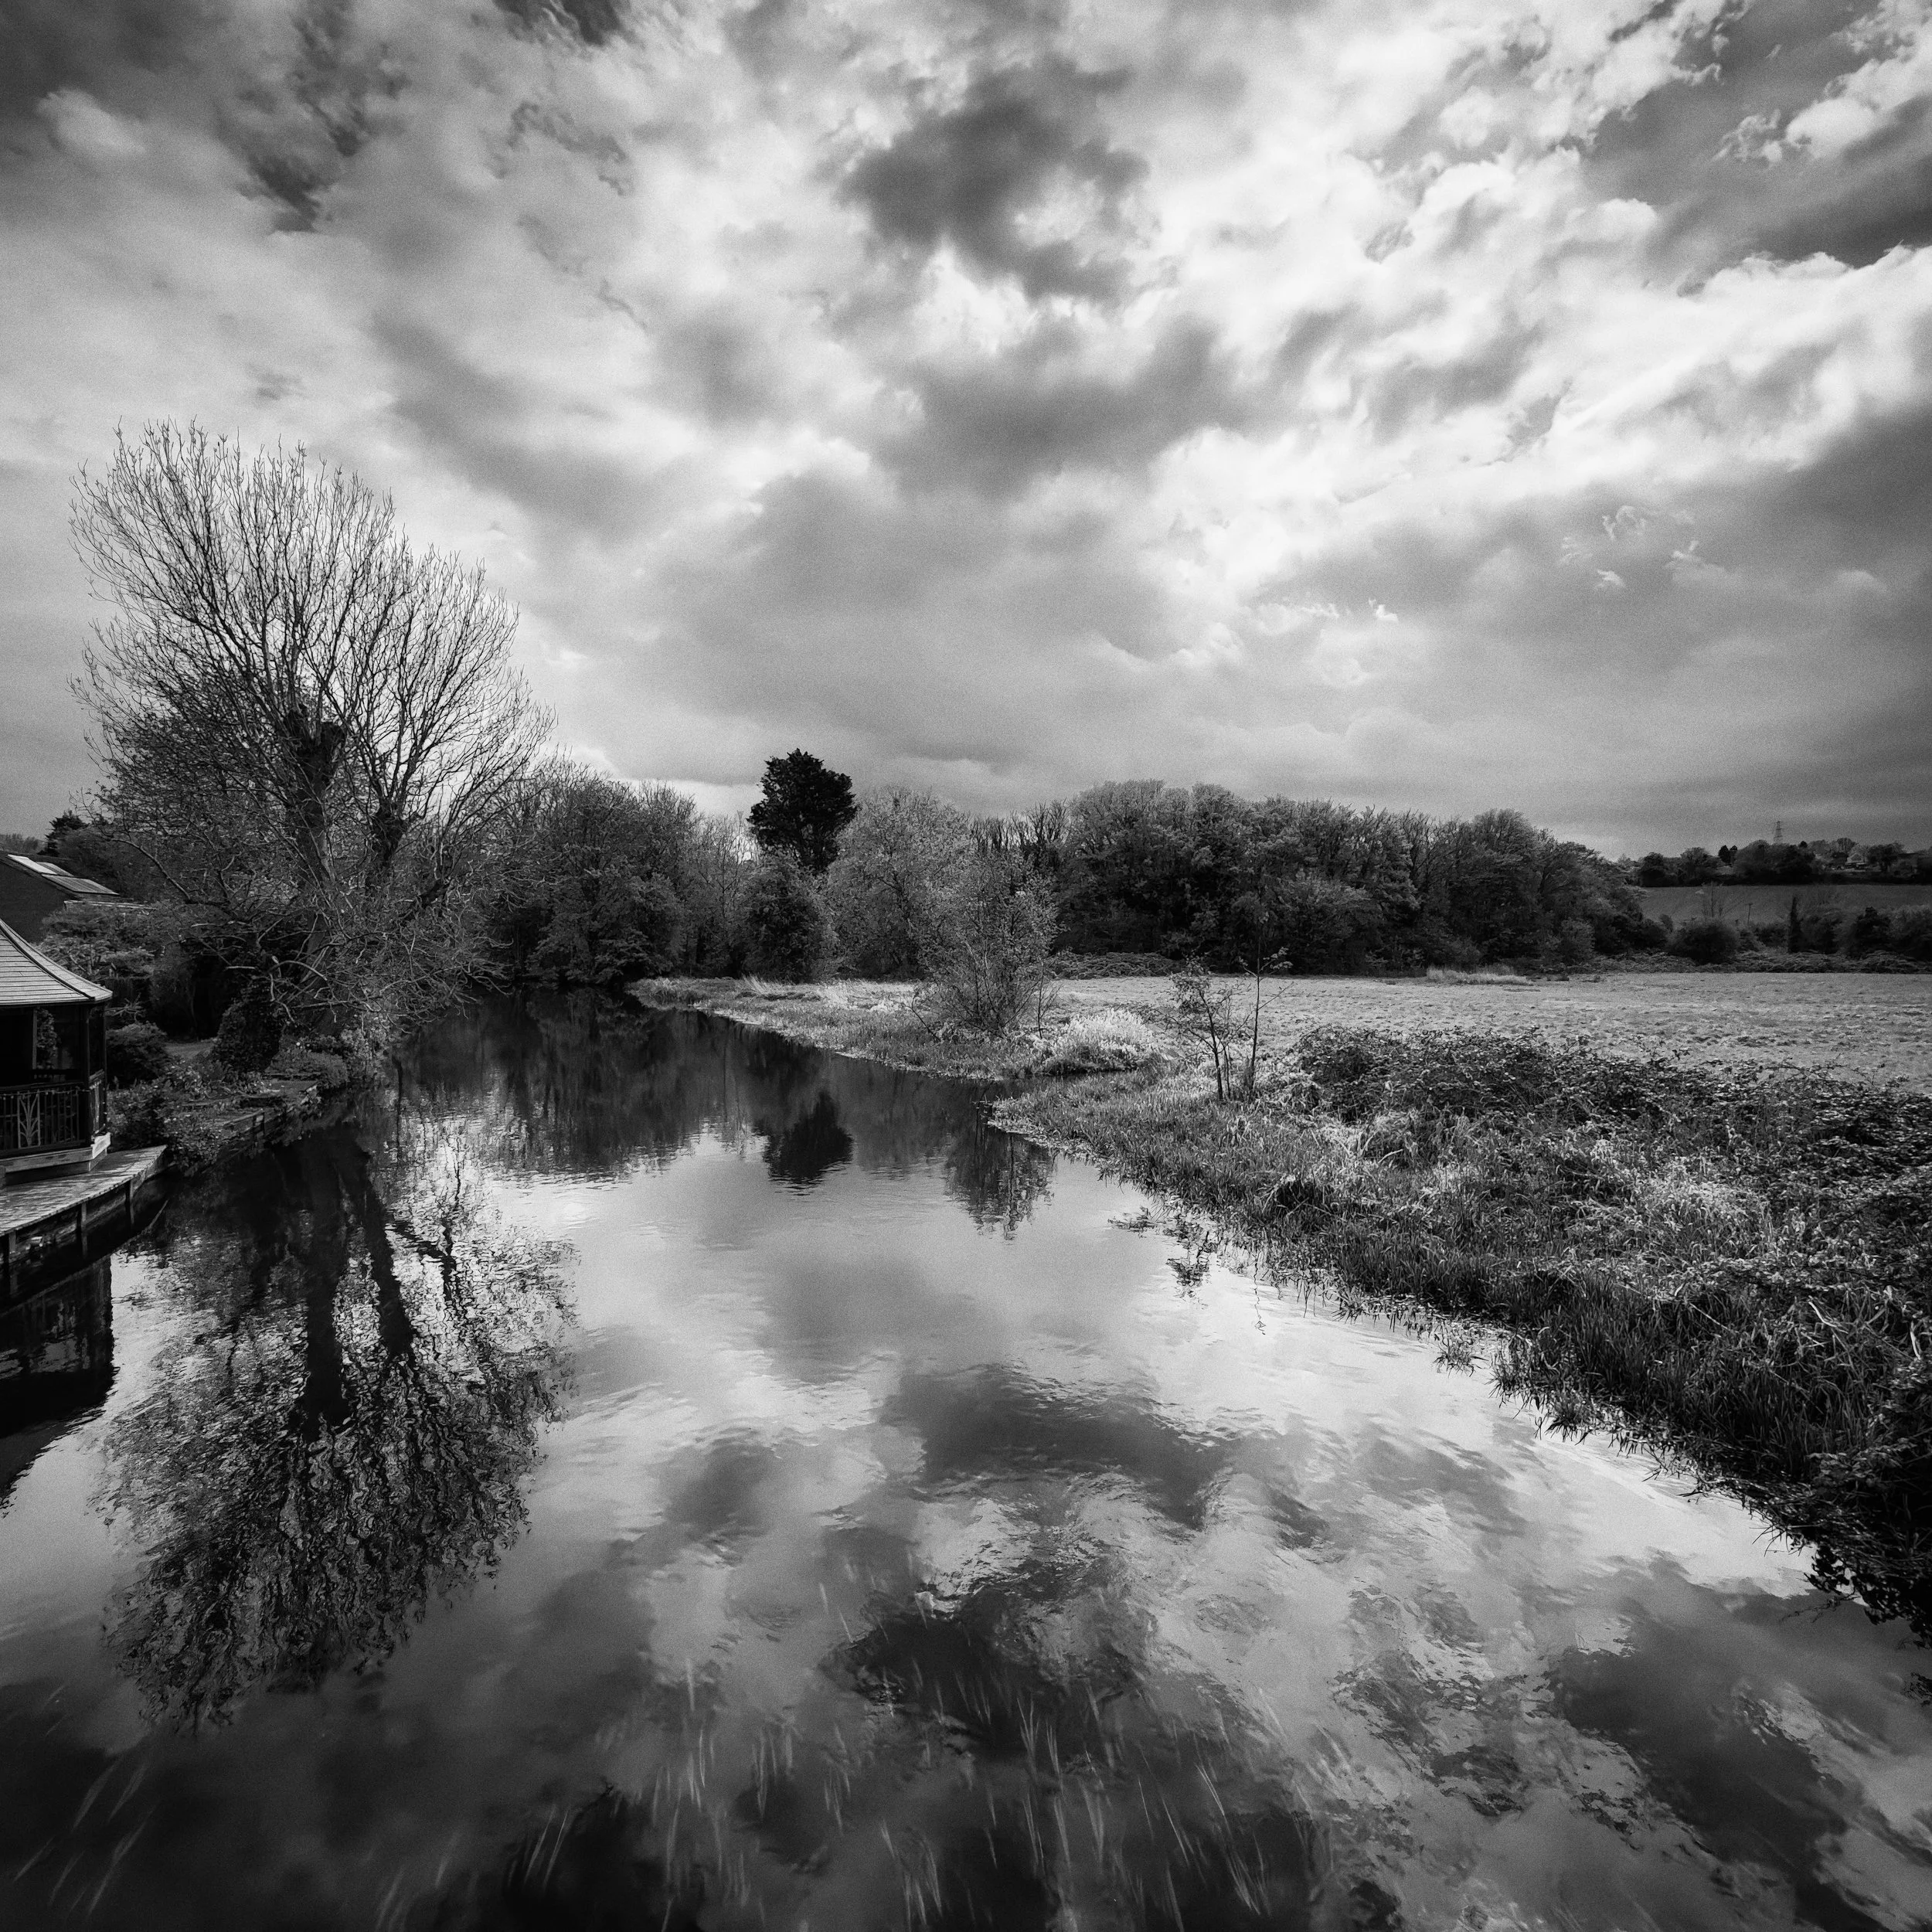
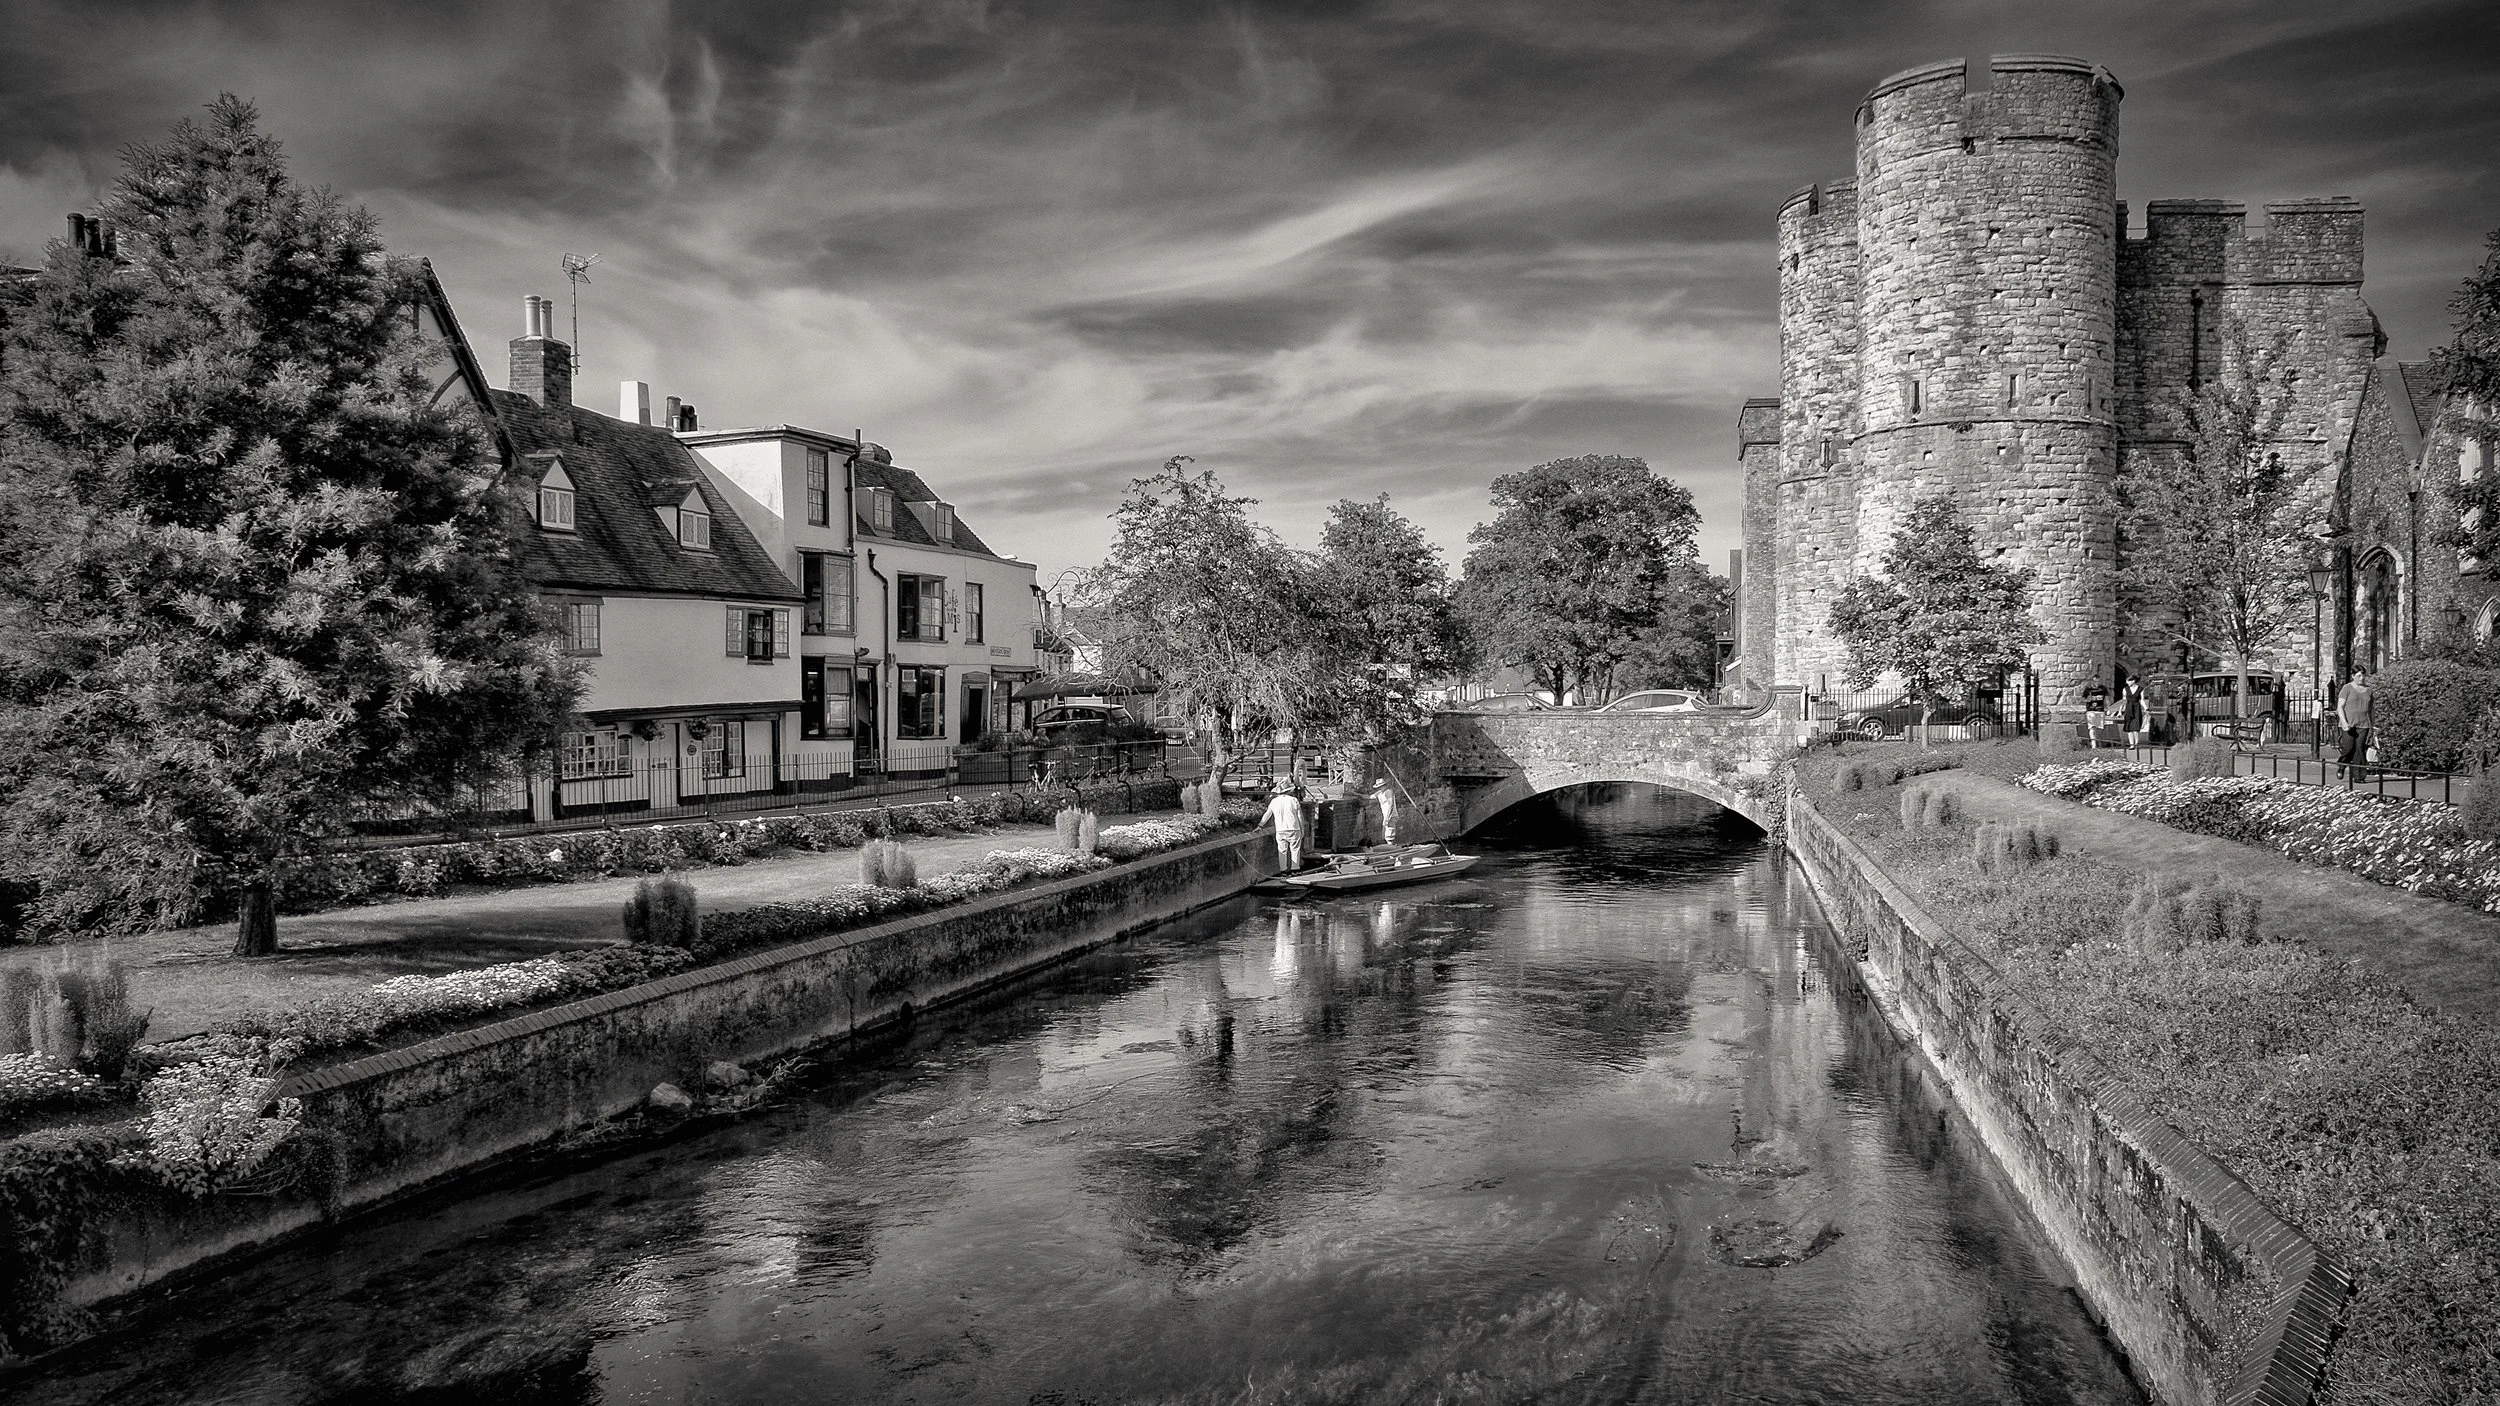
Canals deserve special mention. They run through cities and countryside alike, they are often sheltered enough to hold a calm surface even in mild wind, and they are long — which gives you interesting opportunities for linear reflection compositions, particularly at dawn and dusk.
Glass & Architecture
Glass surfaces are more complicated than water because they are simultaneously reflective and transparent, and the balance between those two properties shifts depending on your angle and the relative brightness on each side.
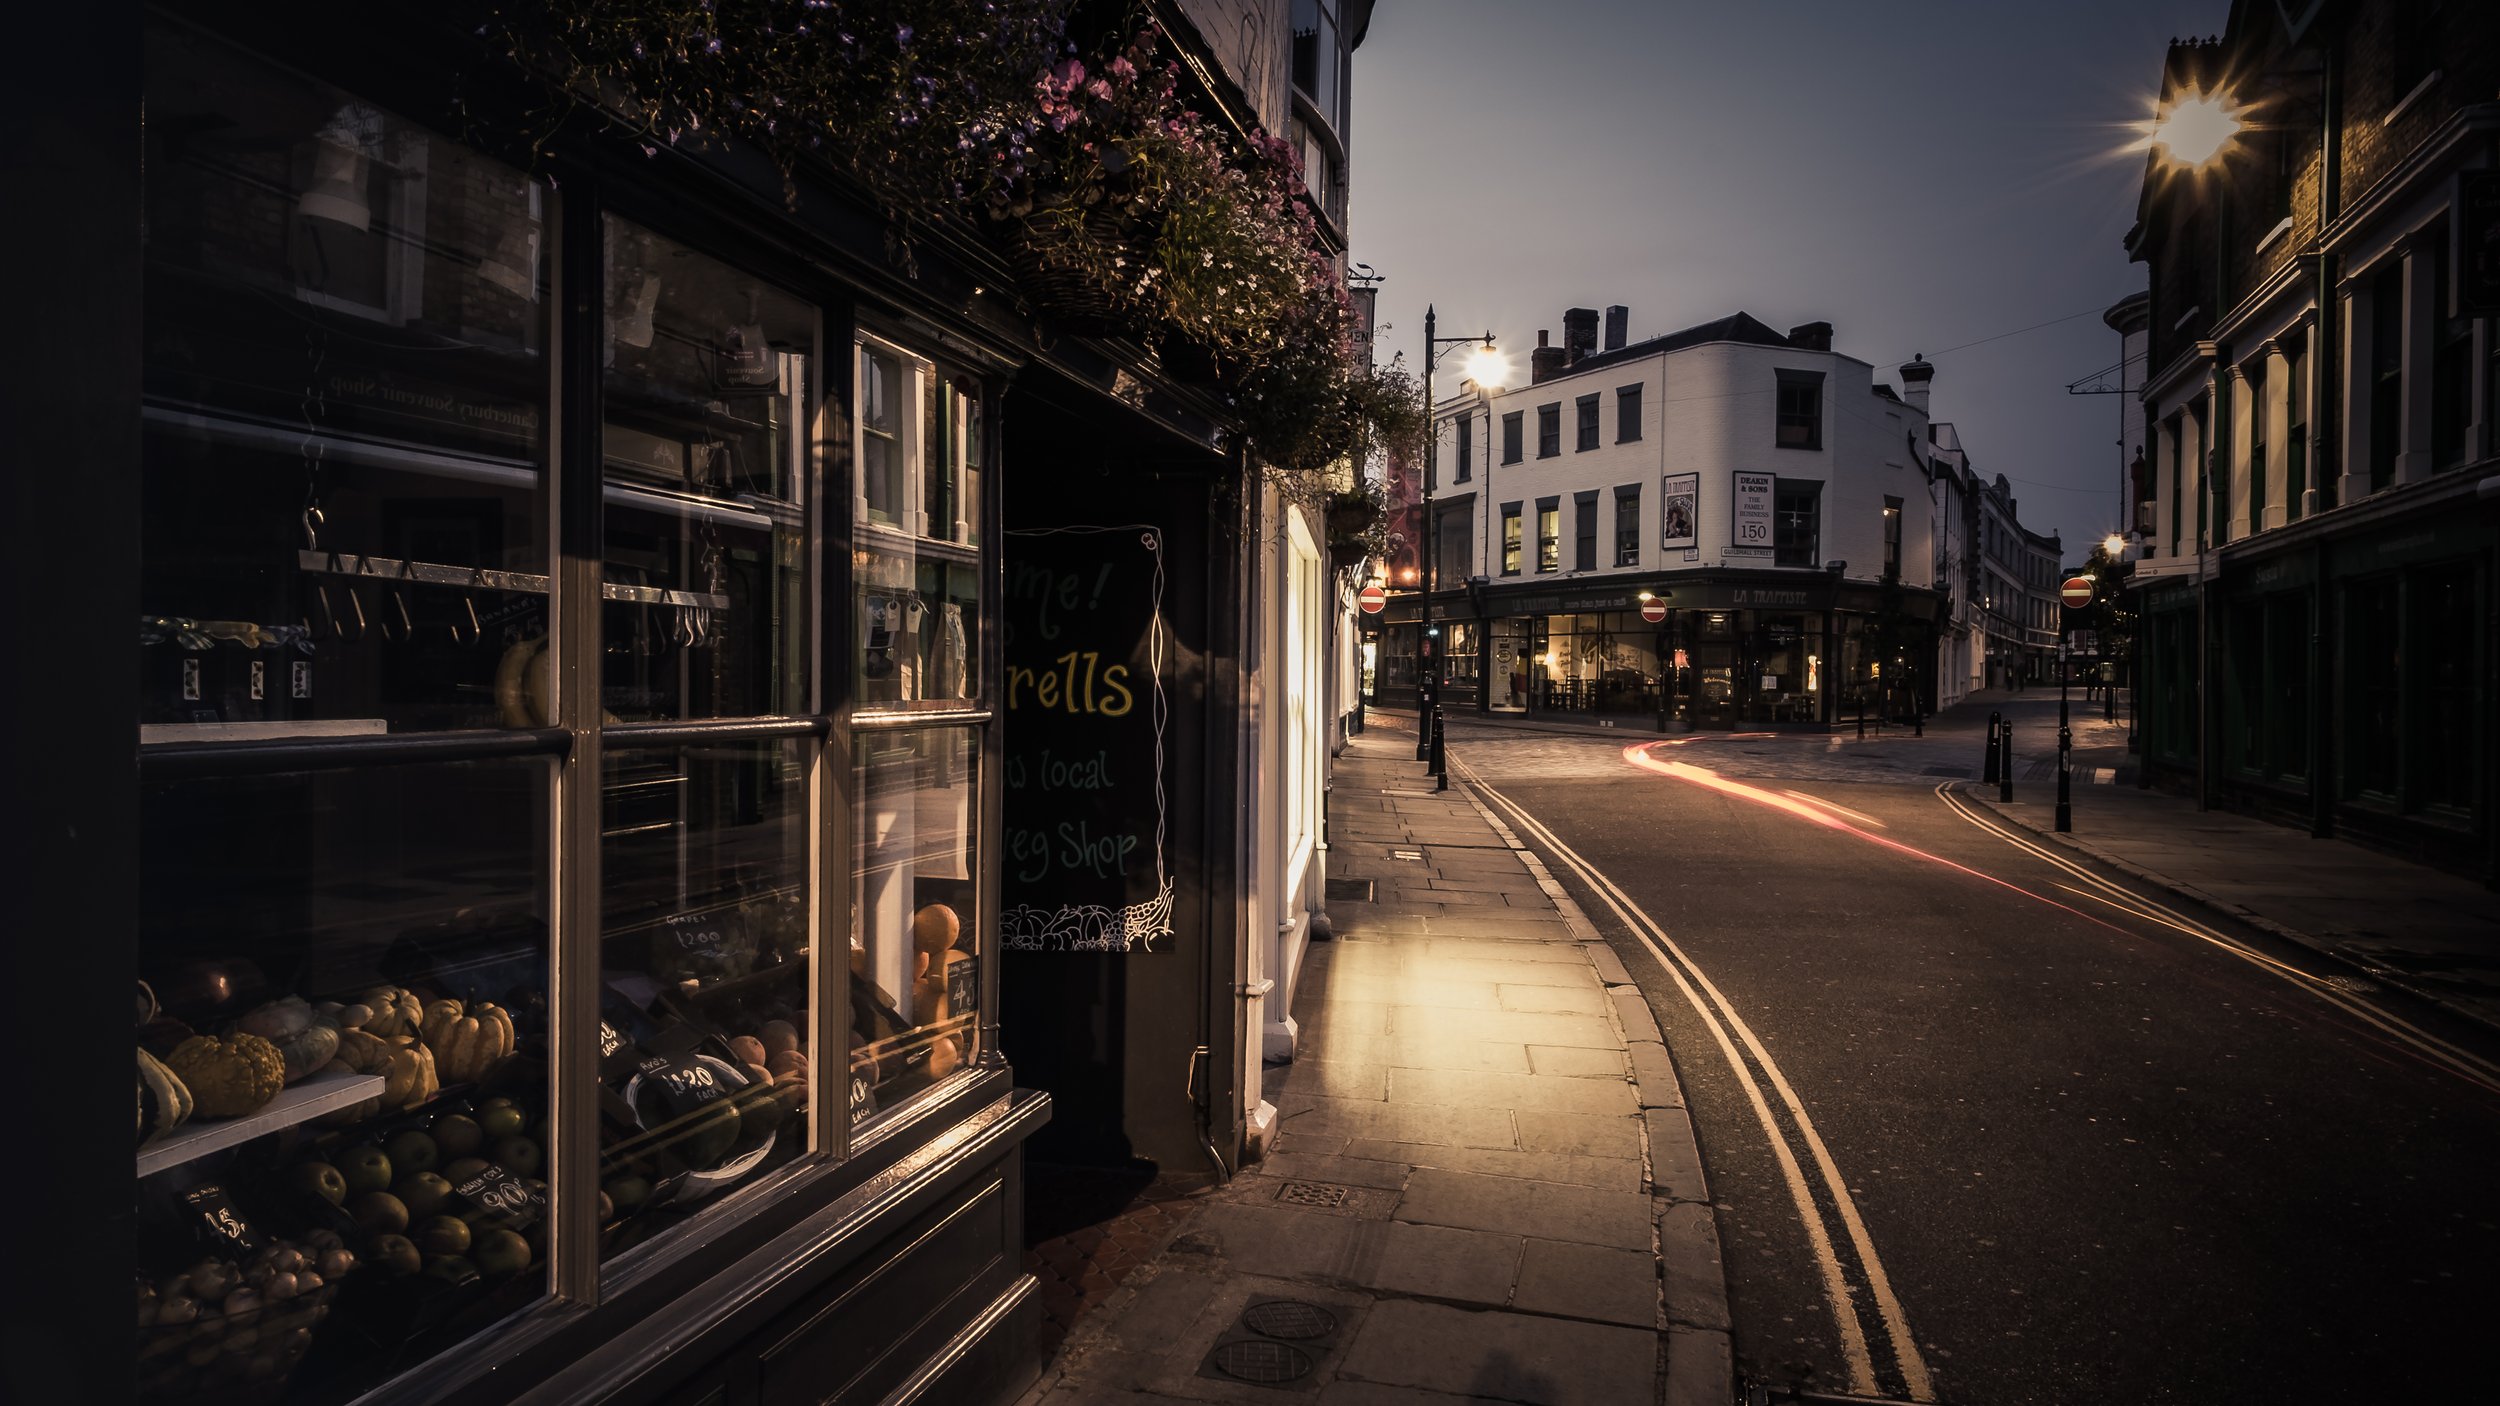
The basic optics: glass reflects more when the subject it is reflecting is brighter than what is on the other side of the glass. Glass transmits more when what is inside is brighter than what is reflected. This means that in full daylight, a shop window primarily shows you the street reflected in it, with the interior barely visible. After dark, with the interior lit, it primarily shows you the interior, with the street barely reflected.
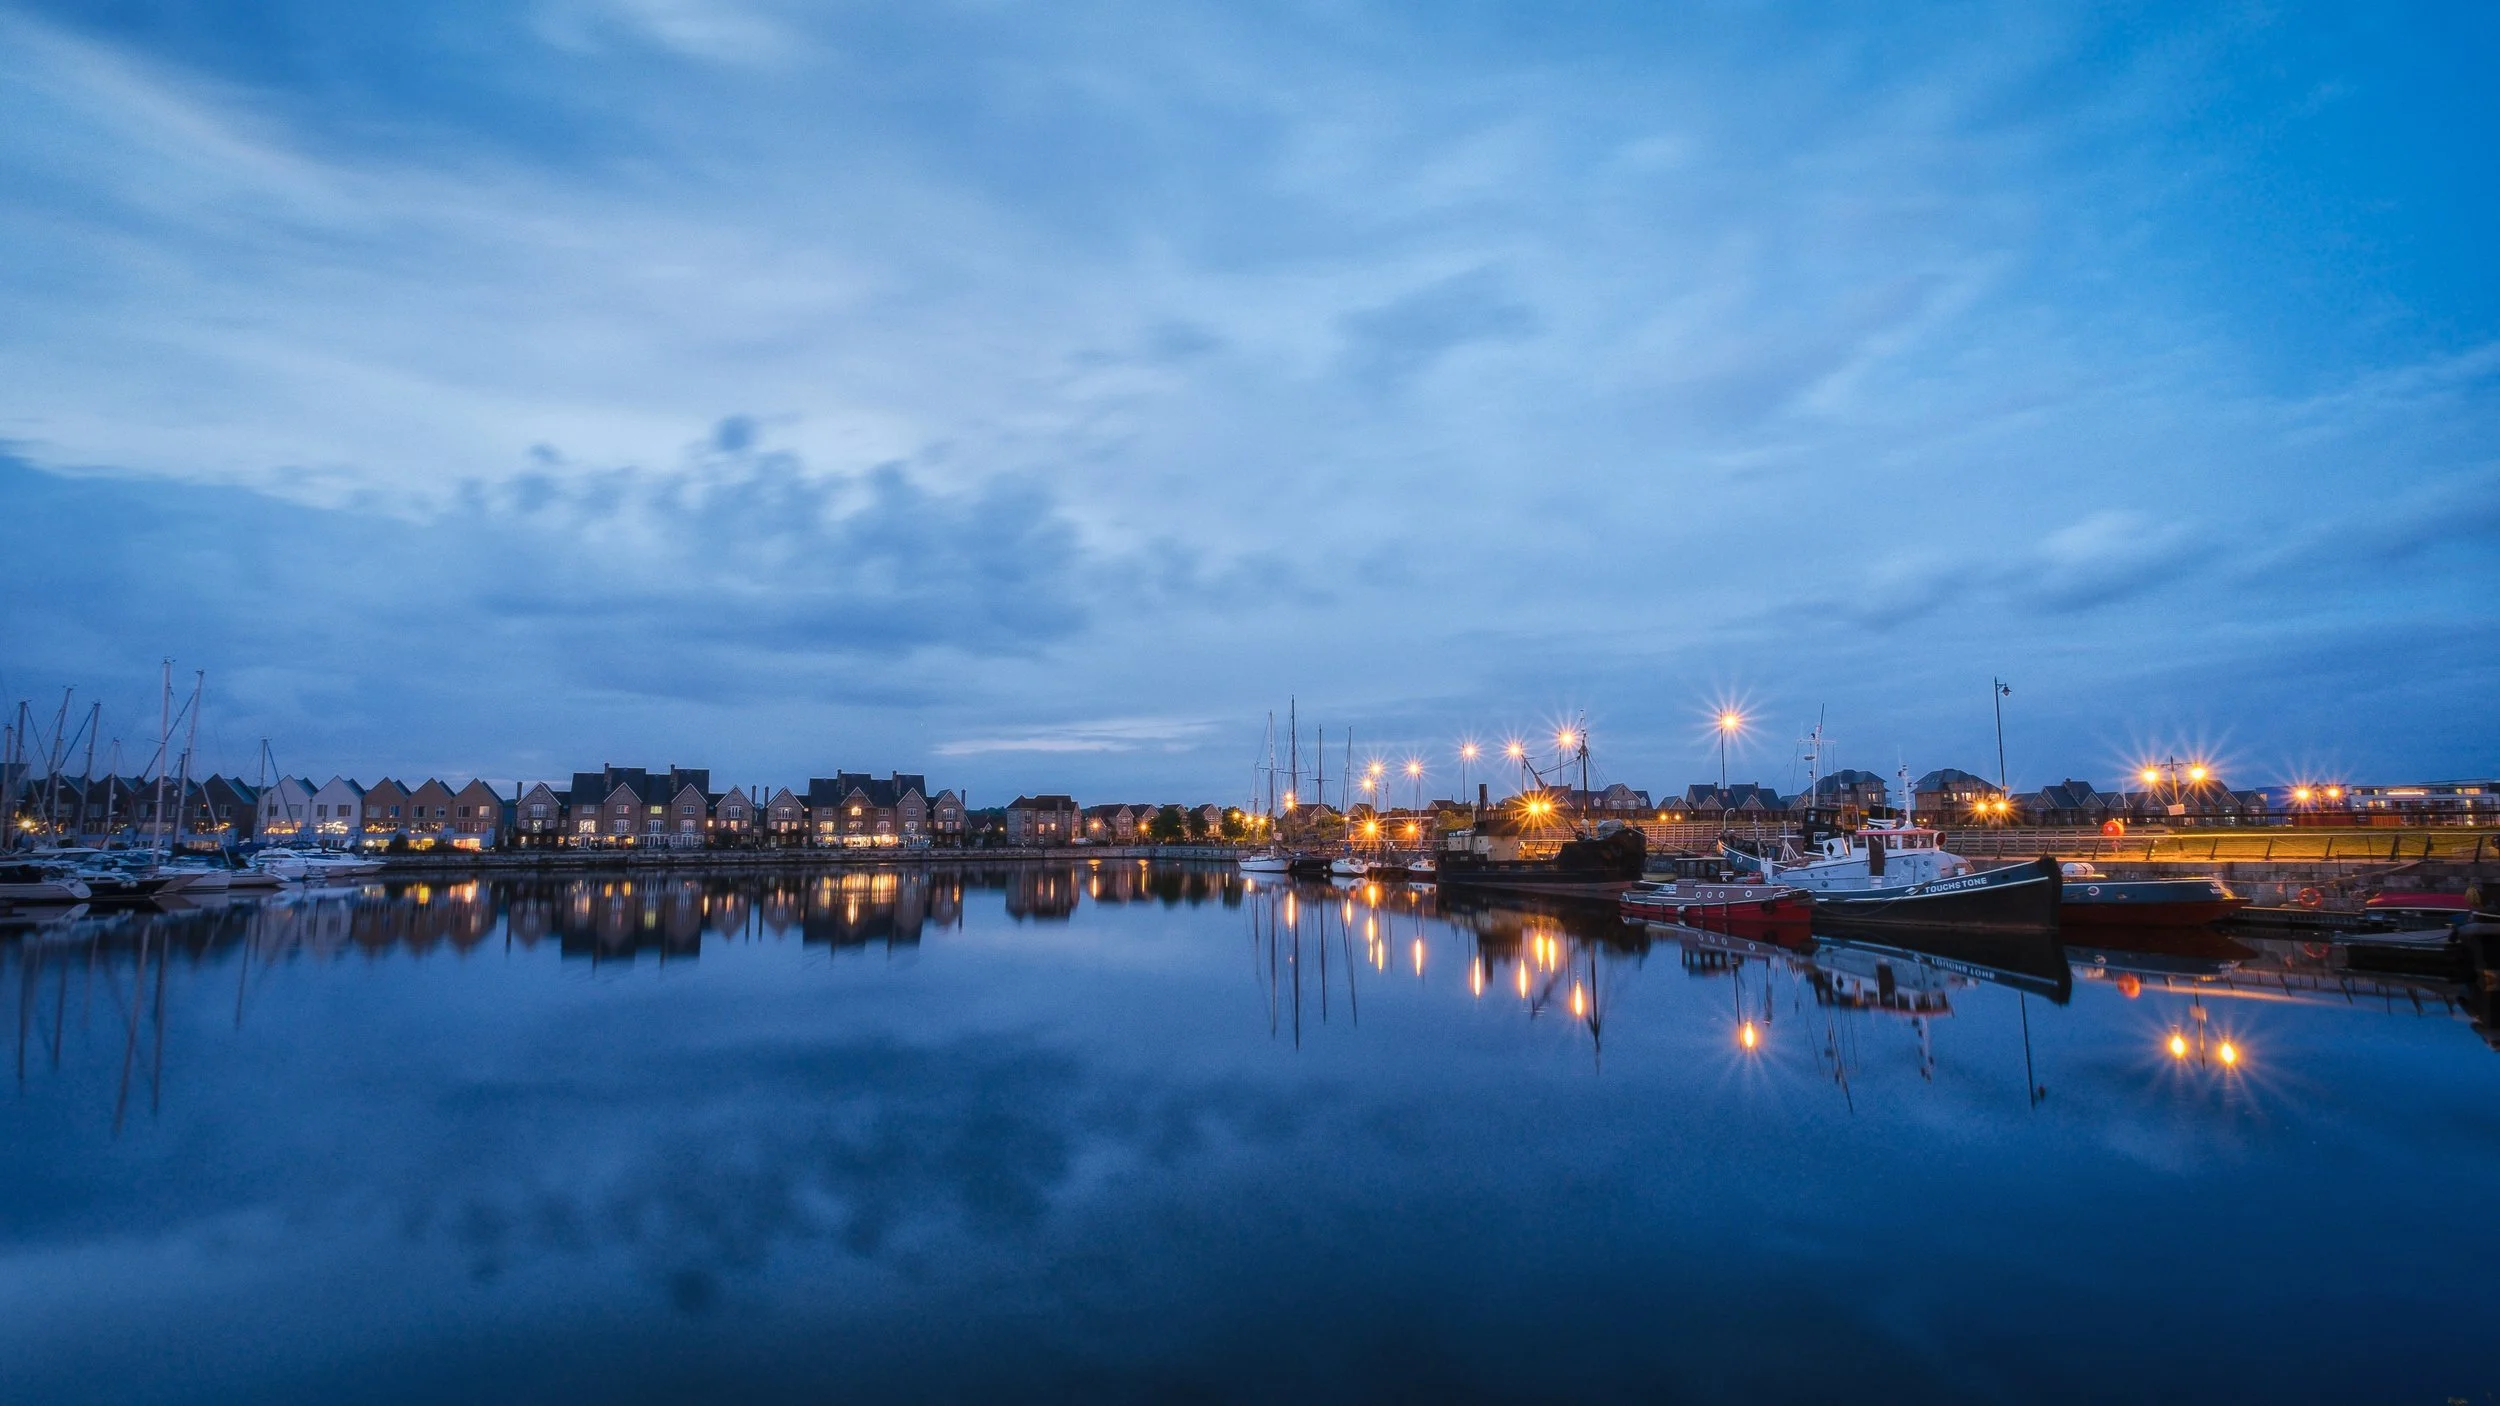
Blue hour — the twenty to forty minutes after sunset when the sky still holds ambient light roughly equal in brightness to interior artificial lighting — is the sweet spot. At blue hour, reflection and transmission are in rough balance, and you can make images where both the interior and the street are equally present.
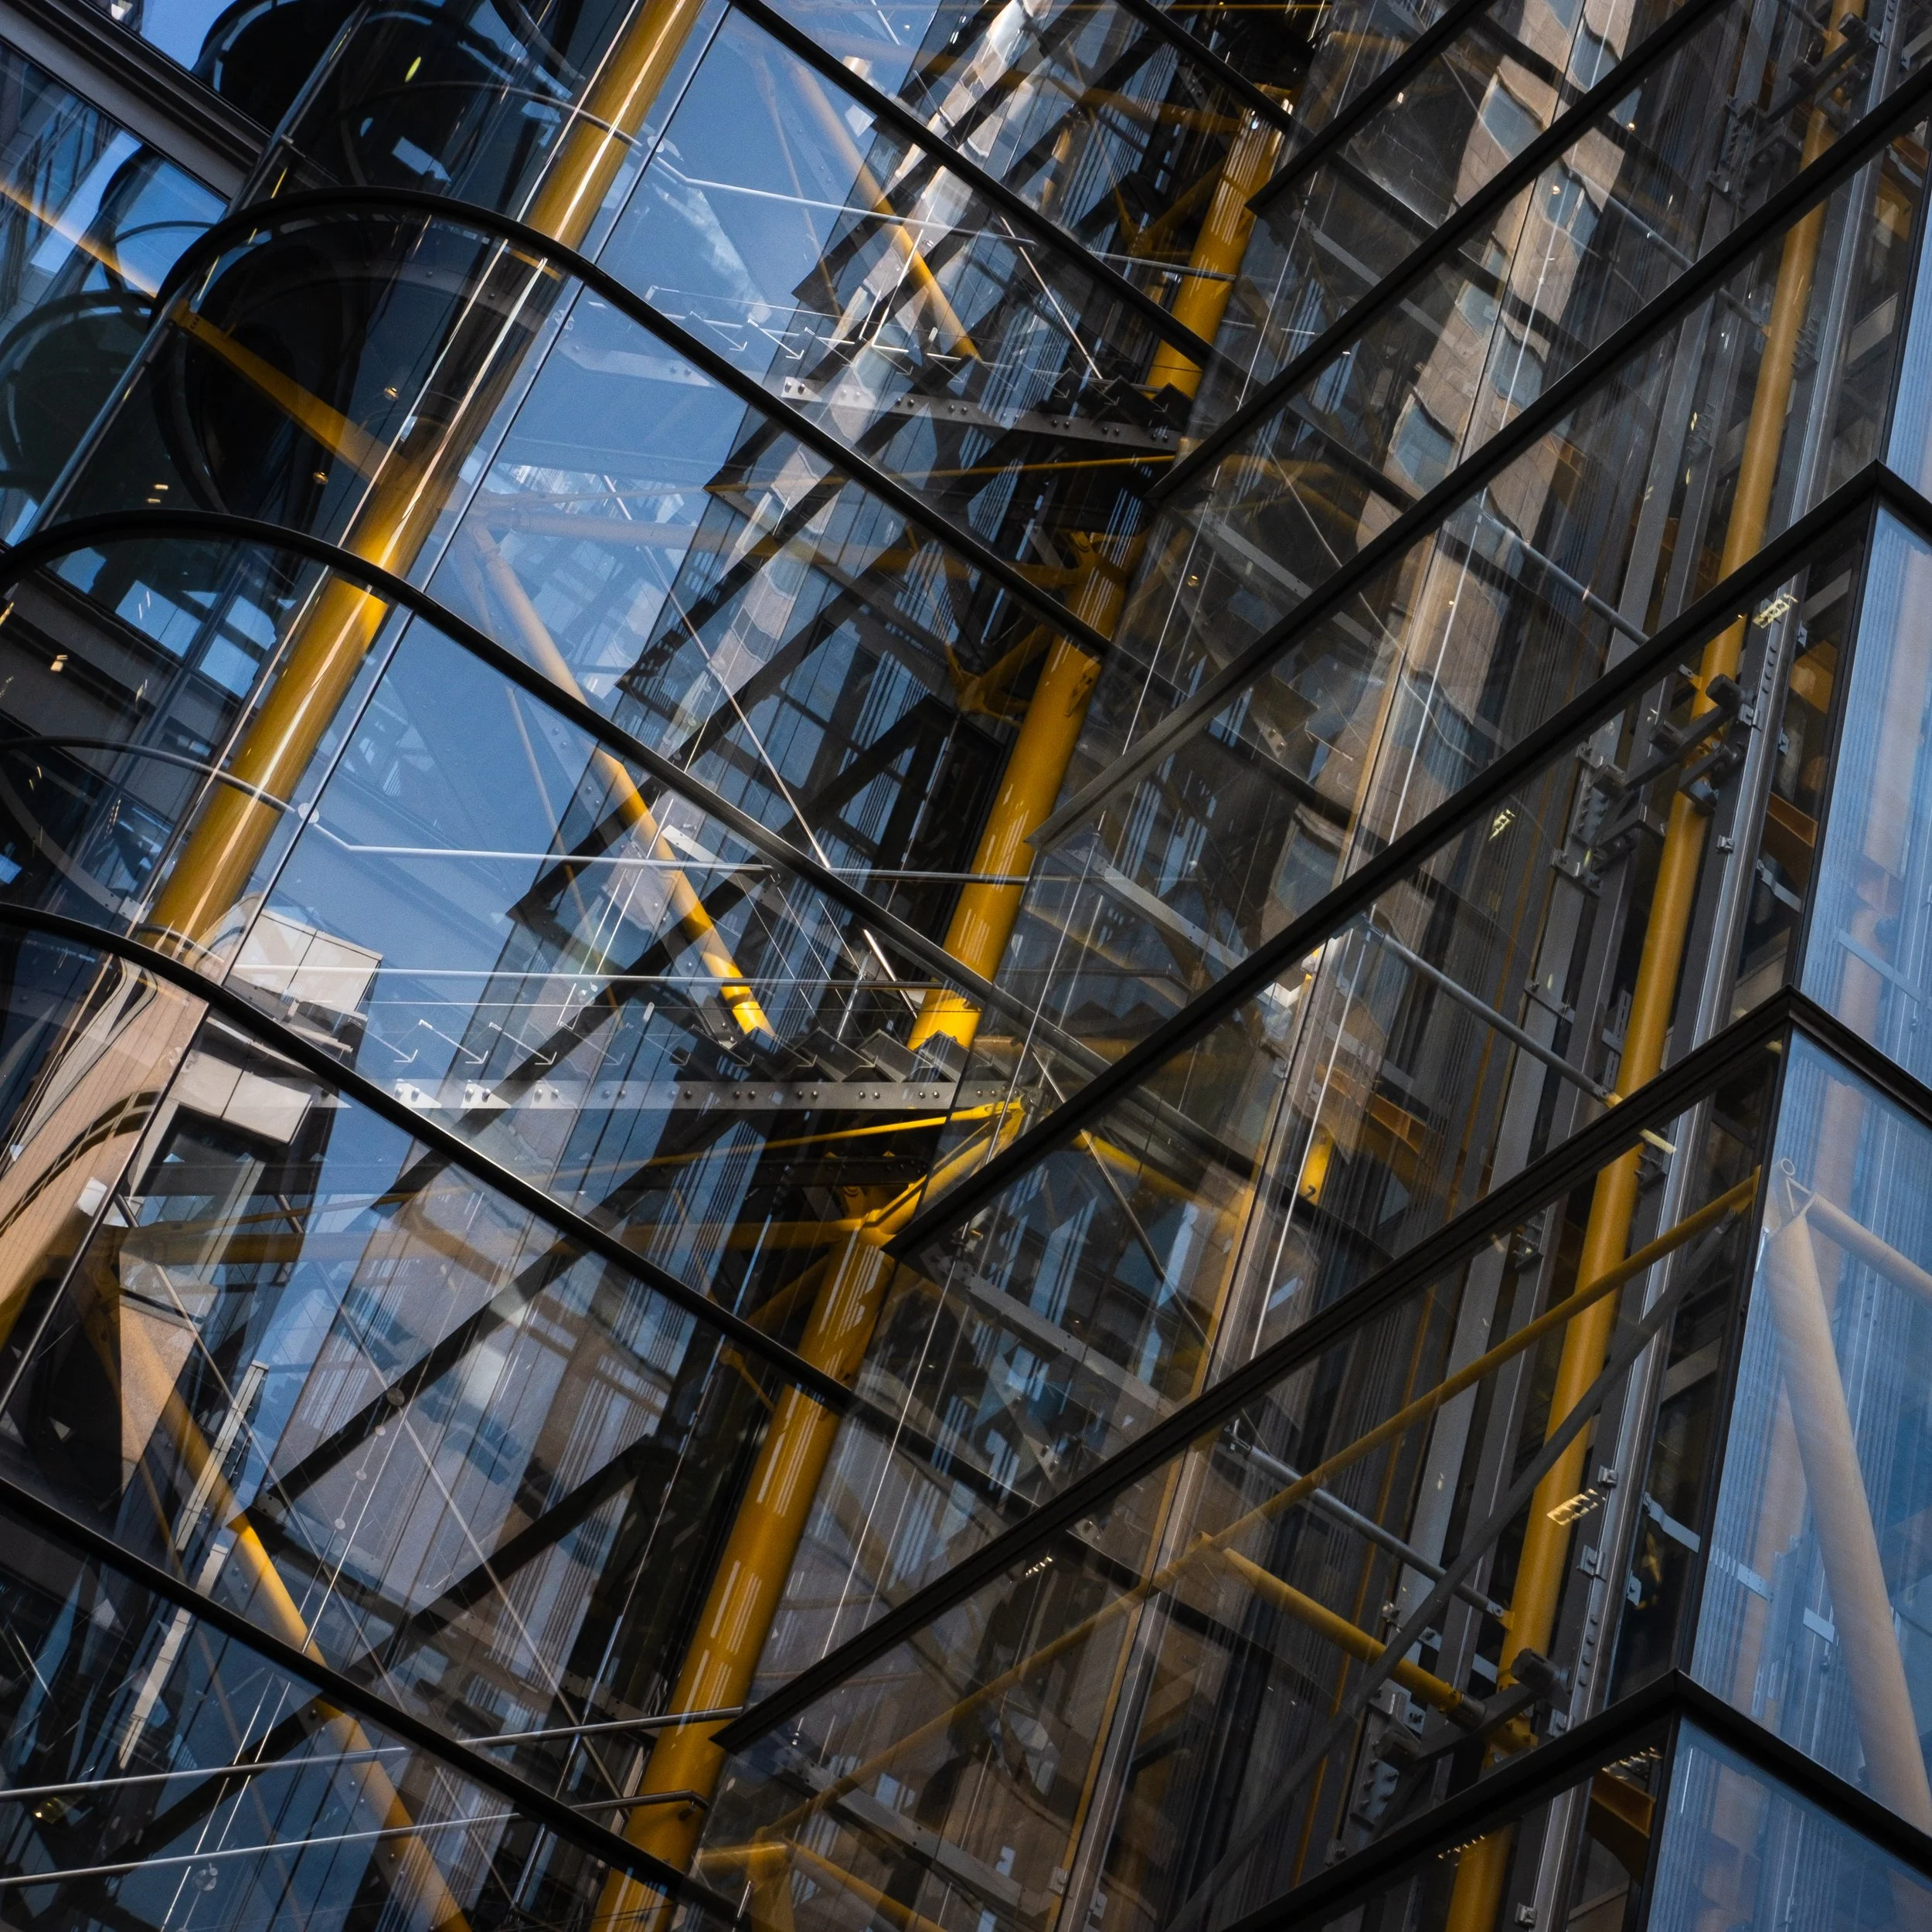
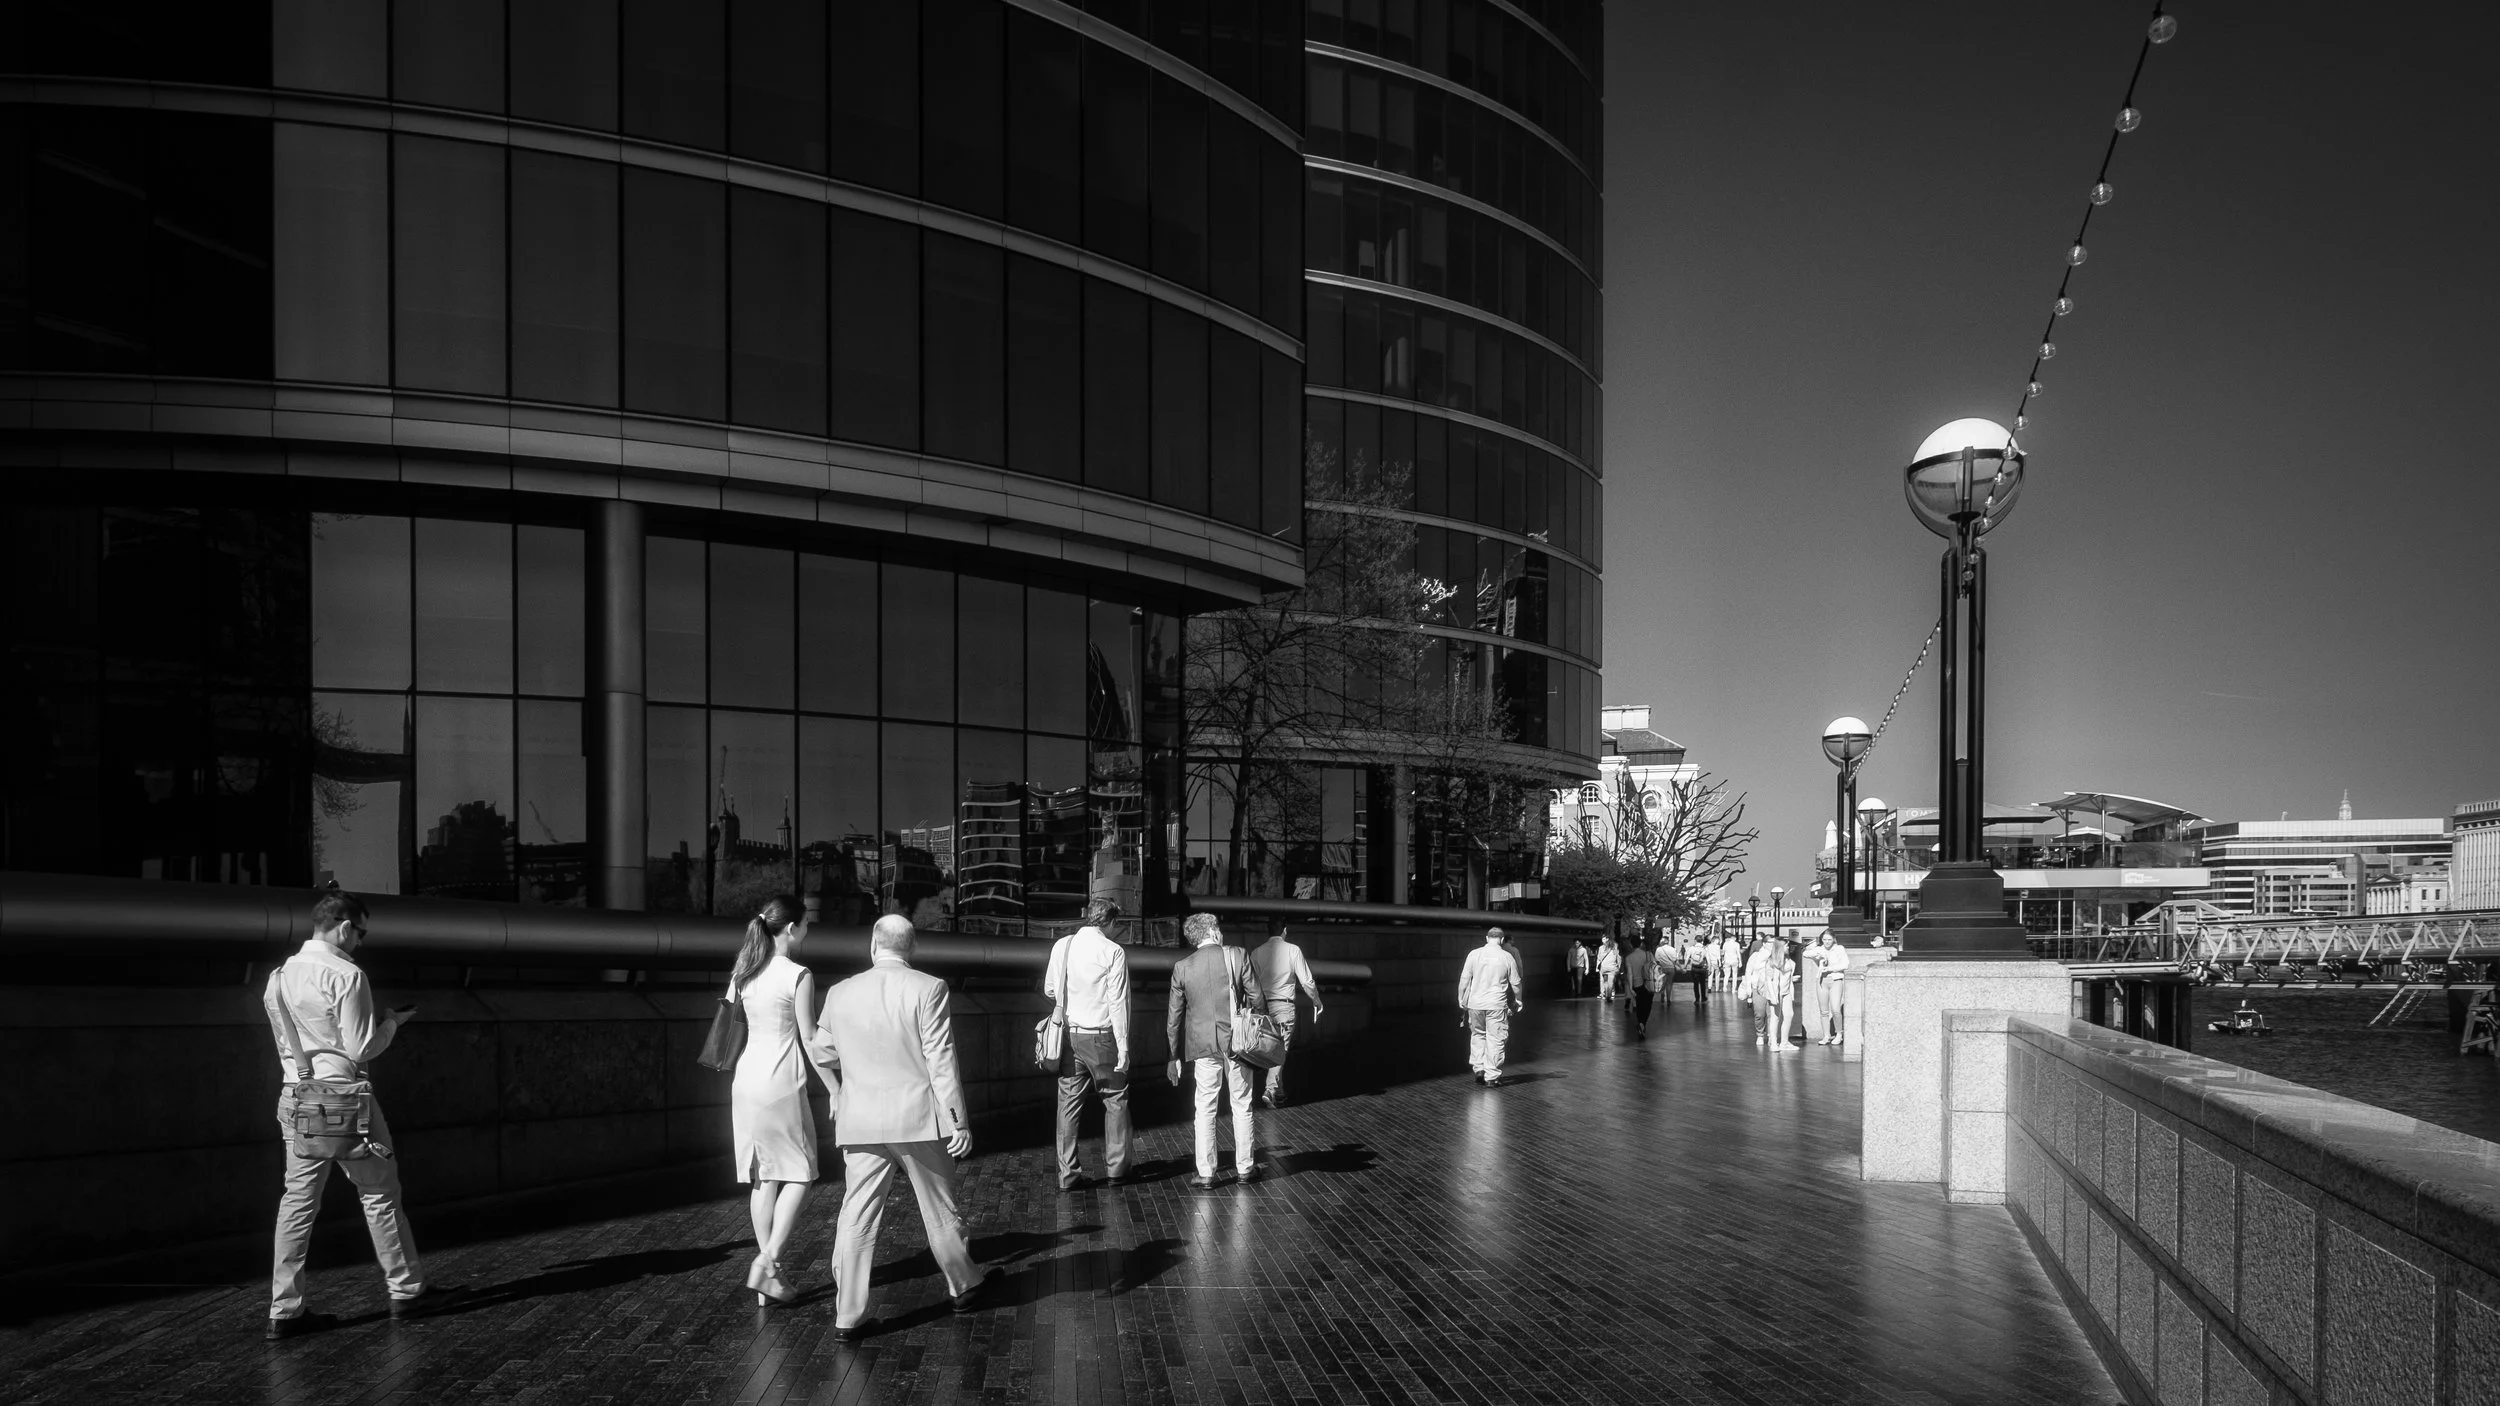
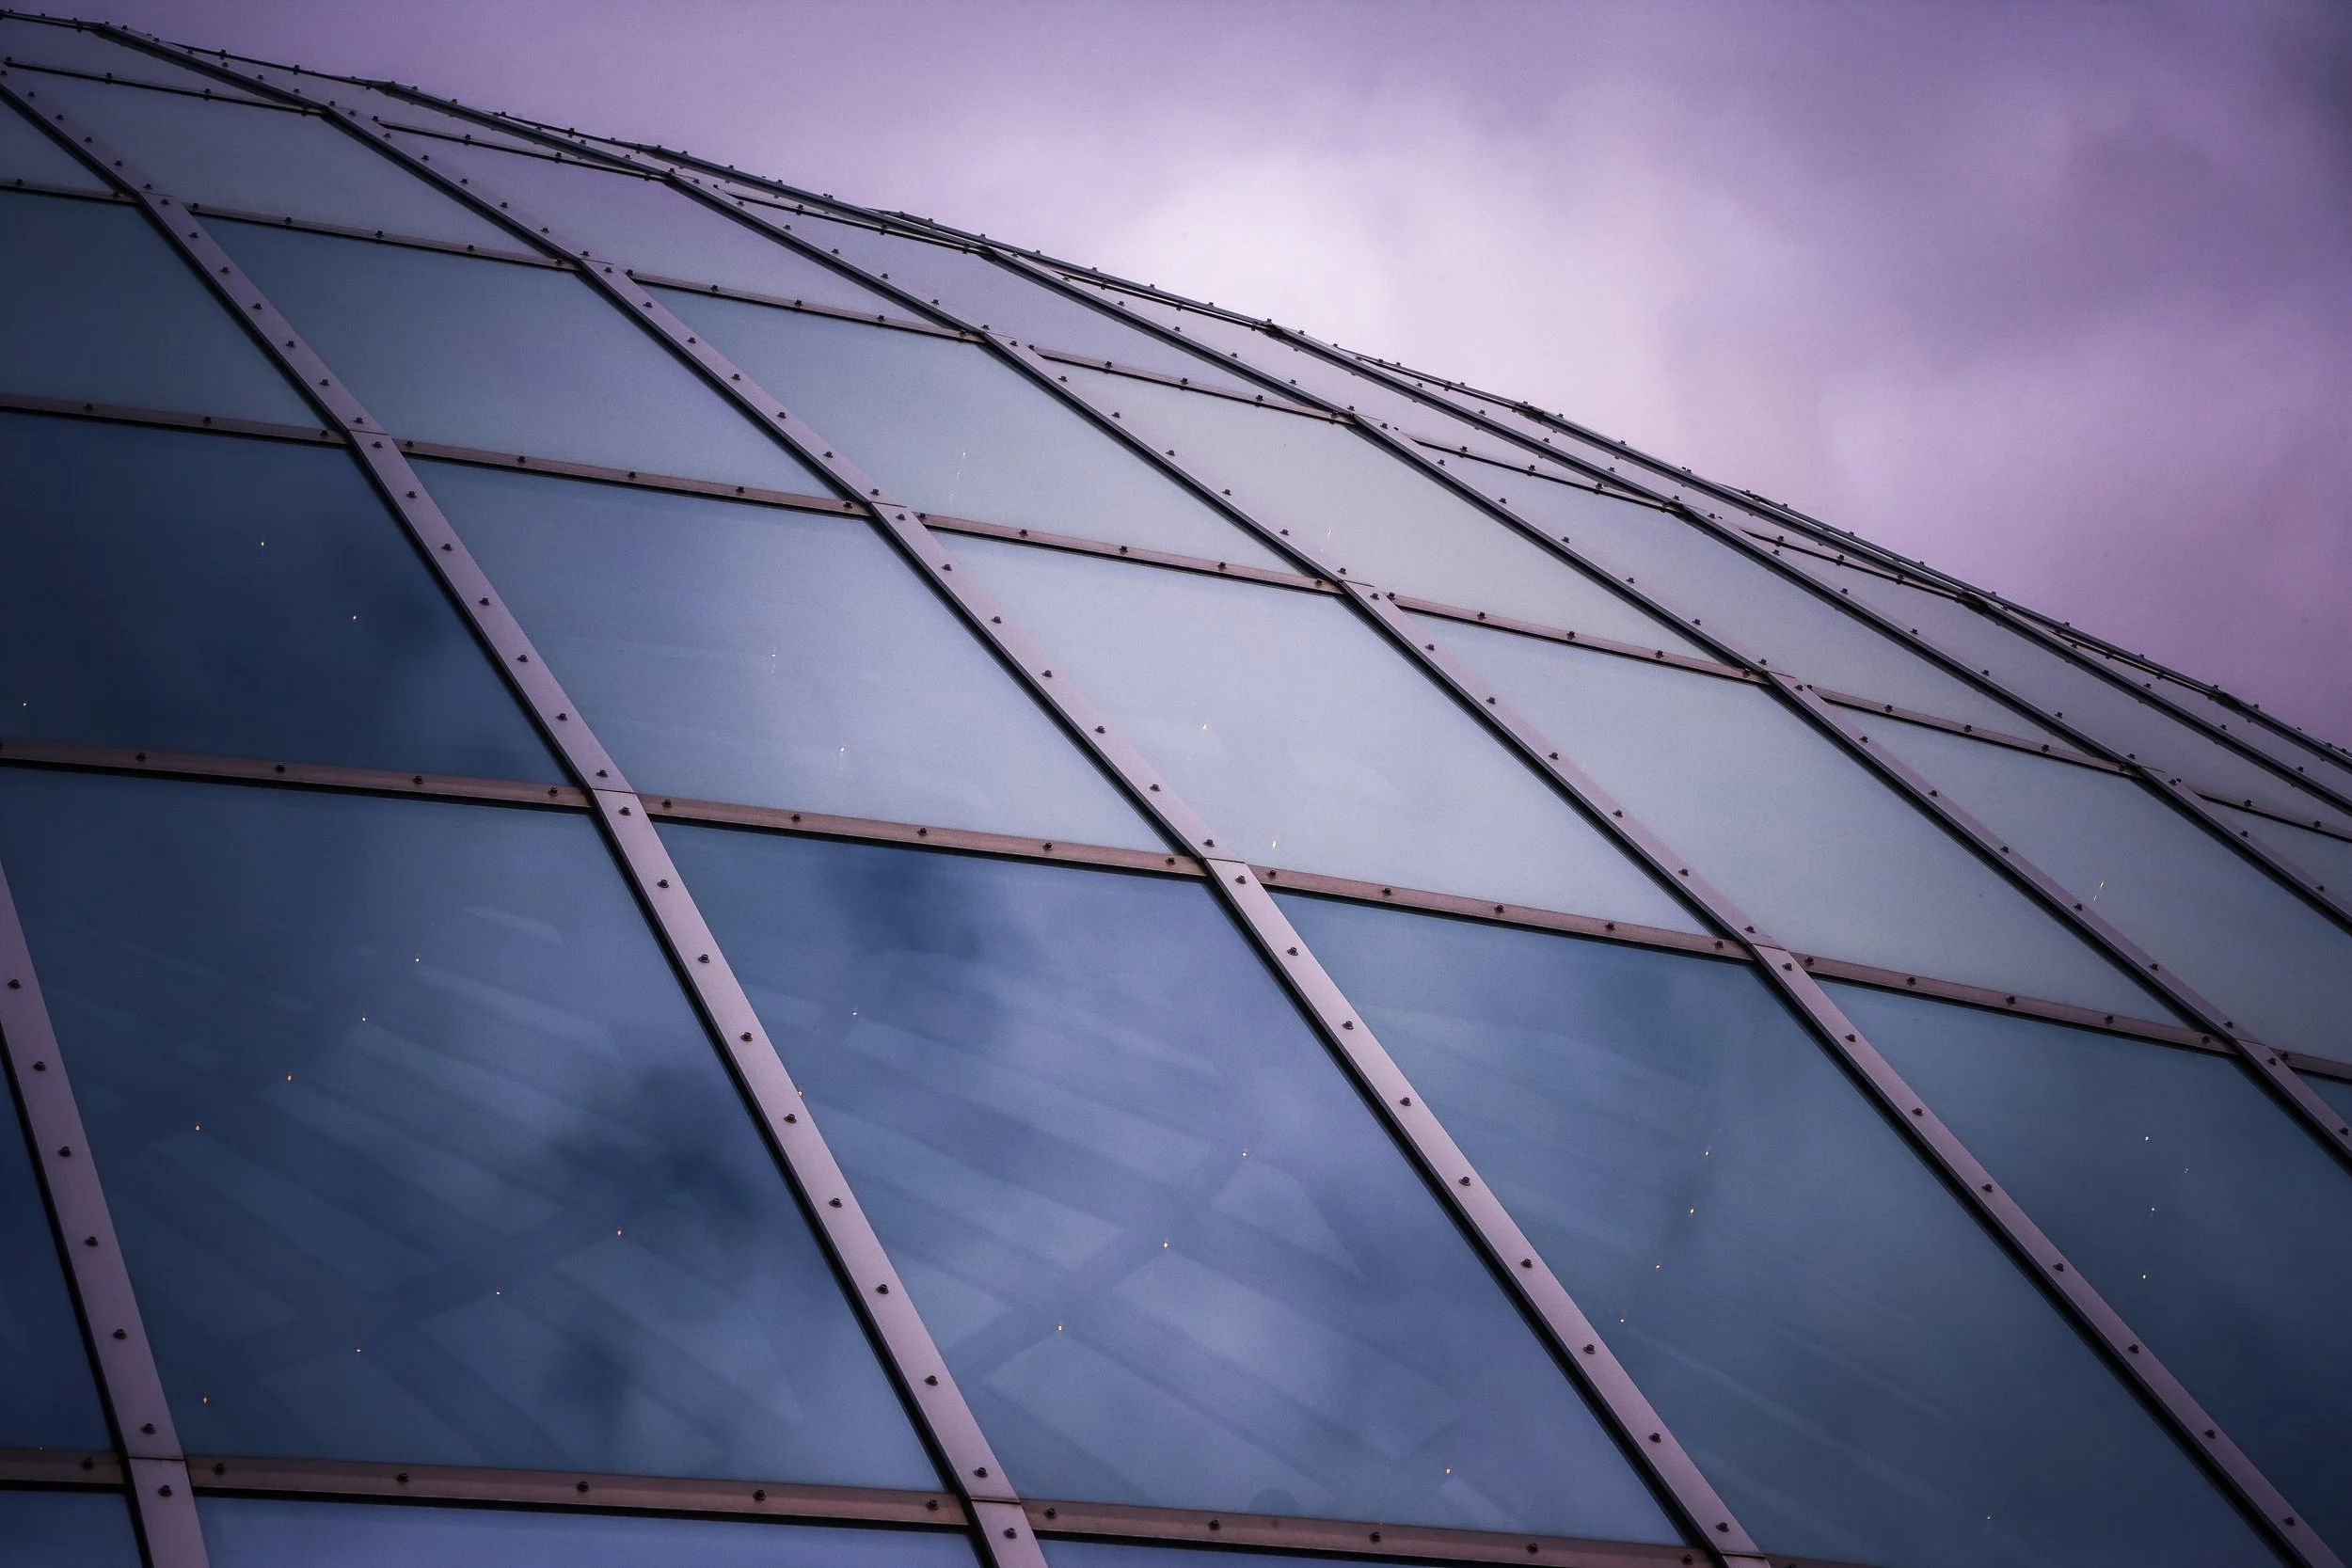
Glass buildings — the clichéd curtain-wall office blocks that architects love and preservationists hate — are one of the best reflection subjects in any city. They function as enormous curved or faceted mirrors, catching neighbouring buildings, clouds, and sky and warping them slightly. Shooting from across a street, you get the building's surroundings reflected in its own skin. Shooting close and at an oblique angle, you get abstract tessellations of colour and form. The building itself often becomes secondary to what it is reflecting.
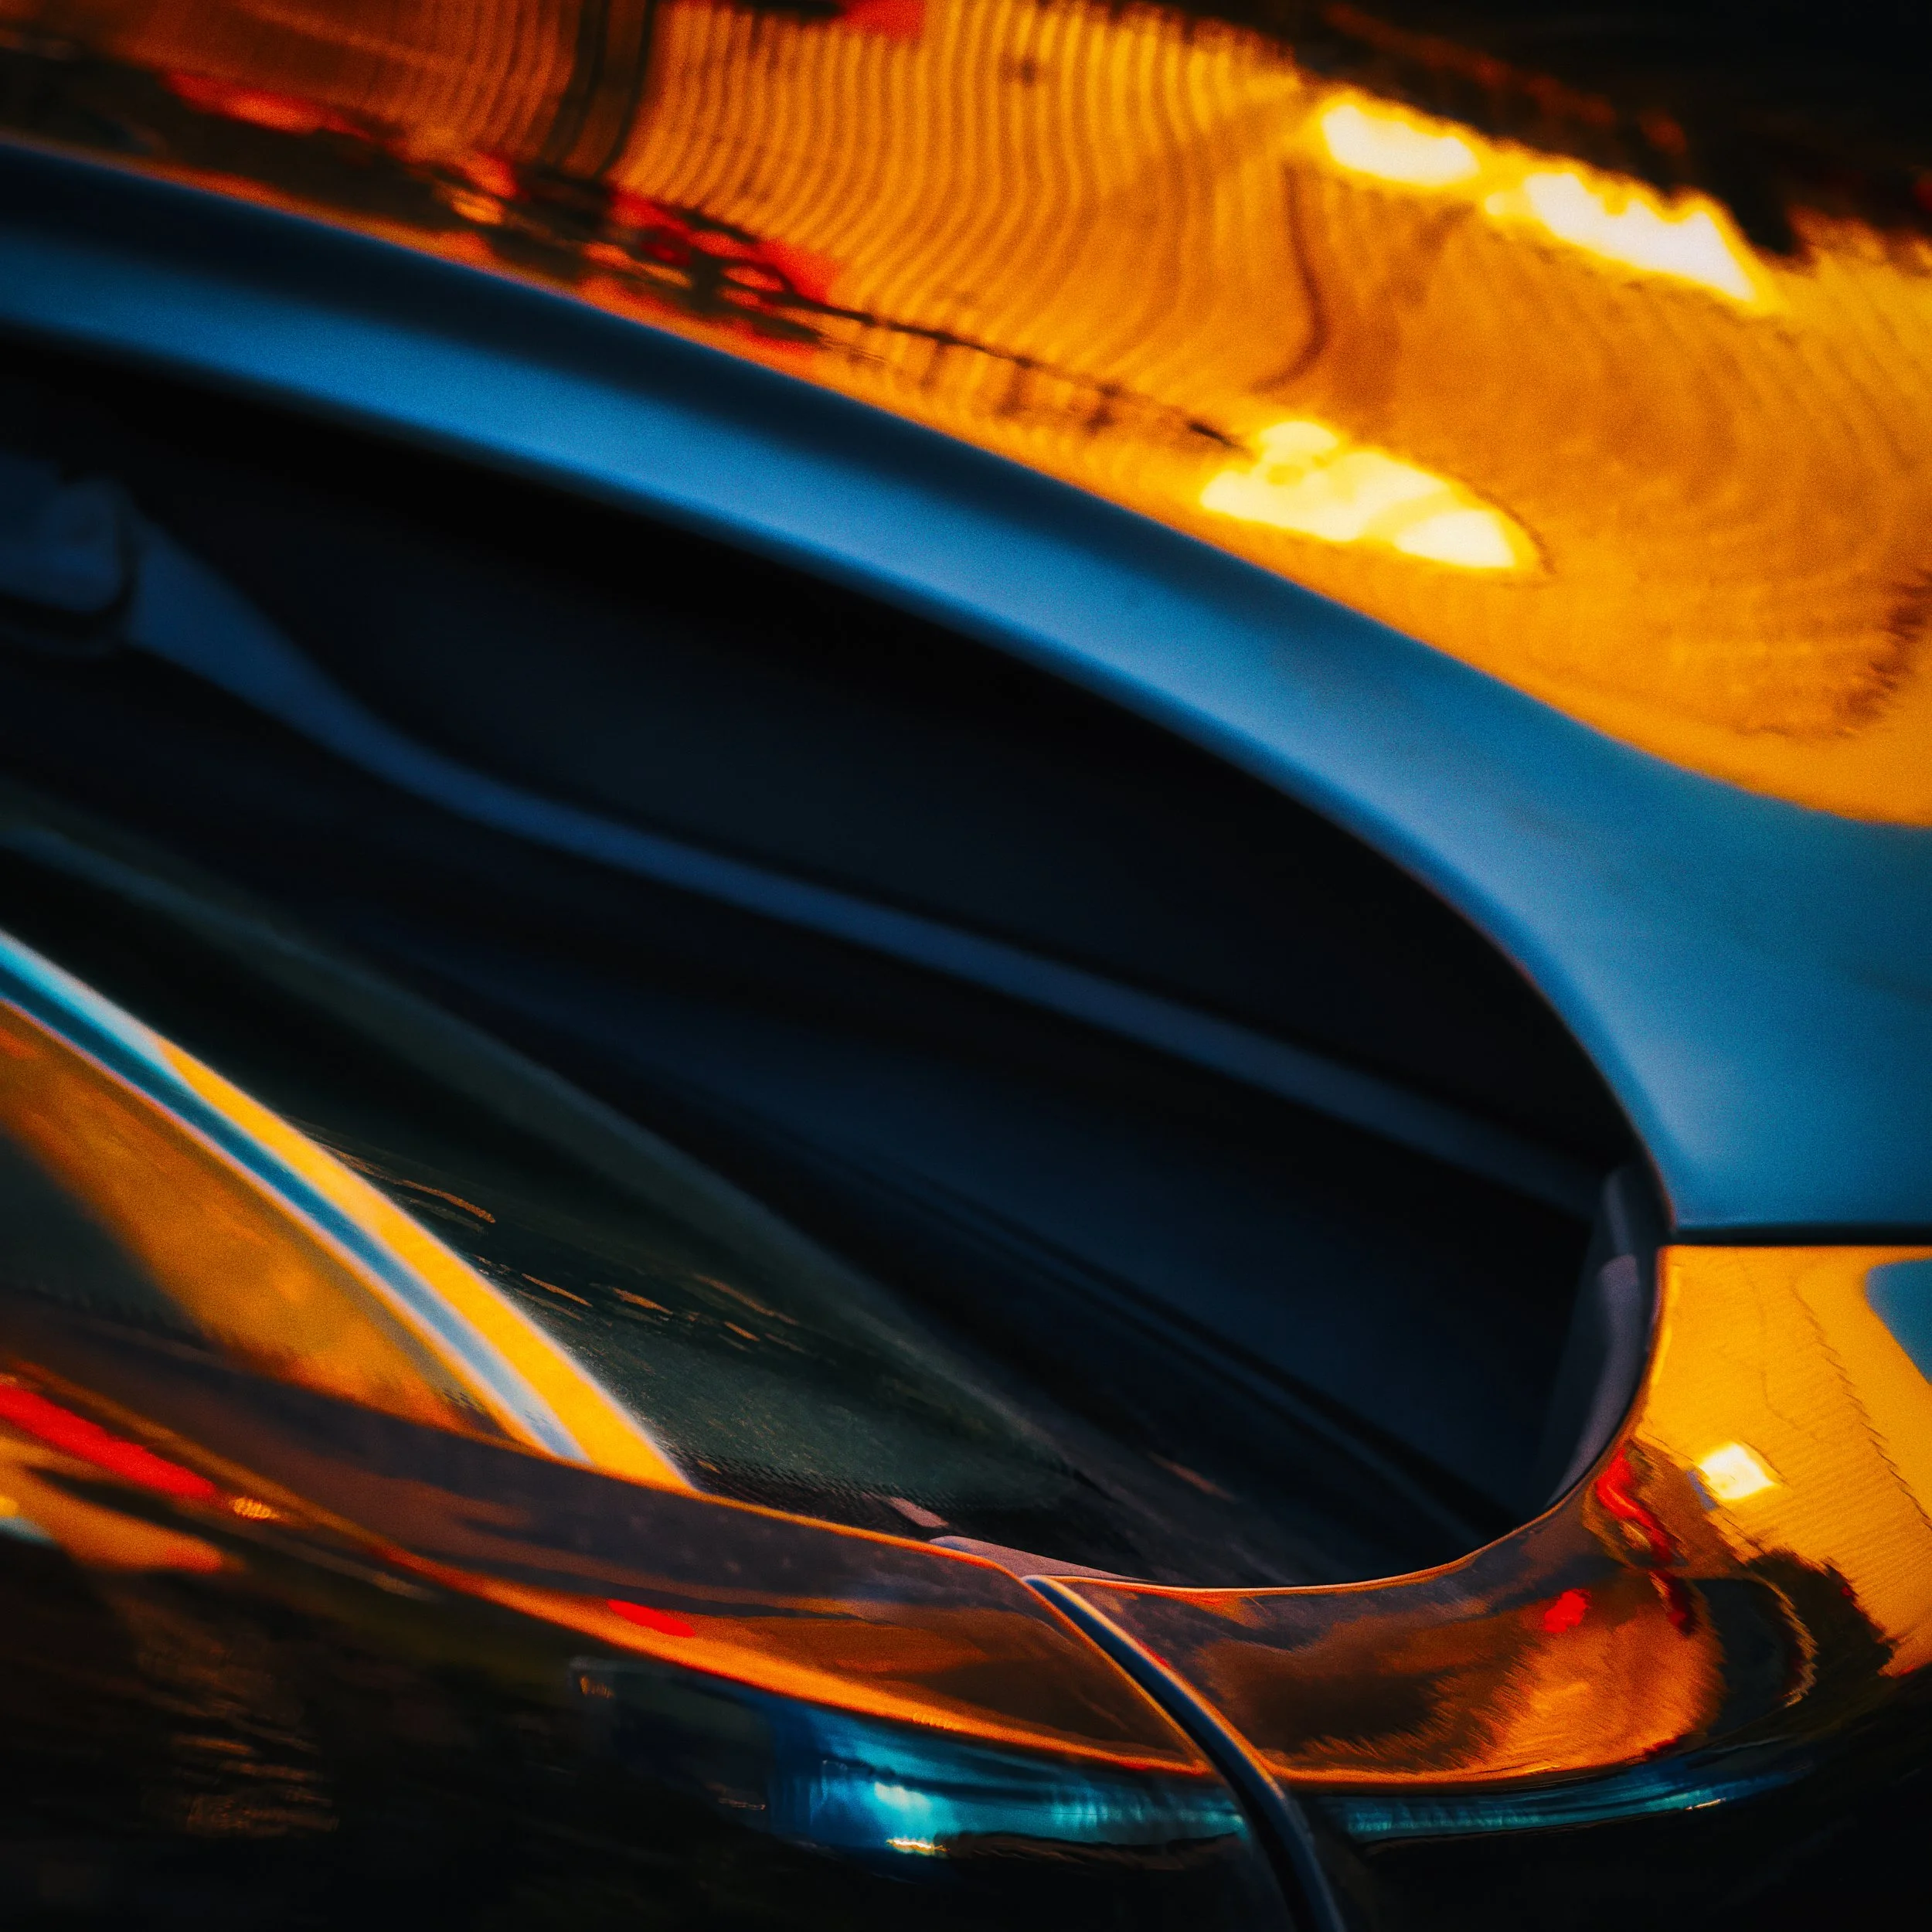
Car windows offer a miniaturised version of the same layered effect — you see both the reflection of whatever is behind you and the interior of the car simultaneously. Shooting through a car window at an angle gives you a reflection-and-reality layering that works particularly well in street photography.
Angle control matters considerably with glass. Moving even a few degrees left, right, or up and down changes what the glass is reflecting and how much of the interior is visible. Spend some time walking along a glass surface before you shoot, watching how the reflection changes as you move.
A brief, practical note on reducing ghost reflections on glass: this is what a polarising filter does. But the corollary is important — sometimes you want the reflection, so you want the polariser off, or rotated to maximise rather than minimise the reflection. We return to this in the settings section.
Mirrors & Props
There is a distinction between reflections you find and reflections you make. The sections above are largely about finding them. This one is about making them.
A hand mirror — the small, inexpensive, flat-backed kind — is one of the more useful props in photography for a small investment. Held at the edge of the frame near the lens, it introduces a reflected element into the image that is entirely under your control. You decide what it is pointing at, at what angle, covering how much of the frame. This gives you the ability to create multi-world compositions — part of the frame shows the scene directly, another part shows a reflection of something adjacent to it — that would be impossible with a fixed reflective surface.
The photographer Florence Henri built a significant body of work in the 1920s and 1930s using mirrors as compositional elements in still lifes and portraits — not to reflect the subject back at itself, but to introduce a second spatial plane into a flat image, complicating the geometry of what was in front of the camera. You do not need to know her work, but if you look at it, you will immediately understand what mirrors can do that cameras alone cannot.
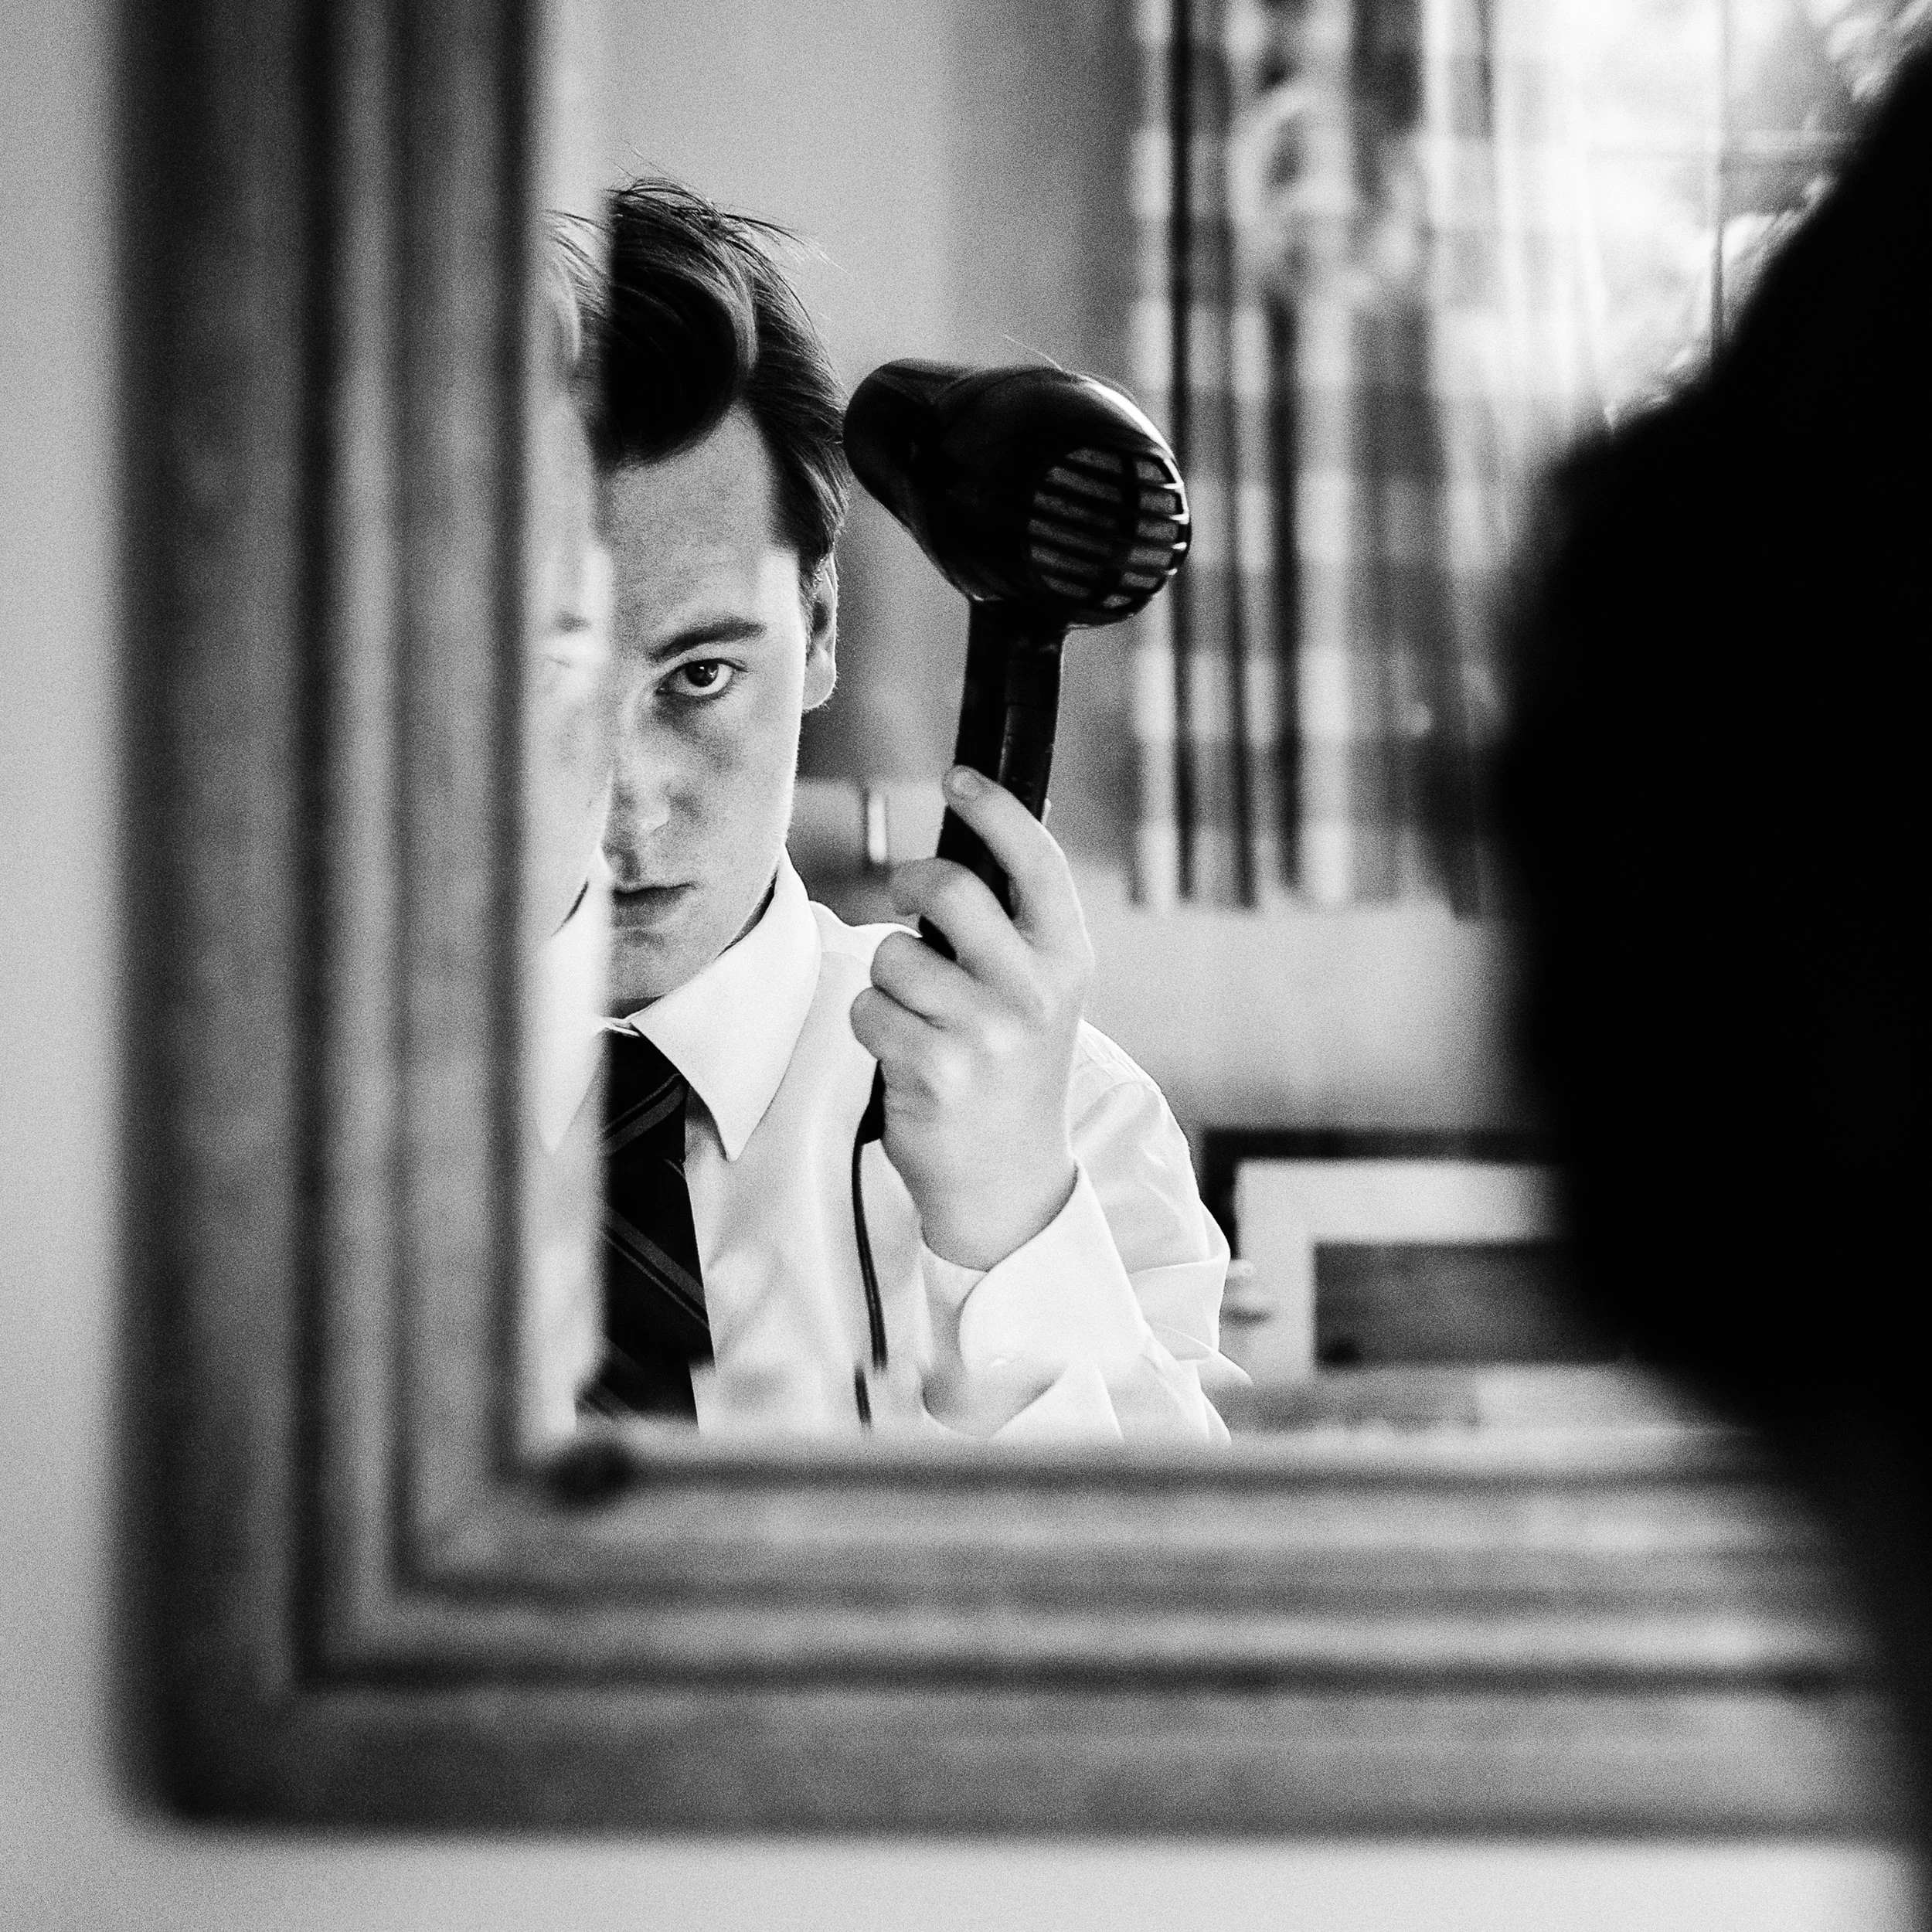
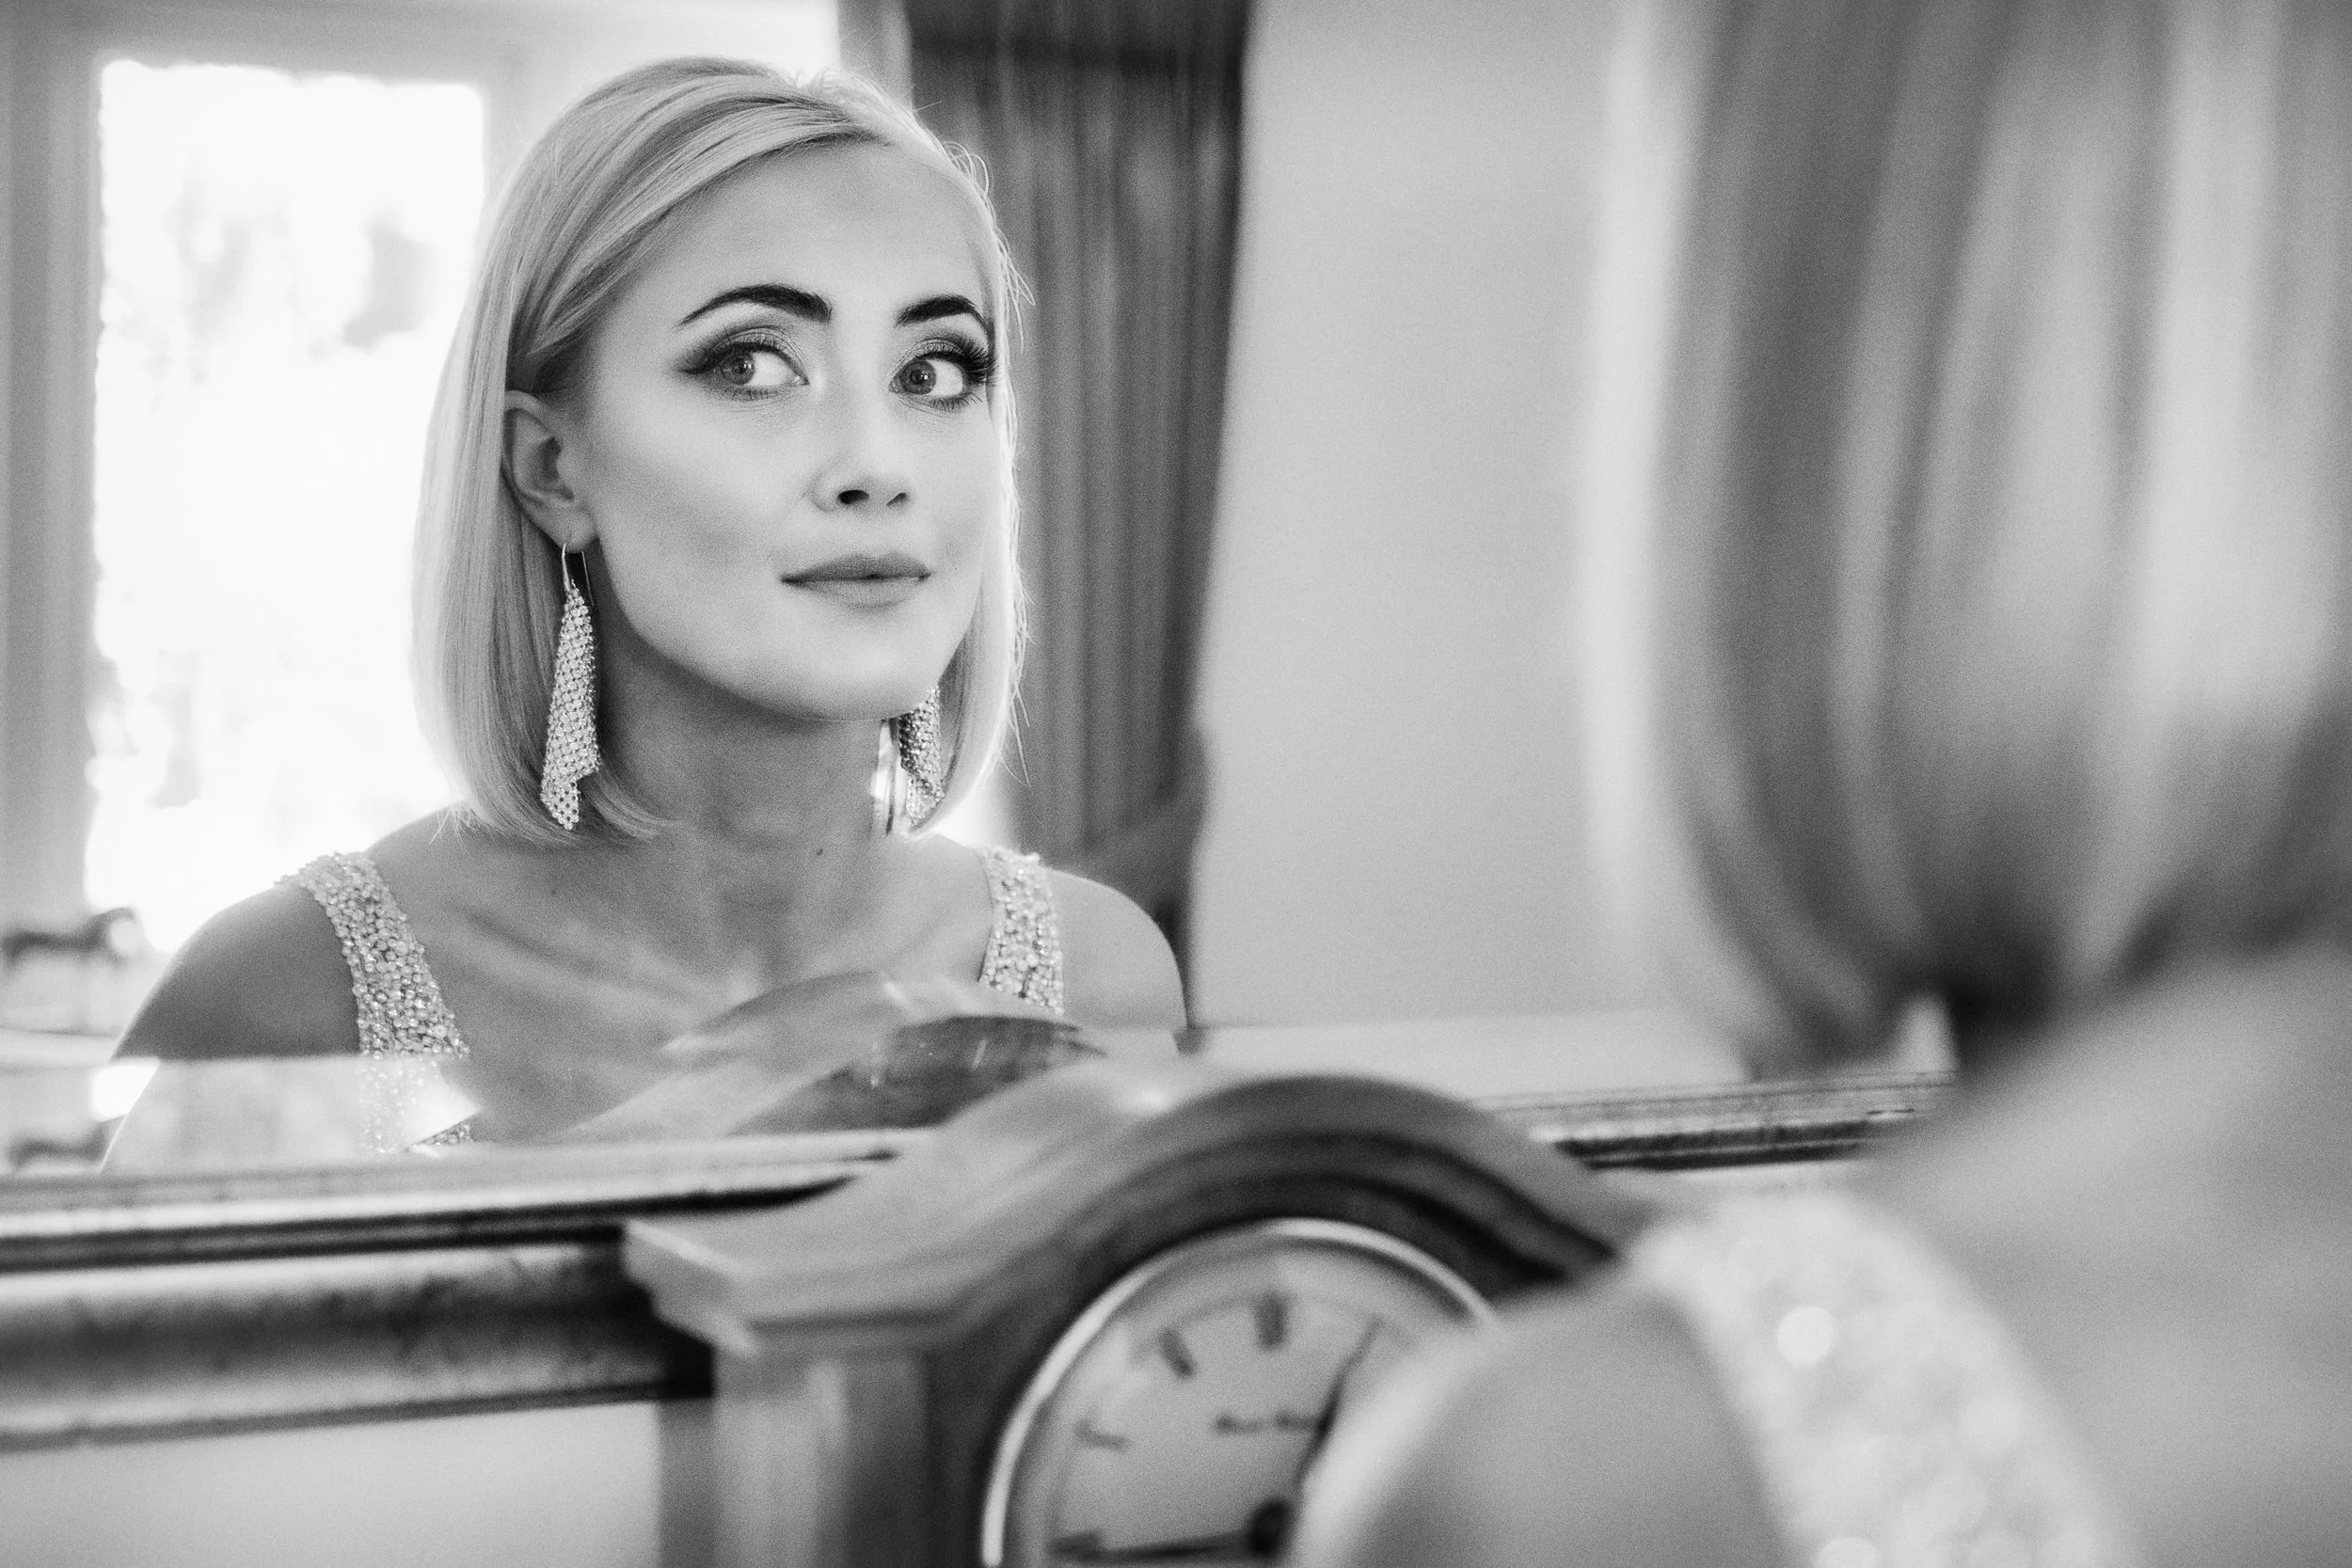
Paolo Roversi uses large, slightly aged mirrors in portraiture as a kind of mediating layer — the reflection is not a copy of the subject but a slightly different version, softer and more abstracted. A slightly dirty or aged mirror adds texture that a clean mirror does not, and this texture changes the image's feeling considerably.
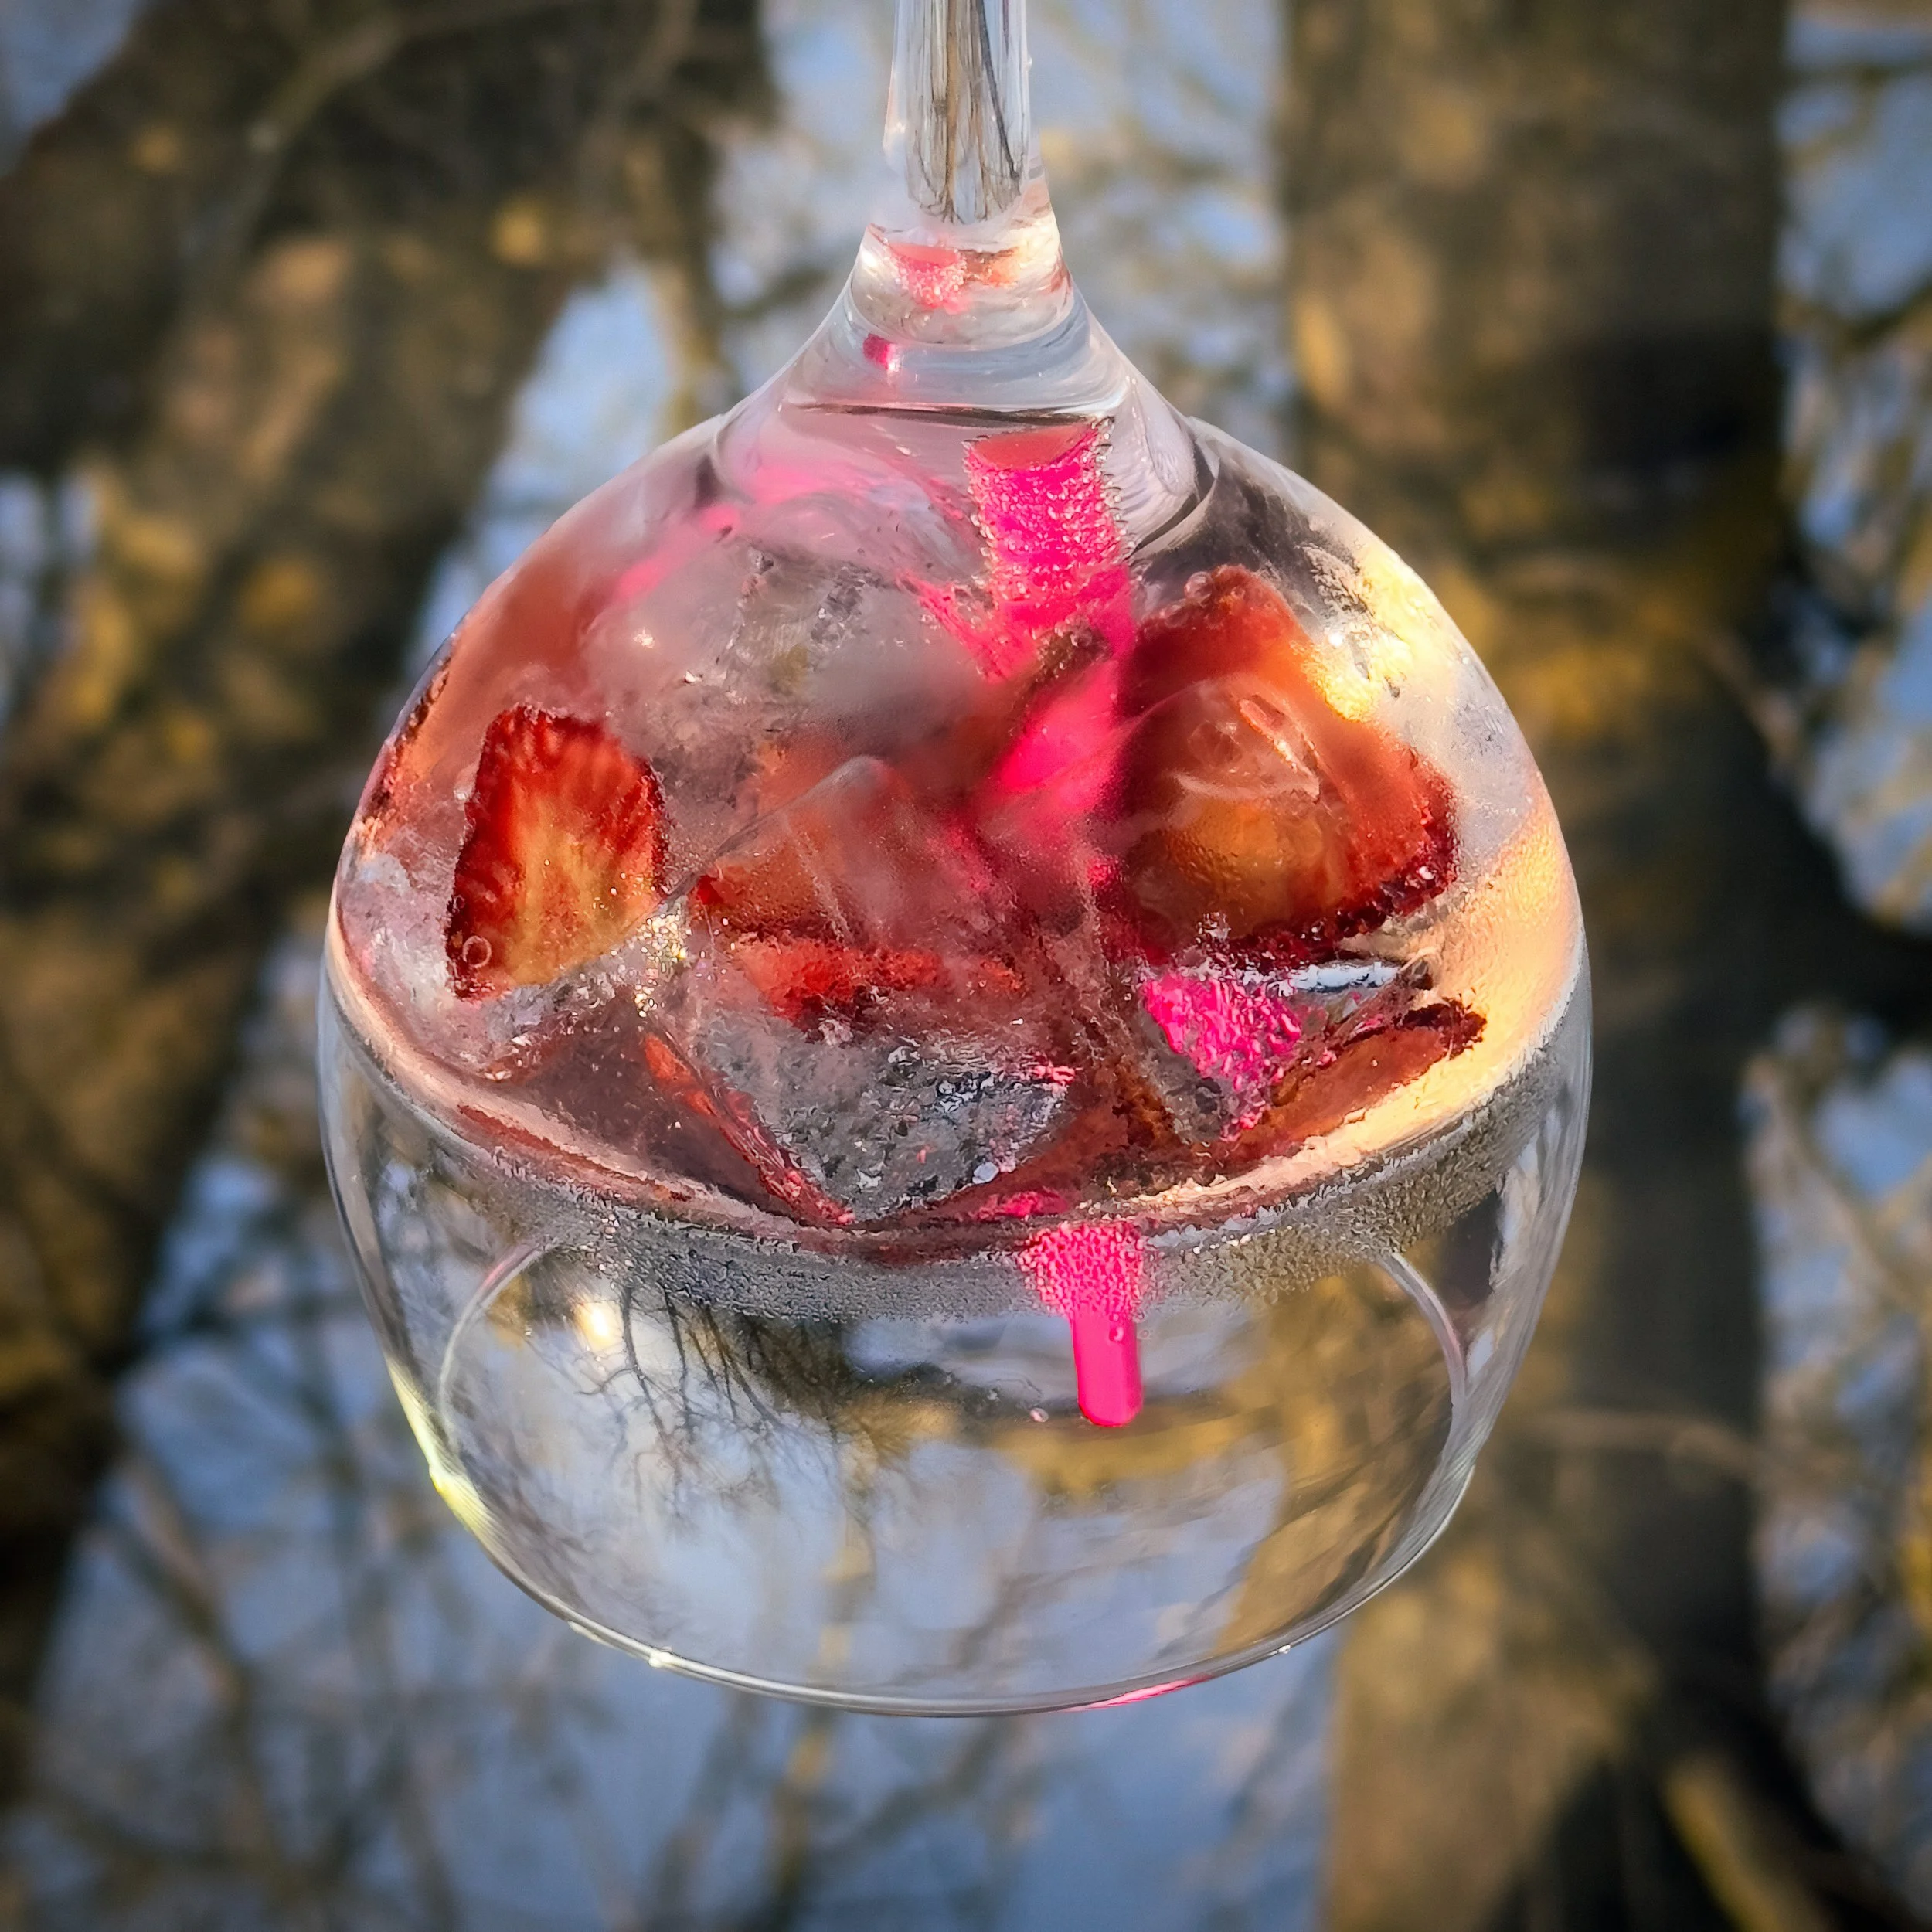
Curved surfaces give you distortion. The back of a spoon gives you a full, fisheye-style inverted reflection in miniature — which can be genuinely interesting as a foreground element in a still life, or as a compositional quirk in a portrait. Hub caps, metal flasks, the convex security mirrors in shop corners — all of these distort their reflections in characteristic ways that can be deliberately used.
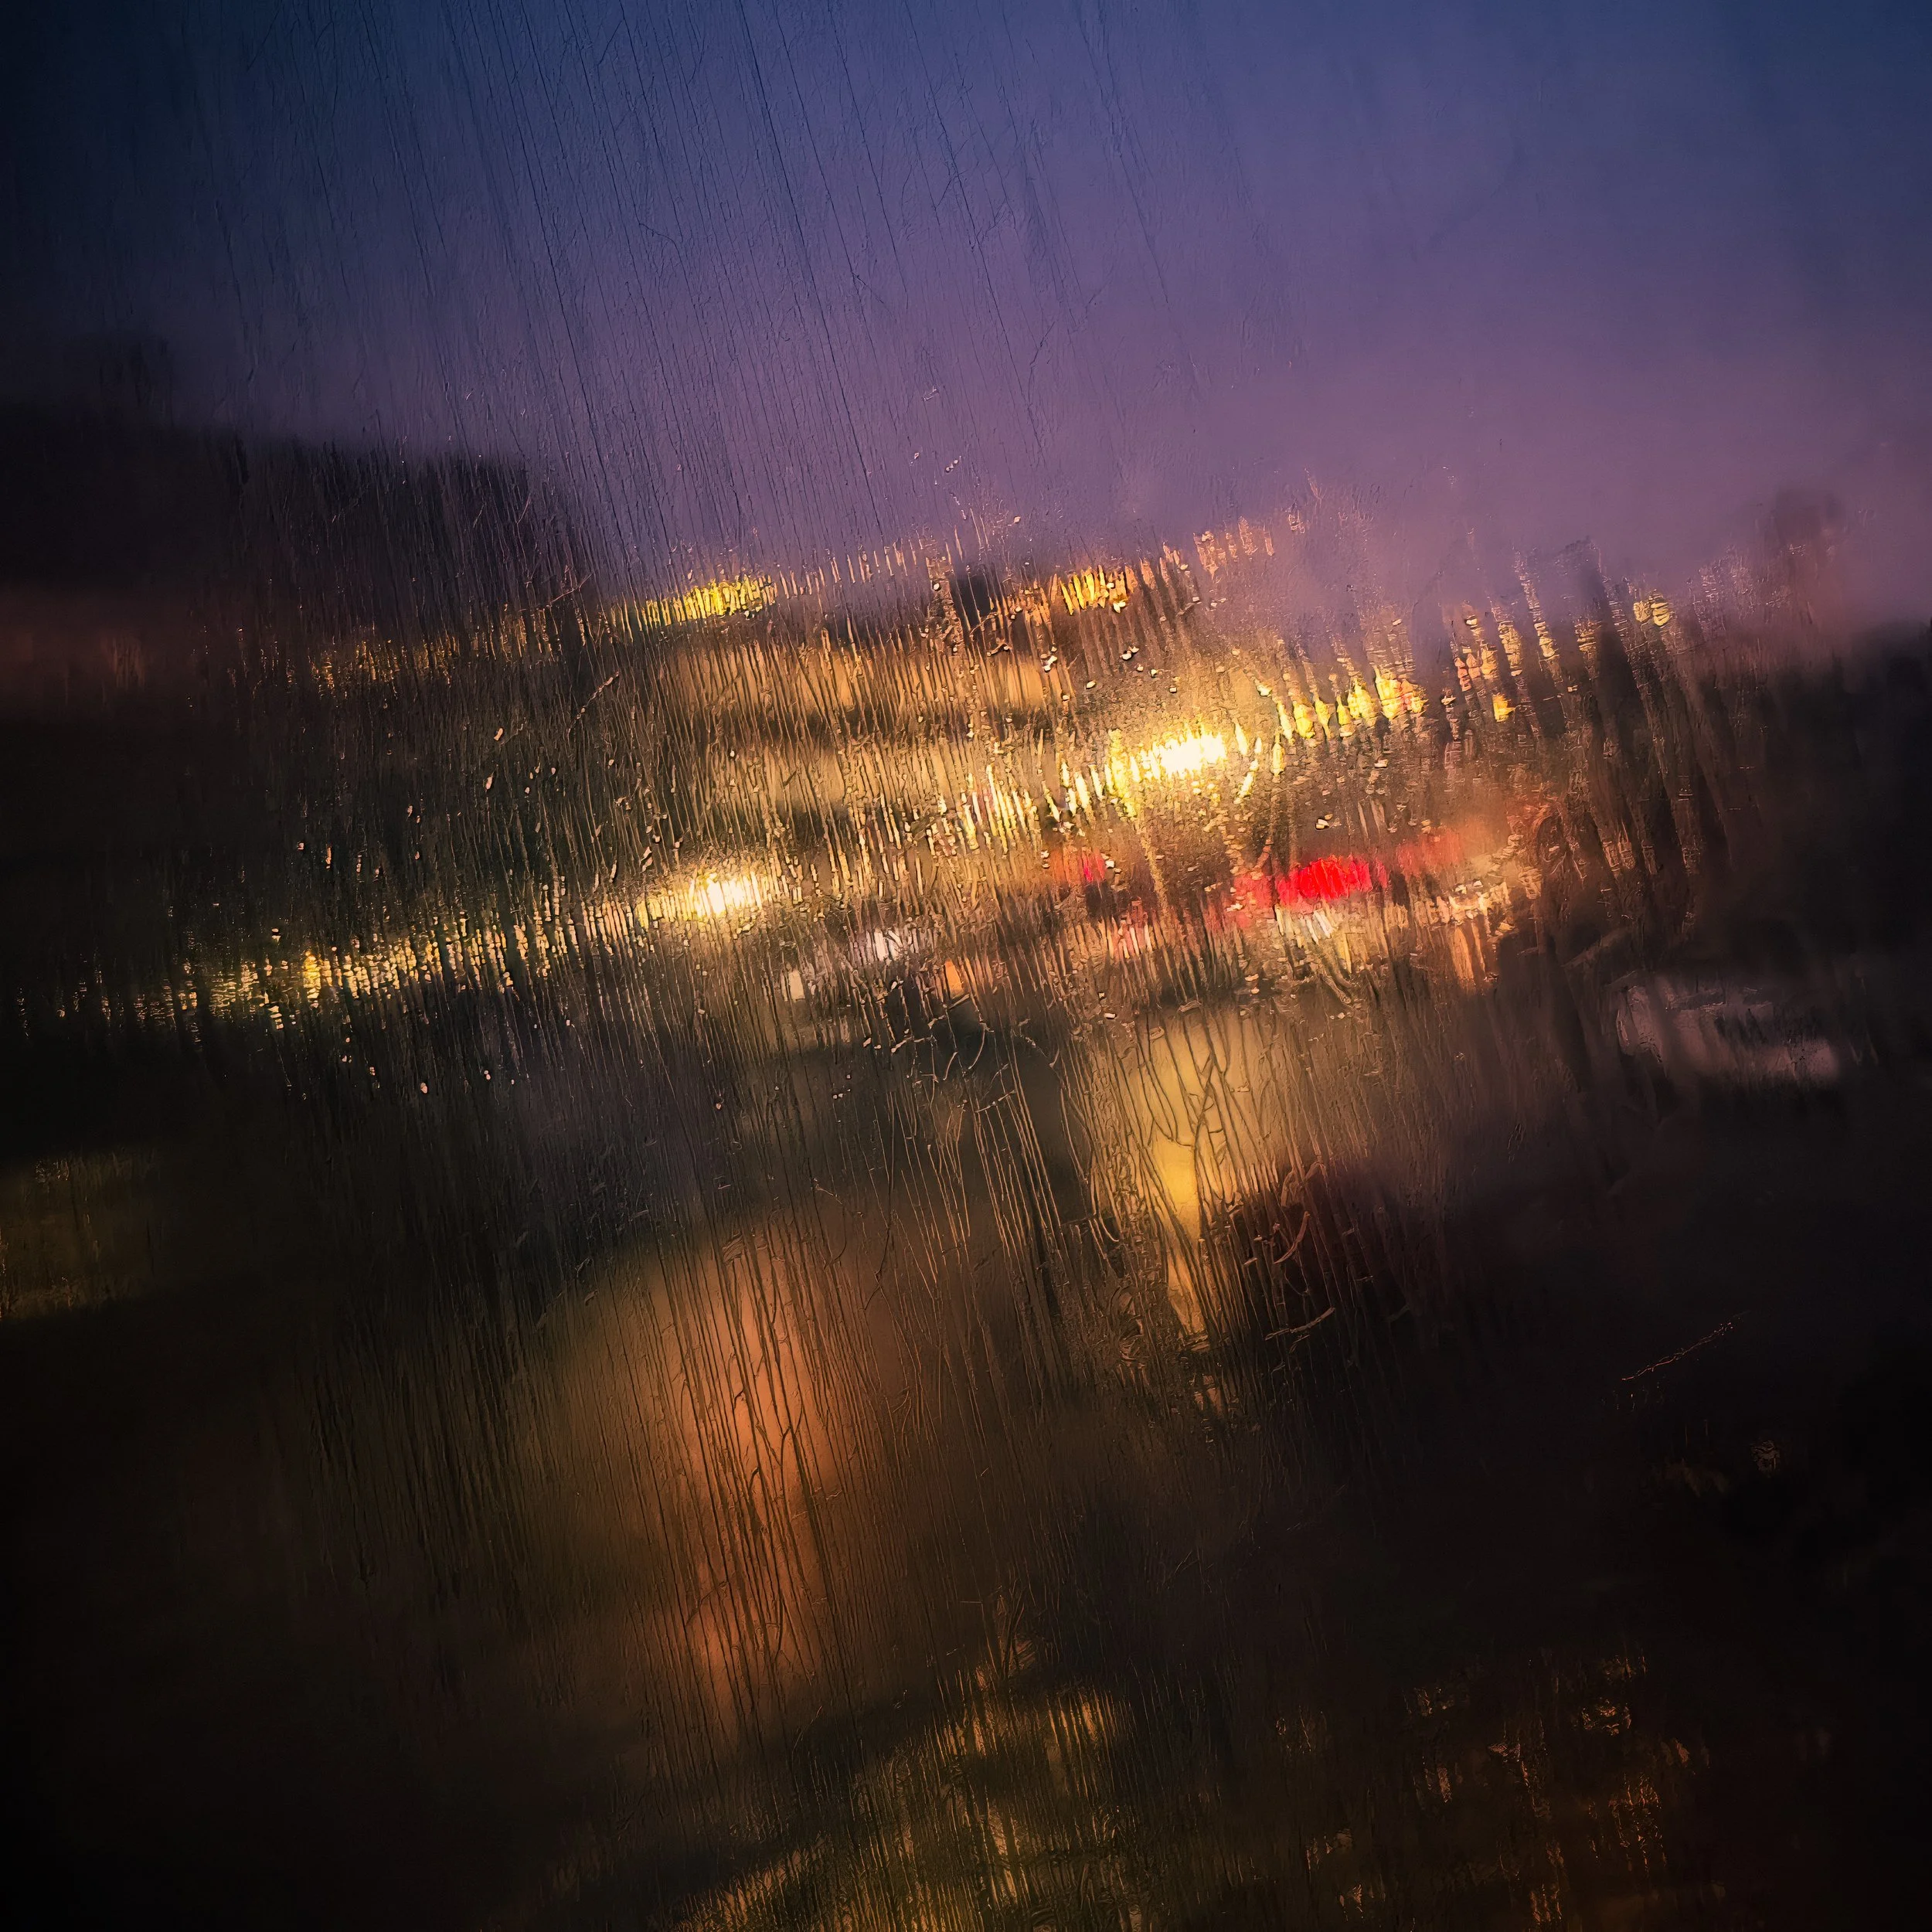
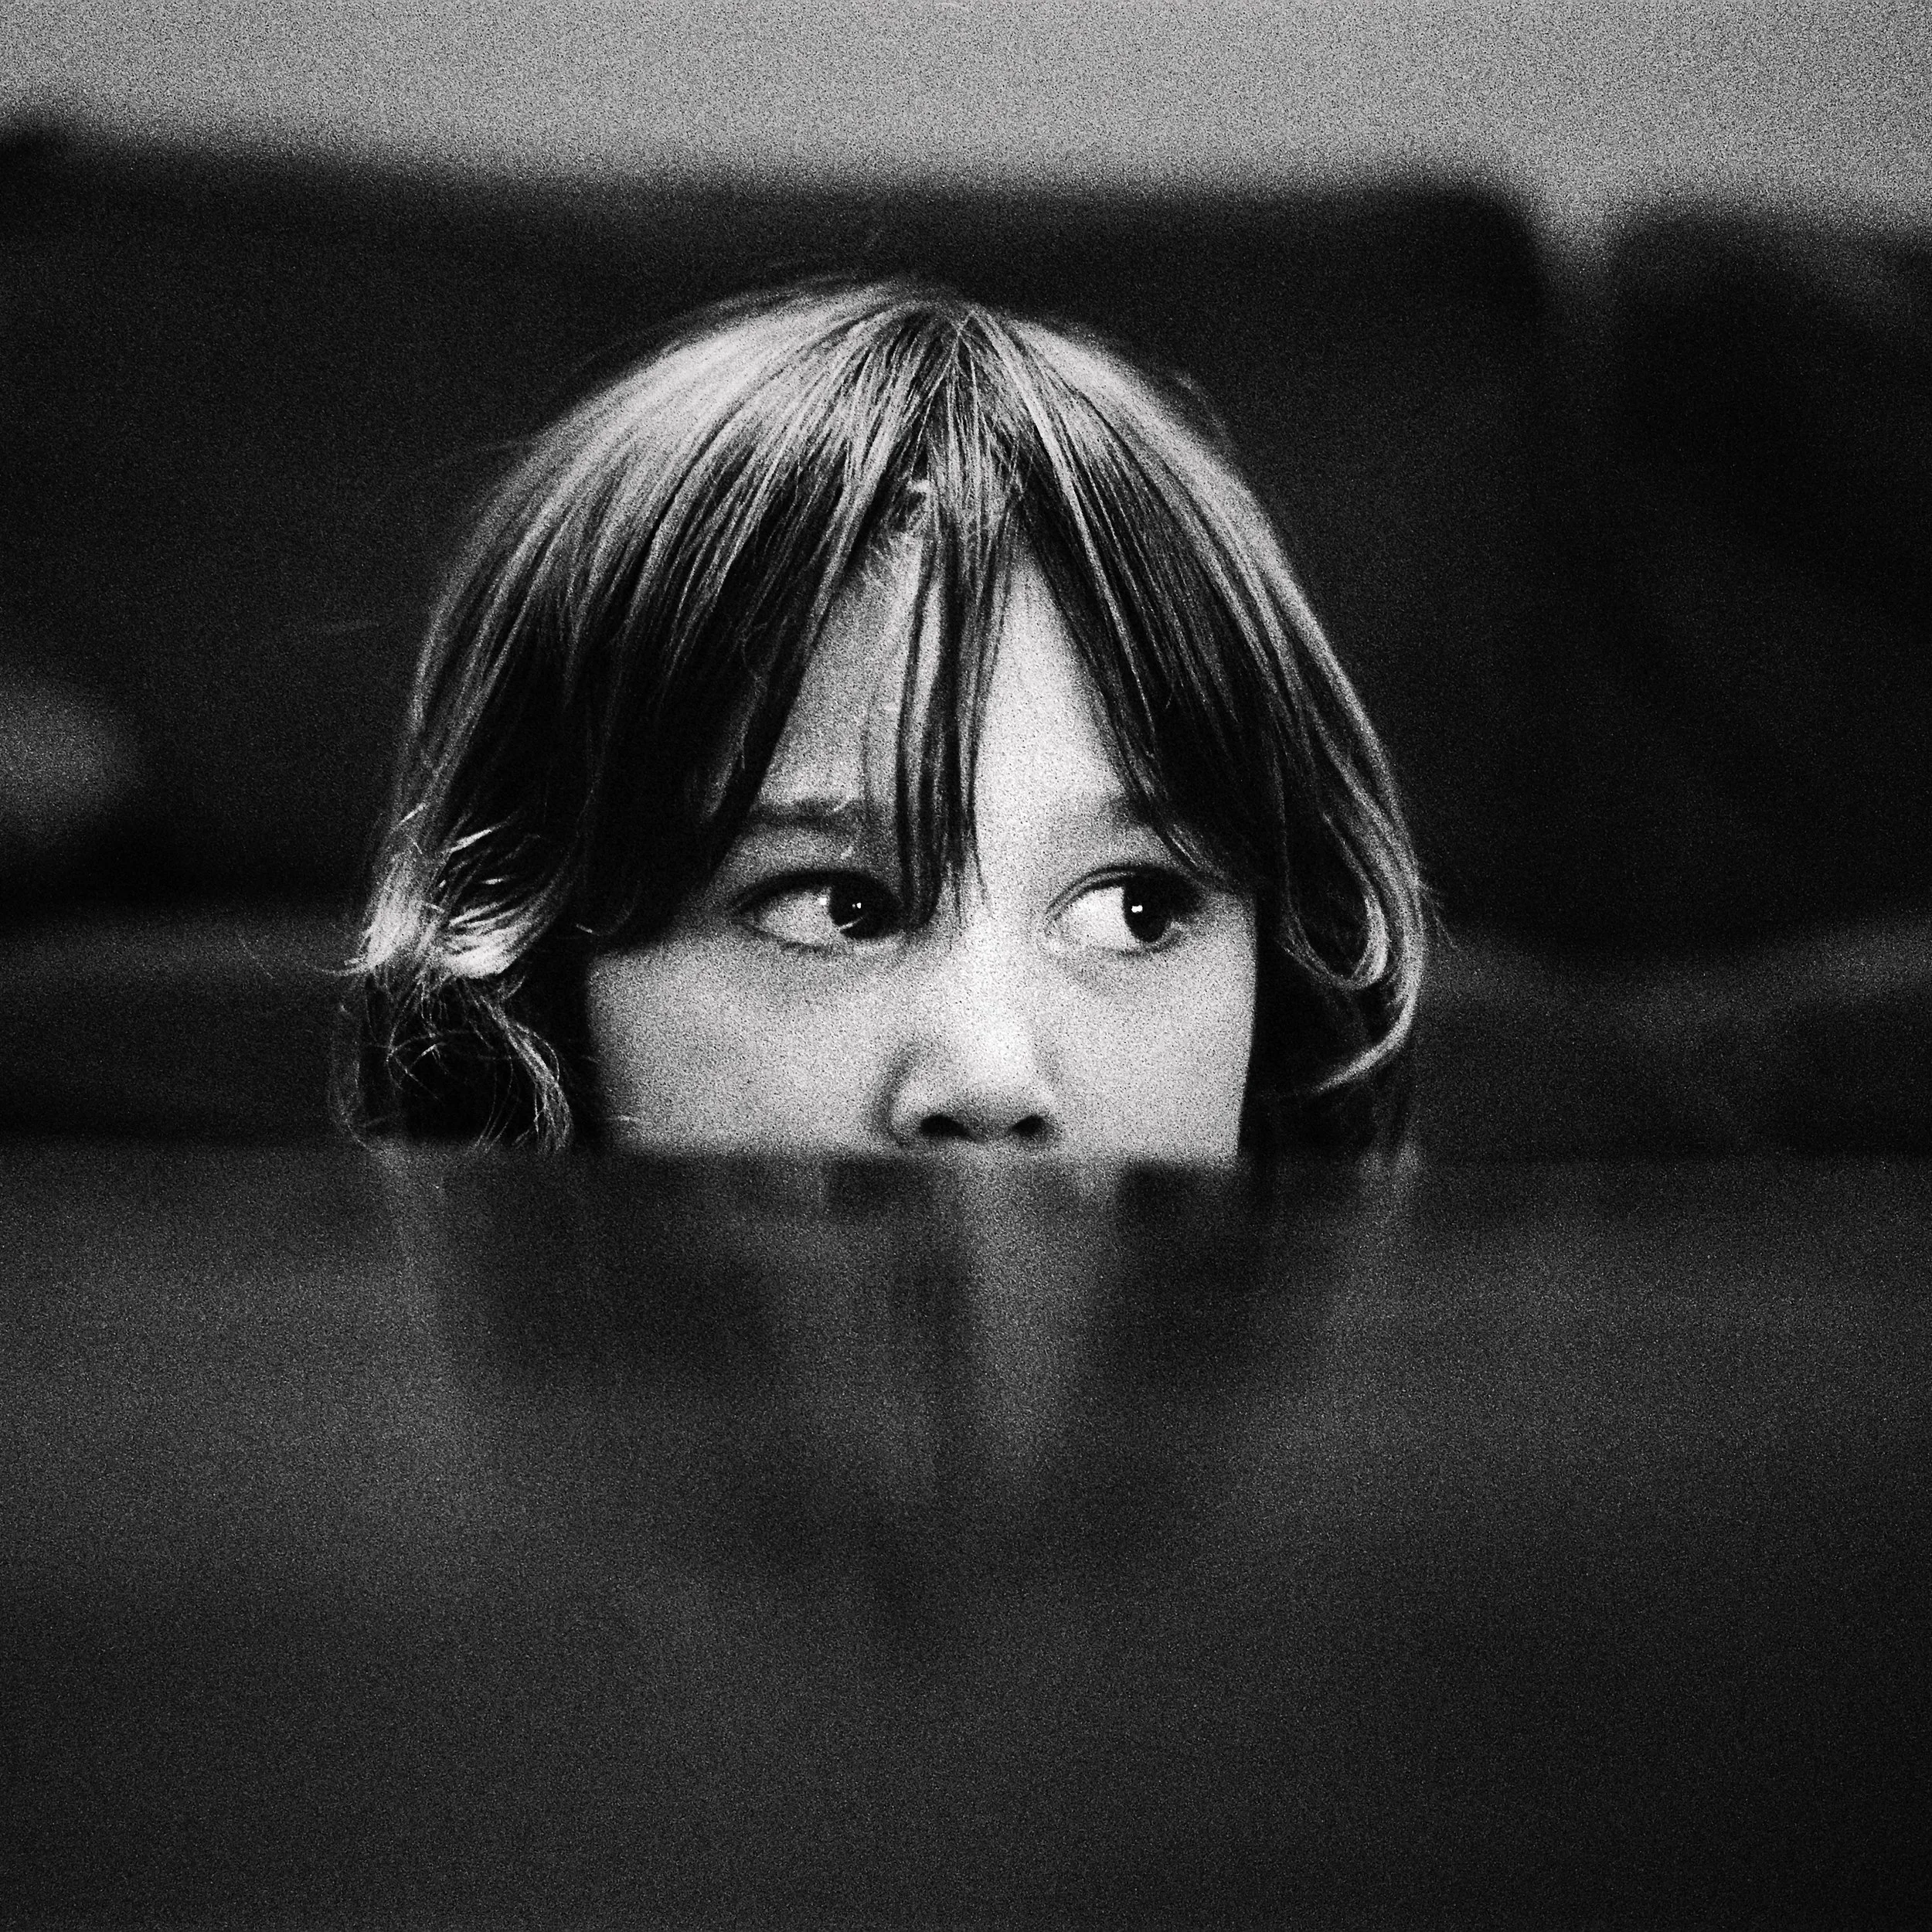
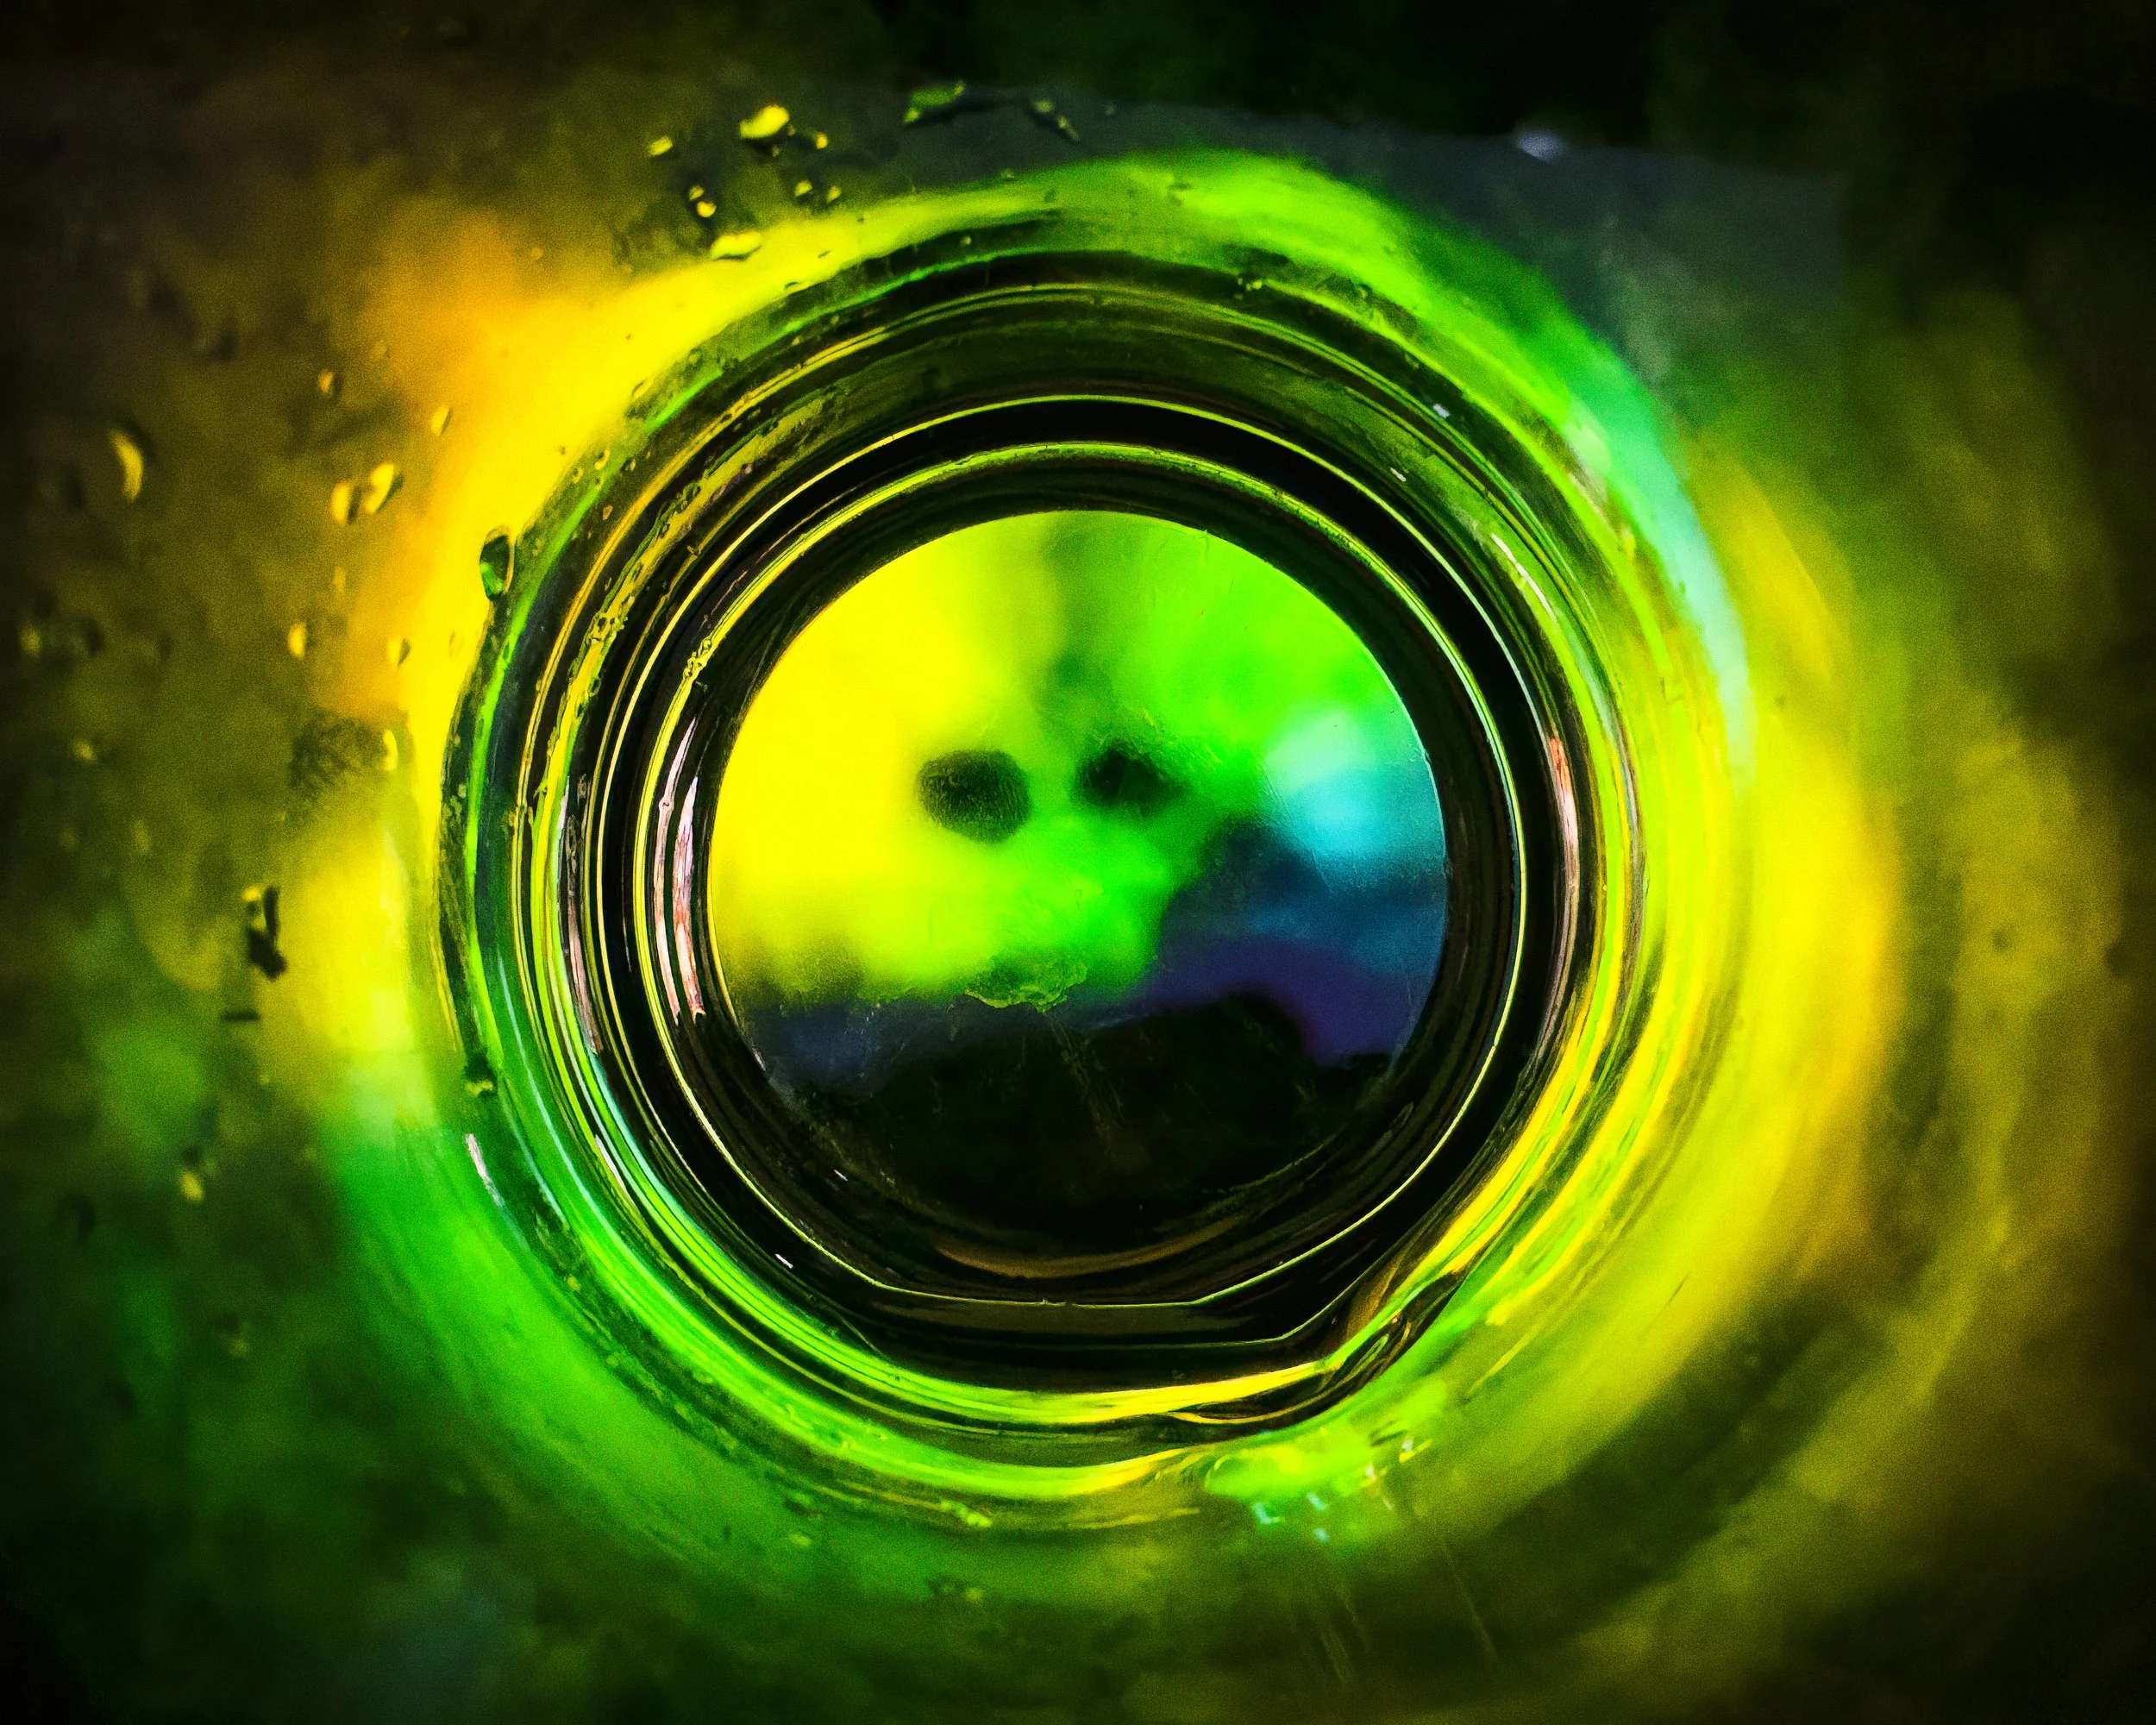
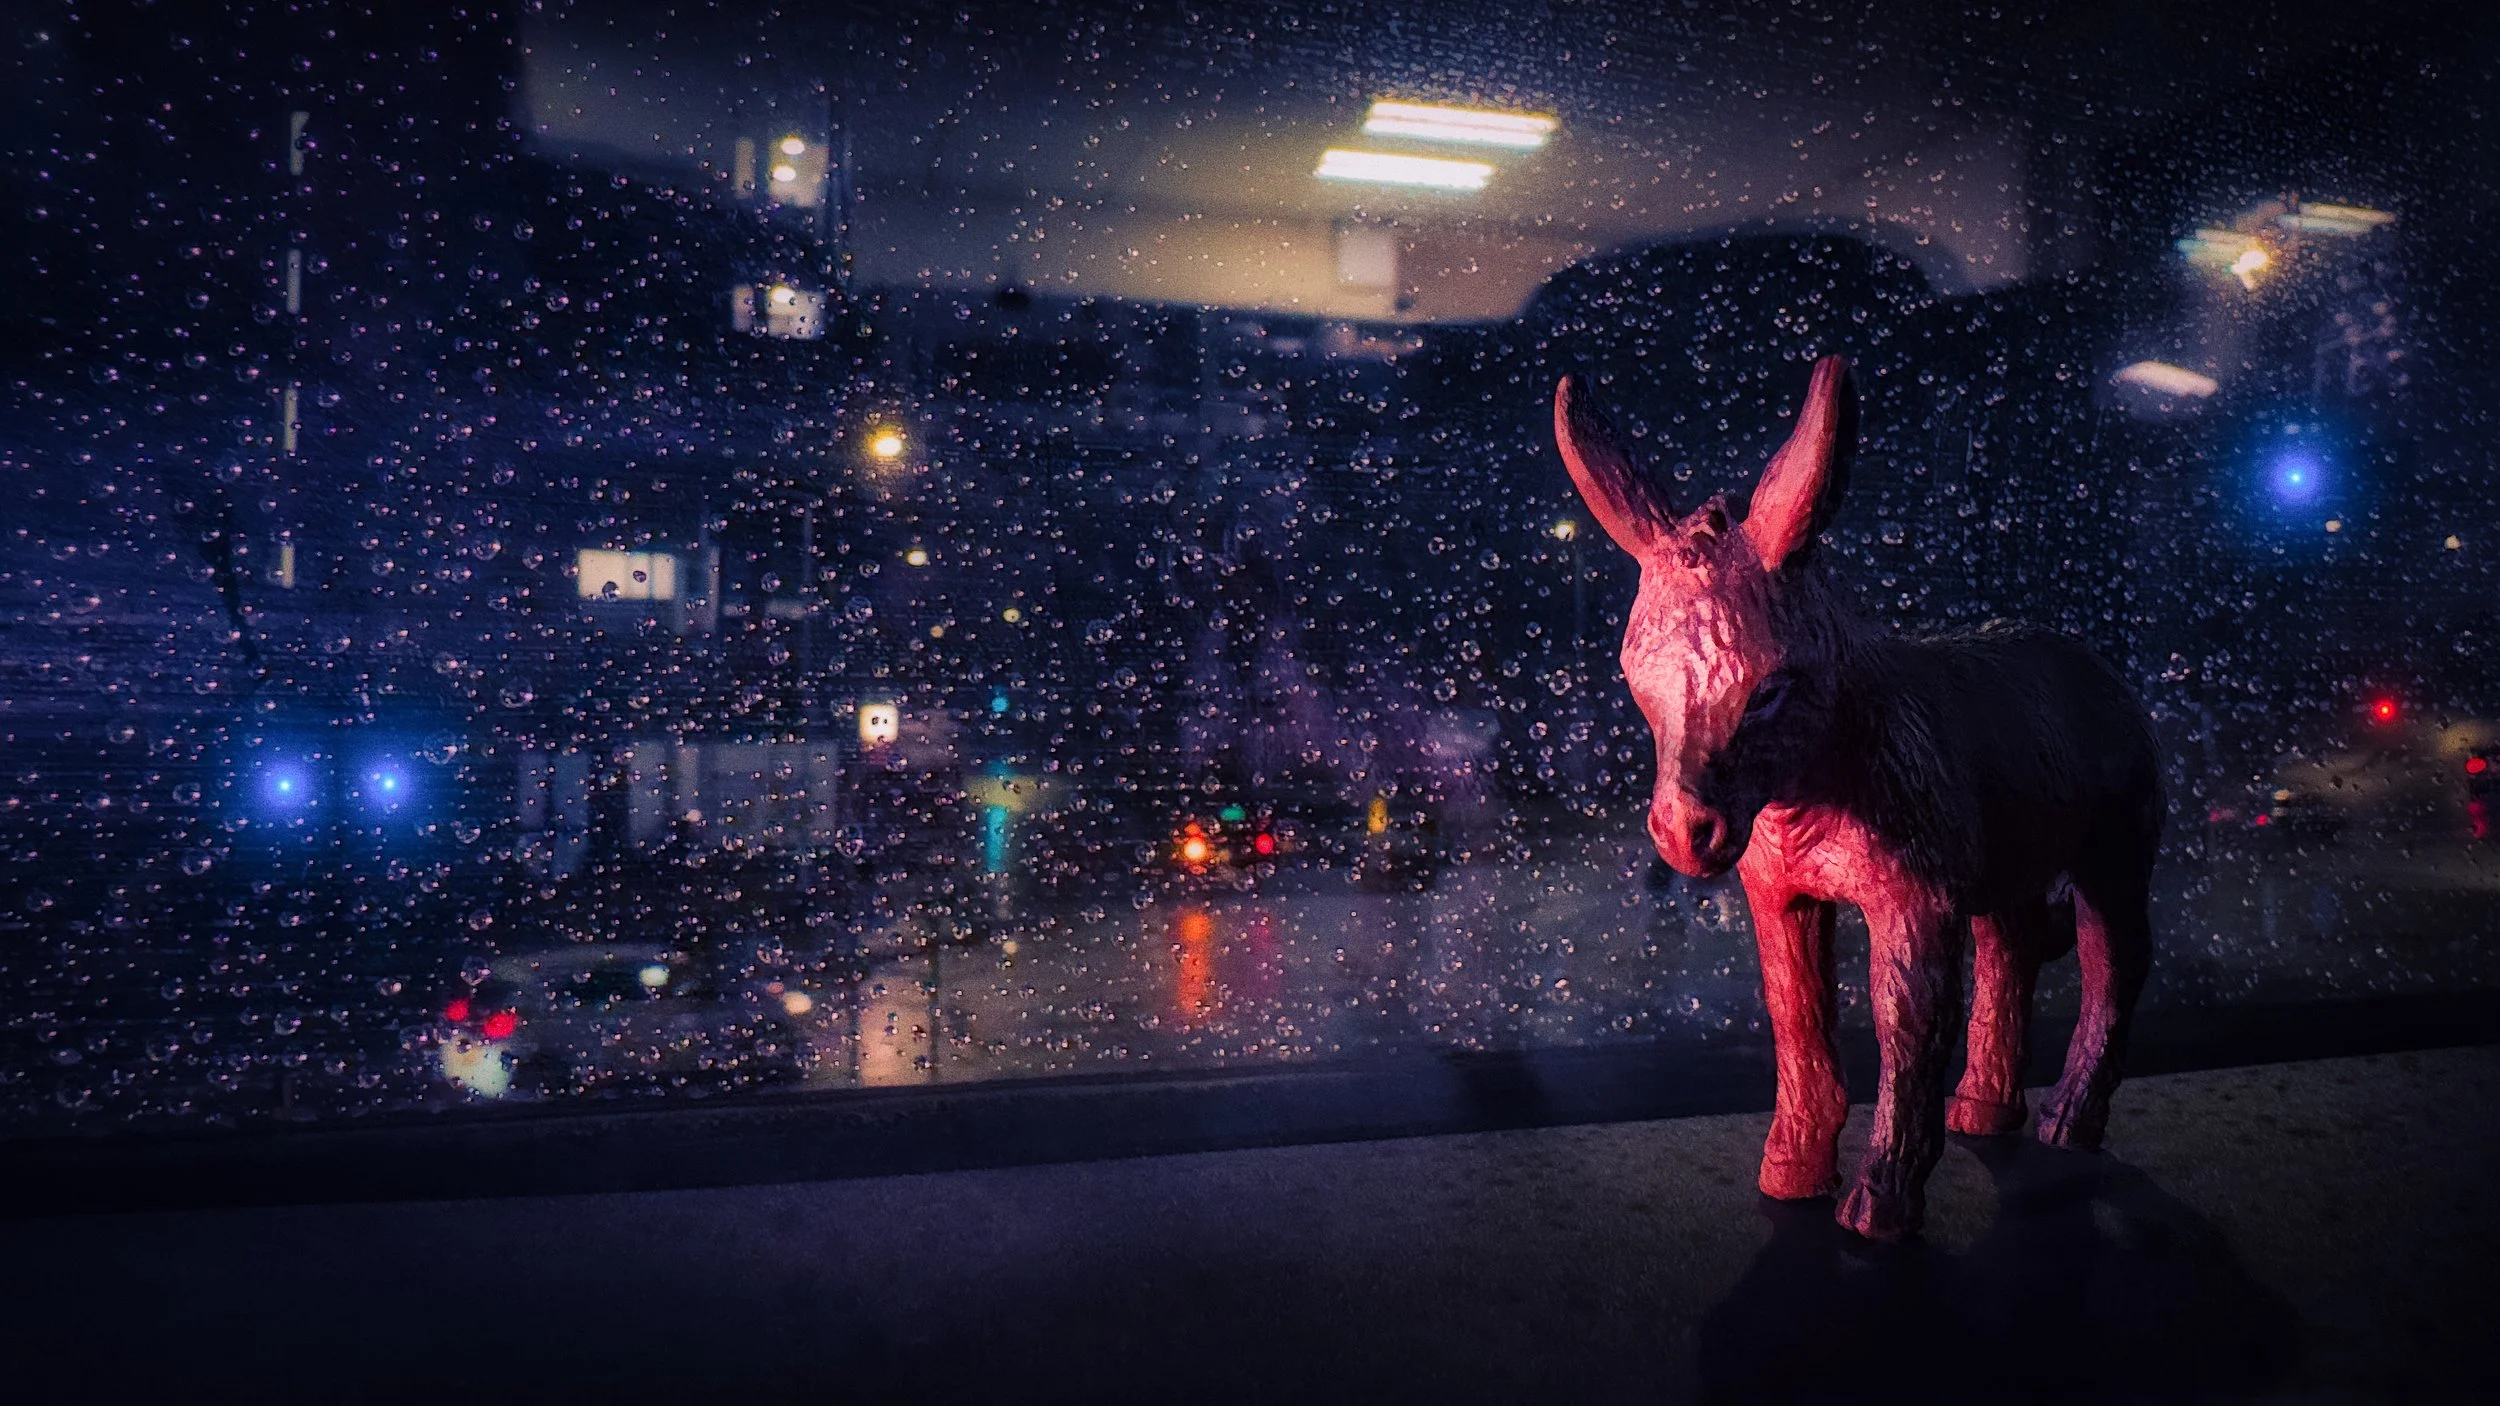
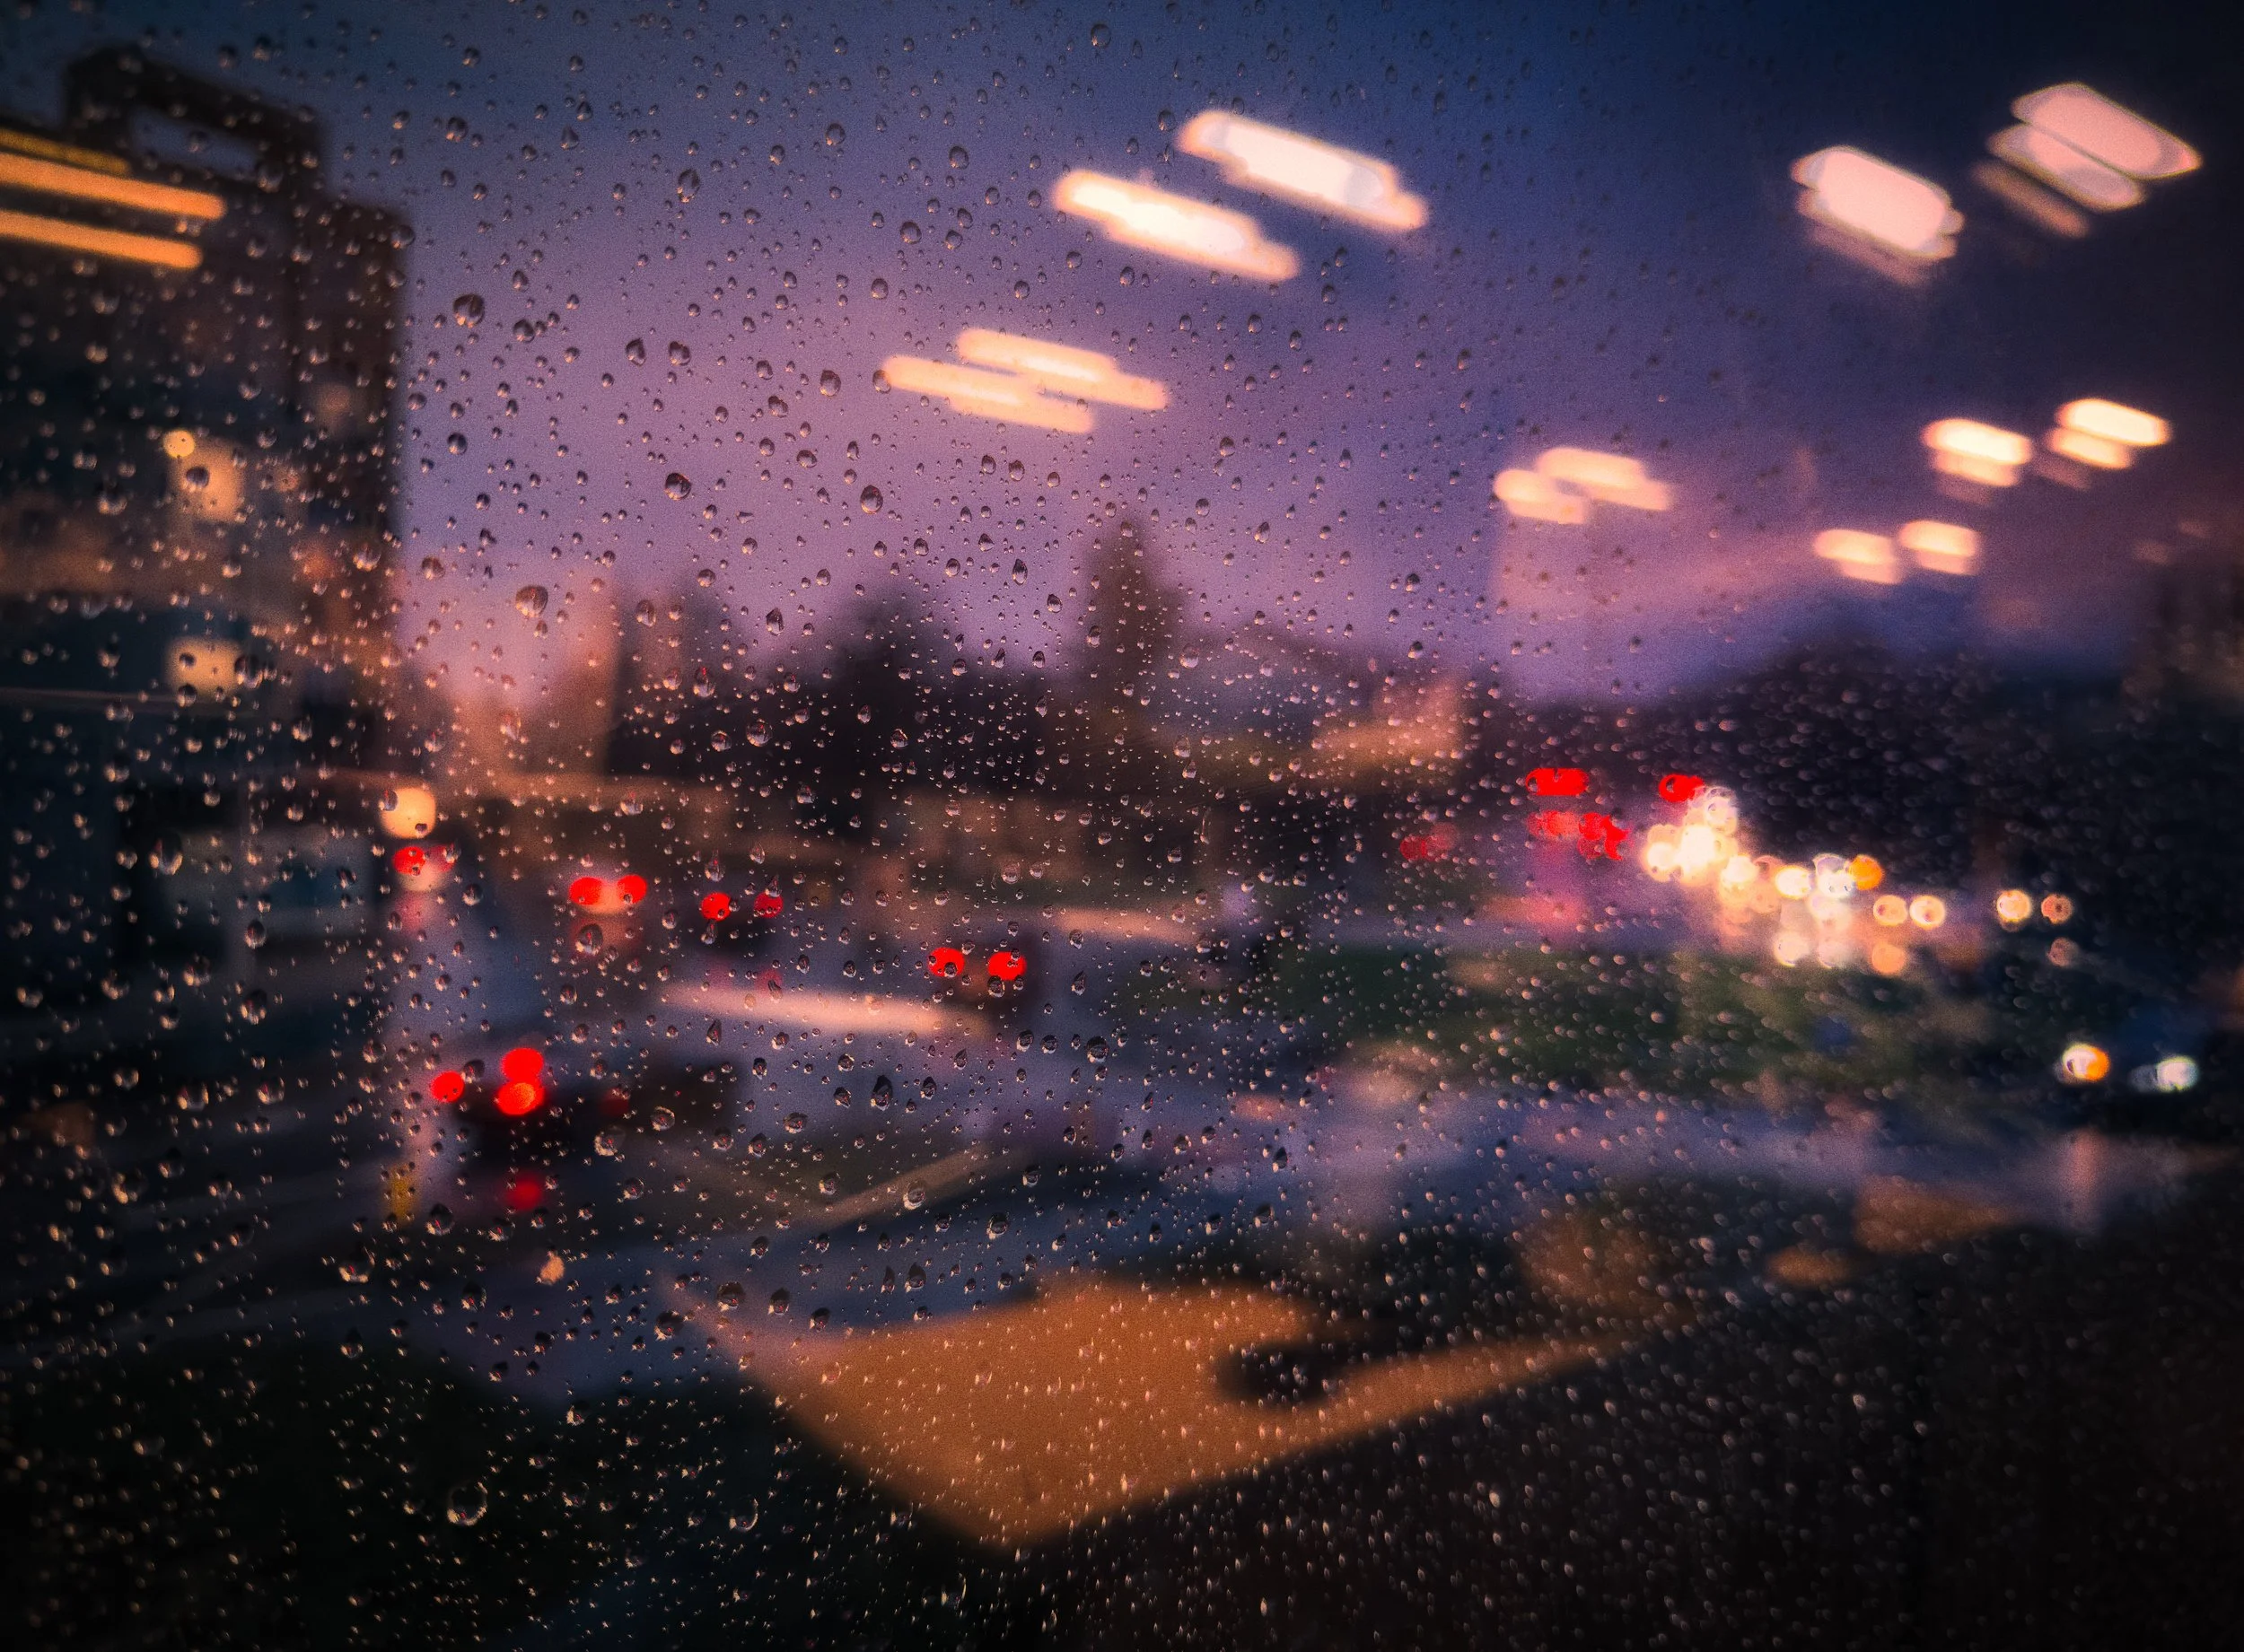
Fogged or wet glass sits between transparency and opacity. A bathroom mirror with condensation gives you a reflection that is partial, obscured, impressionistic. A wet car window in the rain breaks the reflection into rivulets. These degraded reflections are often more interesting than a clean one, because the degradation itself becomes part of what the image is about.
The near-lens mirror technique: holding a small mirror at the edge of your lens so that it reflects the scene into one portion of the frame — roughly a quarter or third — while the rest of the frame shows the scene directly. This creates a split-world effect without any post-processing. It requires a bit of practice to position the mirror consistently, but it is one of those techniques that produces genuinely unusual results quickly.
Composition for Reflections
Reflection photography invites symmetry, and symmetry is both the genre's main compositional strength and its most common failure mode. When symmetry works, it is elegant and satisfying — think of a perfectly still mountain lake doubling the peak above it. When it does not work, you get a picture that is merely neat, which is not the same as interesting.
Centred symmetry is appropriate when the reflection and the reality are both genuinely worth looking at, when the symmetry itself is the subject (i.e. the near-perfection of the doubling is what you want the viewer to notice), and when there is enough detail in both halves to hold the eye. It rewards the viewer who looks slowly — there is more to find as you examine each half.
Off-centre compositions are often more dynamic. Rather than placing the horizon (the boundary between reflected and real) at the middle of the frame, place it at the lower third — giving two-thirds of the frame to the scene and one-third to the reflection, which becomes a supporting element rather than an equal partner. Or flip this: two-thirds reflection, one-third reality, which produces a disorienting, dreamy quality.
Partial reflections are frequently more interesting than complete ones. A reflection that is cut off — by the edge of the water, by part of the frame, by a foreground object — implies the complete world more suggestively than one that shows it in full. The viewer's eye fills in what is missing.
The reality-to-reflection ratio: what proportion of your frame is the reflected world versus the actual world? This is a sliding scale with very different effects at each extreme. An image that is almost entirely reflection, with just a sliver of the real world at the edge, creates a strong sense of disorientation. An image that is mostly real world with a small reflective element in the corner reads as incidental and observed. The full 50/50 split is the formal statement. Choosing between them is a compositional decision, not a technical one.
Using reflections as foreground: rather than making the reflection the subject, use it as a foreground element that adds depth to a scene whose main subject is behind the reflective surface. A puddle in the foreground that reflects the building you are photographing gives you visual depth, connects the near and far elements of the scene, and adds interest to what might otherwise be empty foreground.
The frame within a frame: glass, particularly, creates a natural frame. A shop doorway with a glass panel reflects the street in a bounded rectangle. Shooting this gives you a frame (the glass panel's edges) containing a reflected scene. This is a variant of the standard frame-within-frame compositional device, and it works for the same reason — it gives the viewer's eye a container to focus on, directing attention more clearly than an unbounded composition would.
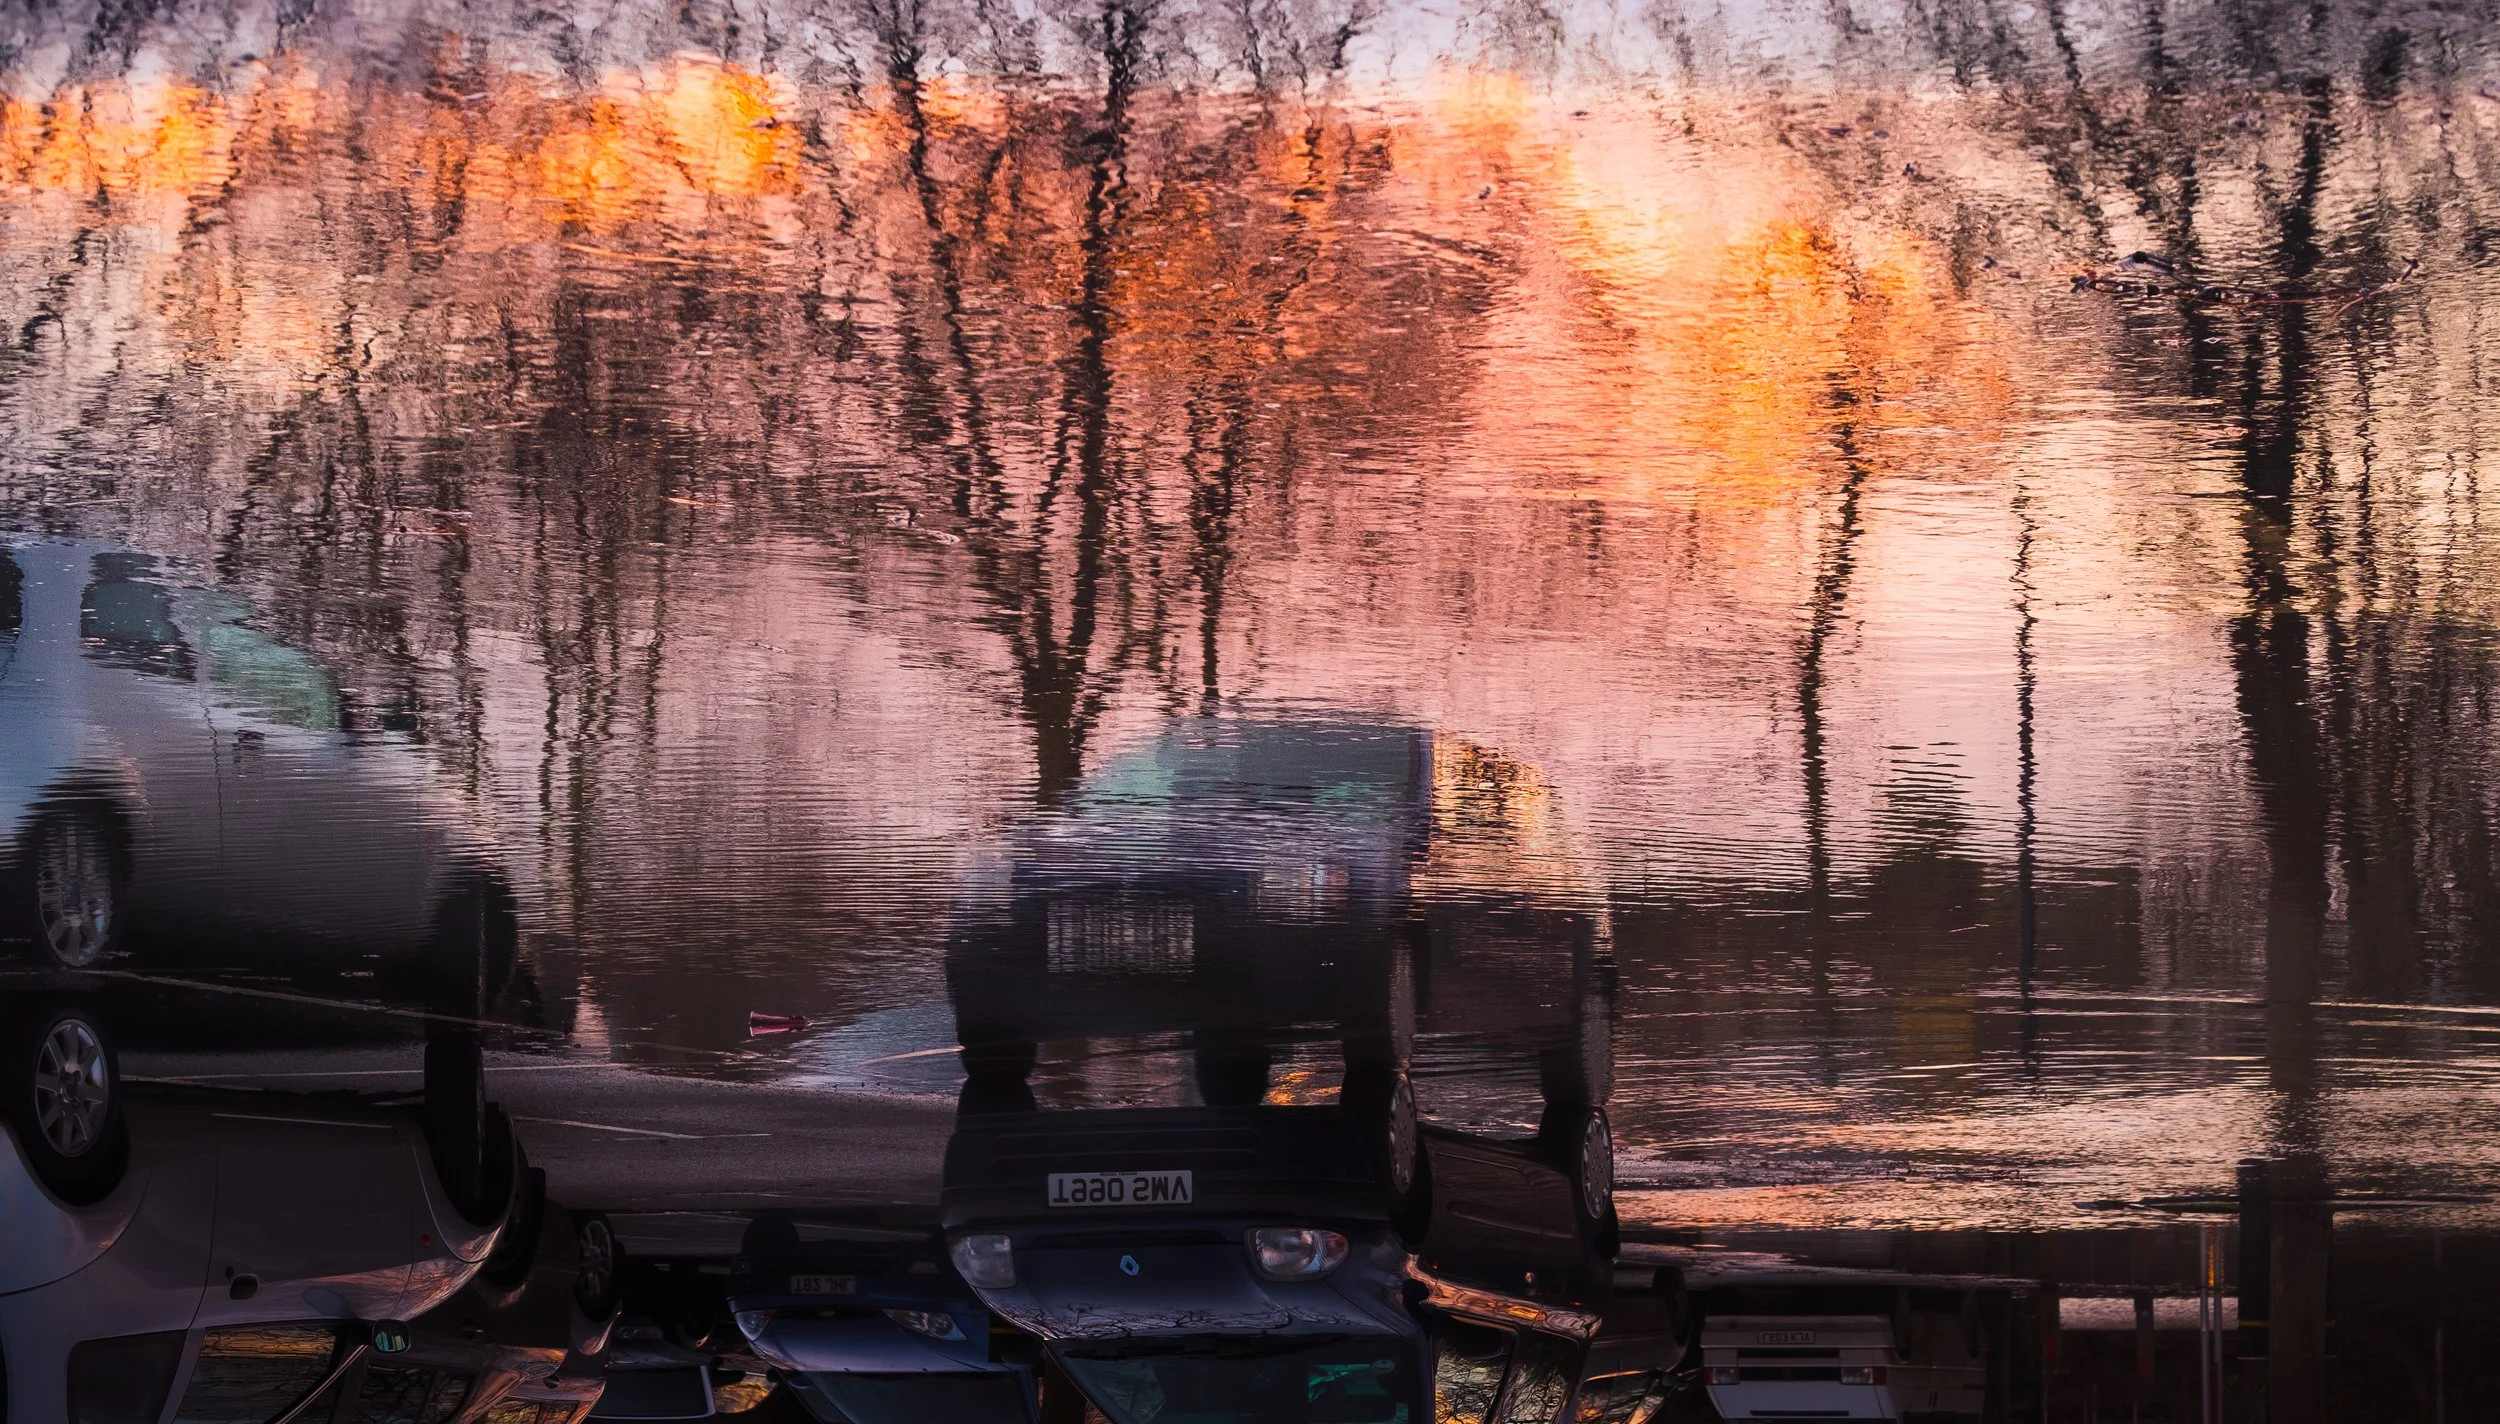
The inversion question: water reflections are upside down in reality. Whether to flip the image in post-processing is a matter of taste, not correctness. Flipped, the reflection reads as a second, lower sky; un-flipped, the image preserves the disorientation of the actual reflection. Both are legitimate. The un-flipped version is often more interesting precisely because it is slightly wrong — the viewer knows something is odd before they can say what it is.
Eliminating distractions: reflective surfaces pick up everything — a bin bag at the edge of the puddle, a parked car half-in, half-out of the frame, a telegraph pole bisecting the reflected sky. Move your position to exclude these before you shoot. A slightly different angle often removes the distraction entirely. Post-processing can help, but it is easier to exclude than to remove.




Camera Settings & Technical Factors
Exposure and metering: your camera's automatic metering measures the whole scene and produces a compromise exposure. This is often wrong for reflection photography, because the reflection and the subject being reflected may be significantly different in brightness. The most reliable approach on a smartphone is to tap the screen on the reflection itself to expose for it specifically — this will often mean that the sky or other bright elements above are slightly overexposed, but the reflection (which is usually darker than the scene it reflects) will be correctly rendered. On a dedicated camera, use spot metering on the reflective surface.
Shutter speed: covered in the water section, but the general principle applies elsewhere. A slower shutter speed introduces motion blur into any moving reflective surface — a window with passing traffic reflected in it, a puddle in a light breeze. Sometimes this is unwanted, sometimes it is exactly the effect you are after.
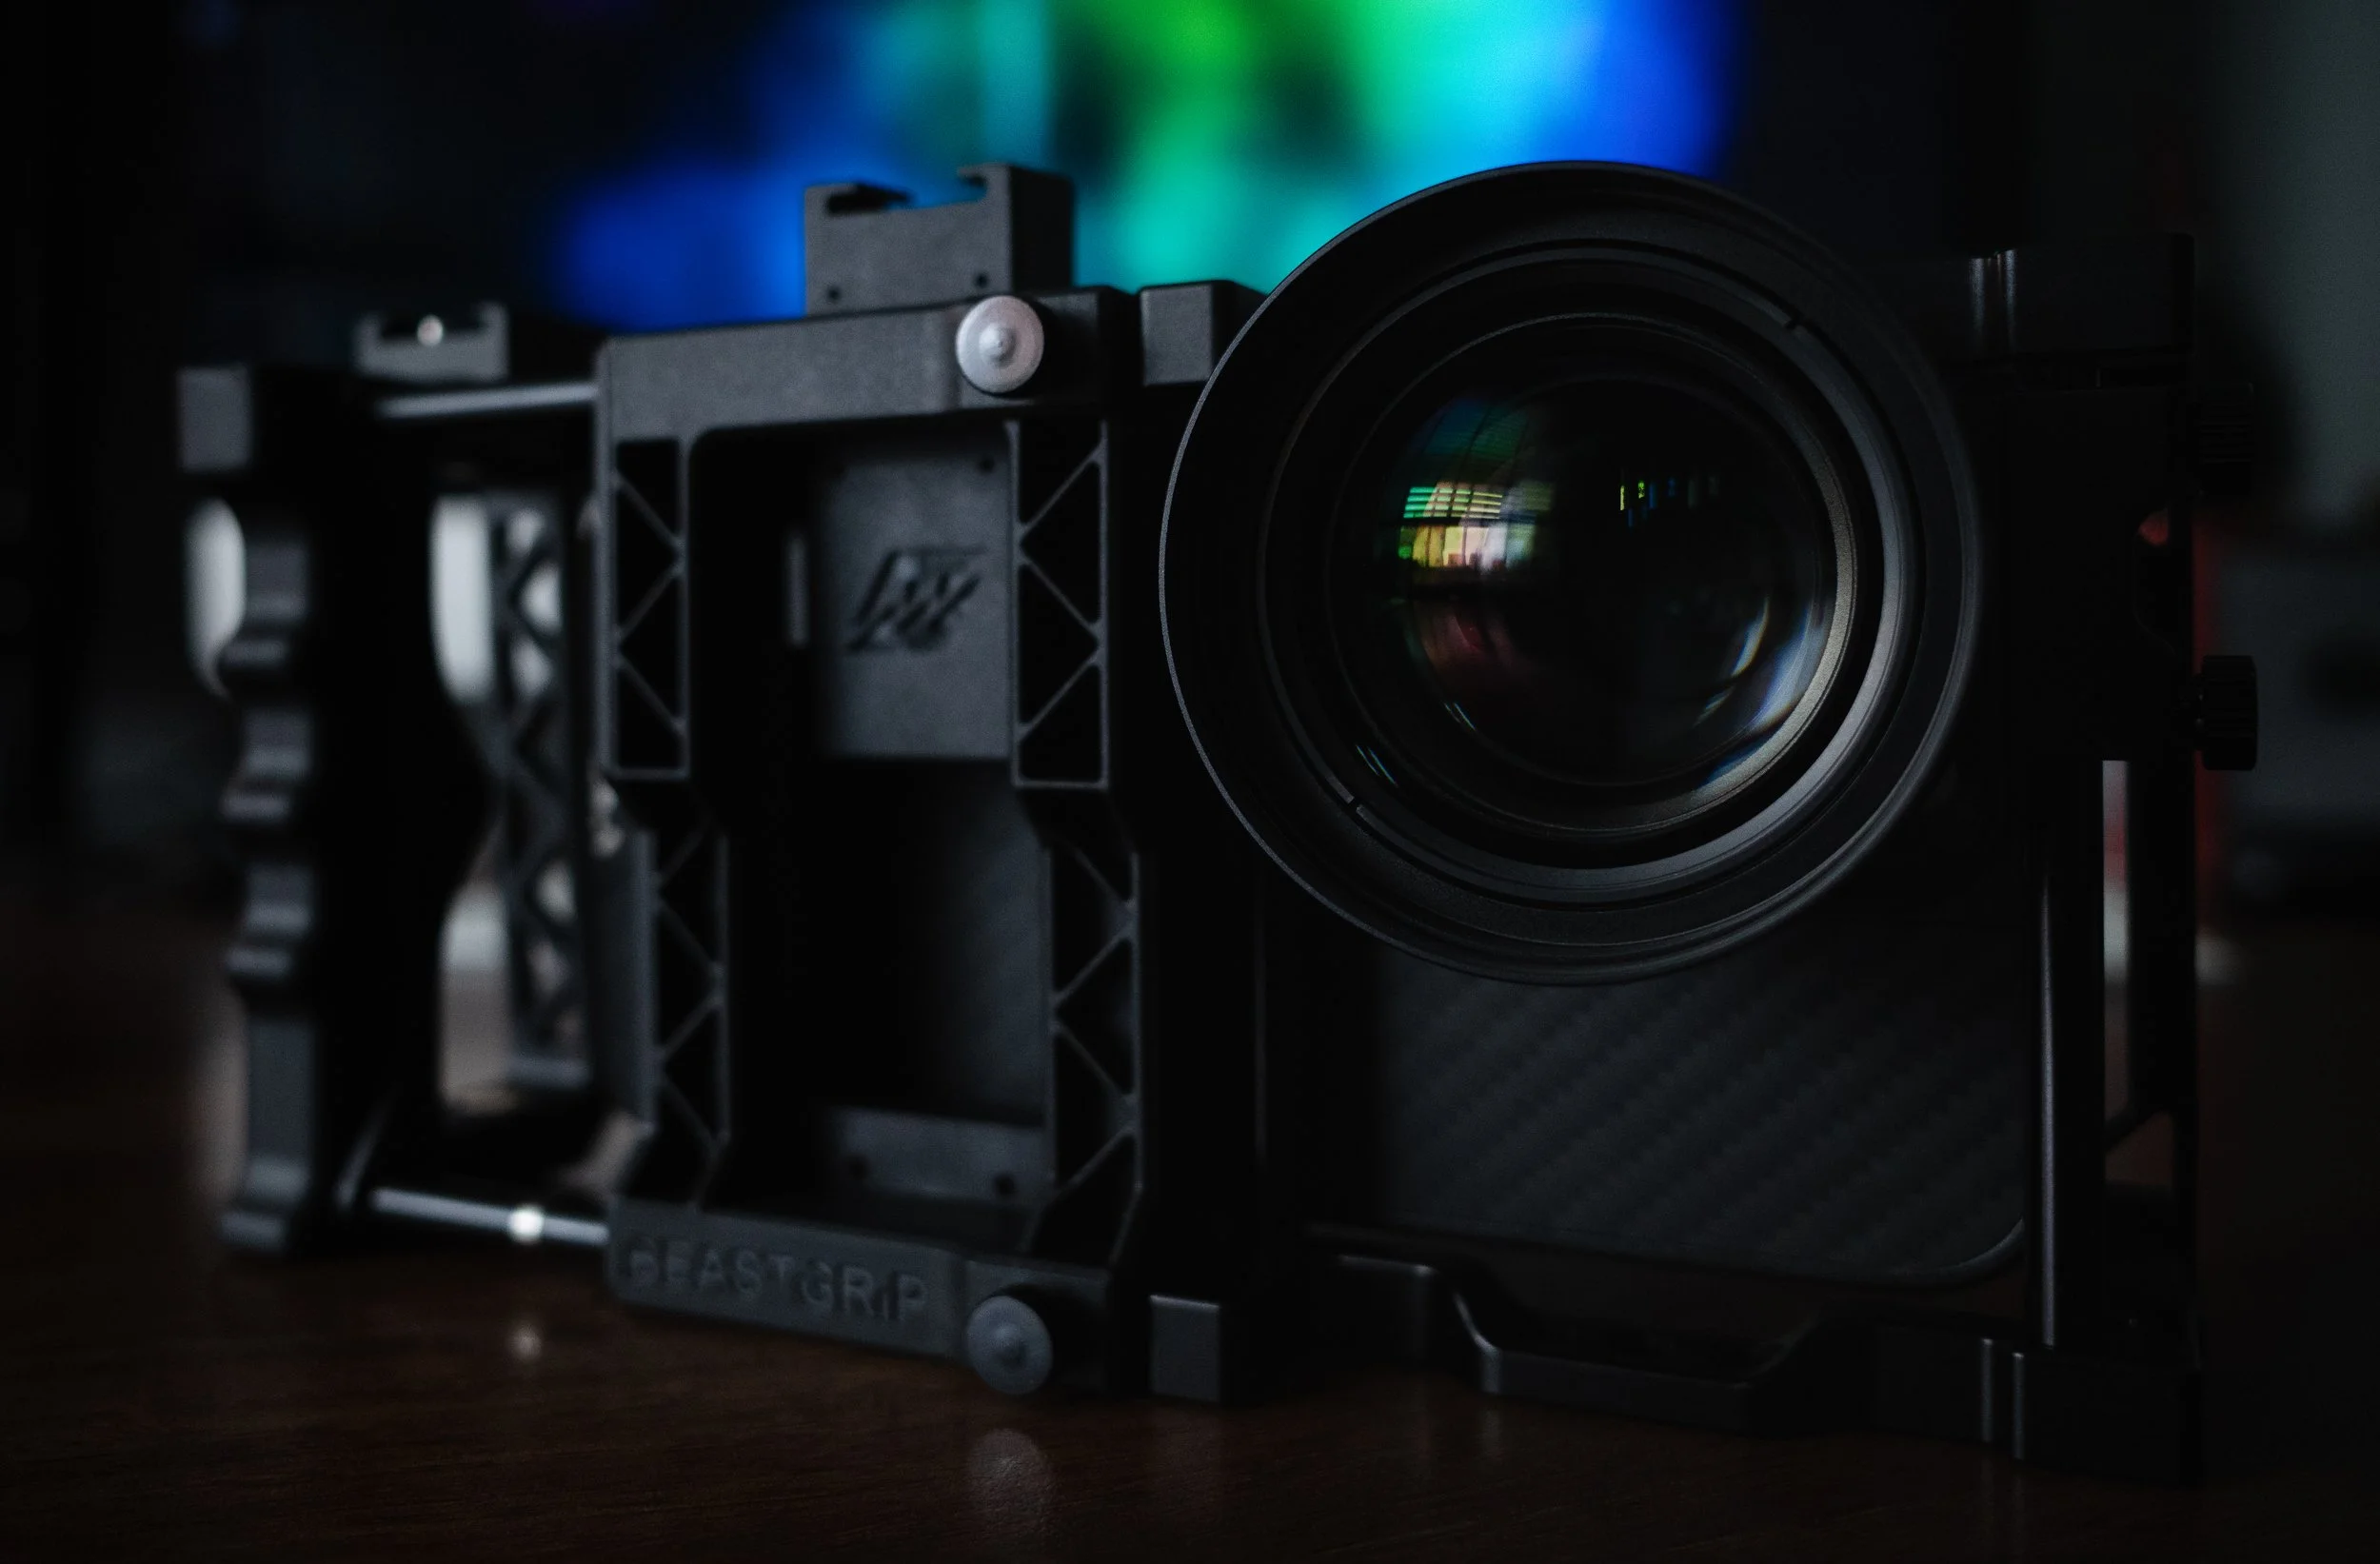
Polarising filters: a circular polarising filter (CPL) on a camera lens allows you to control how much glare and reflection appears in the image by rotating the filter ring. Rotating it one way reduces reflections, cuts glare, and makes water appear more transparent (you see through the surface rather than at it). Rotating it the other way maximises reflections. The important point for reflection photographers is that most people use a CPL to eliminate reflections — you want to do the opposite. Either use no CPL (which gives you maximum natural reflection), or use one rotated to maximise rather than minimise the reflective quality of the surface. On smartphones, CPL filters are available as clip-on accessories and work on the same principle.
Stability for low-angle puddle shots: shooting a puddle from low down, with a phone or a compact camera at ground level, makes handheld steadiness harder. A small gorillapod or a beanbag can rest the camera at ground level and hold it still. Alternatively, set a two-second self-timer so that any vibration from pressing the shutter has settled before the shot fires.
The 2x telephoto lens on smartphones: the secondary (telephoto) lens on most current smartphones is optically better for close-up work at moderate distances than the main wide lens. For puddle shots where you are not right on top of the puddle — shooting from two or three metres back — switching to the 2x lens often gives you a cleaner, less distorted reflection image with better subject separation.
Portrait Mode and reflective surfaces: computational Portrait Mode (the one that artificially blurs backgrounds) handles reflective surfaces poorly. The edge-detection algorithm that identifies subject versus background frequently misidentifies glass edges, reflective surfaces, or the boundary between a reflection and its surroundings, and applies blur in the wrong places. For serious reflection photography, turn Portrait Mode off and use the standard camera mode.
Grid overlay: most cameras and all smartphone camera apps offer a grid overlay. Enabling a thirds grid makes it substantially easier to place the horizon at the top third, bottom third, or centre deliberately and accurately — rather than approximately and accidentally.
Light & Timing
Reflection photography is not uniquely dependent on good light, but it benefits from the same lighting conditions that benefit most photography — and some additional ones.
Golden hour: the hour after sunrise and before sunset. The warm, raking light of golden hour on water is the classic, and it is classic for good reason. The warm colour temperature of the light, reflected in still water, is immediately striking. The low angle of the sun also means that reflective surfaces at ground level catch the light at an angle that intensifies the reflection.
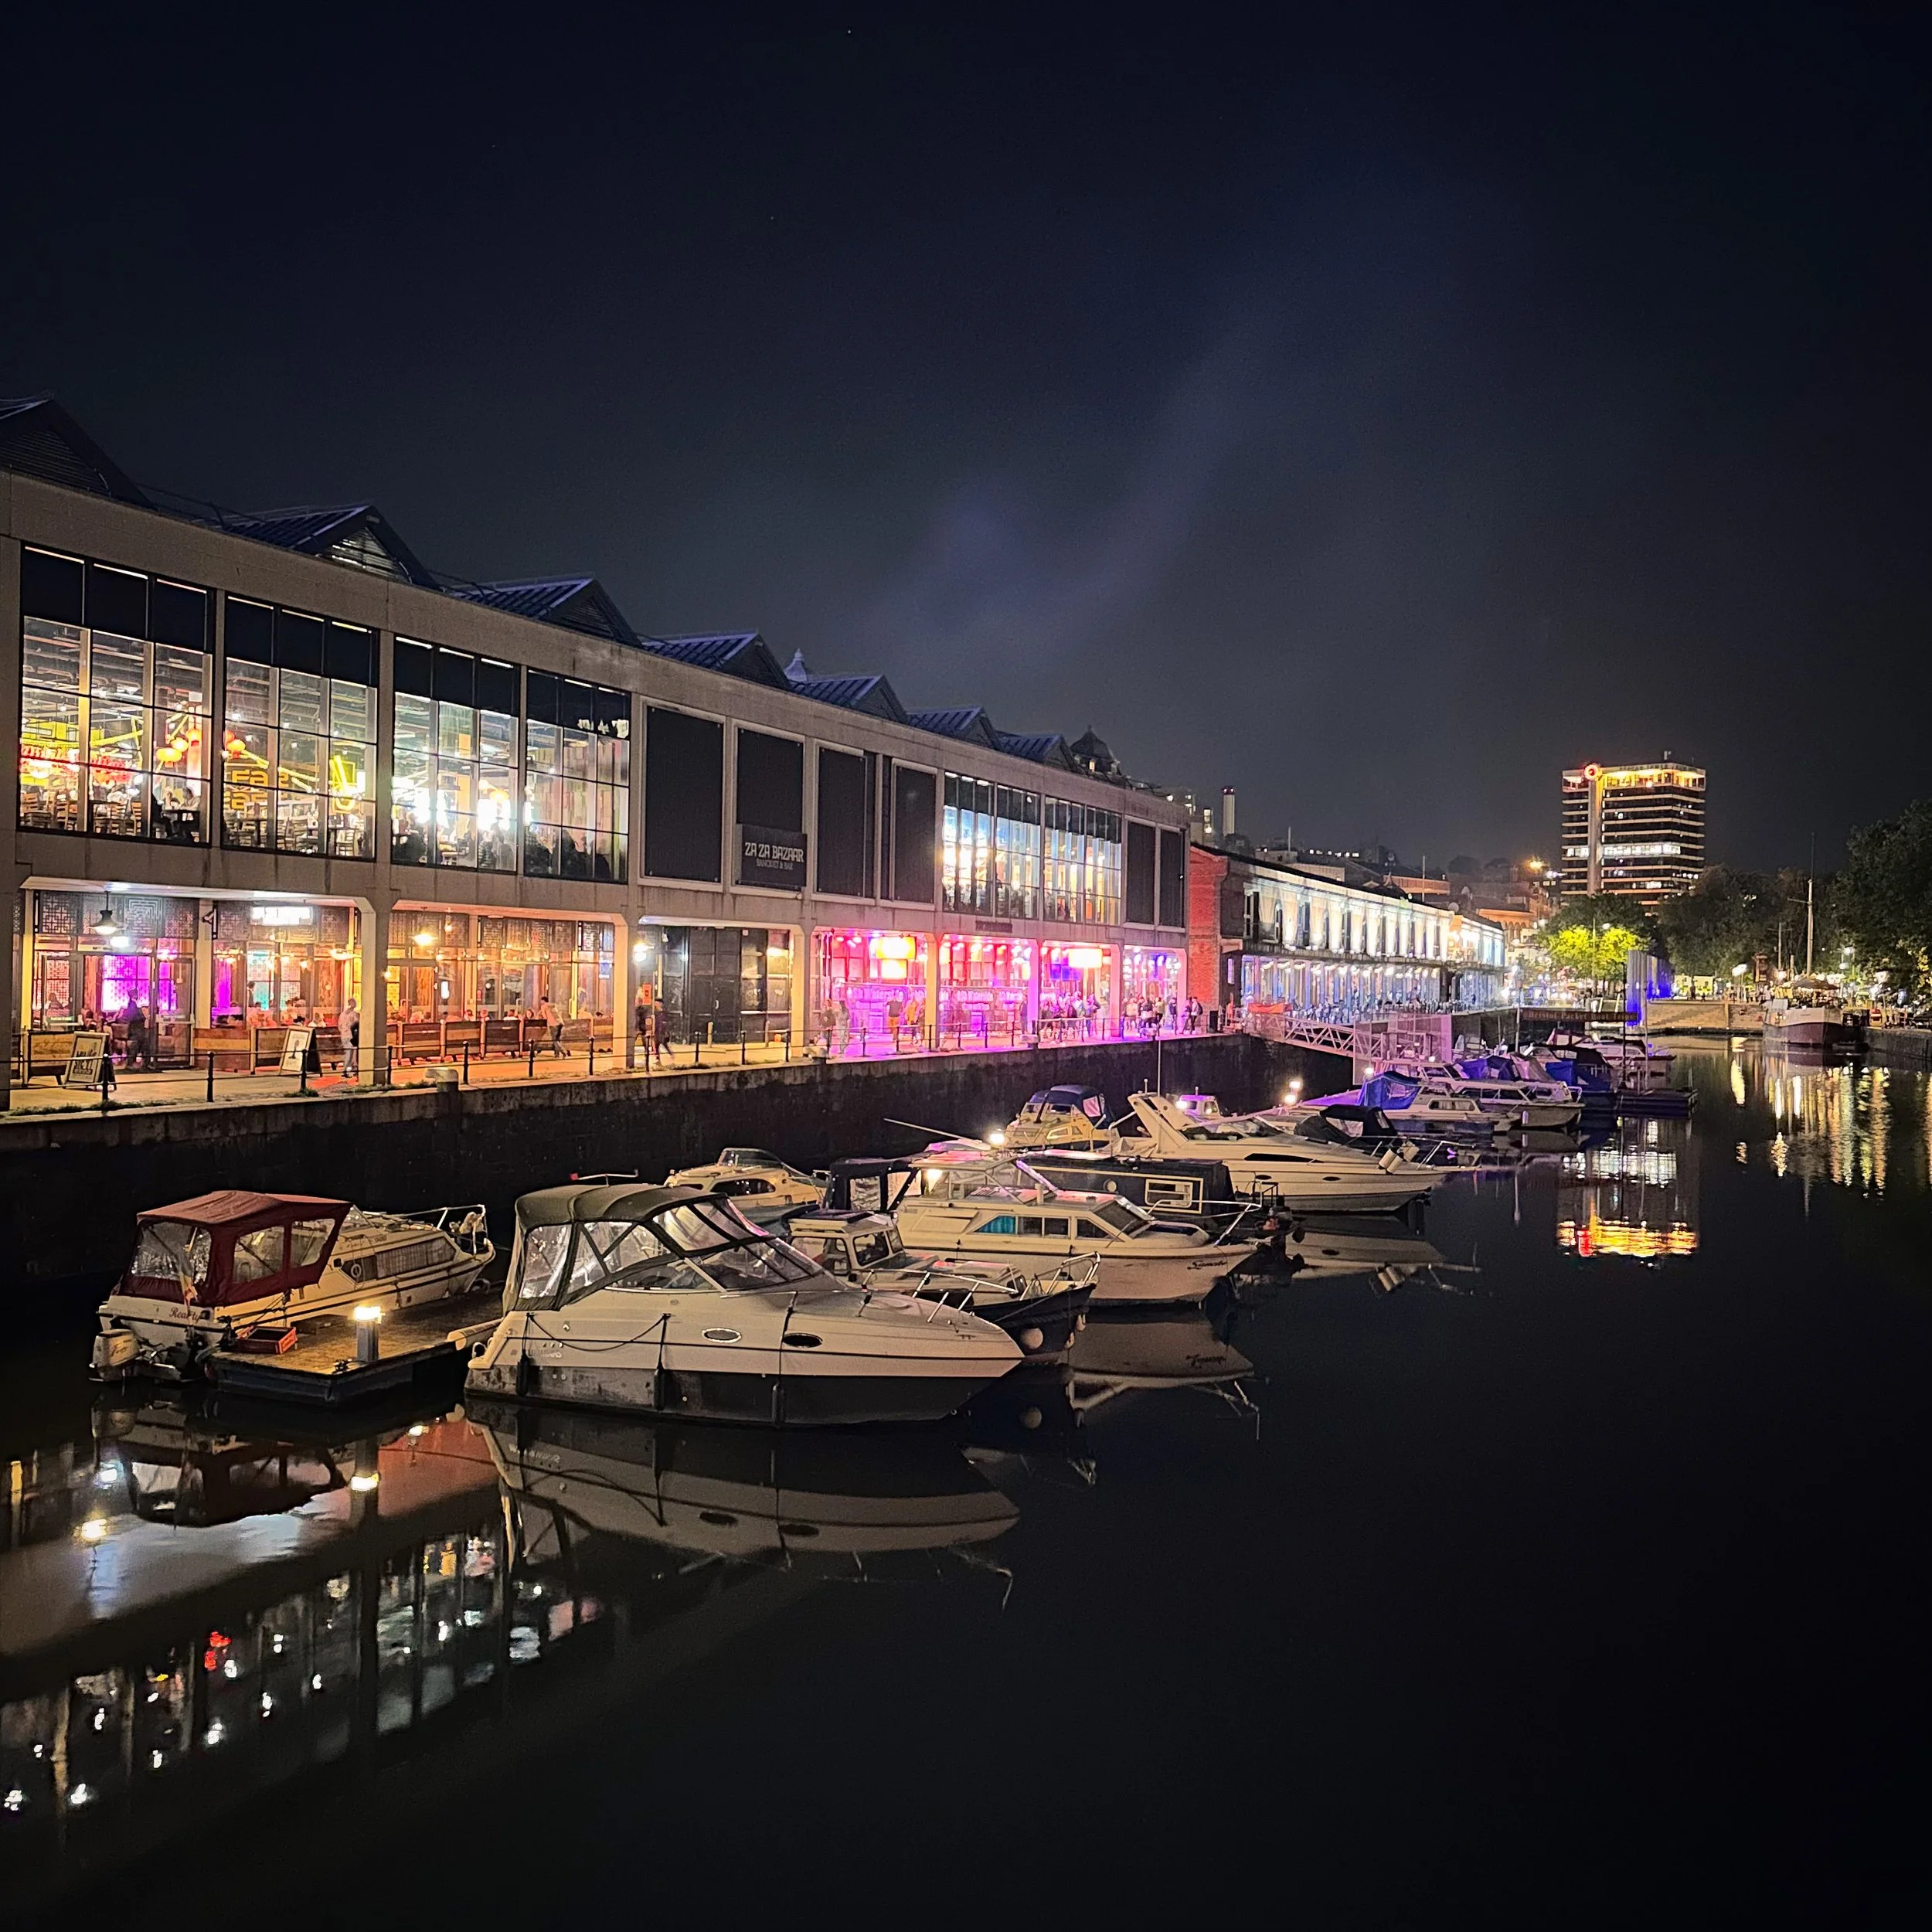
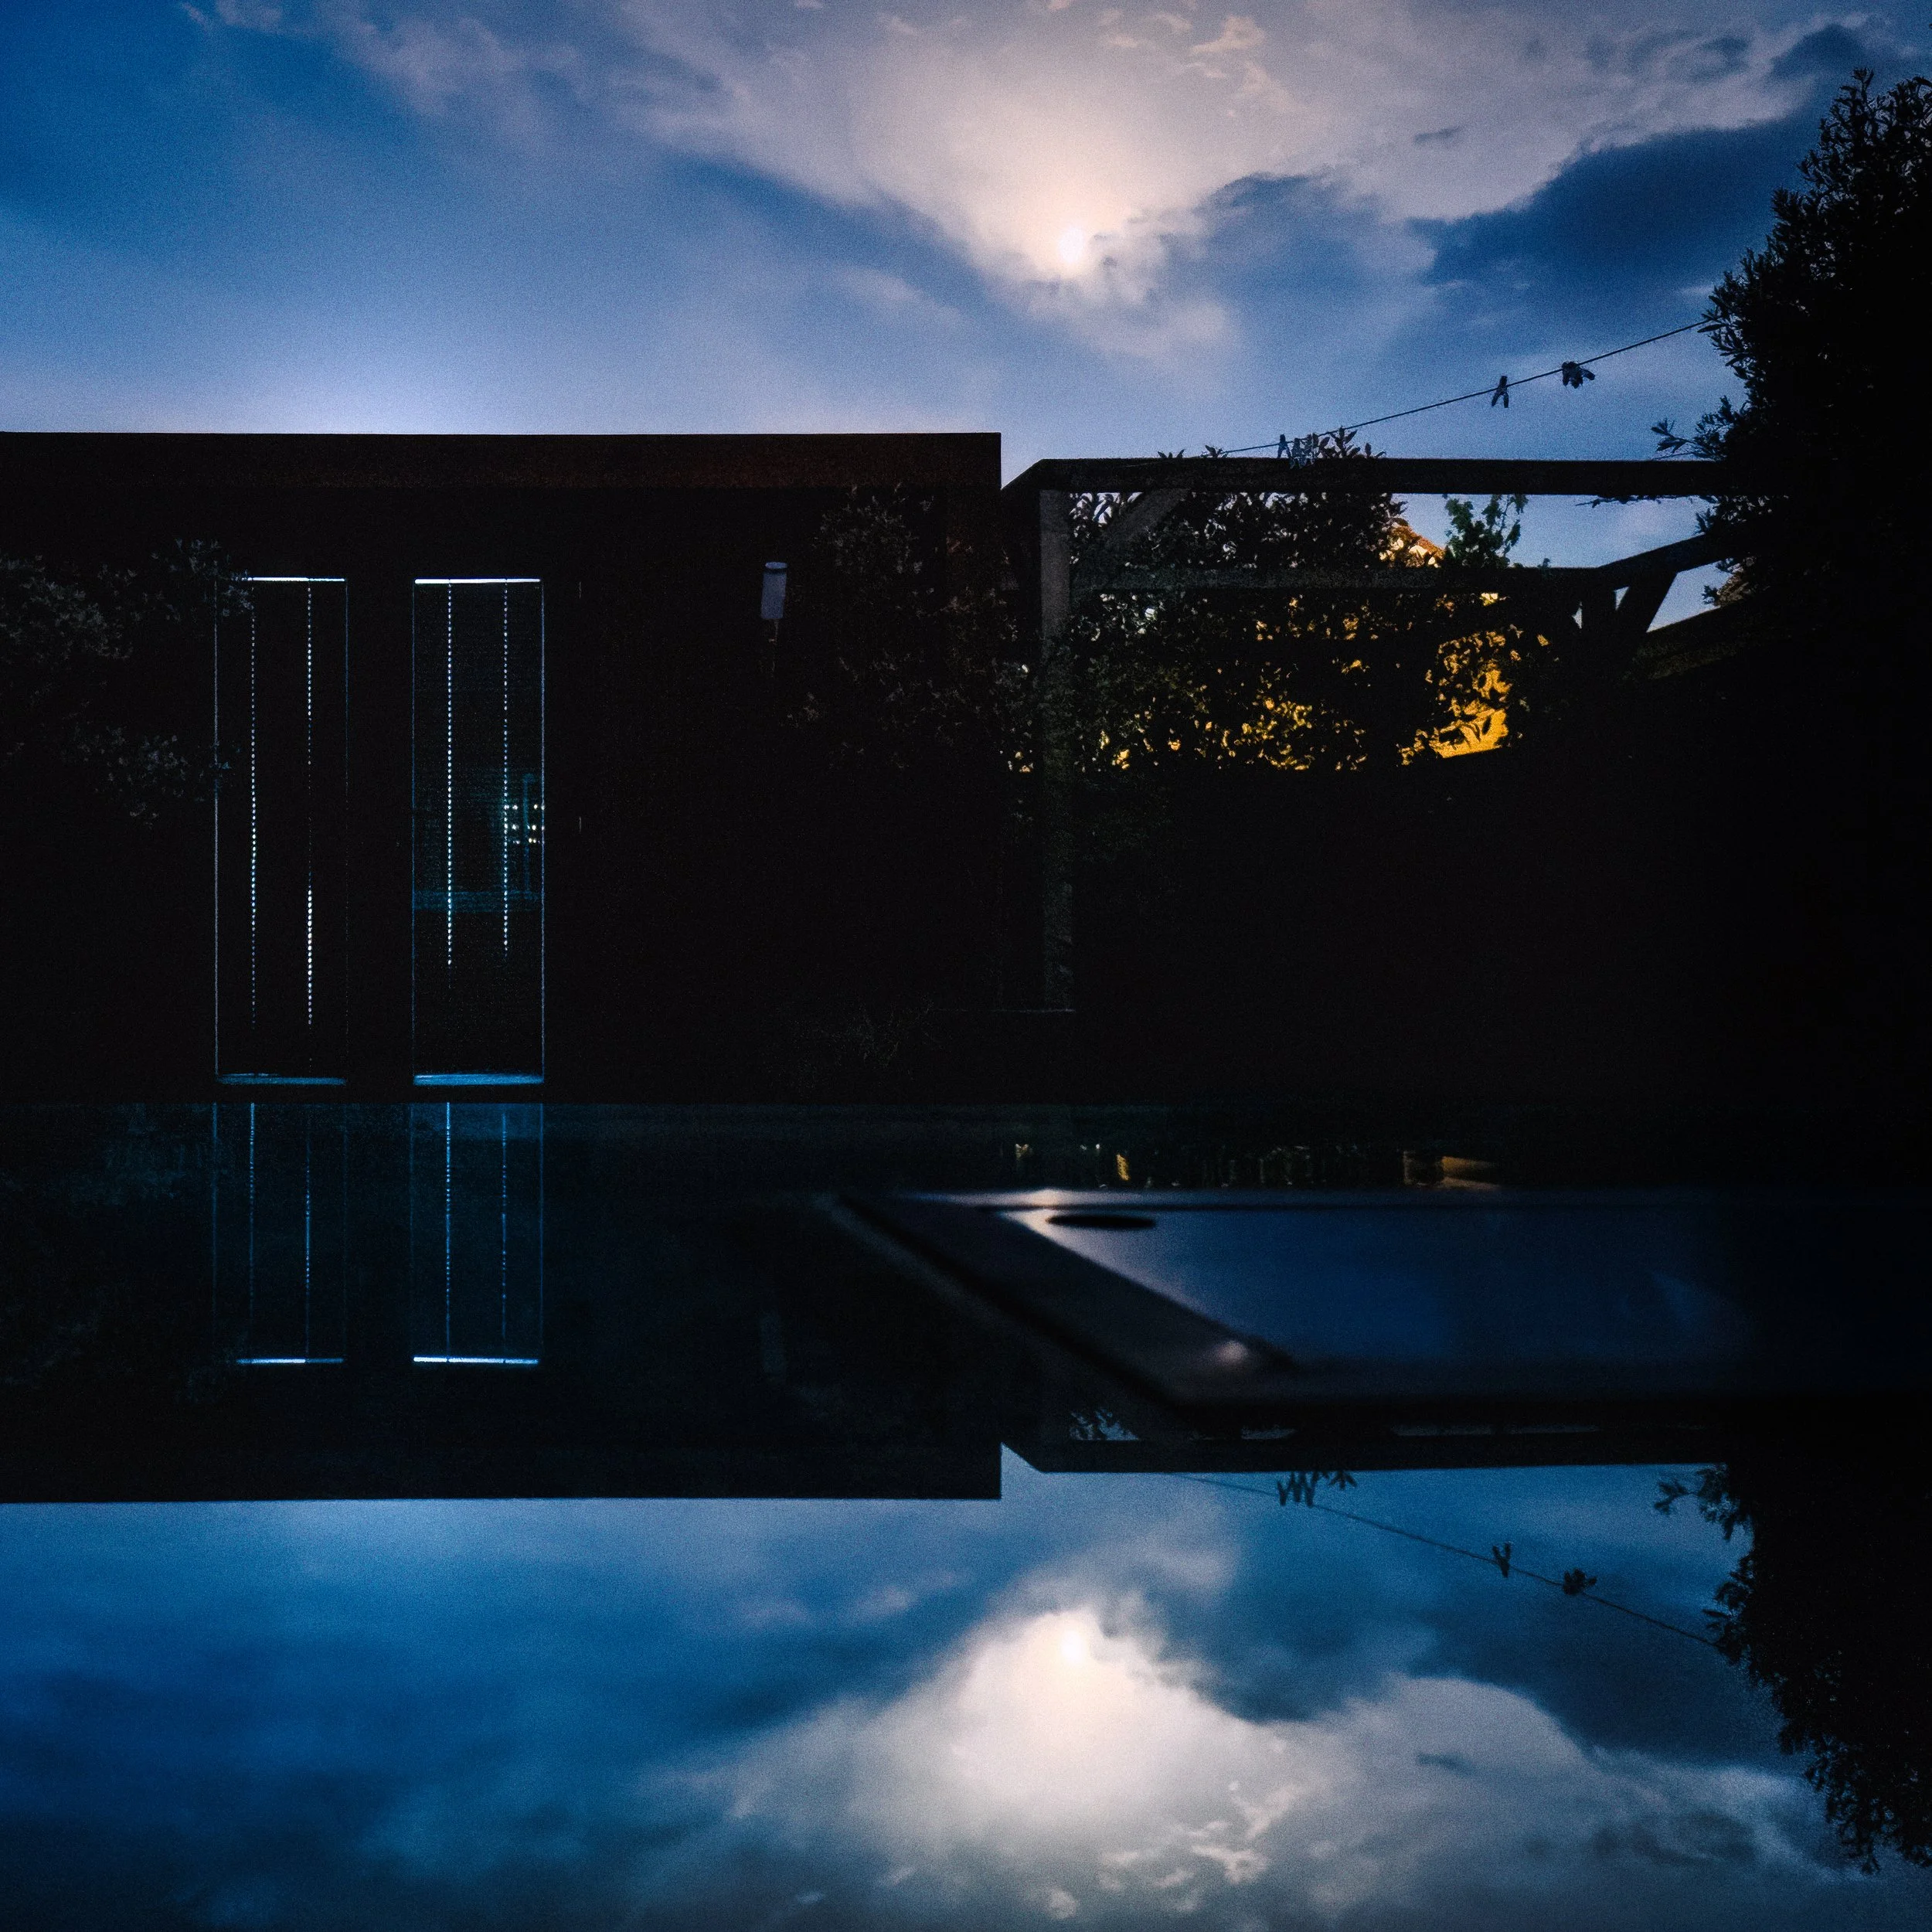
Blue hour: the period after sunset (or before sunrise) when the sky is a deep blue gradient and ambient light levels drop to roughly the level of interior artificial lighting. For glass buildings and shop windows, blue hour is the precise moment when interior and exterior are in balance, giving you those layered images where both worlds are simultaneously visible. It lasts twenty to forty minutes and rewards being somewhere specific before it starts, rather than arriving as it begins.
Overcast light: flat, diffuse overcast is often better for water reflections than direct sun, which can blow out highlights in the reflection and create harsh glare. Under overcast, the reflection of the sky is a graduated grey, which often works better compositionally than a blown-out white sky. Overcast also reduces contrast, which makes it easier to expose for both the reflected and real elements simultaneously.
Backlighting: placing your light source (sun, lamp, window) so that it is roughly in the direction you are shooting, visible through or in front of your subject, creates silhouettes. A person silhouetted in a reflection — their form visible in a puddle or window without detail — is a clean, graphic compositional element. Backlighting through wet or fogged glass creates a diffuse halo around the light source, which reads as atmospheric in a way that front-lit glass does not.
Night and artificial light: wet urban surfaces at night are the specific opportunity created by street lamps, neon signs, illuminated shopfronts, and car headlights. The wet road surface becomes a fragmented mirror, reflecting light sources as elongated smears and pools. The colours of urban artificial light — the orange of sodium lamps, the blue-white of LEDs, the warm neon of older signage — are greatly amplified by their wet-surface reflections. Shooting in RAW at night allows you to recover more detail in both highlights and shadows in post. Exposure times of one to four seconds work well on a tripod; handheld, push the ISO and accept a faster, noisier shot or use the phone's Night Mode, which blends multiple frames.
Creative Approaches
The straightforward approaches described above will take you a long way. These are the less straightforward ones.
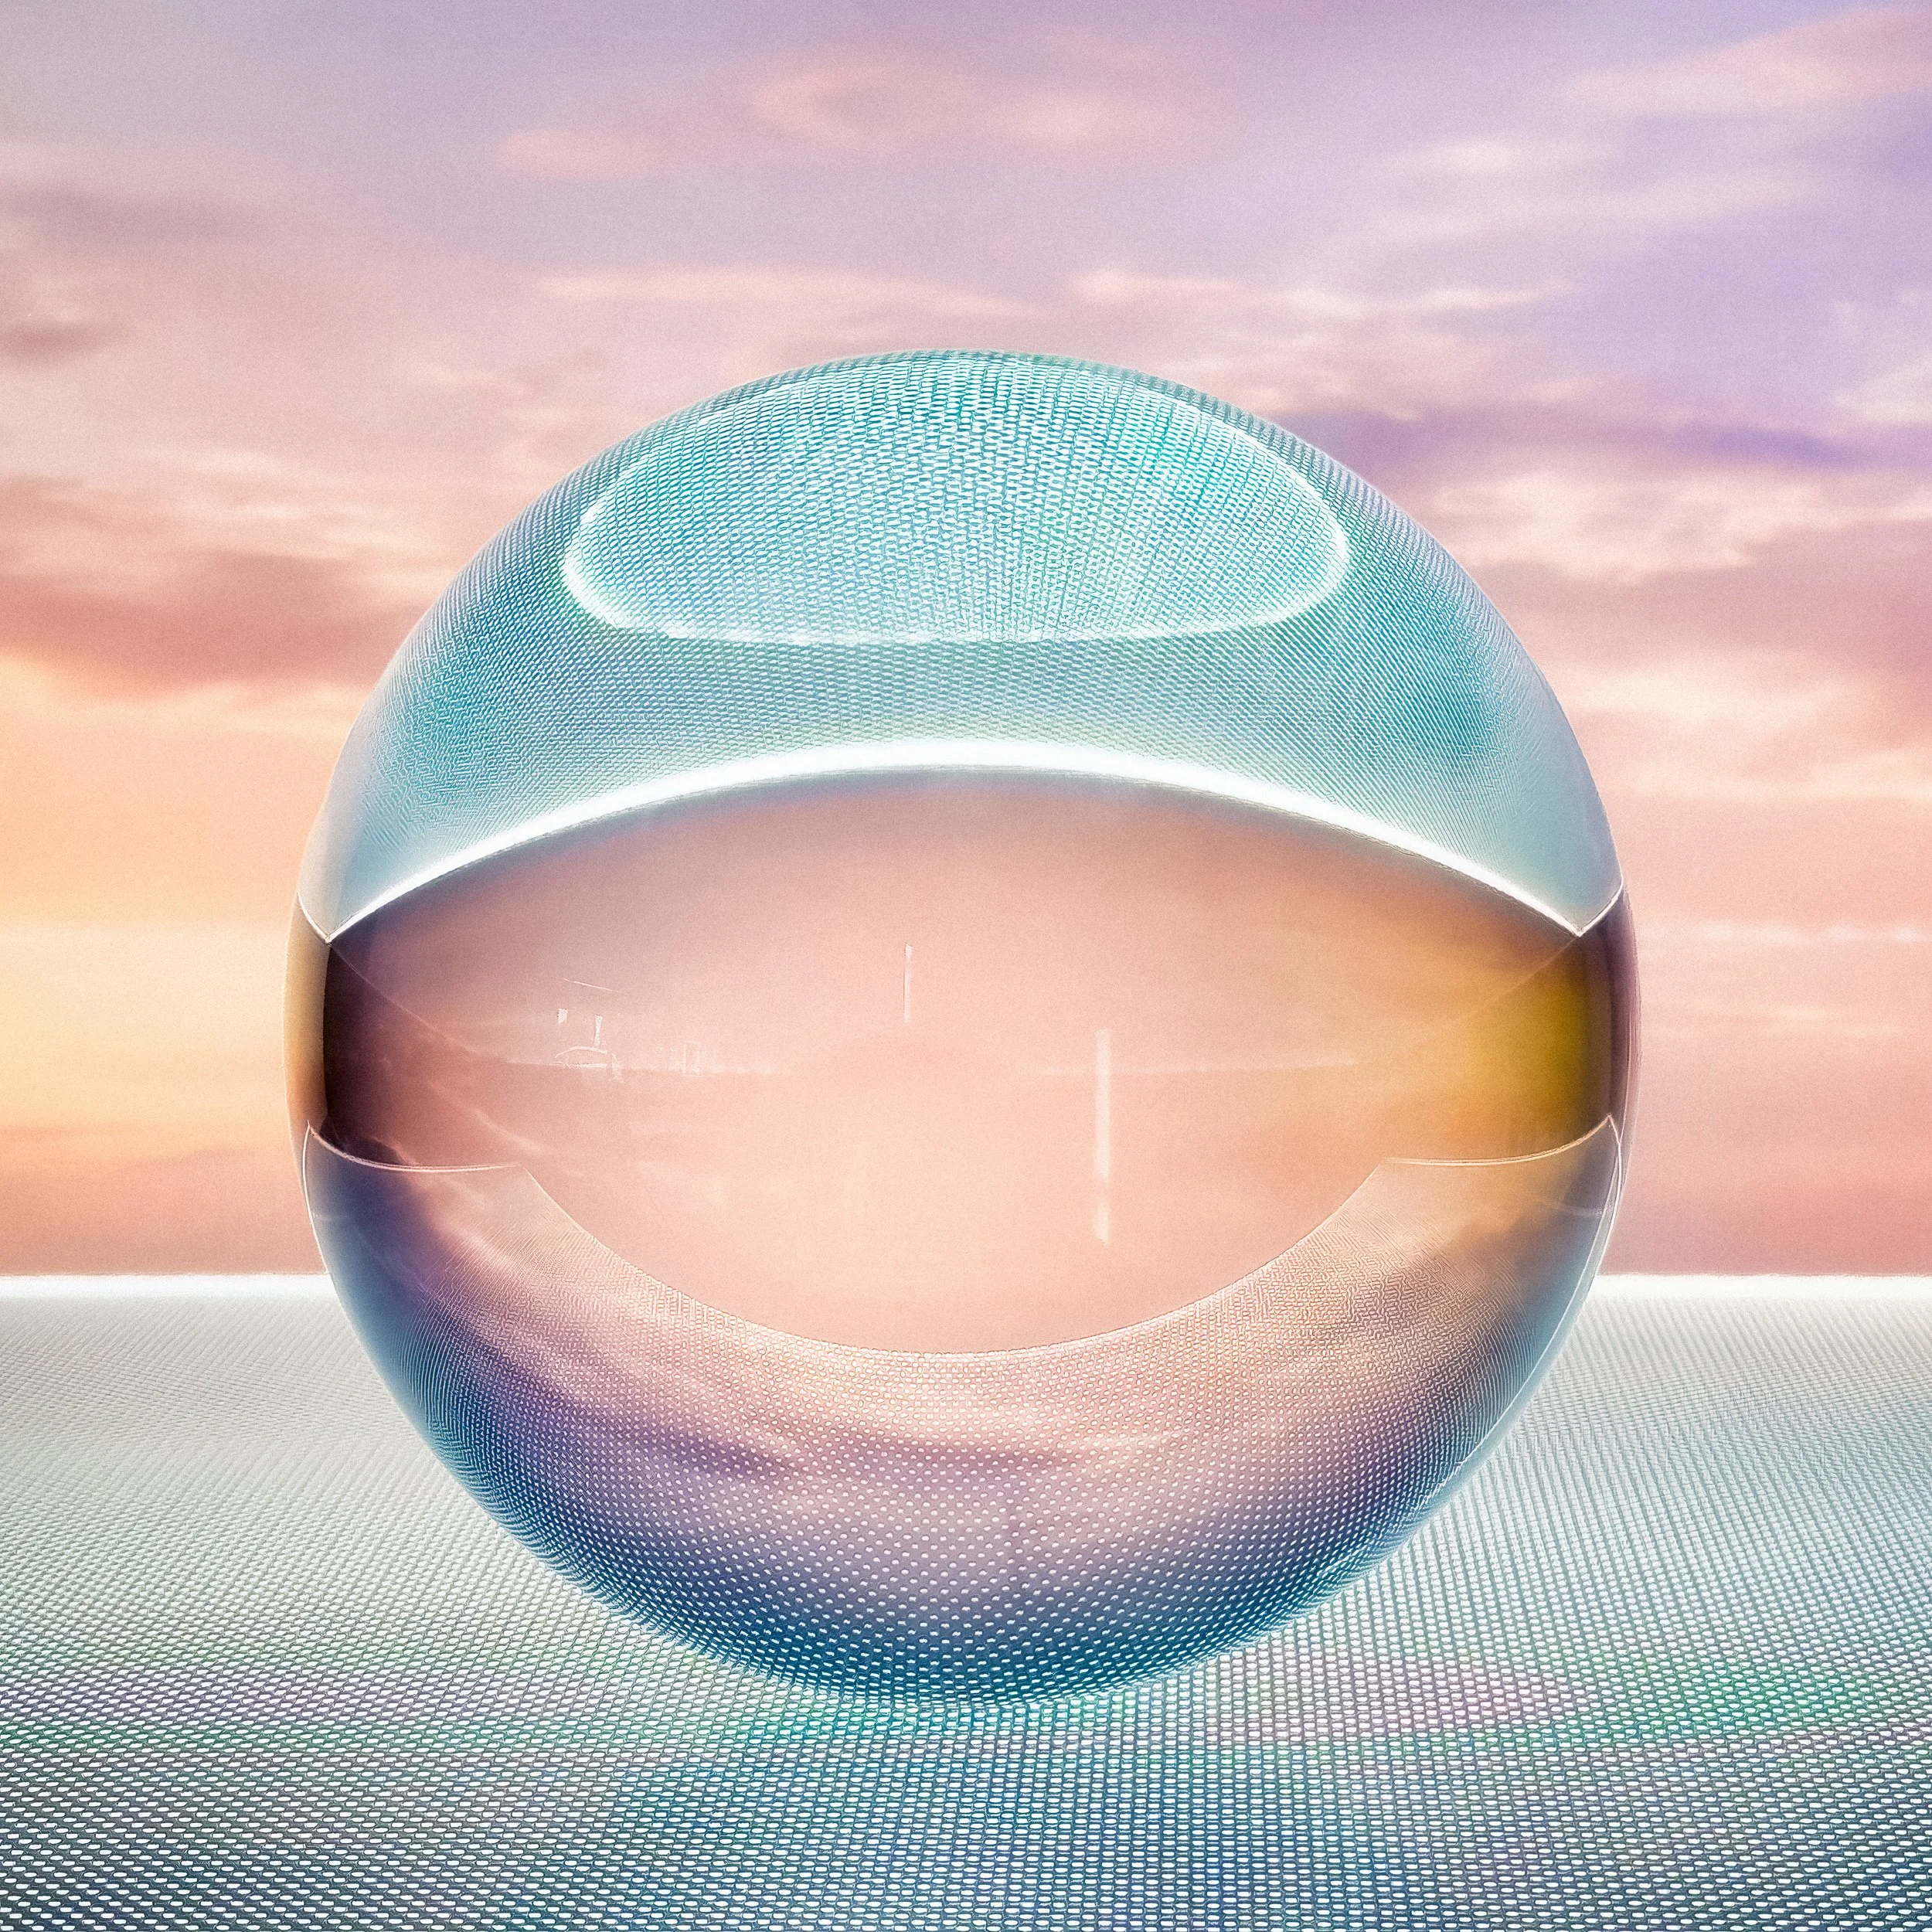
Intentional distortion: rather than seeking the cleanest, clearest reflection, deliberately introduce distortion. A rippled water surface turns a reflected building into a vertical smear. A fogged mirror dissolves the reflected subject into a suggestion. A curved spoon creates a miniature, fisheye-warped world. These are not failures of technique — they are a different kind of image, one where the material quality of the reflective surface becomes as visible as what it is reflecting. Dropping a small stone into a still puddle and shooting the resulting ripples as they spread outward from the centre of the reflected image is entirely deliberate and entirely worth doing.
Infinite regression: two mirrors facing each other. The image reflects back and forth between them, decreasing slightly in brightness and scale each time, creating the illusion of a corridor receding to a point. This works in actual mirrors, in shop windows facing each other across a narrow aisle, and can be engineered by placing a small hand mirror in front of a larger reflective surface. The regression is ancient — it appears in van Eyck — but it remains visually compelling because the eye wants to follow it to the end, and there is no end.
Multiple reflections and layering: a scene that contains two reflective surfaces at different orientations gives you multiple reflected versions of the same subject in a single frame. A person reflected simultaneously in a puddle and in a shop window above it. A landscape reflected in a lake and in a building at the shore. The layering of multiple reflections does not require any post-processing — it is purely a matter of finding the right position.
Using the reflection as the primary subject: rather than making the actual scene your subject and using the reflection as an addition, invert the priority. Shoot only the reflection, with the real world entirely outside the frame. The resulting image reads as a real scene, but something is slightly off — inverted, softer, or compositionally unexpected. The viewer may not immediately register that they are looking at a reflection. This disorientation is productive.
Self-portraiture through reflection: the tradition runs from the Victorian mirror-portrait through Lee Friedlander's long series of self-portraits made in shop windows, mirrors, and reflective surfaces throughout the 1960s and 70s. The key move is that you are not making a conventional self-portrait — you are making an image of a scene that happens to include you. Your reflection is incidental, discovered rather than posed. In practice, this means noticing when you yourself are in a reflective surface and choosing to include that incidence rather than avoid it. You become a found element in the composition, which is different in feeling to placing yourself deliberately in front of a mirror.
Post-Processing
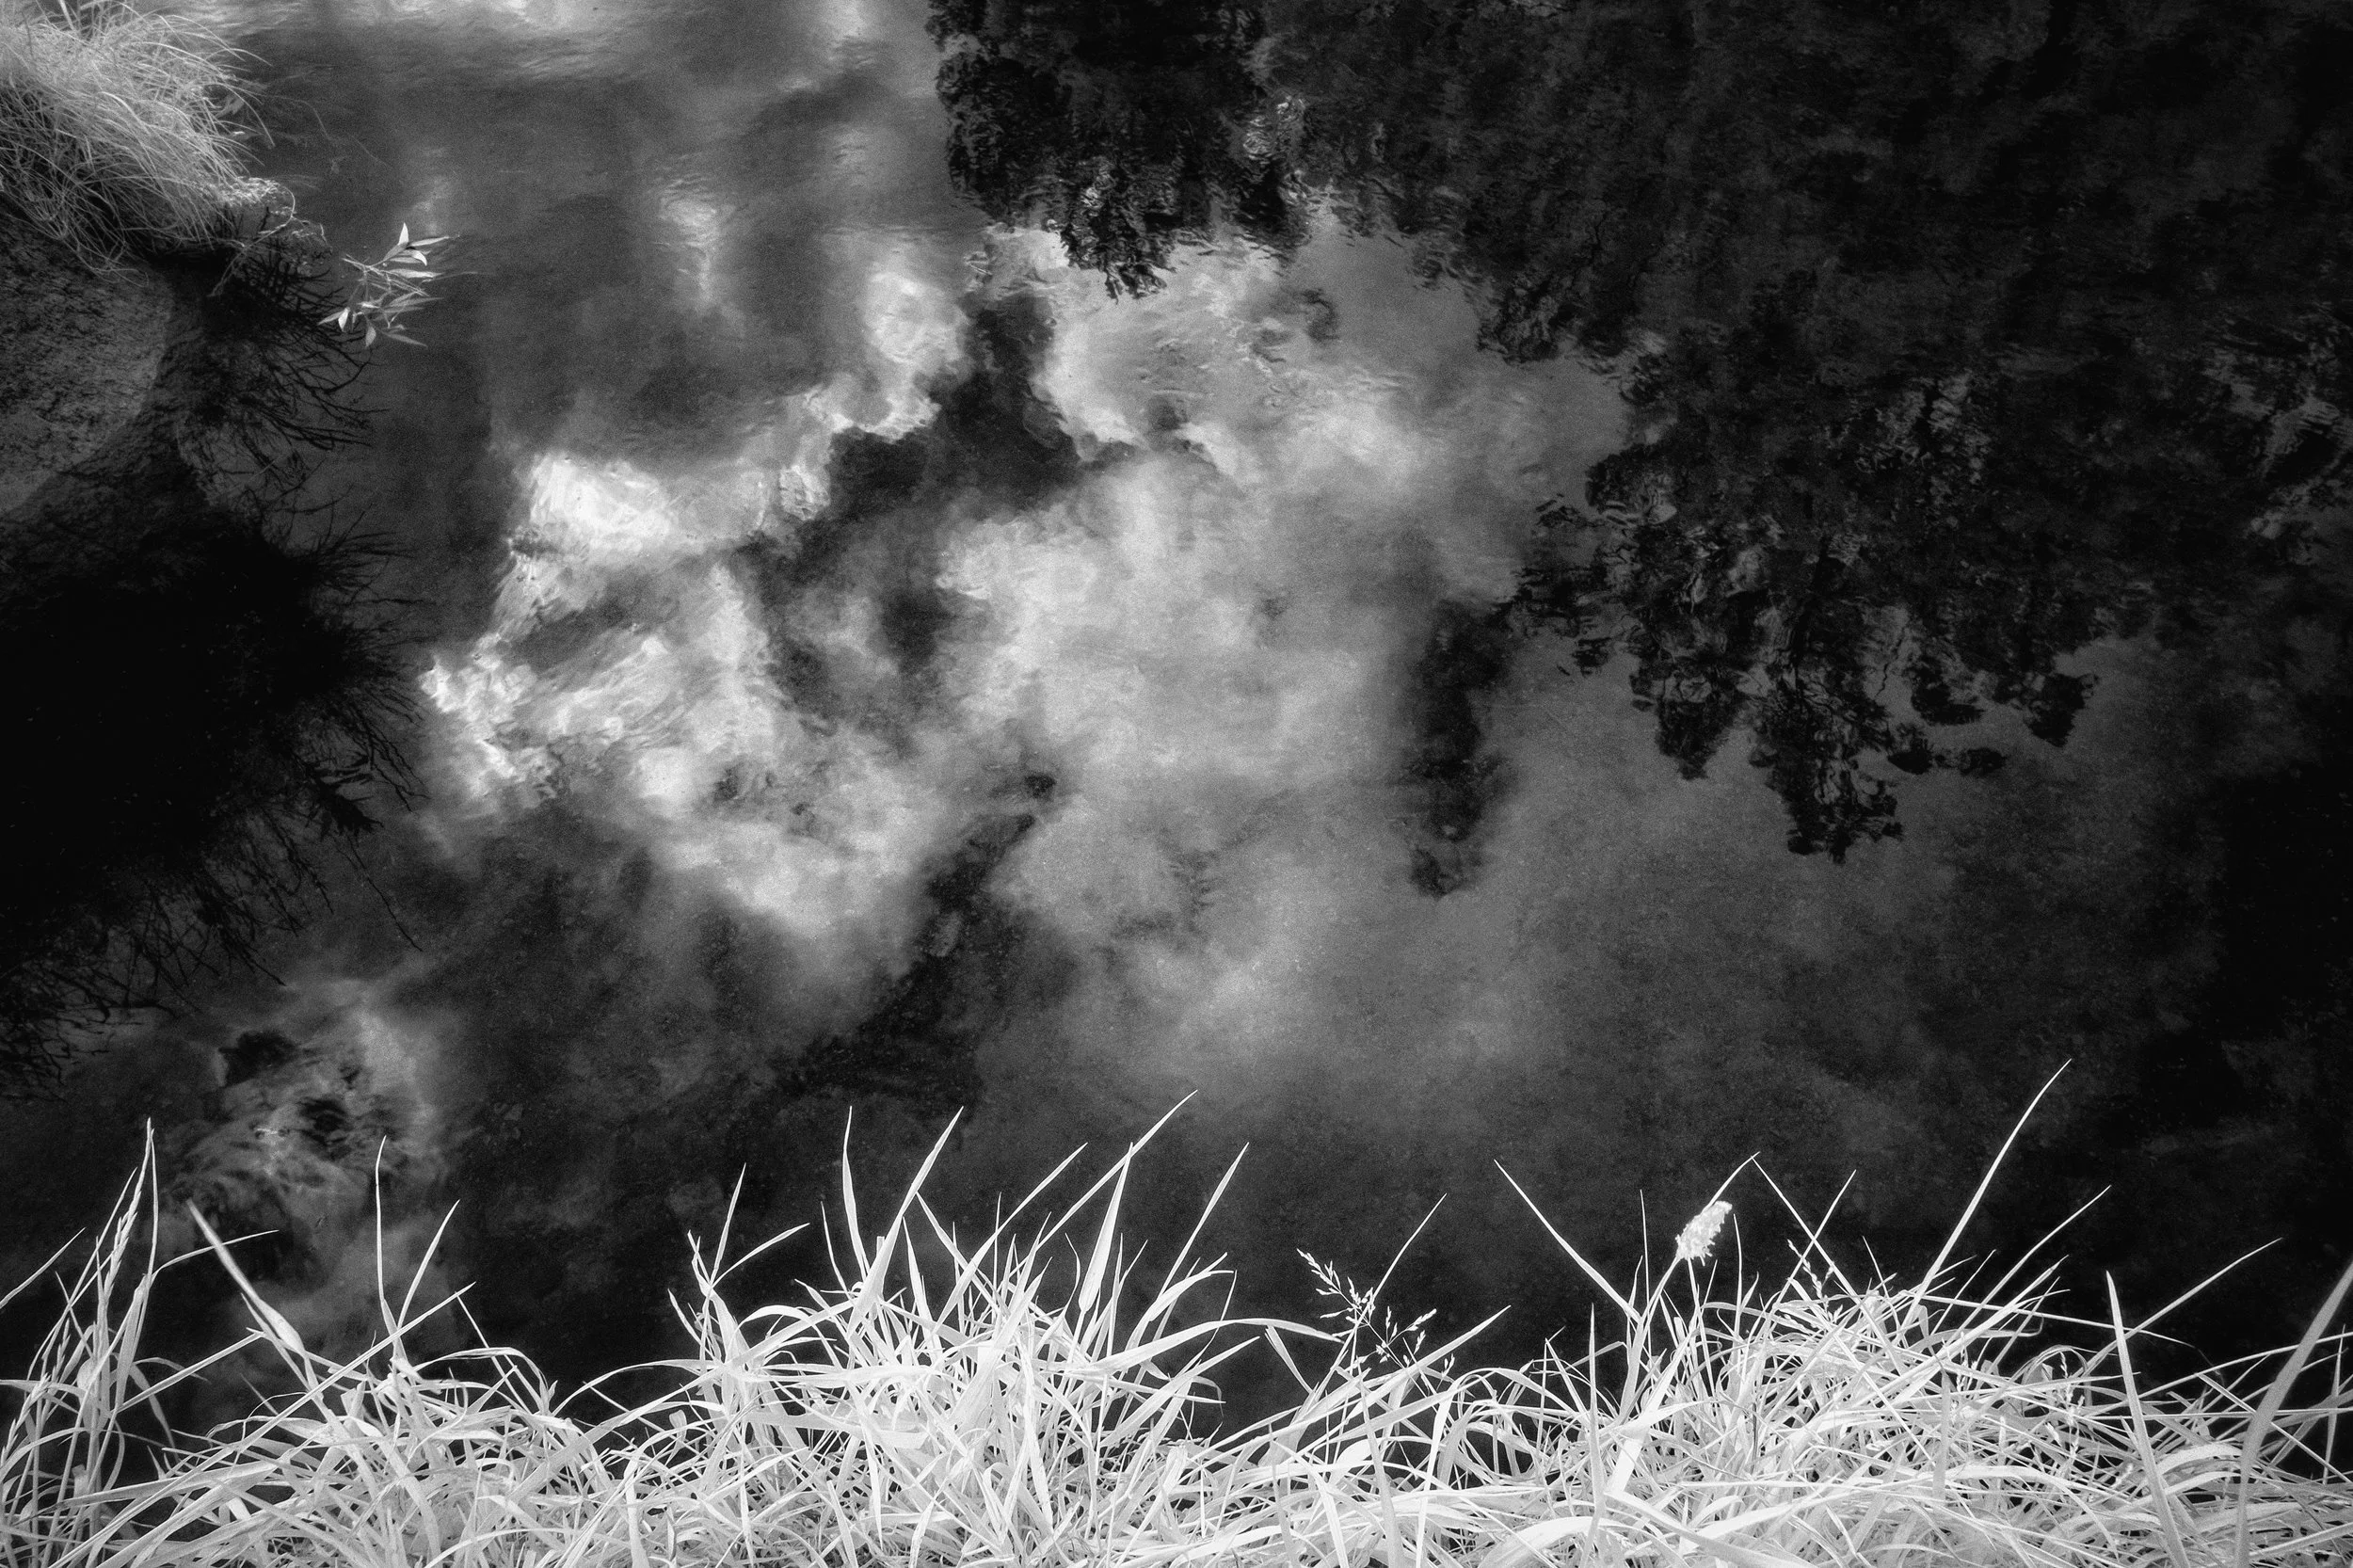
Black and white: reflection images often convert well to black and white, because the tonal relationship between the reflected and real elements — usually a slight darkening of the reflection compared to the original — reads clearly in monochrome without the distraction of colour differences. Water reflections of skies and buildings, shop-window layerings, and puddle shots all tend to work in black and white. The conversion is worth trying even when you are committed to colour, simply to see what is there.
Contrast between reflection and reality: the reflected image is nearly always slightly darker and slightly lower in contrast than the original. You can either accept this and leave the difference visible (which reads as natural and grounded), or bring the reflection up to match the original (which reads as more surreal and equated). In Lightroom, a graduated filter or radial filter applied to the reflection area allows you to adjust brightness and contrast independently of the rest of the image. In Snapseed, the selective adjustment tool does the same job with reasonable precision.
Removing distractions from the reflective plane: the clone stamp or healing brush in Lightroom and Photoshop can remove a litter bin, a parked car, or an unfortunate telegraph pole from a reflection, just as from any other part of the image. Reflective surfaces have the advantage of being less textured than most backgrounds — smooth water and glass are relatively easy to heal because the source area is tonally consistent. Apply any removal to the reflected element and (if visible) its real-world counterpart simultaneously.
The flip decision: should you flip a water reflection so the reflected world appears right-way-up? This is purely aesthetic. Un-flipped, the image is spatially accurate — the sky is above, the reflection is below, and the composition follows the logic of the scene. Flipped, the reflection becomes a sky, the reflected city or landscape becomes a world that reads as real and the real becomes a reflection. This inversion is unsettling in an interesting way and rewards deliberate use. It is not better or worse — it is a different image.
Lightroom tools most useful for this genre: the radial filter and graduated filter for exposure adjustments to specific areas; the Dehaze slider (upward, to increase clarity in reflective surfaces obscured by atmospheric haze); the Texture slider (downward slightly, to soften the fine grain that appears in long-exposure water); the HSL panel for targeting specific colour channels — particularly useful for blue-hour glass, where you may want to boost or reduce the blue of the sky independently of the warm interior light.
Snapseed tools: Selective (tap-to-target exposure, contrast, and saturation adjustments); Healing (removal tool); Glamour Glow (used sparingly, gives a mild halo to reflective highlights that can look rather good on night puddle shots); Black & White (with the red and orange filters to darken skies and warm tones, which increases contrast in the reflected city).
Resources
Here’s an interesting video from Emil Pakarklis of the iPhone Photography School that gives a great introduction to using reflections in your smartphone photography: “Do you want to take photos that stand out from the crowd? Then you should try capturing reflections in your photos! Reflection photography is a great way to get more creative... But where can you find interesting reflections? And how do you compose your reflection photos for truly eye-catching results? Watch this video to discover how to take stunning reflection photos with your iPhone!”
Here’s a wonderful fix of travel photography from Thomas Heaton, shooting landscape reflections in Patagonia: “In this video, I photograph Torres Del Paine National Park in conditions that are considered fairly unusual for this region. Patagonia is famous for its winds; however, on this particular morning, there was no wind at all, which meant I was able to capture perfect reflections of these famous mountains.”
This video by Adam Schaller is nicely produced and rather witty. It offers some great ideas for composing reflection photographs—and the guy takes stunning black-and-white photographs! “Reflections feature in many of my photographs, and often in street photography in general. In this episode, I show you my top tips for how I like to make use of reflections, and explain how you can improve at spotting good opportunities to mirror your subjects.”
Something a bit different: one minute and forty-nine seconds of reflection photos set to cheesy elevator music. This would be pretty grim, if not for the fact that many of the photographs are really rather good. Have a look — you may well pick up some good ideas.
Give it a Try!
Theory is fine. Three practical exercises:
The Puddle Hunt
Find a location with hard standing — a high street, a car park, a pedestrian square — on a day when it has rained within the previous two hours. Give yourself thirty minutes. The task is to find five different types of puddle reflection in the same general area. Look for: a puddle reflecting the sky; a puddle reflecting a specific building or sign; a puddle at road level reflecting a pedestrian or cyclist (be patient, they will come); a puddle with an interesting foreground element (a kerb edge, a drain cover, shoes); a puddle in which the reflection is more interesting than what is above it. For each one, shoot from standing height and then shoot from as low as you can get. Compare the pairs. The low angle will, almost certainly, be the stronger image in most cases.
The Window Layer
On a clear evening, find a well-lit shop — a café works particularly well, as does a bookshop or a bar with large windows. Arrive at blue hour. You are looking for a moment and position where the glass is doing both things simultaneously: reflecting the street behind you (and your fellow pedestrians) while transmitting the interior scene. The specific exercise: make one image in which a person on the street side and a person inside the shop are both clearly visible and roughly equal in compositional weight. You will need to manage the brightness relationship carefully — use exposure compensation or tap-to-expose. Allow yourself the full blue-hour window (twenty to thirty minutes). Expect to take many attempts before the exposure, the position, and the two people align.
The Mirror Setup
Find or borrow a small hand mirror (20–30 cm across is ideal). Set up a simple still life — a vase, a plant, any three objects with distinct shapes — or ask someone to sit for an informal portrait. Place the mirror so that it reflects one element of the scene into a portion of the frame. The goal is to create an image where the reflection adds something that looking directly at the scene does not provide: a second angle, a withheld element now revealed, a geometric surprise. Shoot the scene without the mirror first, then with. The mirror version should make the viewer ask a question — what am I seeing, and from where? If it does, you have used the reflection correctly.