
How to Shoot Portraits
There is a particular kind of challenge that portrait photography presents, and it is not primarily technical. Every other subject you might photograph — a landscape, a building, a plate of food — will sit there and let you work. A person will not. A person will watch you, wonder what you are thinking, decide whether they trust you, and, in the meantime, construct an expression that is roughly what they imagine a relaxed, natural person looks like. The average person, asked to have their portrait taken, will immediately adopt an expression suggesting they have just been informed of something mildly catastrophic.
This is the central difficulty of portrait photography. You are not photographing a face — you are photographing a person, with all the self-consciousness, anxiety, and performance that implies. The camera, far from being neutral equipment, is a social instrument the moment it is pointed at another human being. Your subject knows they are being photographed, and that knowledge changes everything. They think about their appearance, their posture, their smile. They wonder whether they are doing it right. They look at you looking at them and become, in the process, a slightly different version of themselves than the one you wanted to capture.
And yet portraits are simultaneously the most accessible subject in photography. You are surrounded by people. You carry a capable camera in your pocket. The subject matter is quite literally everywhere. What makes portraiture demanding is not the scarcity of subjects but the nature of the request: you are asking another person to trust you with their image, which is no small thing. People have complicated relationships with photographs of themselves. Most people believe they are not photogenic. Many carry a specific memory of a photograph they disliked intensely and have been wary ever since. Your job — before you get to focal lengths and catchlights and the rule of thirds — is to earn that trust. Everything else follows from that.
What Kind of Portrait Are You Making?
Before you pick up the camera, it helps to know what you are actually trying to make. Portrait photography is not a single thing; it is a family of approaches, each with its own requirements and definition of success.
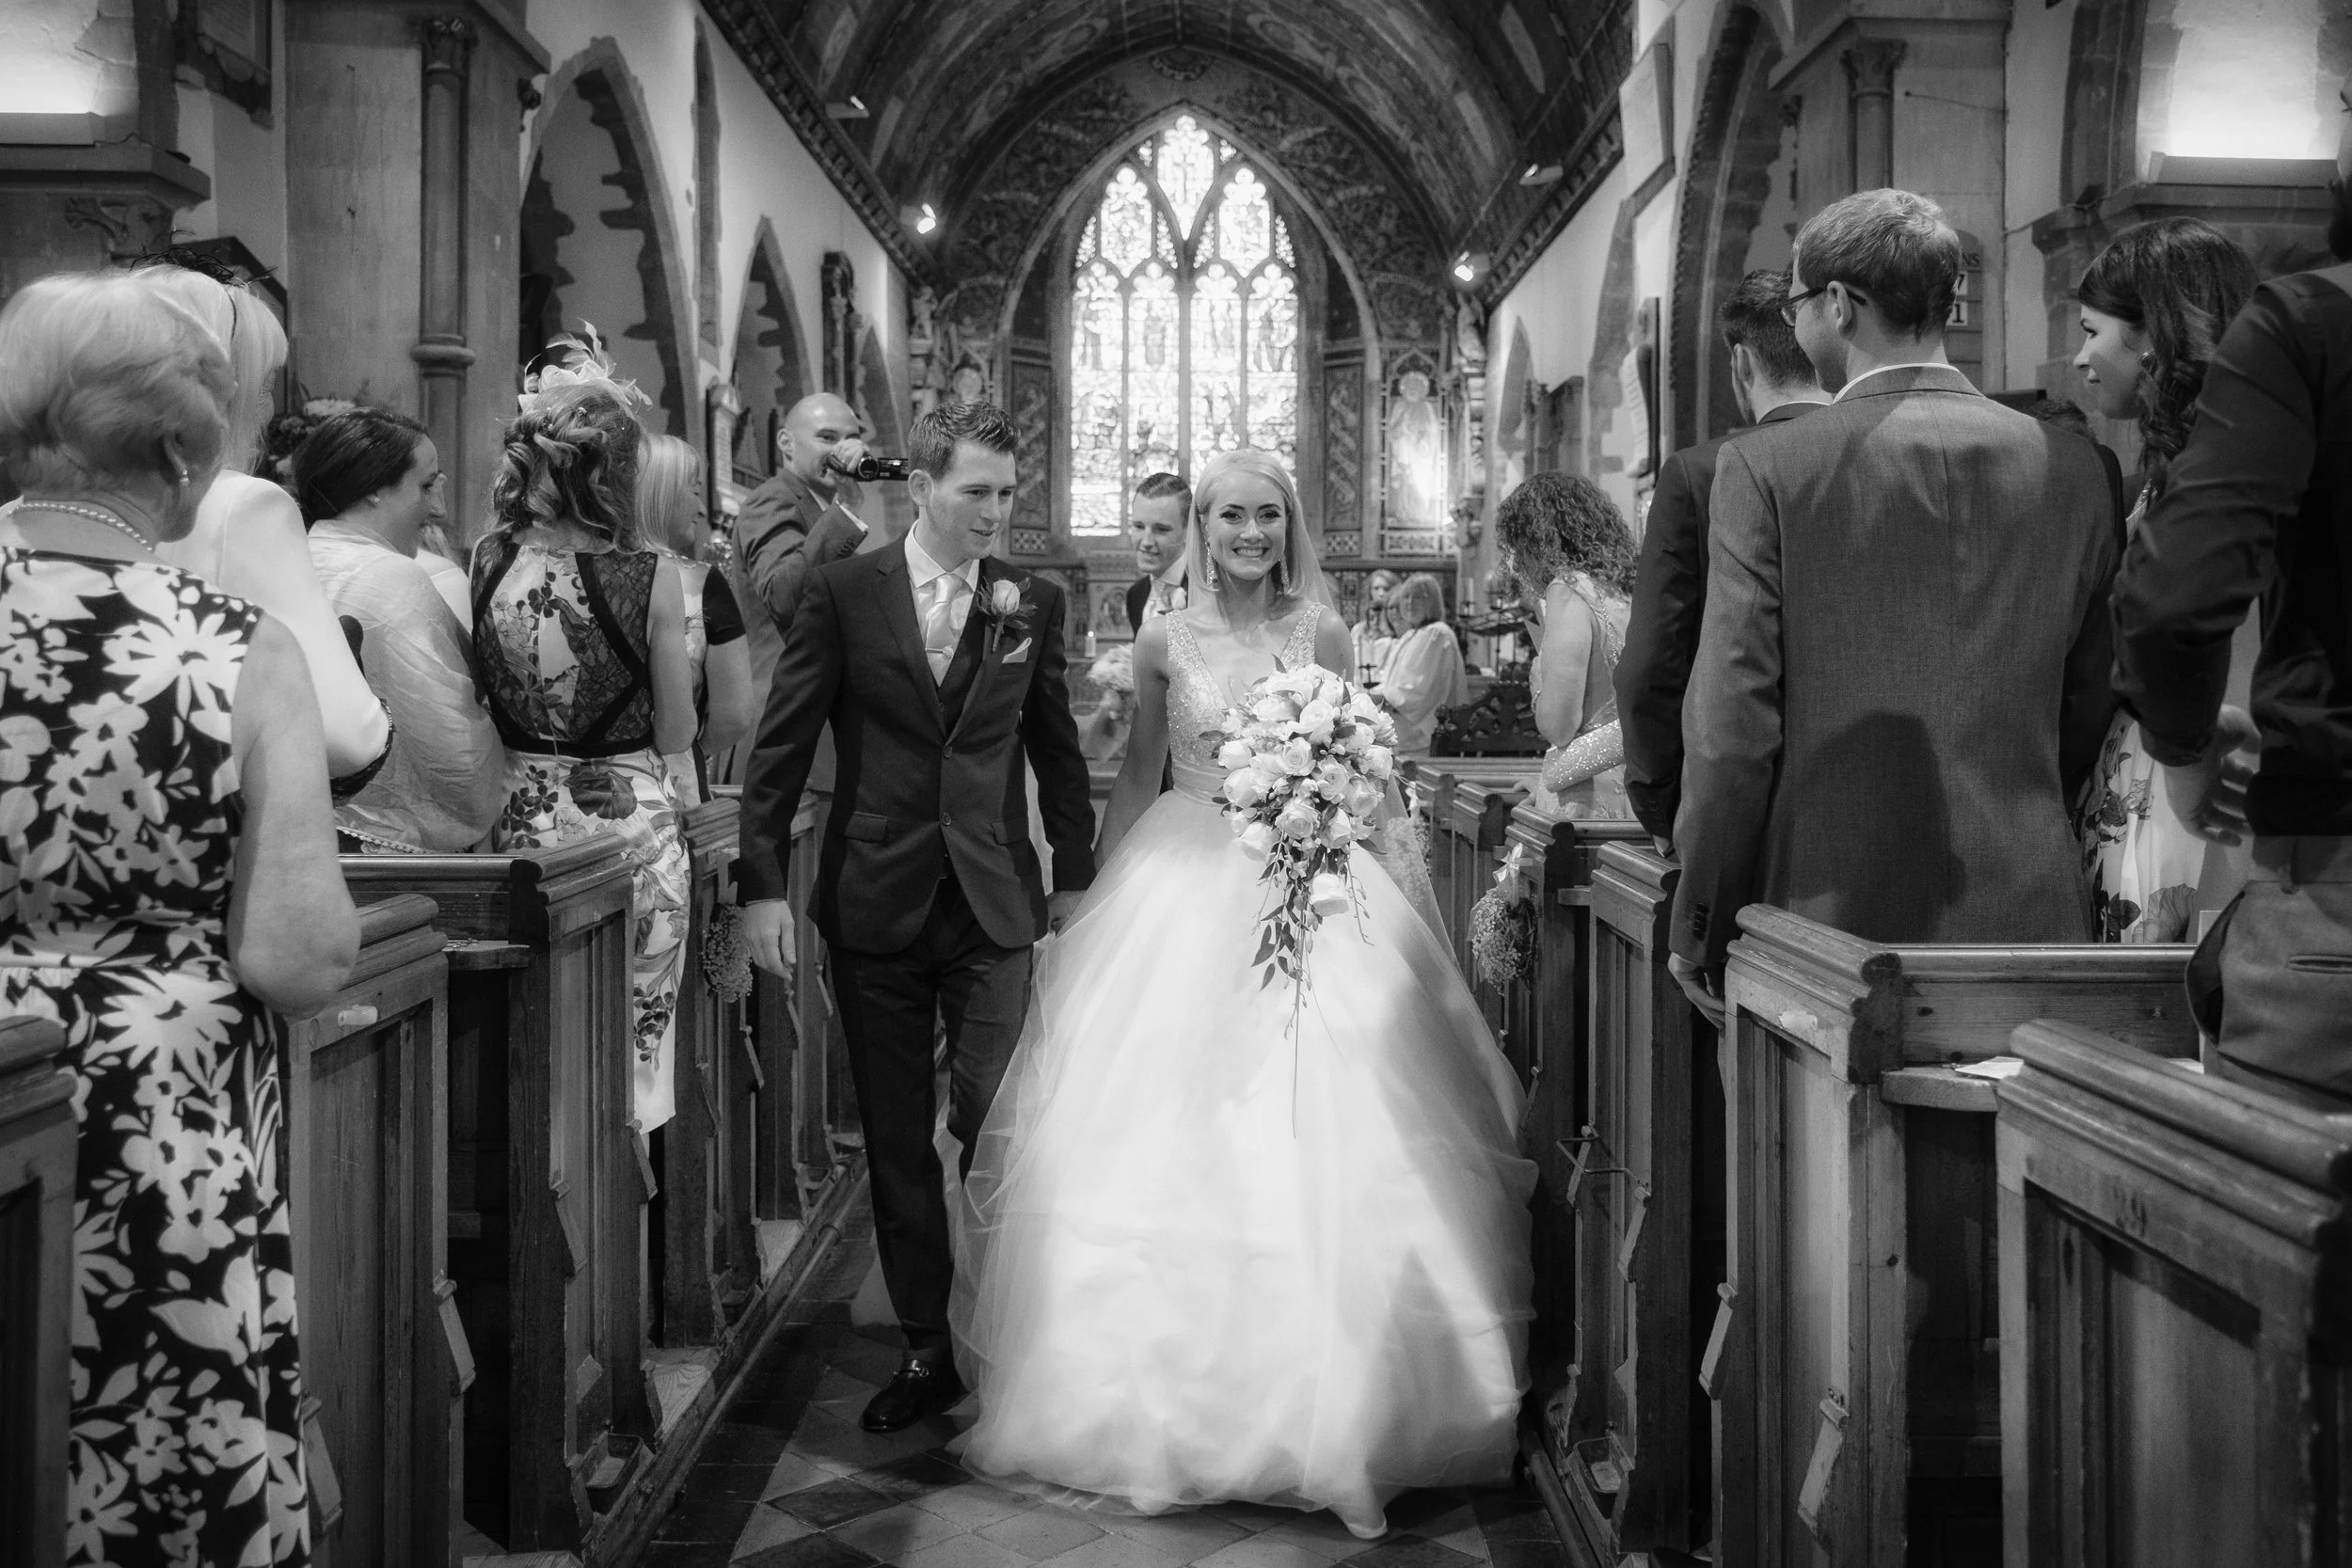
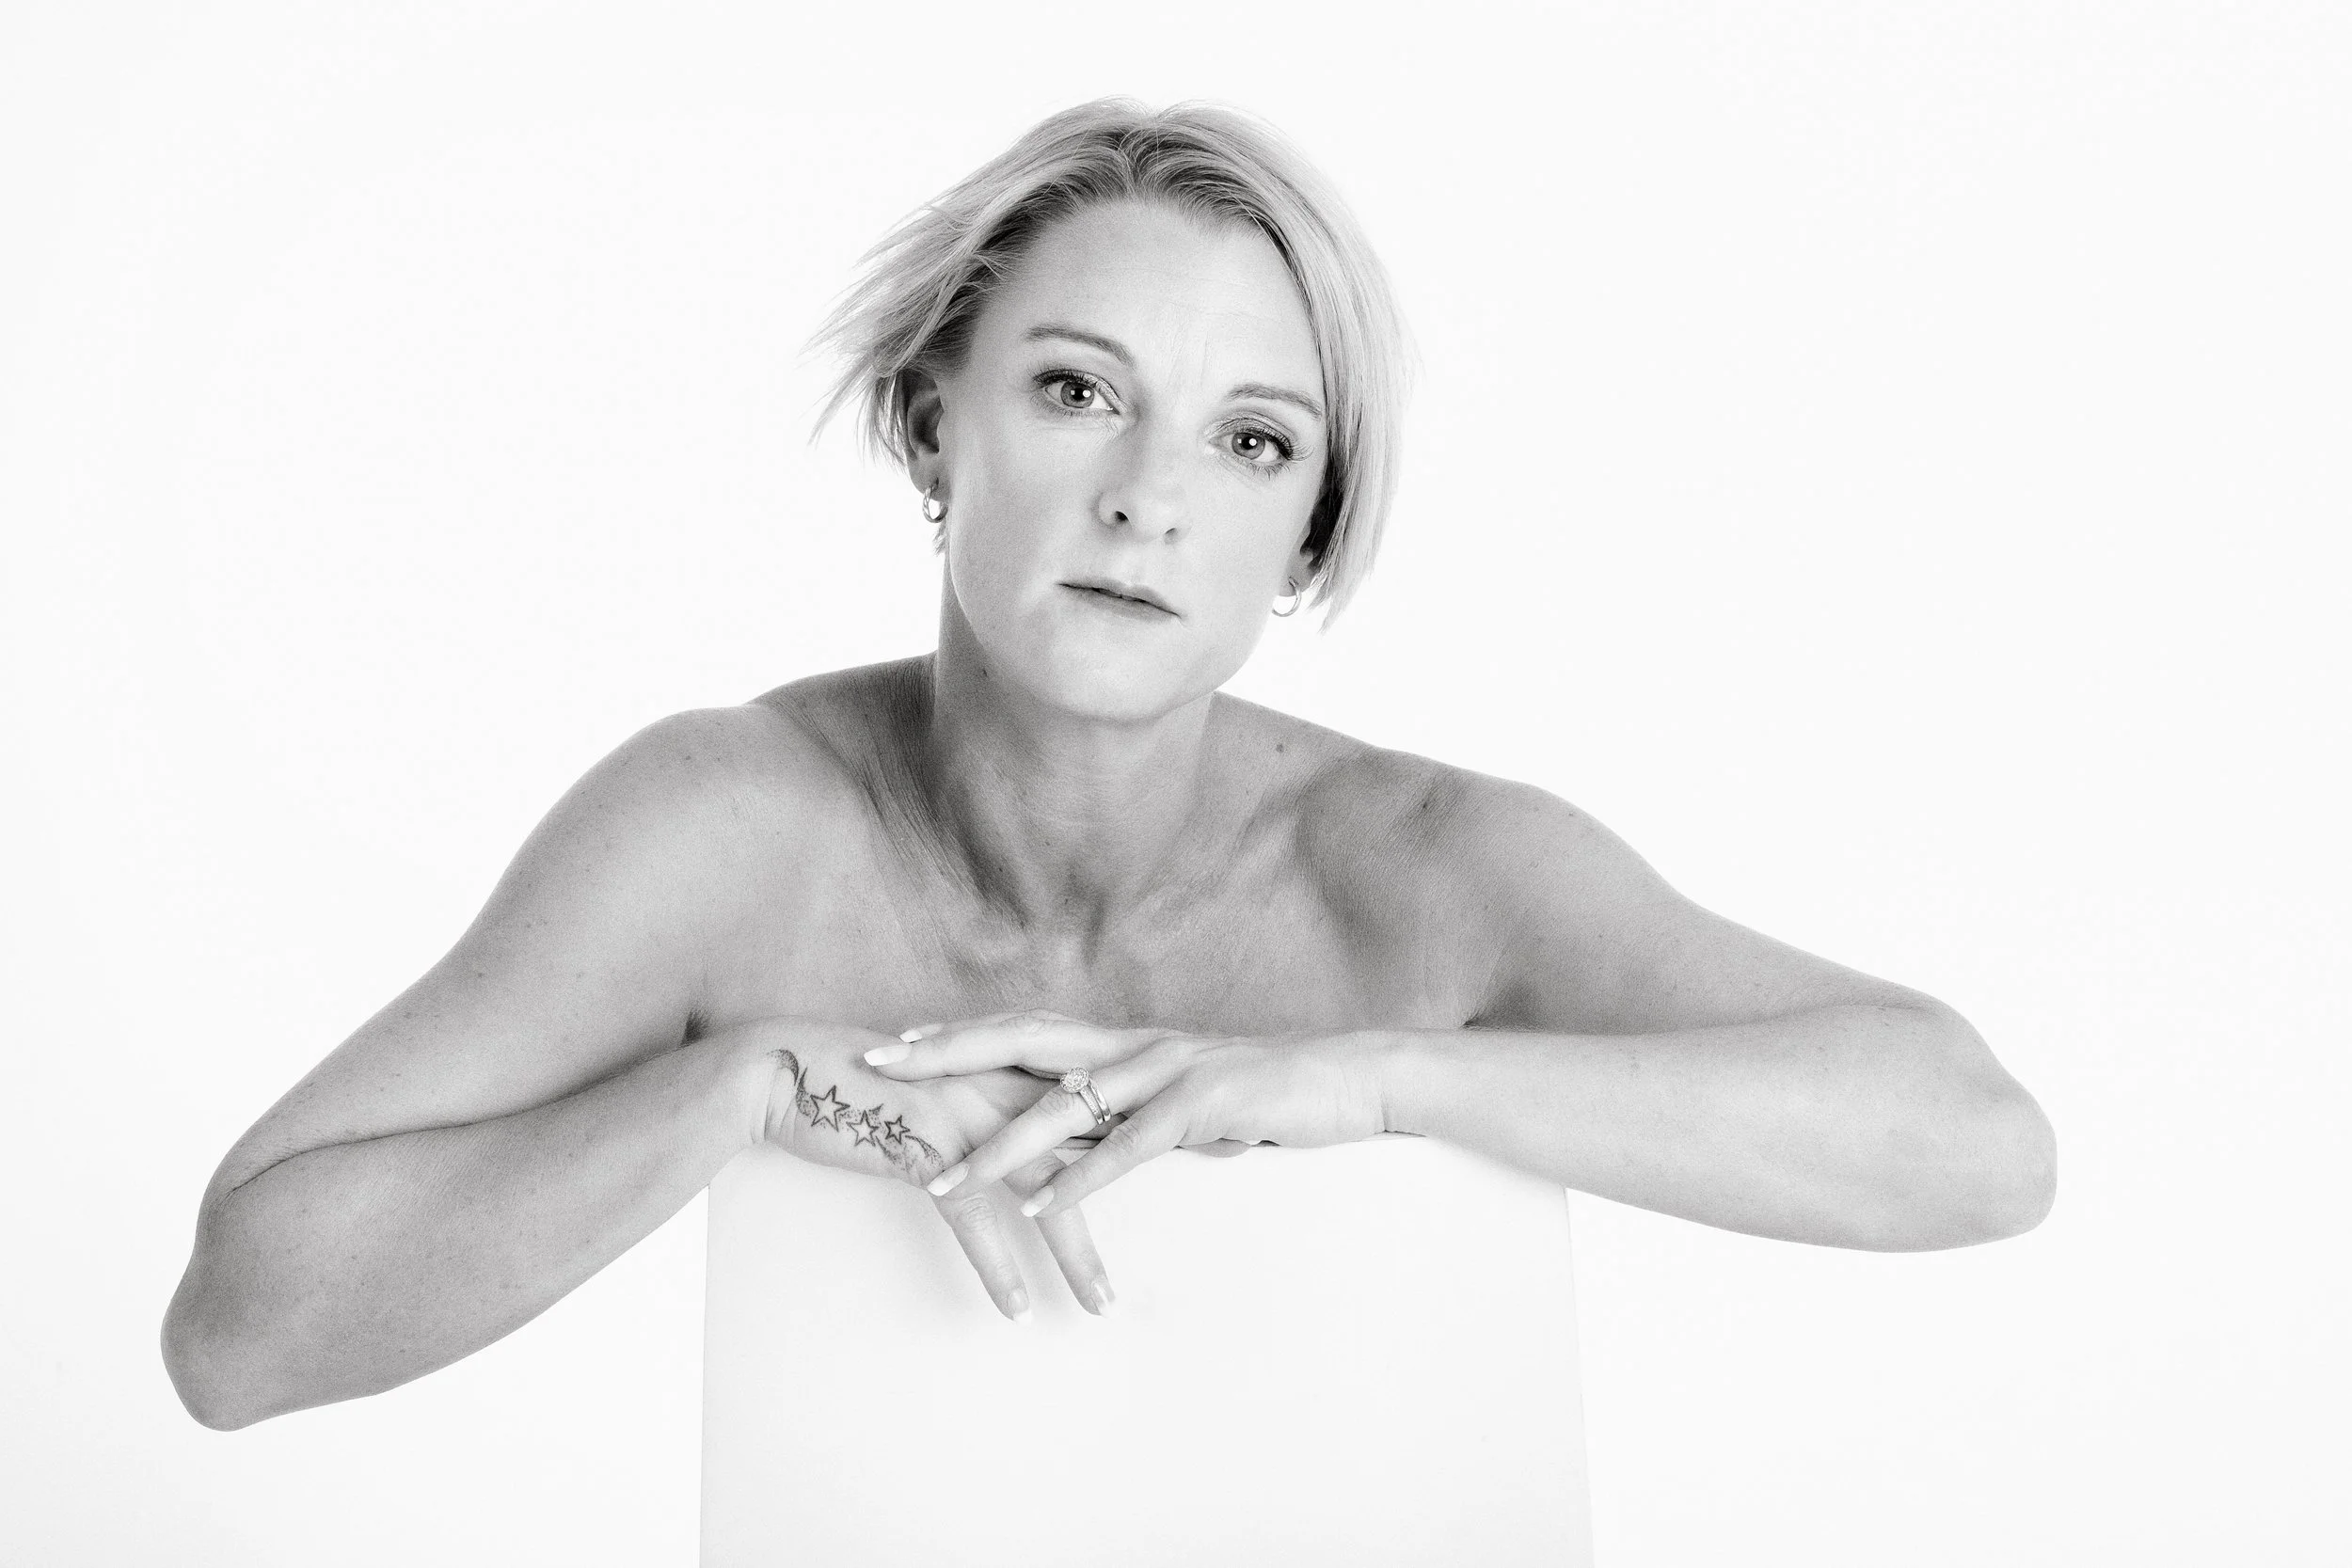
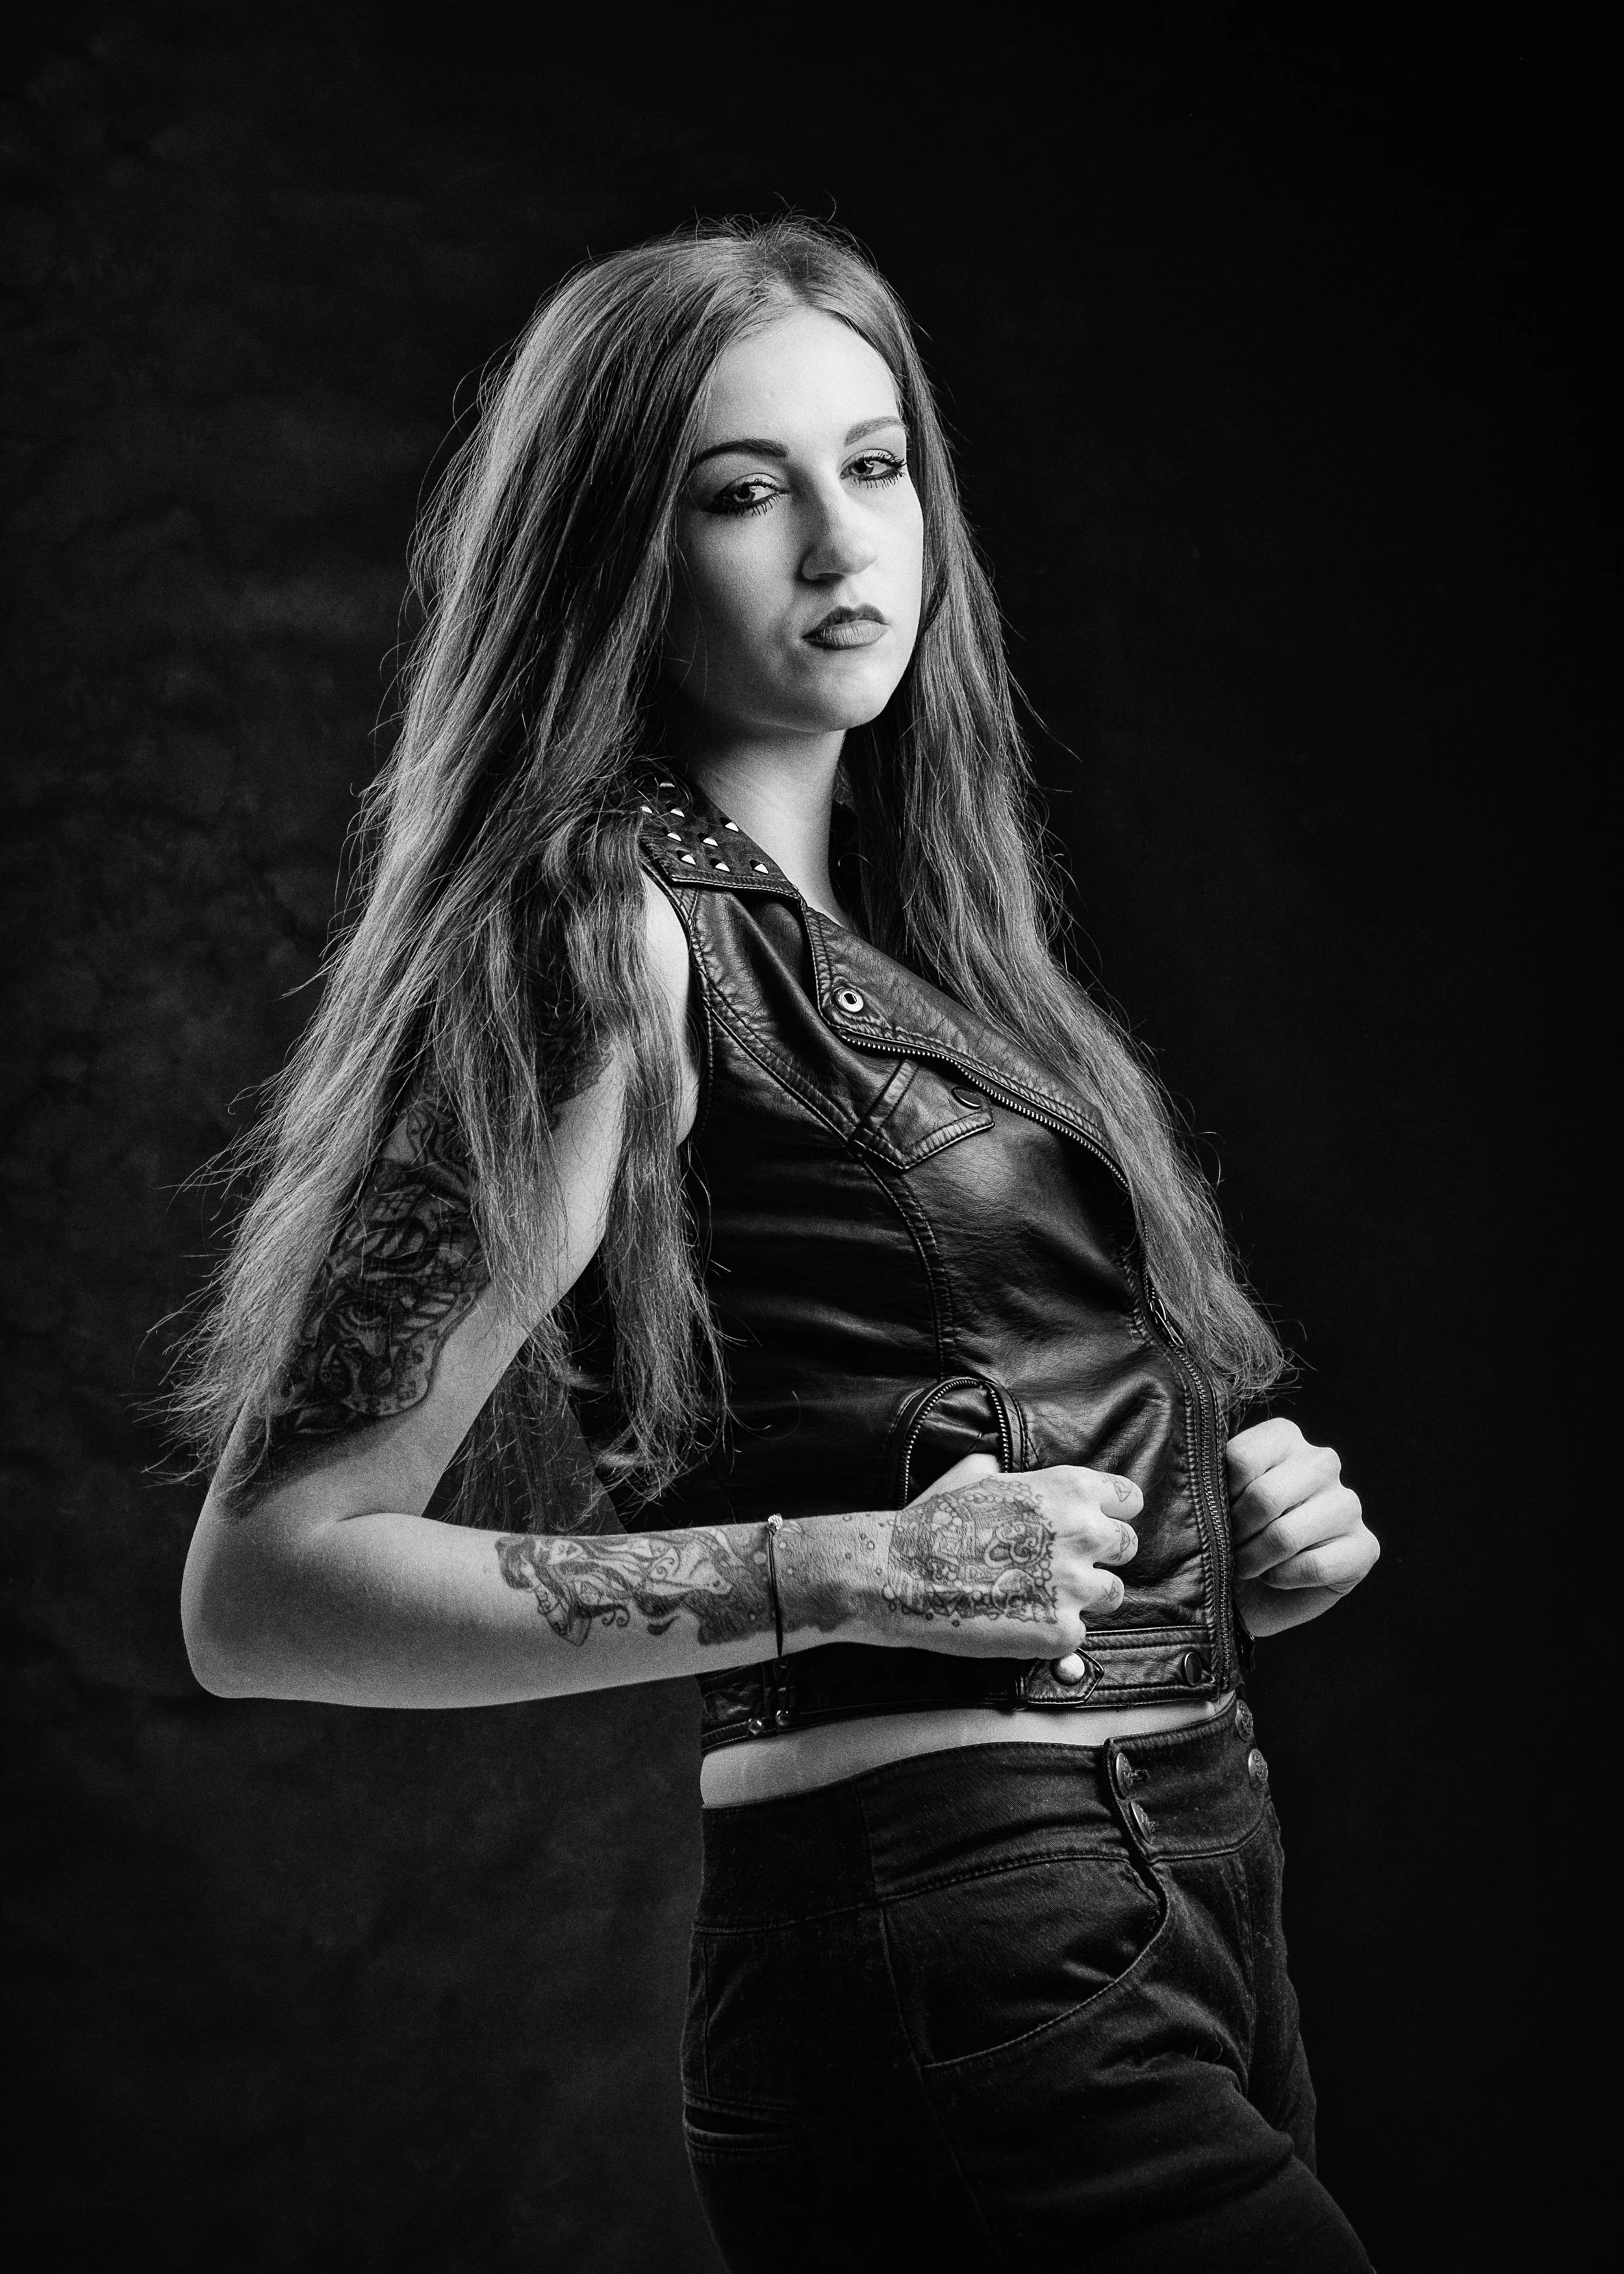
Traditional and formal portraits are what most people picture when they hear the word "portrait": a deliberate, controlled, posed image. The subject faces the camera — or close to it — in a setting that has been chosen and arranged. These portraits have a long history for a reason. When they work, they have a clarity and directness that other approaches cannot match. The subject is present; the image is about them, without distraction. The challenge is the same one that has always existed: helping someone look natural when they are consciously posing. Almost nobody is natural in front of a camera when they know they are being photographed for keeps. The formal portrait requires you to bridge that gap — to create, through direction and conversation and patience, an image that feels genuine even though it is constructed.
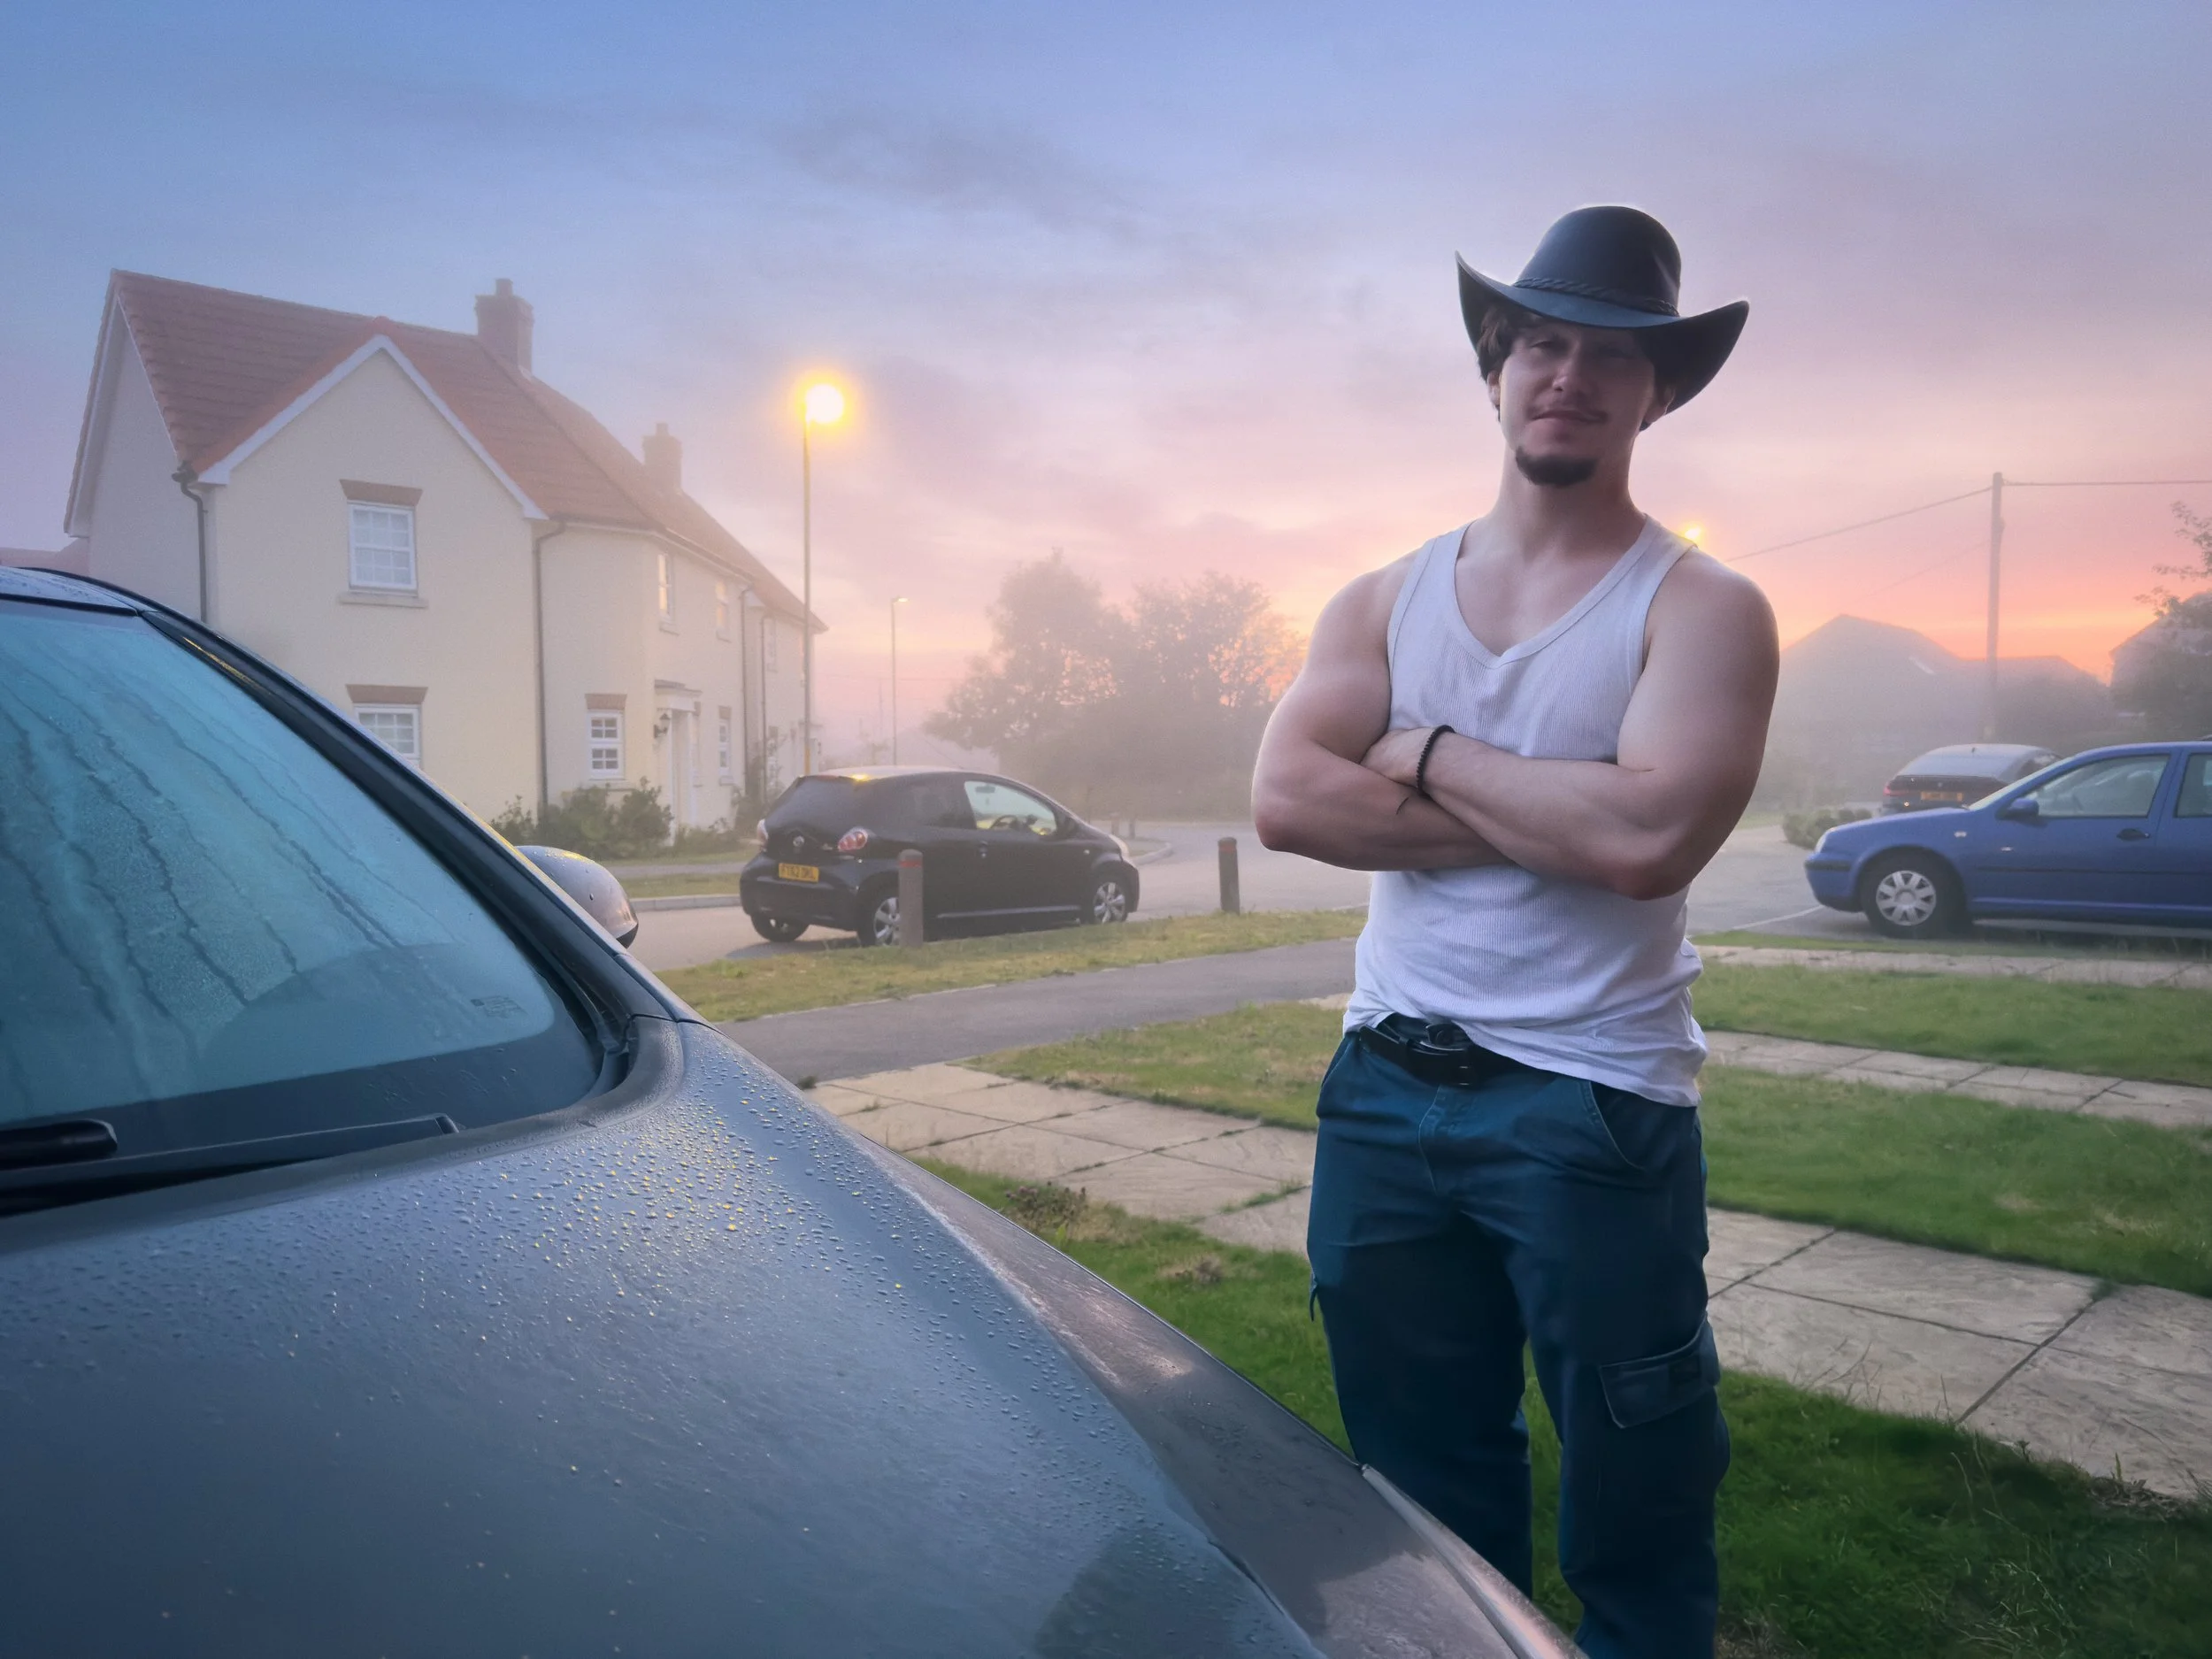
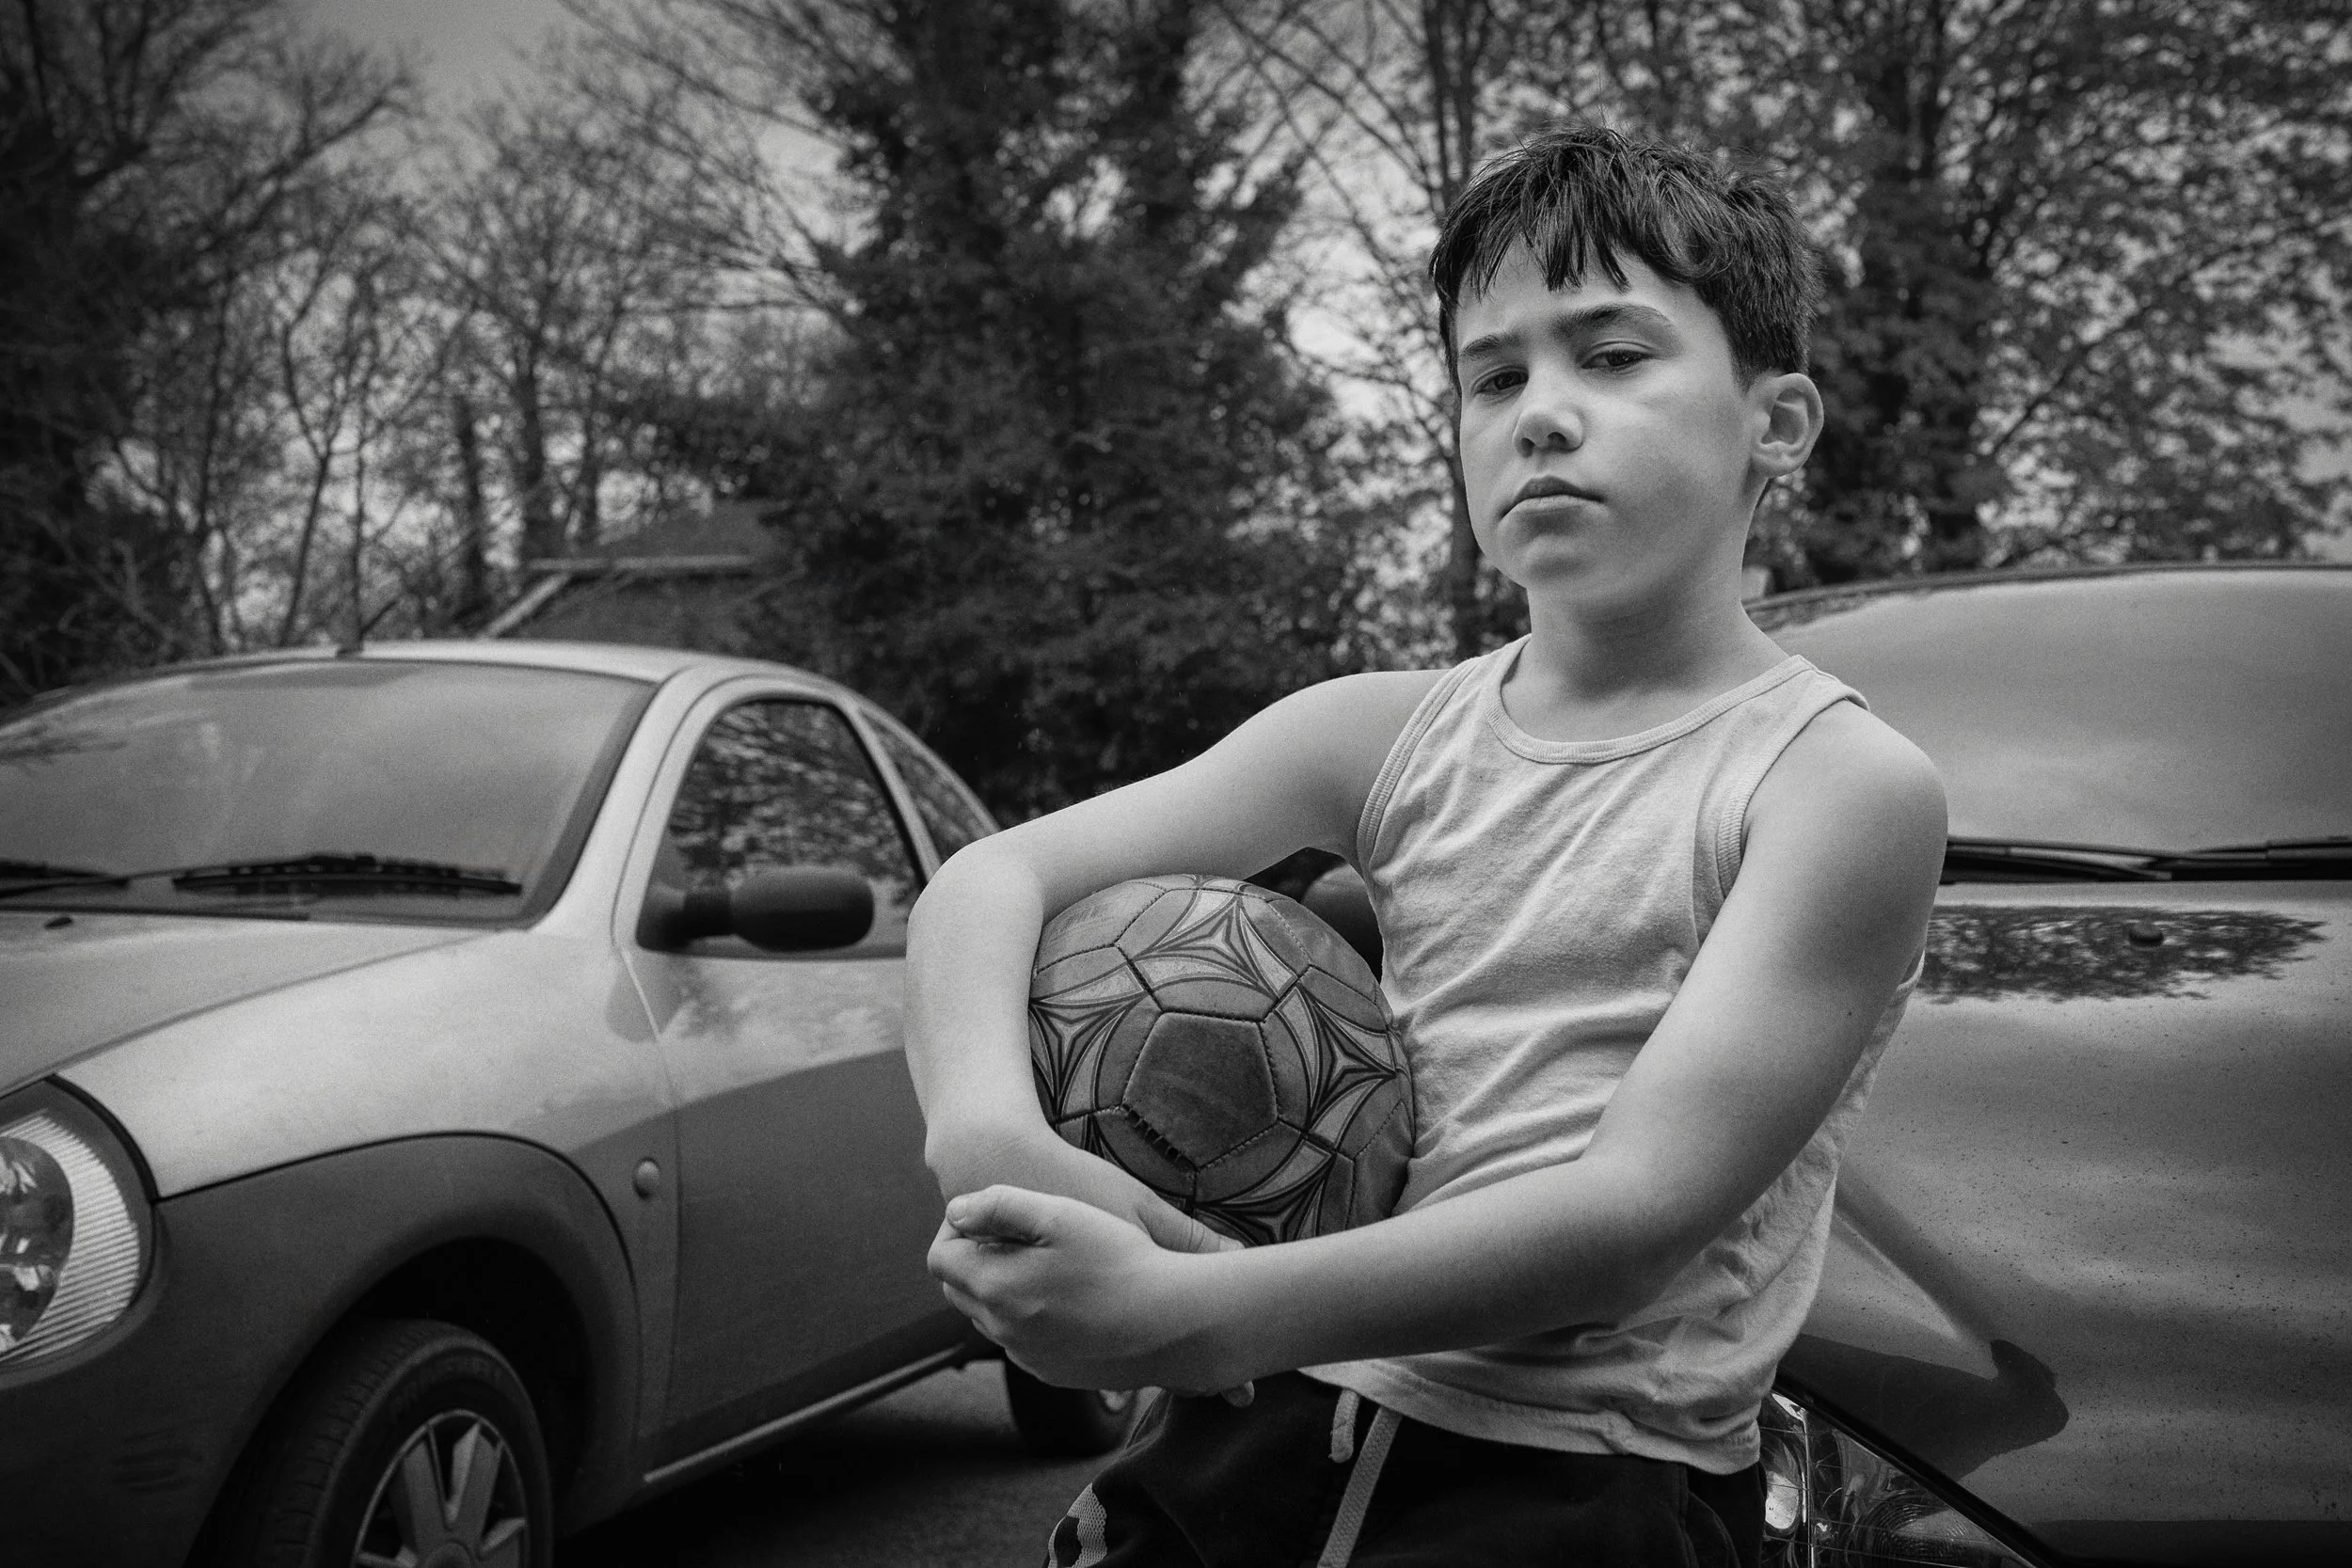
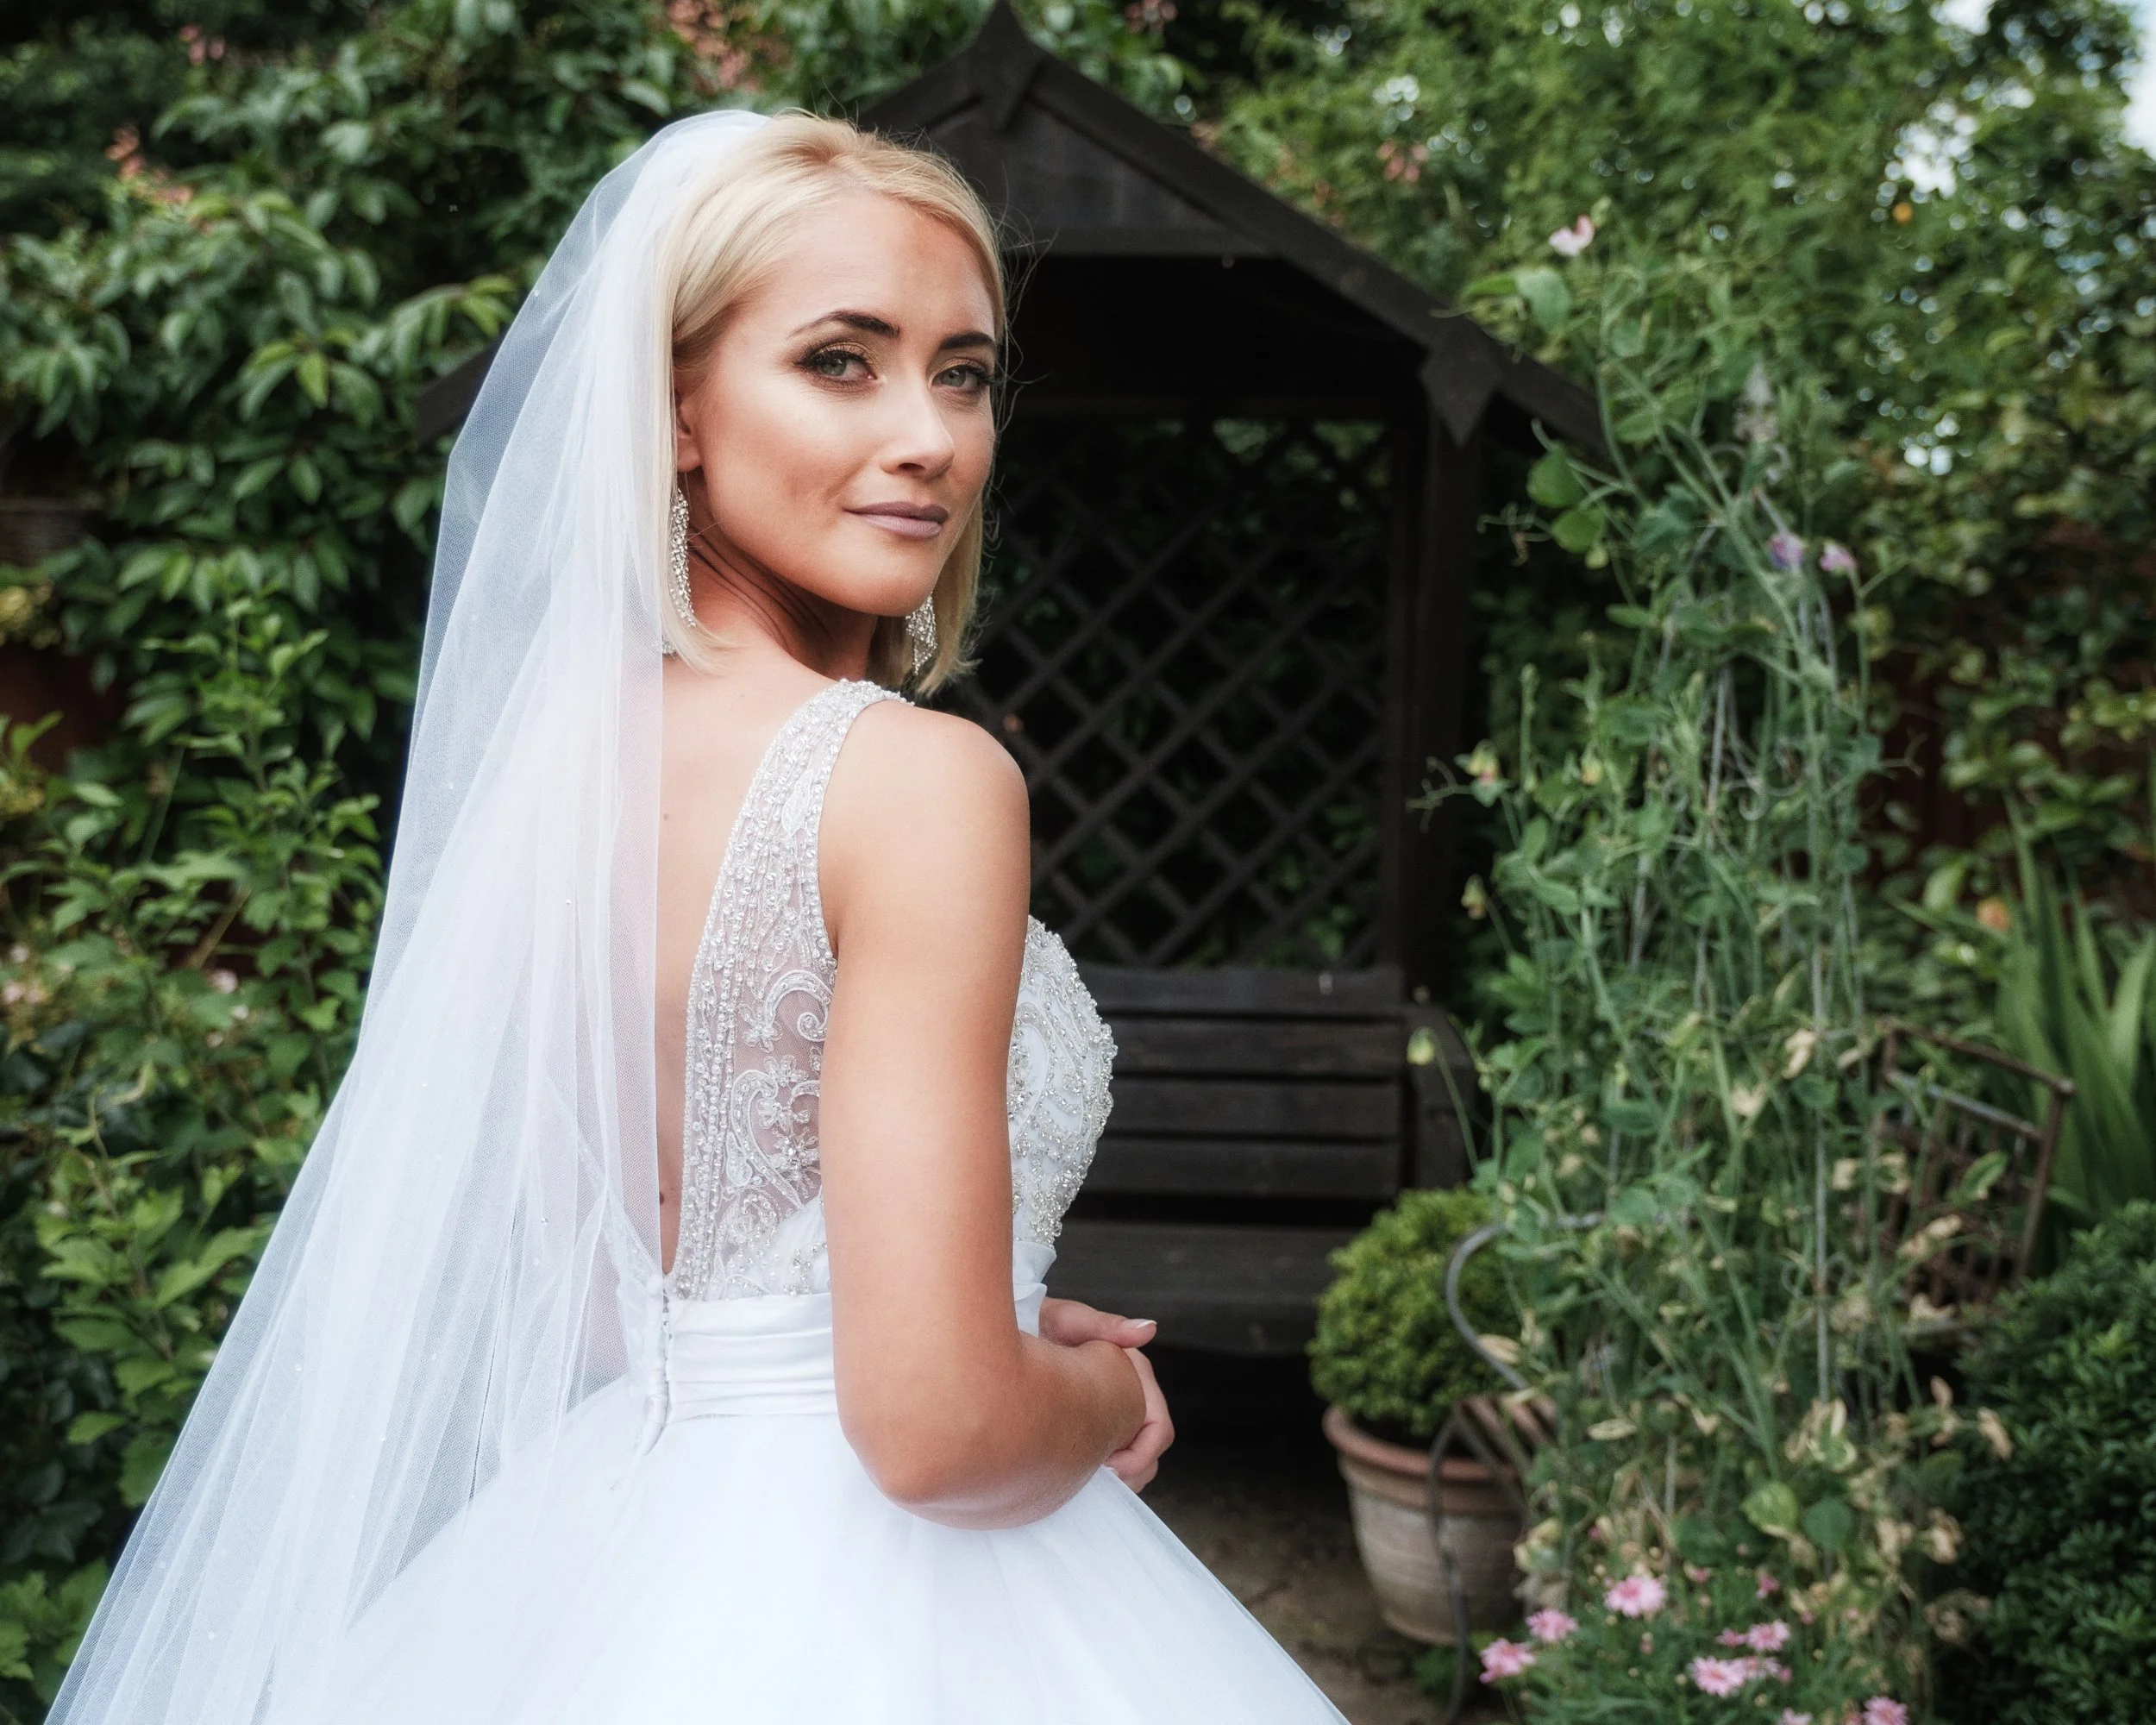
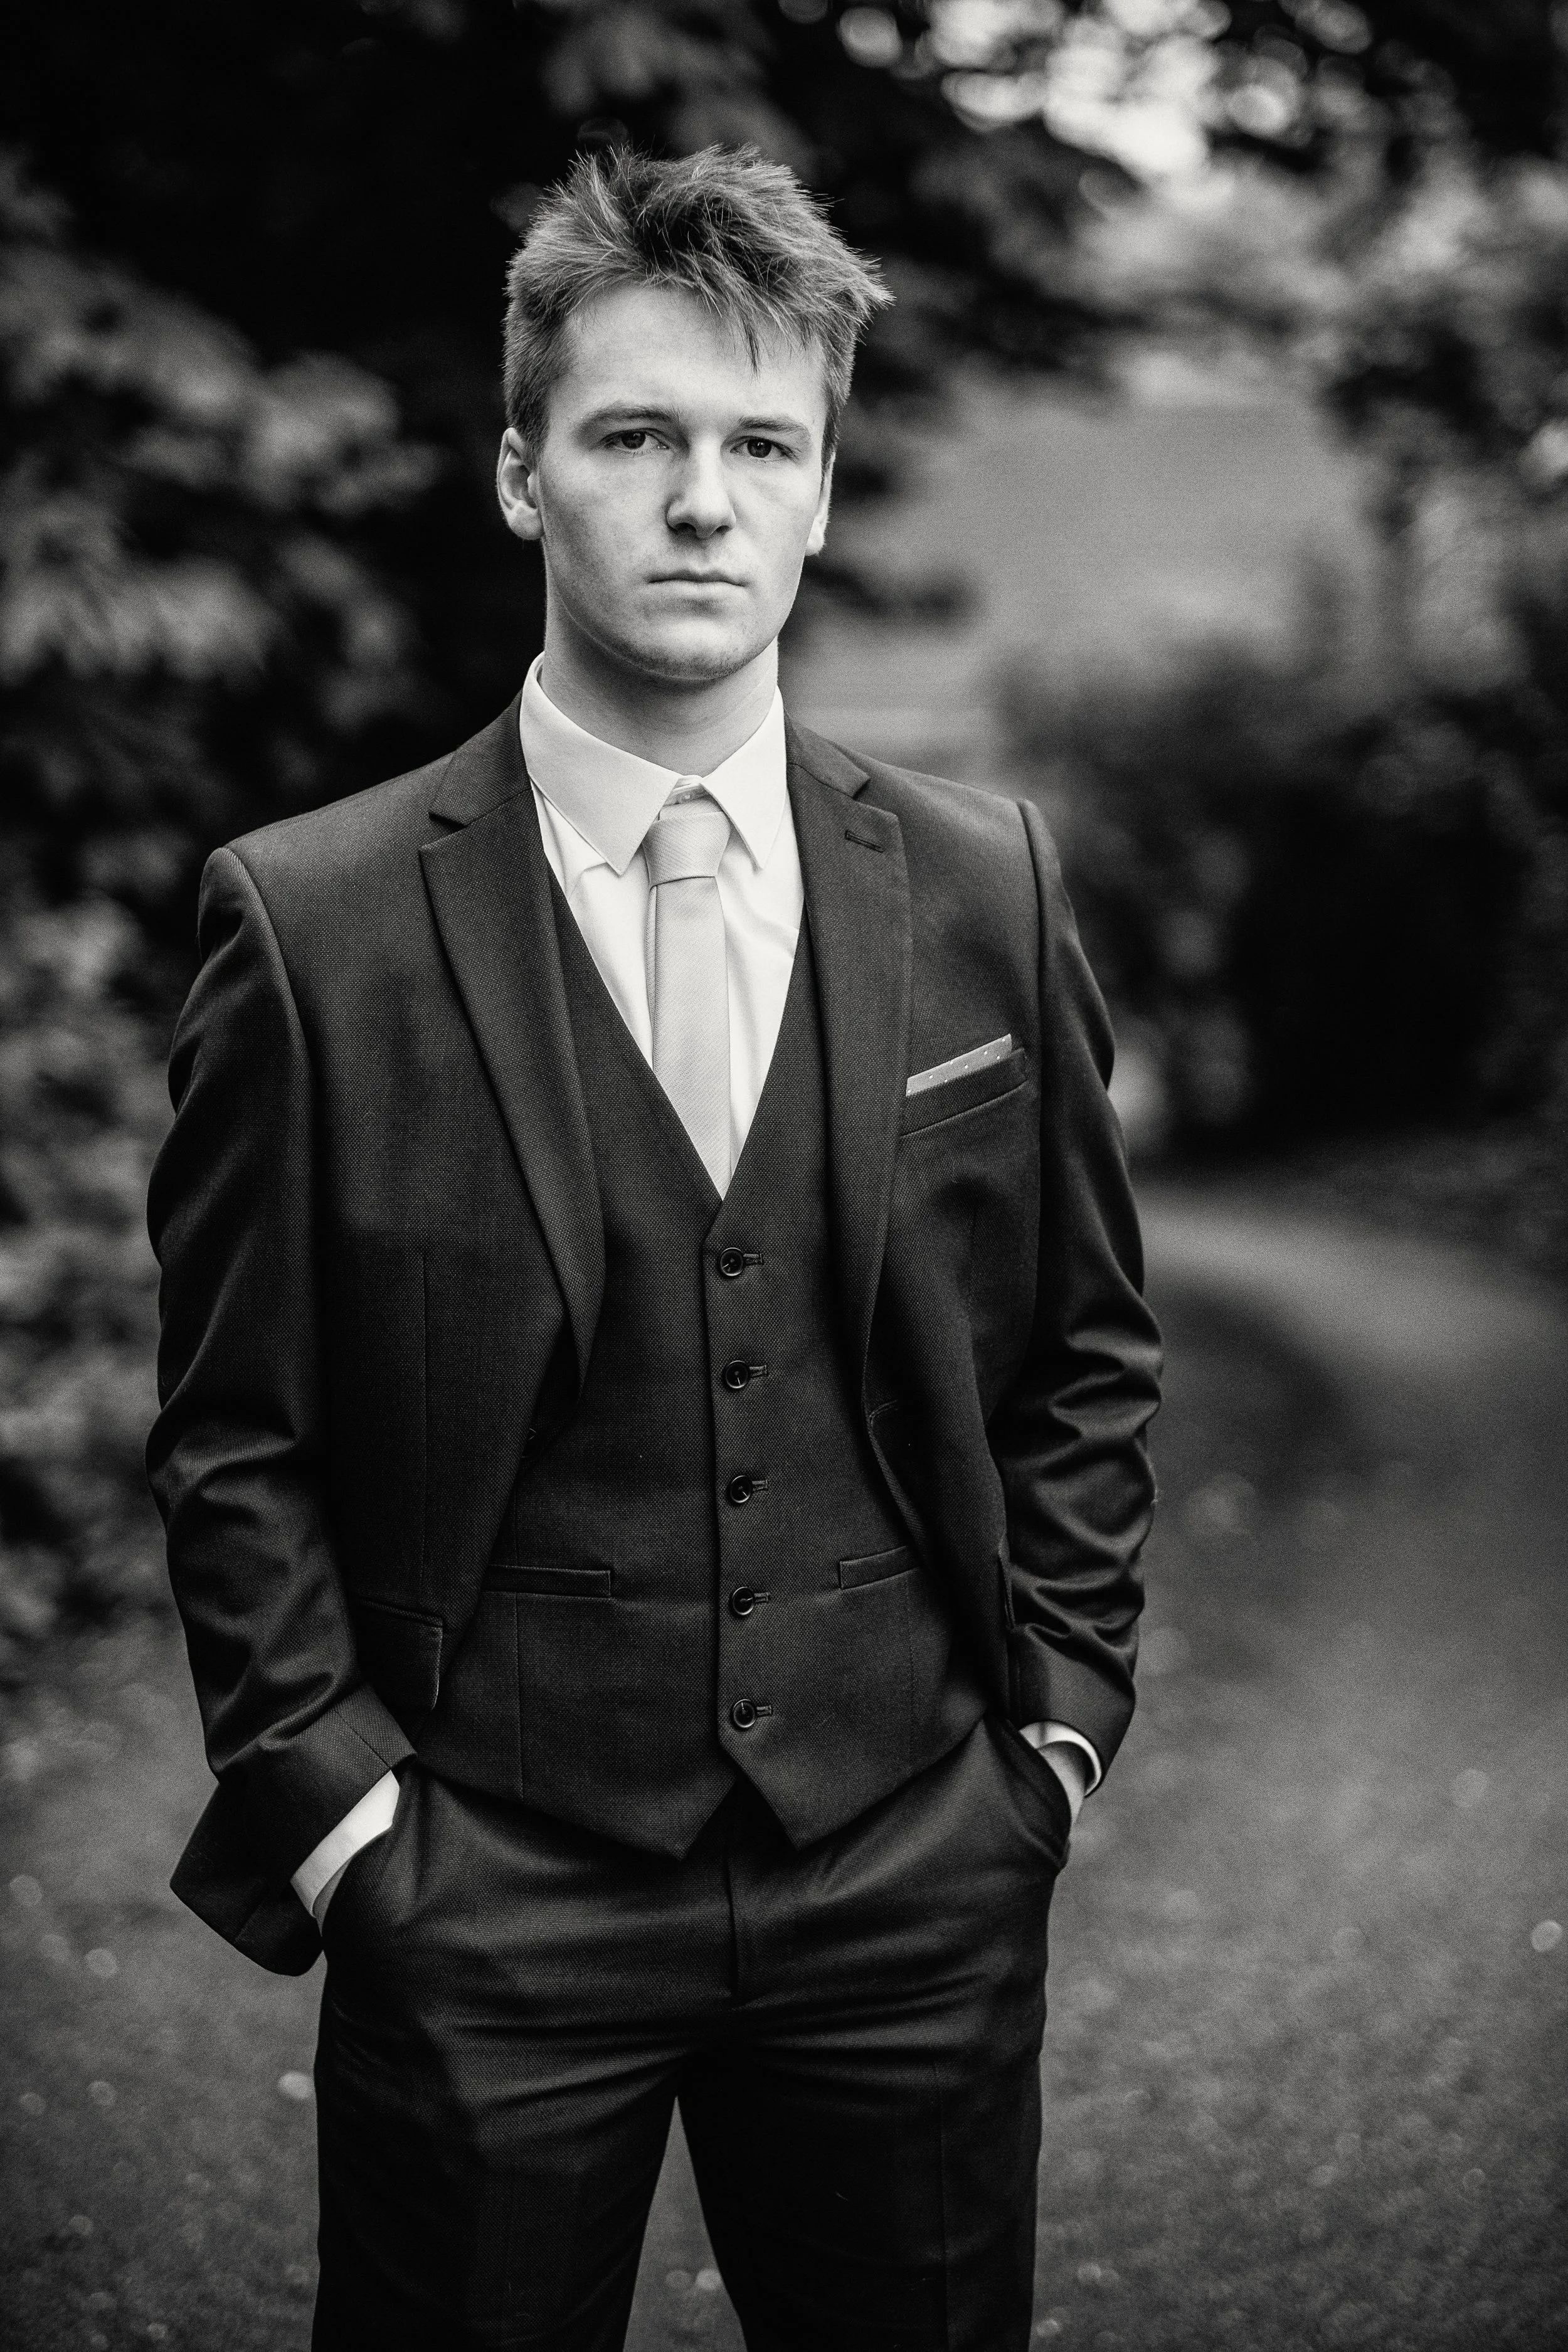
Environmental portraits take a different approach. Here, the subject is placed within a context that is meaningful to them — their workplace, their studio, their garden, the workshop where they spend every Saturday morning. The environment does half the compositional work for you, and it also conveys something the face alone cannot. A carpenter photographed in their workshop, surrounded by tools, sawdust, and the smell of wood, is immediately a more complete portrait than the same person against a plain background. The location provides narrative. It gives the viewer somewhere to look when they are not looking at the face, and in doing so, it adds rather than distracts. Arnold Newman, who more or less invented the environmental portrait as a conscious genre, was right: the surroundings reveal aspects of essential nature that expression and posture alone cannot convey.
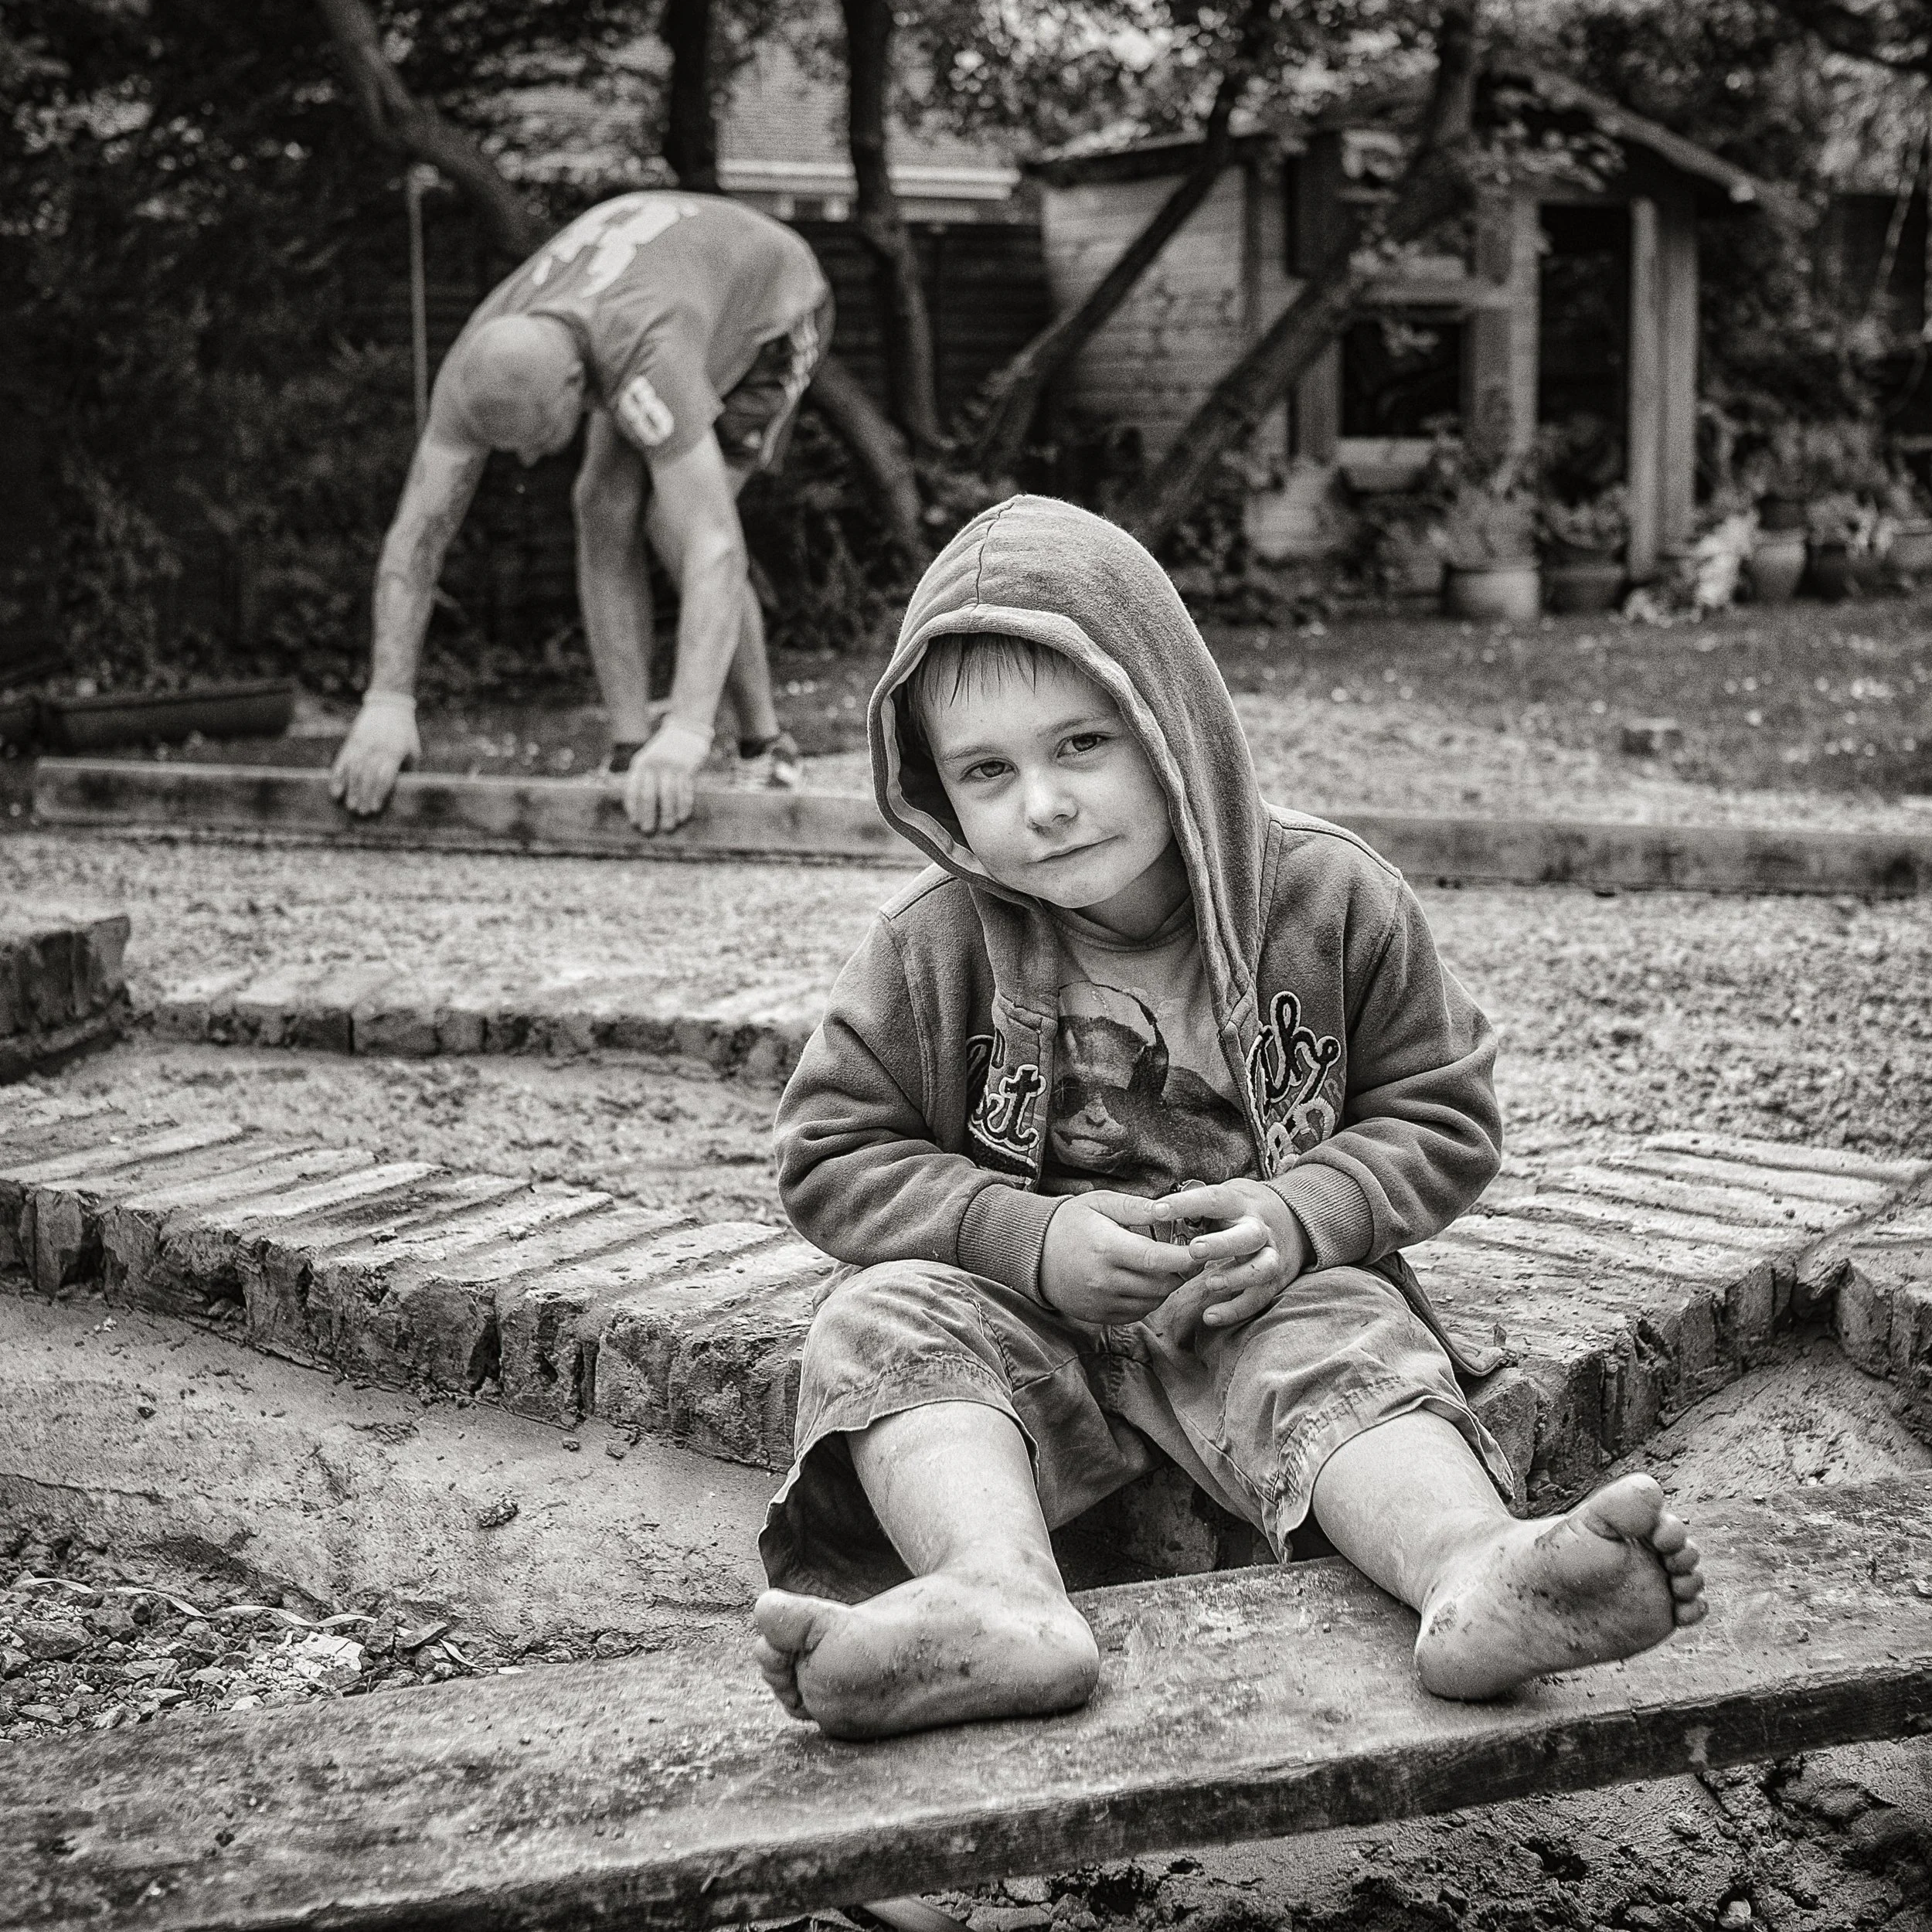
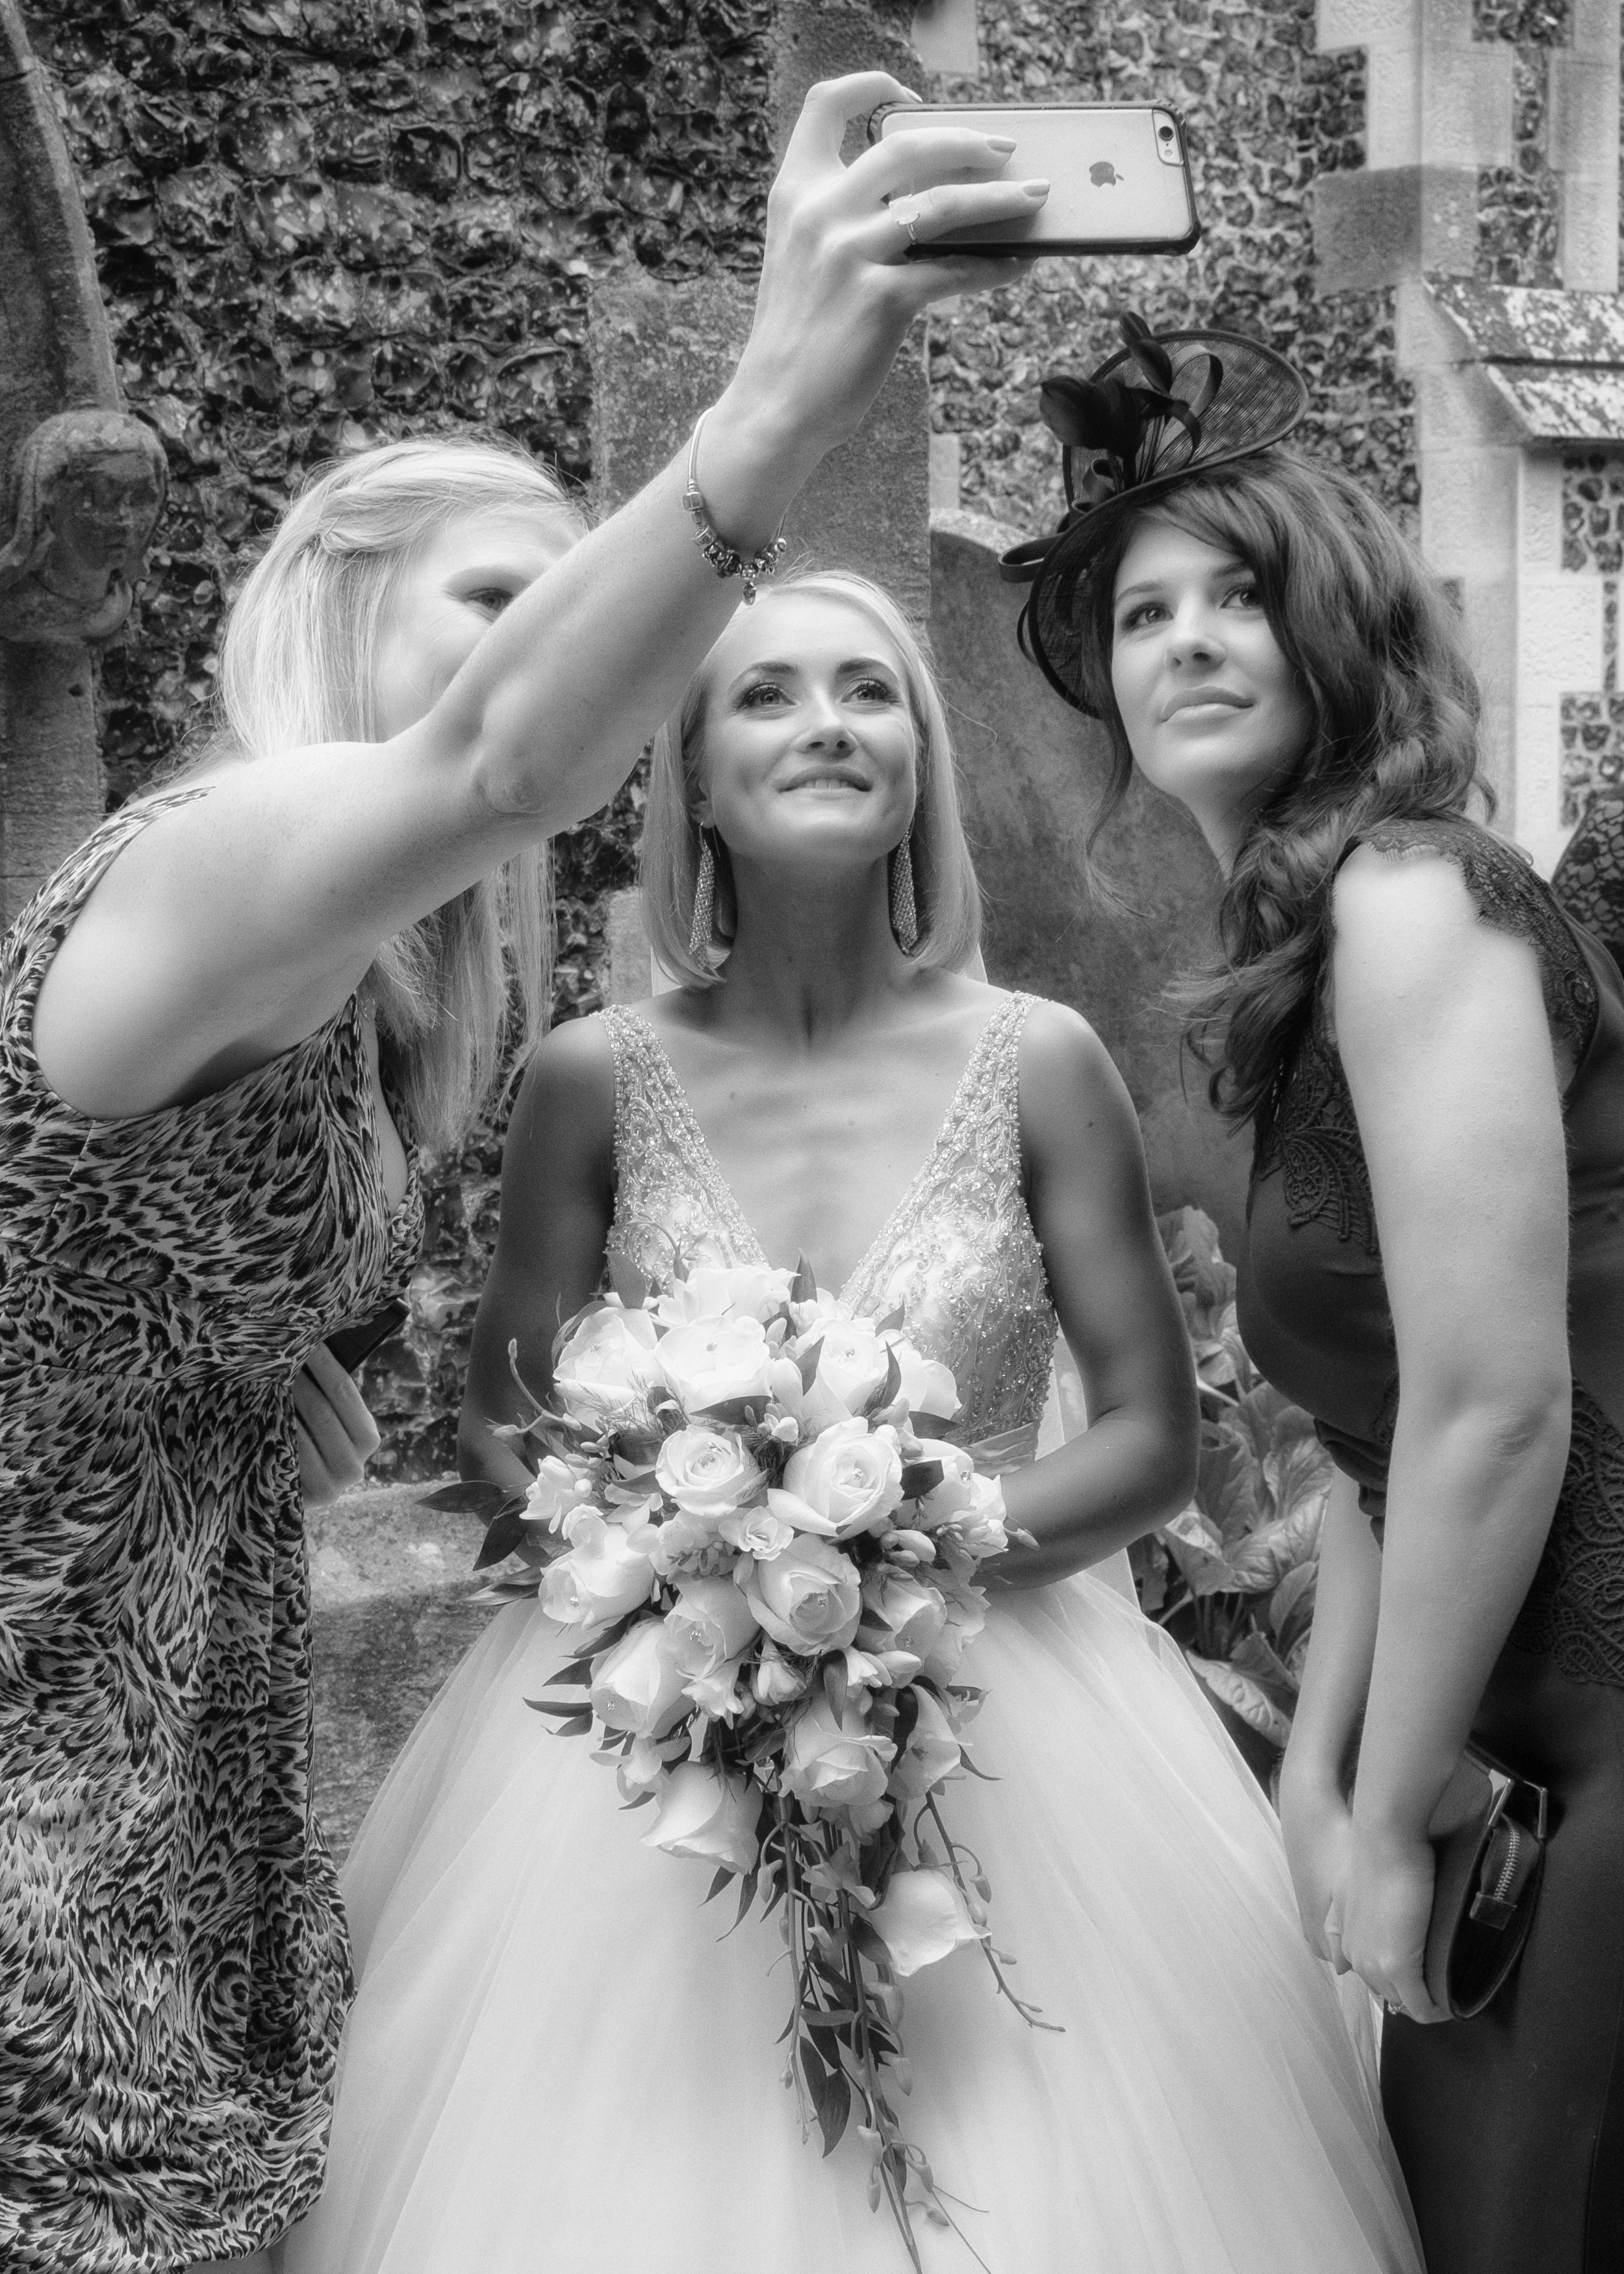
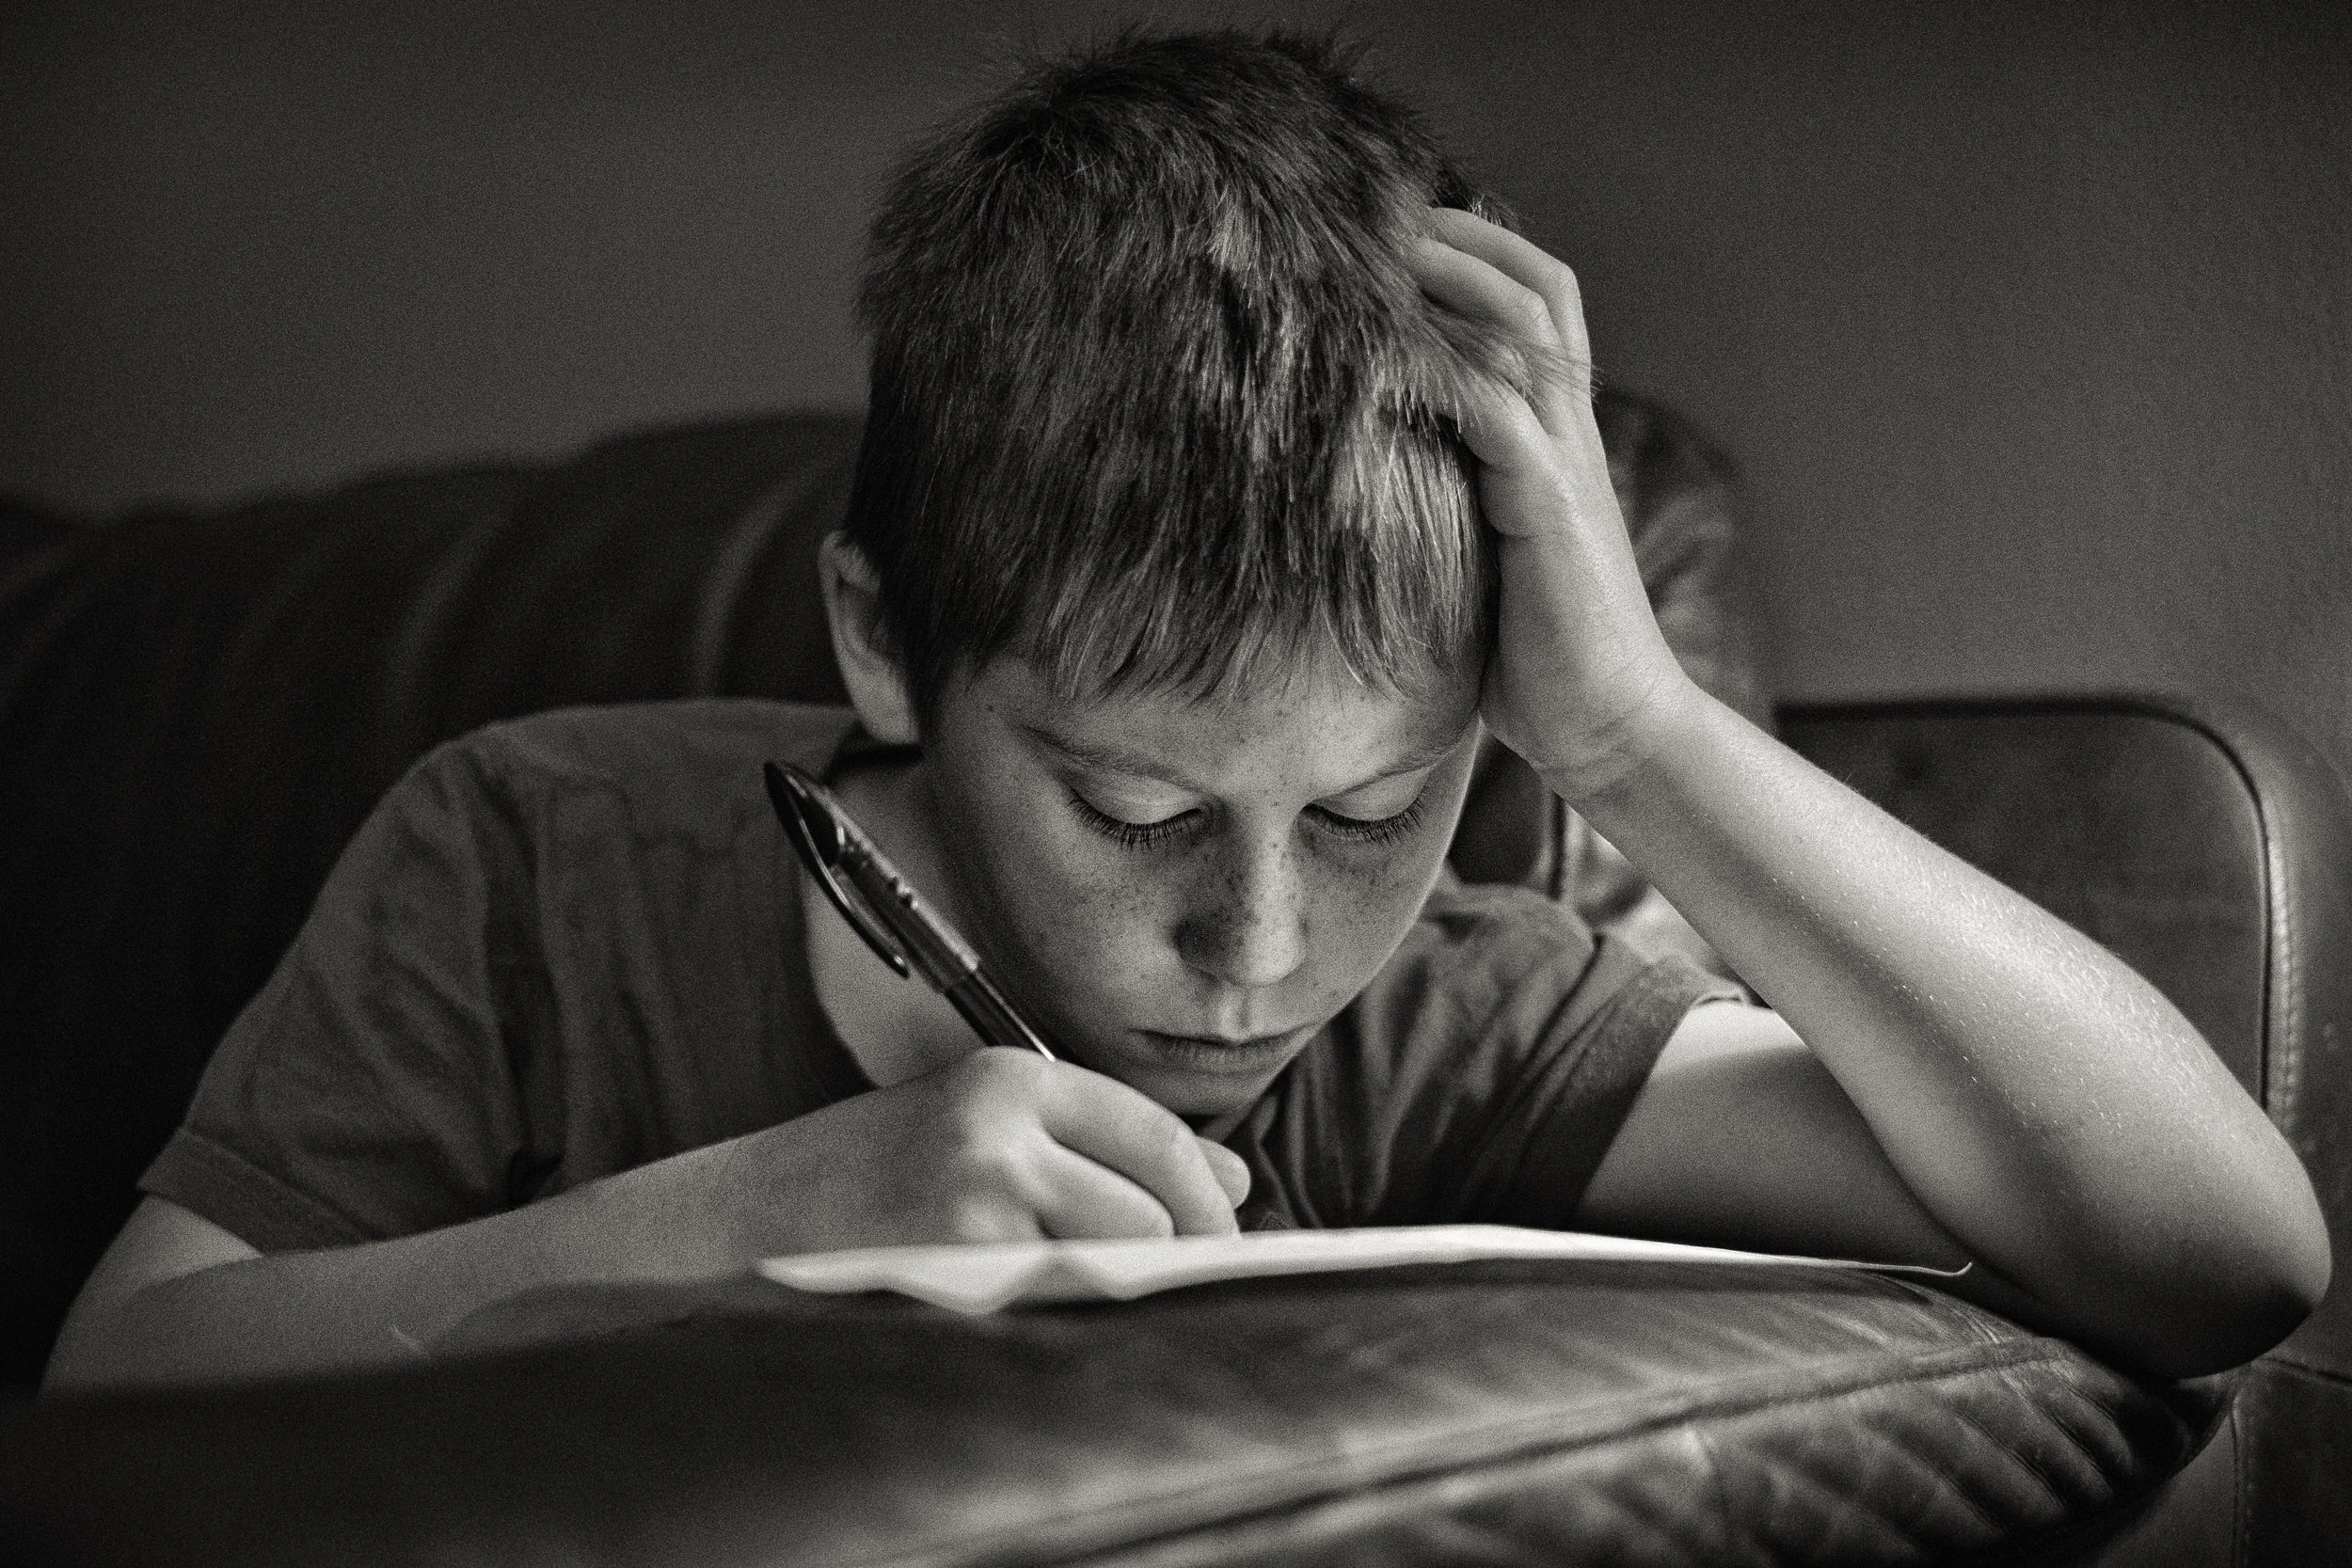
Lifestyle and candid portraits sit at the informal end of the spectrum. The subject is either unaware of the camera or sufficiently comfortable with it that they have stopped performing. These are the hardest portraits to achieve and, when they succeed, often the most compelling. The difficulty lies in understanding the difference between a photographed moment and a performed one. A subject who knows you are watching them and decides to act naturally is still performing. True candid work requires either genuine invisibility — being so familiar to the subject that the camera has become unremarkable — or the patience to wait until they forget it is there. The ratio of frames taken to frames worth keeping is unfavourable. That is the cost of authenticity.
Self-portraits are a special case in more ways than one, and they get their own section later. But briefly: the particular challenge of the self-portrait is that you must simultaneously be the photographer and the subject, which means you cannot be behind the camera when you are in front of it. The technical solutions are straightforward — self-timer, interval shooting, a mirror to preview composition, and a remote shutter release. The psychological dimension is less easily solved. Photographing yourself honestly is genuinely difficult. Most self-portraits become performance almost immediately, because you are acutely aware of being observed, even if only by yourself. The most interesting self-portrait work tends to emerge from a series of shots taken over an extended period, in which self-consciousness gradually wears thin.
Headshots and professional portraits are a subset of traditional portraiture, but they deserve separate mention because their requirements differ. A headshot has a specific function: it needs to convey competence, approachability, and something of the subject's personality in a format small enough to fit on a business card or a LinkedIn profile. It does not need to be art. It needs to be accurate and flattering, technically precise, and consistent. Here, more than anywhere else in portraiture, technical execution matters — because the image is going to be scrutinised at small sizes and compared against other images of similar subjects. A muddy white balance, a shadow across the face, or slightly soft focus on the eyes will fail the brief in ways that might not matter in a more expressive portrait.
The best portrait photographers move fluidly among these modes, and their approach is determined by the subject, not by their own preferences. Some subjects will open up in a formal setting and retreat in an informal one; others will freeze in a posed shot but become themselves the moment the camera appears to stop paying attention. Knowing which is which — and adapting accordingly — is one of the underrated skills in portraiture.
Light for Portraits
Light is everything in portrait photography. It determines mood, flatters or unflatters, sculpts or flattens, and communicates before the viewer has consciously registered anything about the image. The good news is that the most effective light for portraiture is also the most available: daylight, modified by whatever happens to be in the way.
Natural light is the default for most portrait work, and with reason. It is free, flexible, and, at its best — on an overcast day or beside a large window — it produces a quality that is genuinely difficult to replicate with artificial sources. The key is to understand what modifies it.
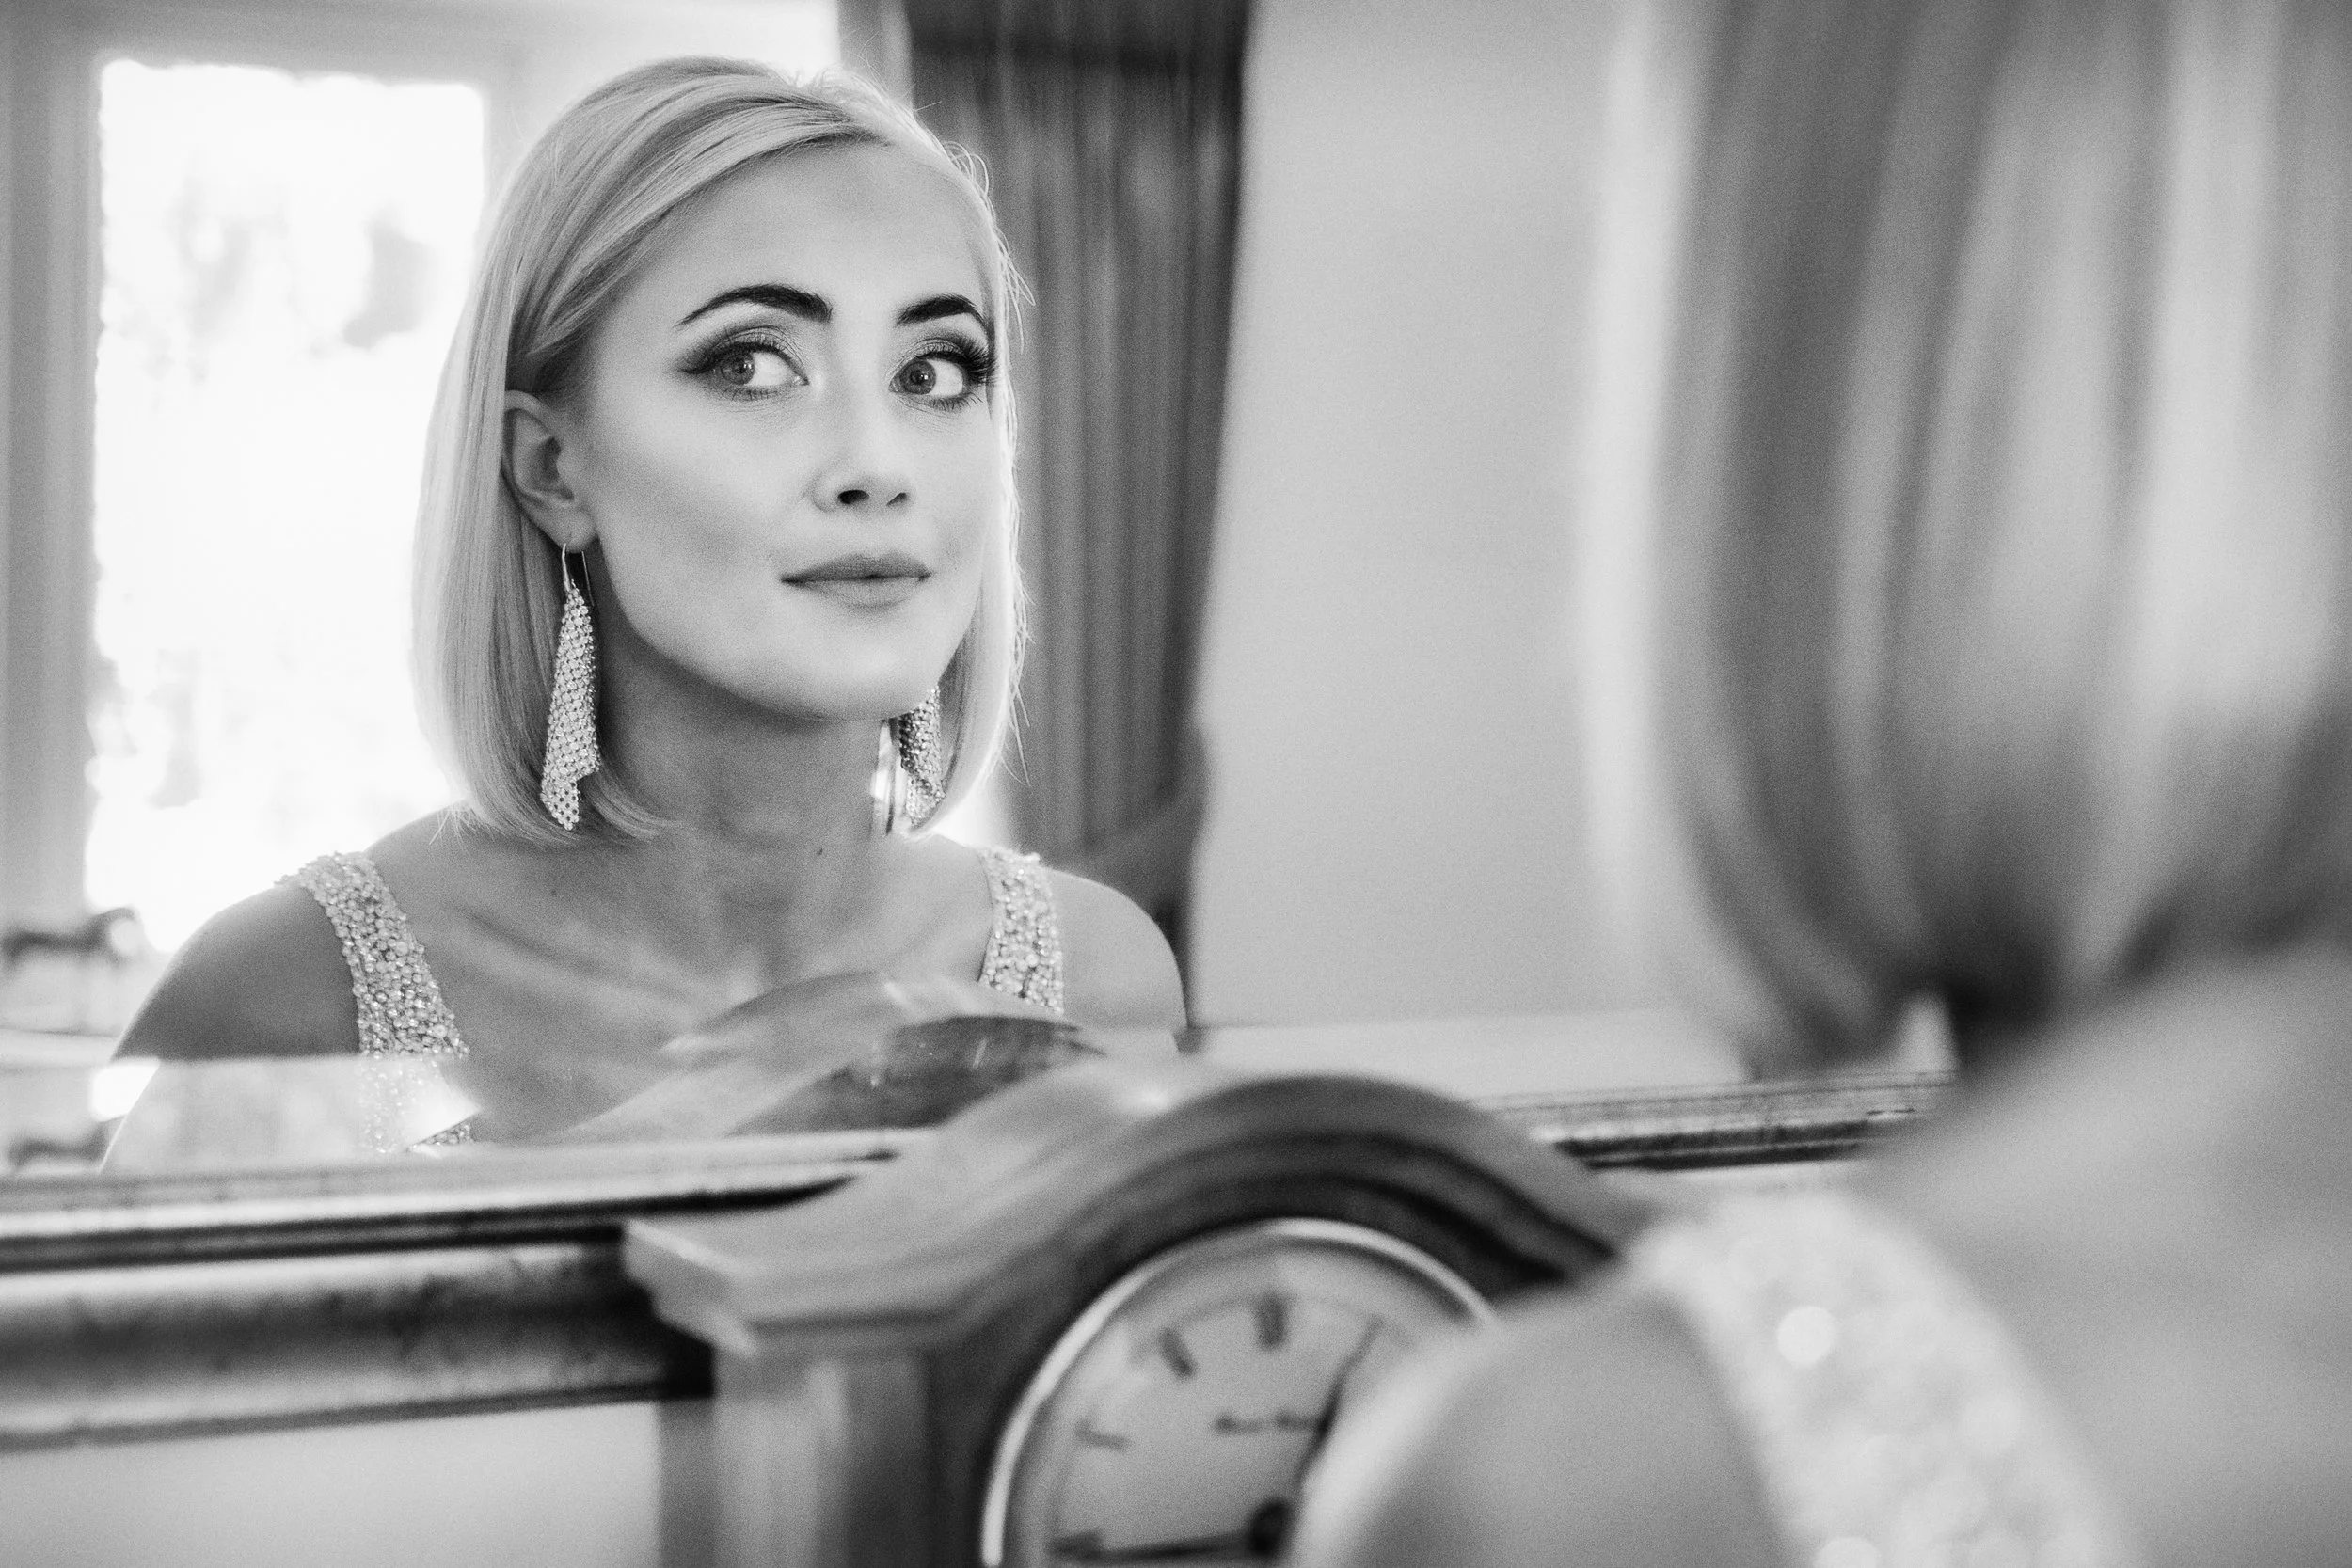
Window light is perhaps the most useful light a portrait photographer has access to. A large window, particularly on a cloudy day, acts as a giant softbox: the light is directional — it comes from one side — but diffuse, wrapping around the face without hard shadows. The orientation of the window matters. North-facing windows (in the Northern Hemisphere) provide consistent, directionless light throughout the day — no direct sunlight ever enters them, which makes them ideal for even, controlled portraits. South- and west-facing windows can give you dramatic directional light as the sun enters directly, which is beautiful for character studies but harder to manage for subjects who want to look their best.
The quality of light coming through a window also depends on what is happening outside it. The overcast sky outside the window produces soft, diffuse light — clouds act as a natural diffuser, scattering the light and reducing most of the harshness. Direct sunlight through a window is a different proposition: the source is smaller relative to the subject (because the light has not been scattered), the shadows are harder, and the contrast is higher. Either can work; they are just different tools.
The quality of light — the distinction between hard and soft — is worth understanding properly, because it shapes everything. Hard light comes from a small, distant source relative to the subject: direct sunlight on a clear day, a bare flash. It creates hard-edged shadows, reveals skin texture, and generates high contrast. Soft light comes from a large source relative to the subject: a window on an overcast day, a reflector, a large diffused flash. The shadows are gradual and gentle, the skin is treated kindly, and the overall effect is more forgiving.
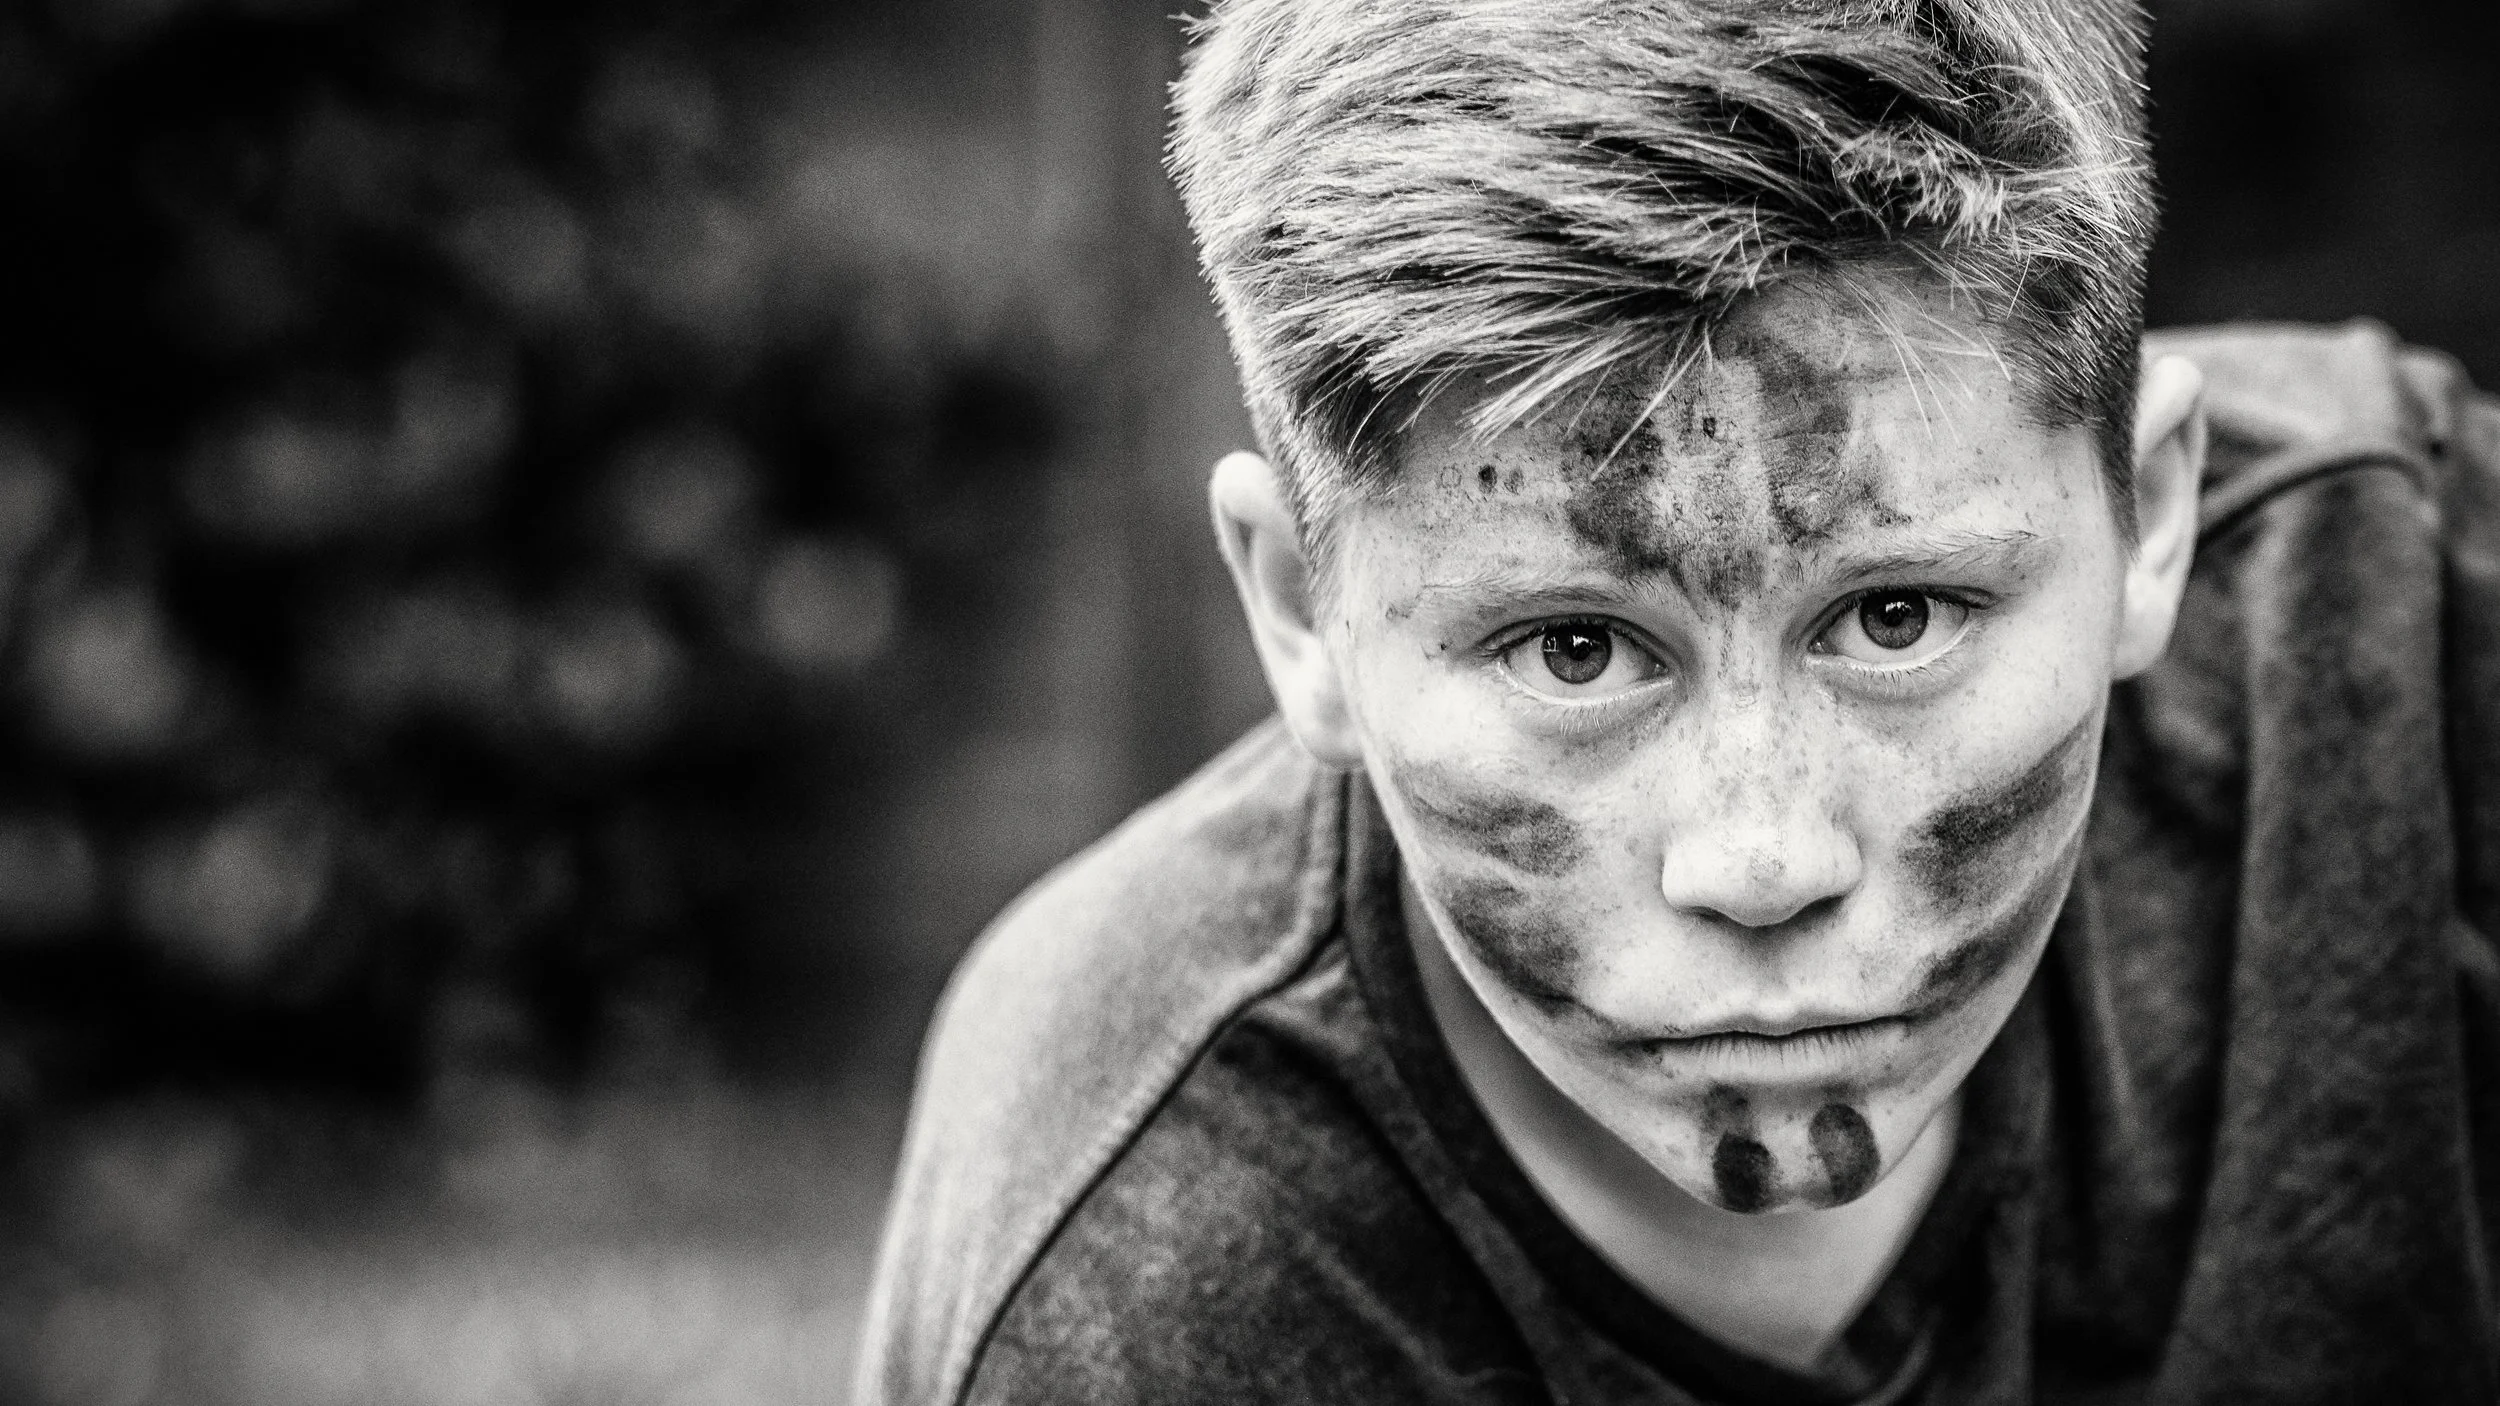
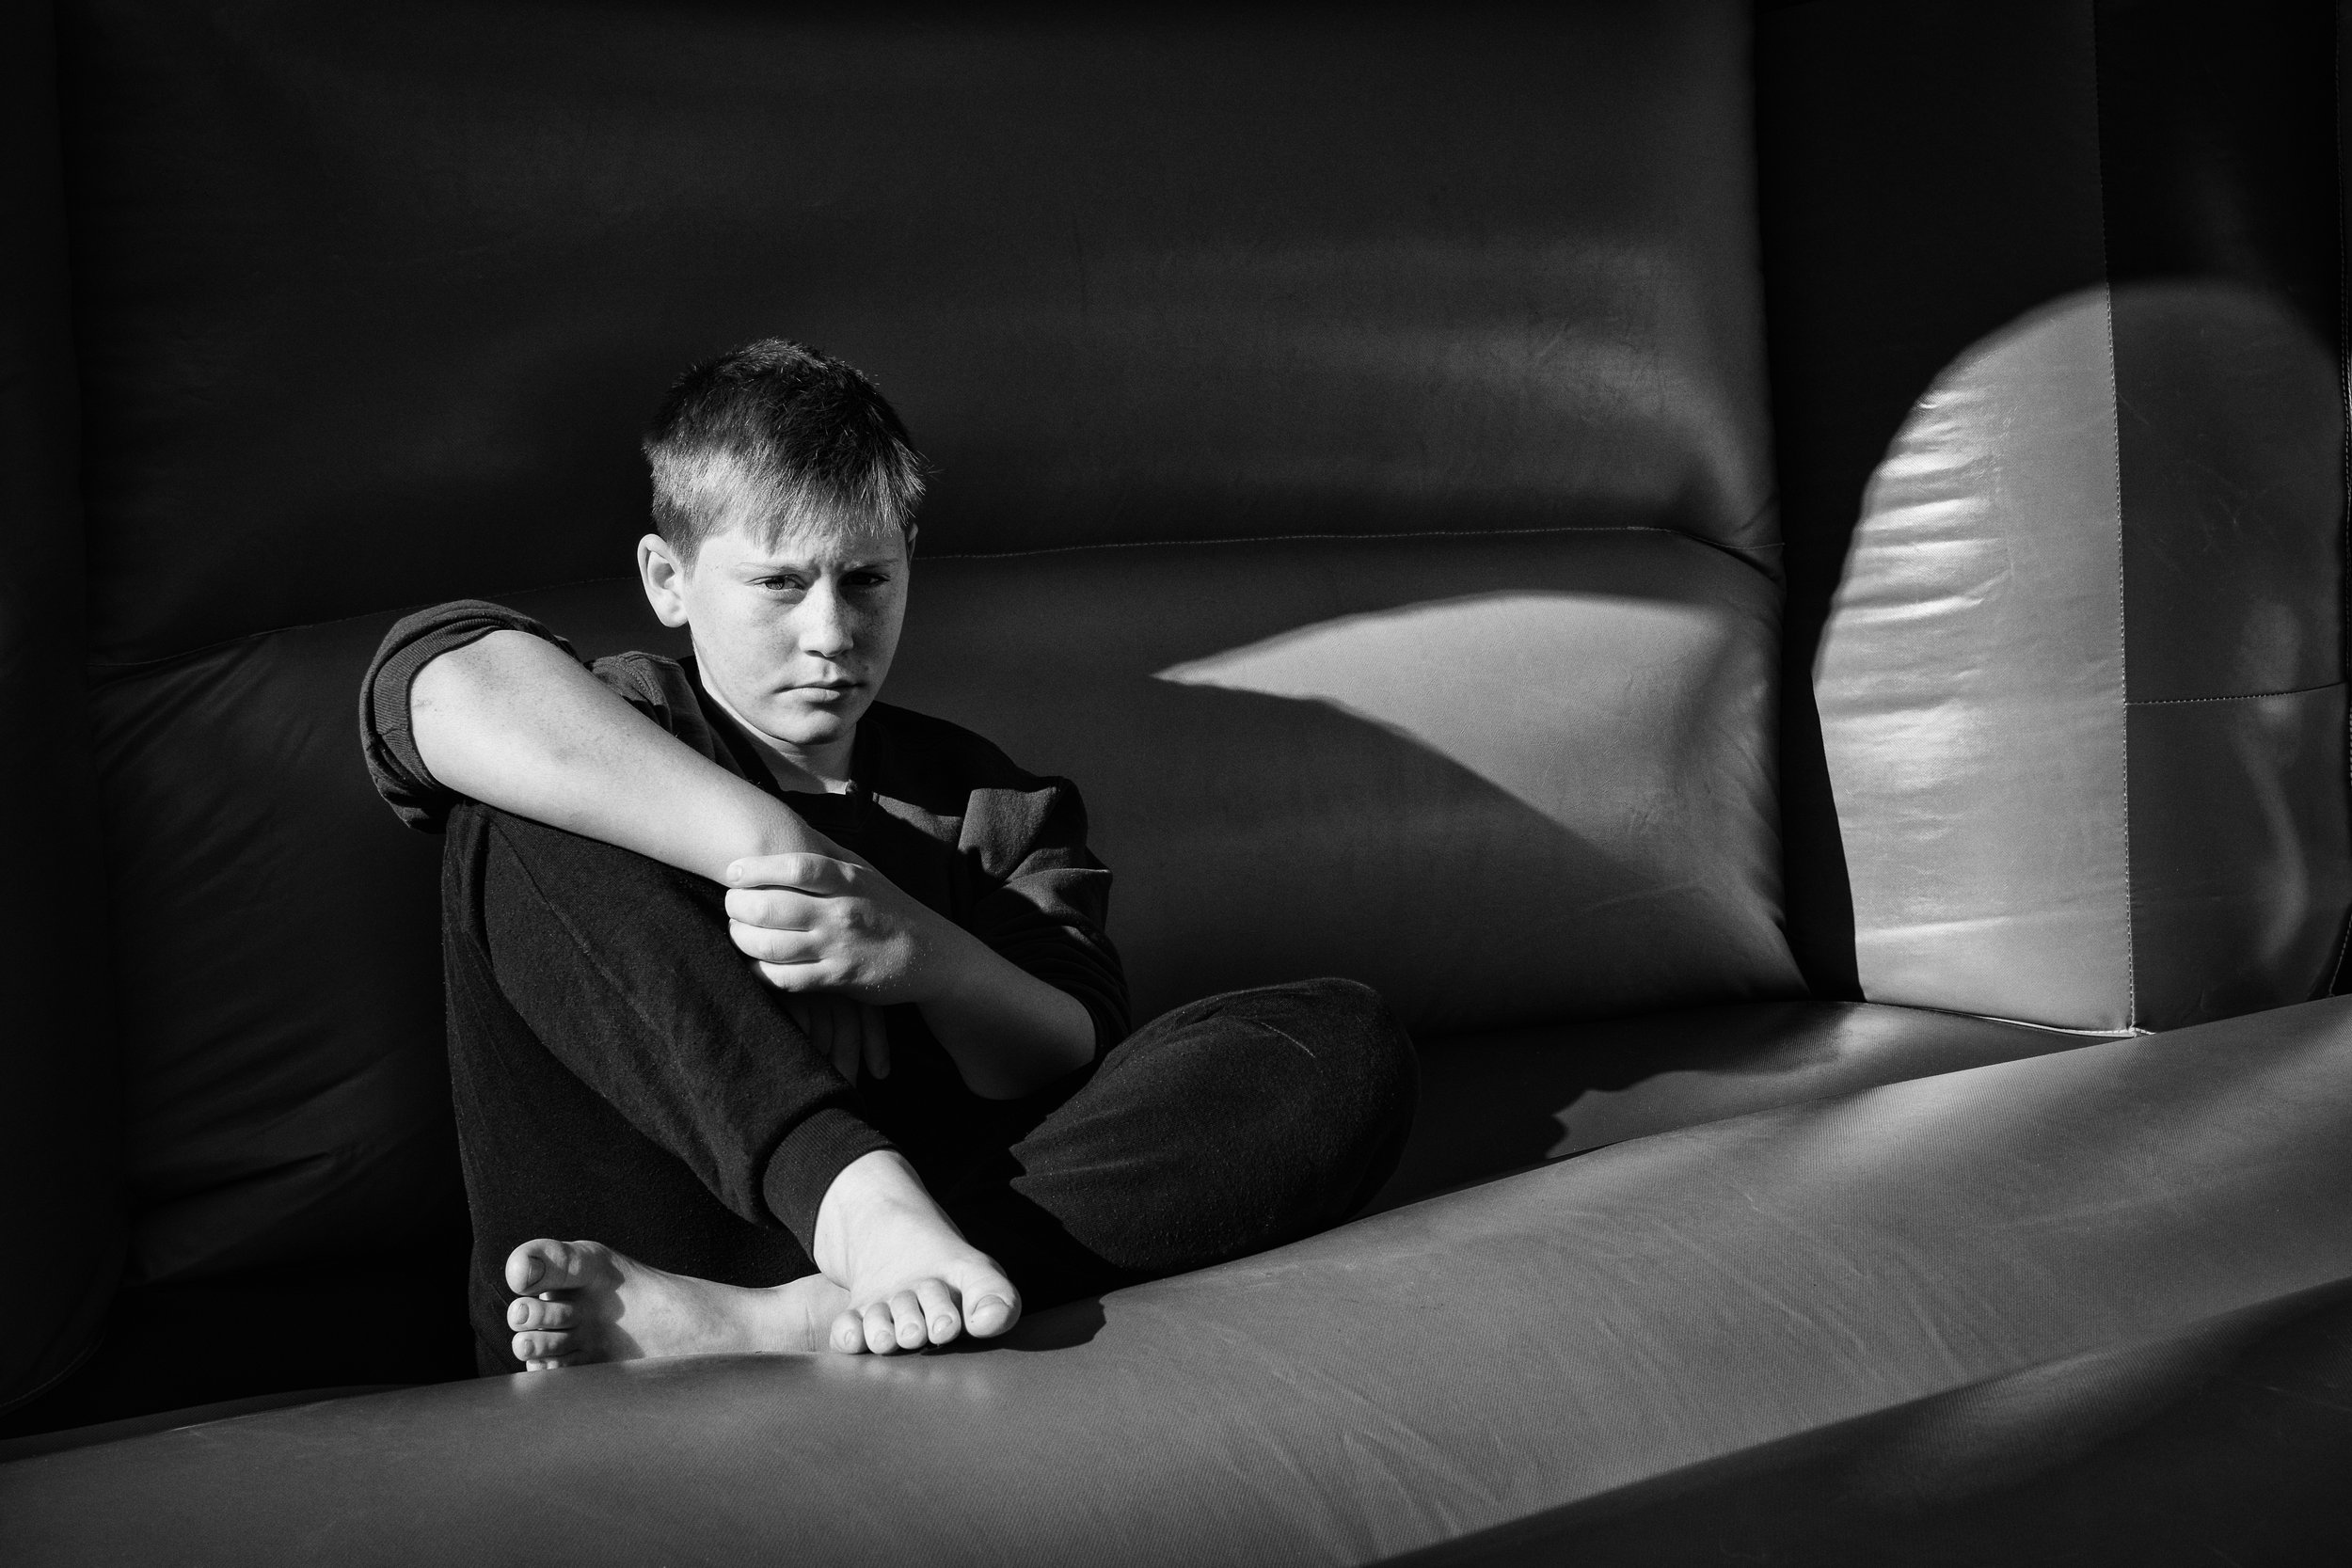
For most portrait work — subjects who want to look good, beauty work, headshots, family photographs — soft light is your friend. For character portraits, older subjects, or anyone whose face you want to read like a landscape, harder, more directional light is instructive. The lines, texture, and structure of the face become more visible when light rakes across them from the side.
Direction is the other variable. Front lighting — with the light source behind or beside the camera, pointing at the subject's face — eliminates shadows and produces an even, flat image. It is good for smooth skin and tends to make the subject's complexion look its best, but it does little to reveal structure or dimension. Sidelighting is more dramatic: with the light source at roughly 90 degrees to the camera, one side of the face is lit while the other falls into shadow. This reveals bone structure, creates form, and is considerably more interesting than front lighting for most character work. Backlighting — placing the light source behind the subject — is technically the most demanding but potentially the most beautiful. The face is in shadow, which requires either exposure compensation (brightening the exposure to recover face detail) or a reflector to bounce light back into the face. The reward is a rim of light around the subject's hair and shoulders — a halo effect — that separates them cleanly from the background and gives the image a luminous quality.
Catchlights deserve particular attention. A catchlight is the small reflection of the light source that appears in the subject's eyes — a tiny bright point that makes the eyes look alive rather than dull. Without it, eyes look flat and dead, regardless of how sharp they are. With it, even a mediocre portrait gains immediacy. The position of the catchlight matters: at the 10 o'clock or 2 o'clock positions in the eye (slightly above and to one side of centre) is generally the most flattering. If you look at a subject's eyes while shooting and cannot see a catchlight, move yourself, move them, or move the light source until one appears. It is not a minor detail.
The Rembrandt triangle* is a specific lighting effect that is worth knowing by name. When a face is lit from the side, and the shadow side of the face is almost entirely in darkness, a small triangle of light sometimes appears on the shadow-side cheek — caught by the cheekbone and the shape of the nose. This is the Rembrandt triangle, named after the painter who used exactly this effect. It is aesthetically pleasing because it suggests rather than reveals — the face is mostly in shadow, but the triangle of light tells you the structure is there. It is created by positioning the light source slightly above and to the side of the subject, so that the nose casts just enough of a shadow to create the triangular pool of light beneath it.
Split lighting* is simpler and harder: the light source is exactly to one side of the subject, dividing the face precisely into one lit half and one shadow half. It is dramatic and slightly confrontational — it reads as powerful or severe, depending on the subject.
Butterfly lighting* (also called Paramount lighting) places the light source directly in front of the subject, slightly above their eye level. The effect is a shadow under the nose that resembles a butterfly's wings — hence the name. It is a classic glamour lighting pattern, flattering for subjects with strong cheekbones, and was favoured by the Hollywood portrait photographers of the 1930s and 40s.
Reflectors are perhaps the most useful piece of equipment a portrait photographer can own, and they need not be expensive. A white card, a piece of white foam board, a silver foil sheet from a camping shop, or even a white-painted wall will all bounce light back into the shadow side of a face. The effect is to reduce contrast — to fill in the shadows without eliminating them, keeping the directionality of the main light while making it less harsh. On a bright, sunny day, a reflector held below the subject's face can transform a harsh, shadow-heavy portrait into something workable.
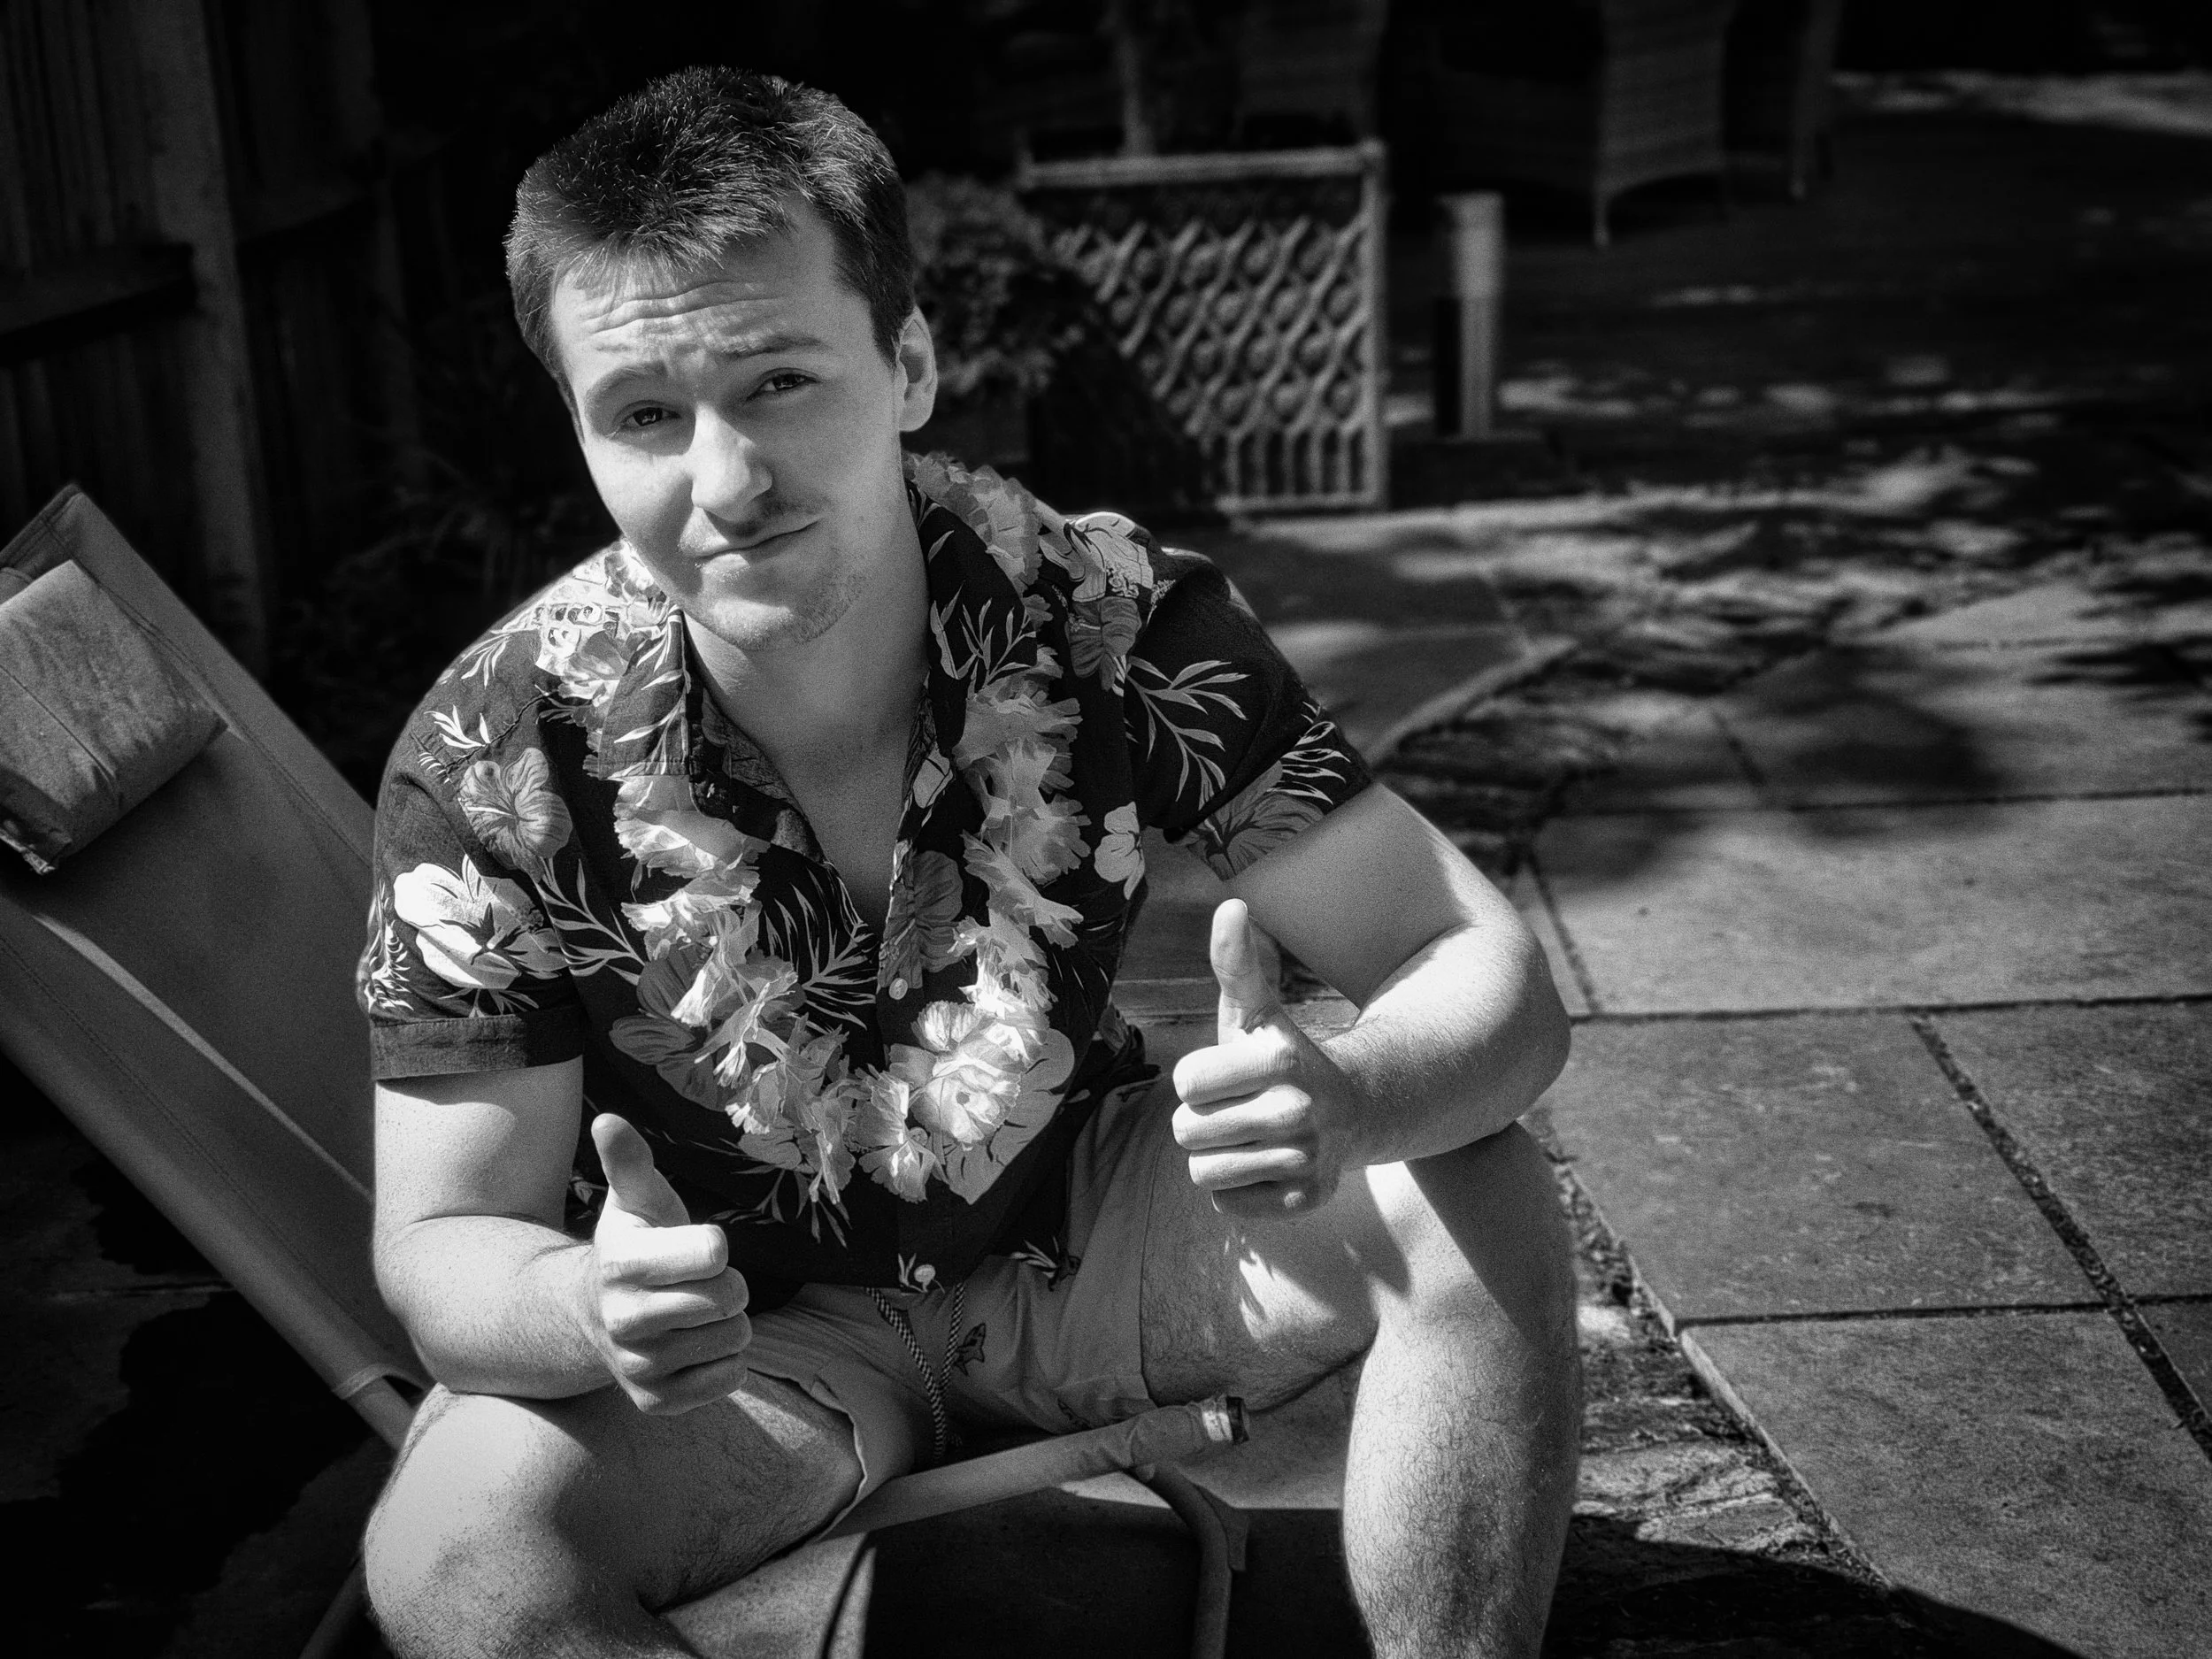
Common lighting mistakes to watch for: overhead sun at midday creates deeply unflattering shadows — the eye sockets go dark (the so-called "raccoon eyes" effect), the nose casts a heavy shadow downwards, and the chin is lost in shadow. The solution is simple: find shade. A camera-mounted flash, fired directly at the subject, flattens the face — it removes the shadows that reveal form and creates a flat, featureless result with a hard-edged shadow behind the subject. Mixed colour temperatures are another trap: if the light through the window is daylight (blue-white) and the room is lit by tungsten or warm LED bulbs, the face will have conflicting warm and cool casts depending on which light hits it. Switch off the room lights and work with the window alone, or correct in post.
On a smartphone, one useful trick: open a white page — a blank note, a white-background website — on a tablet or second phone and hold it on the shadow side of the face. It acts as a reflector, bouncing some light back to fill in the shadows. It looks absurd and works perfectly.
Focal Length and Perspective
This is a subject that is genuinely important and frequently misunderstood, partly because the language around it is slippery. "Focal length" sounds like a technical specification. What it actually describes is the way the camera sees the world — and particularly the relationship between objects at different distances from the lens.
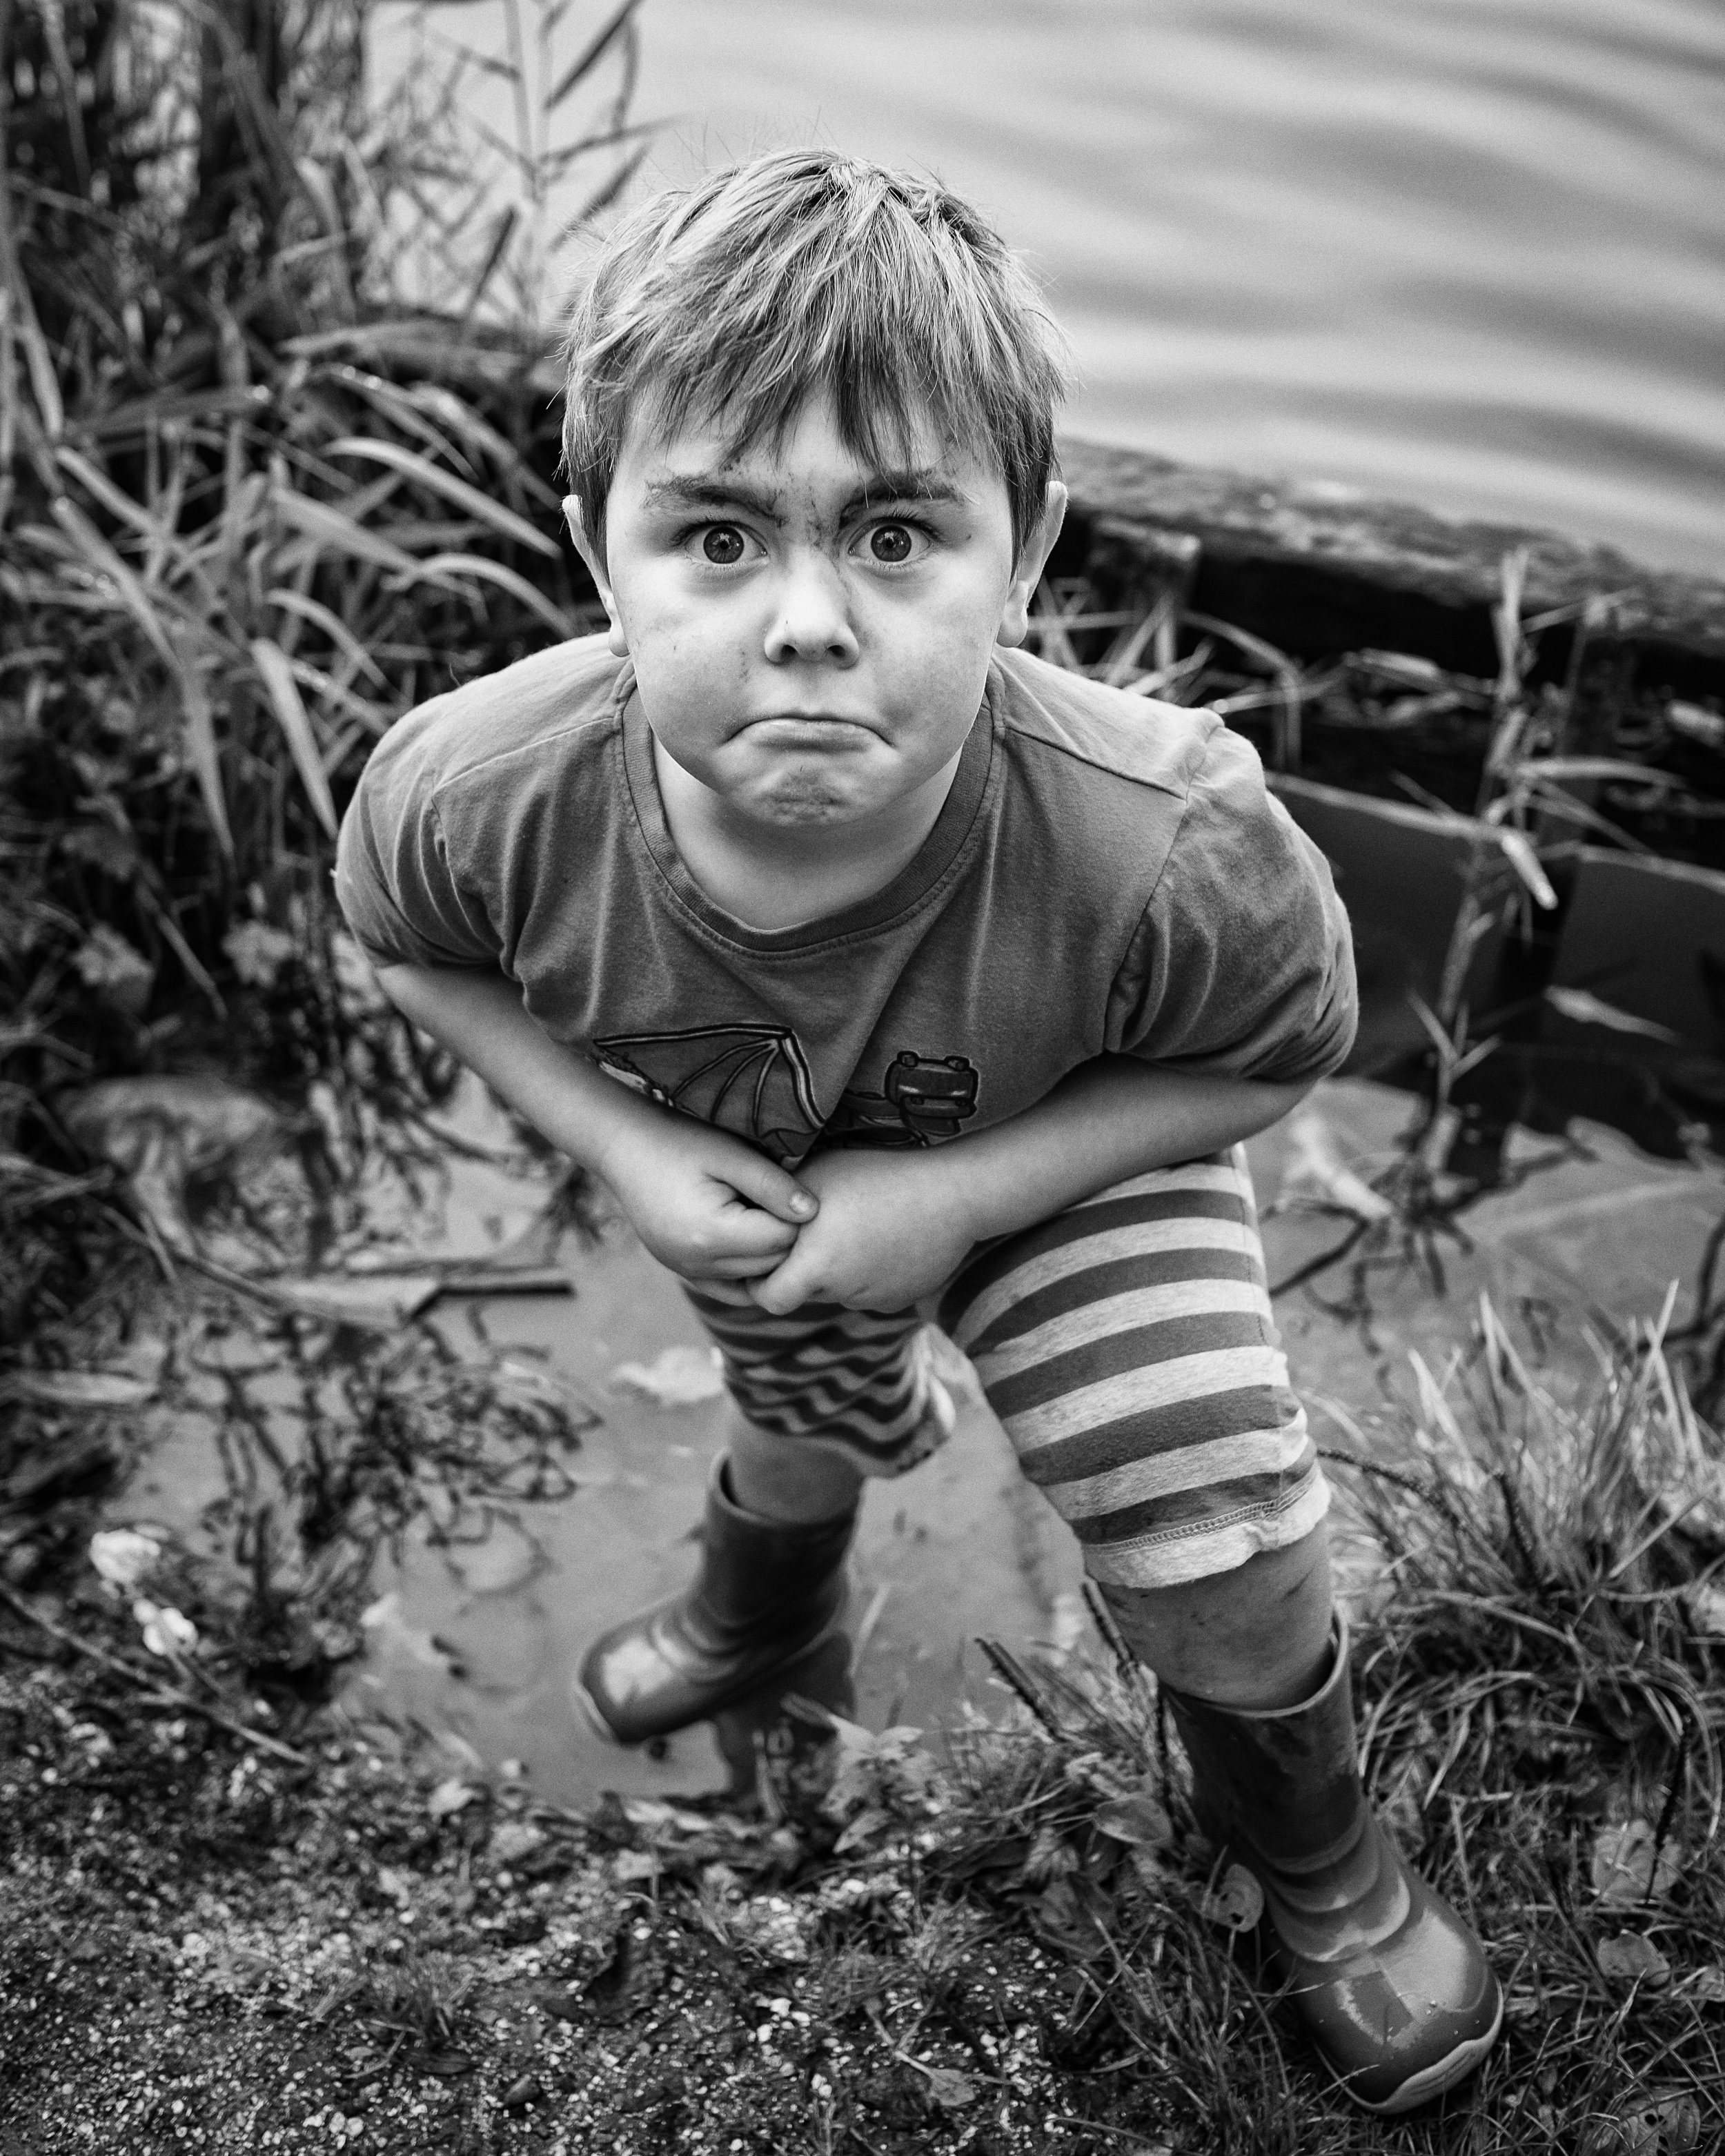
The key principle is perspective distortion. When you are close to your subject and using a short focal length (wide-angle), the parts of the subject nearest the lens appear disproportionately large relative to those farther away. A nose is closer to the camera than the ears; a wide-angle lens exaggerates that difference. The result is that noses appear larger, foreheads appear to push forward, and the face looks broader and slightly distorted. This is not the camera's fault; it is basic optics. And it is, for most people in most portraits, unflattering.
This is why selfies taken with the standard phone camera — which typically has a focal length equivalent to around 26mm on a full-frame camera — often make the face look wrong at close range. The phone is too close; the wide lens is doing exactly what wide lenses do. The face is not misshapen; the camera is simply reporting what the physics of the situation produce.
Longer focal lengths solve the problem in two ways. First, you step further back from the subject. Second, you use a focal length that compresses perspective rather than exaggerating it. At greater distances, the proportional difference between the near and far parts of the face becomes much smaller. The nose and the ears are both roughly the same distance from the camera, and the camera reports that accurately. The face looks like a face.
The conventional wisdom among portrait photographers is that the "portrait focal length" — the range in which faces look most natural — is between 85mm and 135mm (on a full-frame sensor), with 85mm being the standard starting point. On an APS-C camera (most enthusiast DSLRs and mirrorless cameras), that translates to around 50–85mm. The reasoning is partly optical and partly practical: at these focal lengths, you are naturally working at a comfortable social distance from your subject (2–4 metres for a headshot), perspective distortion is minimal, and the background compression is pleasing.
On a smartphone, the main camera is typically equivalent to around 24–28mm — useful for full-body shots and environmental portraits, actively counterproductive for close headshots. If your phone has a telephoto lens (marked as 2x, 3x, or similar), use it for portraits. A 2x telephoto on a 26mm-equivalent main camera gets you to roughly 52mm equivalent — not ideal, but much better. A 3x gets you to around 78mm equivalent, which is genuinely good portrait territory.
If your phone does not have a telephoto lens — or if you are photographing with only the main camera — the correct approach is to back up and crop later. Take the photograph from a greater distance, even if it means the subject is small in the frame, and crop to the framing you want in editing. You will lose some resolution, but you will gain a far more natural-looking face. "Back up and zoom in" is not a cliché; it is genuinely good advice. The difference in the rendering of a face photographed at two metres with a wide lens versus four metres with a modest telephoto is not subtle.
When wide-angle works for portraits: for full-body environmental shots, where the face is not filling the frame and the context is important. For group portraits, when you cannot move any farther back. For deliberate compositional effects where the distortion is intentional — a wide-angle low-angle portrait of someone to make them look imposing, for instance. But when the face is the subject, and the subject is close, the wide lens is working against you.
Focus : The Eyes Have It
The rule about focus in portrait photography is simple and non-negotiable: focus on the nearest eye. If the eyes are not sharp, the portrait fails. It does not matter how good the light is, how interesting the composition is, or how genuine the expression — if the eyes are soft, the image is not a portrait; it is a blurry photograph of someone's face.
The reason eyes matter so much is that they are where the viewer looks first, and where the viewer decides whether the portrait is alive or not. Catchlights in sharp eyes create an immediate sense of presence. Shallow depth of field on a soft eye looks not like an artistic choice but like a technical failure. The viewer's eye goes straight to the sharpest part of the frame — and if the sharpest part is the nose or the ear rather than the eye, the portrait is unsettling without knowing why.
Shallow depth of field — bokeh — has become closely associated with portrait photography, particularly in the smartphone era. The blurred background separates the subject from their environment, removes distracting elements, and focuses attention on the face. On a dedicated camera, this is achieved optically by using a wide aperture — f/1.4, f/1.8, f/2.8 — which keeps the subject sharp while the background falls out of focus. The wider the aperture, the shallower the zone of acceptable sharpness, and the blurrier the background.
On a smartphone, most of this happens computationally. Portrait Mode uses software to identify the subject, estimate depth, and apply a simulated blur to anything behind them. The results have improved enormously and are genuinely useful for clean subjects against relatively simple backgrounds. Where computational bokeh struggles is at the edges — hair, glasses, earrings, complex outlines — where the software has to guess what is subject and what is background. If your subject has curly hair, is wearing glasses, or is standing against a background of similar complexity to their outline, Portrait Mode is likely to produce edge artefacts that are immediately recognisable as fake blur.
In those situations, consider whether you actually need the blur. Background separation can be achieved optically, even on a smartphone, by maximising the distance between subject and background (moving the subject away from a wall or tree, not just by a step but by several metres), using a telephoto lens, and moving yourself closer to the subject. This gives you a genuinely shallower depth of field and more background blur without the computational processing. The result is less dramatic than Portrait Mode at its best, but more convincing at its worst.
AE/AF lock is useful in a way that tends to get overlooked. On most smartphones, tapping the screen focuses and exposes for that point. Tap-and-hold locks both focus and exposure — meaning the camera will not refocus if the subject shifts slightly, nor will it adjust the exposure if a bright patch enters the frame. For portraits, tap and hold on the nearest eye, lock, then frame the shot as you want it. This avoids the scenario where the camera helpfully decides to refocus on the ear or the wall behind as you compose.
Face and eye tracking on modern smartphones is, on balance, excellent. Let it do its job. It identifies the face, tracks the eyes, and keeps focus on the correct point even as both you and the subject move slightly. Be aware of its limitations: if the subject turns to profile, the tracking may lose the eye and shift to the ear or the nose. If a second face enters the frame, the camera may transfer its attention to the new arrival, usually at exactly the wrong moment. In those situations, revert to tap-to-focus on the eye you want.
Composition in the Portrait Frame
The rule of thirds is the most cited compositional principle in photography, and in portrait work it is genuinely useful rather than just a heuristic to be overcome. Dividing the frame into a three-by-three grid and placing the subject's eyes along the upper horizontal line creates an image that feels balanced — there is space below the eyes for the rest of the face and body, and the face itself sits in the upper portion of the frame where the eye naturally looks first.
Looking room — leaving space in the direction the subject faces or looks — is a related principle. If your subject is looking or turning to the left, leave more space on the left side of the frame than the right. This feels natural; it gives the subject somewhere to look into. A portrait in which the subject looks toward the edge of the frame, with no space in front of them, feels compressed and slightly anxious.
Headroom is where beginners most commonly go wrong. The instinct is to leave plenty of space above the subject's head — it feels polite, like giving someone room. The effect, however, is to push the subject down in the frame and make the portrait feel empty. Most professional portraiture is tighter than you think is right. The top of the head can be cropped, deliberately and confidently, in a headshot. Tight framing concentrates attention on the face.
Cropping conventions are worth knowing, because they exist for a reason. The standard portrait crops — tight headshot; head and shoulders; chest and up; waist and up; three-quarter (thighs to head); full body — work because they create natural stopping points in the frame. What does not work is cropping at a joint: at the knees, the elbows, the wrists, the ankles. Cropping at a joint looks amputative — it draws attention to the cut in an unpleasant way. Cut either well above or well below a joint, not through it.
Background management is one of the most underrated compositional skills in portraiture. The background in a portrait is never neutral — it is either helping or competing. A clean, out-of-focus background isolates the subject and directs all attention to the face. A busy, in-focus background competes with the face for attention and makes the portrait work harder than it should. Practical strategies: position the subject well away from the background, which increases blur even without a wide aperture; find a clean patch of uncluttered foliage, a plain wall, a door, or an open sky; scan the frame before shooting for objects that appear to grow from the subject's head — lamp posts, branches, door frames — and either move or ask the subject to shift position.
The 45-degree angle is perhaps the single most useful posing principle for most portrait work. Positioning the subject at roughly 45 degrees to the camera — not fully face-on, not fully in profile — is more flattering for most people than a direct frontal pose. It slims the apparent width of the face, creates visual structure, and feels less confrontational than a squared-up pose. It is the default starting position for formal portraiture, and a good place to begin when you are not sure what else to try.
Negative space — leaving deliberate empty areas around the subject — can be a powerful choice when used consciously. A portrait in which the subject occupies a small portion of an otherwise empty frame draws attention to isolation or smallness; it says something about the subject's relationship to their environment. Used carelessly, it just looks like the photographer backed up too far. The distinction is intention: are you choosing the space, or did the space happen to you?


Working with Your Subject
This is the section most how-to guides treat as an afterthought, which is a significant omission, because everything else you know about portrait photography is secondary to this.
Most people are uncomfortable being photographed. This is the baseline. It is not a personality flaw or an obstacle to be overcome by better technique; it is the normal human response to having a lens pointed at your face with the intention of making a permanent record. Your job as the photographer is to help your subject past that discomfort, and that is a social task as much as a photographic one.
Before you start shooting, talk. Explain what you are doing and why. Show the subject what the camera sees — either by taking a few test frames and showing them on the back of the camera, or by explaining where you are going to stand and what you want to achieve. When people know what is happening, they are less anxious about it. Show them the first few real frames so they can see that they do not look as bad as they fear. This matters enormously. The first 5–10 minutes of a portrait session are almost always unusable — the subject needs that time to settle into the situation, to trust you, and to stop consciously managing their expression. Budget for it.
Direction works best when it does not feel like direction. "Can you try turning slightly towards the light?" works better than "Turn left." Phrasing instructions as requests or questions gives the subject agency; it makes them feel like a participant rather than a prop. Asking questions — "How are you finding this? Is that angle comfortable?" — also gives them something to think about other than the fact that they are being photographed, which is the actual goal. The ideal state for a portrait subject is mild distraction: engaged enough in the conversation to have forgotten the camera, not so engaged that they turn away from it.
Continuous shooting is your friend. Keep firing even between moments — during the transitions between poses, when the subject looks down, when they adjust their hair, when they laugh at something you have said. The photographs taken between "proper" poses often contain the most natural expressions, because the subject is momentarily not thinking about the portrait. Review these with the same attention you give the posed frames.
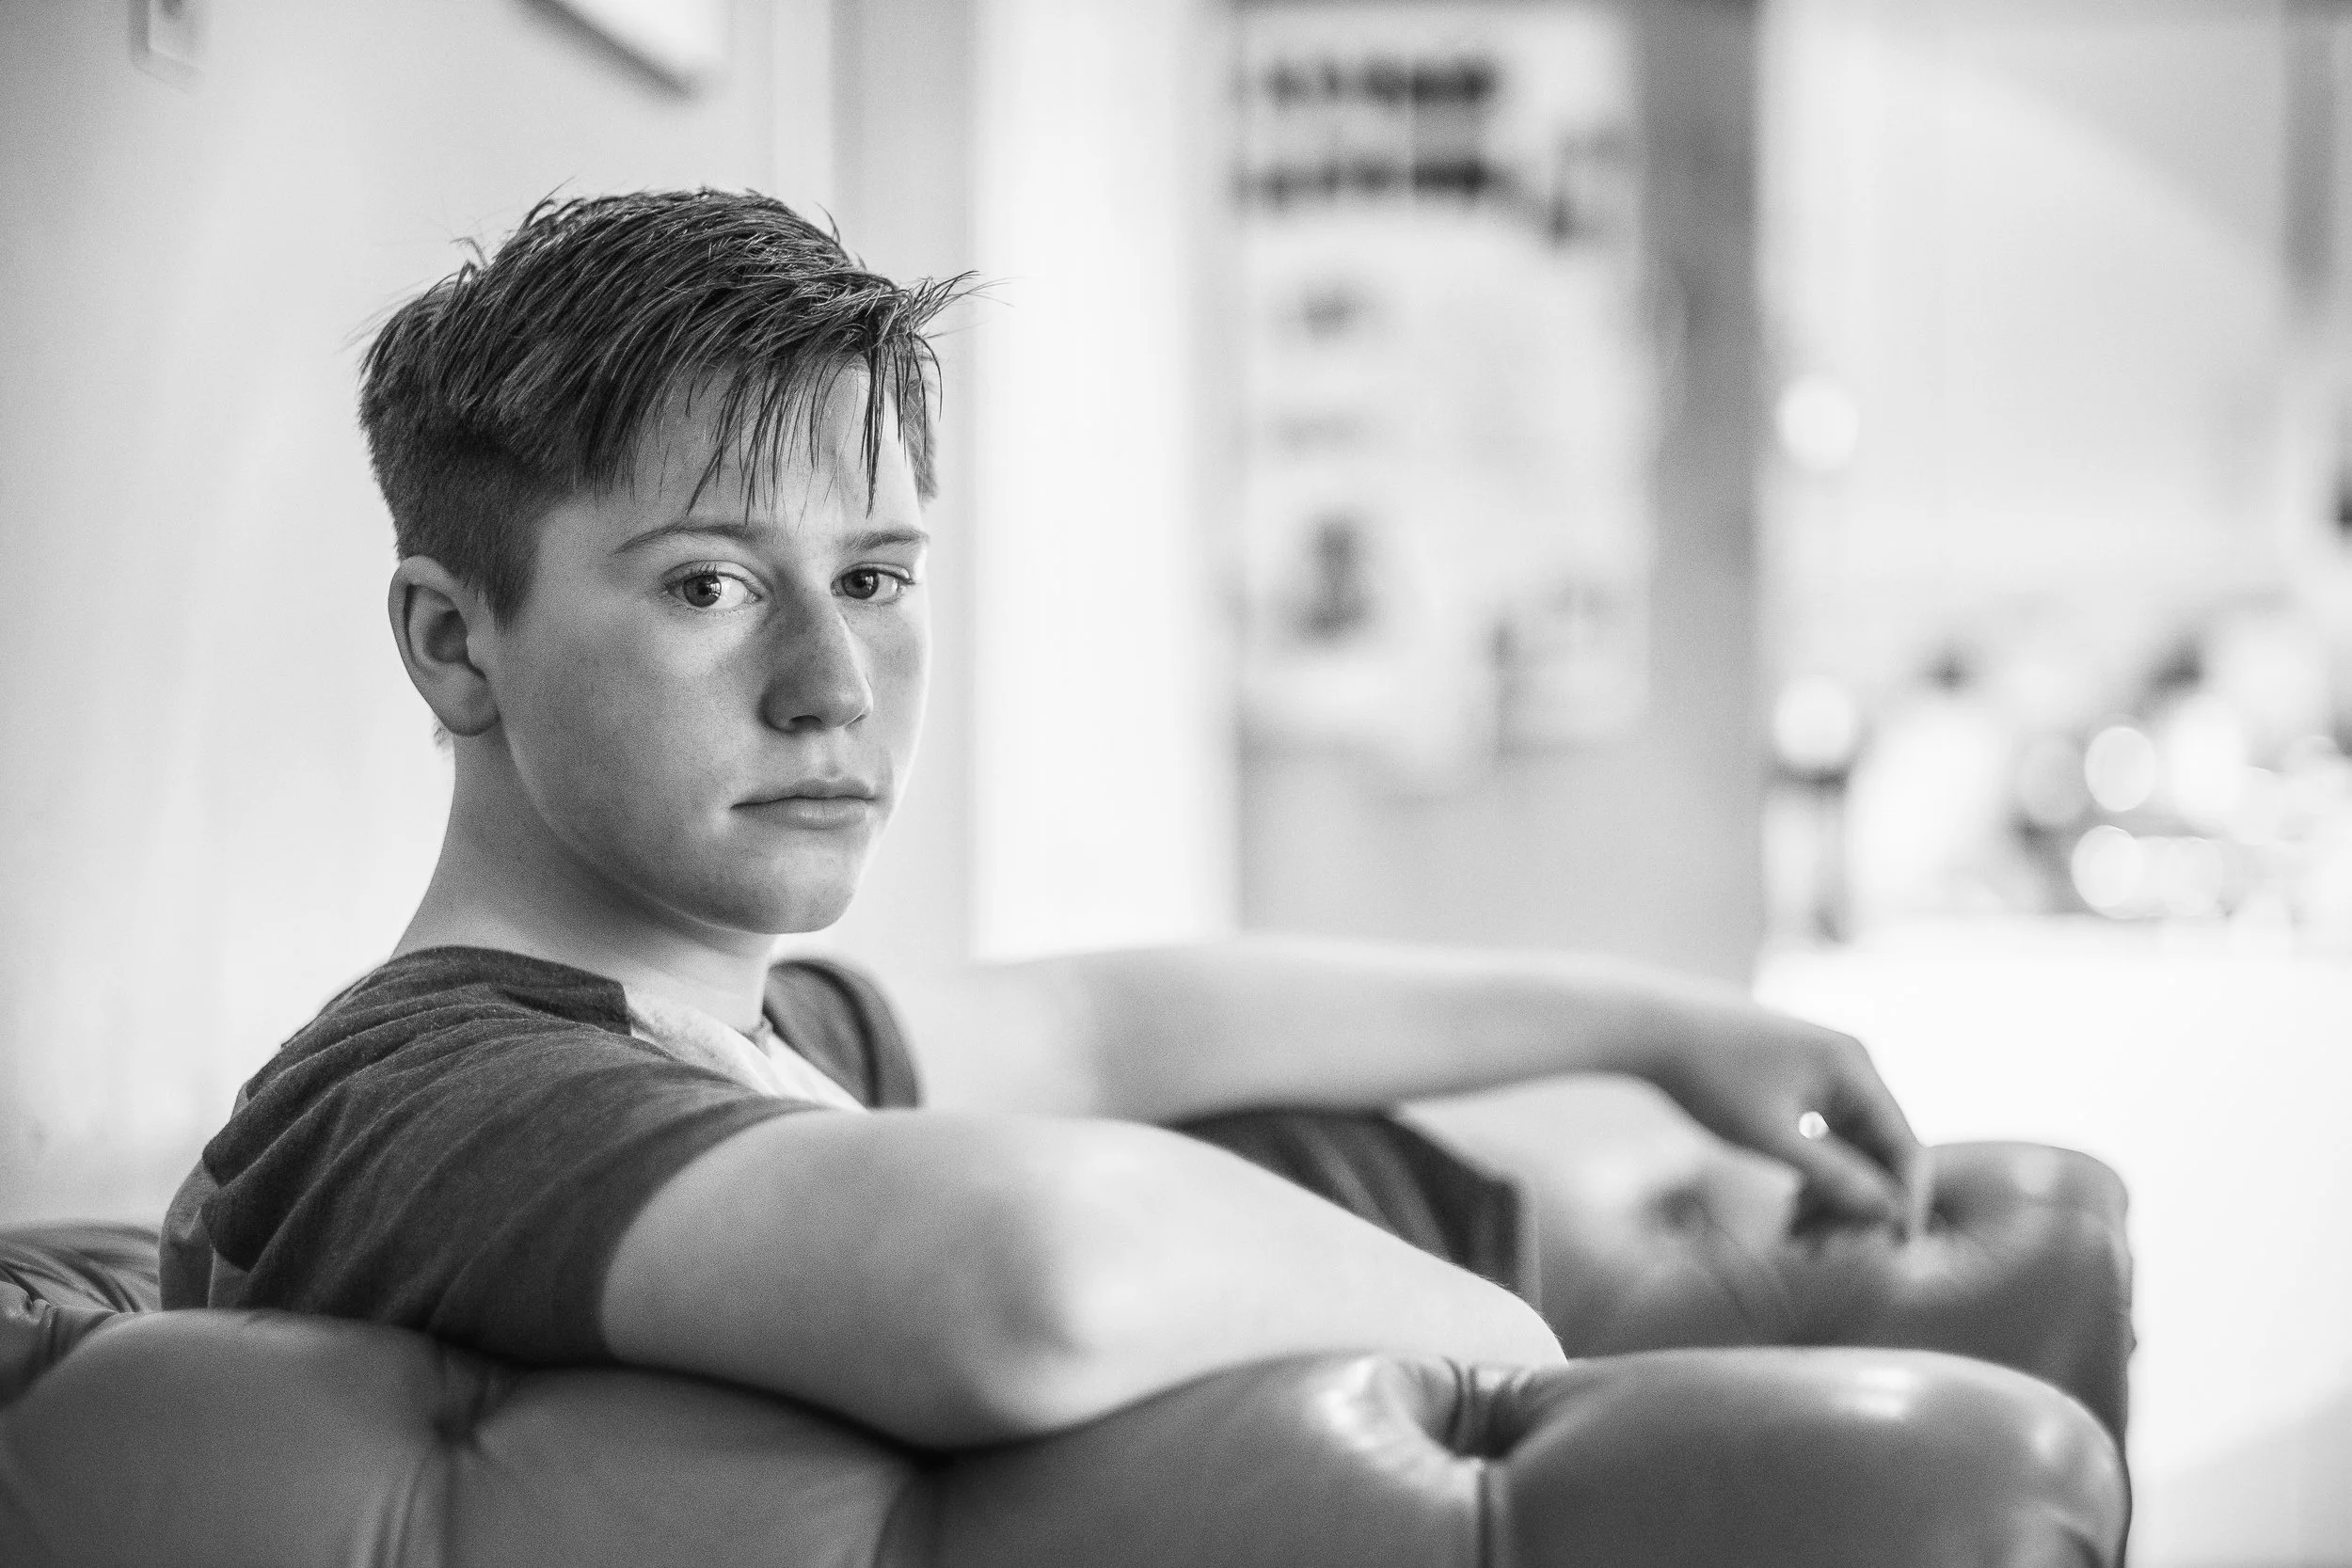
Eye contact with the lens creates a particular and powerful kind of connection with the viewer: the subject appears to be looking directly at anyone who looks at the photograph. Direct eye contact is engaging, confident, and immediate. But it is not always right. Asking the subject to look slightly off-camera — at a point a metre to the left or right of the lens, rather than directly into it — creates a more reflective, thoughtful mood. Asking them to look down is more pensive still. These are not inferior alternatives to direct eye contact; they are different choices that serve different purposes.
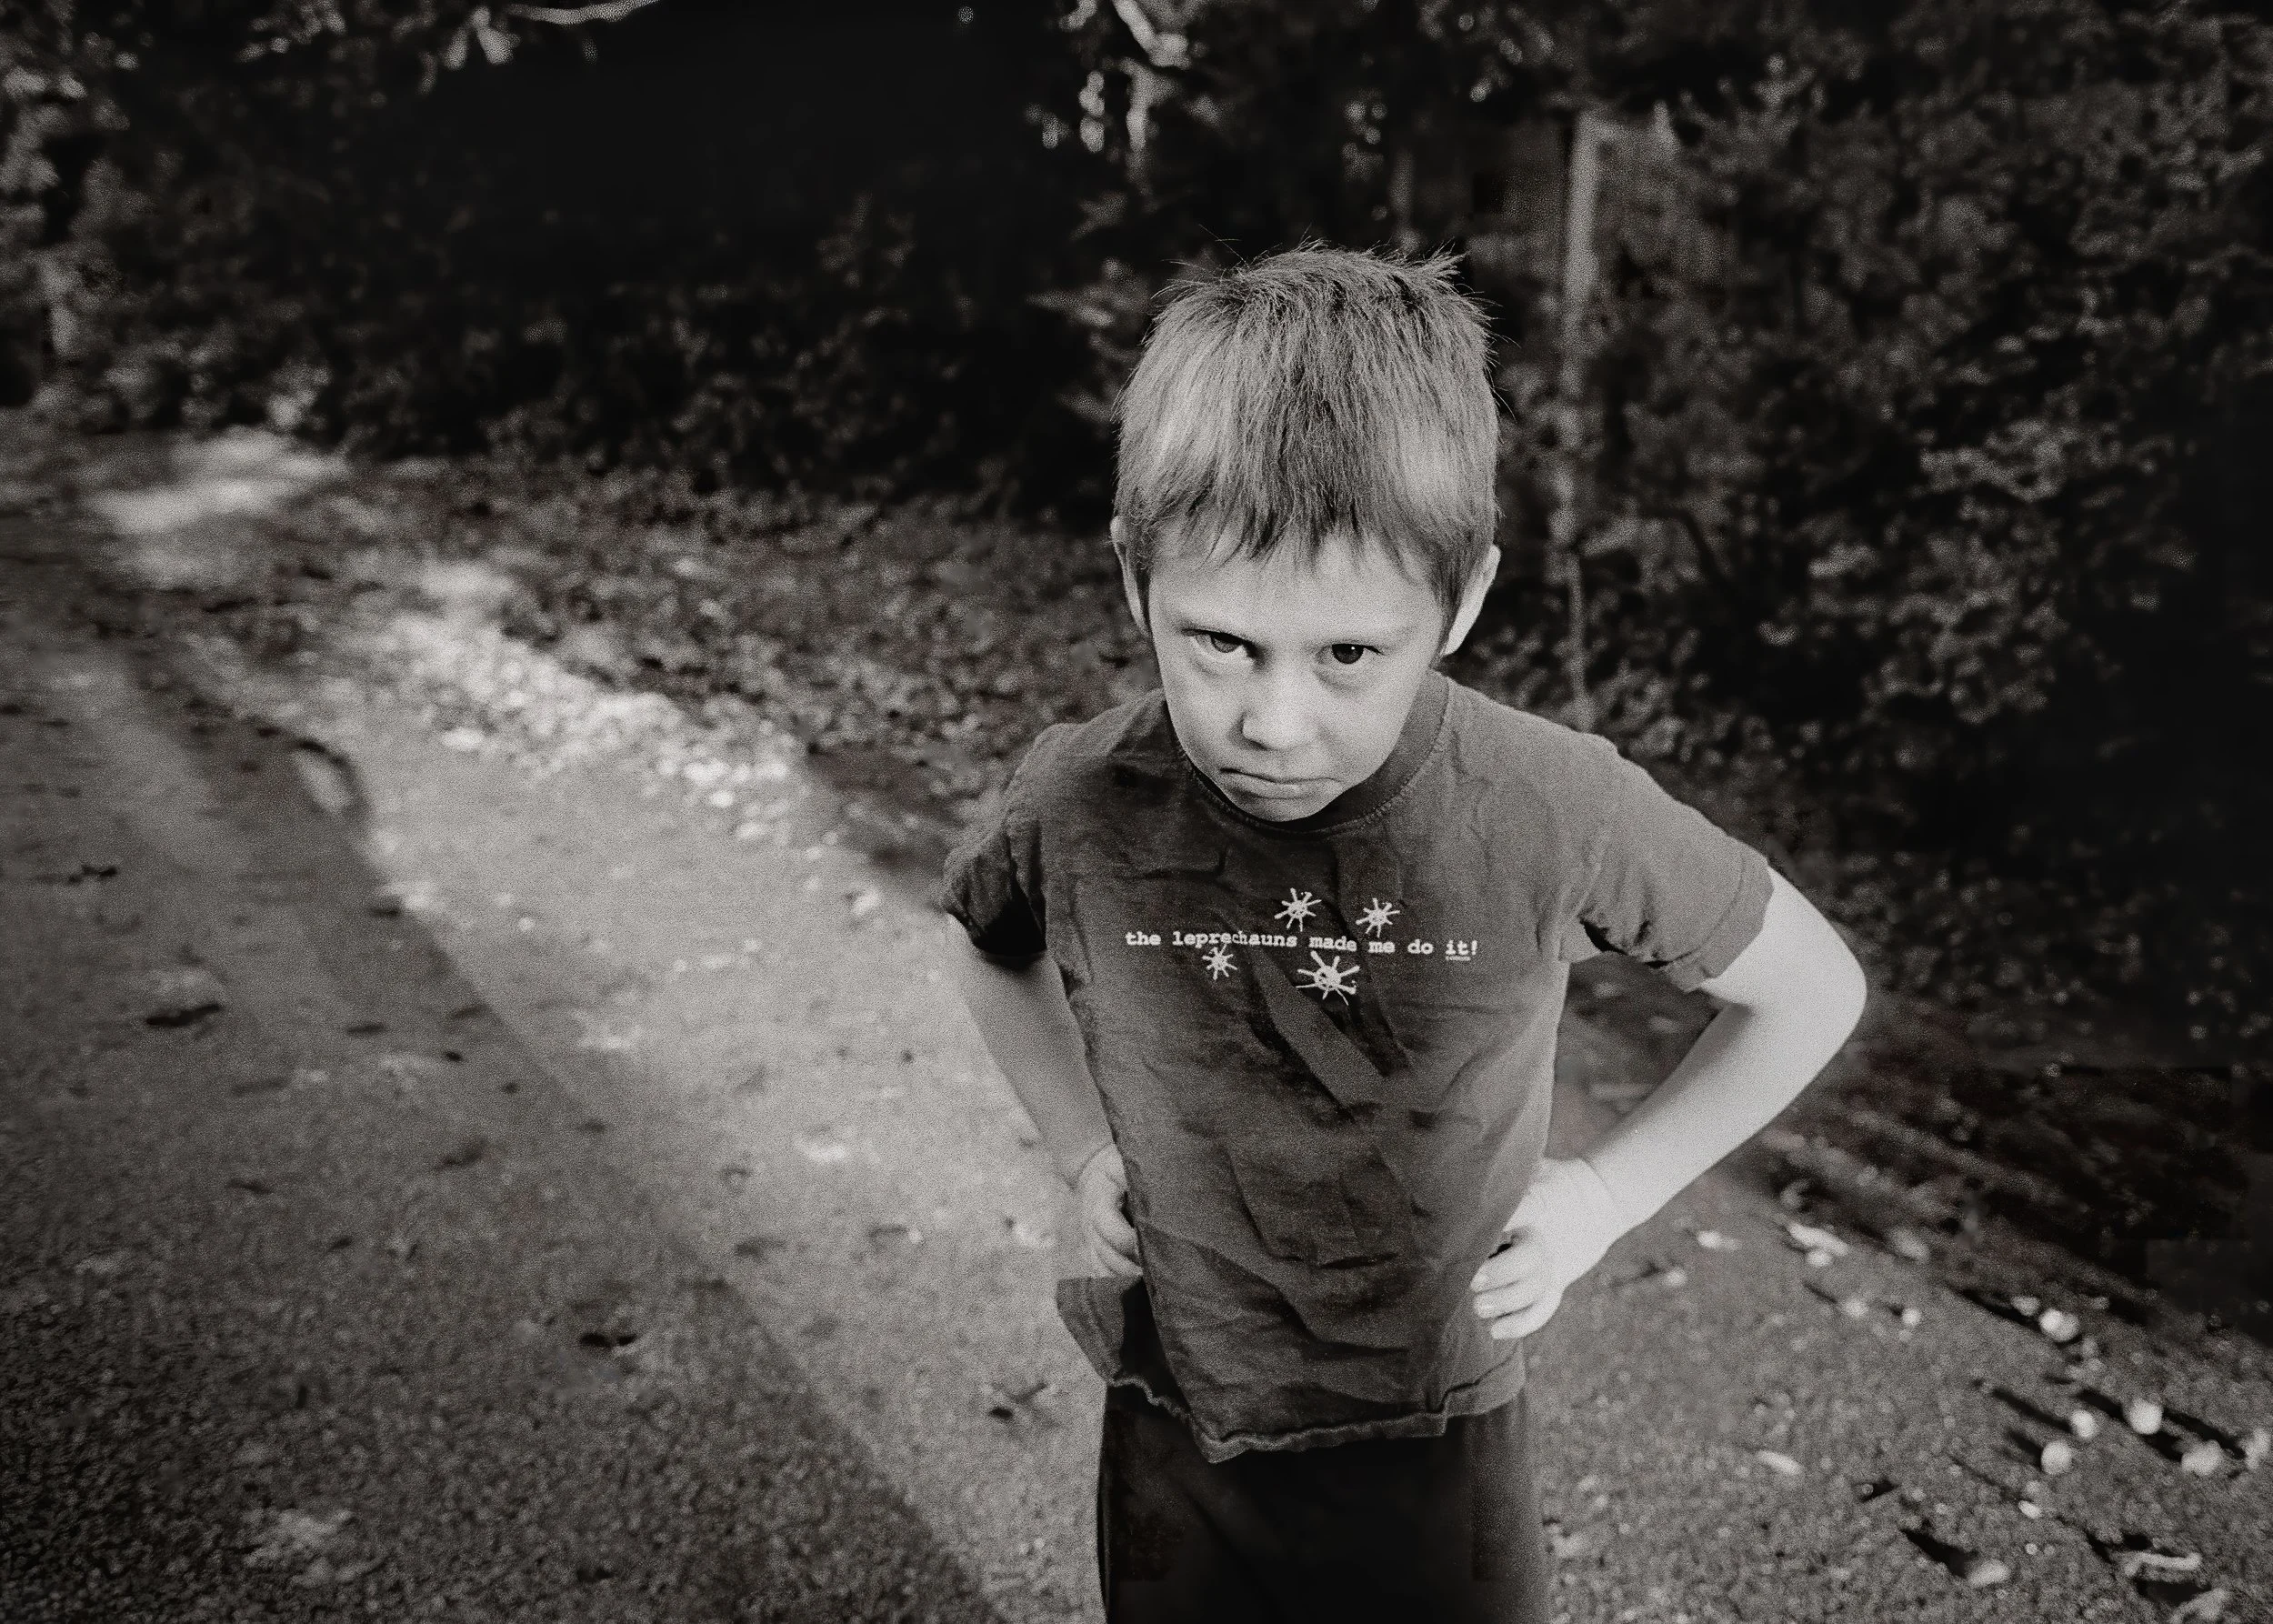
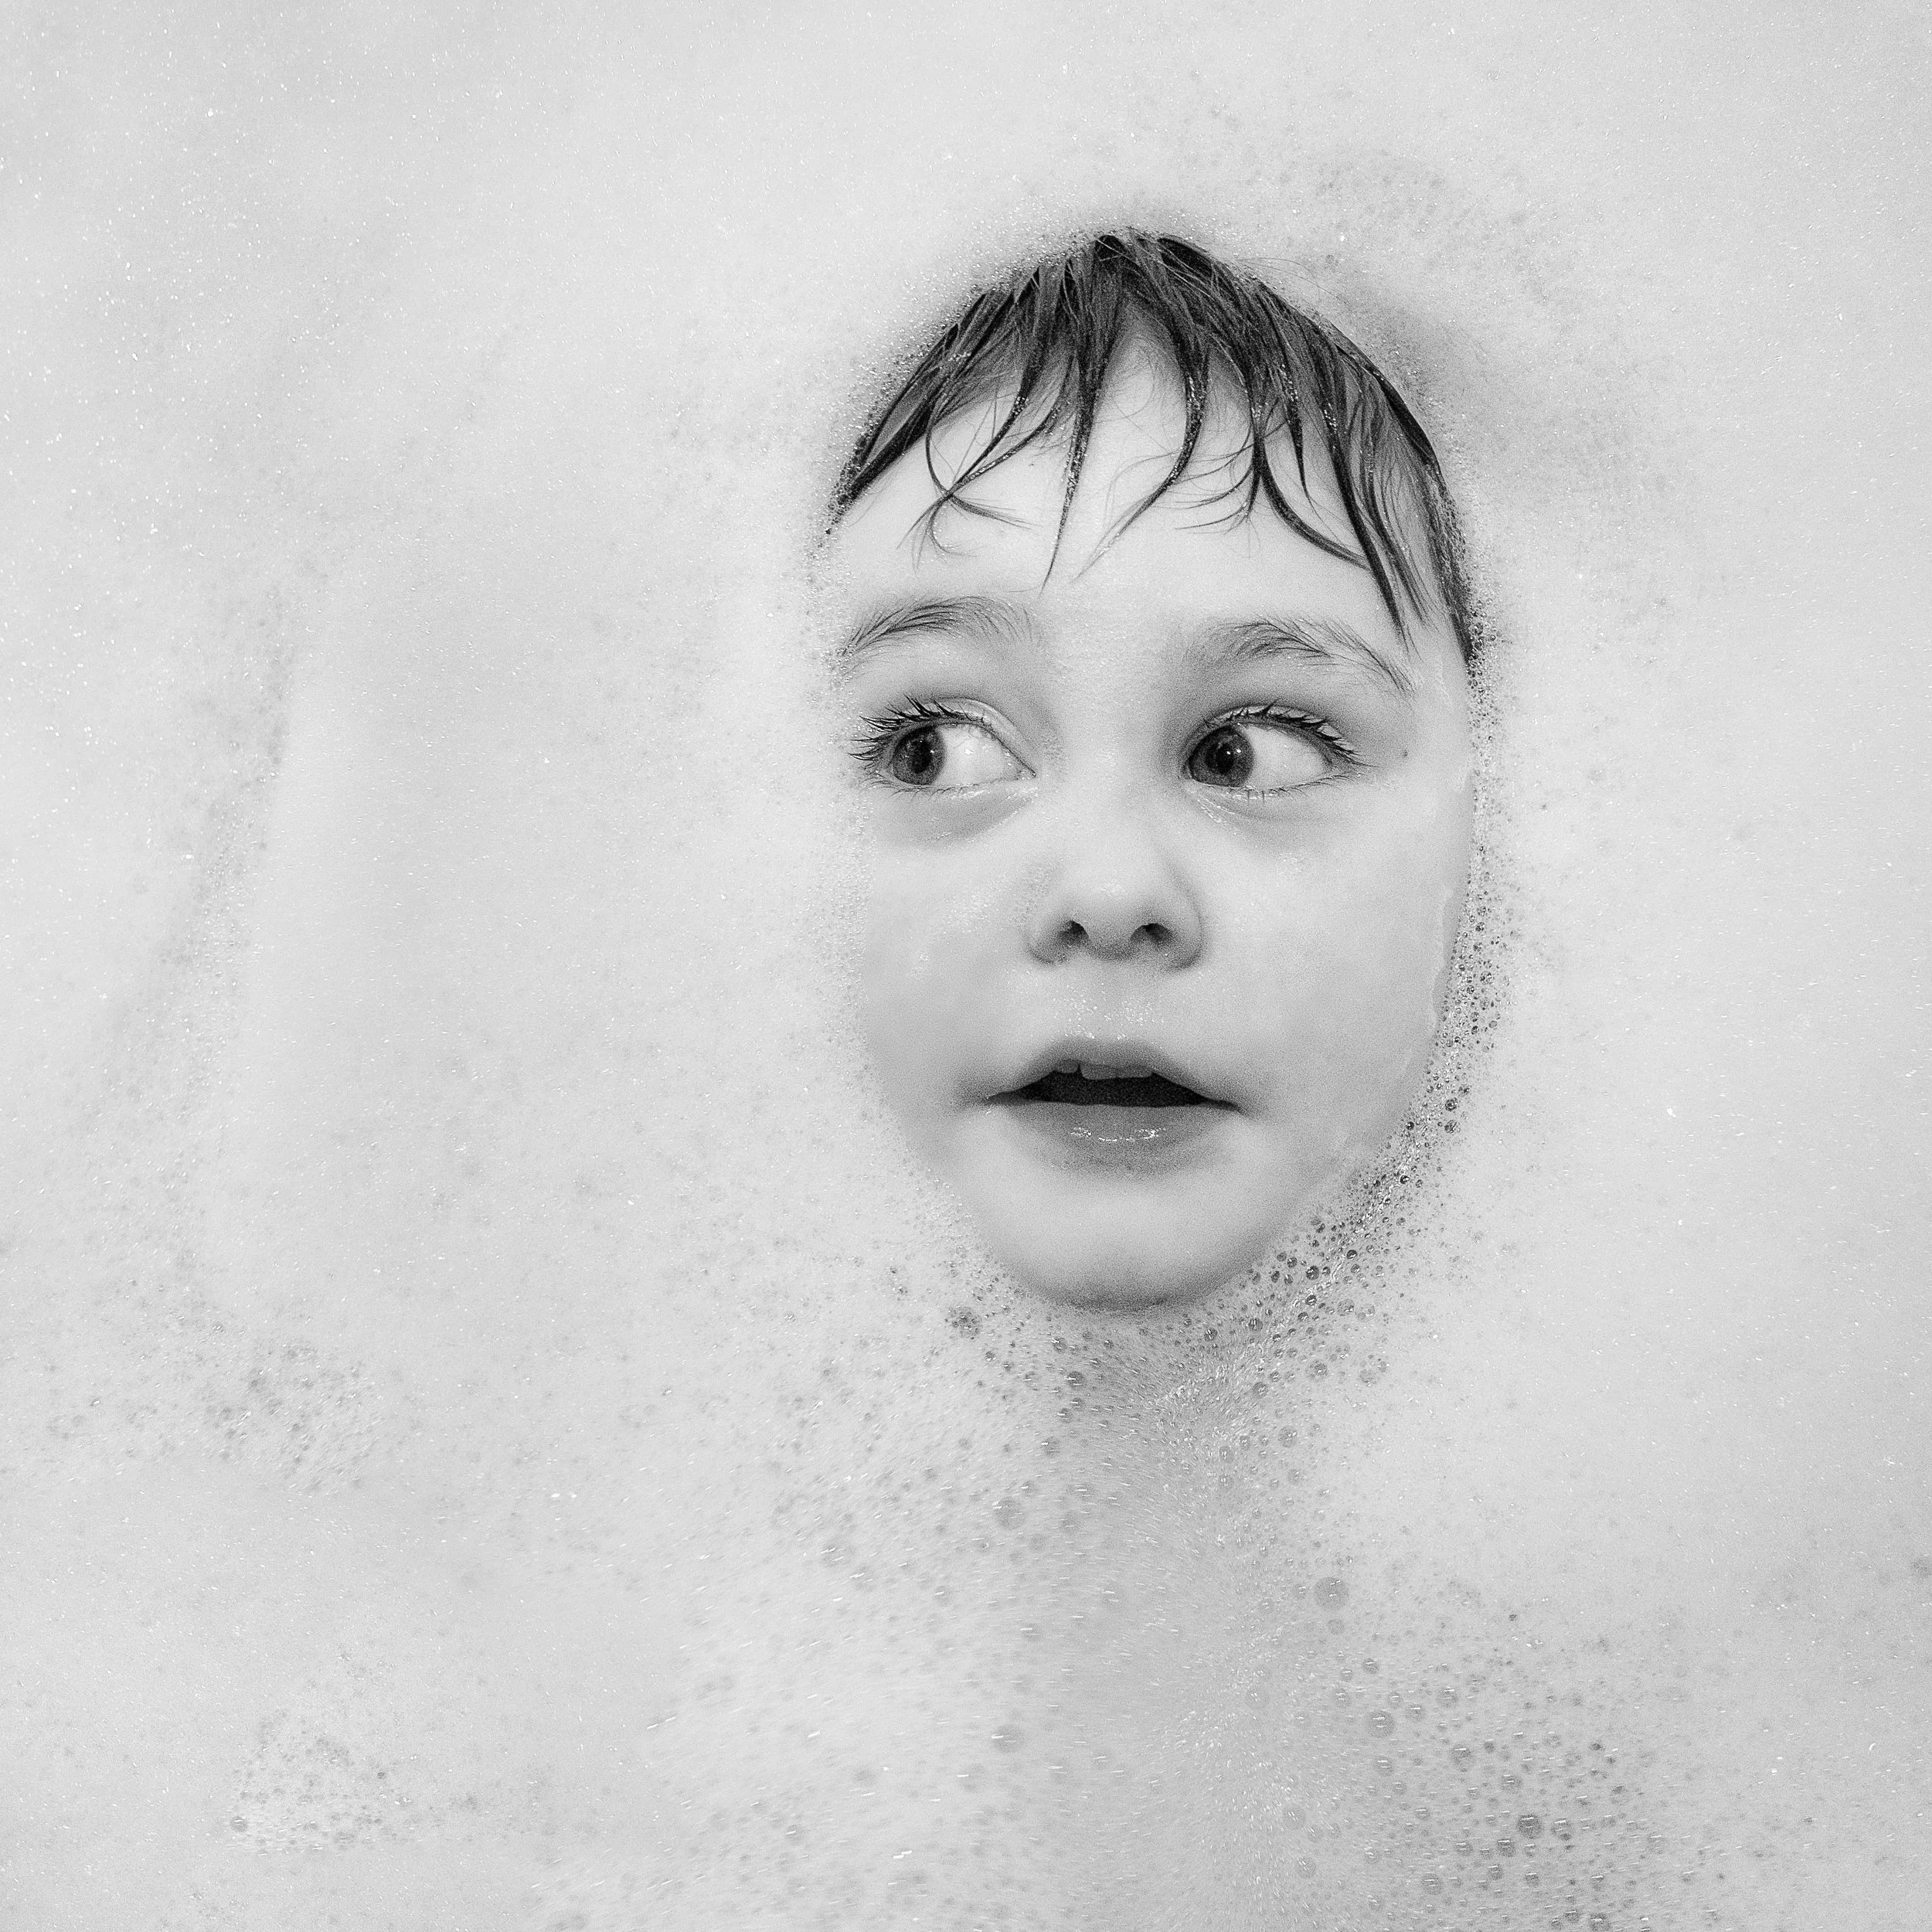
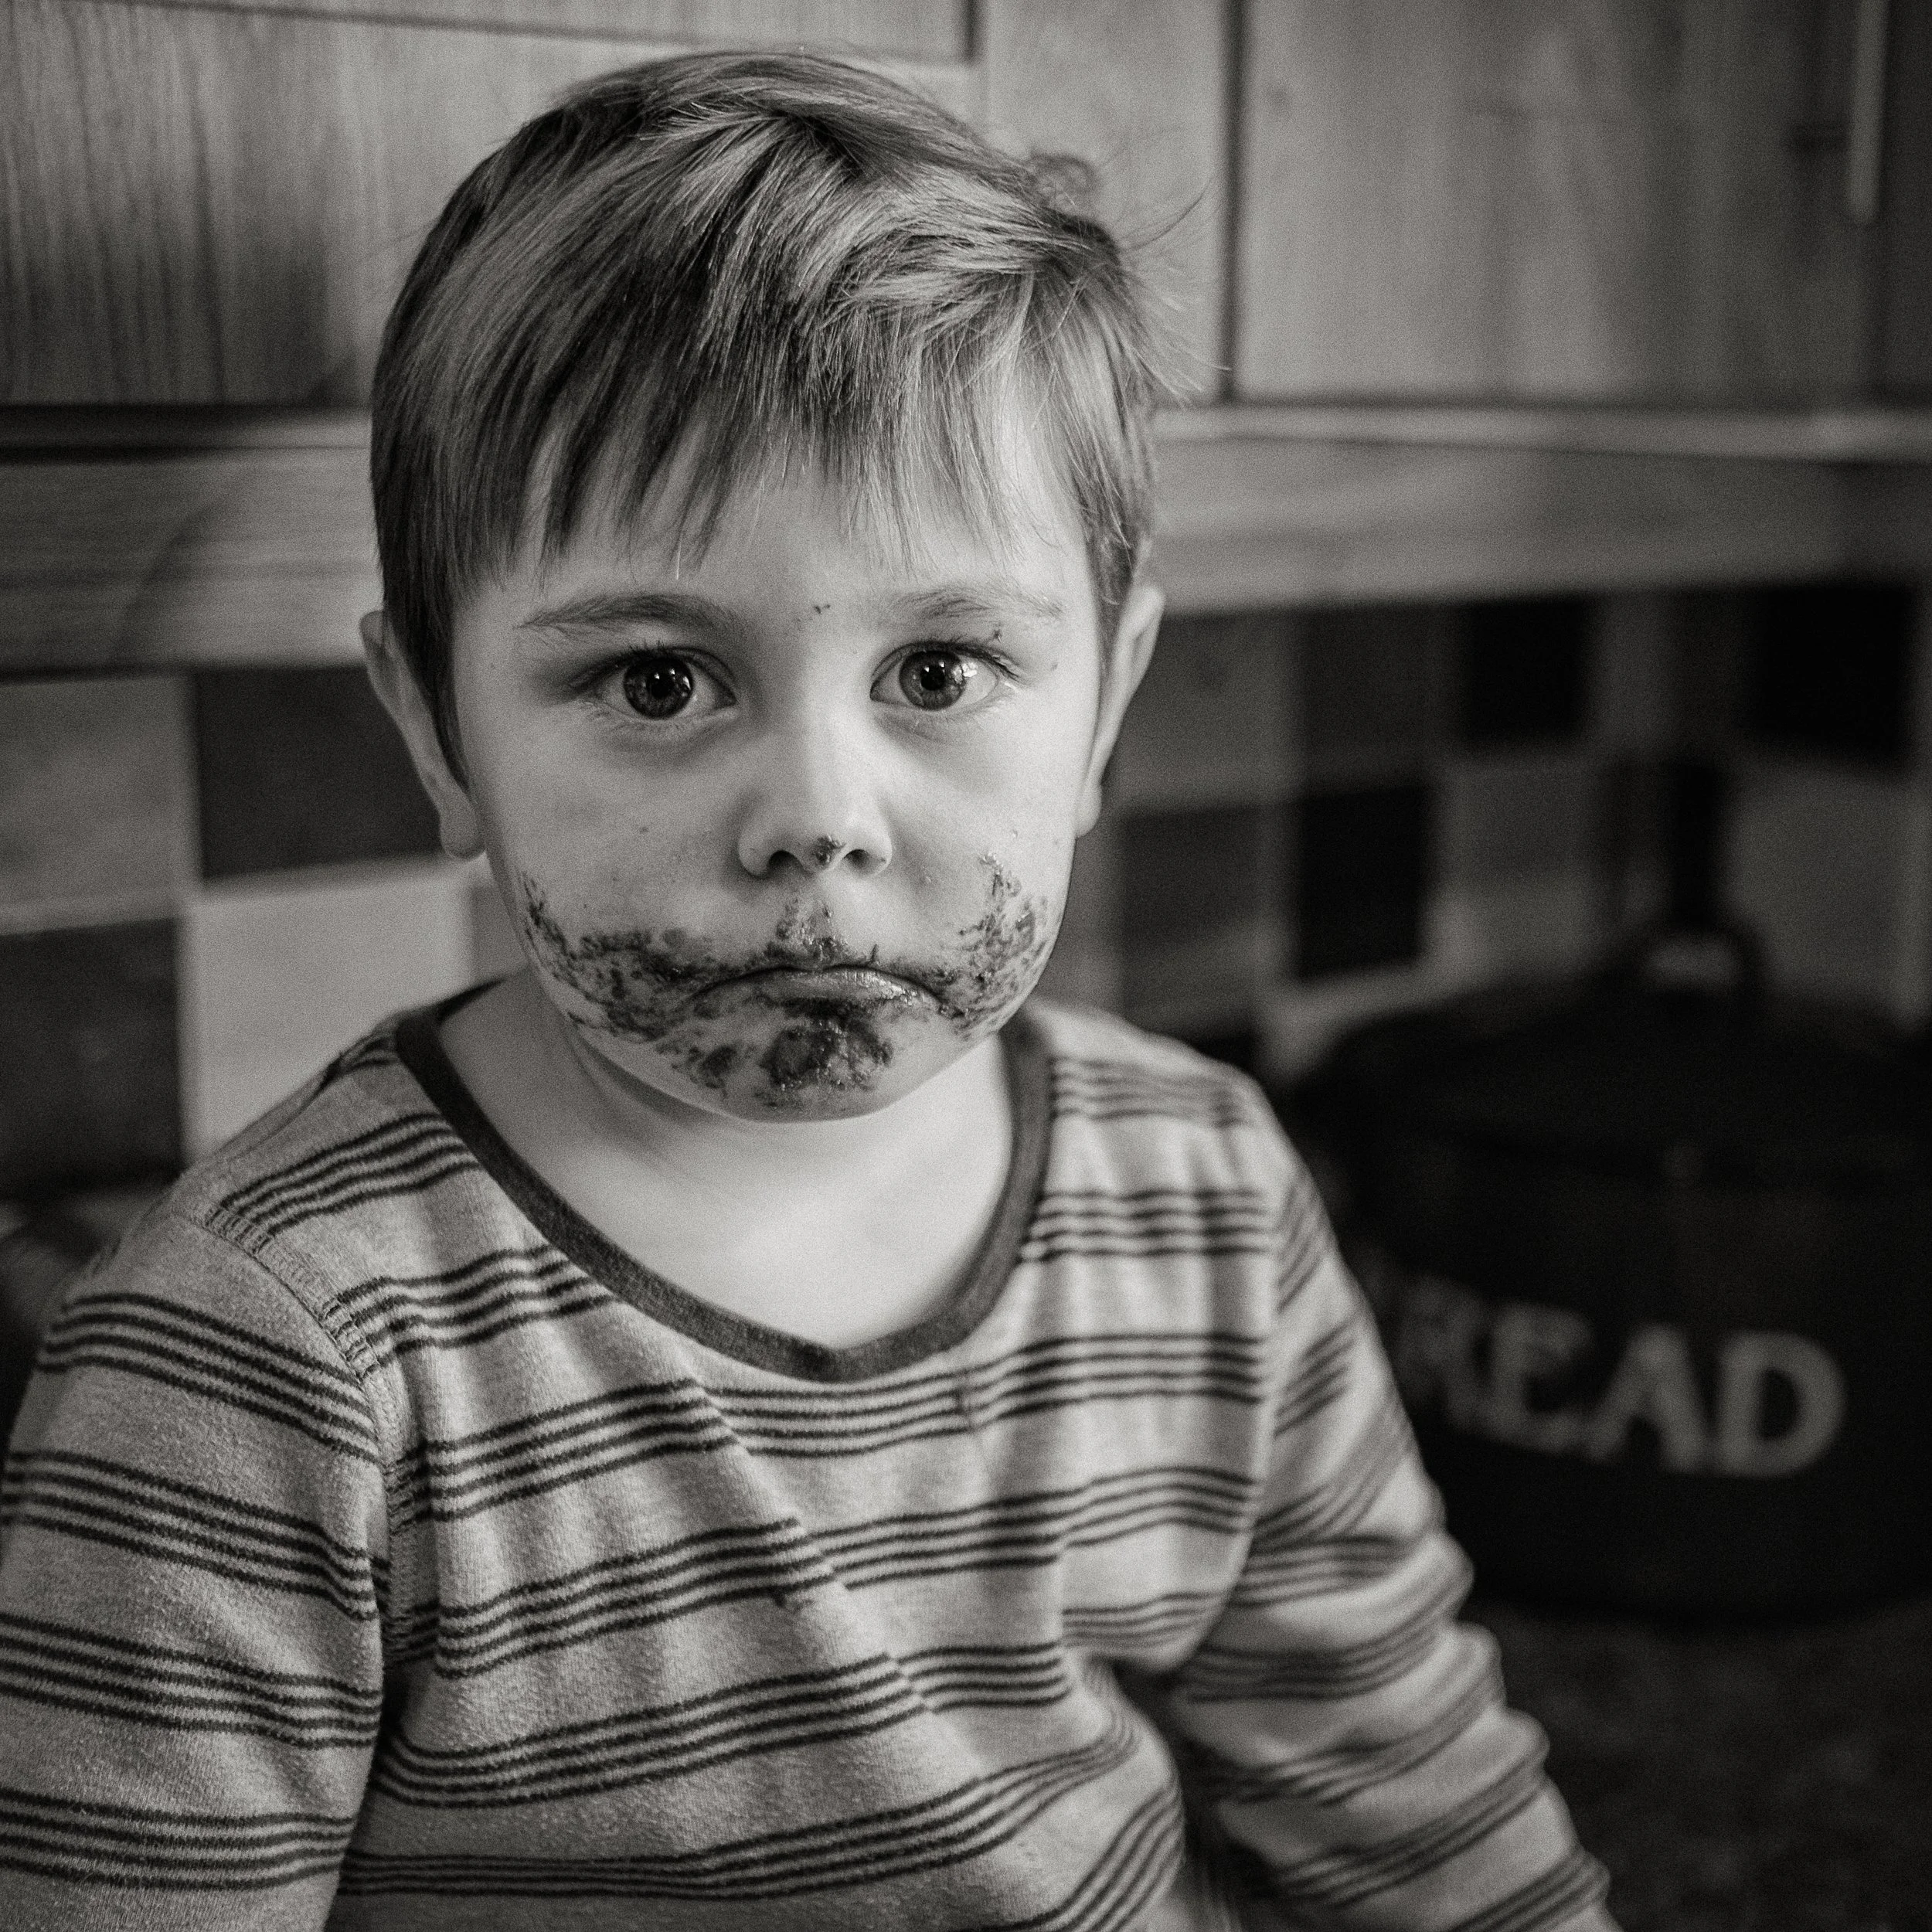
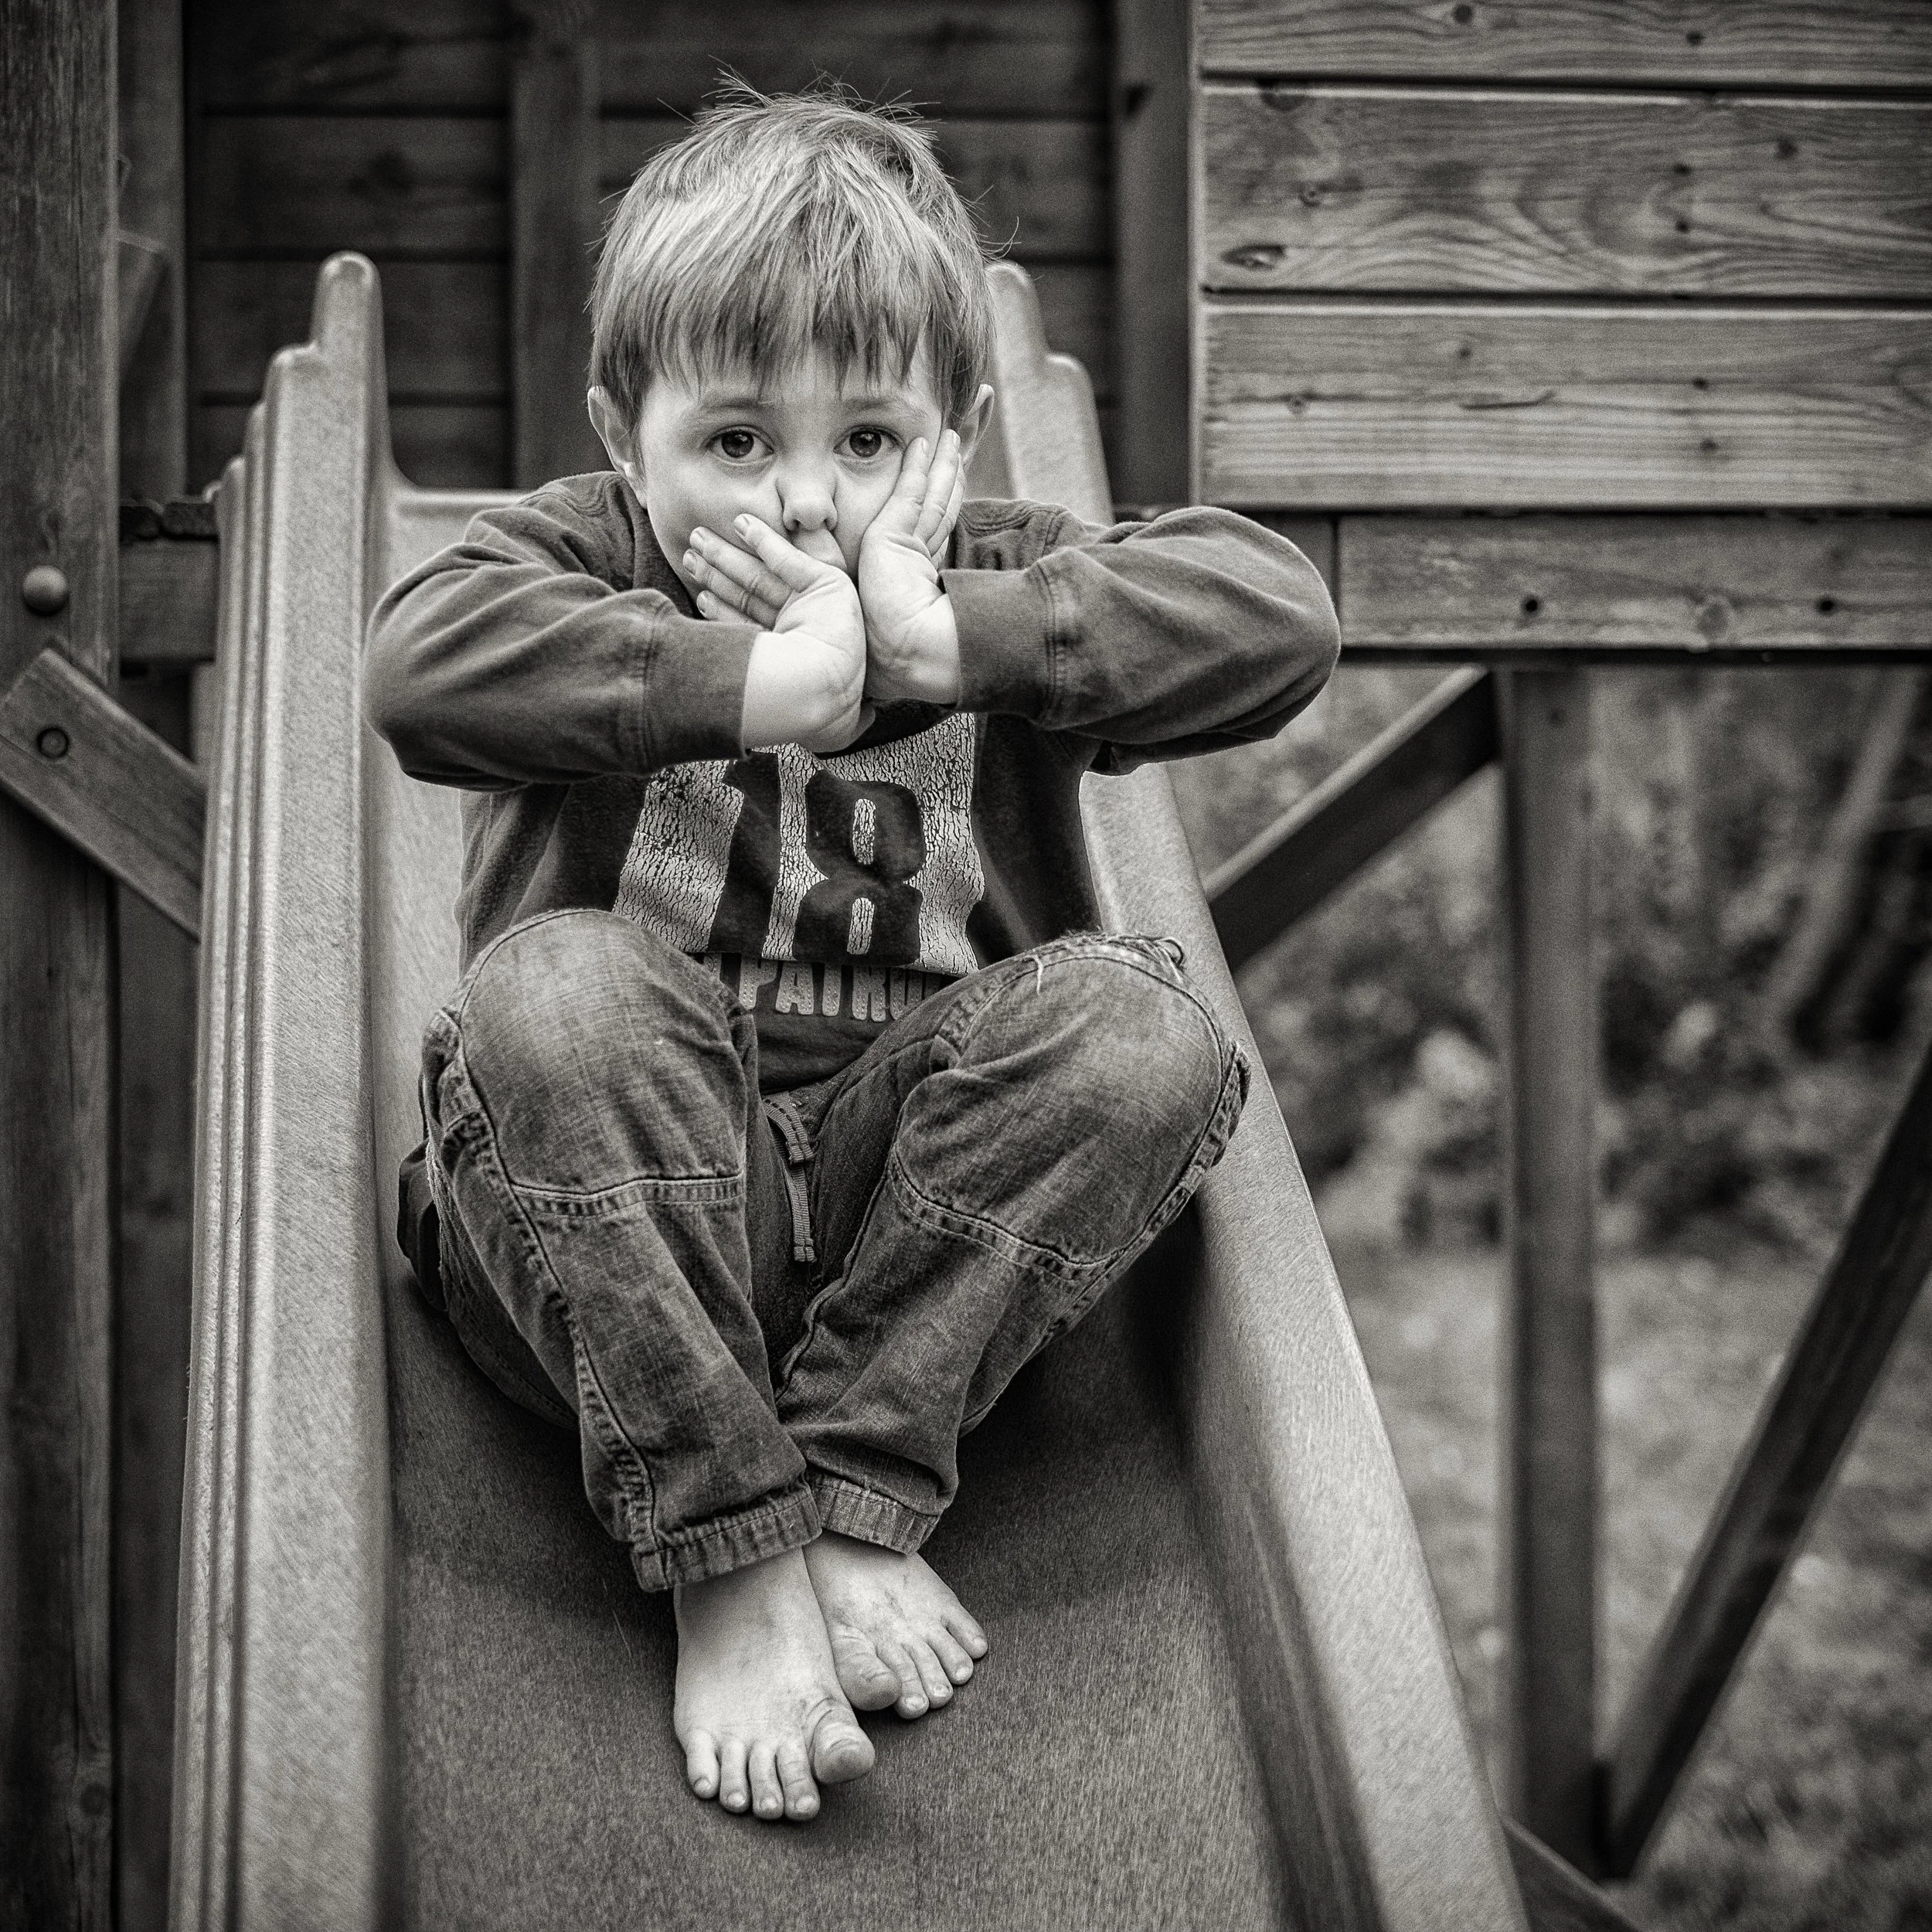
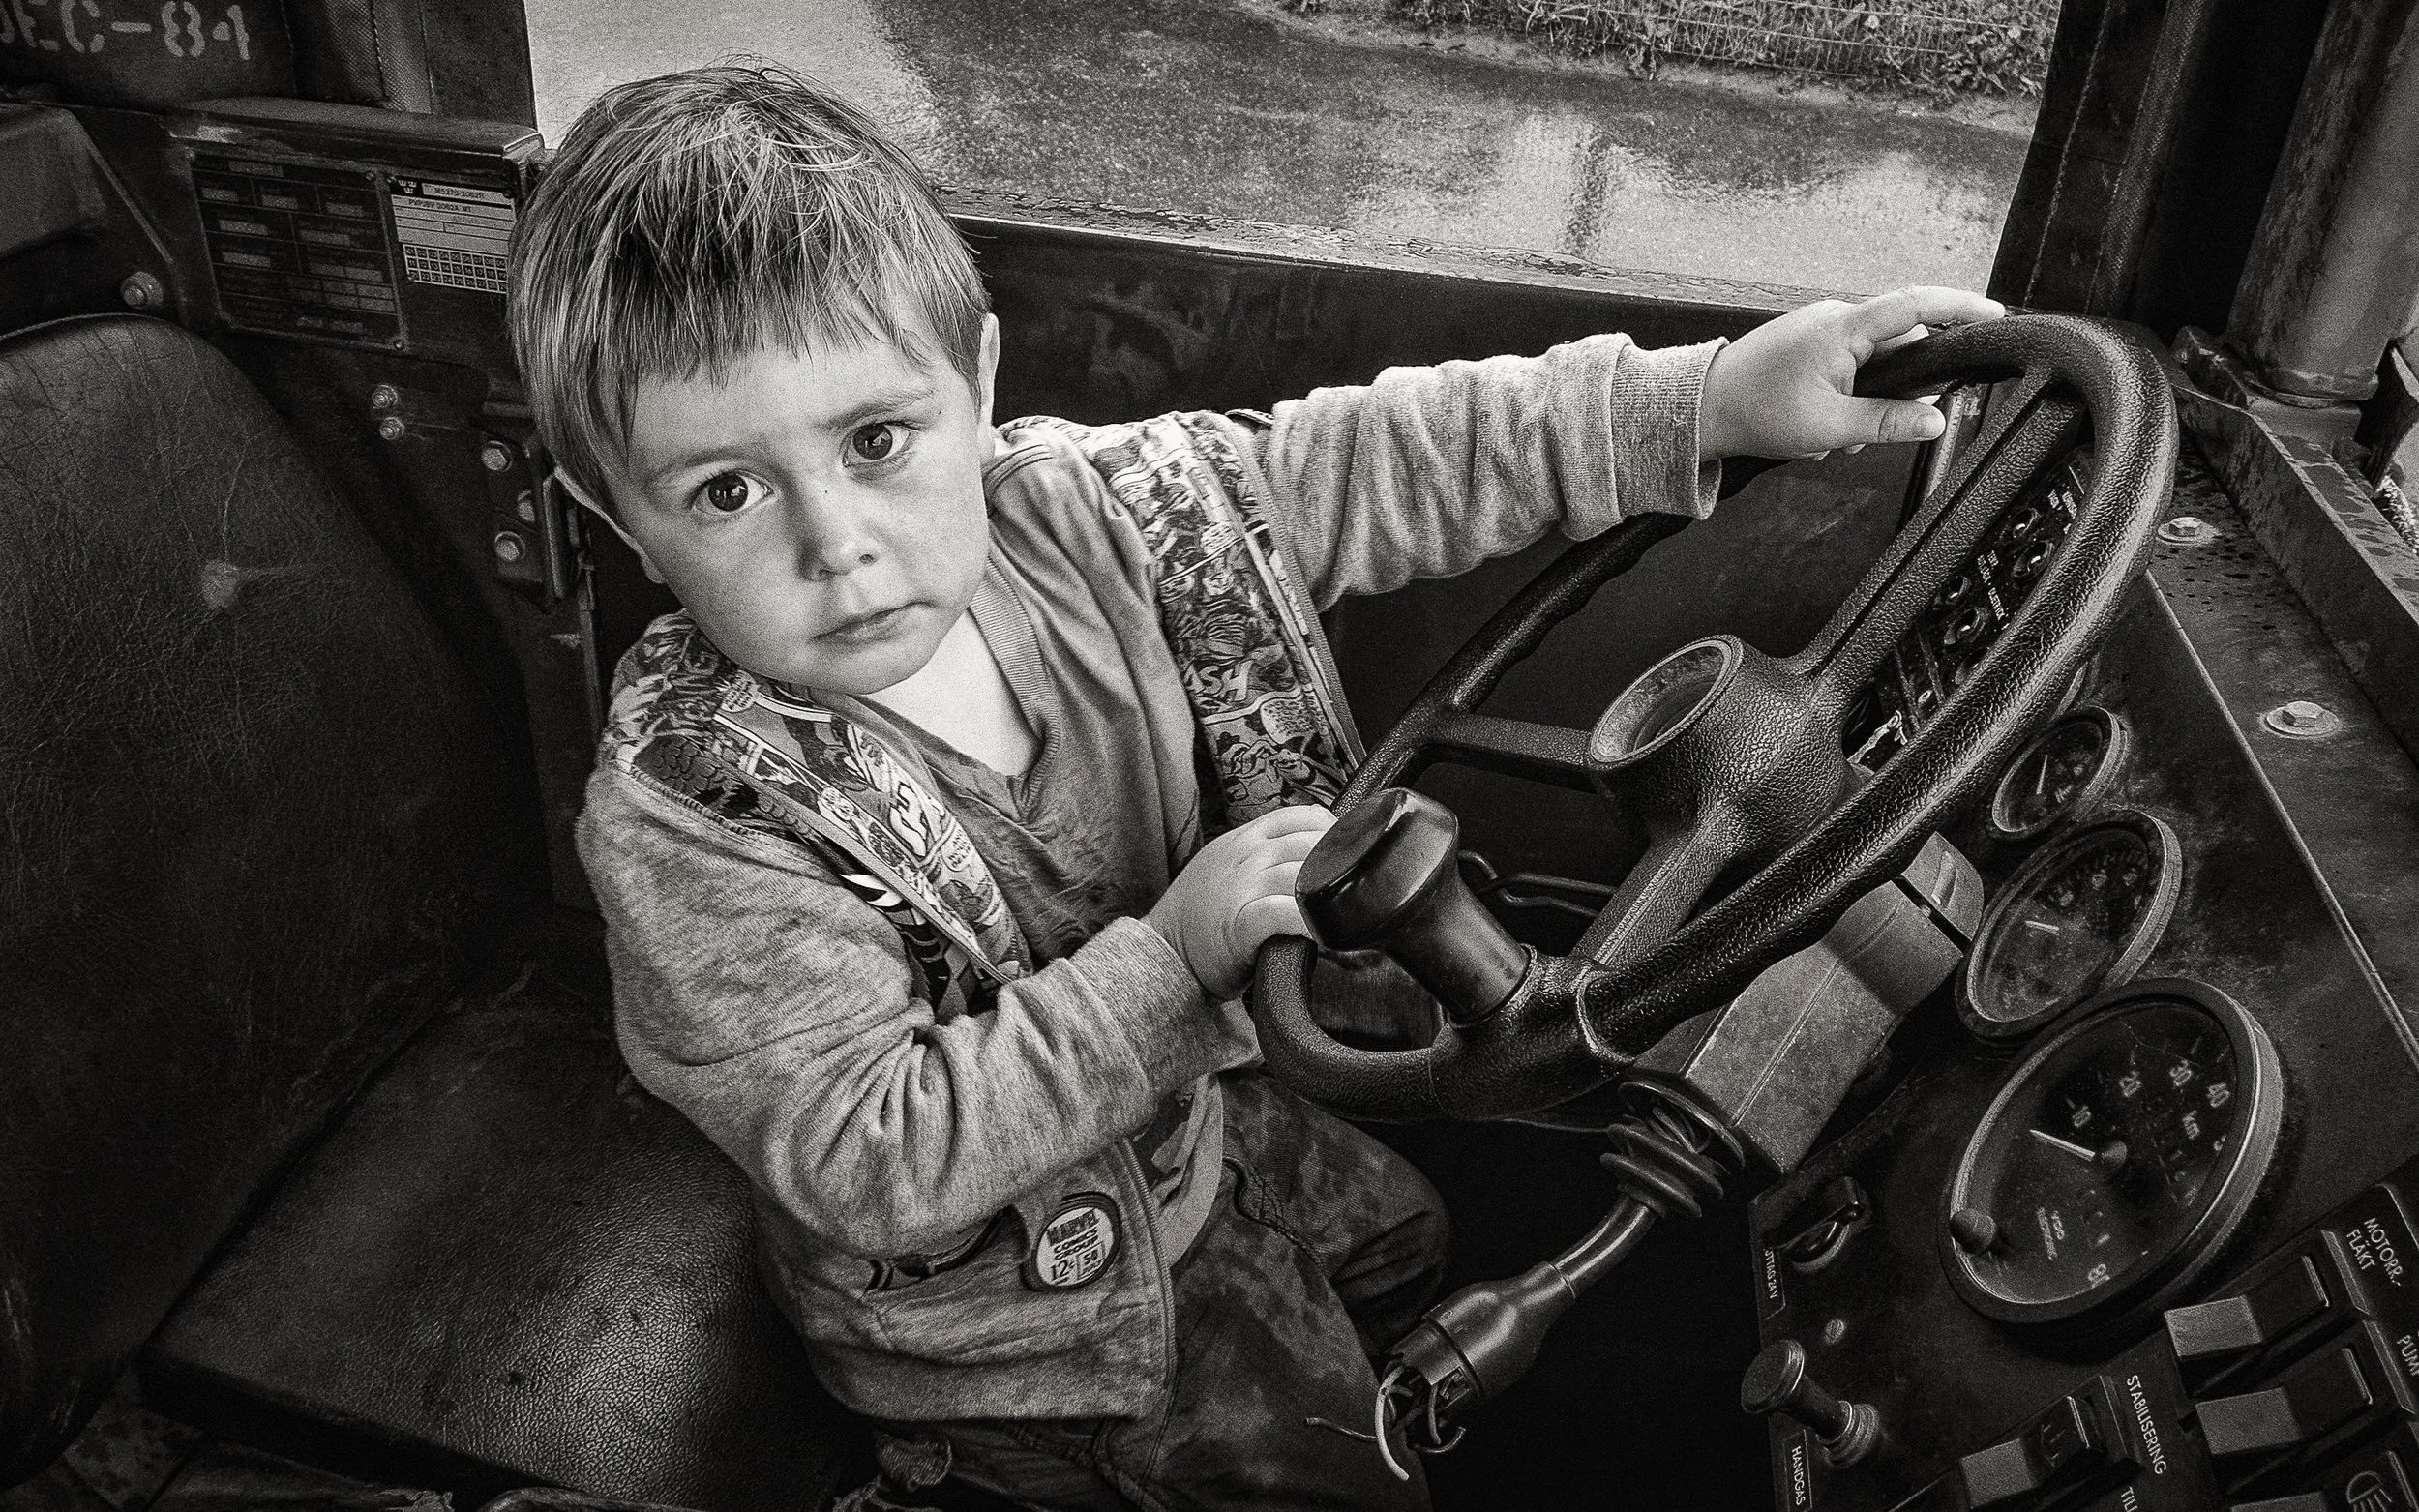
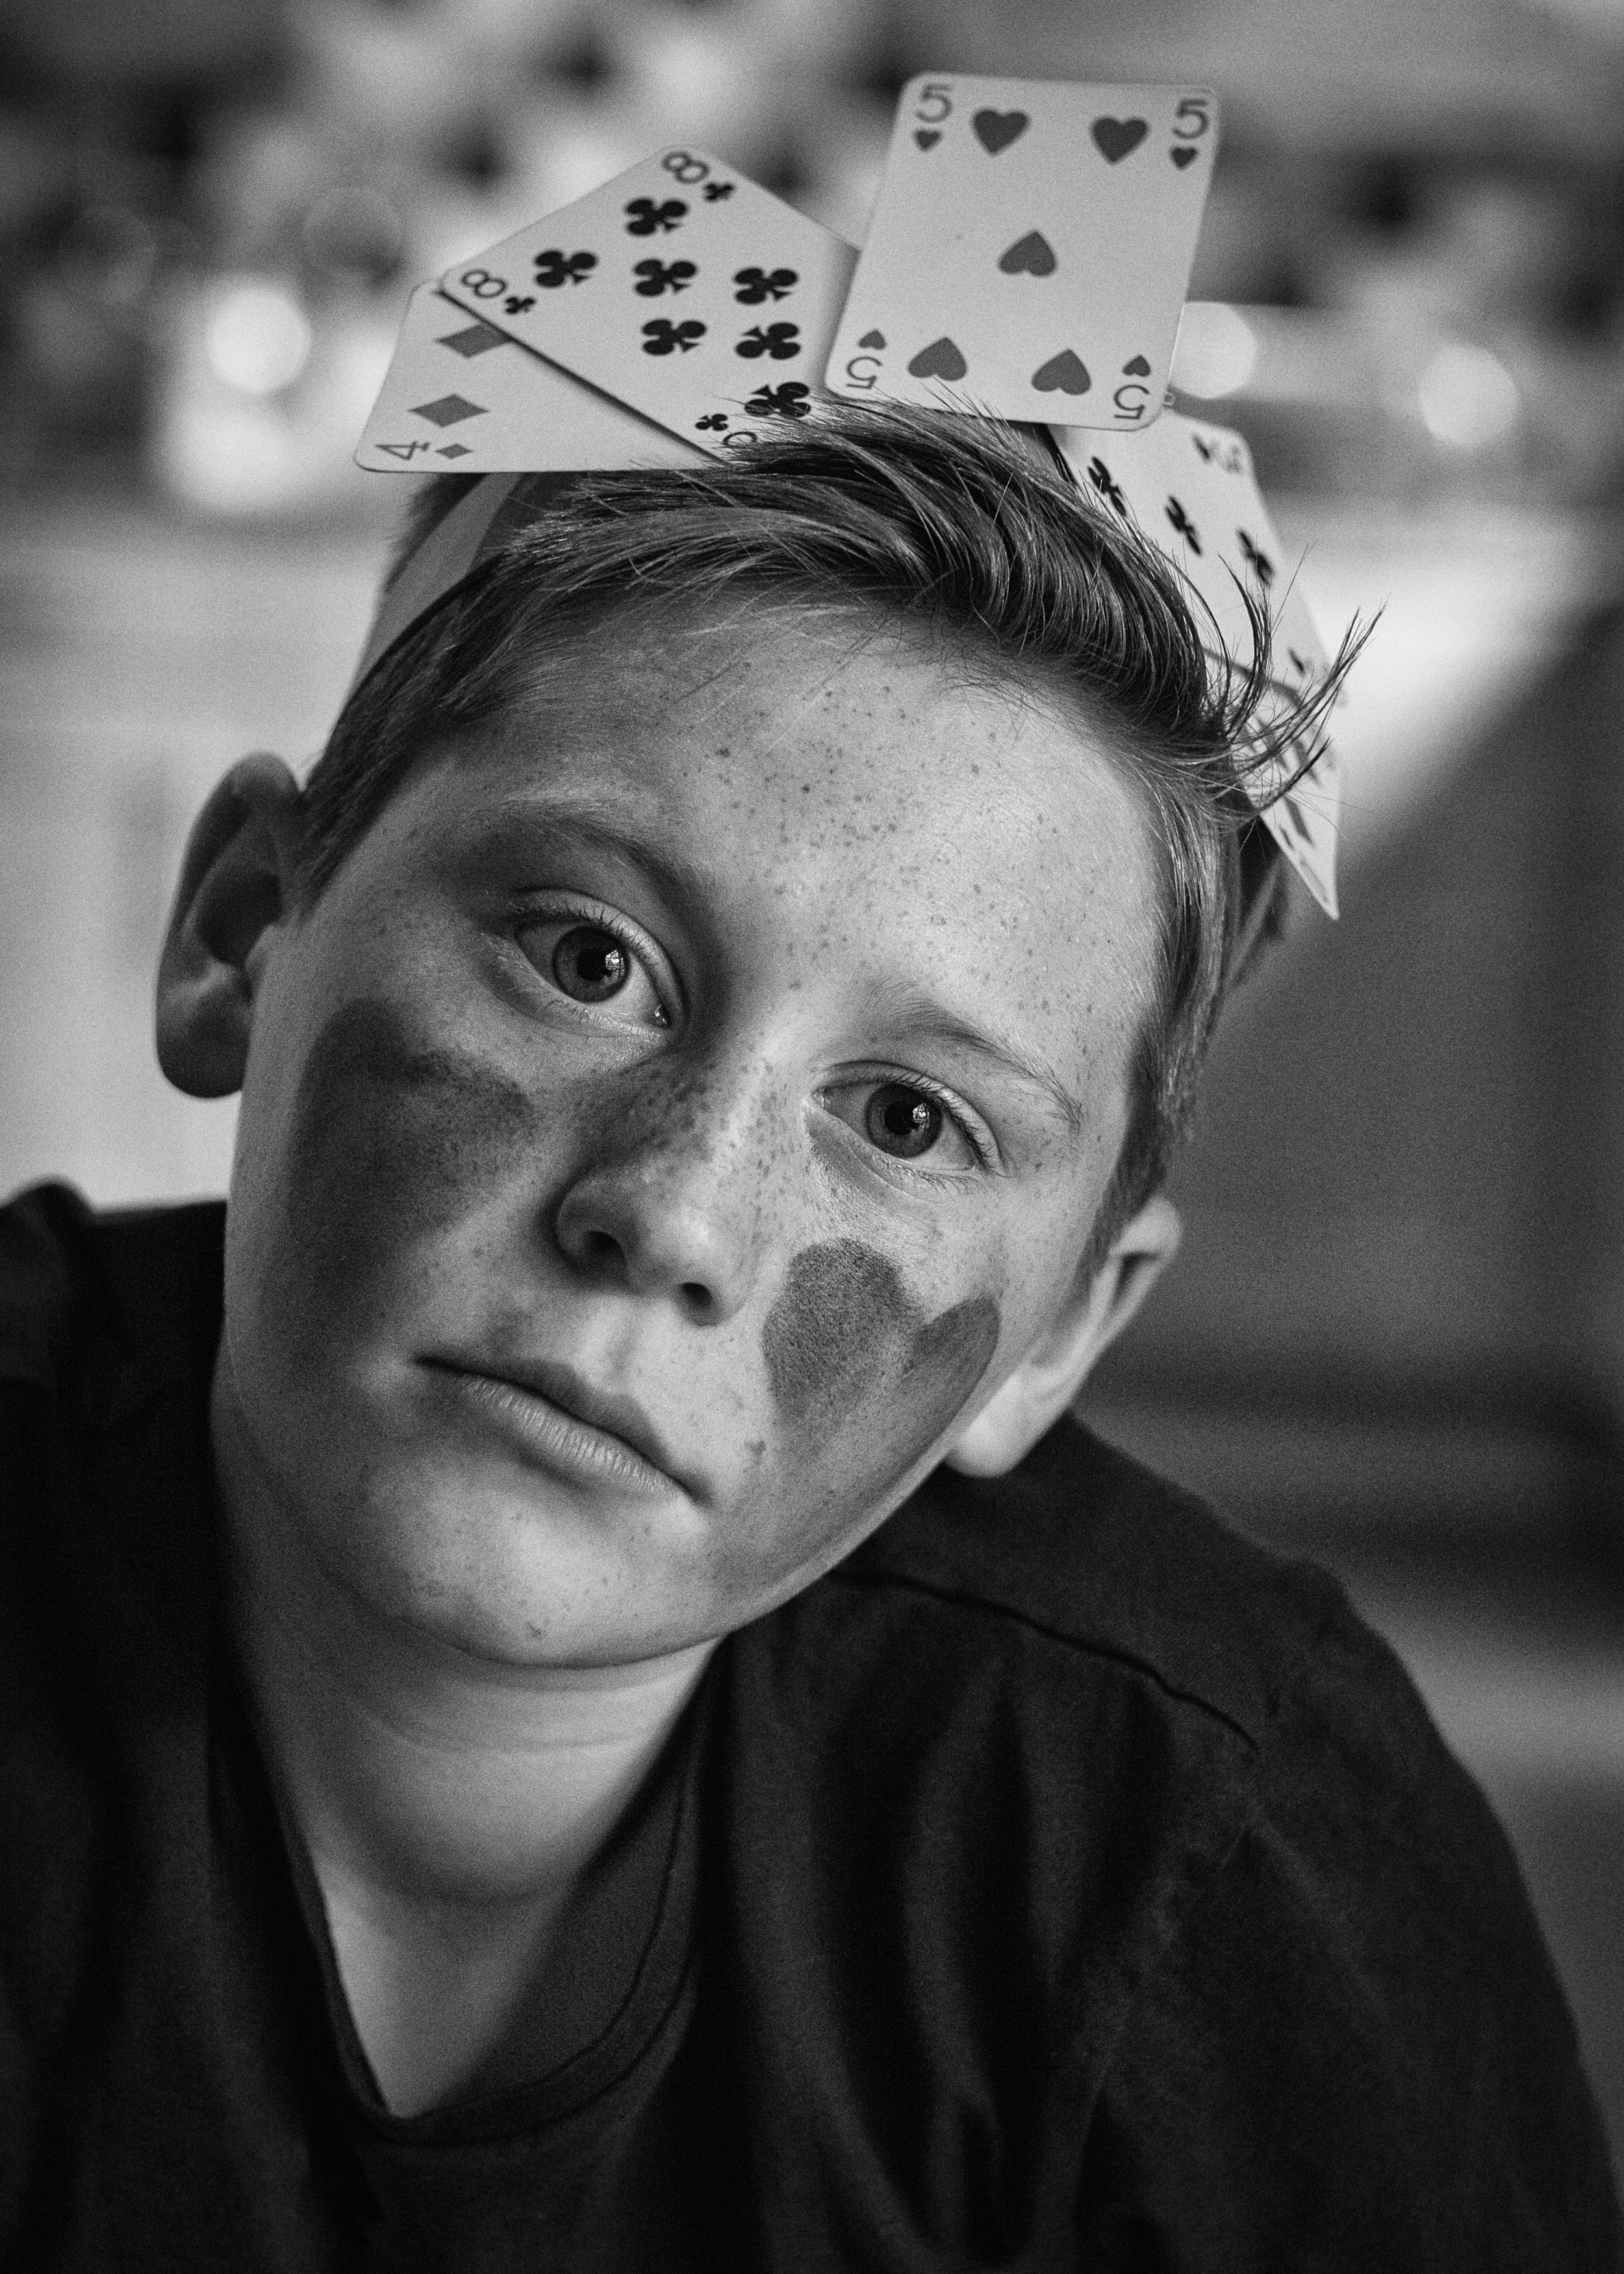
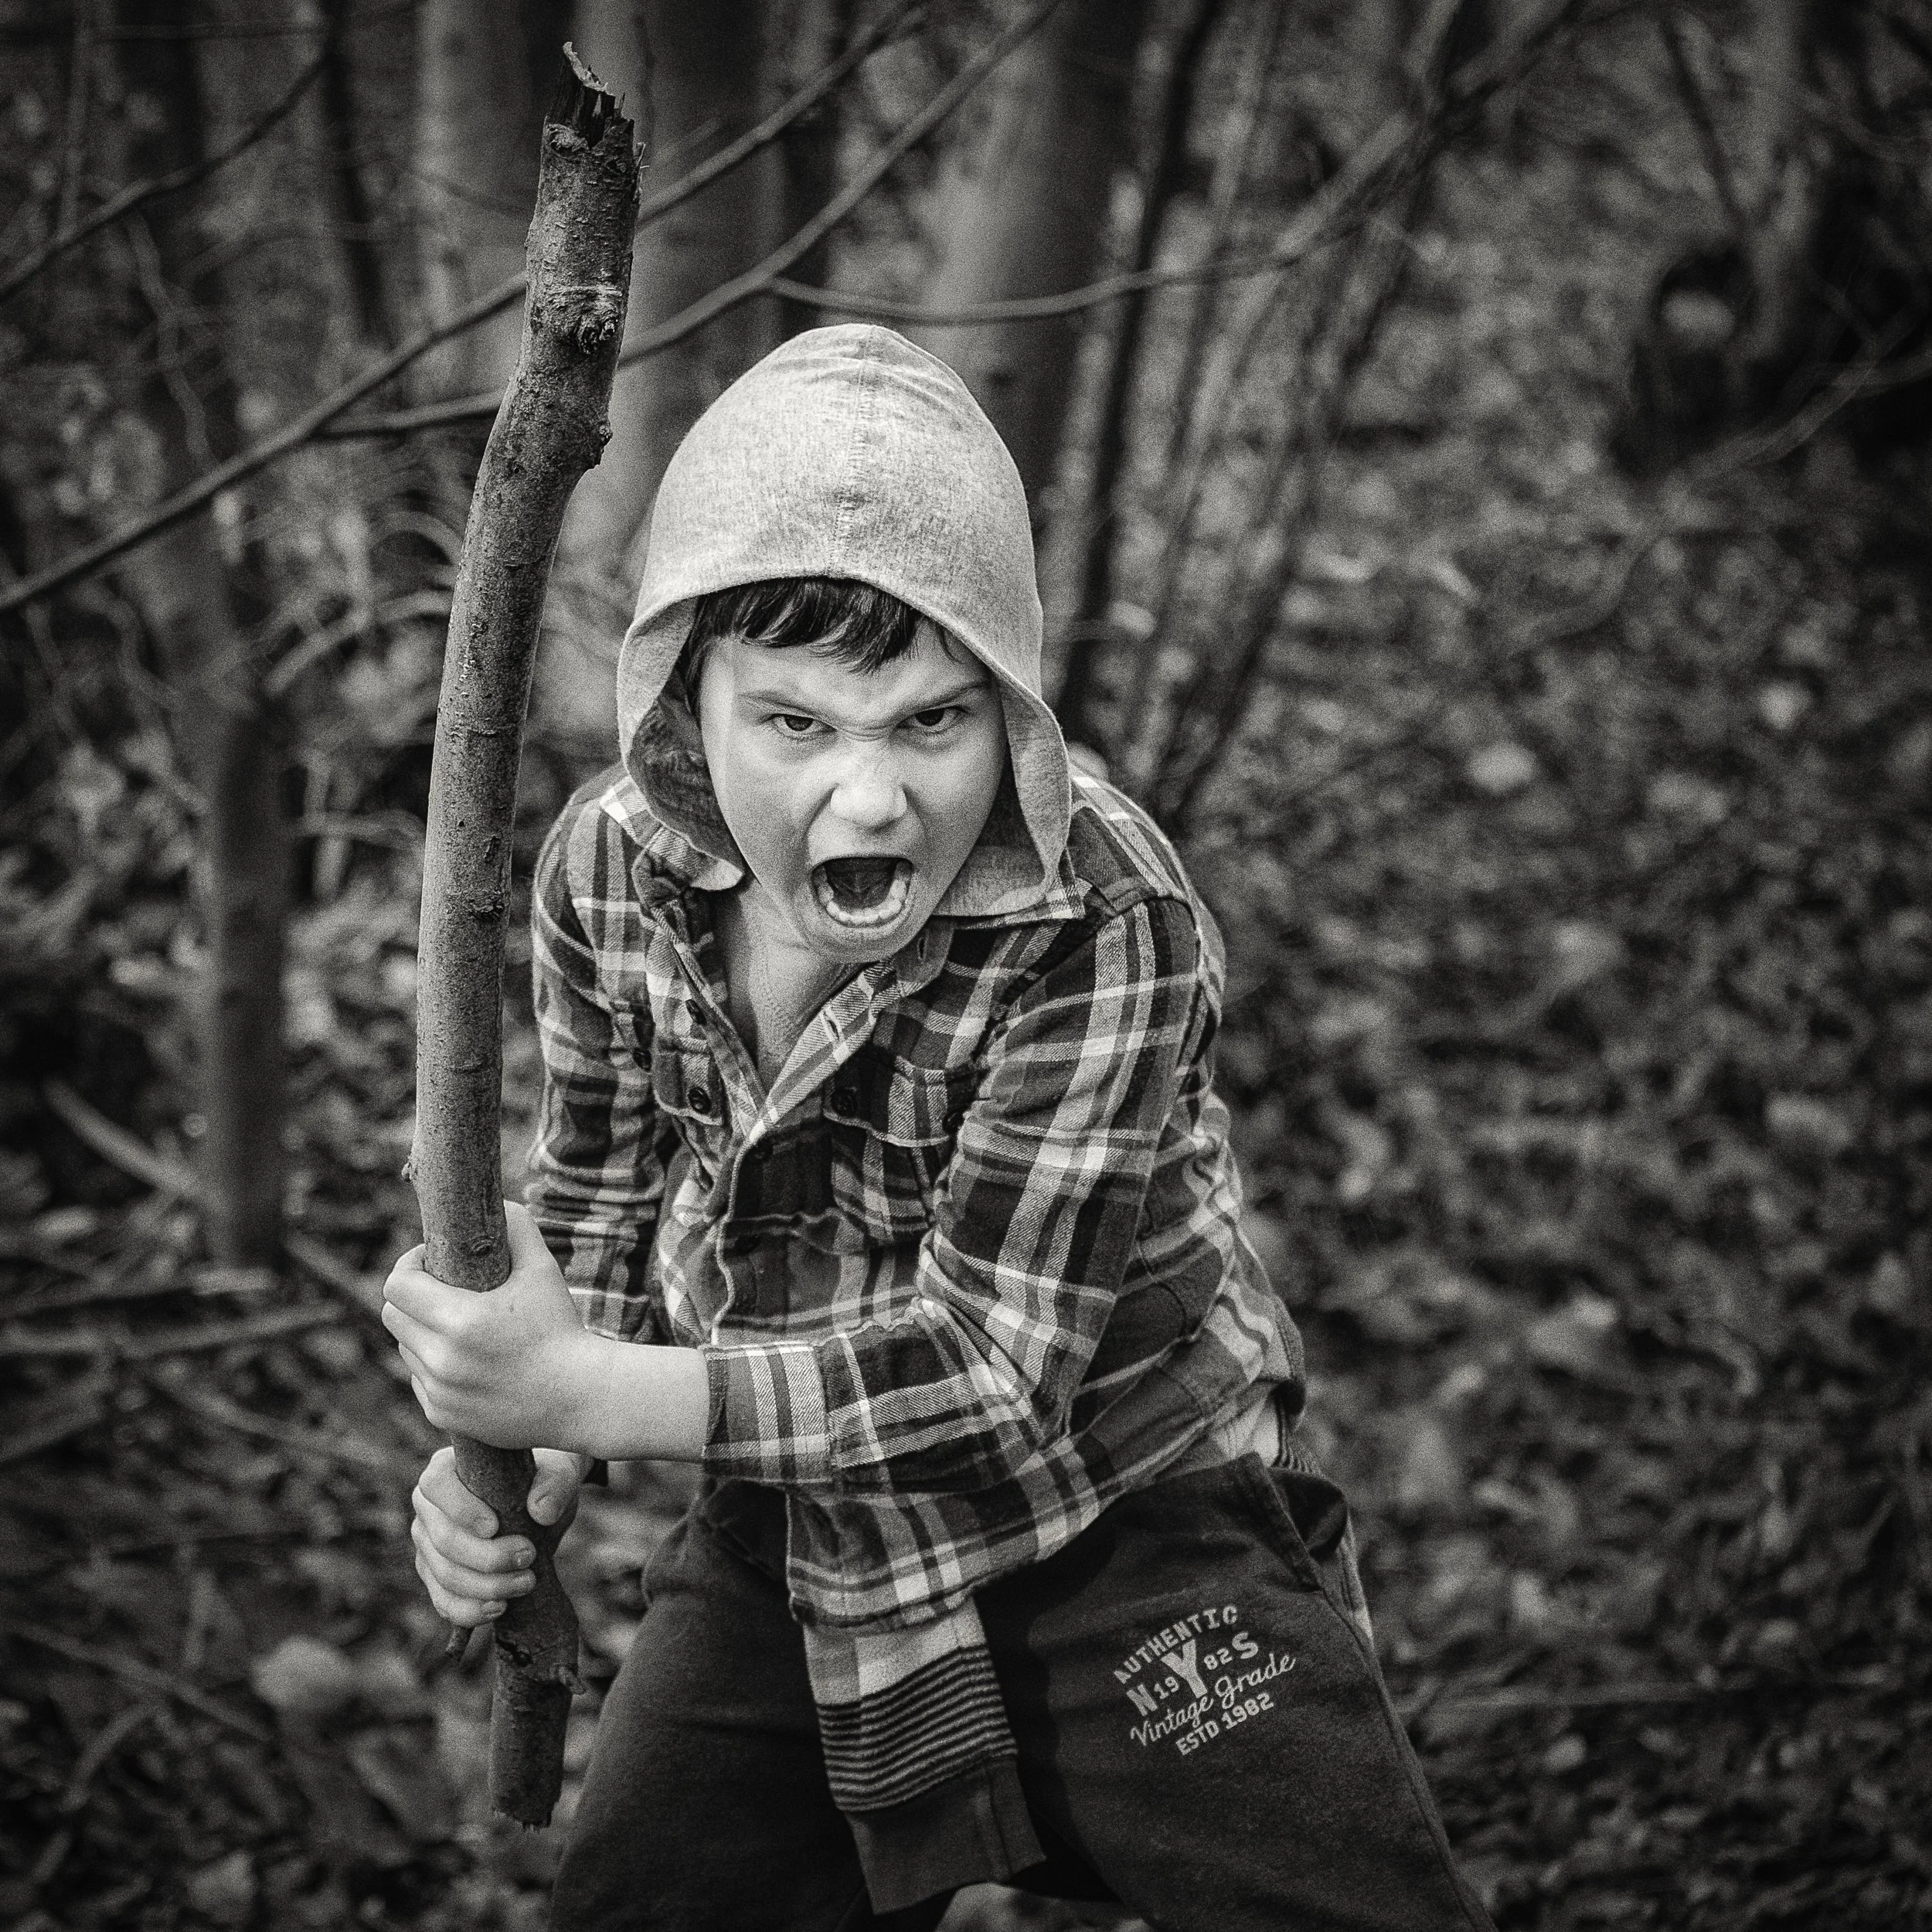
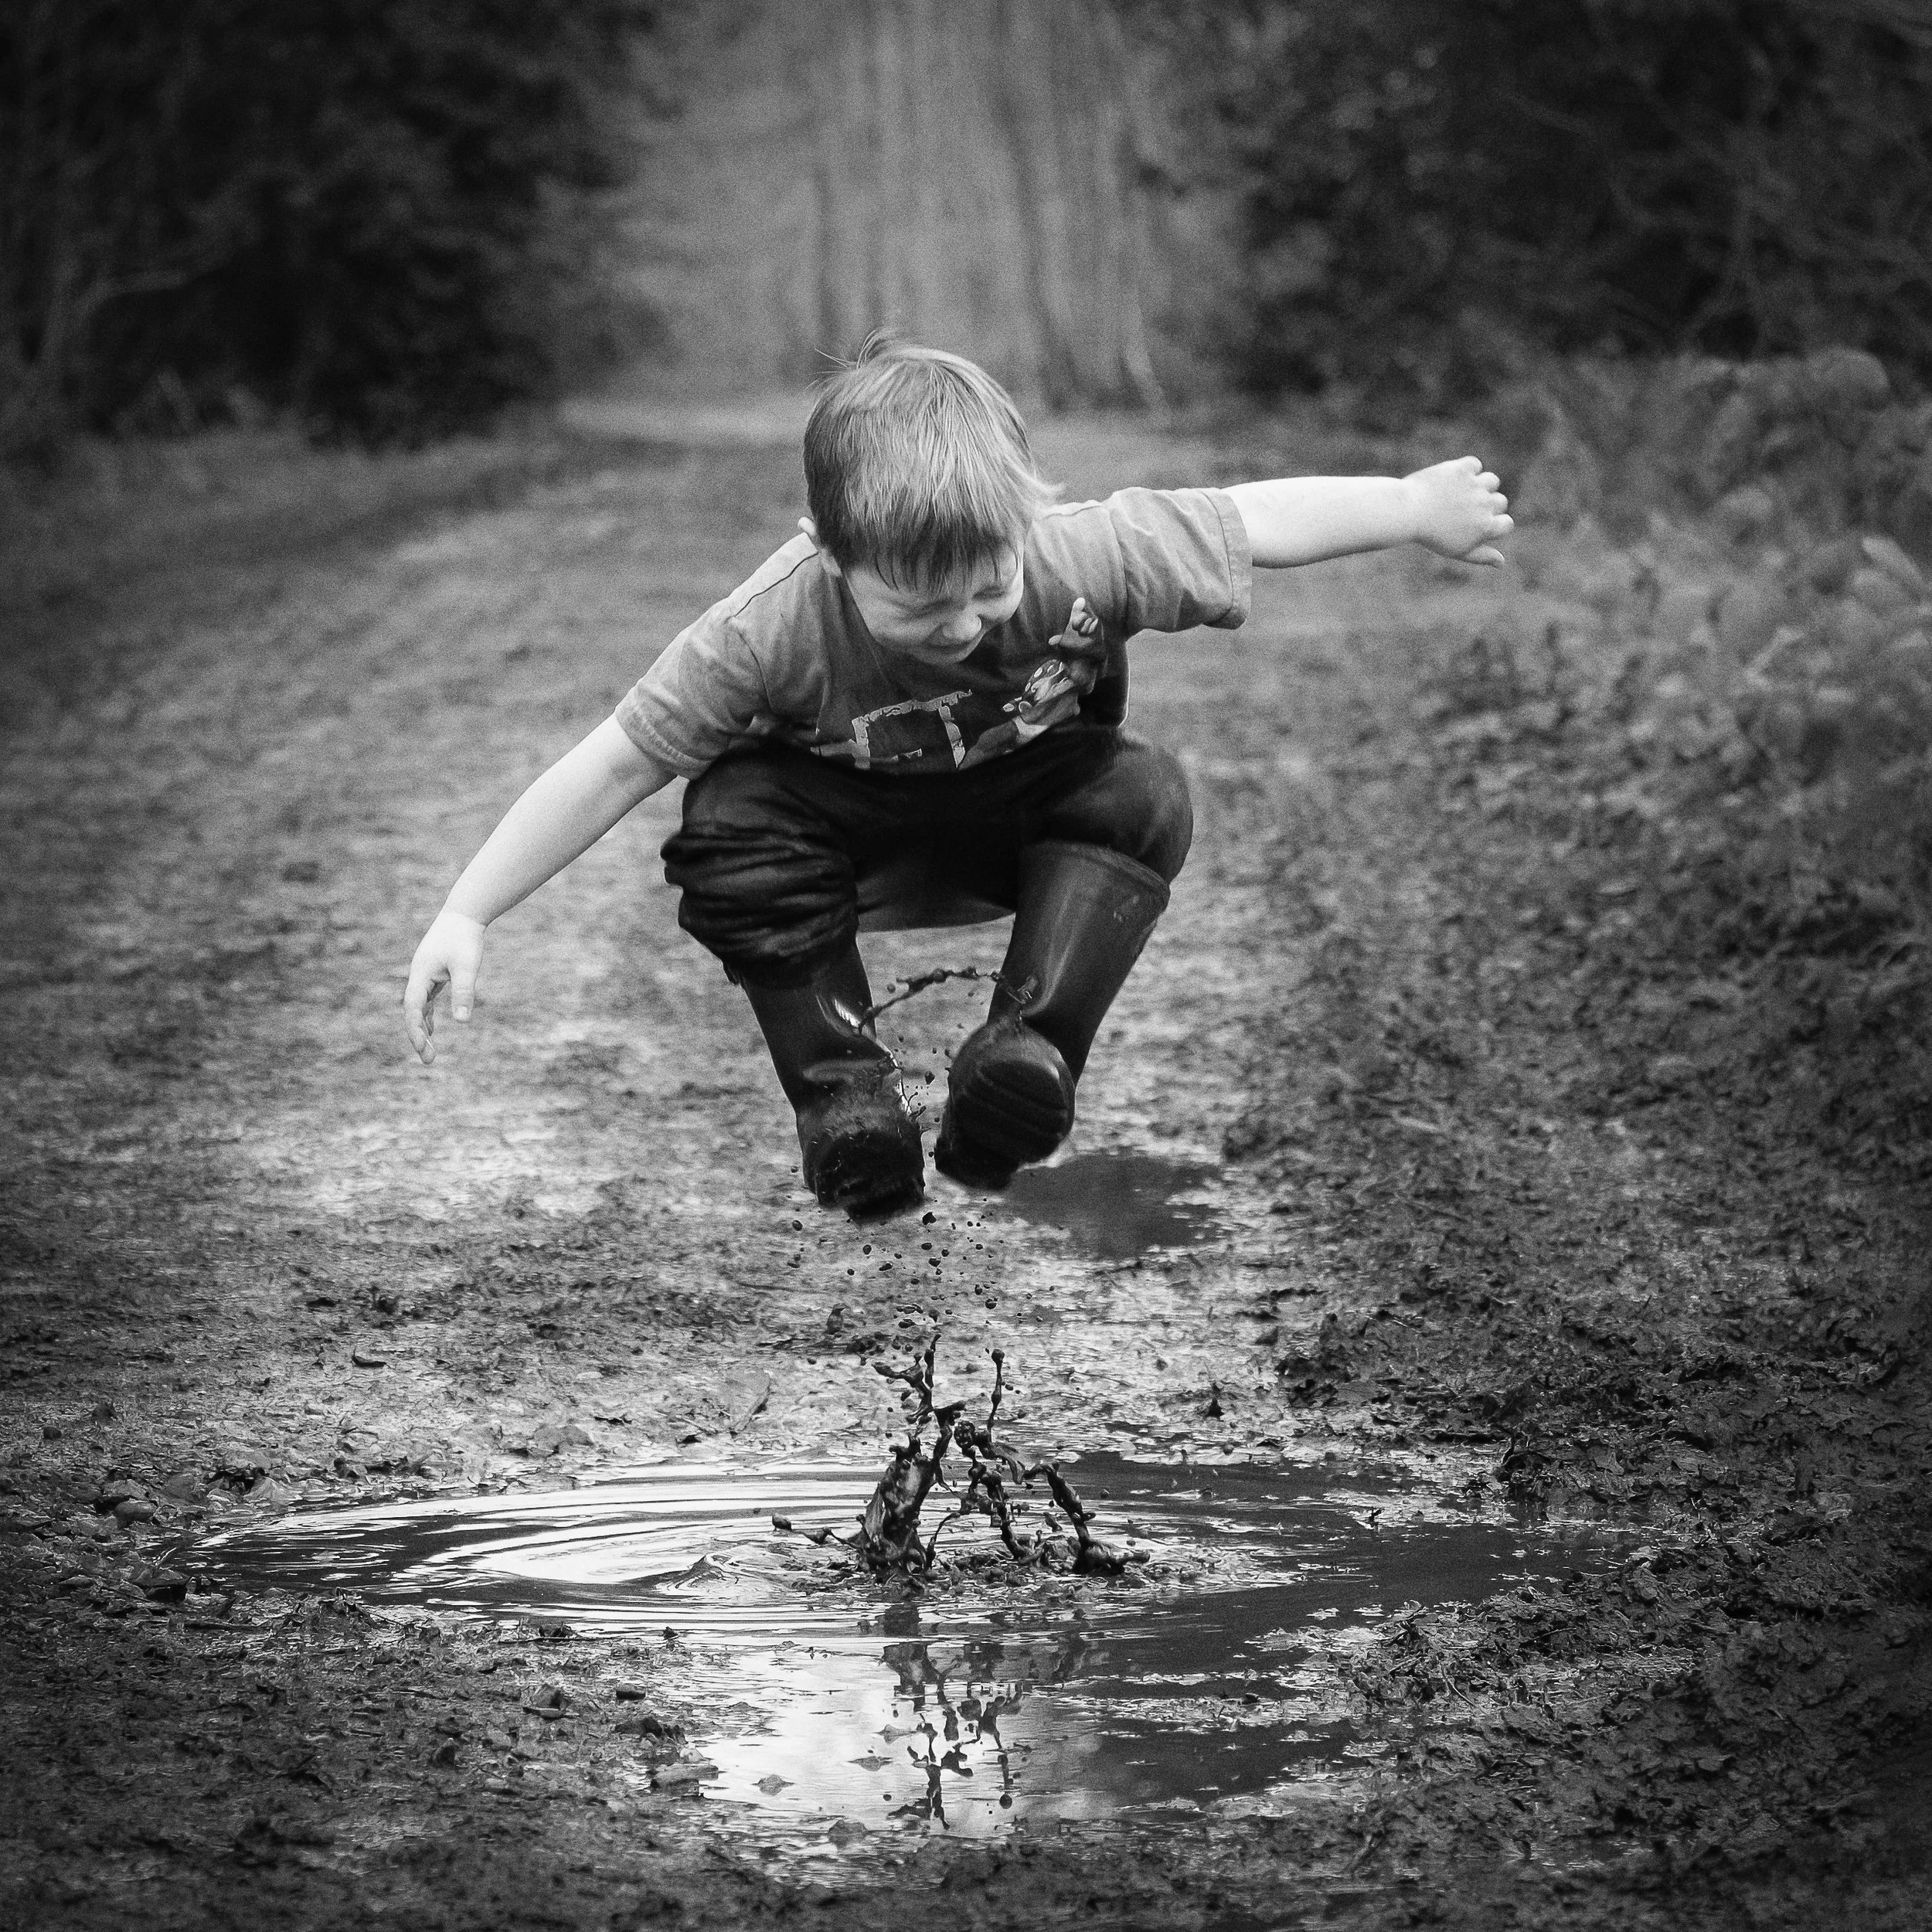
Children require a completely different approach. They are not small adults who need slightly simpler instructions; they are people who have a limited tolerance for being directed, a powerful instinct for performance that is self-conscious rather than natural, and a tendency to become uncooperative at exactly the wrong moment. What works with children is: getting down to their level (literally — photographing a child from adult height produces portraits of the tops of heads and does not work); giving them something to do rather than asking them to pose; patience; and a willingness to produce a large number of frames in the knowledge that a small number will be worth keeping. Bribery is not beneath you.
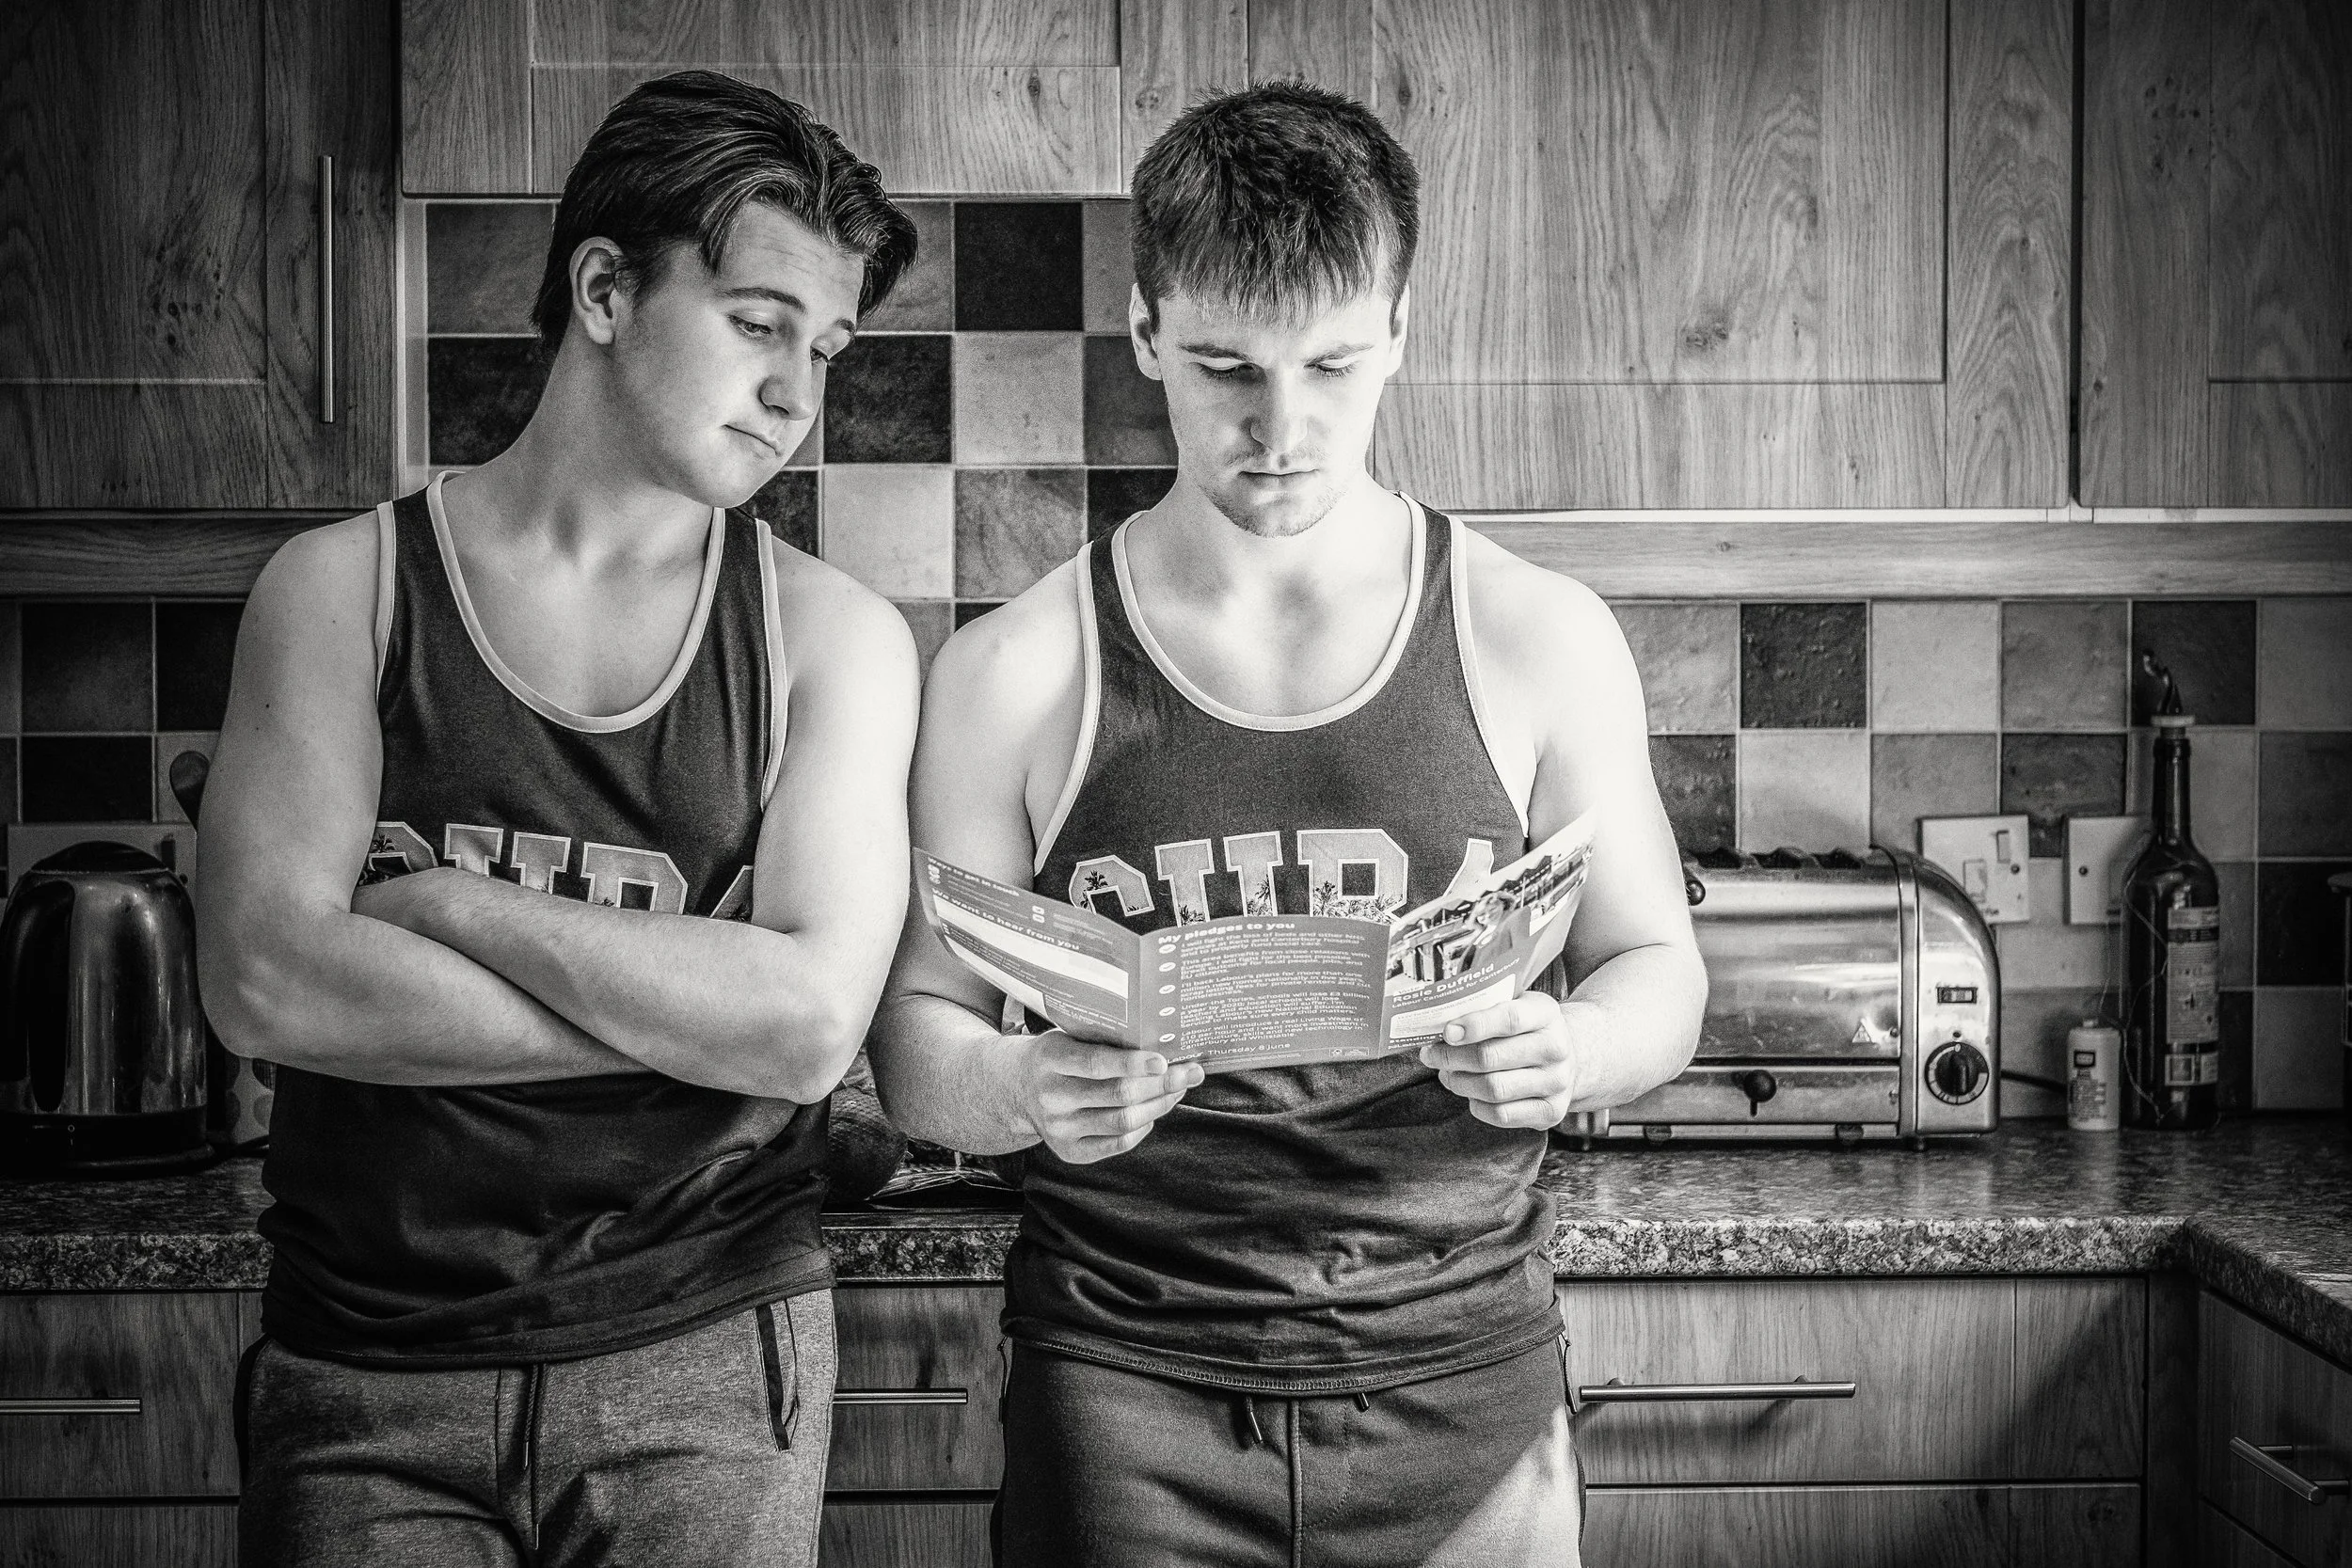
Groups and families present the additional challenge of managing multiple people's expressions and body language simultaneously. Arrange heights thoughtfully: taller people at the back or standing, shorter people at the front; seated and standing mixed to create variation. Create triangular compositions — three heads in a triangle are more interesting than three heads in a line. For formal family portraits where everyone needs to look at the camera simultaneously, the options are: shoot very fast across a burst of frames and accept that perfection is statistical; or deploy a genuinely funny joke immediately before pressing the shutter. The former is more reliable.
Posing and Body Language
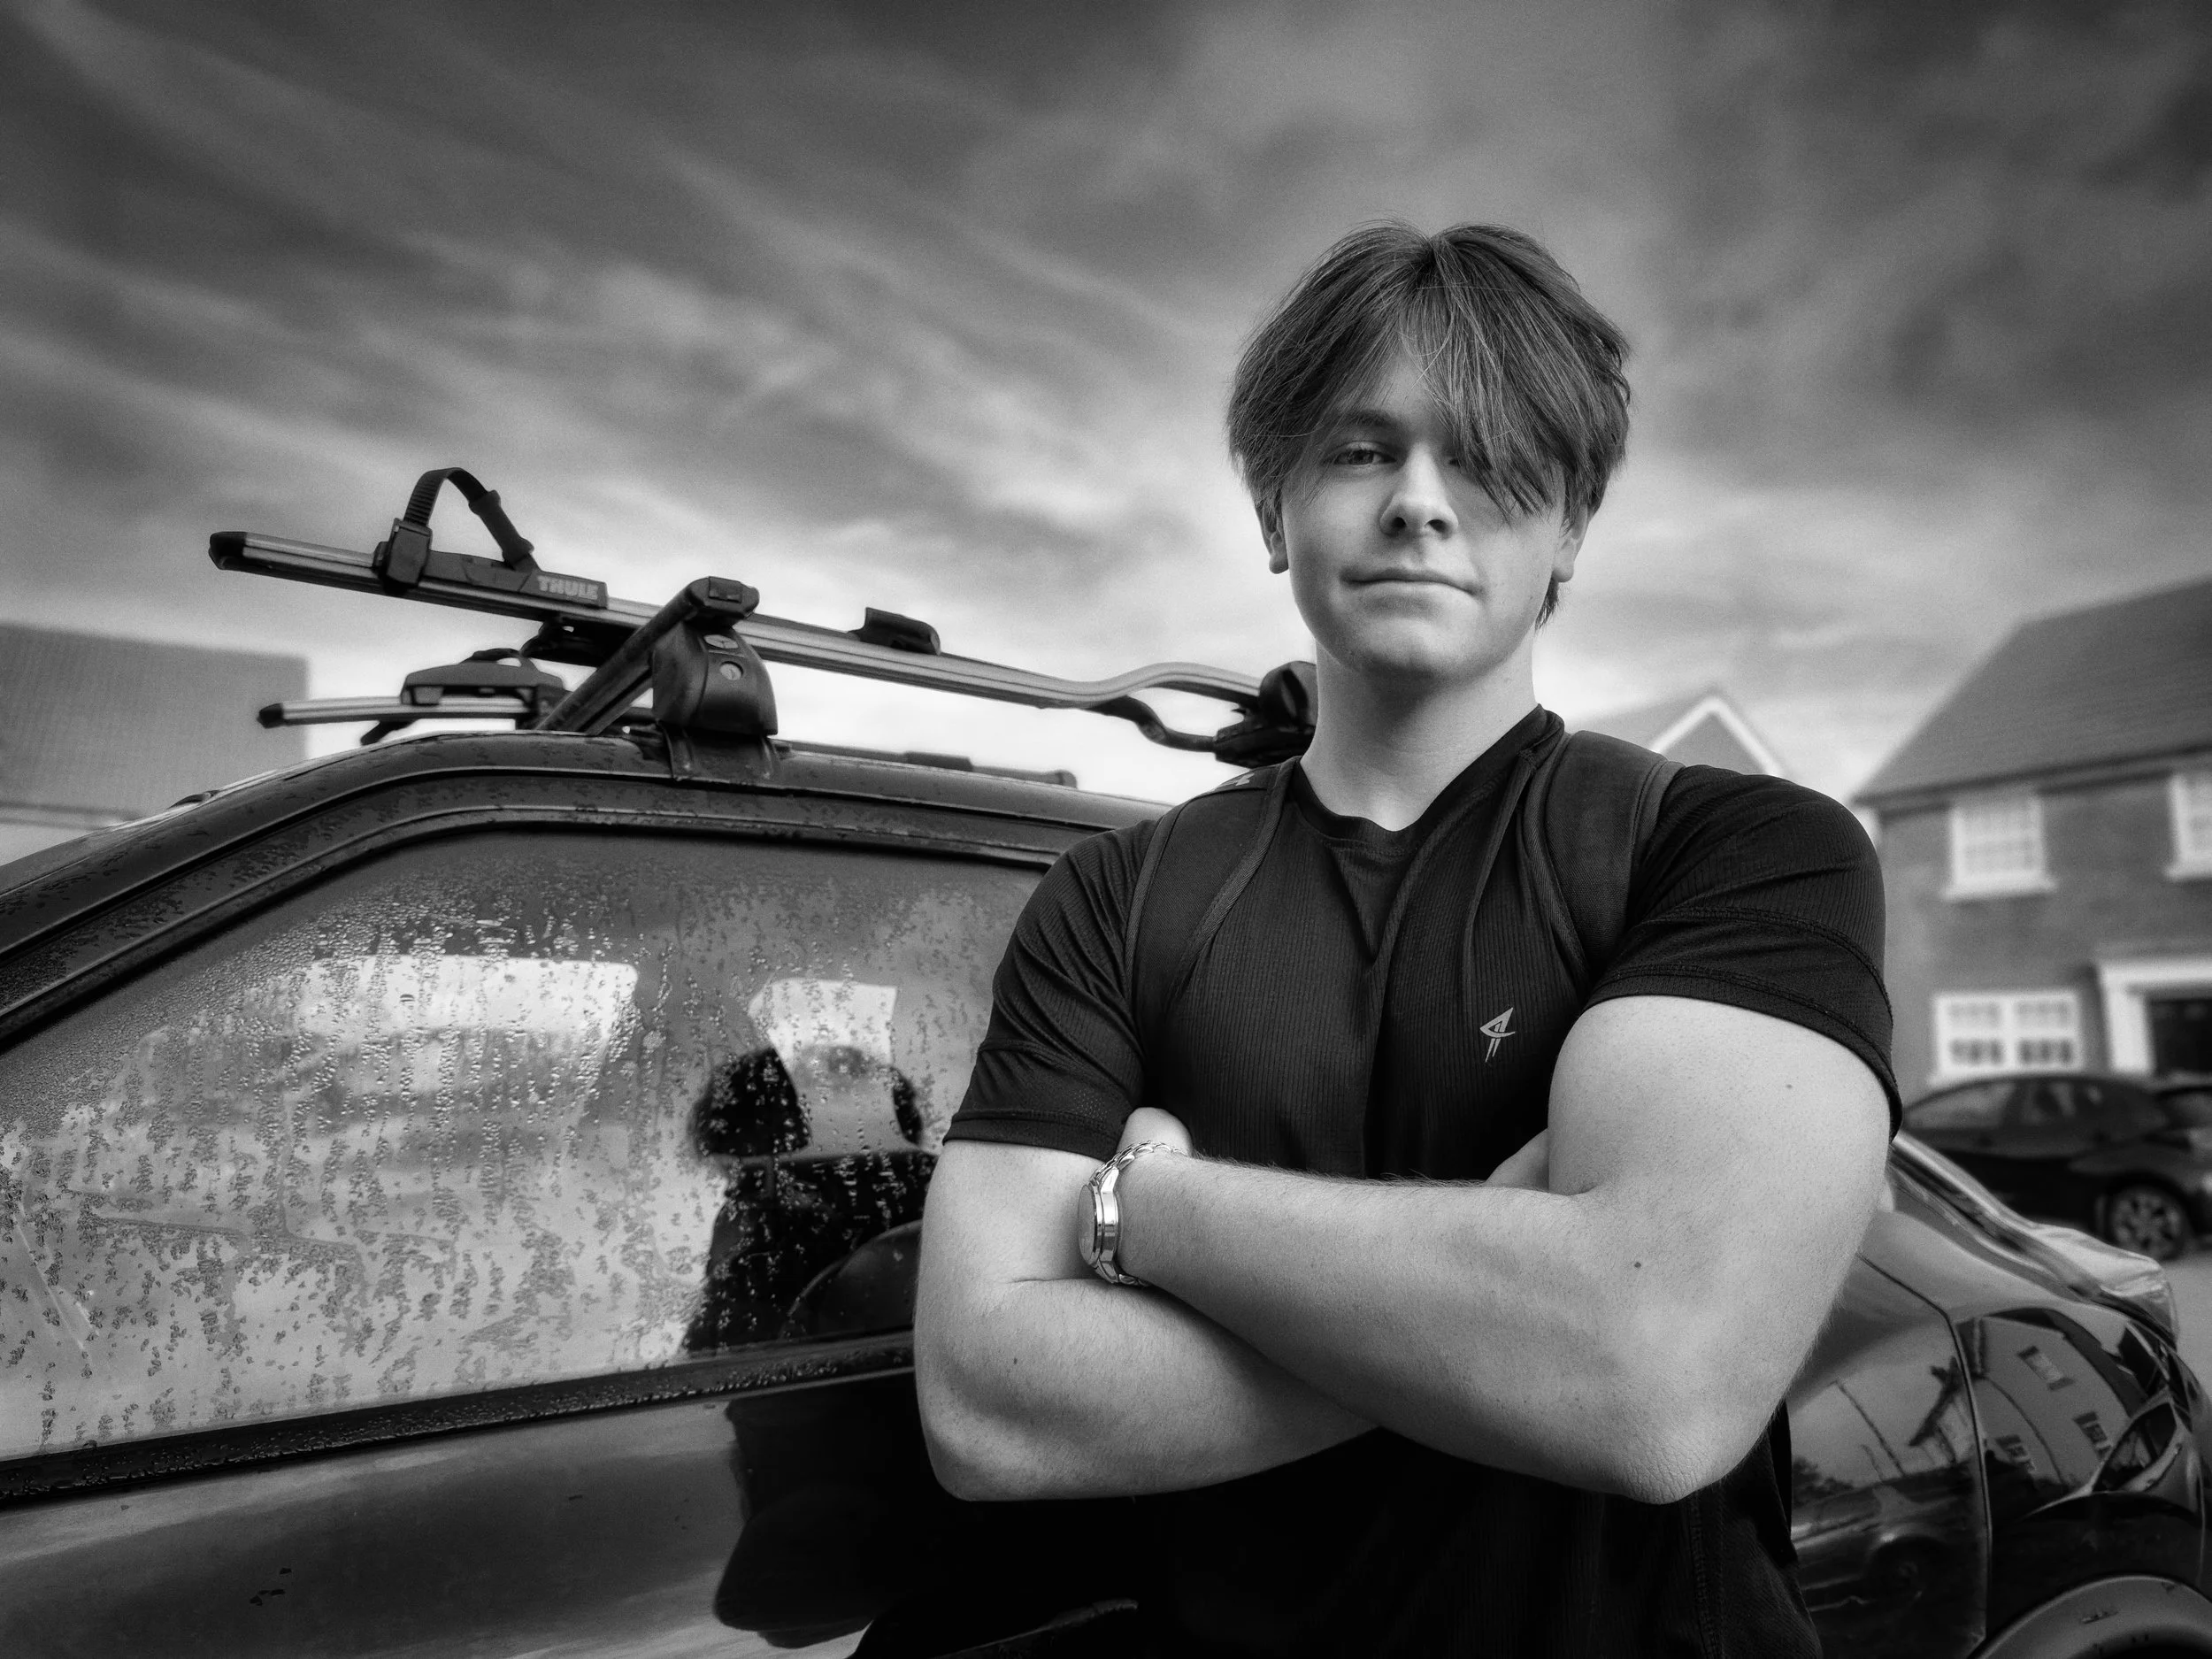
The body communicates continuously, and in a portrait it says as much as the face. A subject with crossed arms, hunched shoulders, and a stiff stance is communicating discomfort whether their face is smiling or not. Posing is not vanity; it is the craft of making the subject look at ease, even when they are not.
Creating angles is the fundamental principle. A subject positioned directly face-on to the camera — body square, both shoulders level, feet apart — looks confrontational and passport-like. Angling the torso away from the camera, perhaps 30–45 degrees, while keeping the face towards it, creates dimension and breaks the static symmetry. The silhouette becomes more interesting, the body appears slimmer, and the pose feels less rigid. This is the single most useful adjustment you can make to most people's stance.
Weight distribution matters for standing portraits. Asking a subject to shift their weight onto their back foot has several effects: the hip drops slightly on the front side, the shoulder follows, and the body acquires a gentle S-curve that reads as relaxed. A subject who is standing with their weight equally distributed on both feet looks ready for a military inspection. A subject standing with the weight on one foot looks like a person.
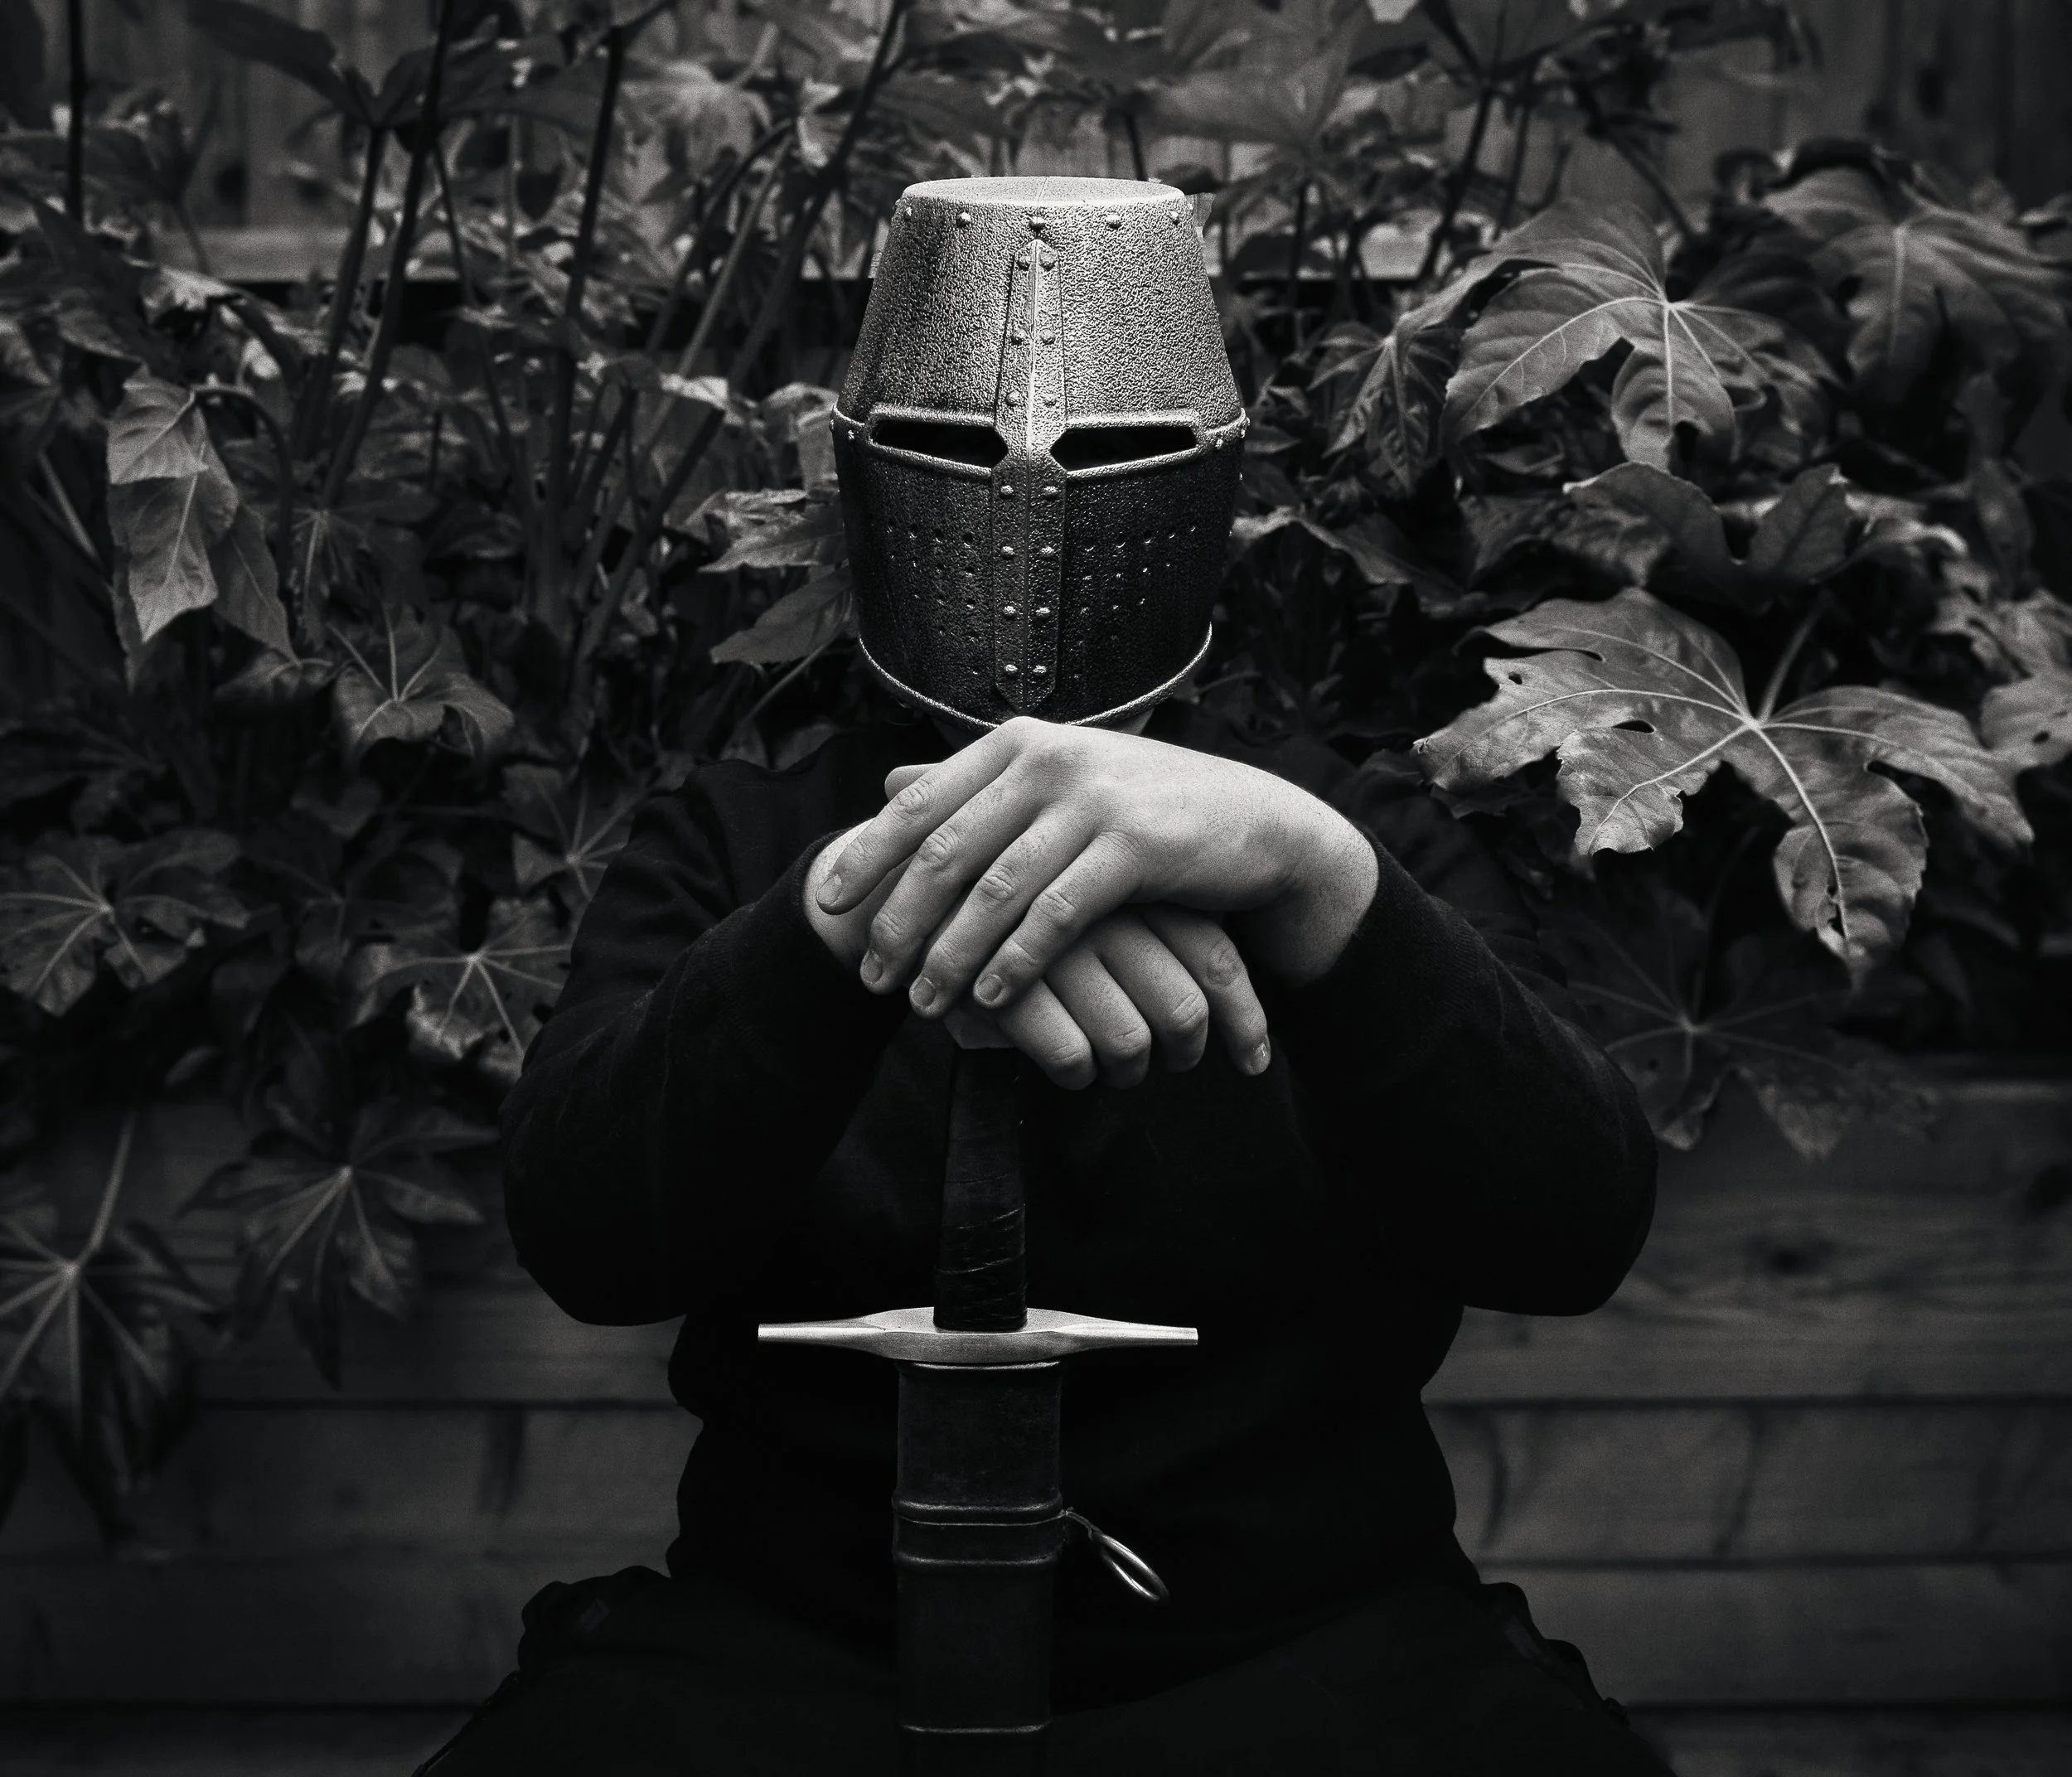
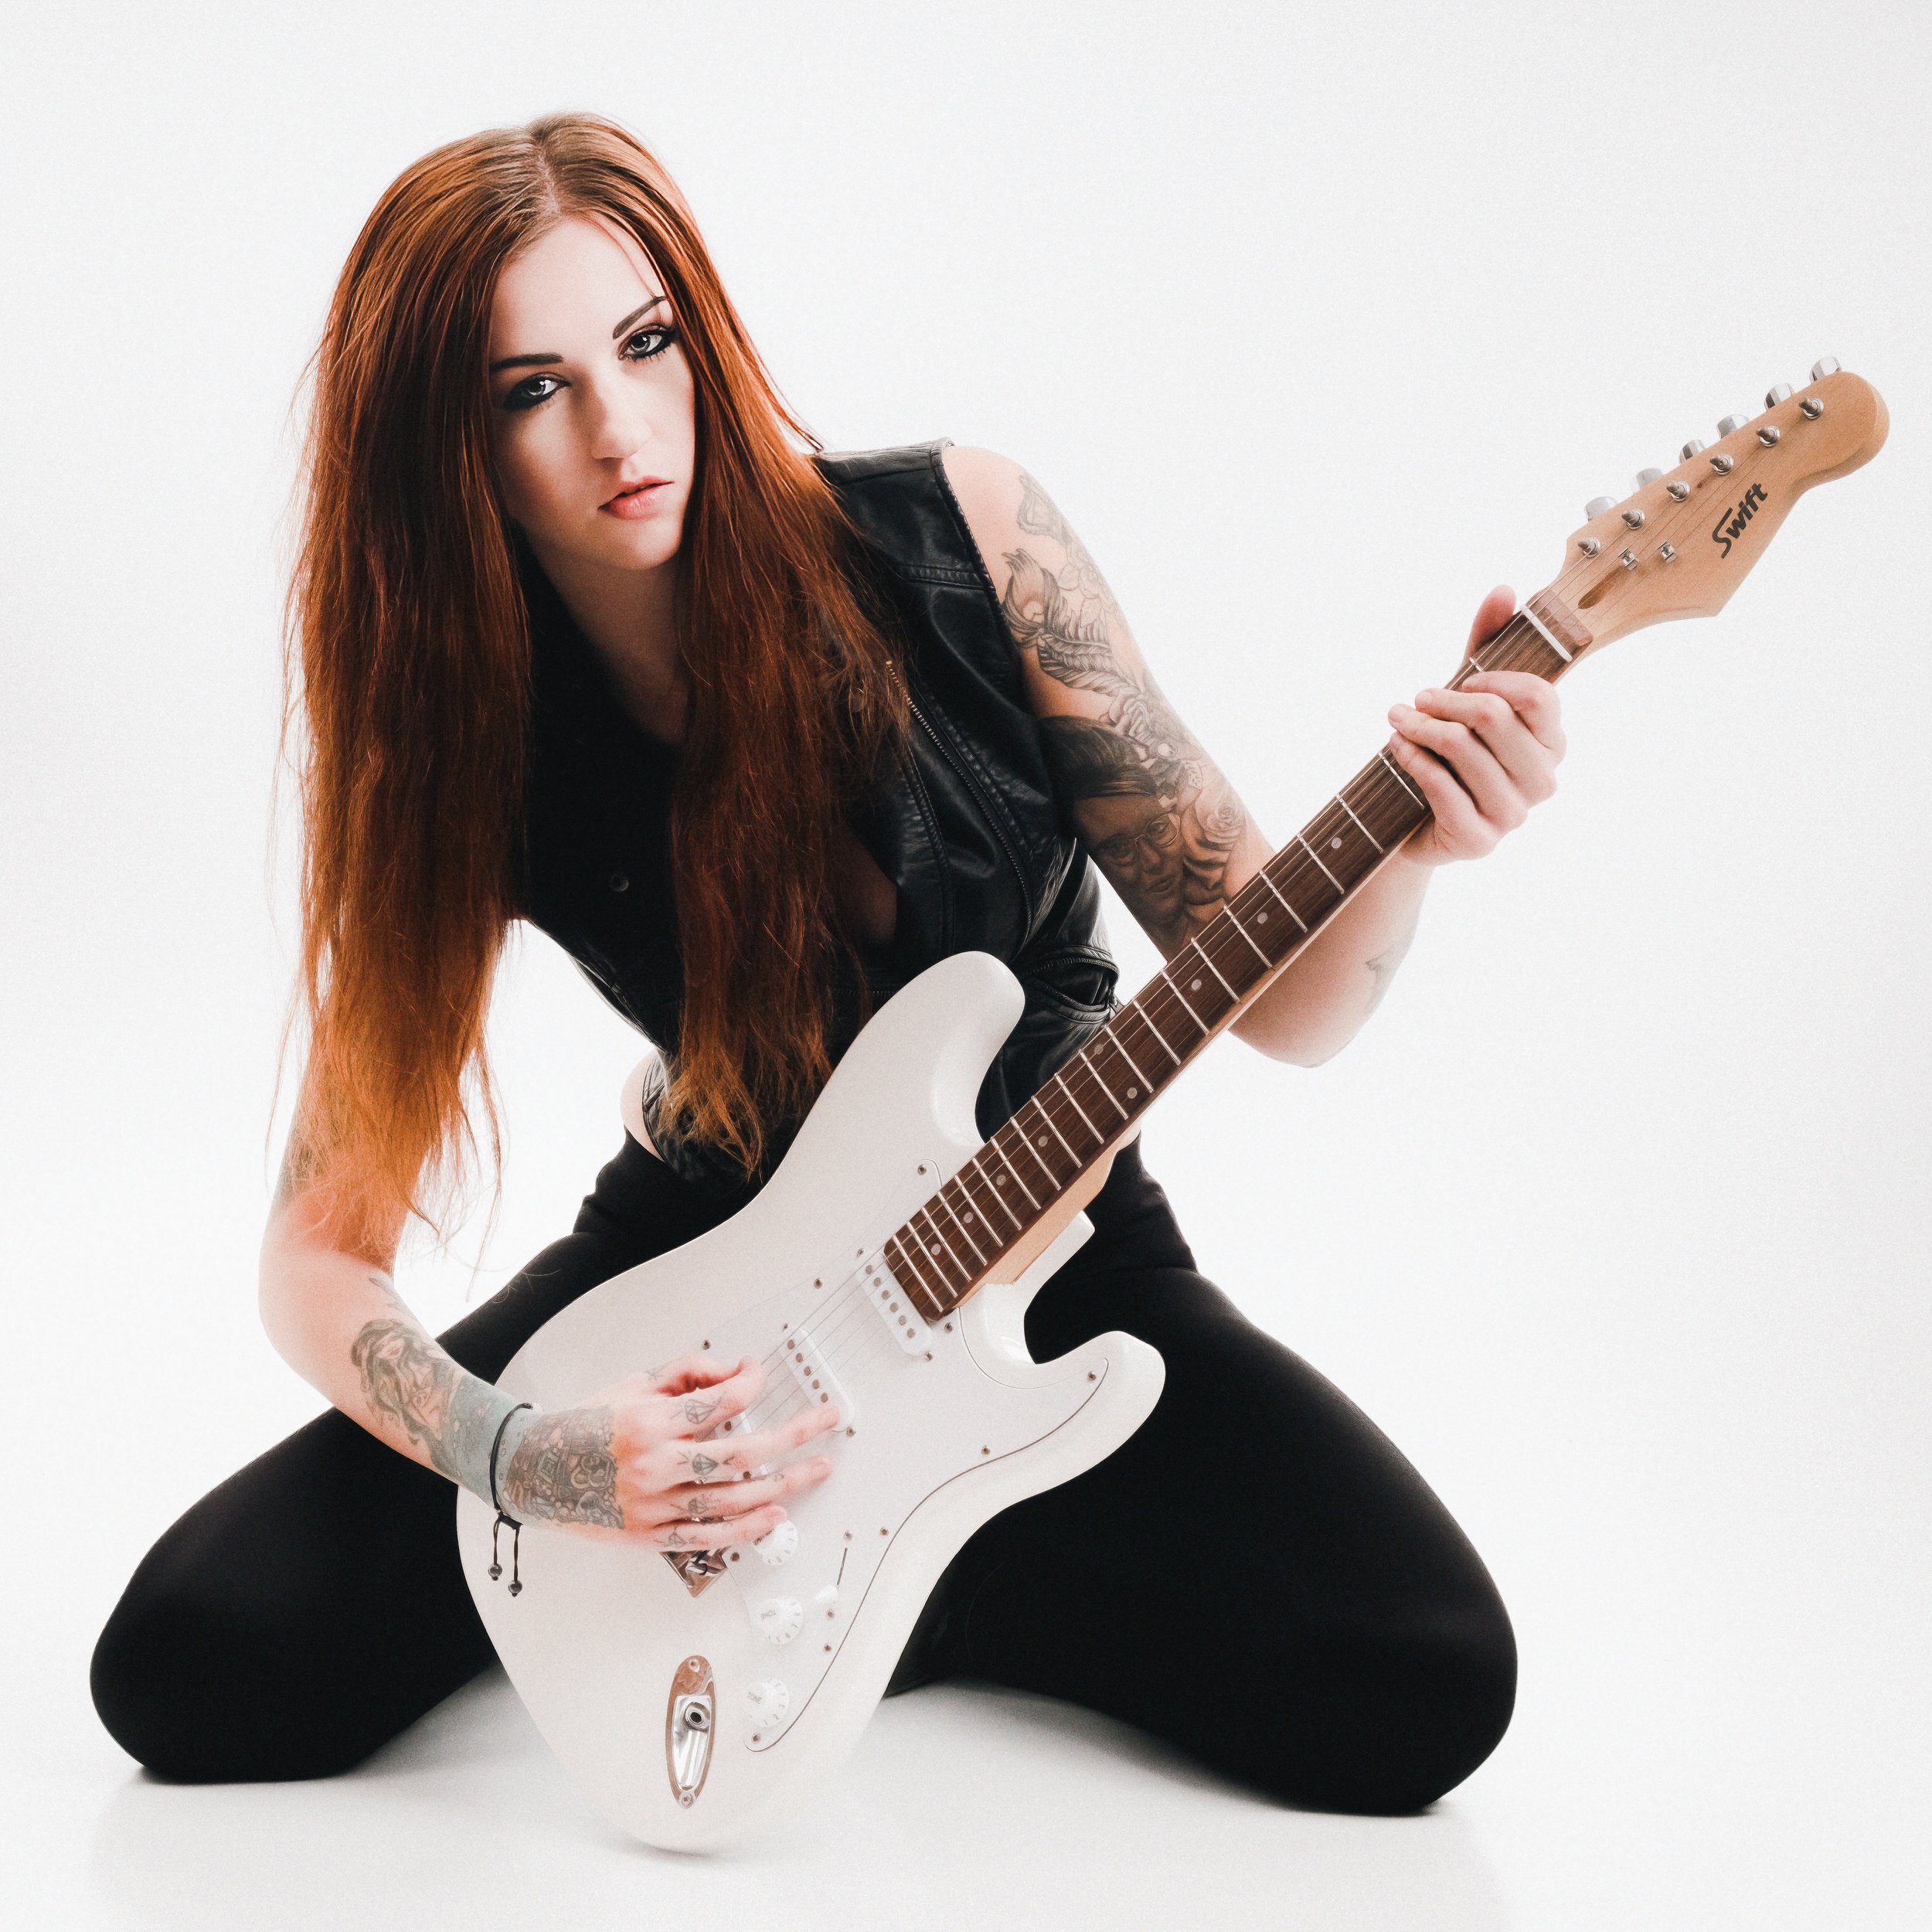
Hands are one of the most difficult elements in portraiture, and this is not sufficiently acknowledged. Hands dangling at the subject's sides look helpless. Hands in pockets can work but tend to stiffen the arms. Hands fidgeting are obviously a problem. The most reliable solutions: give the subject something to hold that is relevant to who they are (a tool, a book, a prop from their work or hobby); ask them to rest their hands on a surface — a railing, the back of a chair, a table; or for headshots and chest-up crops, keep hands out of the frame entirely. If hands are in frame, make sure they are doing something purposeful.
Head position makes a considerable difference to how an expression reads. A slight tilt of the head — perhaps five or ten degrees — softens the face and suggests openness. A chin slightly down and pushed very slightly forward (not the chin pulled back, which stretches the neck but oddly flattens the face) is almost universally flattering: it lengthens the jawline and avoids the double-chin effect that a raised chin can produce. Ask the subject to bring their forehead very slightly towards the camera, as if leaning in. The effect on most faces is immediate and positive.
What to avoid: the fully symmetrical, squared-up, full-face pose — it reads as a driving-licence photograph. The forced smile that involves only the mouth and not the eyes — it is immediately identifiable as performed and is more uncomfortable to look at than no smile at all. The pose in which the subject is visibly waiting for you to press the shutter. And the "praying mantis" — the chin pulled back to stretch the neck — which looks uncomfortable because it is.
Post-Processing Portraits
The guiding principle for post-processing portraits is straightforward: serve the image, and serve the subject. Your aim is to present them as they look on their best day, not to fabricate an identity they do not have.
Start with the fundamentals. Exposure first — ensure the face is correctly exposed, not the background. In most portraits, the background can be dark; the face should not be. White balance next: skin tones are profoundly sensitive to colour temperature, and an incorrect white balance is one of the things that makes a portrait look wrong without the viewer knowing why. Avoid over-warming skin tones (orange faces are a common editing failure) or over-cooling them (grey, slightly sickly faces are another). Work with the actual colour of the person's skin rather than applying a universal warming treatment.
The Clarity and Texture sliders in Lightroom and similar applications reveal surface detail — pores, lines, stubble, fine texture. This can be either a virtue or something to manage, depending on the portrait. For a character study, or a portrait of an older subject where the life in the face is the point, these sliders can be valuable. For a beauty portrait, or for a subject who is self-conscious about their skin, reducing Clarity slightly on the face while leaving it untouched on the eyes and hair creates a subtle softening effect that does not look retouched in the way that heavy smoothing does.
The ethics of retouching deserve a direct statement. Removing a blemish that will clear up in a week is straightforwardly sensible. Reducing temporary redness or evening out a patchy skin tone in the moment falls within reasonable correction. Restructuring someone's face — narrowing the nose, slimming the jaw, enlarging the eyes — is a different matter. It misrepresents them, and it does so in a way that is visually obvious to anyone with experience of portrait photography. Heavy retouching also creates images that the subject cannot live up to in person, which is a peculiar kind of unkindness. The subject should look like themselves; specifically, like themselves when the light is good and they are feeling well.
The Healing Brush (or its equivalent) is most useful for genuine, temporary distractions: a stray hair across the face, a fresh blemish, a visible tag on a collar. Use it lightly and specifically.
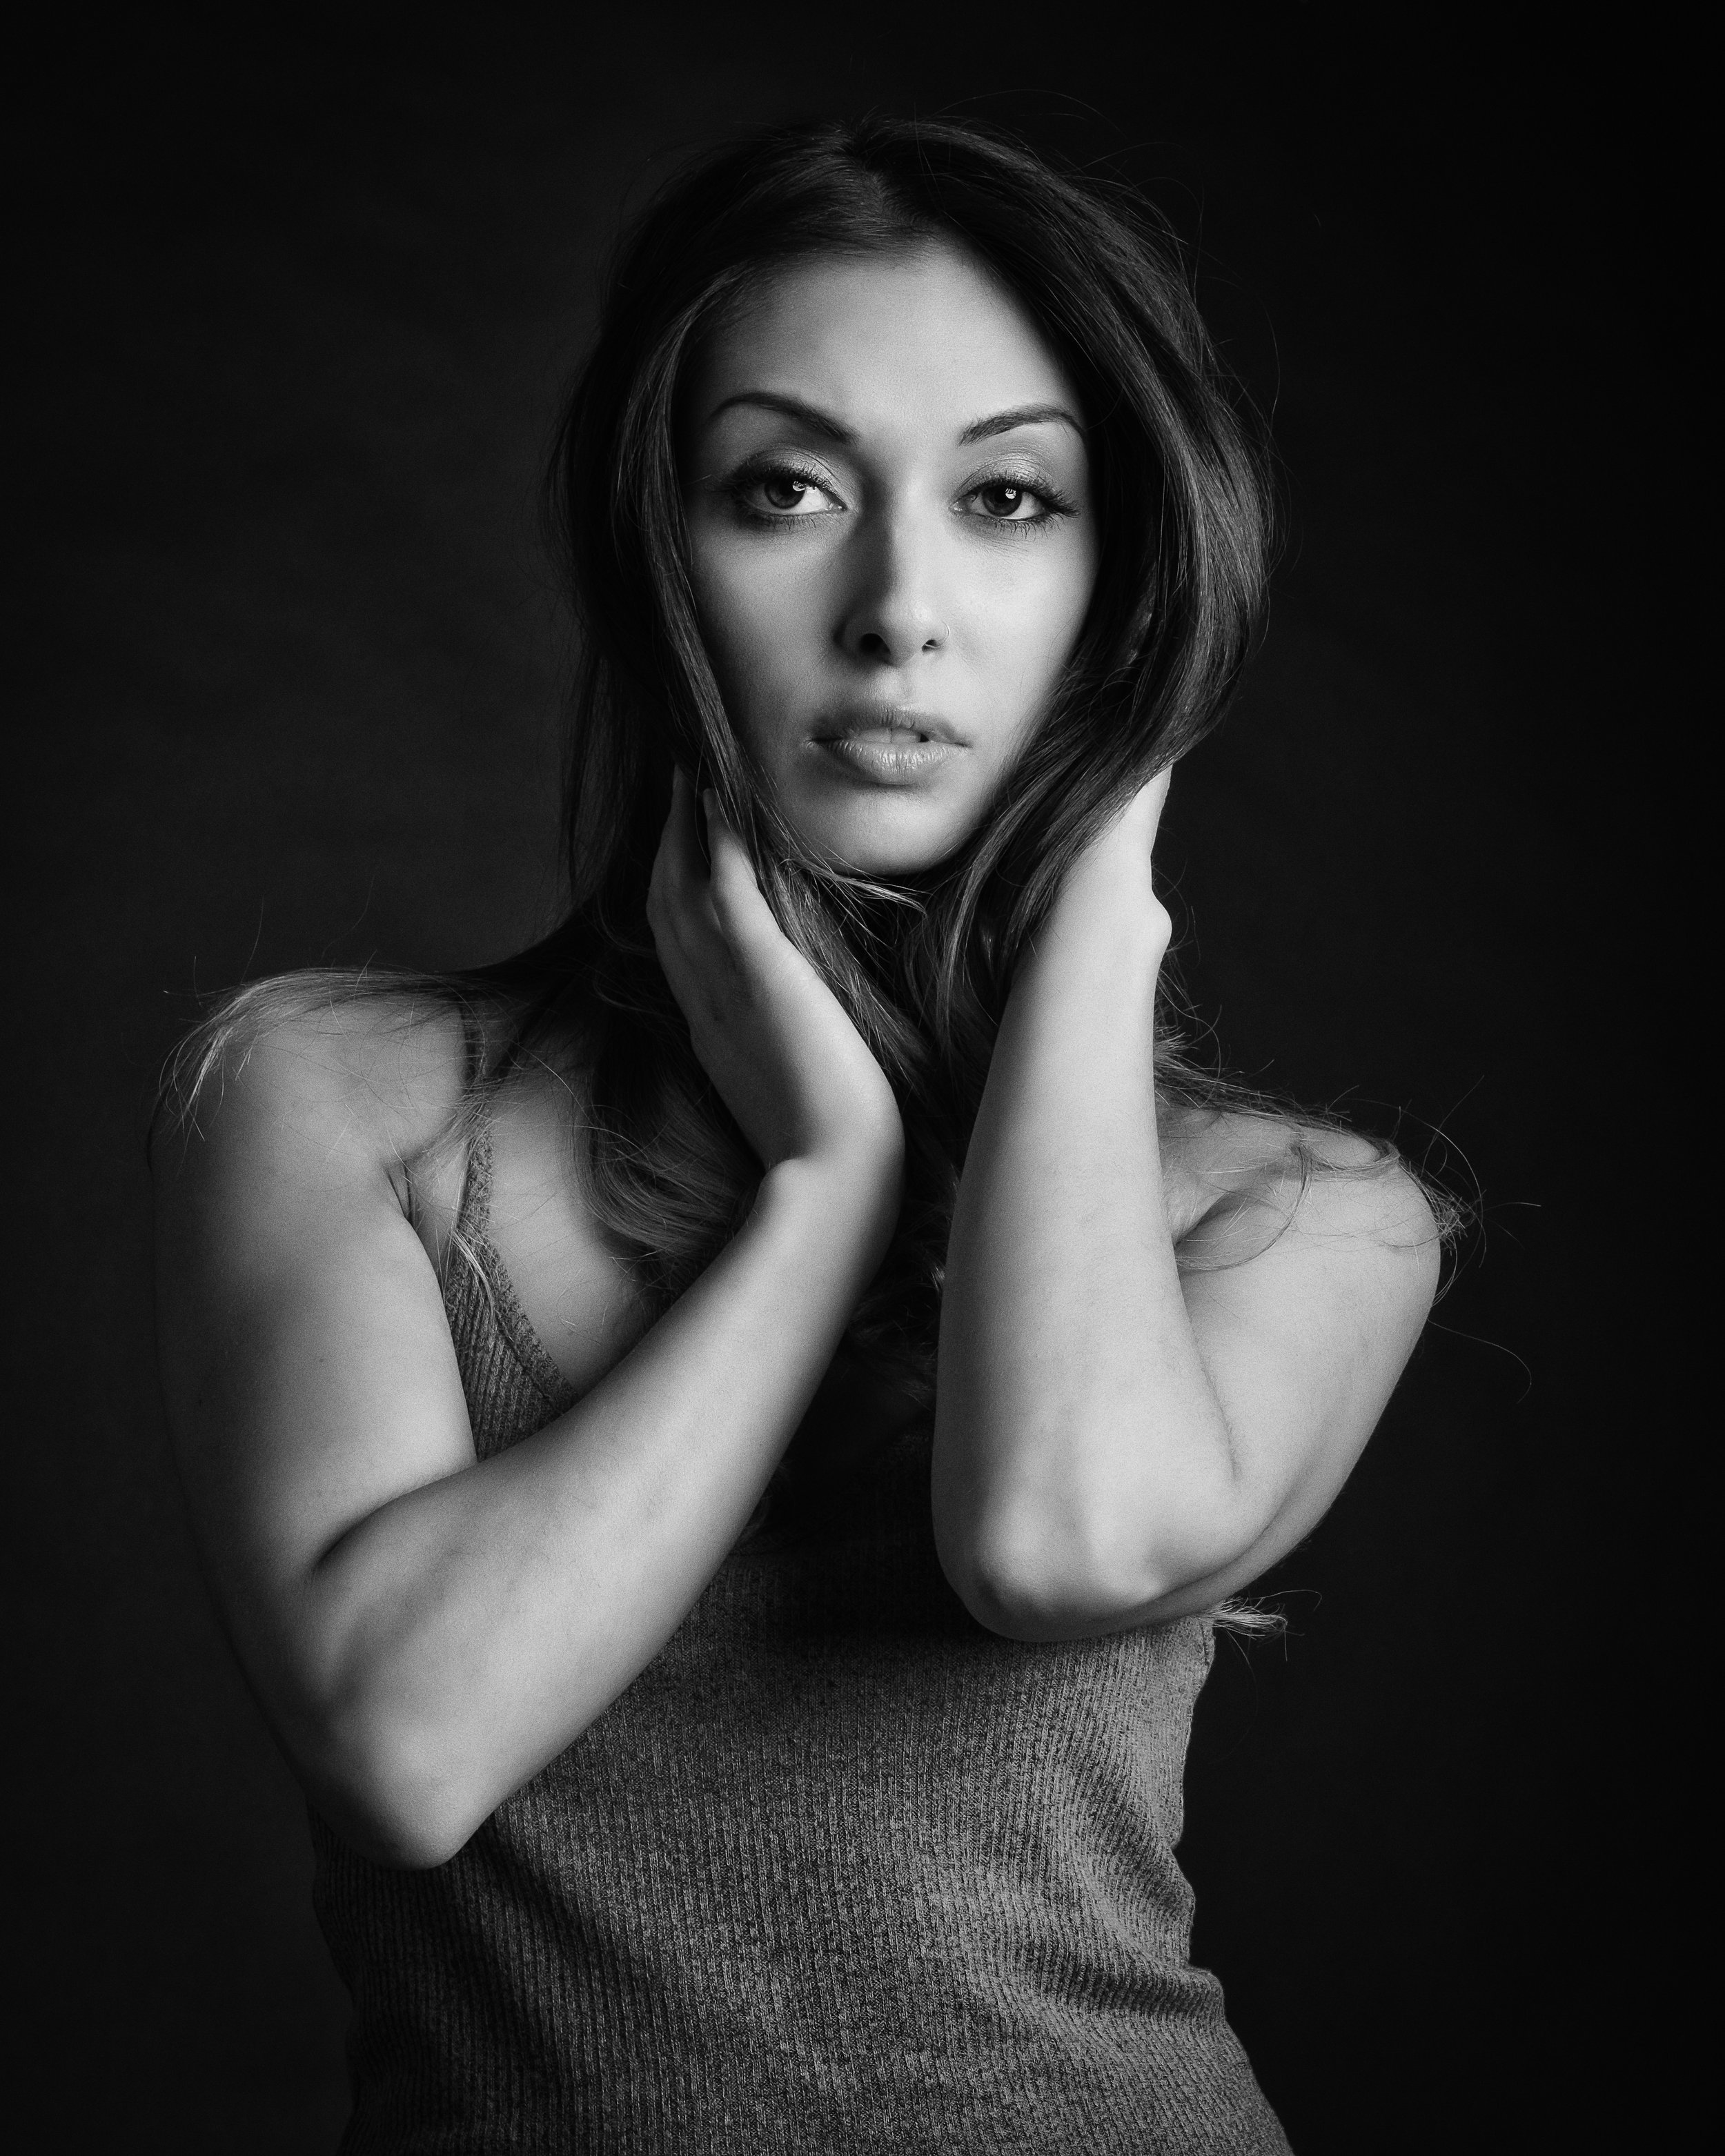
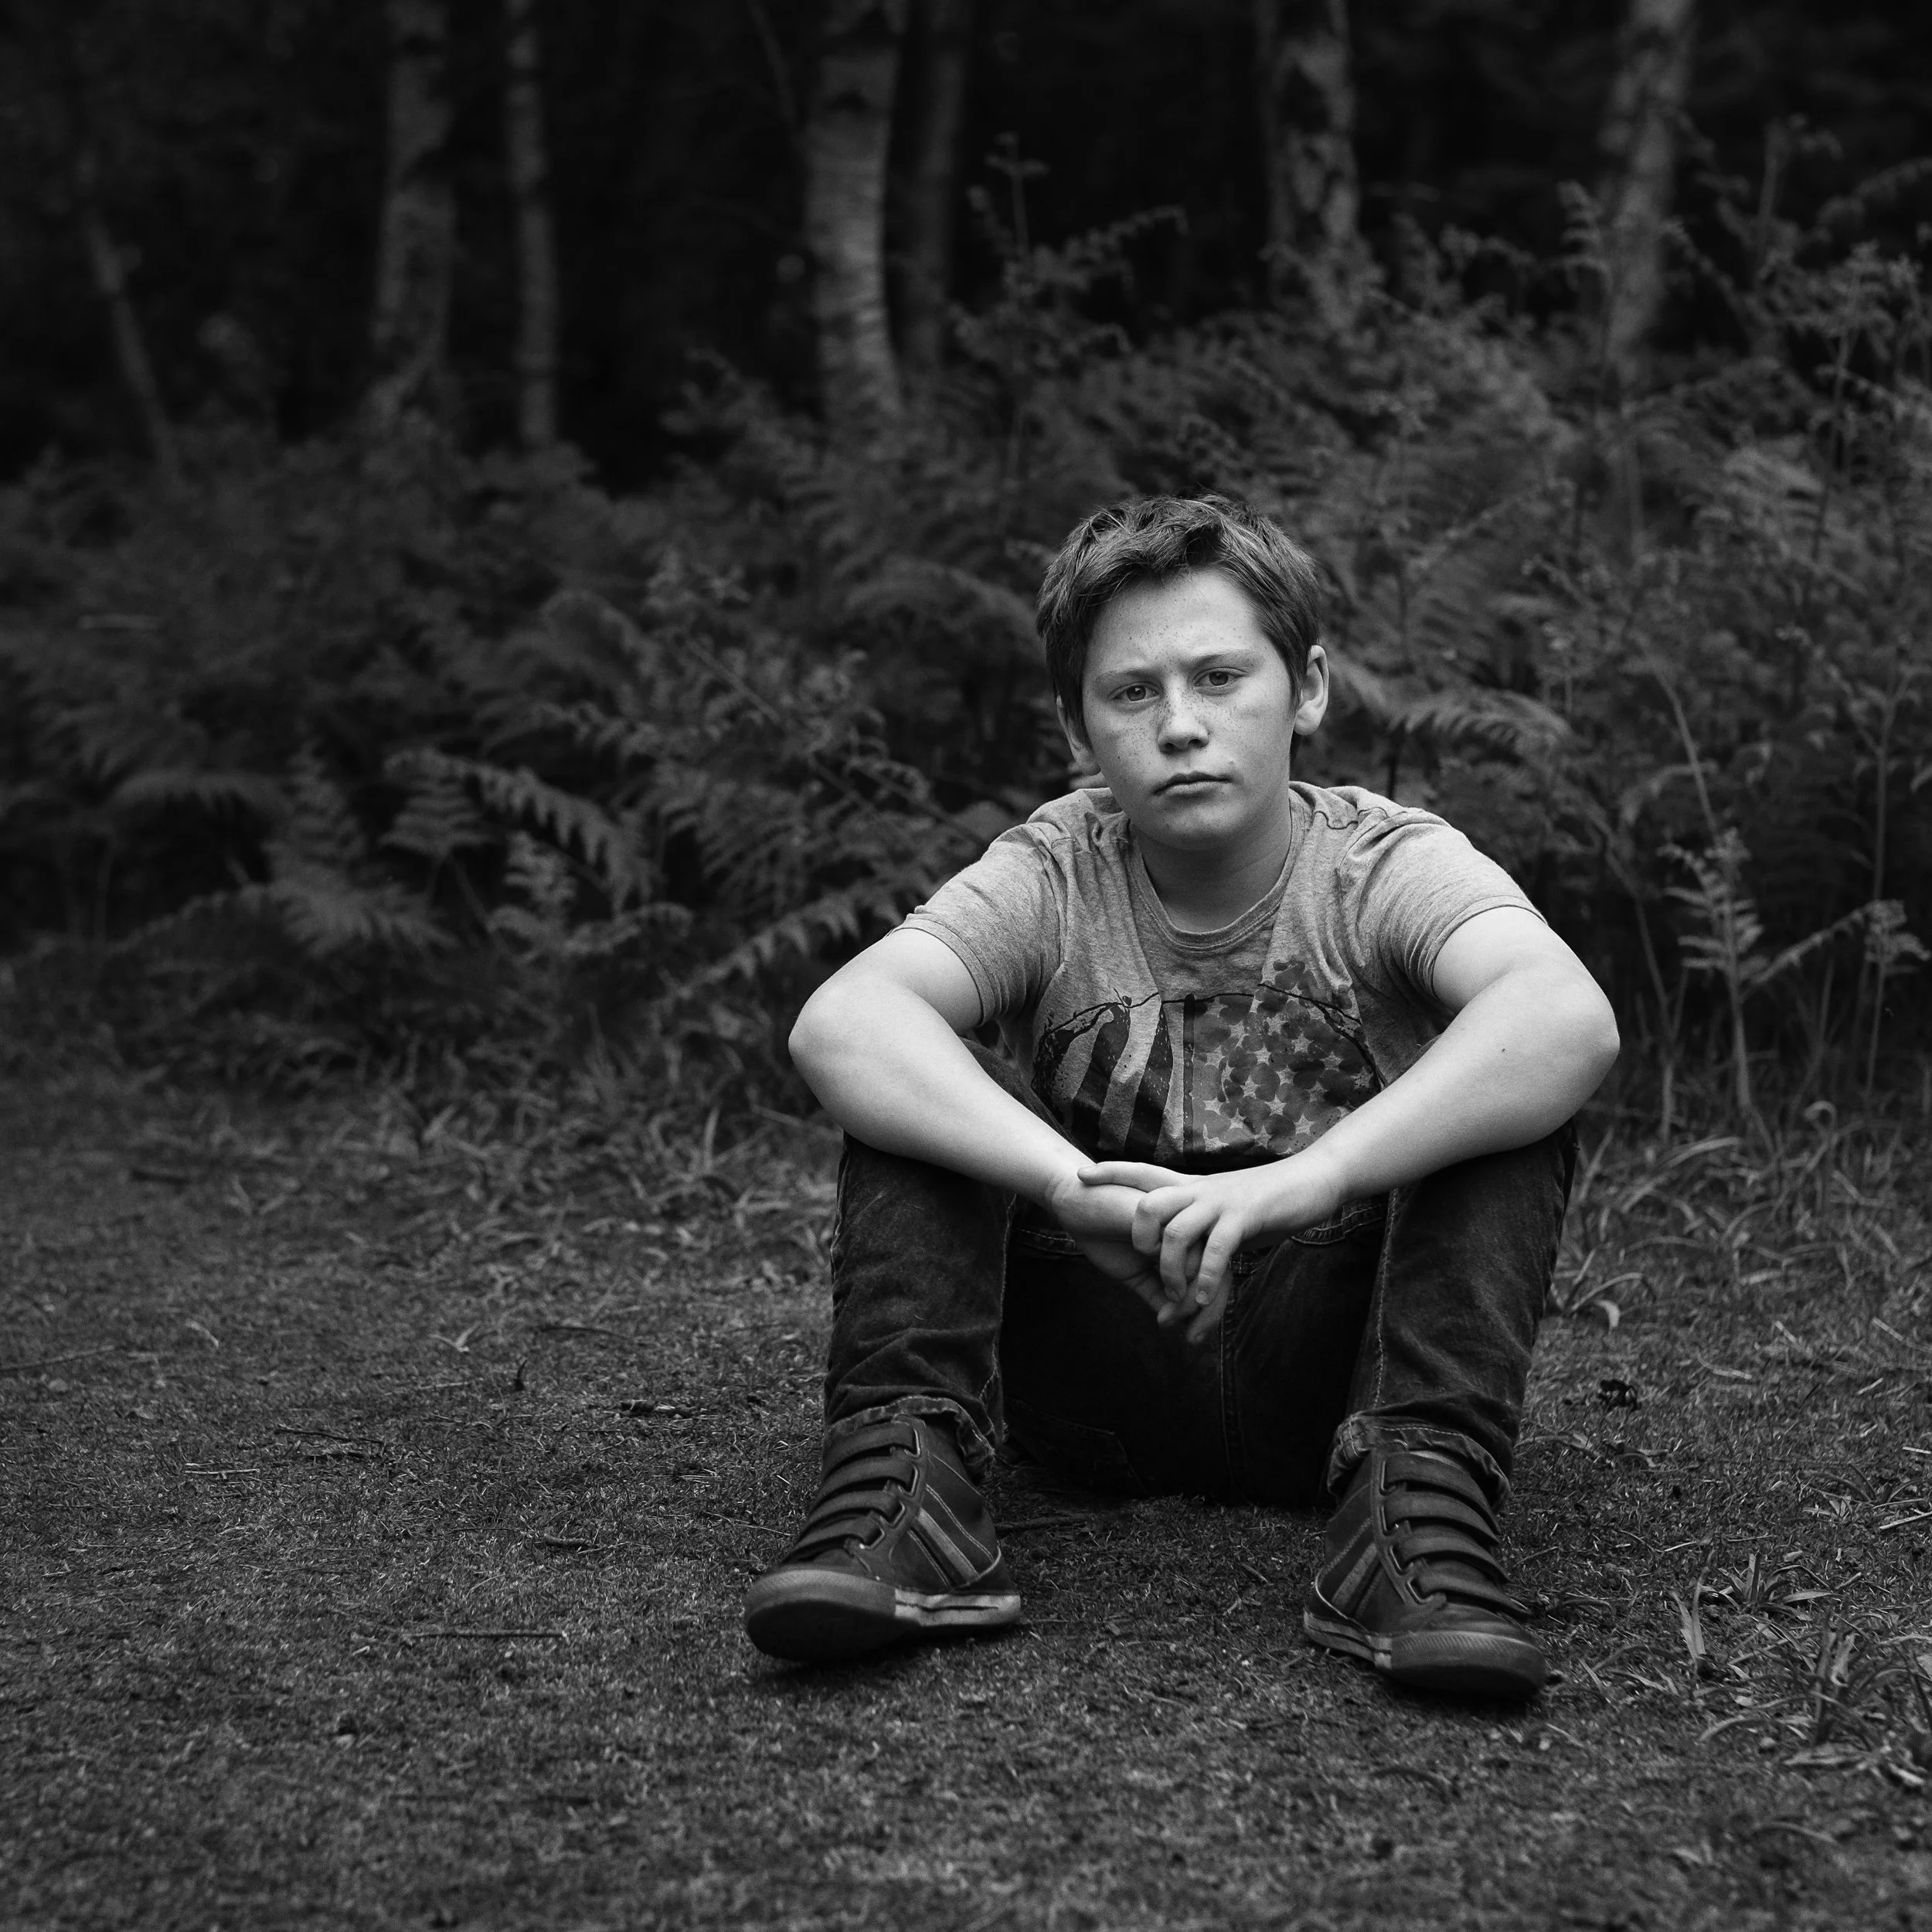
Black and white conversion is worth considering more deliberately than it usually is. Converting a portrait to monochrome is not simply removing colour; it changes the way the image reads entirely. Colour carries emotional information — skin tone warmth, eye colour, clothing colours — and removing it shifts emphasis to light, shadow, form, and expression. Monochrome works particularly well when the colour palette of the original image is distracting or unattractive (incompatible clothing colours, ugly backgrounds), for formal character studies, for portraits of older subjects where the tonal range of a face is more interesting than its colour, and when the lighting is dramatic enough to be its own subject.
When converting to black and white, the luminance sliders for individual colour channels are important. Raising the orange and red channels lightens skin tones; this is almost always the right direction to go for portraits, as it creates a clean, smooth skin rendering with less apparent texture. Raising the yellow channel further lightens lighter skin tones. Experiment with these before accepting the default greyscale conversion, which often renders skin too dark.
Dodge and burn — the classic darkroom technique of locally lightening and darkening areas of an image — is one of the more powerful tools in portrait post-processing. Lightening the whites of the eyes slightly, darkening the shadows to add dimension, lifting the catchlights — these are small adjustments that add up to a more polished result without looking processed. In Lightroom, a Radial Filter (drawing an oval around the eyes to lift the exposure slightly) or the Adjustment Brush approximates this. In Snapseed, the Selective tool does similar work.
For apps: Lightroom Mobile is the most capable and flexible editing application for serious portrait work on a phone. Snapseed (free, from Google) is excellent for targeted adjustments. Dedicated portrait retouching apps — Facetune and its relatives — are effective and also extremely easy to overuse. If you are going to use them, apply the slightest adjustment your eye accepts and then halve it. The point at which retouching becomes visible and begins to look artificial is much earlier than most people expect.
Self-Portraiture : A Special Case
Self-portraiture is the only form of photography in which the subject and the photographer are the same person, creating a particular set of challenges that are both practical and psychological.
The practical challenge is obvious: you cannot be both behind and in front of the camera simultaneously. The solutions are well-established. The self-timer — 2 or 10 seconds, depending on the camera — gives you time to move from the shutter to your position before the camera fires. Most cameras and smartphones also offer interval timer shooting, which fires a sequence of frames over a set period; you set the camera up, start the interval, and then shoot 20 or 30 frames over a couple of minutes, choosing the best from the sequence later. A remote shutter release — either a physical cable release, a Bluetooth remote, or the volume button on earphones connected to a phone — gives you direct control without a delay.
Focus is the specific technical challenge. On a smartphone, the face-tracking system will attempt to find and track your face, which works reasonably well in good light for straightforward positions. In more complex situations — unusual angles, low light, when you are partially obscured — it will fail. The reliable approach is to use a stand-in: place an object (a cushion, a bag, whatever is at hand) in the position where your face will be, tap-and-hold to lock focus on it, then remove it and take your position. This works; it is slightly laborious; it produces correctly focused self-portraits.
A mirror, positioned so that you can see the camera's frame in it, allows you to check composition without taking a test shot. This is useful for getting the framing right before you start the session proper.
The psychological dimension of self-portraiture is less easily solved by technique. Photographing yourself honestly is harder than it sounds. You know your own face better than anyone, which means you will notice every unflattering angle; you are simultaneously the most and least objective observer of the subject. Most self-portraits become, rapidly, performances — you are very aware of being watched, even when the only audience is yourself. The self-consciousness that afflicts other portrait subjects afflicts you too, and it is harder to forget the camera when you are also operating it.
What tends to produce interesting self-portraits is shooting in series over time. The first session will probably be stiff and self-conscious. The fifth may not. The process of becoming familiar with your own image through the camera — of seeing yourself as a photographic subject rather than as yourself — takes time, and the most honest self-portraits tend to come once that process is somewhat advanced.
Resources
Here’s an interesting video from David Addison at the iPhone Photography School: “Do you struggle to take stunning portrait photos with your iPhone? Whether you're a beginner or experienced, this video will teach you pro-level techniques to take your iPhone portrait photography to the next level. You’ll learn: how to use lighting to enhance your iPhone portraits; the best lens choice for different portrait styles and tips and tricks for mastering Portrait Mode and adjusting effects for a natural look.”
Next up, an excellent, and comprehensive, introductory video: “Tony & Chelsea Northrup provide guidance on taking outdoor portraits using both smartphones and traditional cameras. It emphasizes that technique is more important than gear. Key topics covered include: choosing safe, quiet locations with multiple spots for photos; opting for clean, simple backgrounds, and checking for distractions; encouraging natural expressions by creating a friendly environment and using motion; posing techniques; considering horizontal and vertical shots, leaving room to crop; paying attention to camera height; natural lighting and being prepared to deal with challenging light; using reflectors or walls to bounce light; artificial lighting and camera settings.”
Here’s another great video exploring self-portraits with famous examples from history: “My name is Ted Forbes and I make videos about photography. The Art of Photography is my channel and I make videos covering famous photographers, photography techniques, composition, the history of photography, philosophy and much more. This one deals with self-portraits. Looking back on the history of photography this phenomenon isn't just limited to people with iPhones. Successful portraits of any kind use elements of aesthetic and conceptual thinking to create works. Vivian Maier is probably the most known photographer embracing the medium but there were others as well: Cindy Sherman, Andy Warhol, Andreas Feininger, Richard Avedon and many others. The video examines diverse artistic interpretations across various photographic eras. Learn how photographers used self-portraits to explore identity and artistic expression.”
Finally, the one and only Mark McGee runs through some useful techniques for capturing great headshots. This is a slightly more technical video, using some off camera lighting, but it’s useful to see some of the options out there if you want to get more advanced with your portrait photography. The lighting and reflector setups work just as well using a smartphone or a traditional camera: “In this Take your own self portrait tutorial, I show you headshot lighting and camera settings to create portfolio worthy images. We cover lighting modifiers, lighting gear and techniques for professional headshots.”
Give it a Try!
Three exercises that will teach you more than a good deal of reading.
1. The window-light portrait. Find a large window — the bigger the better, and preferably on a grey day for consistent light. Photograph the same person three times, changing only their position relative to the window. First, have them face the window directly: this is front light, even and flattering, with minimal shadows. Second, have them turn 45 degrees so the window is to one side: this is three-quarter light, and you should begin to see the shadow on one side of the face that gives it structure. Third, have them turn so the window is behind them: this is backlight. Their face will be in shadow; experiment with exposure compensation to recover the face detail, or hold a white card or piece of paper in front of them at waist height to bounce some light upwards. Compare all three results and note how each affects the reading of the face. The difference is substantial.
2. The telephoto experiment. Find someone willing to have their photograph taken twice, without moving. Photograph their face with the main (wide) camera on your phone from a comfortable working distance — close enough to fill the frame with the head. Then take the same image with the 2x telephoto lens from the same position. The difference in the rendering of the face — the proportions, the apparent size of the nose relative to the ears, the compression of the background — should be immediately apparent. One of these looks like a face. The other looks like a distorted face. Notice which is which, and why.
3. The posed versus candid session. Spend 20 minutes with someone you know well, photographing them while they are fully aware of the camera — direct the poses, ask them to look here, stand there, try this. Then spend another 20 minutes photographing them while they are doing something else: making tea, reading, doing anything that gives them a task to focus on. Do not announce the shots; just shoot. At the end, compare the two sets of images. Which set looks more like the person? The answer is usually instructive, and occasionally surprising.